Posts By Martin
Farewell JW


This morning I received a message telling me that a person I worked with a long time ago had taken his own life. I had not seen this person in many years but I actually thought about him quite often. JW was one of the most unique people I had ever met. He was at least as tall as me and skinny as a rail. He had some of the biggest and wildest hair I have ever seen. And an unforgettable face. A movie star face…a face that always looked handsome in photos. Like Adrian Brody, or Daniel Day-Lewis. A face that would have looked perfect on the back cover of a best selling novel. A face that would have made sense in a visual dictionary next to the word “poet”.
JW was outwardly sarcastic and funny and sometimes a little mean in a harmless big-brotherly way. But, he was also tender and sensitive and deeply caring. I always liked him and I always enjoyed his company when we worked together. I remember that he liked bicycles and umbrellas and had a tattoo of at least one of those. He liked Edward Hopper paintings, especially the ones depicting night windows from outside.


Rabelais and Don Quixote
A few days ago, I unknowingly read his last instagram post…the one he wrote on the day he died. He talked about how many times he had tried and failed to get through reading Rabelais. I was surprised because, other than myself, he is the only person in my whole life that I had ever heard mention that book.
We already had some kind of literary thread between us. I knew that Don Quixote was his favourite book and I loved it too. I had read that book in my 20s, the same age JW was when we worked together. And, in this case too, he was the only other person I knew who had read it.
When I think about JW and Don Quixote now, it makes so much sense. He was an idealist. I think he always had poetic and romantic notions of how the world should be. I think he believed that people were capable of kindness, of courtesy to strangers, of chivalrous acts. That they should strive towards that ideal and had a responsibility to do so. JW was quixotic, through and through.
I bring up his last instagram post about Rabelais for this reason: I think I saw it very early in the morning, right when I woke up. I remember smiling to myself and thinking “Only you JW…would try so many times to read and understand that impossible book”. I wanted to write to him in the comments about how I had also struggled so many times to read it and always met with failure. I think he would have laughed. Instead…I slid out of bed and started my day. I thought that I would get back to it later but..I didn’t.
If I had left him that comment, would it have made any difference? Probably not…but possibly. It may have given him the idea that some distant friend still thought about him. He may have been surprised and smiled at that. It may have gotten him through that one day. And in that one day…something else might have happened to get him through the next day…and so on. Who can say? All I know for sure is that my words had zero impact because I didn’t say them. Maybe it was already too late.
Thank you JW. I feel fortunate to have known you while I did. I was happy to work with you at such a special place and time. When I first read your Rabelais post..i paused for some reason..and I felt…something…maybe it was already your absence. Knowing what I know now, I feel your absence all the more. Even though we had not talked in a long time, I thought about you often.. especially when I was out walking at night peering into the lit windows of houses I passed by. I promise I will keep doing so. I wish I had told you these things when you were around to hear them.
This is yet another reminder for me that tomorrow is not promised. If you are thinking about someone, tell them. If you care about someone, let them know. If you are worried about someone, get in touch. No harm can come of this…it costs you nothing. But it may make all the difference to someone else…maybe just for one hour or one day…but maybe for a lifetime. Don’t wait too long.
February 17th, 2026
Today was JWs funeral. I won’t say much about the service itself. It was sad..and more difficult than I thought it would be. Not so much at the service itself where I was surrounded by other people.. but more so when I was walking home alone through the city, and later that night as I lay in bed reflecting on what I had seen, unwilling to close my eyes.
It took around two and a half hours to walk home from the cemetery. The route was familiar but the weather was strange. The entire city was obscured by a weird yellowish fog, the air was thick with humidity and the sun was a weak halo of light buried in layers of cloud. I have never really seen that kind of weather here before. I thought that JW would be happy to know that on the day of his funeral, the weather was so gloomy and dramatic. I think he would like that.

Simple Kombucha Recipe
What is kombucha?
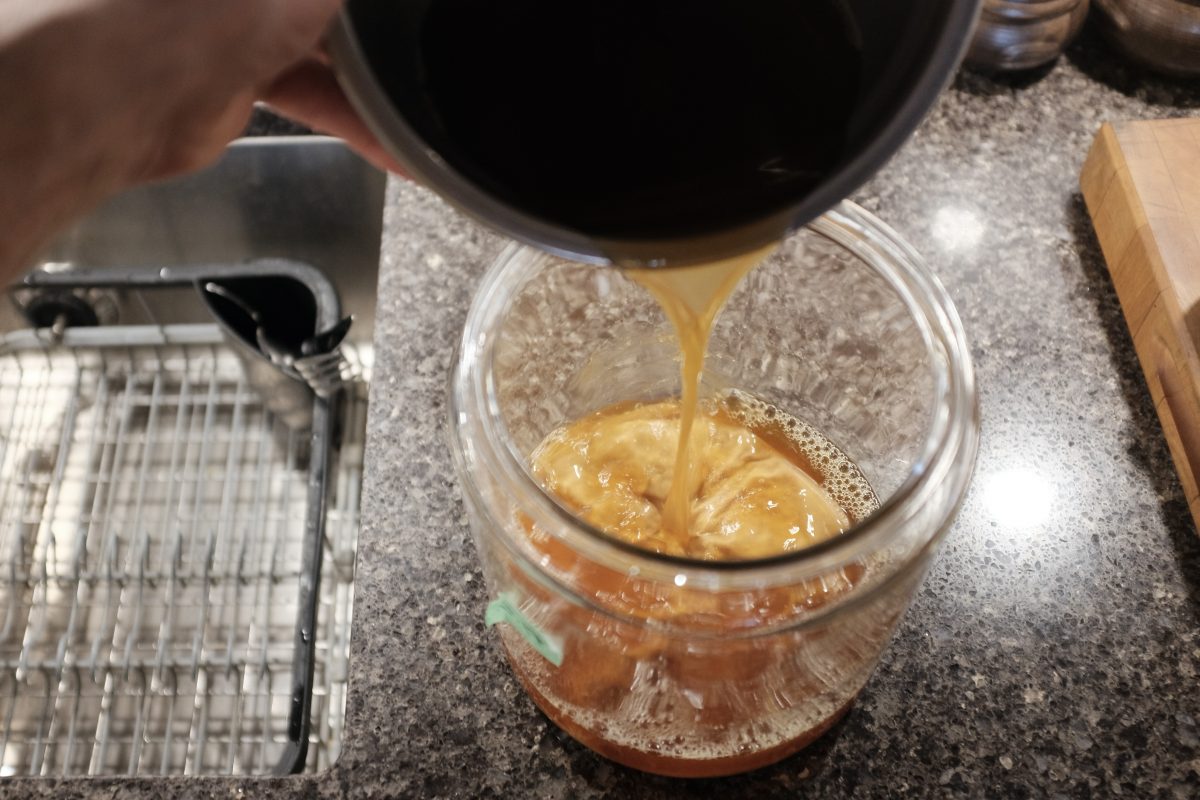
In it’s simplest form kombucha is black tea fermented by a symbiotic culture of bacteria and yeast (SCOBY) in the presence of sugar. There are probably thousands of good articles out there that explain this process in great detail…so I won’t add to the pile. In this article, I only want to provide a simple recipe with a clear process for myself and anyone else who might want to try making kombucha.
Why kombucha?
In addition to having a long and mythical history, kombucha is purported to have many health benefits (the final ferment contains live probiotic bacteria). I make it because it is fun, it makes my kitchen smell interesting and funky and it is delicious and refreshing. It is a terrific substitute for soda when you are eating anything heavy or greasy. It’s great with pizza and burgers but even works with more delicate flavours like sushi and sashimi.
Ingredients:
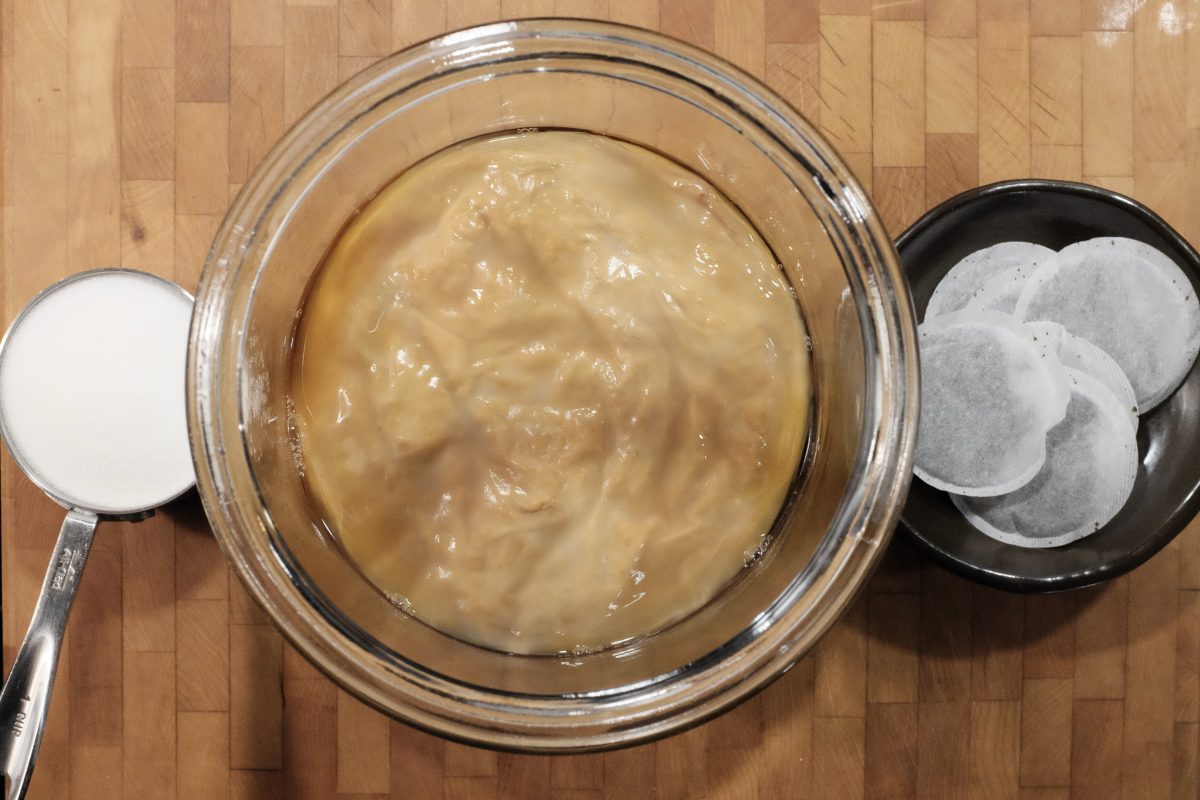
- 1 SCOBY
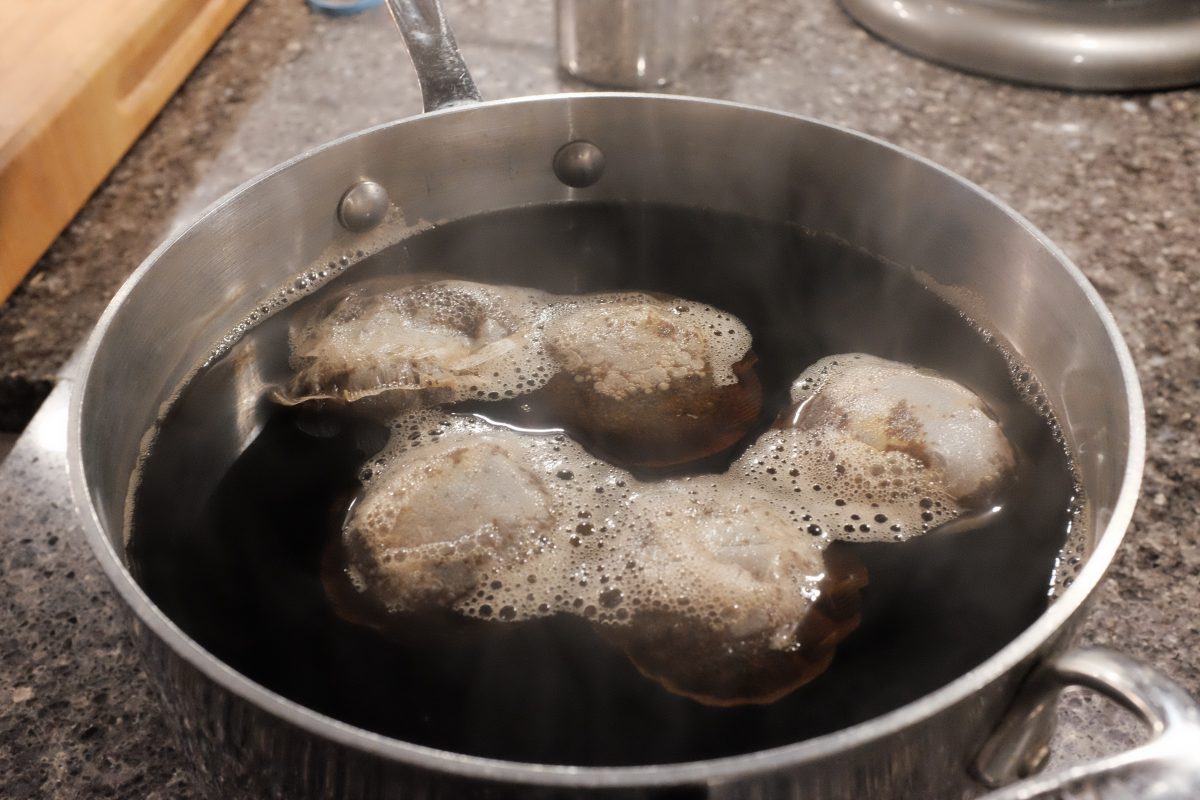
- 6 black tea bags (I am using orange pekoe)
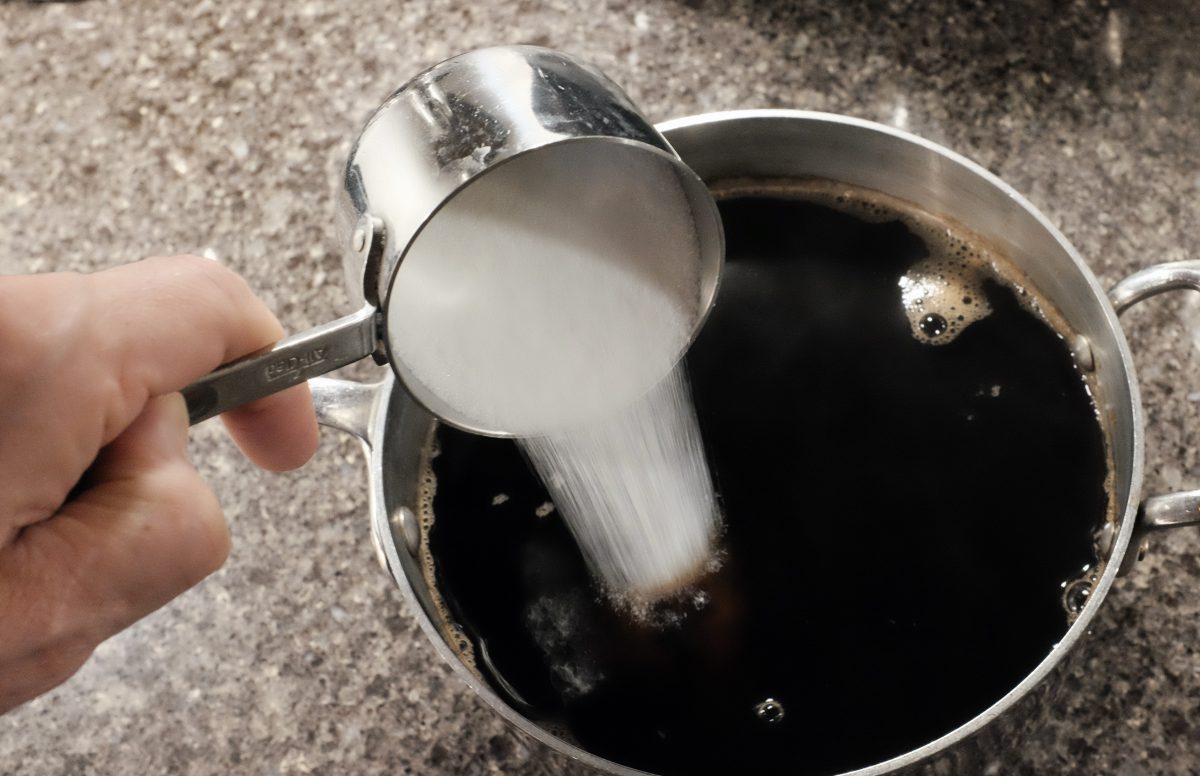
- 1 cup regular white sugar
- 12 cups of water
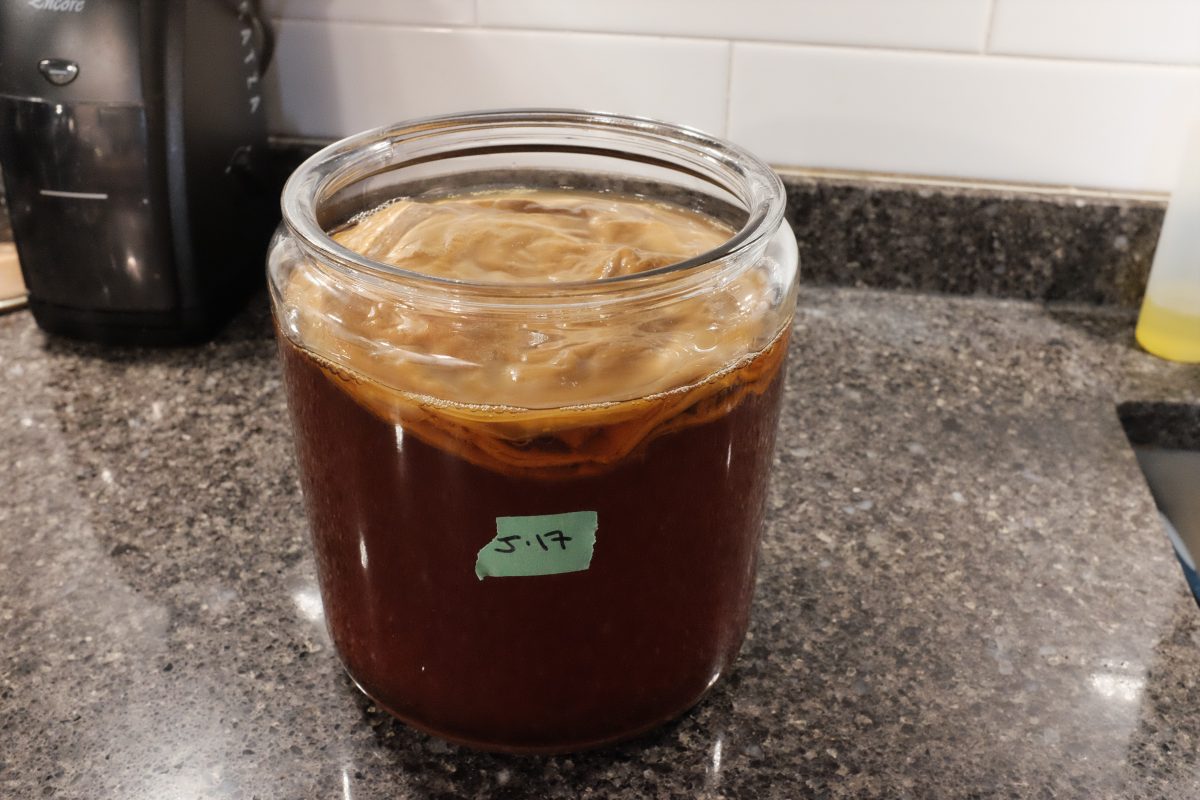
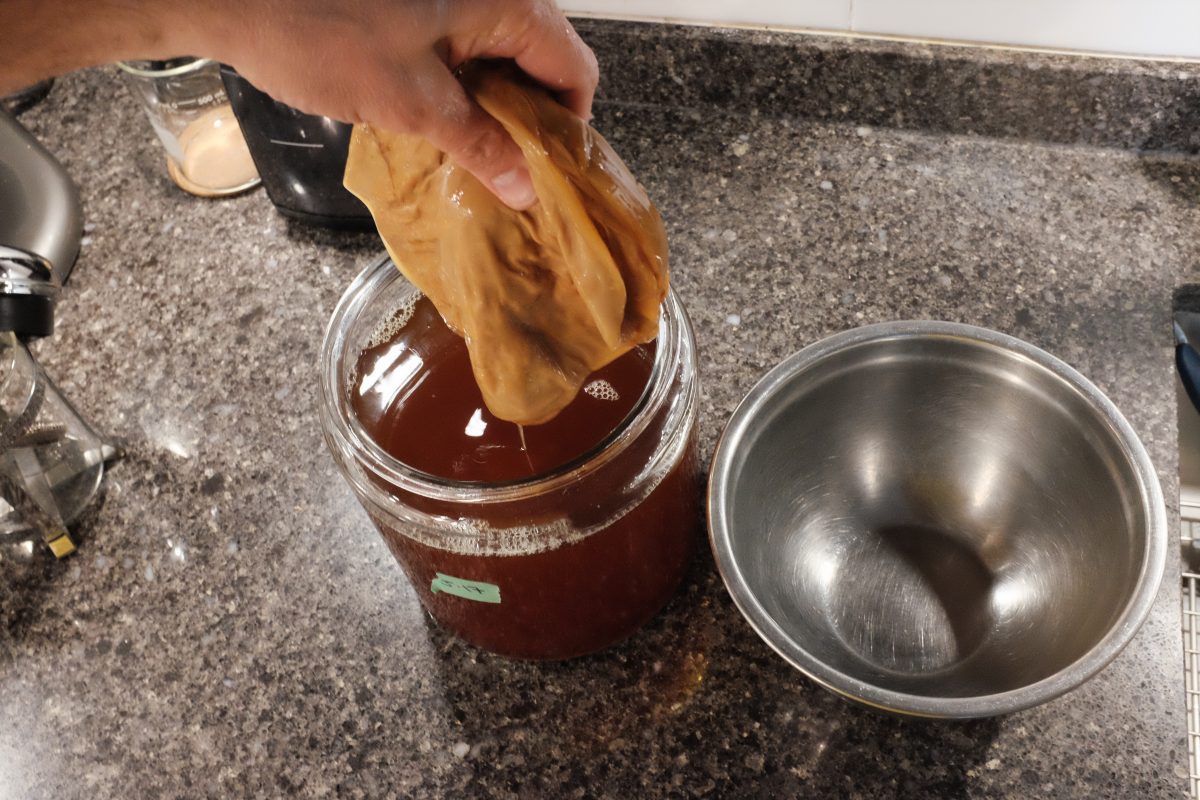
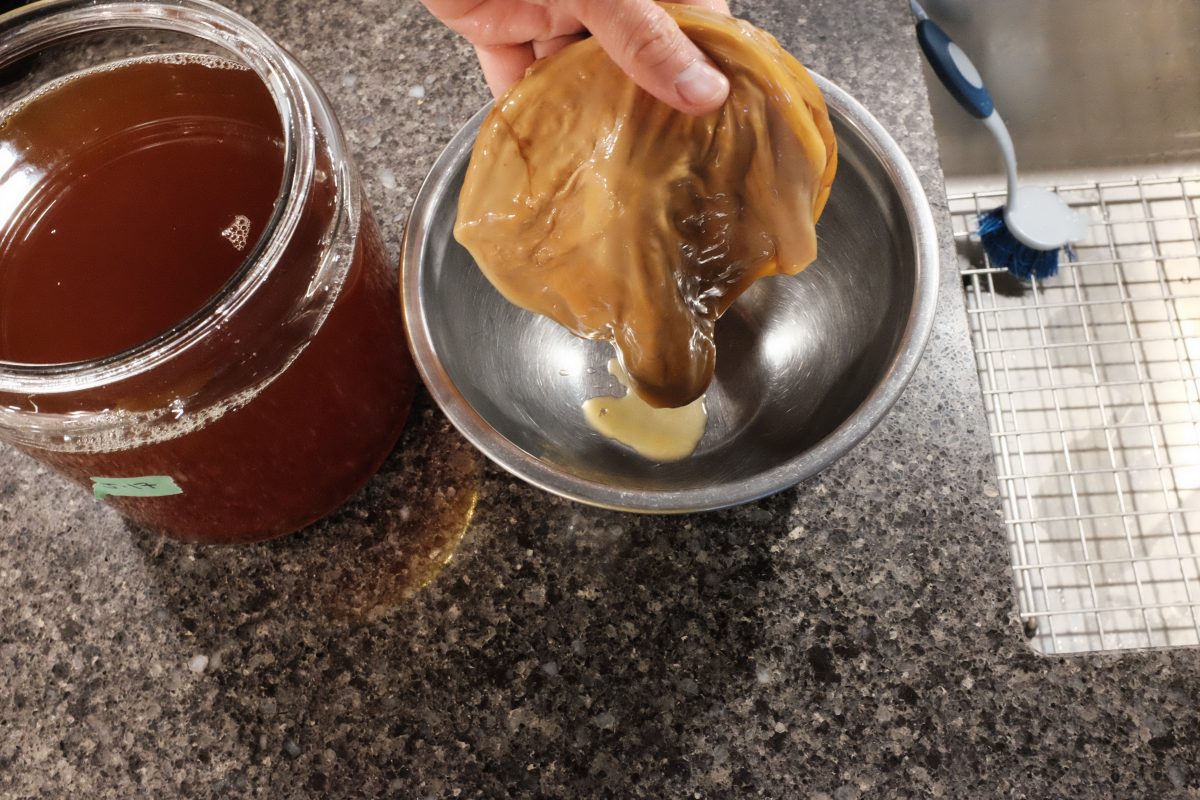
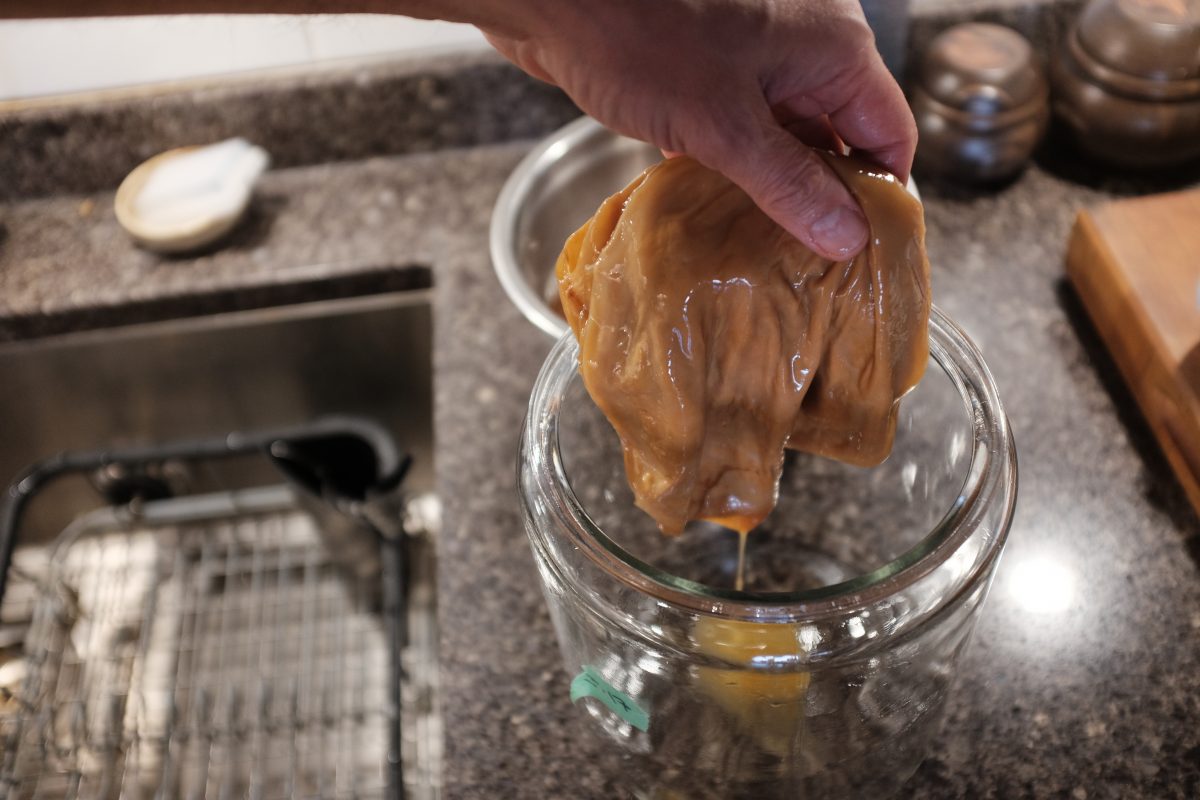
You can’t really “make” a SCOBY. You will have to buy one online or get one from someone who is brewing. Once you have one, it will grow with every batch and you can peel off layers to share with fellow brewers. I got mine from my lovely downstairs neighbour.
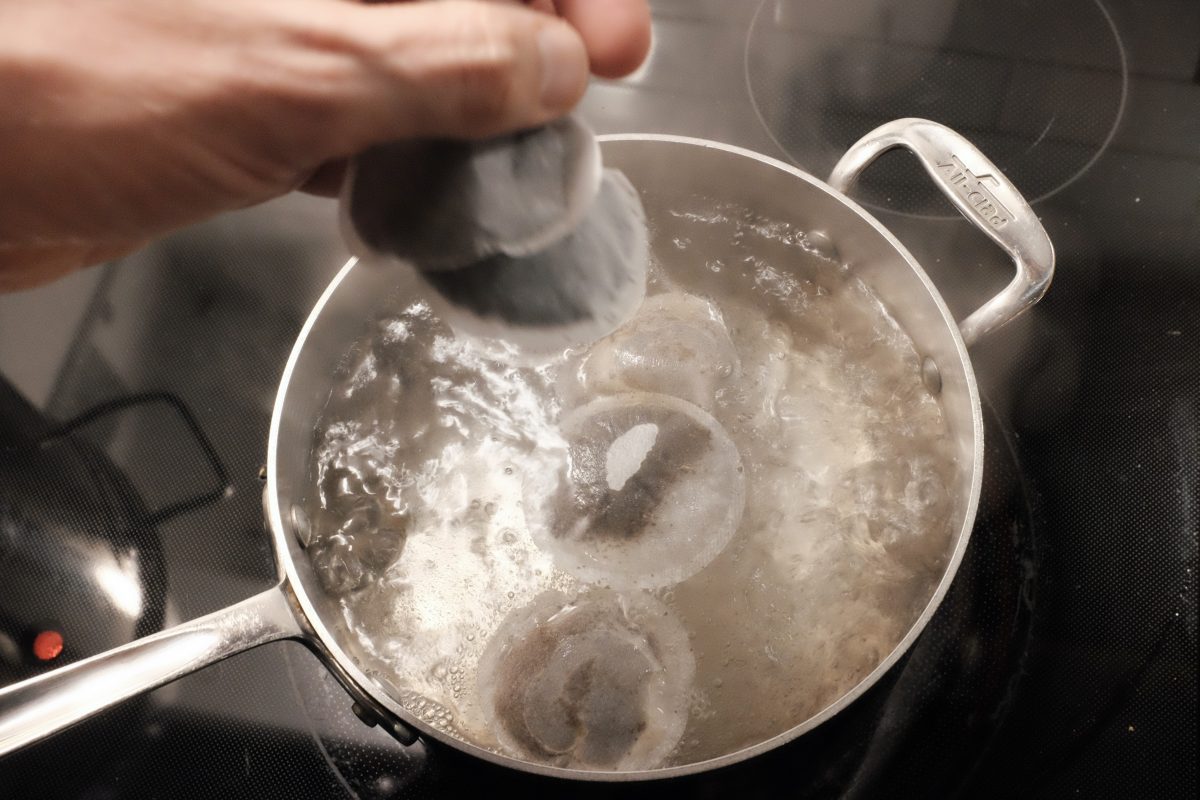
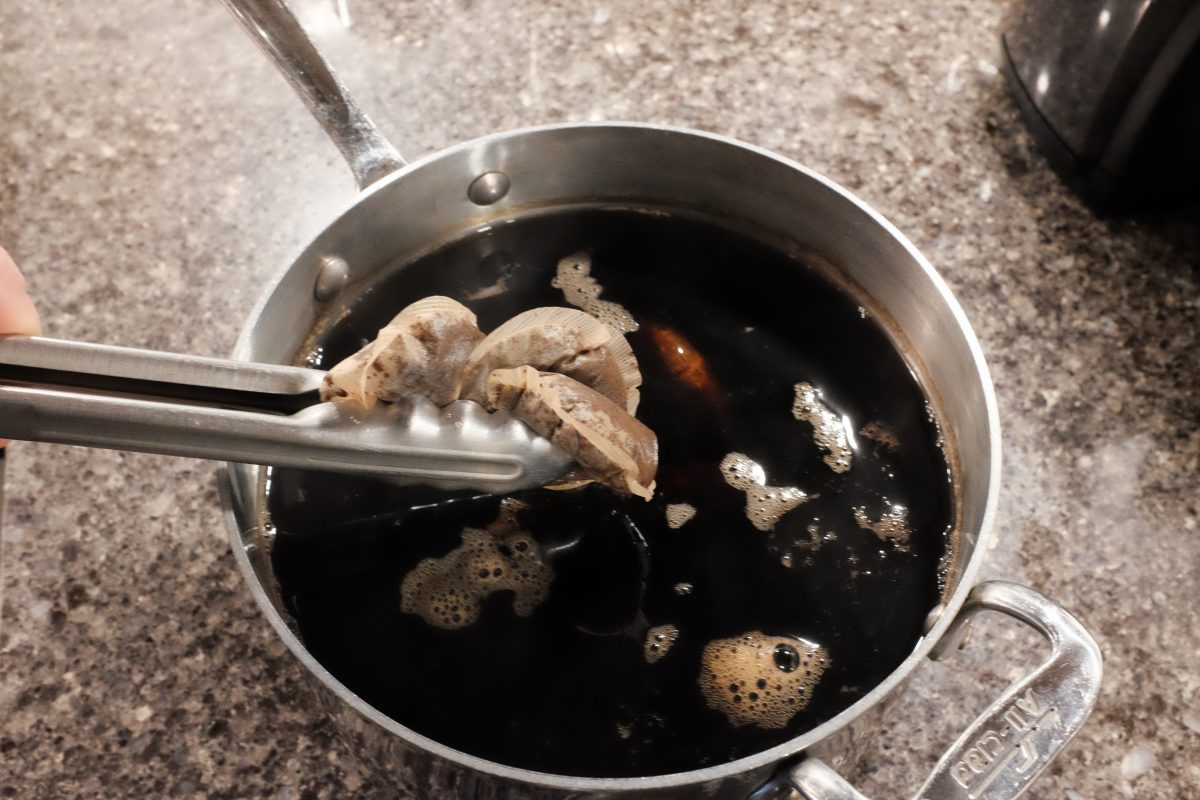
You can just use cheap everyday tea bags. I am using orange pekoe bags from the grocery store. Use black tea and avoid anything flavoured (for now). I like these round Tetley brand ones…they are very strong and brew up to a nice colour and aroma.
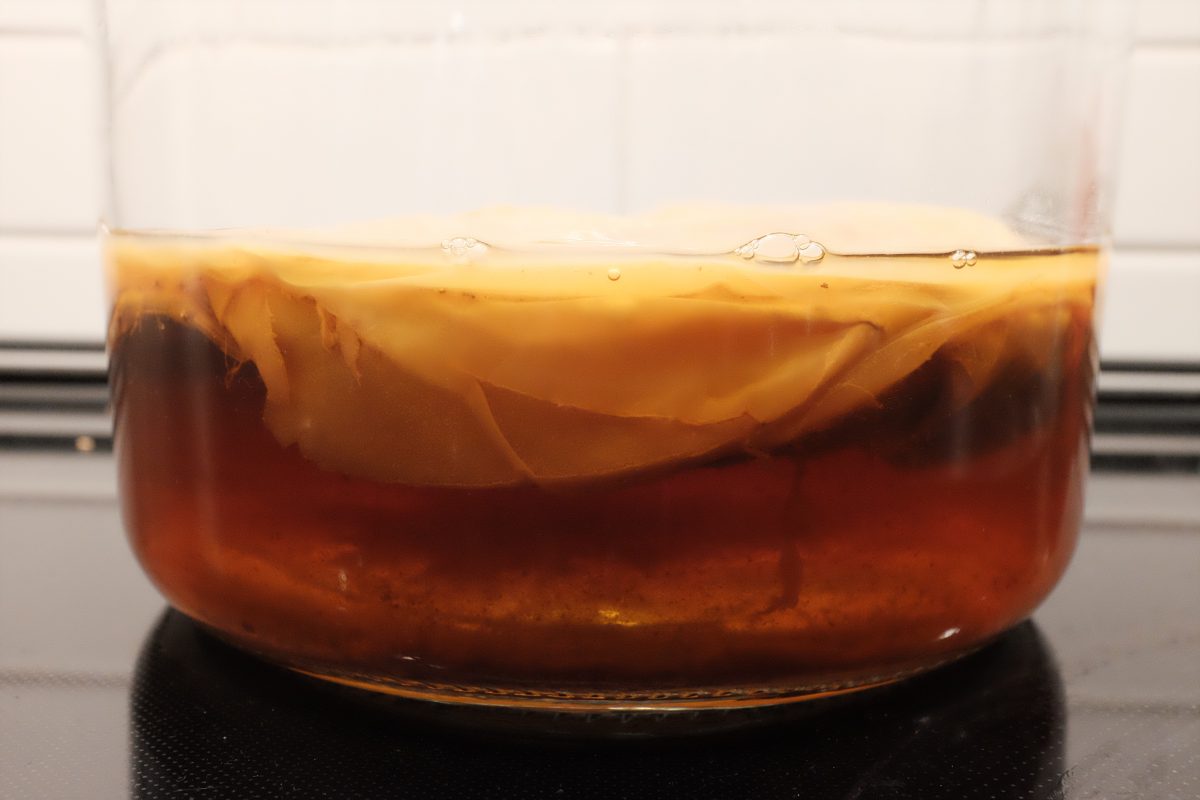
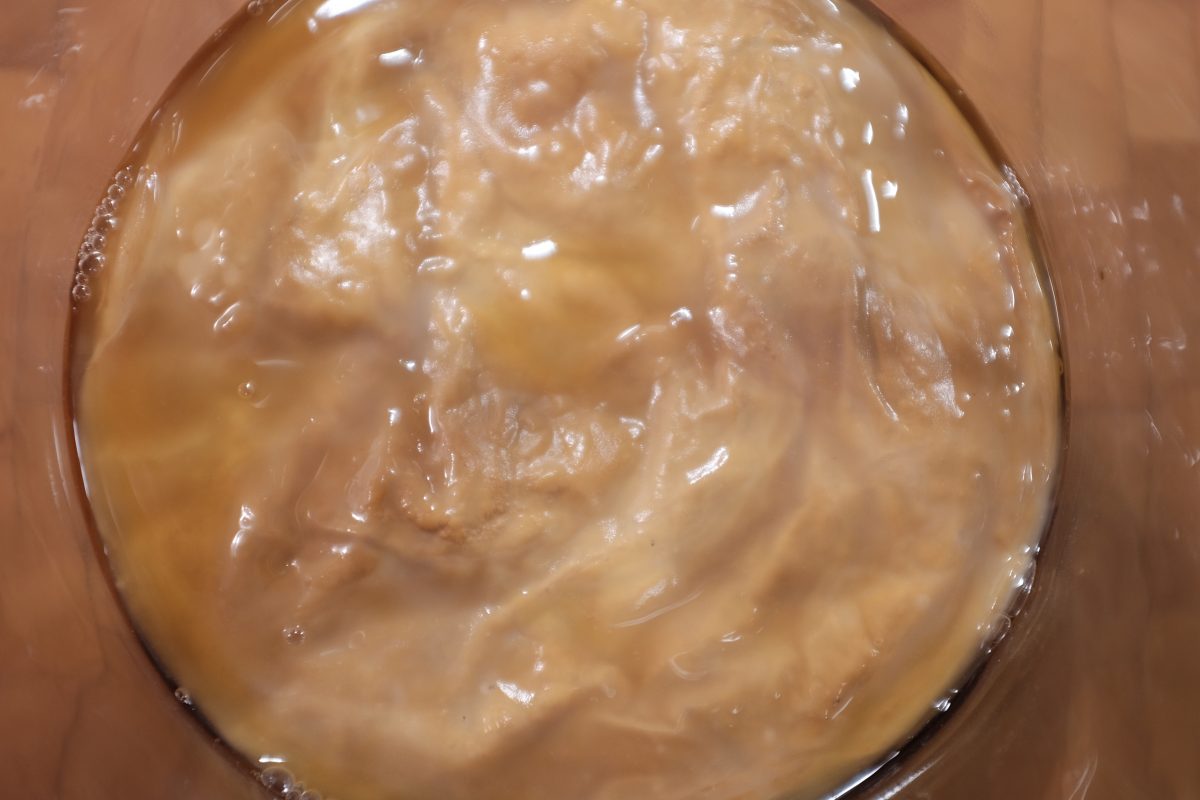
Process

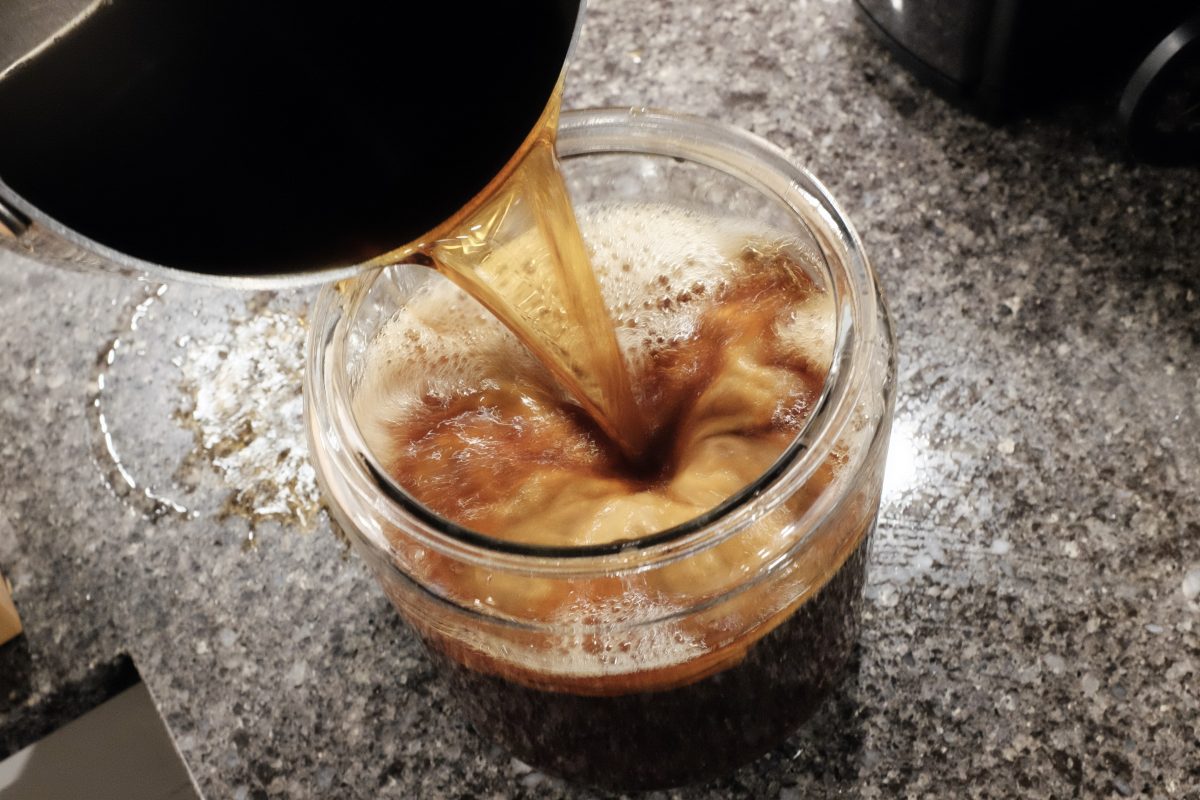
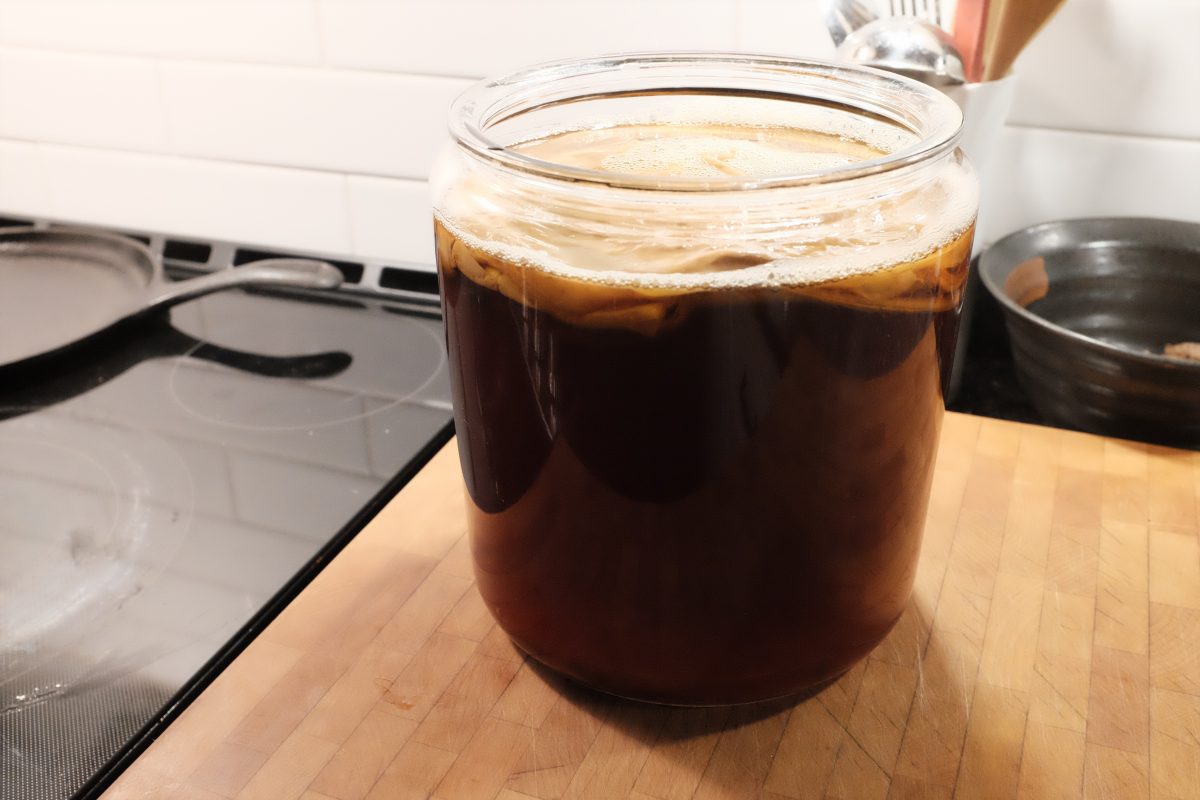
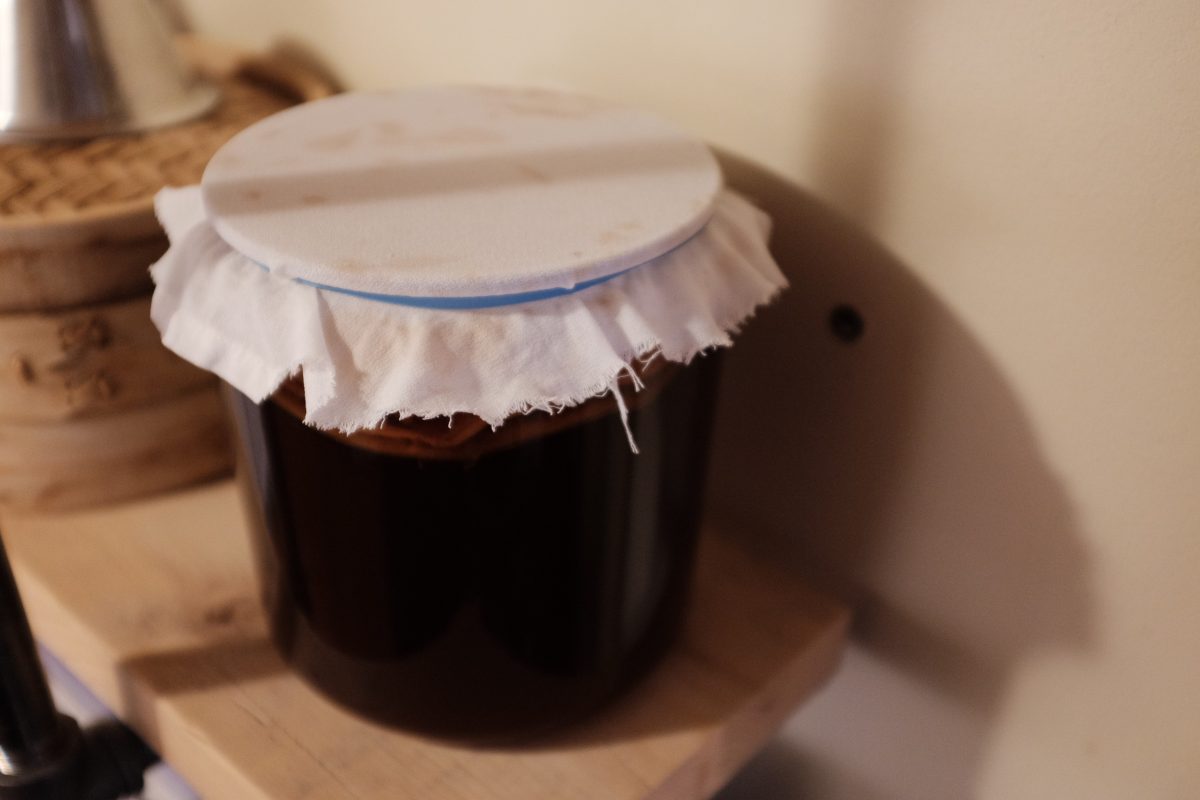
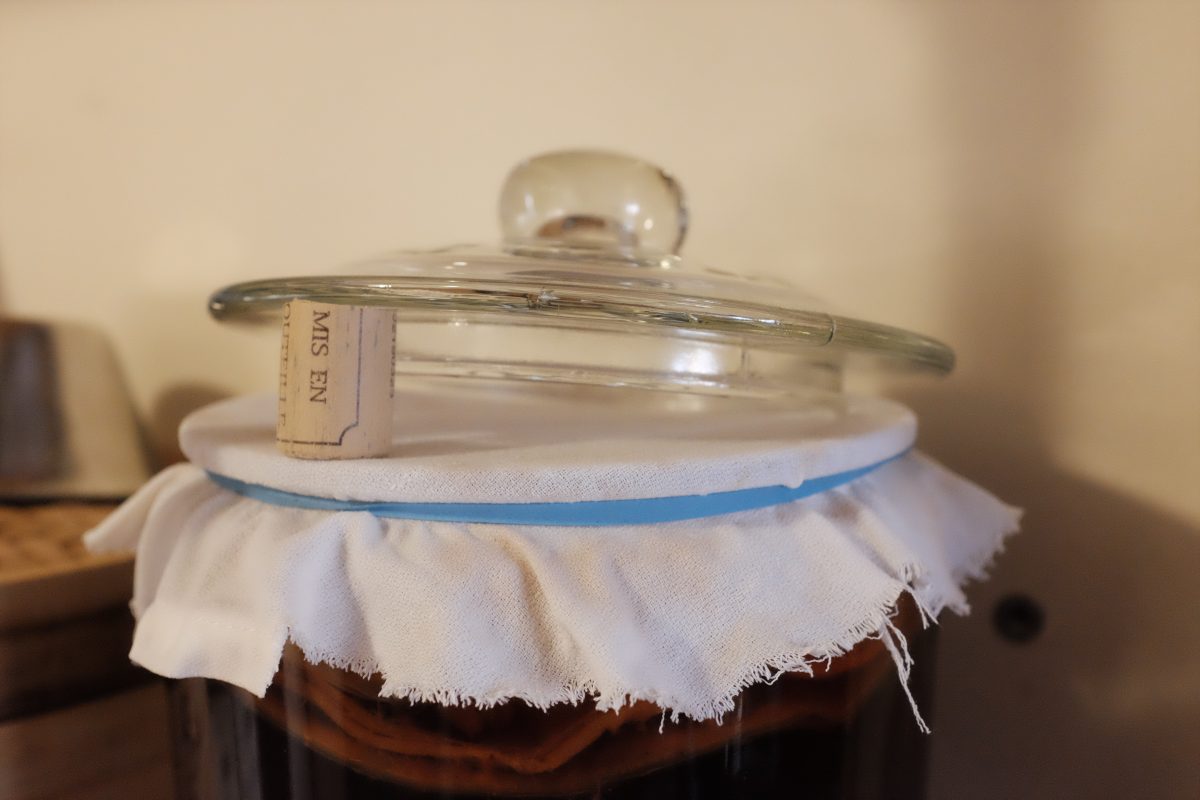
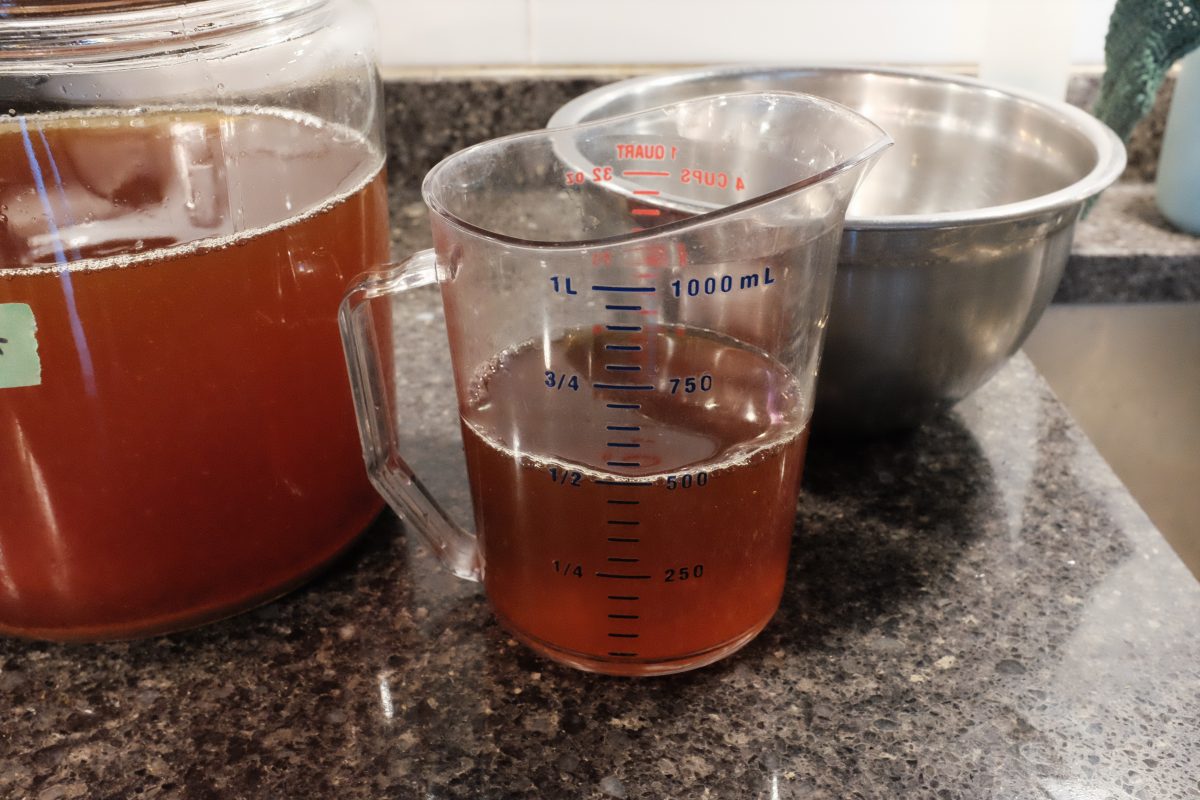
Time to bottle

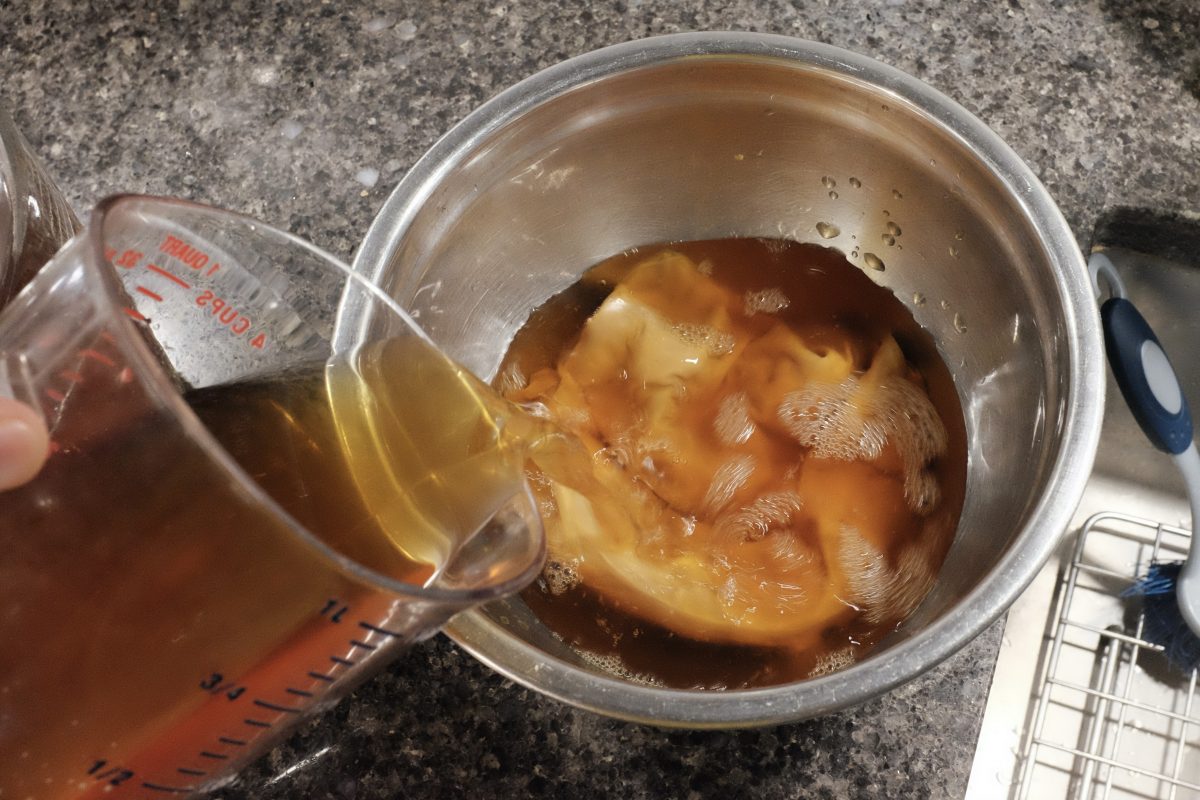
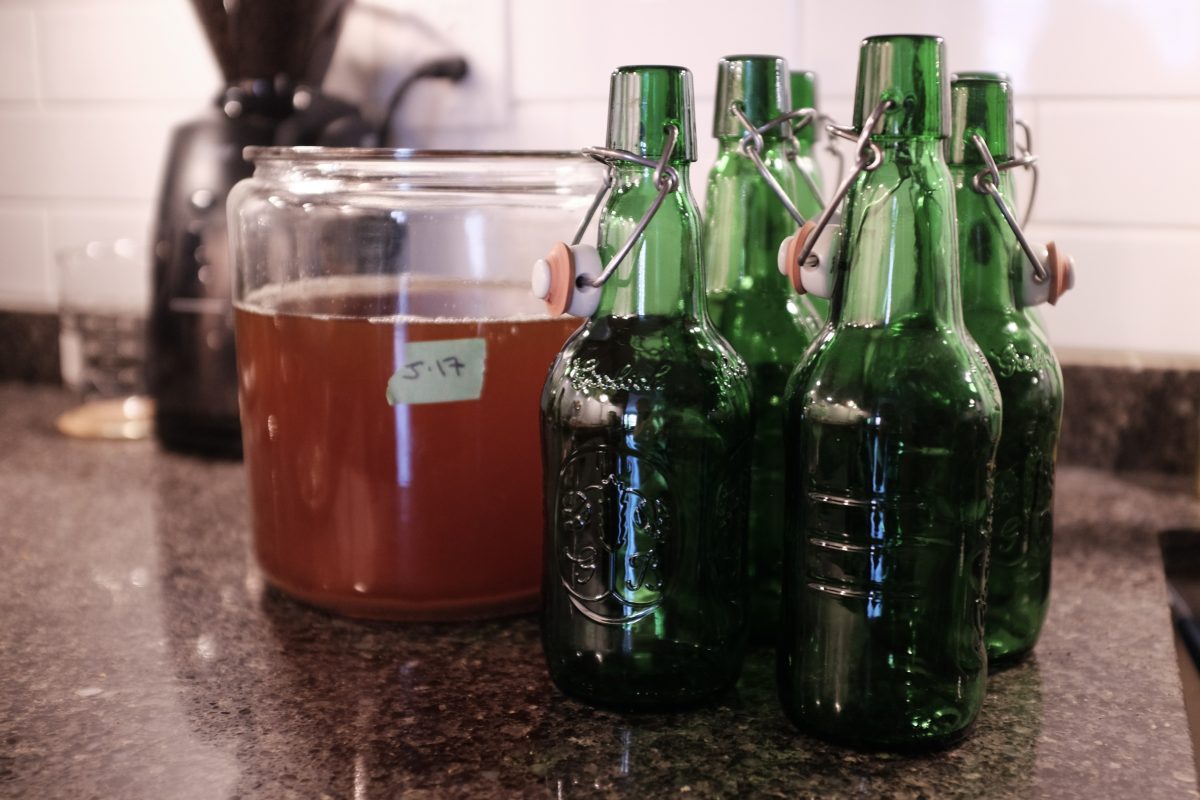
Additional Ingredients / Second Ferment
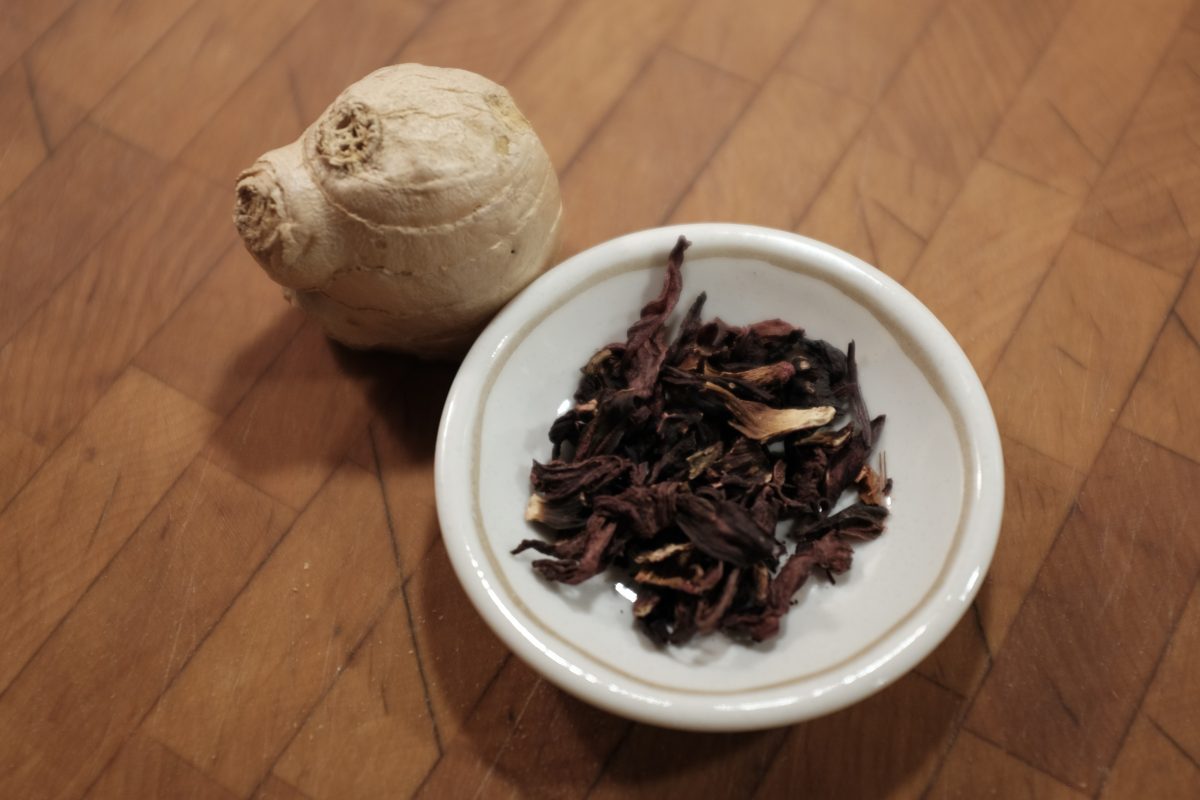
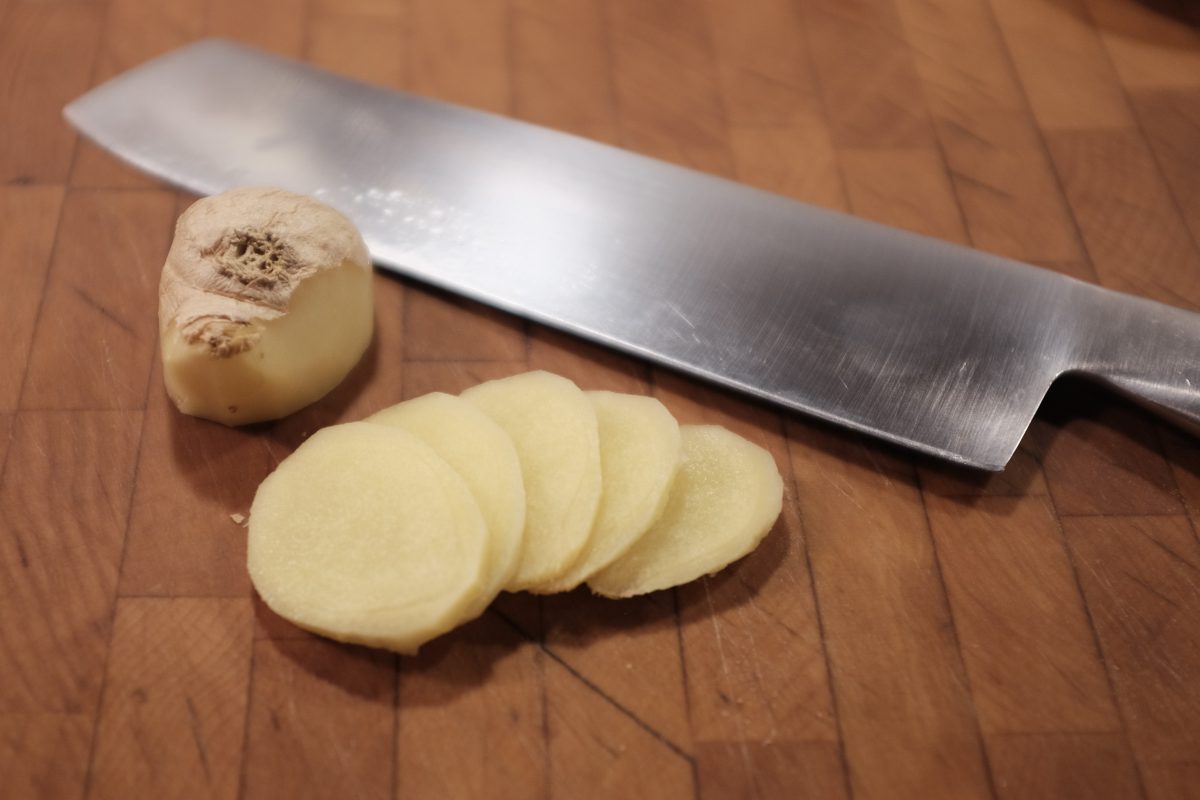
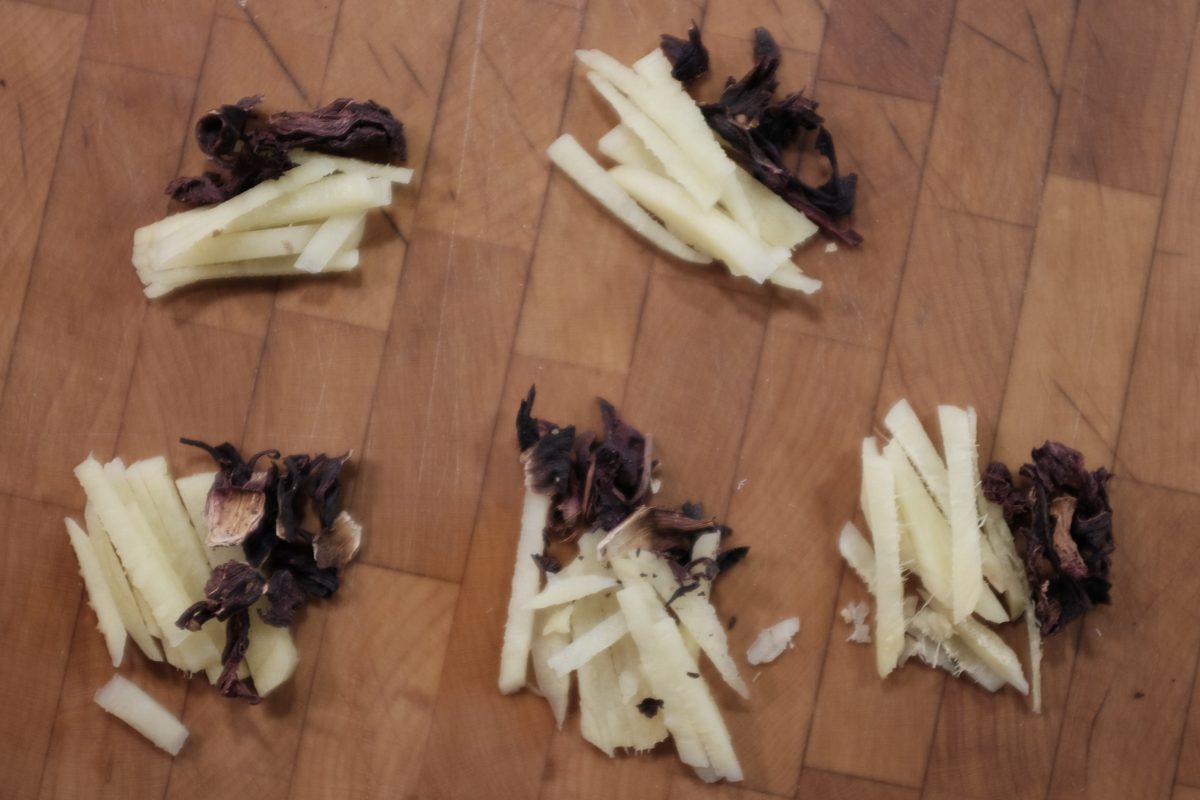
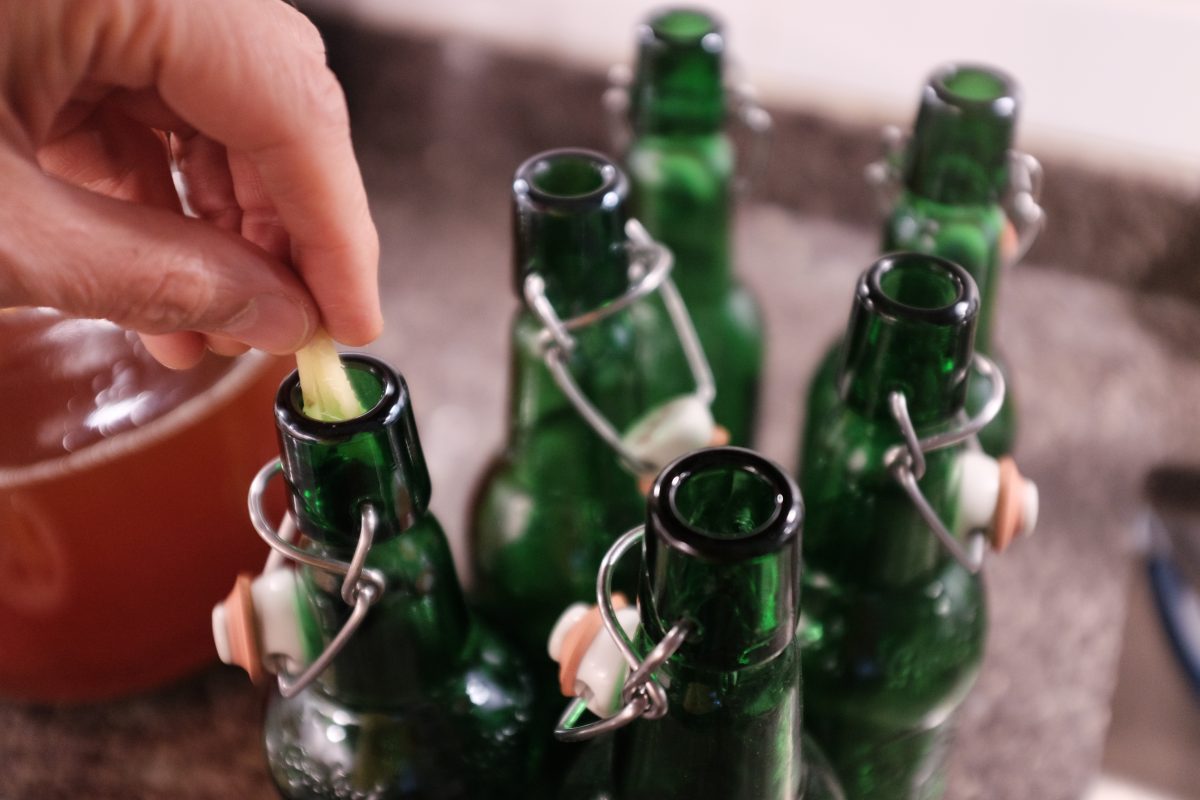
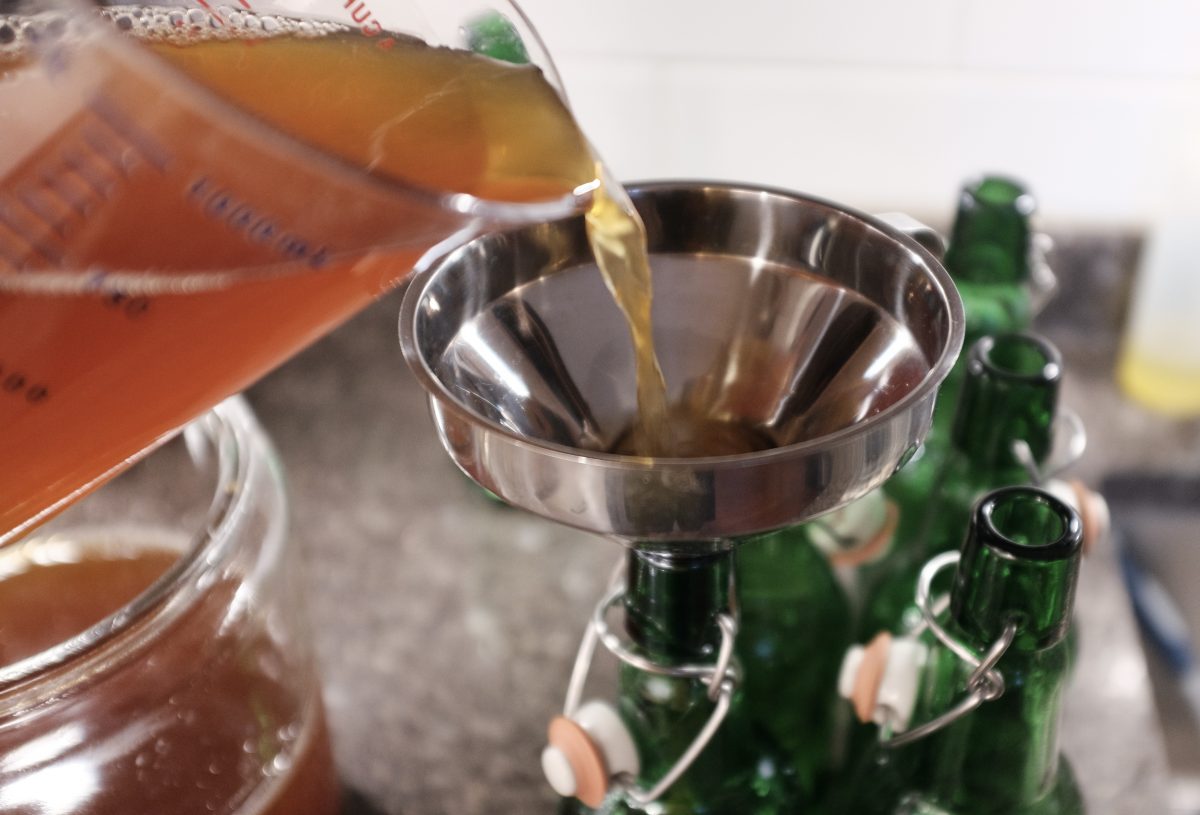
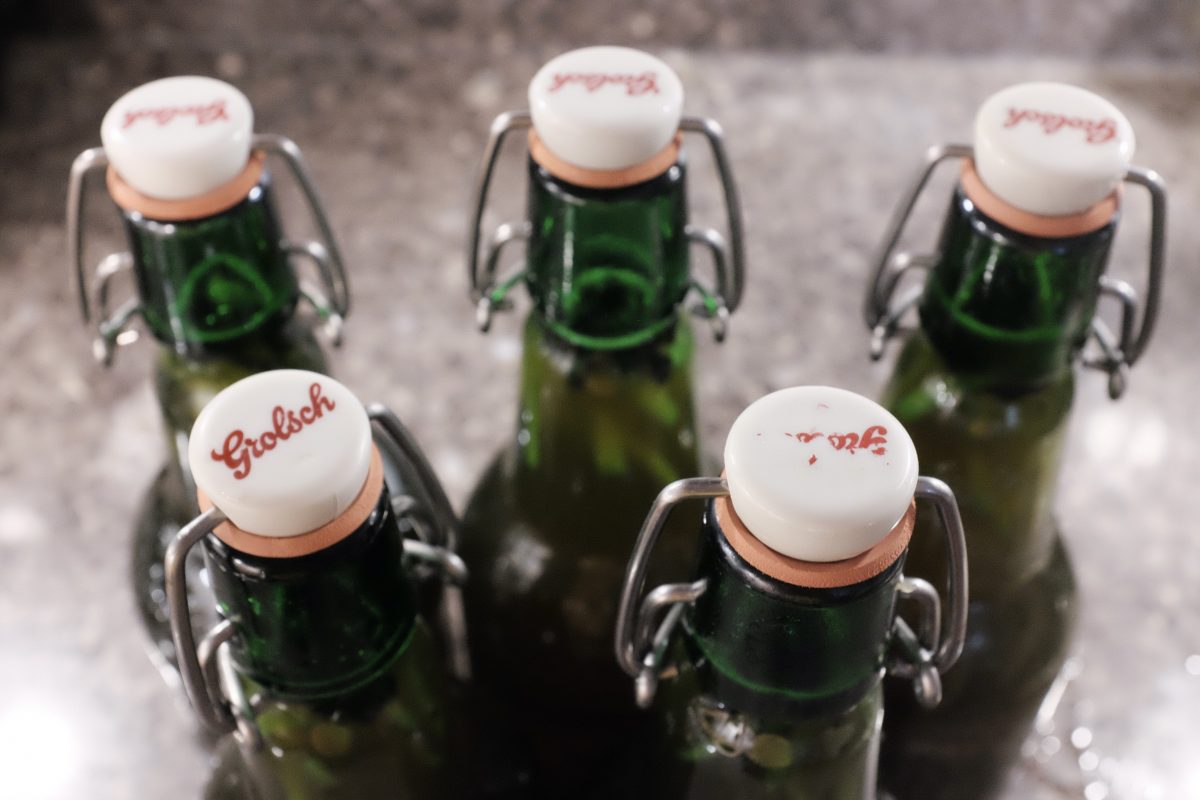
You can bottle your fermented tea just as it is. It will be delicious. Or, if you like, you can also add some aromatics as you bottle. I almost always add fresh ginger and dry hibiscus flowers to mine. The ginger adds a little sweet snap to the brew and the hibiscus add a little tang and a beautiful rosey colour.
Over the years I have tried citrus peels, cinnamon sticks, all kinds of herbs and spices and I always come back to ginger and hibiscus. It is a winning combination with the fermented tea. You can usually find whole dried hibiscus flowers in any spice shop, asian grocery store or Mexican grocery (where it is called Jamaica). It may also be under the name Rose of Sharon. It is all the same thing and definitely worth seeking out.
Scoby Storage
3 days later…
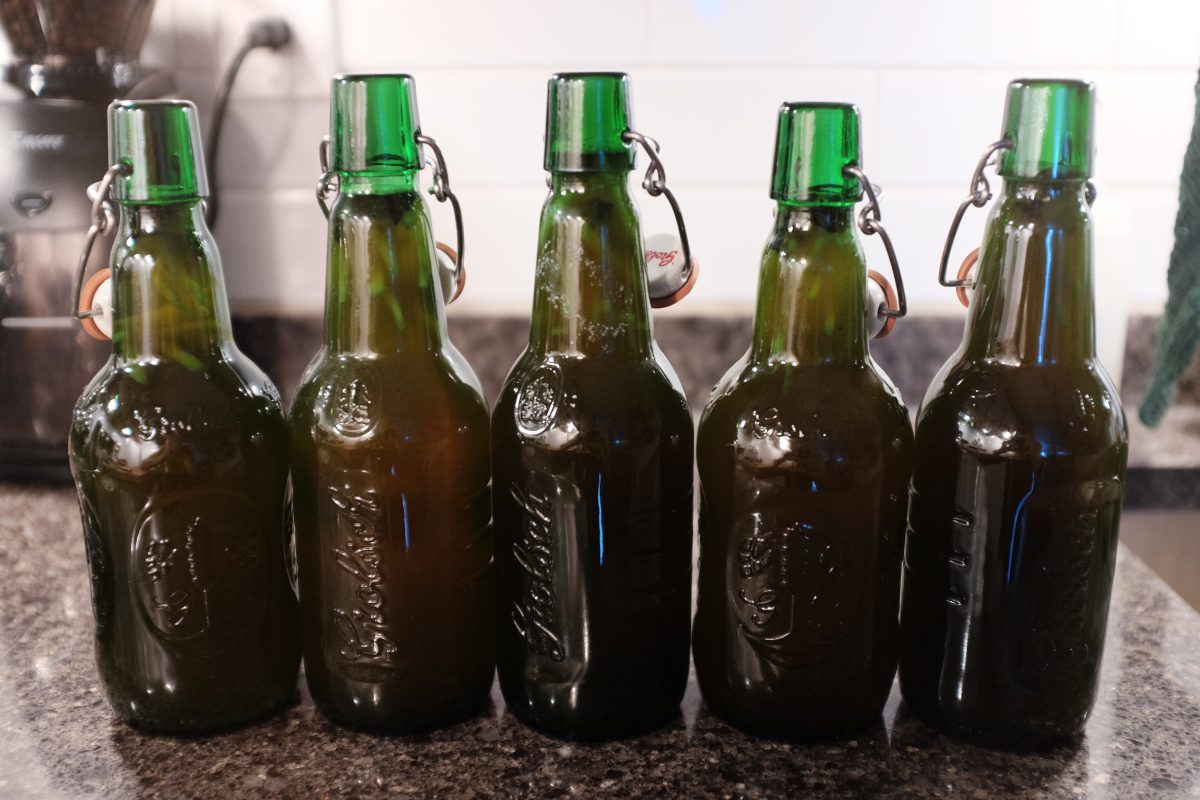
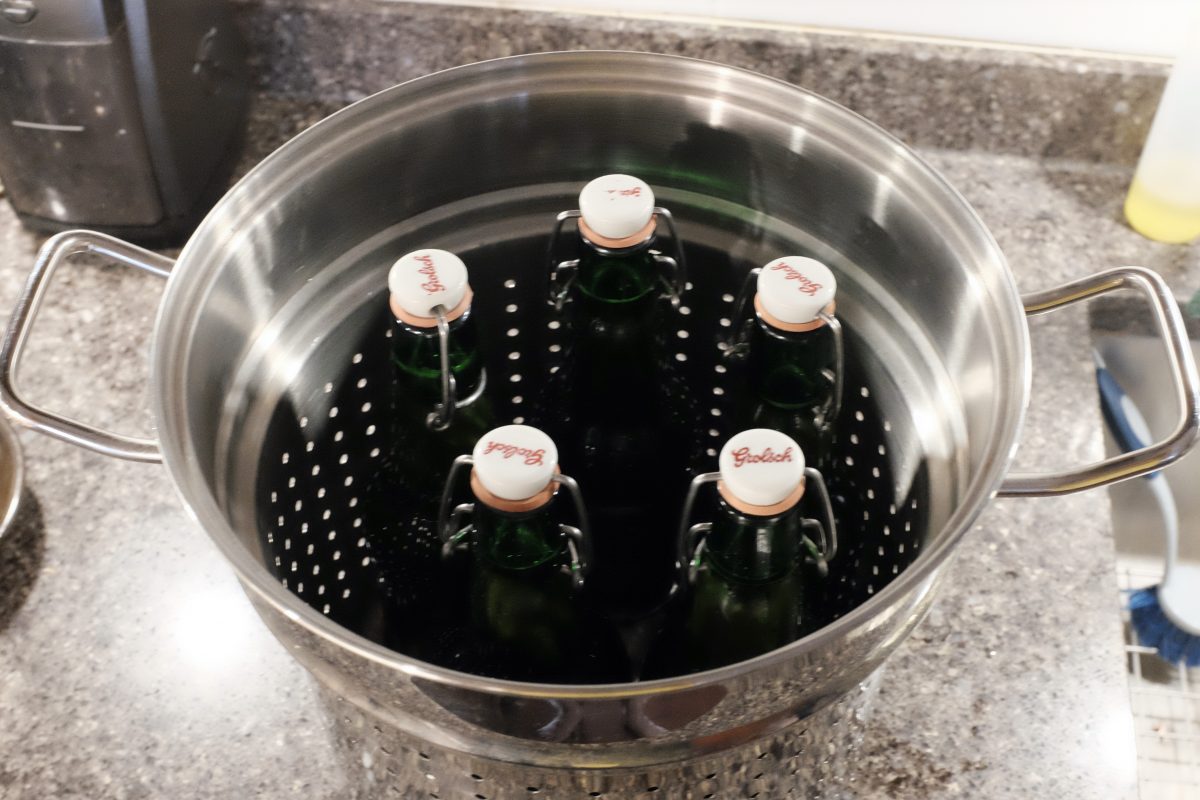
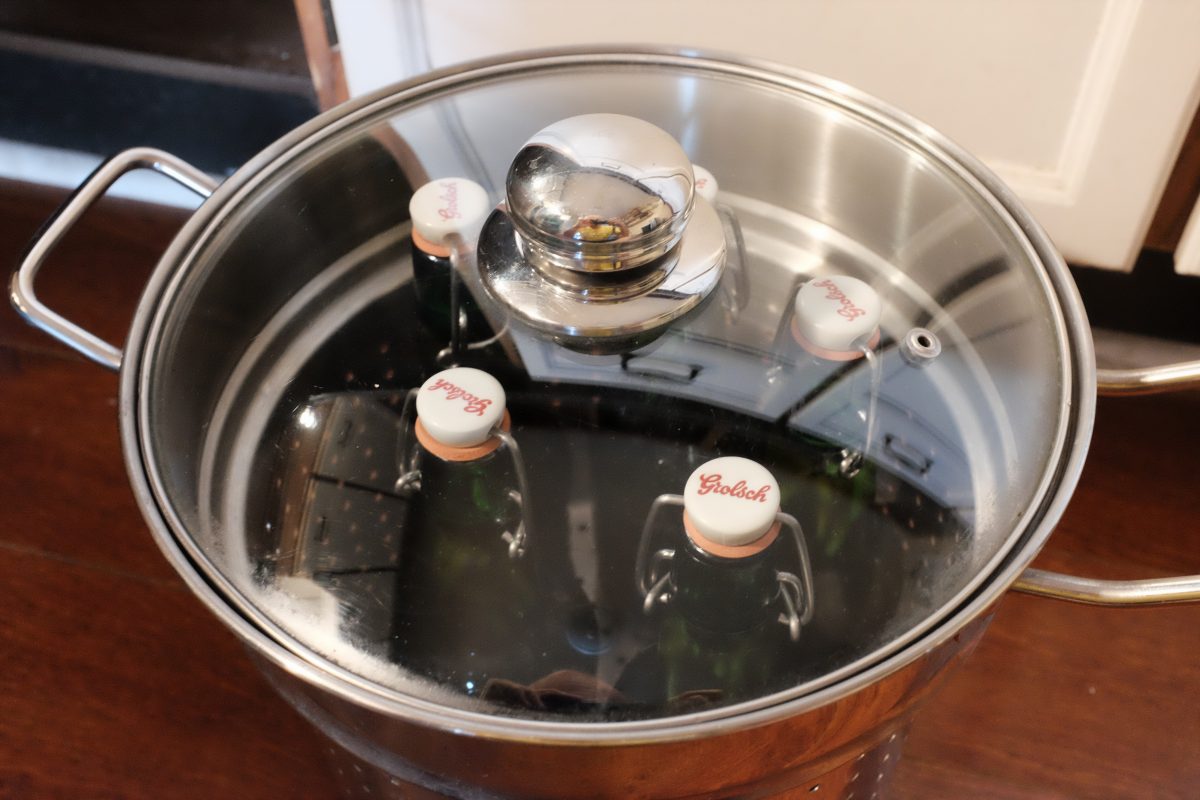
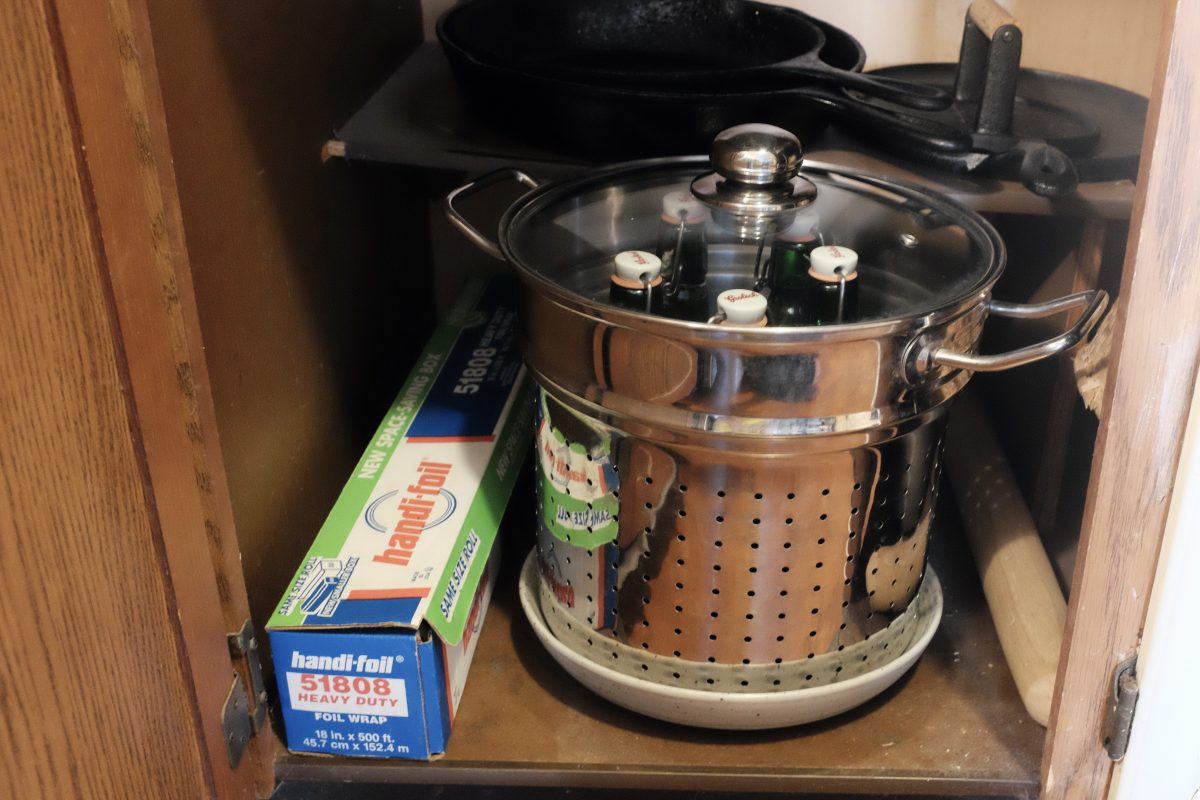
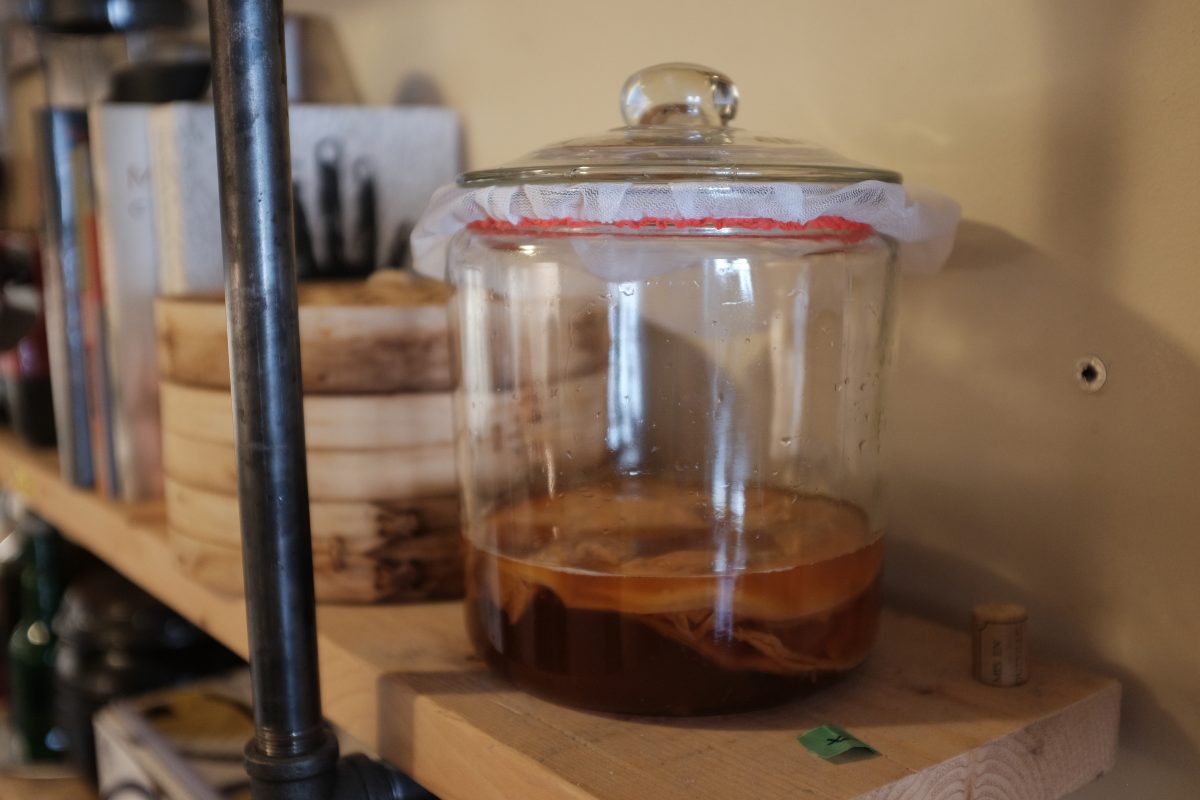
After 3 days in the bottle at room temperature, place the bottles in the fridge. The brew is done.

The finished brew is perfect as is but, feel free to add a squeeze of lemon or a few drops of honey or anything else you might want to try. If the flavour is too intense, you can cut it with bubbly water. I often do this if I am drinking this with more subtle flavoured foods.
If you have any questions, comments or suggestions, please leave them below. I always look forward to hearing from you. If you enjoy the content and would like to contribute towards website maintenance and development, you can make a donation here. Thank you for reading TigerSalad.
Roasted Peanut and Anchovy Banchan
Roasted Peanut and Anchovies:
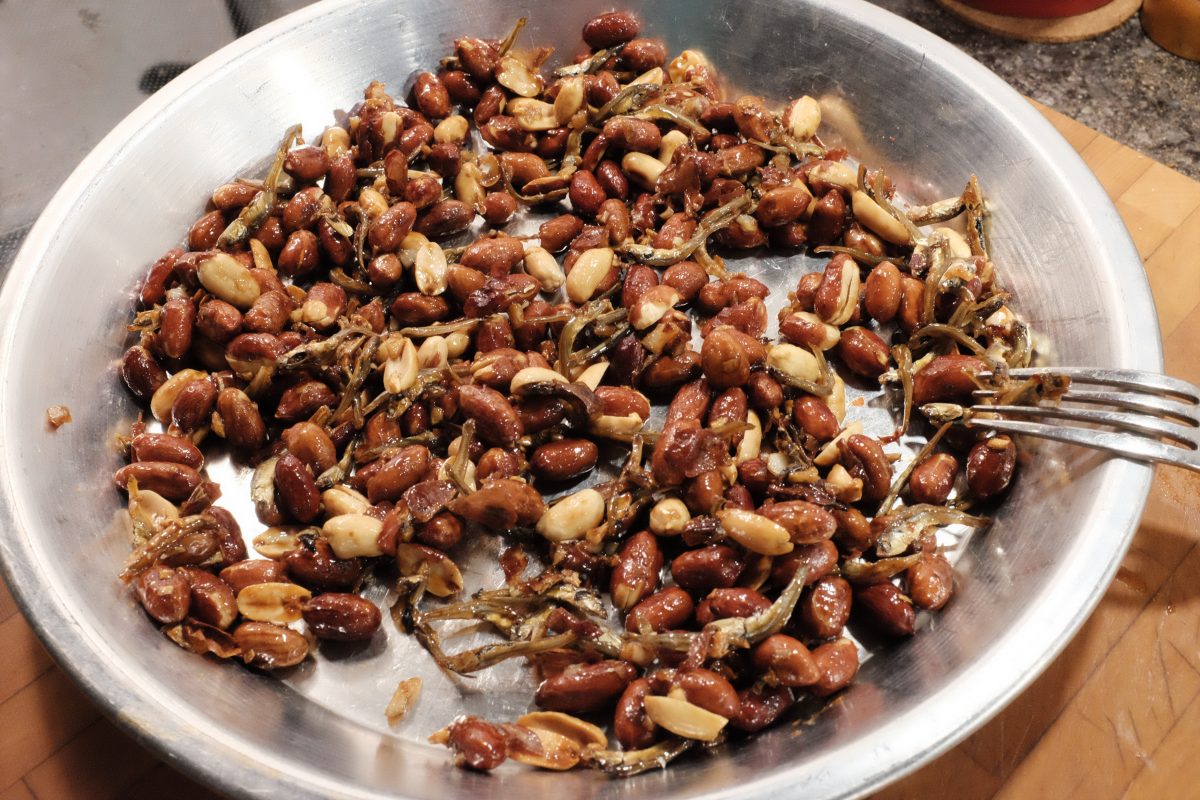
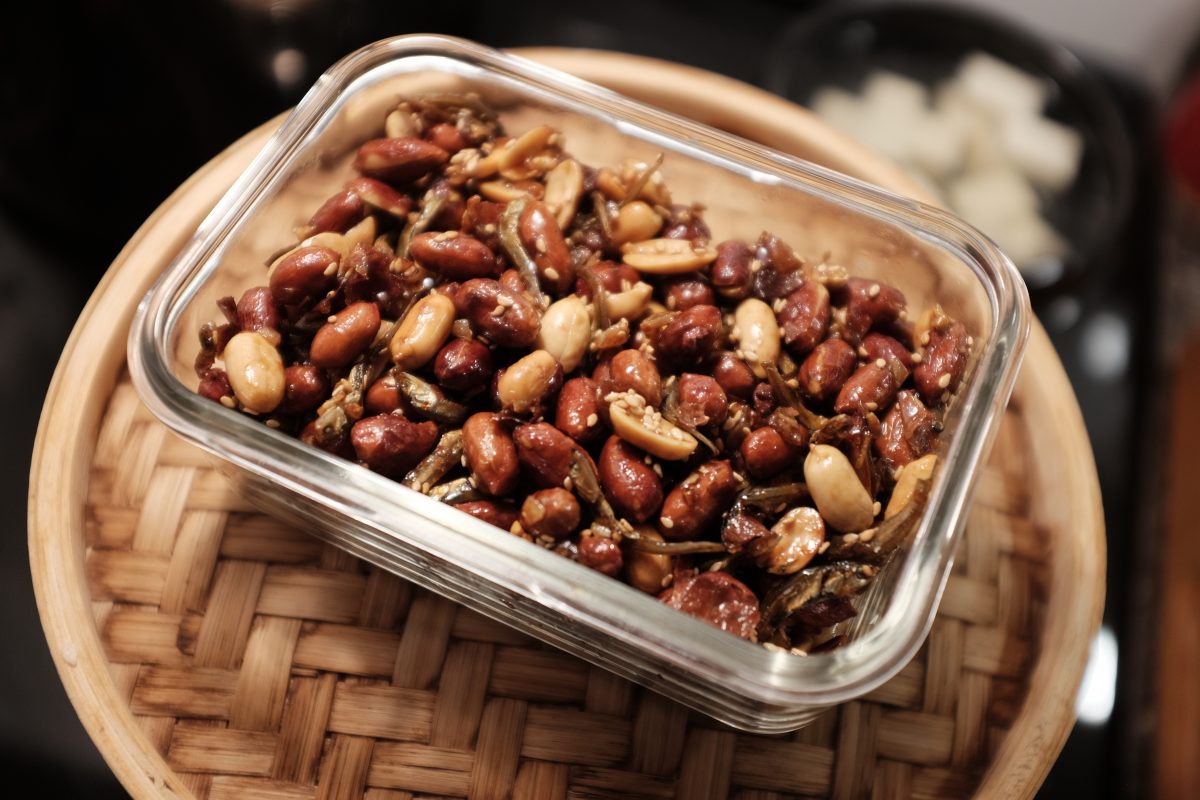
This is one of my all time favourite Korean side dishes. It is much more common to see it called Fried Anchovy and Peanut / 멸차땅콩볶음 but this version has far more peanuts than fish so I reversed the name to Peanut and Anchovy / 땅콩멸치볶음. There are a few different grocery stores around me that sell ready made versions and I have tried all of them. Some are spicy, some are not and the ratio of anchovy to peanut is all over the place. Some are mostly anchovy, some half and half and some (in the cheaper places) are mostly nuts with just a few fish. Peanuts are cheaper than dry anchovies by far. This recipe is a mostly peanut version..which is really the one I love most. I also have an anchovy only recipe here.
Ingredients:
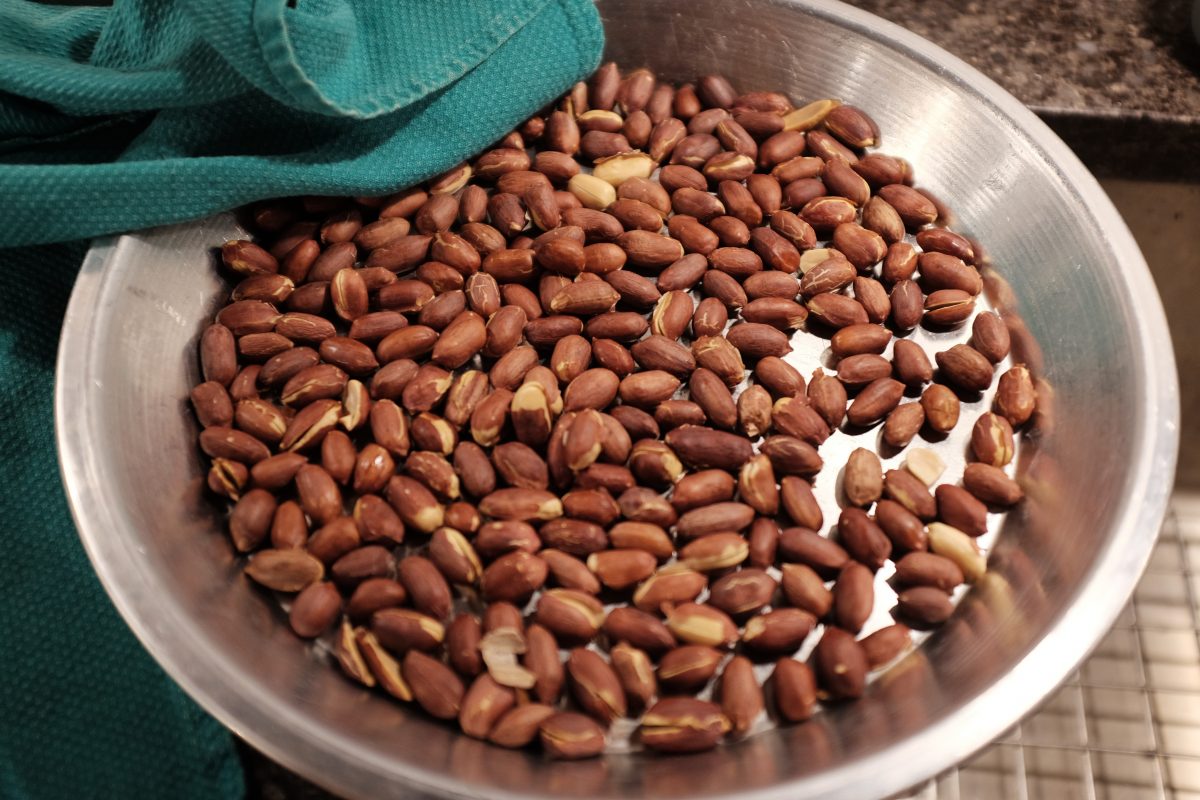
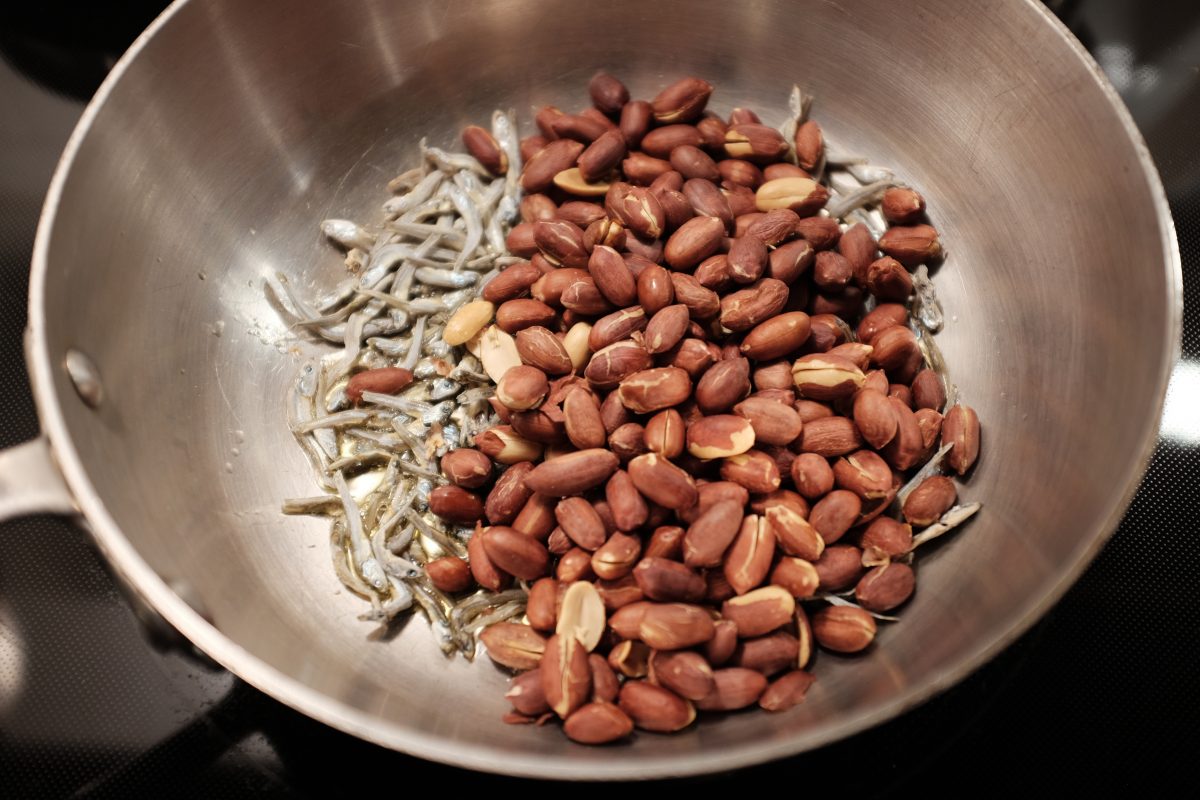
- 250 grams (about 1.5 cups) dry non-roasted peanuts
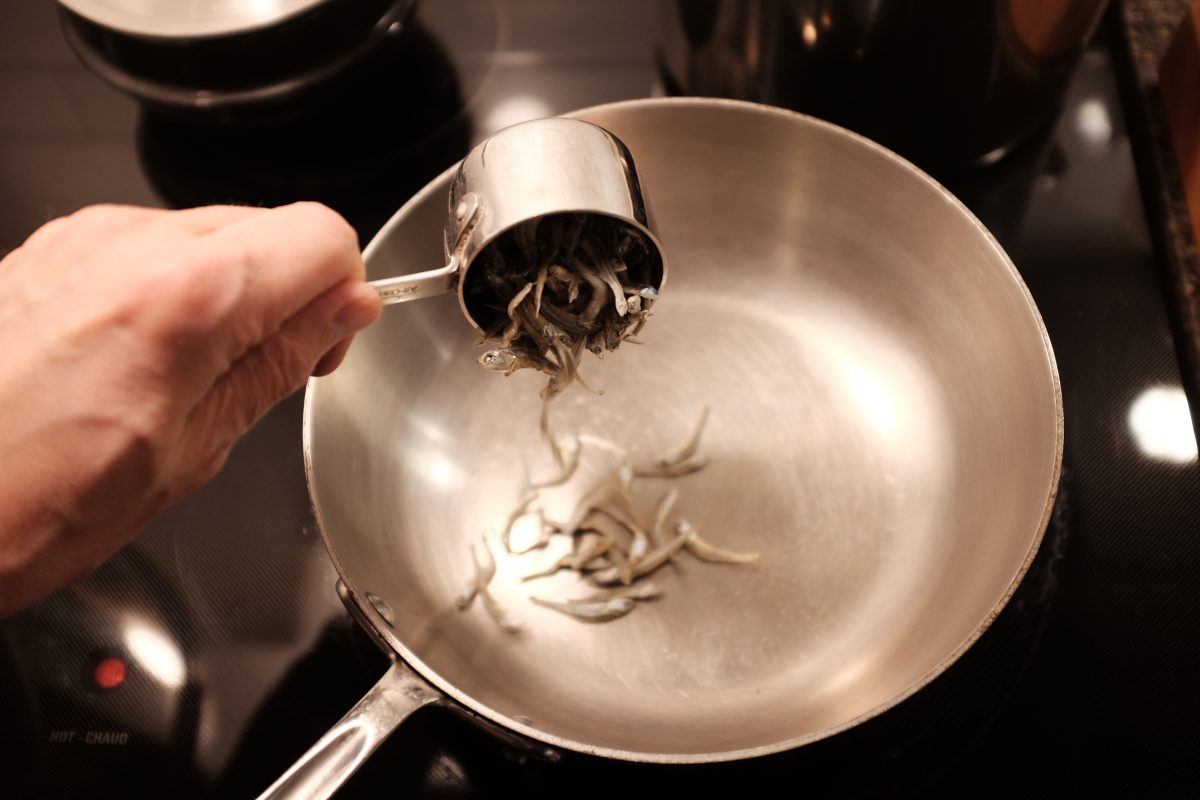
- 25 grams (1/2 cup) medium small dried anchovies
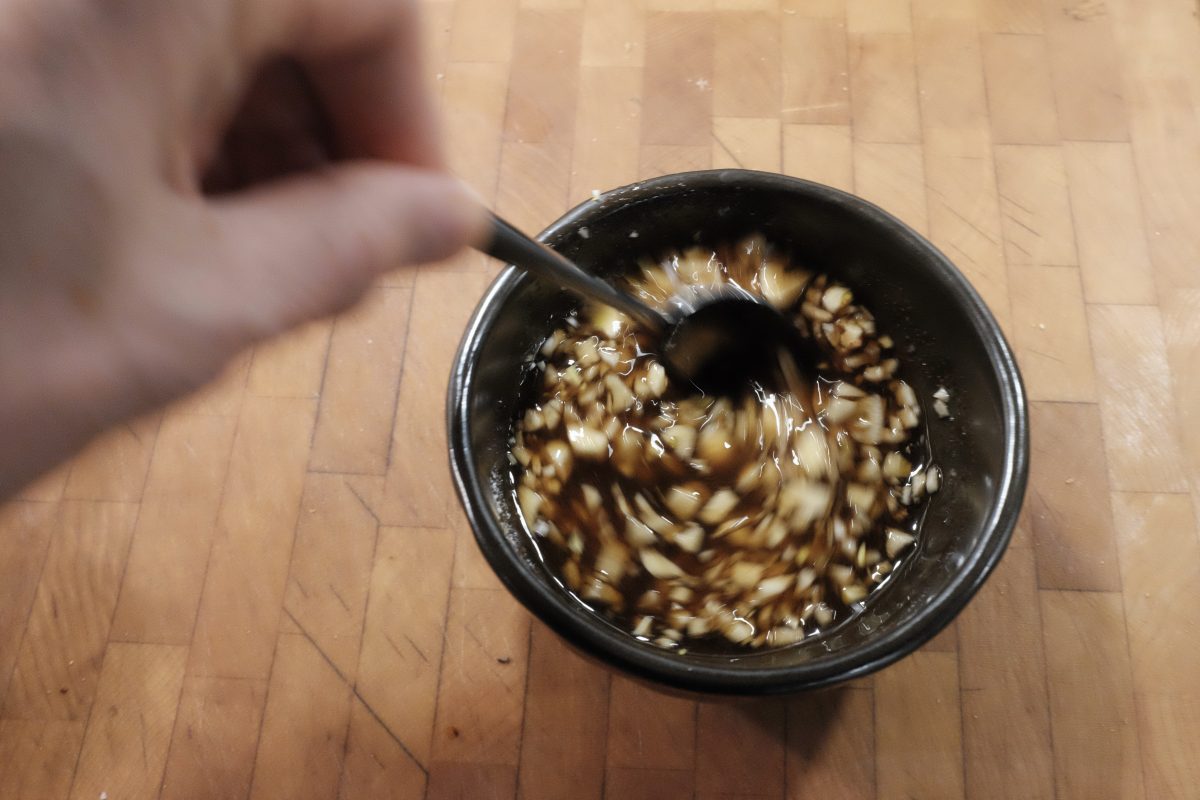
- 45 grams (3 tablespoons) brown sugar
- 50-60 ml (4 tablespoons) water
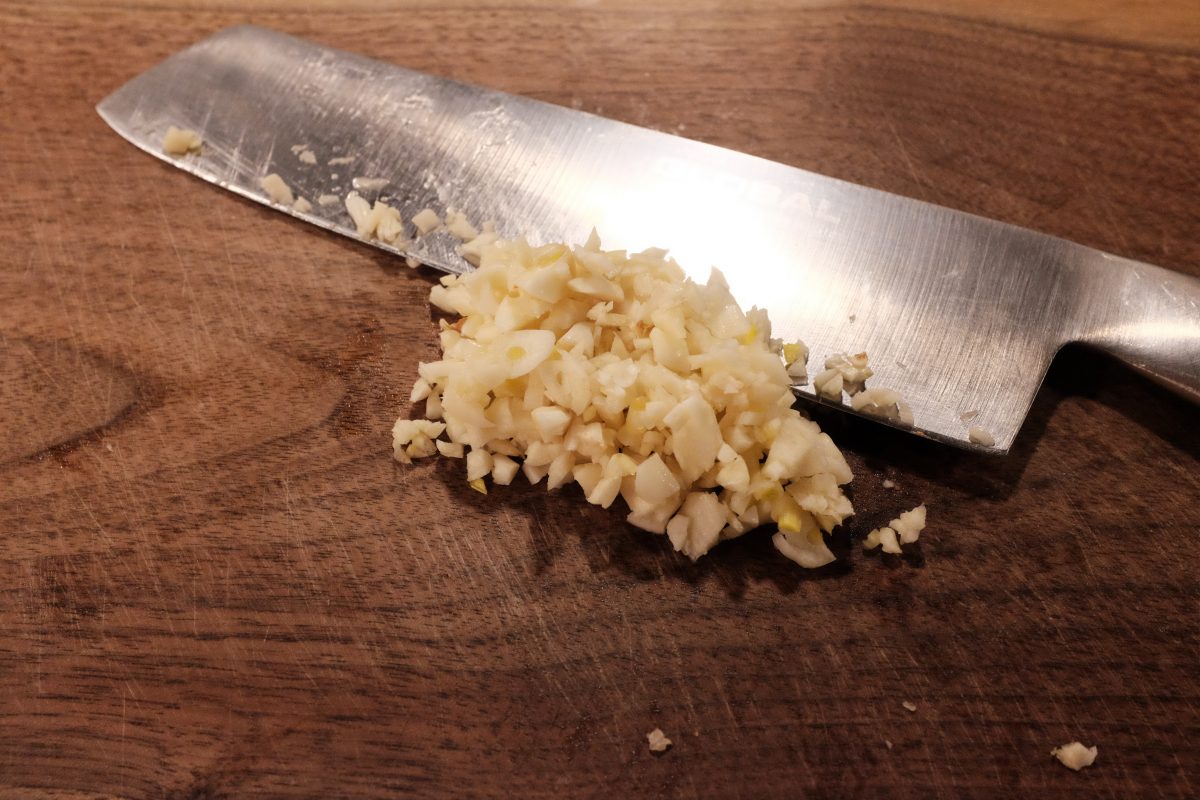
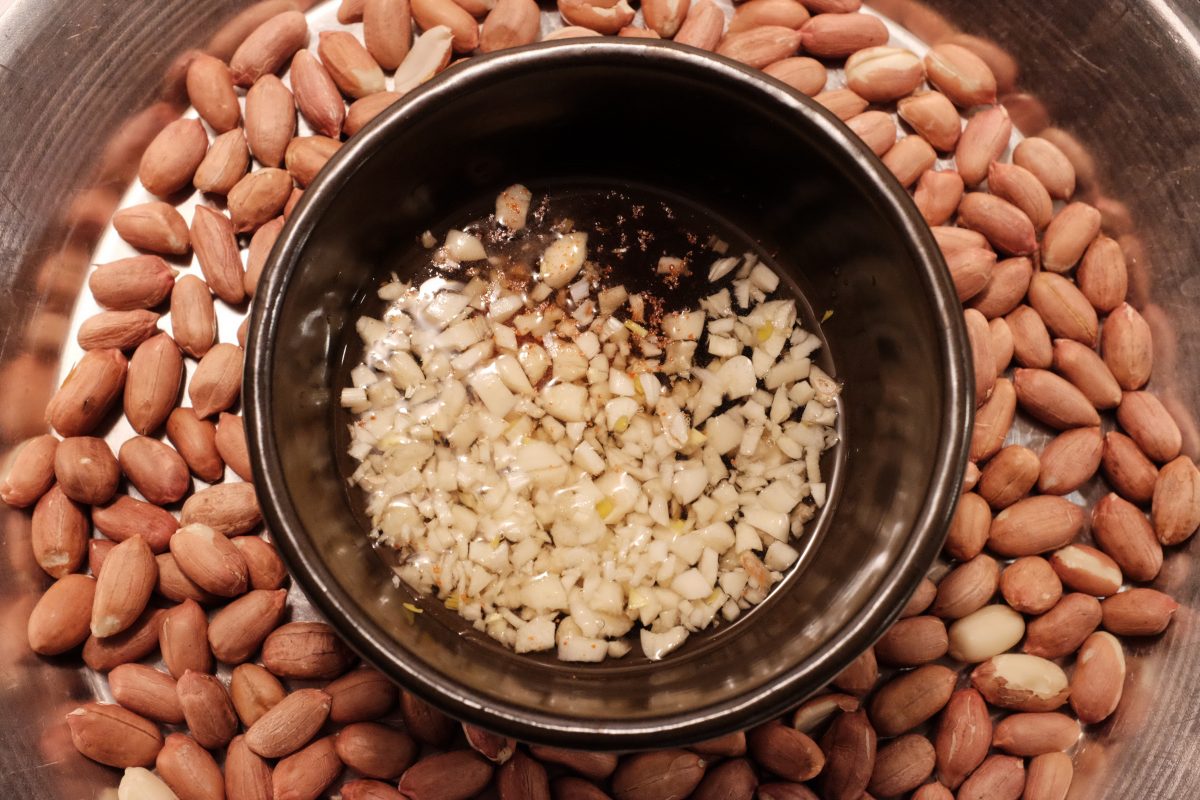
- 4-5 cloves of garlic
- pinch of korean chili flakes (gochugaru)
- sesame oil and sesame seeds (optional but tasty)
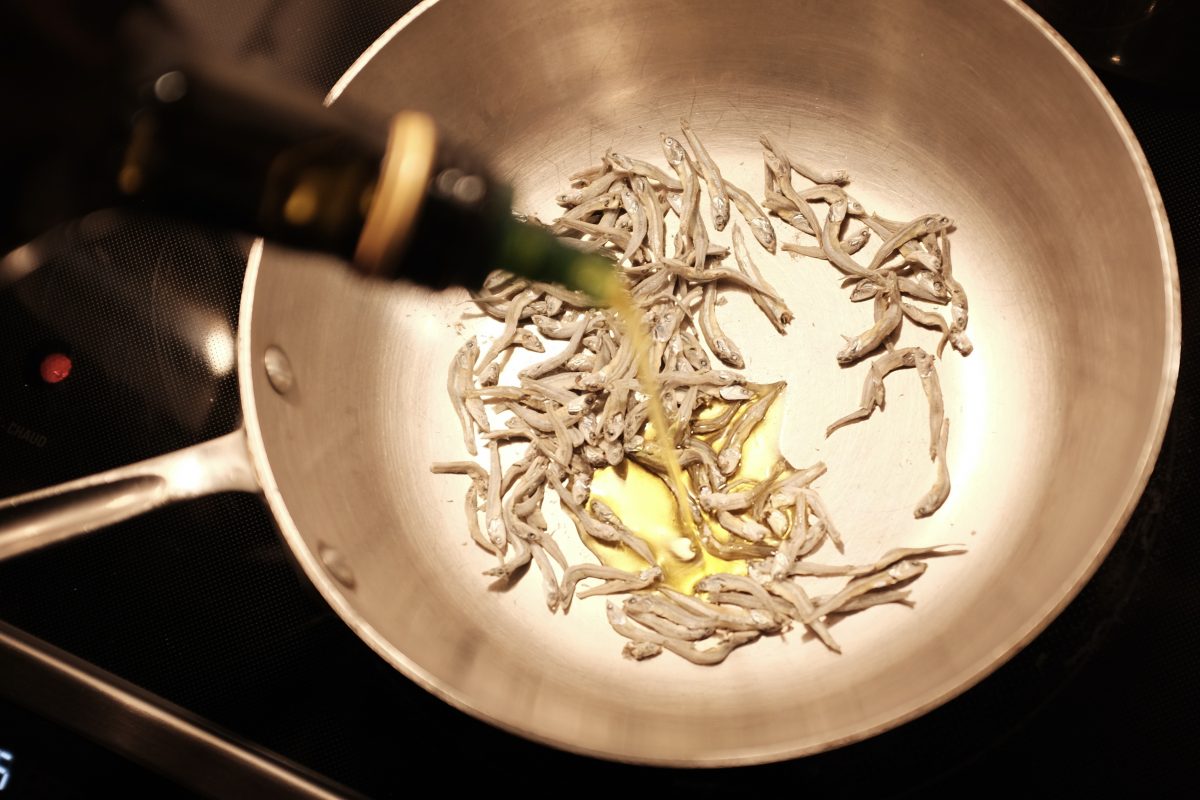
- olive oil for frying
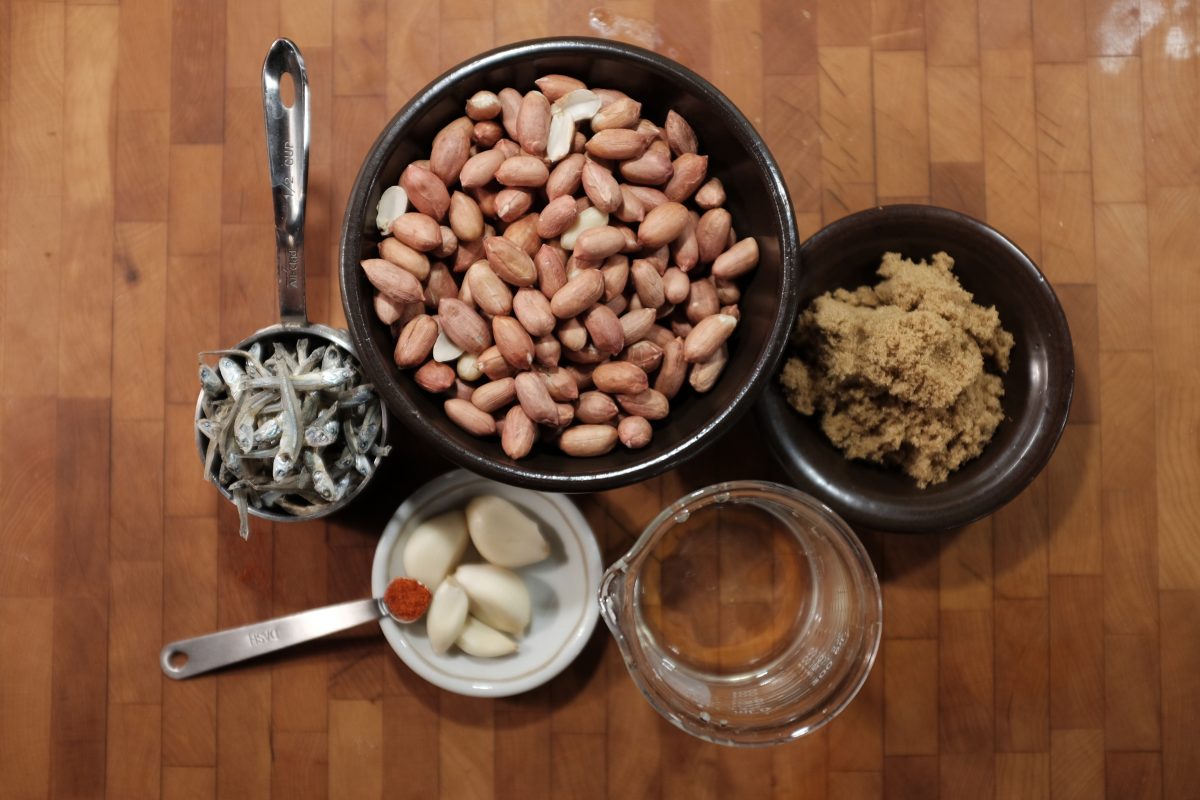
Feel free to change the ratio of peanuts to anchovies. You can even make this without anchovies for a vegan side dish.
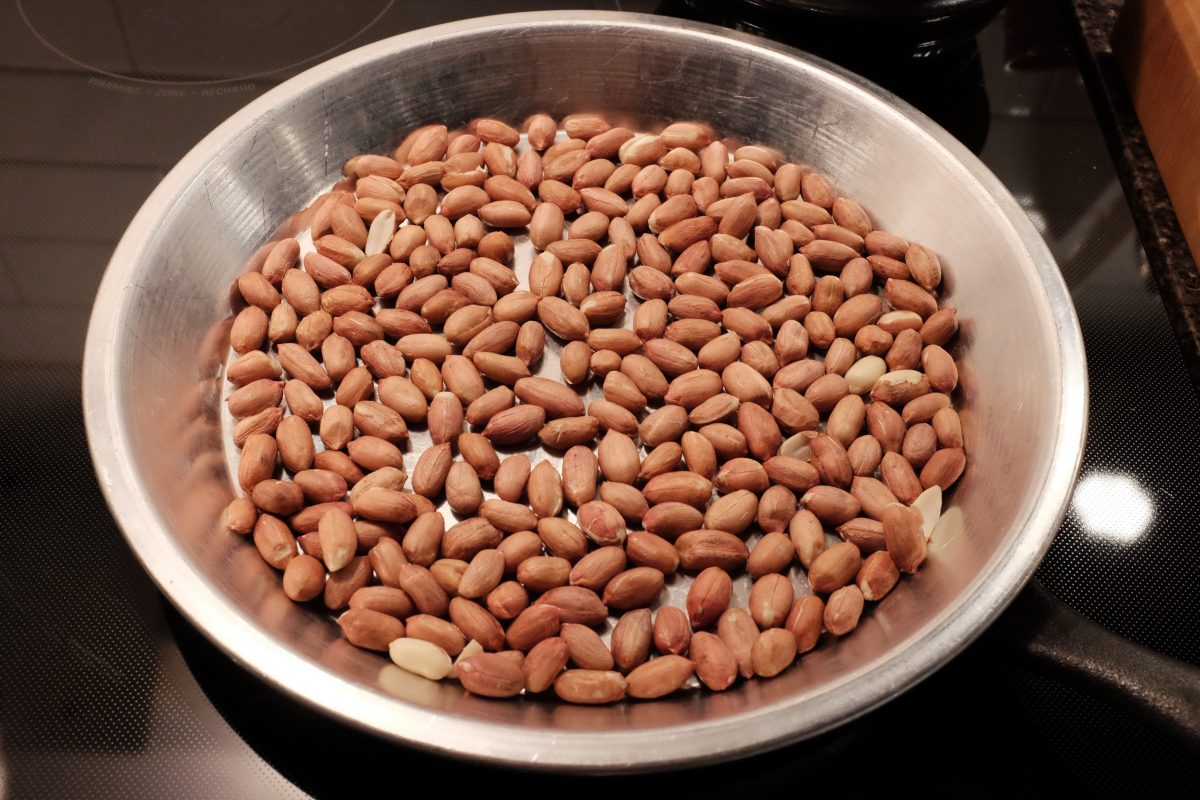
The peanuts should be non-roasted and unsalted. I found these red skin dry (but not roasted) peanuts at a local asian grocery store. If you can’t find raw peanuts…you can substitute roasted peanuts and skip the oven step.
I am using medium small dried anchovies. They are roughly twice the length of a peanut and probably the biggest anchovy I would use without gutting them. I found these at a Korean grocery store in the freezer section.
You can use white sugar instead of brown.
Process:
How to eat them
These are delicious to eat straight out of the container with a beer, like a bar snack while you watch a movie. You can, of course, serve them as a side dish to any food. Probably my favourite way to eat these is to use them as a crunchy topping on fresh salad. The deep savoury and nutty sweetness can really make a pretty plain salad extraordinary.
If you have any questions, comments or suggestions, please leave them below. If you enjoy the content and would like to contribute towards website maintenance and development, you can make a donation here. Look forward to hearing from you and thank you for reading TigerSalad!