Posts in Category: Cooking

Yudofu (Japanese Hot Tofu)
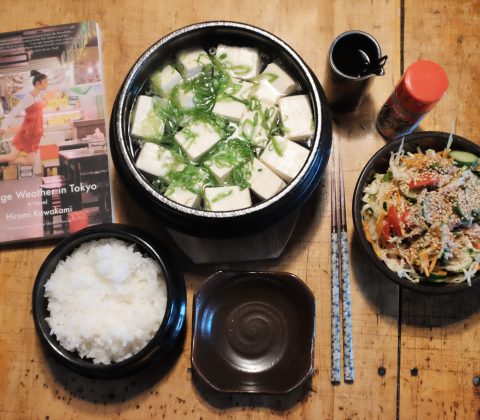
Strange Weather in Tokyo
I first heard of yudofu while reading a book by Hiromi Kawakami called “Strange Weather in Tokyo”. The main characters are an elderly, retired professor and his former student (now in her late-30s). These two lonely people meet by chance and, over time, they develop a close friendship. Tsukiko and “Sensei” tend to spend a lot of time in small neighbourhood bars drinking and eating. It is here that yudofu comes up over and over (maybe it is one of the author’s favourite snacks?). They seem to enjoy it so often that I wanted to try it myself, as if i was sitting on the barstool next to them and listening in to their conversations.
Japanese Cooking
I have been a professional chef for most of my life. During that time I have had the opportunity to see some elements of Japanese-fusion cooking while working in fine-dining kitchens. And, of course, I witnessed the late 90s/early 2000s sushi boom in North America. But, apart from that, this cuisine always seemed kind of mysterious to me. I was learning to cook at a time when big, bold flavours were en vogue and high-intensity was paramount. So the more subtle and straightforward flavours of Japanese cuisine were much less familiar.
My Japanese Kitchen
During one period in my own restaurant, through a mix of circumstances (many working-holiday visas and increased eligibility for permanent residency if you were a cook), I ended up hiring a kitchen brigade of mostly Japanese cooks. At the same time, the front-of-house ended up with a large number of temporary Japanese support staff, running food and clearing tables. We had so many workers from Japan that, on more than one occasion, I had to ask them to please speak English (instead of Japanese) so that I could keep up with what was going on in my own kitchen! haha
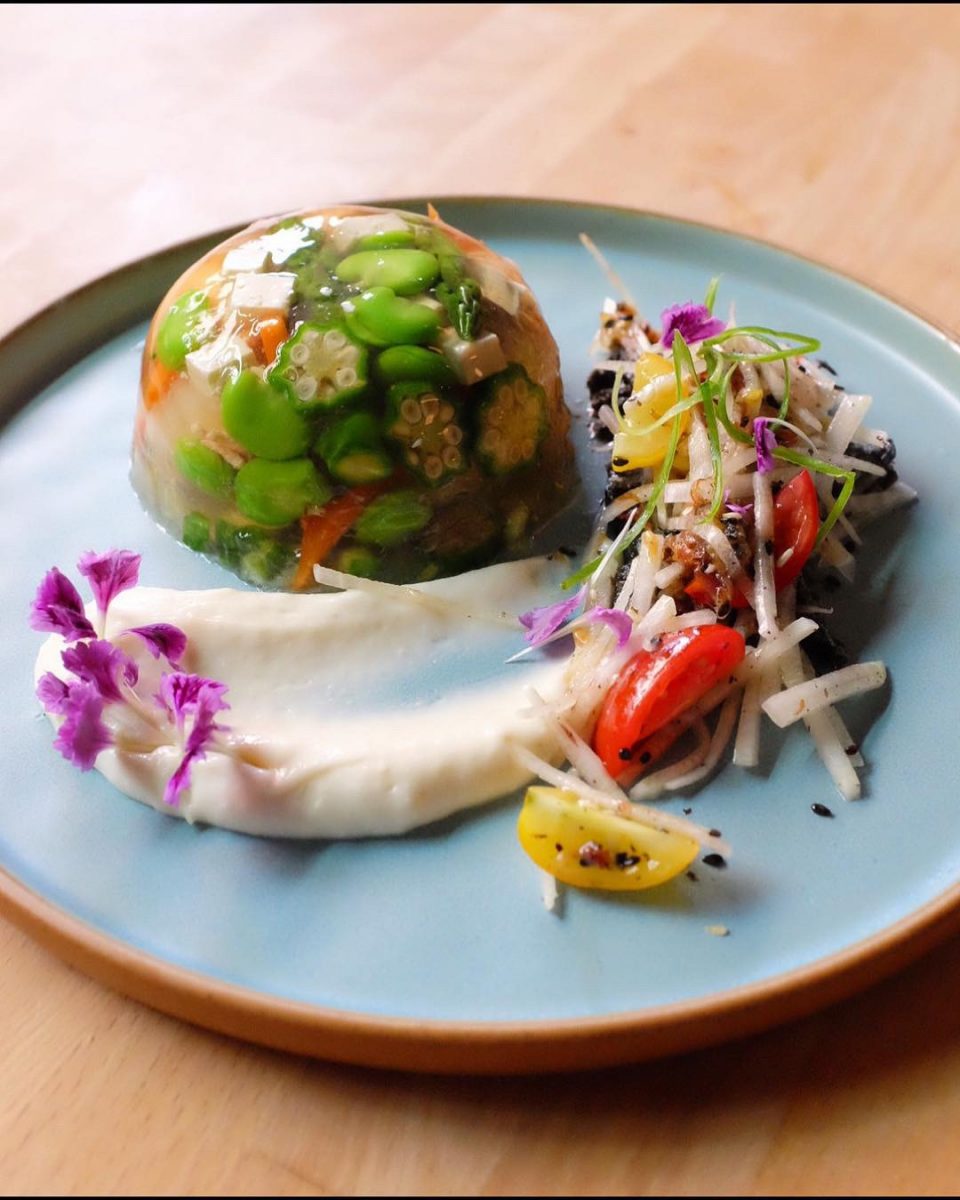
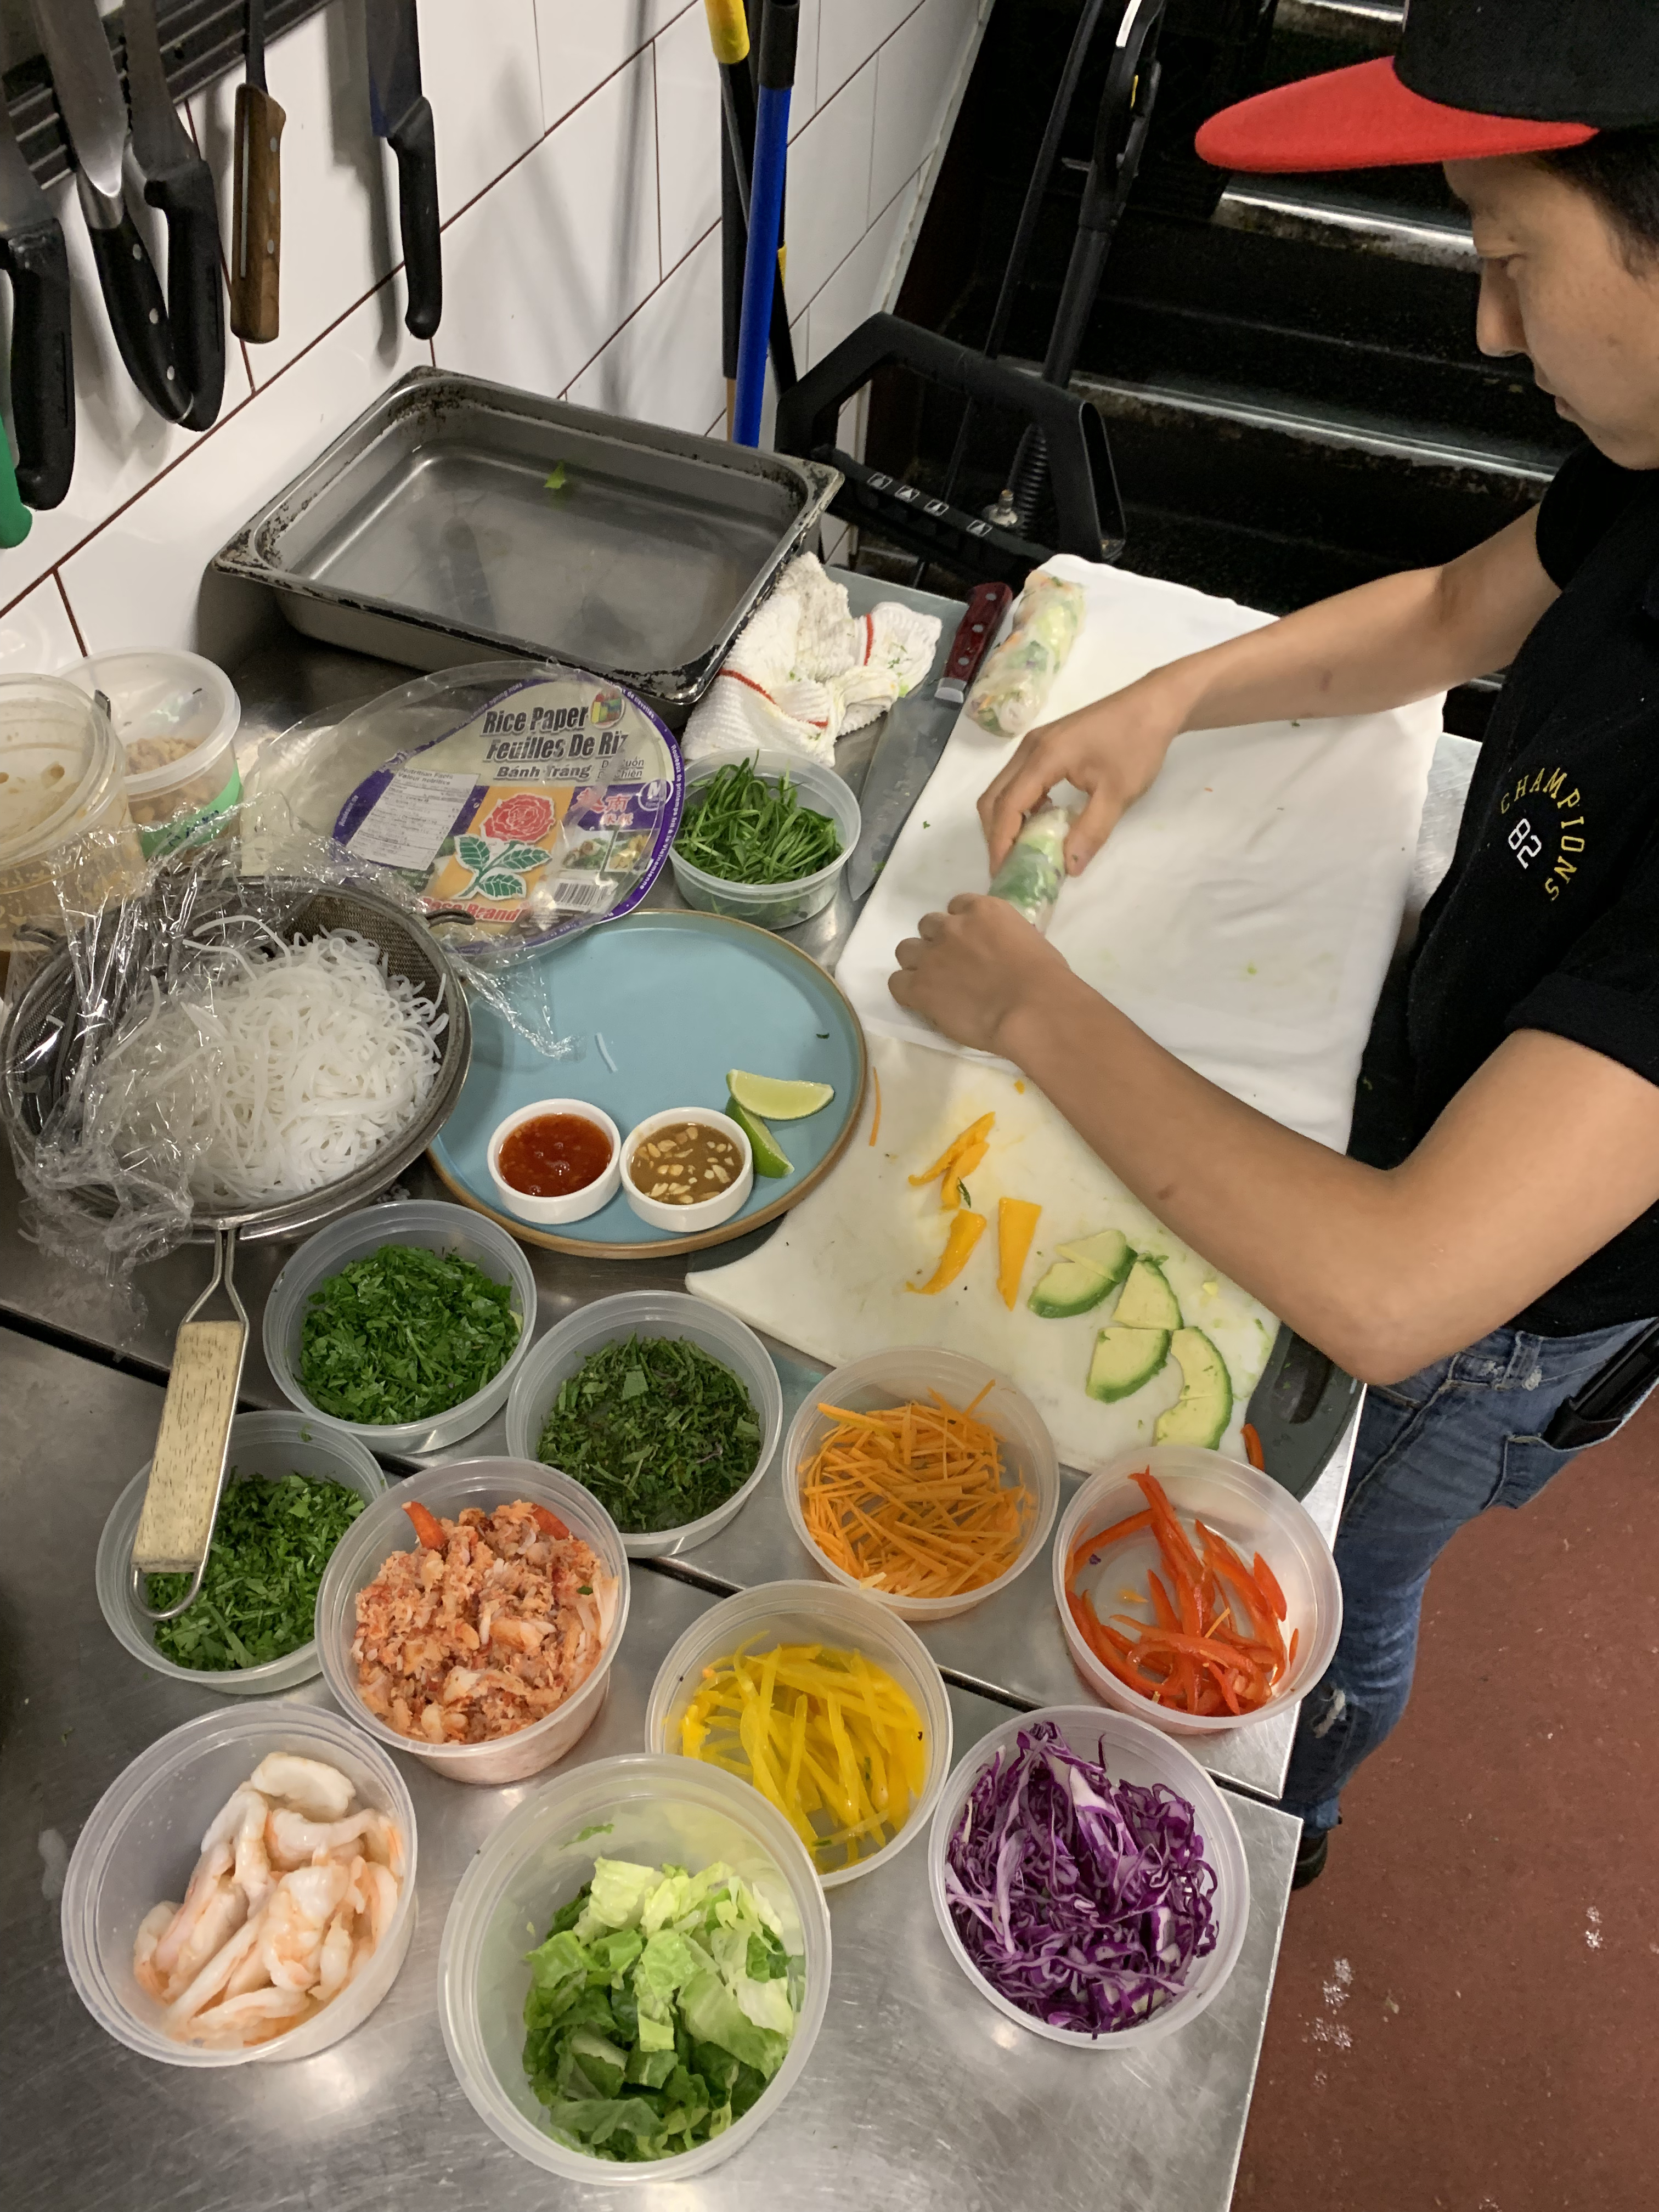
The most inexperienced cook I have ever hired worked so hard that she quickly became the best and most reliable cook I have had through the kitchen. As my second in command, Ayuko brought weird and wonderful specials to the night menu: ethereal jelly dishes, made to order fresh spring rolls: so popular that it may have been the first time I ever heard her swear in English (“oh fuck..more fucking spring rolls?!? fuck”) Happy days!
As a chef, these were some of the most happy, relaxed and productive days I have ever spent running a kitchen. The food was cooked with pride and precision. The plating was clean and beautiful. Everyone worked hard together as a supportive team to produce the best plates possible everyday. And all with no pushing needed from me. What a dream! On top of this, the staff meals the cooks produced were outstanding. It was here that I first tried things like ochazuke (rice with green tea) or really premium grilled onigiri (rice balls). It opened my eyes to how something subtle but still delicious could be made with just a few fresh ingredients.
Where to find good Japanese recipes in English
Considering how popular Japanese cuisine has become, it is surprisingly difficult to find good sources for recipes (for English speakers anyways). So, I was happy to discover the website Just One Cookbook. This is a wonderfully organized site with picture-heavy directions (just like mine) and logical, step-by-step recipes for hundreds of Japanese dishes.
There are not many cooking sites that I would personally recommend but, this one is truly outstanding. The recipe I am posting here is adapted from their website. The sauce is almost identical. All credit to Just One Cookbook. I am posting my recipe here because I eat it so often and want to make it part of my own personal recipe collection. Go check out their website. There is so much to learn and so many good things to eat!
Yudofu recipe
This is a very straightforward recipe, the one I make all the time. It is very easy and quick and delicious.
Ingredients:
- 1 block (around 400gr) silken tofu
- 3-4 small squares of kombu
- 1 teaspoon diamond kosher salt
- 2 tablespoons sake
- 1 or 2 green onions
- 500ml water (or enough to cover tofu in pot)
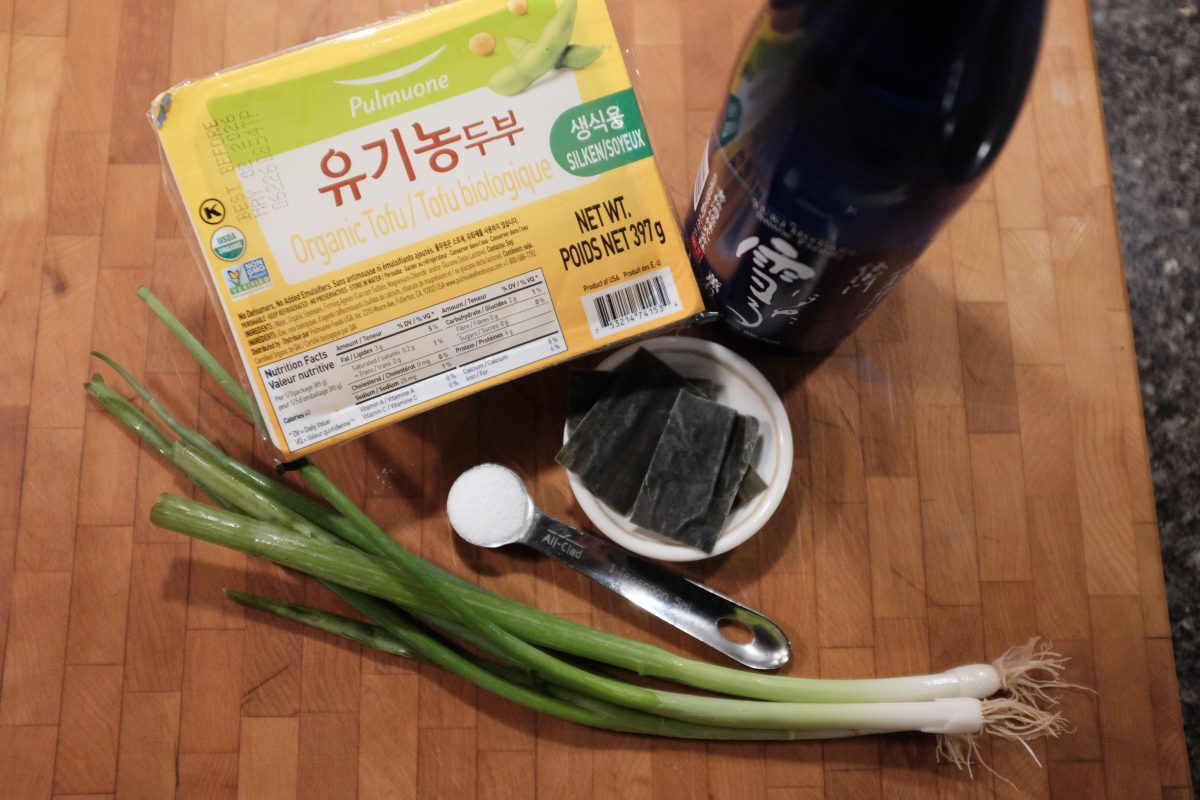
I like the texture of silken tofu and, if handled carefully while preparing, it won’t fall apart. Once it is cooked in the broth it firms up enough so that I can easily pick it up with chopsticks. If you can’t find silken tofu or if you like a firmer tofu, you can use that instead. Experiment with different brands and find one you like. I use this organic Pulmuone tofu which I can get easily at the local Korean grocery. They also make a “sprouted tofu” which is slightly sweeter with more nutrients and protein. It is worth trying too if you can find it.
Leave out the green onion or substitute it with another herb if you like. I have tried flat-leaf parsley and minari (korean watercress) which are both very good in this recipe. I have also tried mitsuba (Japanese parsley) which was delicious but hard to find and expensive.
Kombu is dried kelp. You can find it in little squares or big sheets in any Asian grocery store.
Process:
To make the broth, soak the kombu in around 500ml of fresh cold water for about 2 hours. If you are short on time, you can also make this by dropping the kombu into barely simmering water for 15 minutes or so.
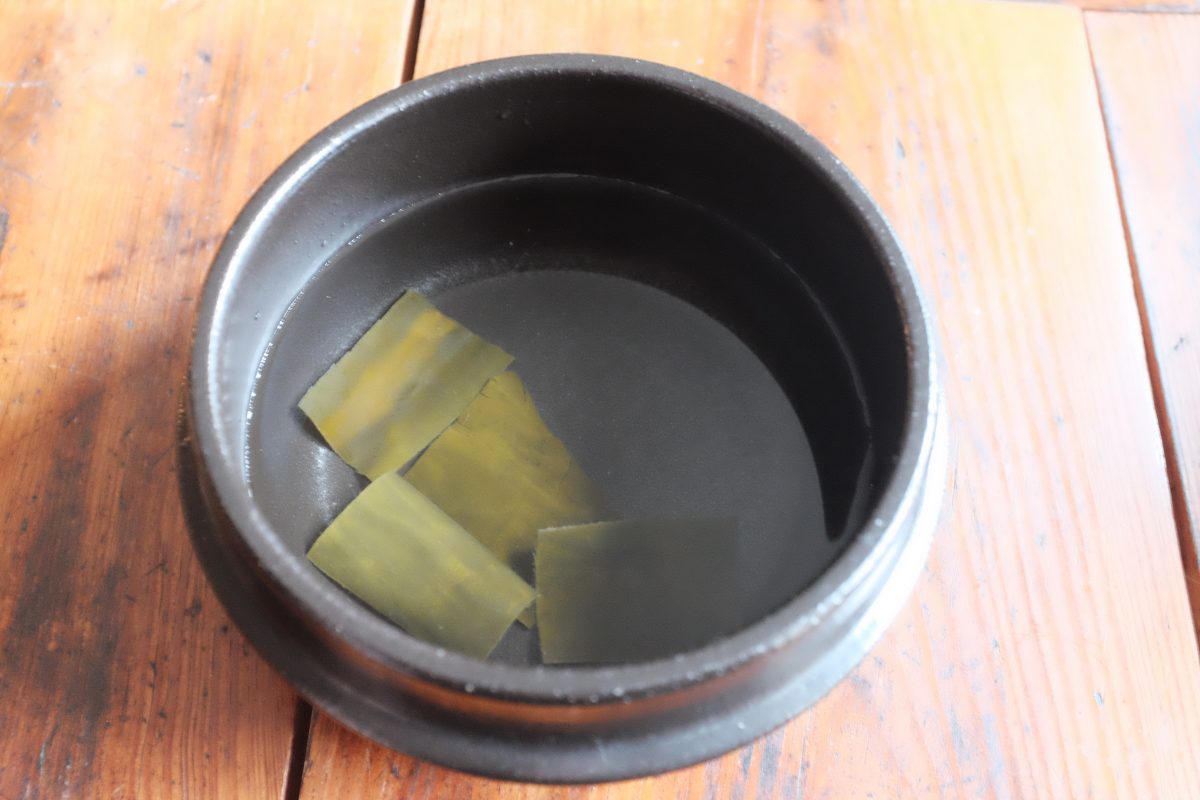
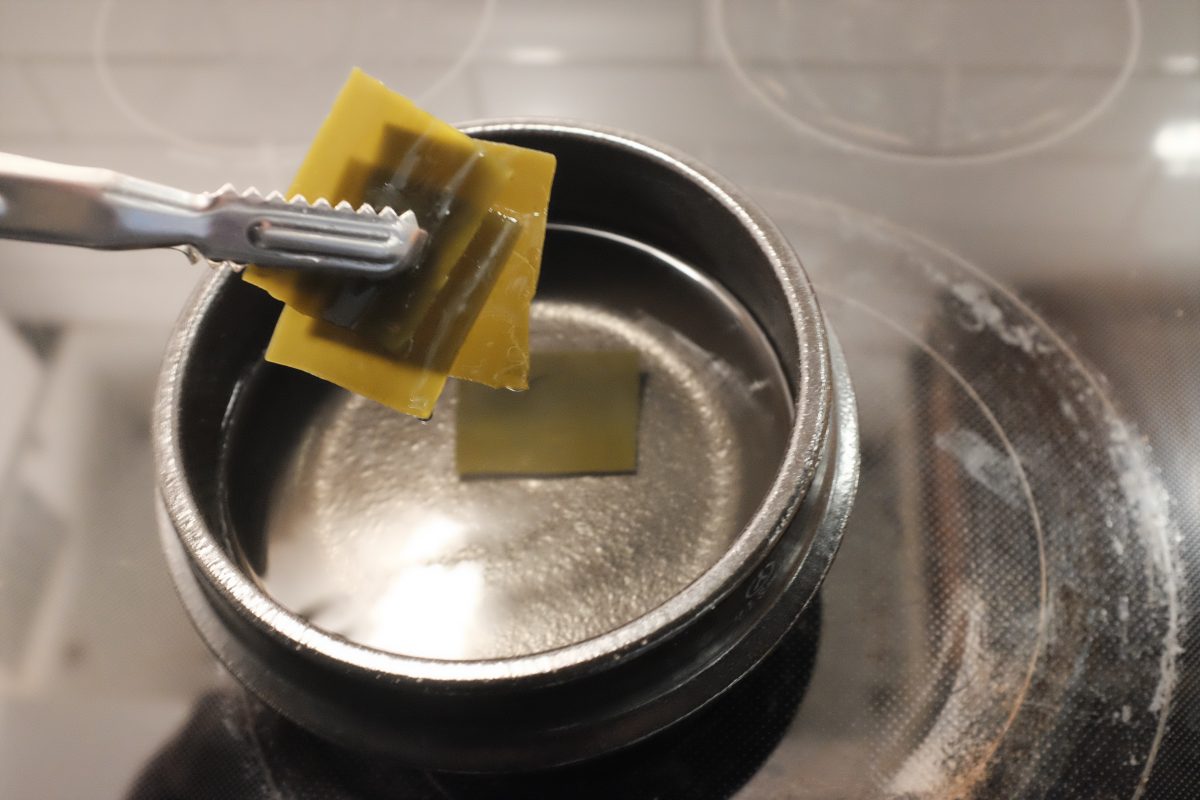
After the cold or warm steeping time, remove the kombu…
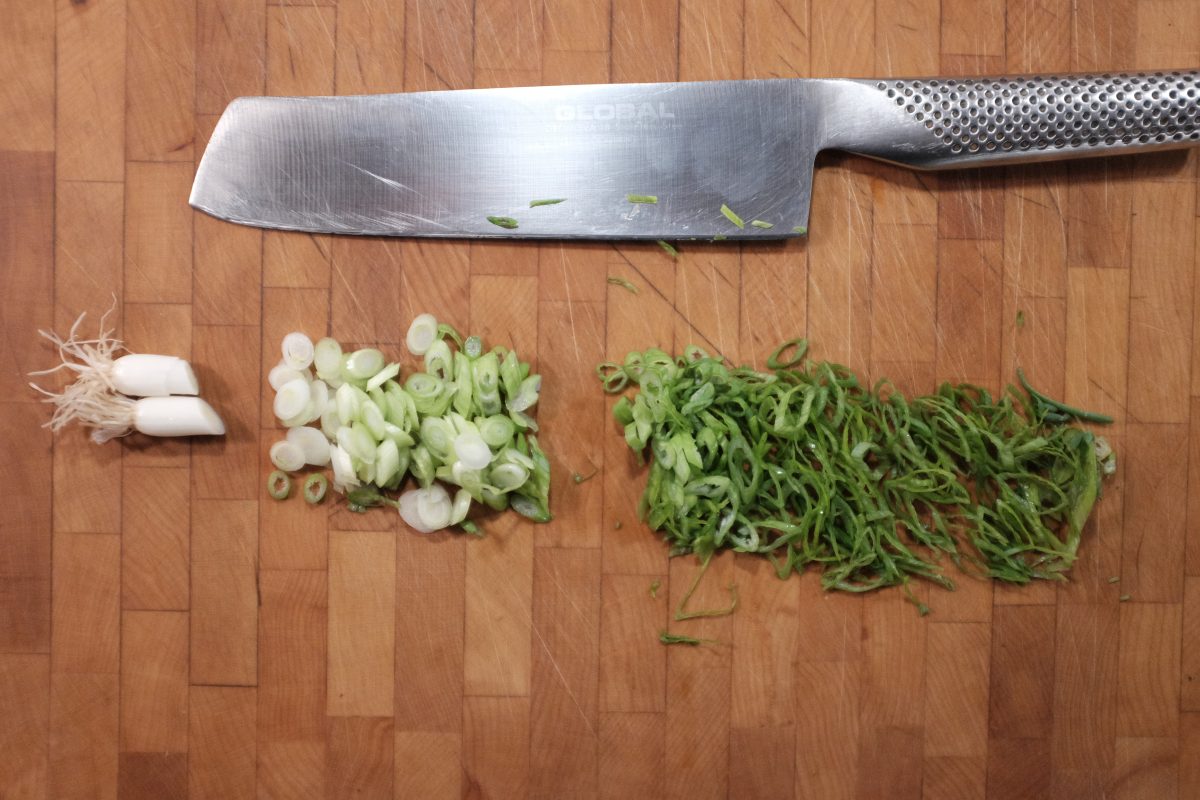
Chop green onions
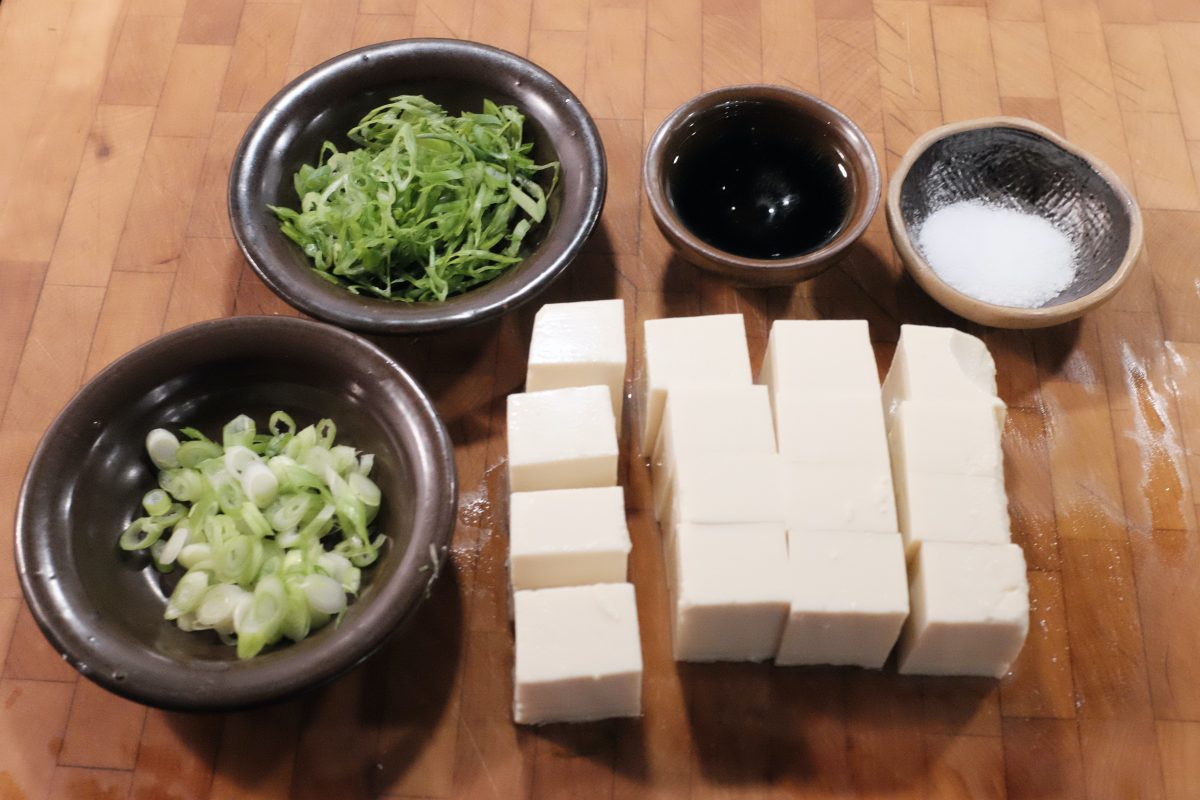
Green onions, sake, salt and tofu. I like my tofu in bite sized pieces that I can pick up with chopsticks but you can cut it any way you like. You can even cook the whole block of tofu and scoop it out with a spoon later.
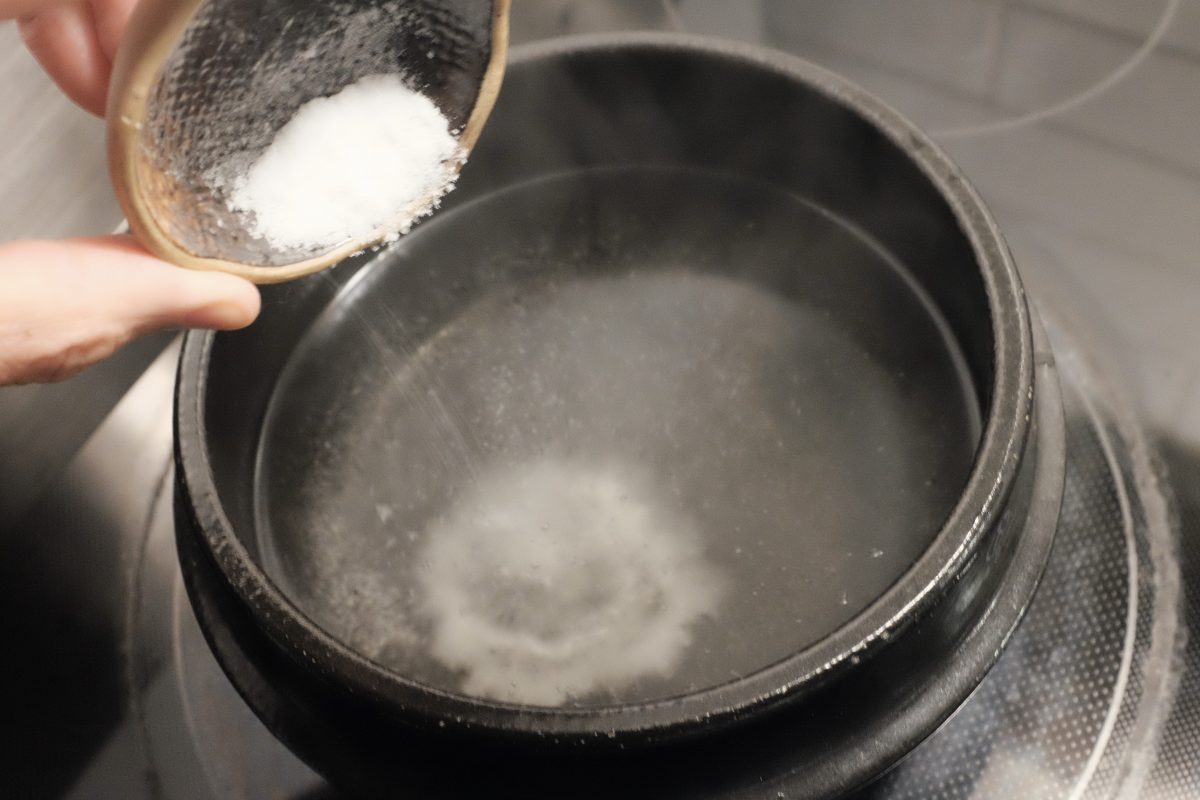
Heat the broth until just boiling then add 1 teaspoon kosher salt
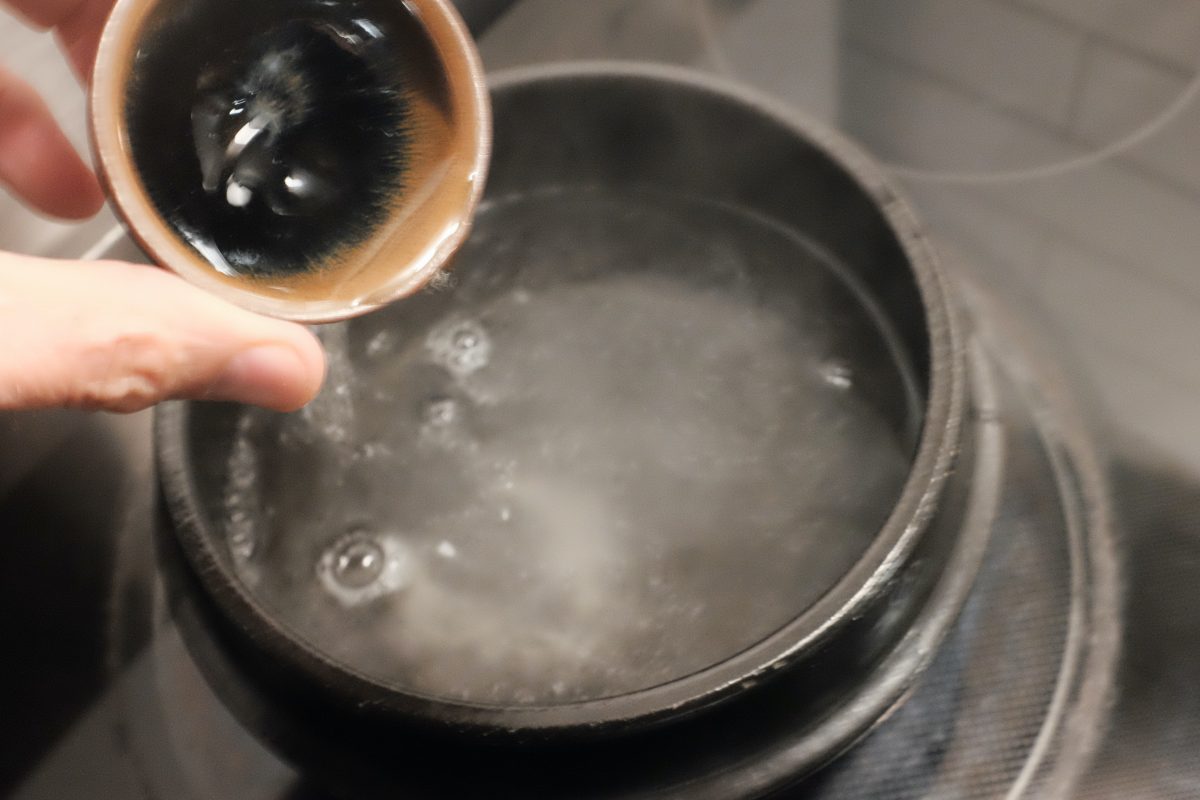
Add 2 tablespoons sake
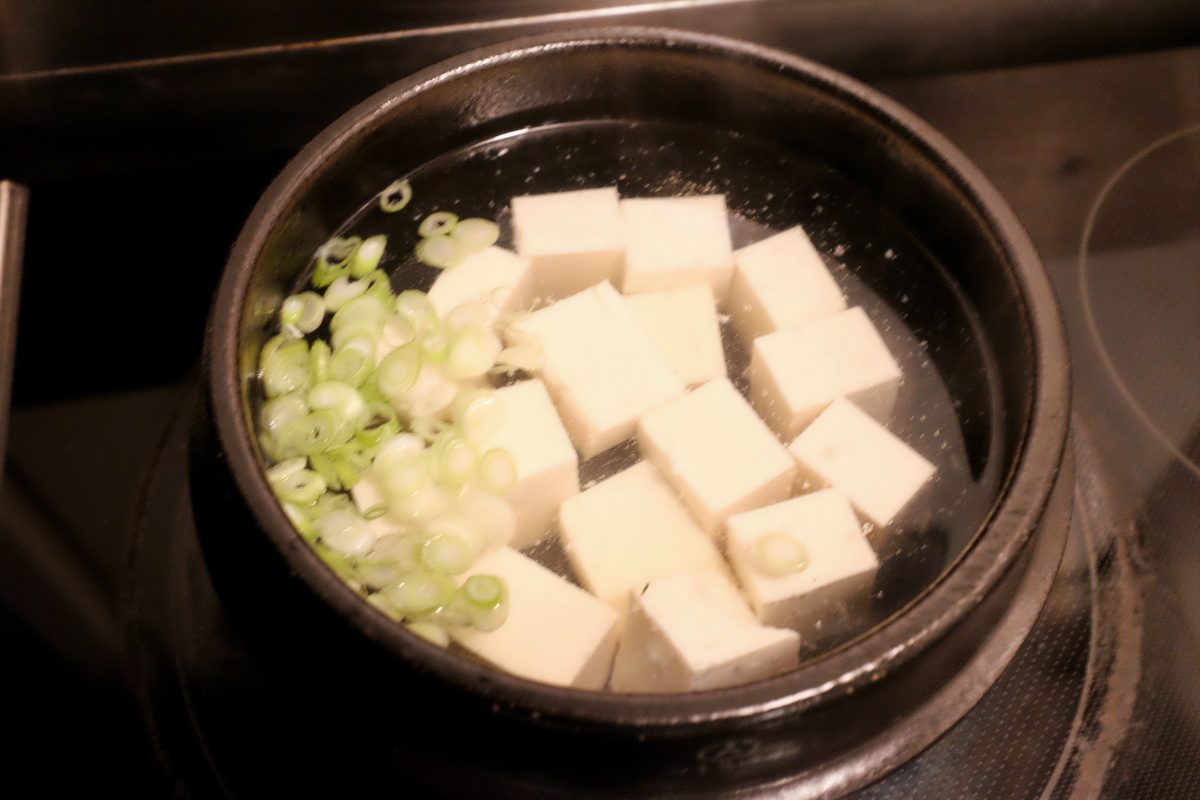
Add tofu and green onion white parts. Turn the heat down to medium low and let it go until tofu is warmed through. With the tofu I am using, it usually swells up a little and starts to float to the top.
While you are warming your tofu, you can make the sauce. This can also be made ahead of time and stored airtight in the fridge for a long time. You won’t use the whole recipe for one tofu block so store the leftover sauce for next time.
The Sauce
This is the sauce recommended on Just One Cookbook and it is a perfect accompaniment for this hot tofu. I add just a bit more mirin…
Sauce ingredients:
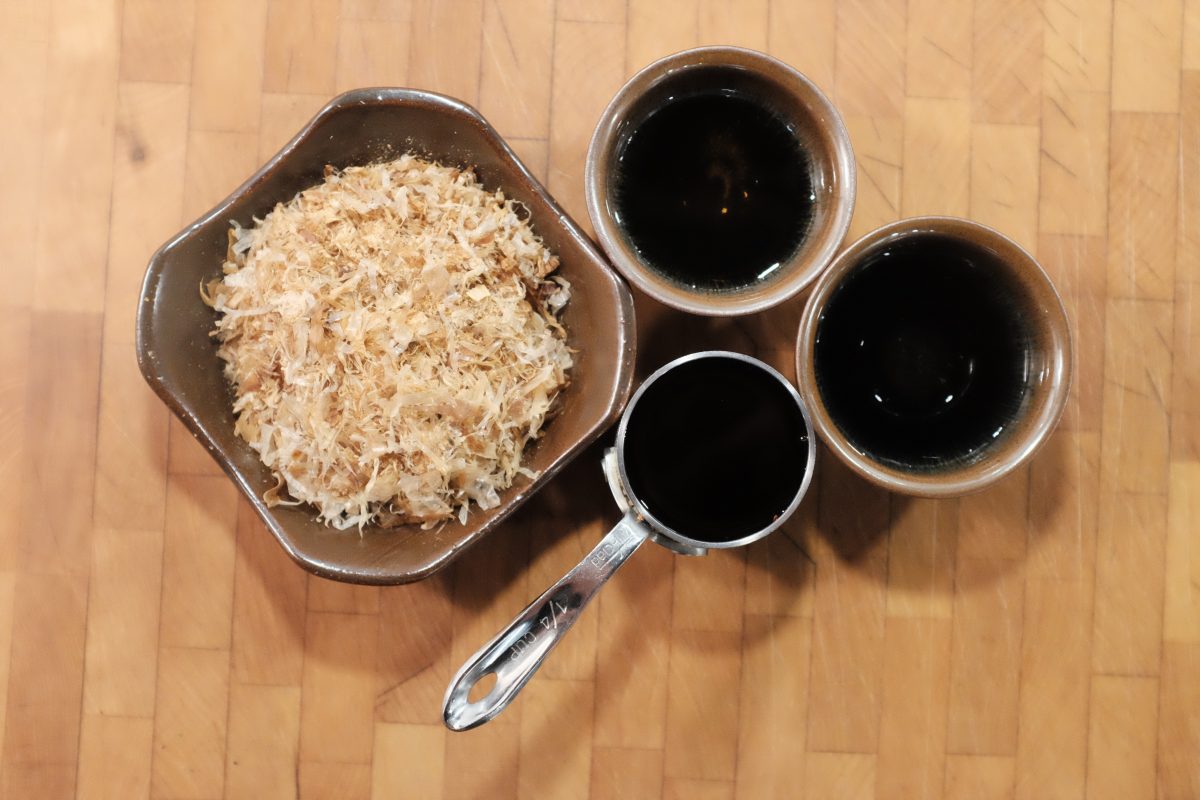
- 1/2 cup bonito flakes (katsuobushi)
- 1 tablespoon (15ml) sake
- 1 tablespoon (15ml) mirin
- 1/4 (60ml) cup soy sauce

Use a good quality Japanese soy sauce. I like this made-in-Japan Kikkoman for cooking. It is very tasty and not too expensive. The sake I used is a little fancy for cooking but my local booze shop was out of the cheaper one that I normally use. Avoid using “cooking sake” which is salted and tastes well…bad. If you wouldn’t want to drink it, I would avoid cooking with it. I would say the same thing about wine in Western cuisine.
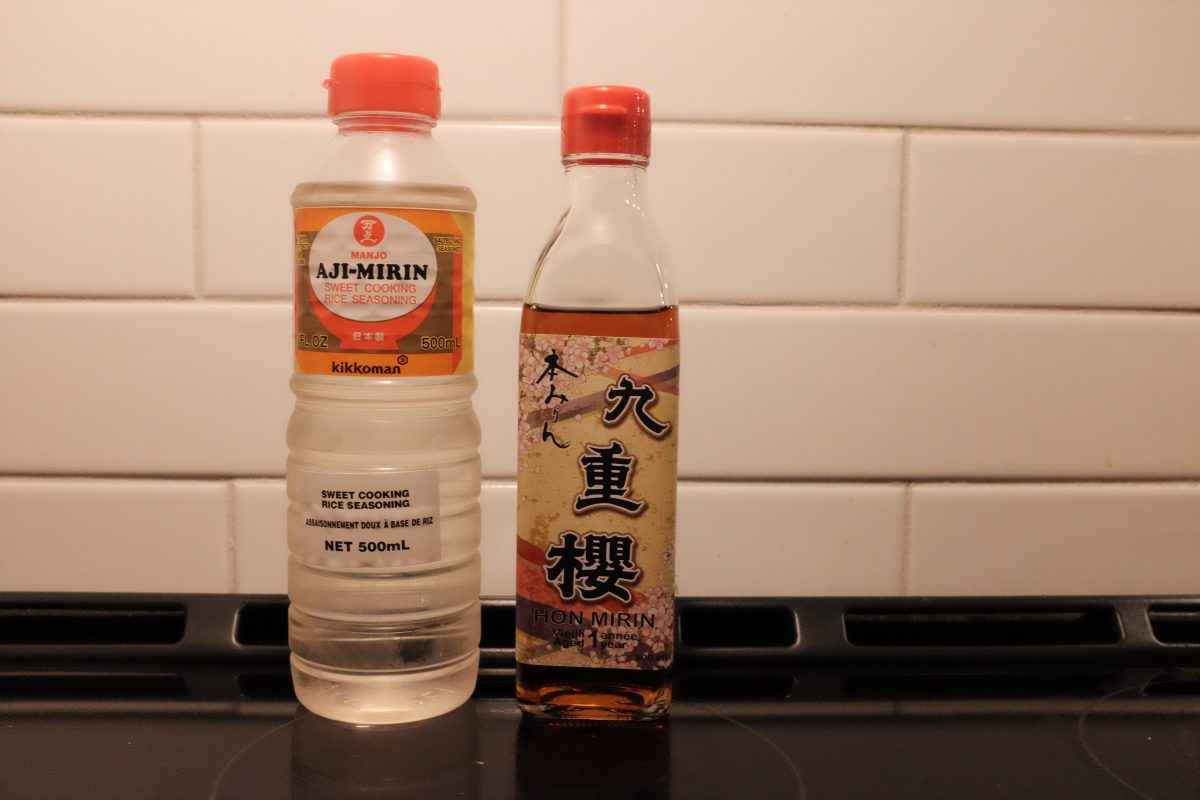
about mirin…
At least around me, good mirin is very hard to find. Hon-mirin is a real fermented rice wine. It is delicious as it is and is great to cook with but…nearly impossible to find and expensive. Aji-mirin is in most grocery stores. This is a cheap cooking alcohol, sweetened with corn syrup and flavoured to taste something like mirin. It is not ideal but it is most often the only one around. If there is no alternative it works fine here.
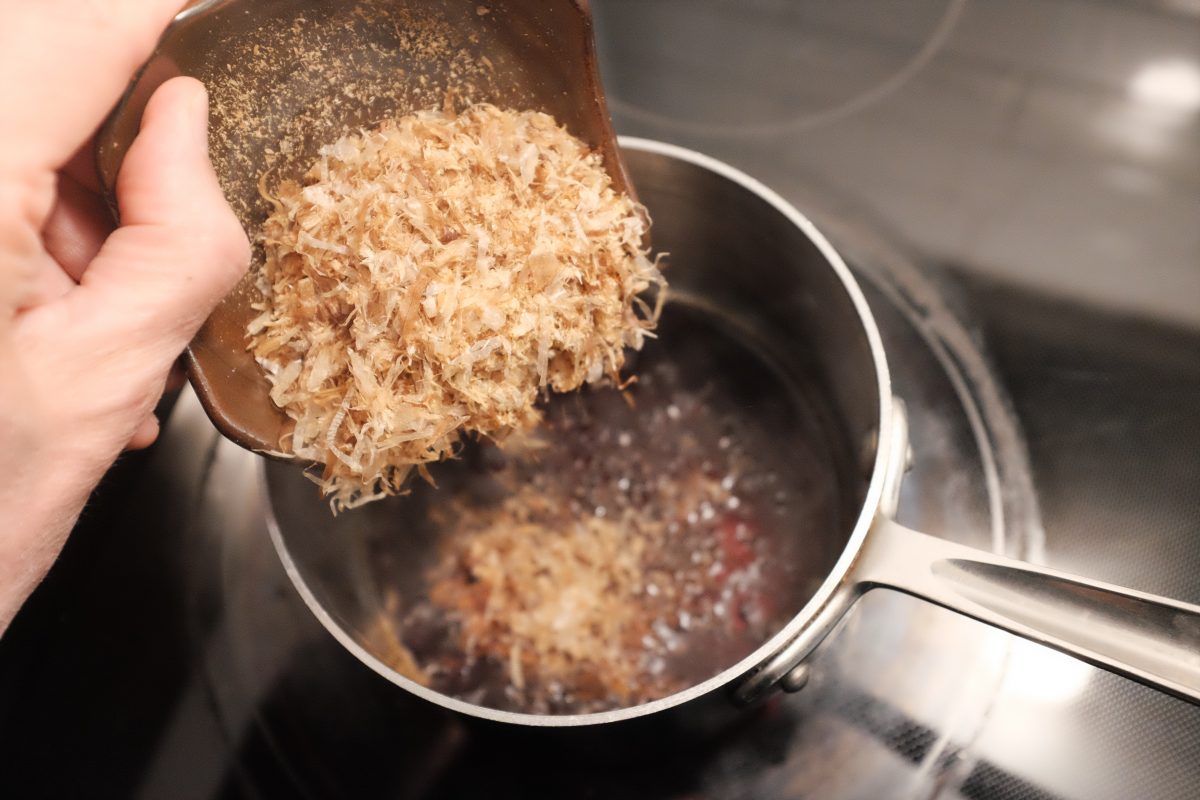
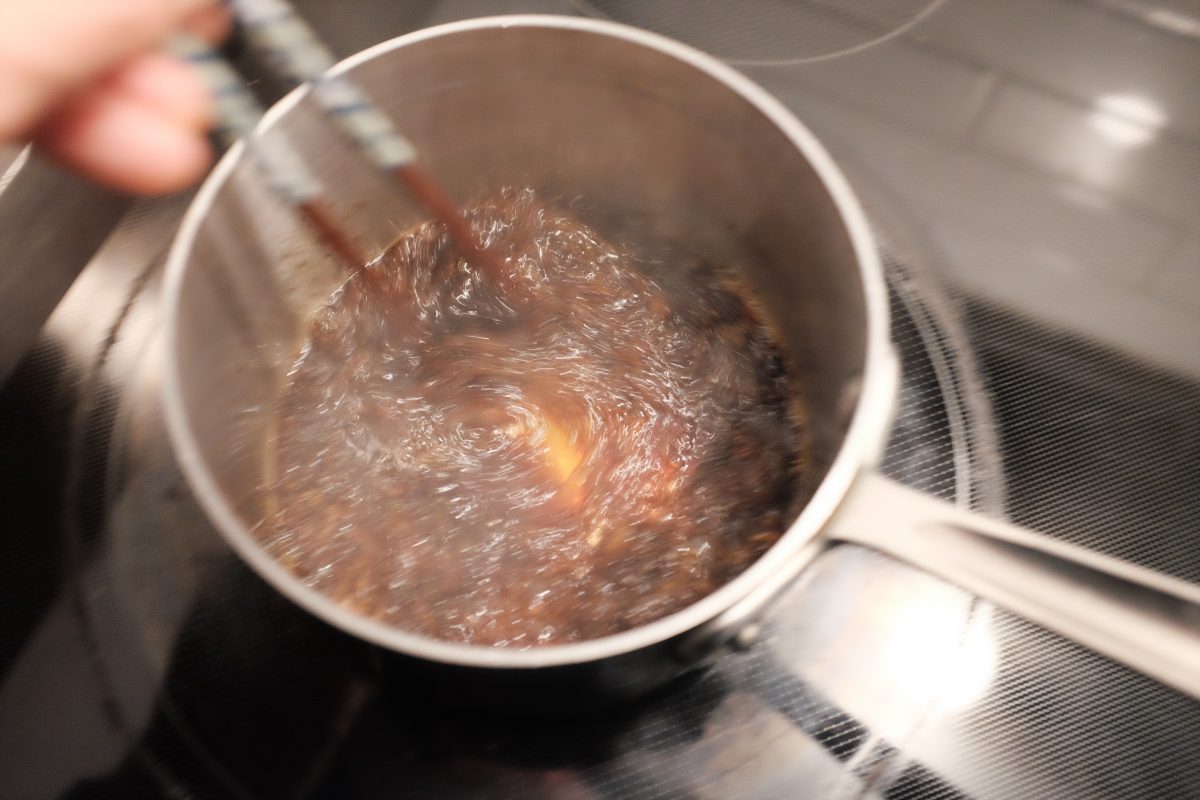
Sauce process


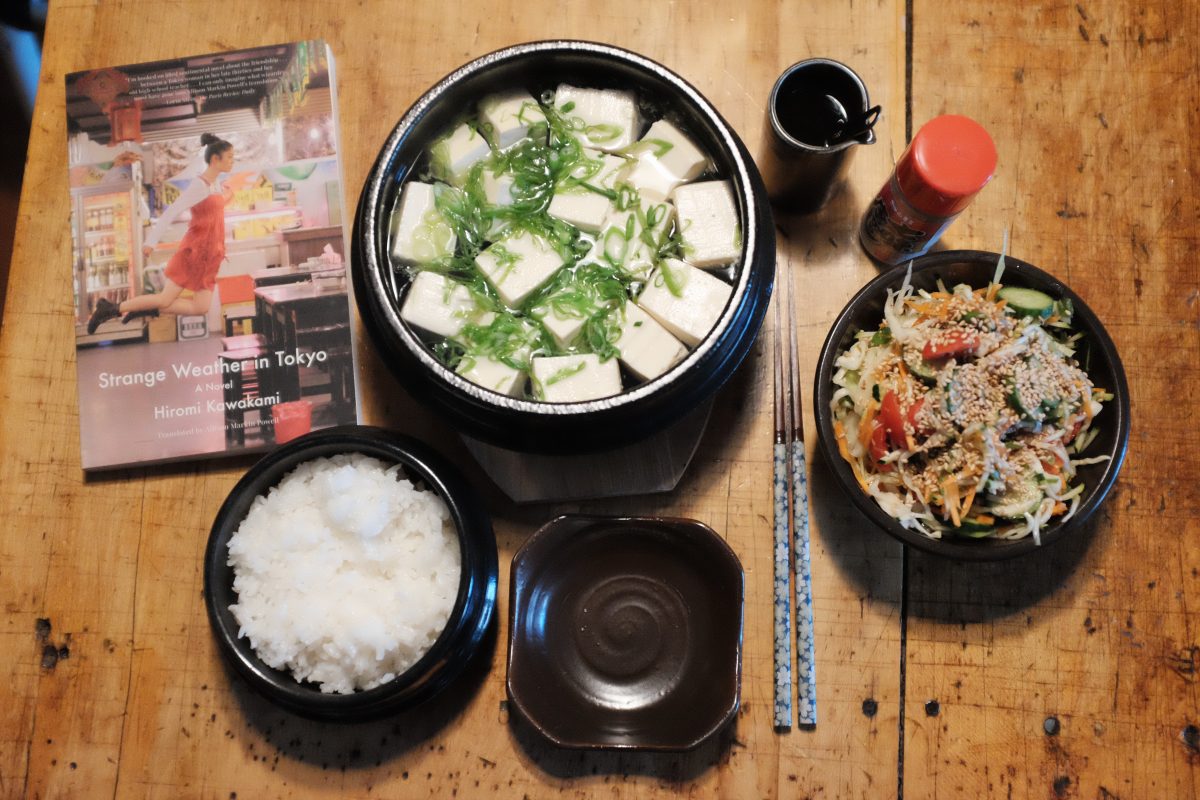
Serve with your favourite sides…
I am having yudofu with a side of fresh salad and white rice. Sauce is in the little pitcher and togarashi spice for a touch of heat.
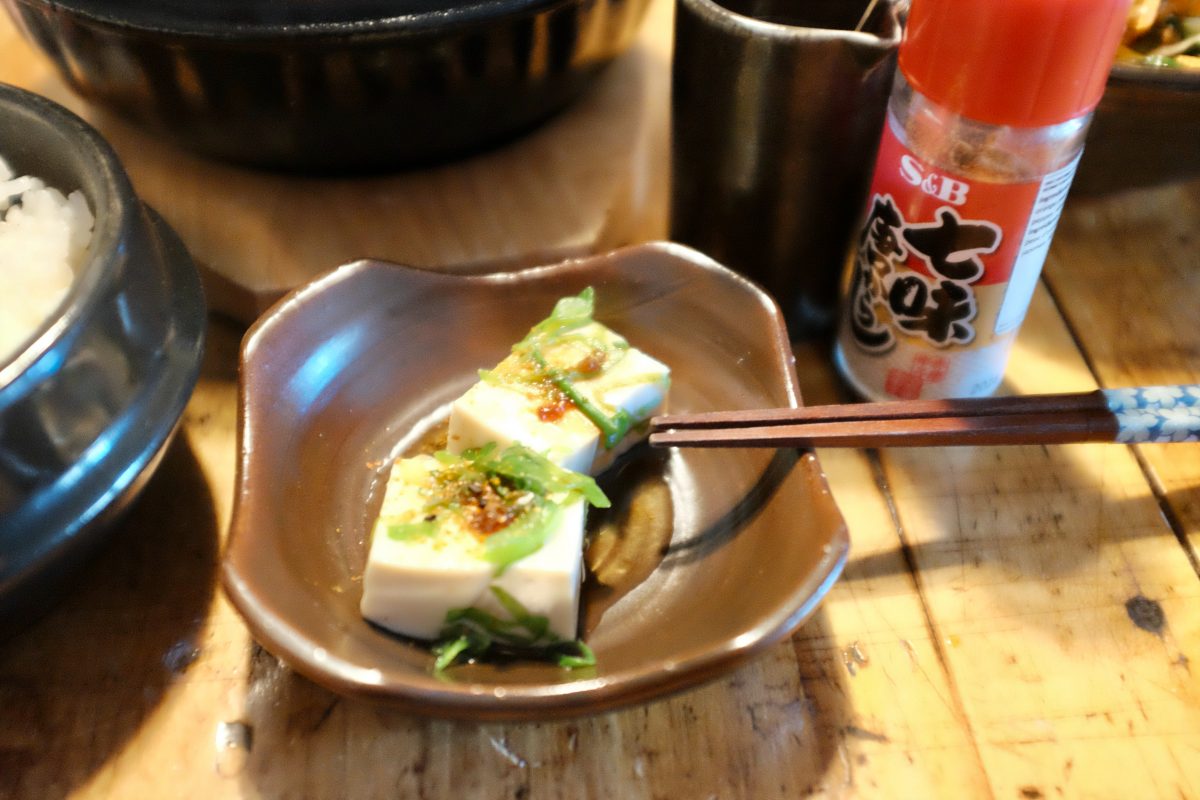
When I eat tofu, it is usually as a side or as a minor ingredient in a bigger dish. This yudofu is the only time that I really enjoy tofu as the centre of the dish. The warm and creamy texture with the savoury salt of the bonito and soy sauce is incredibly satisfying. I eat this almost once a week these days.
If you have any questions or comments please feel free to leave them in the space below. I always look forward to hearing from you. If you want to know where I found real mirin in Toronto, send me a message through the contact form.
If you enjoy the content and would like to contribute towards website maintenance and development, you can make a donation here. Thank you for reading TigerSalad.
Simple Kombucha Recipe
What is kombucha?
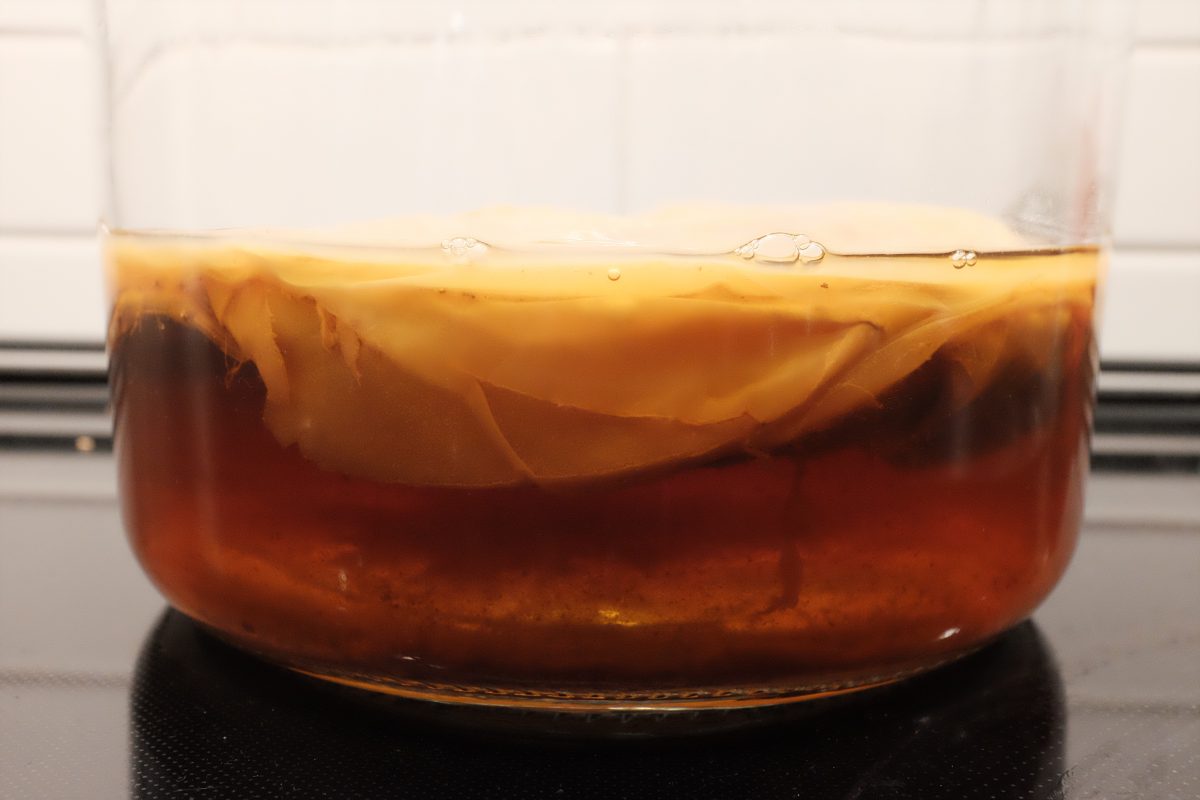
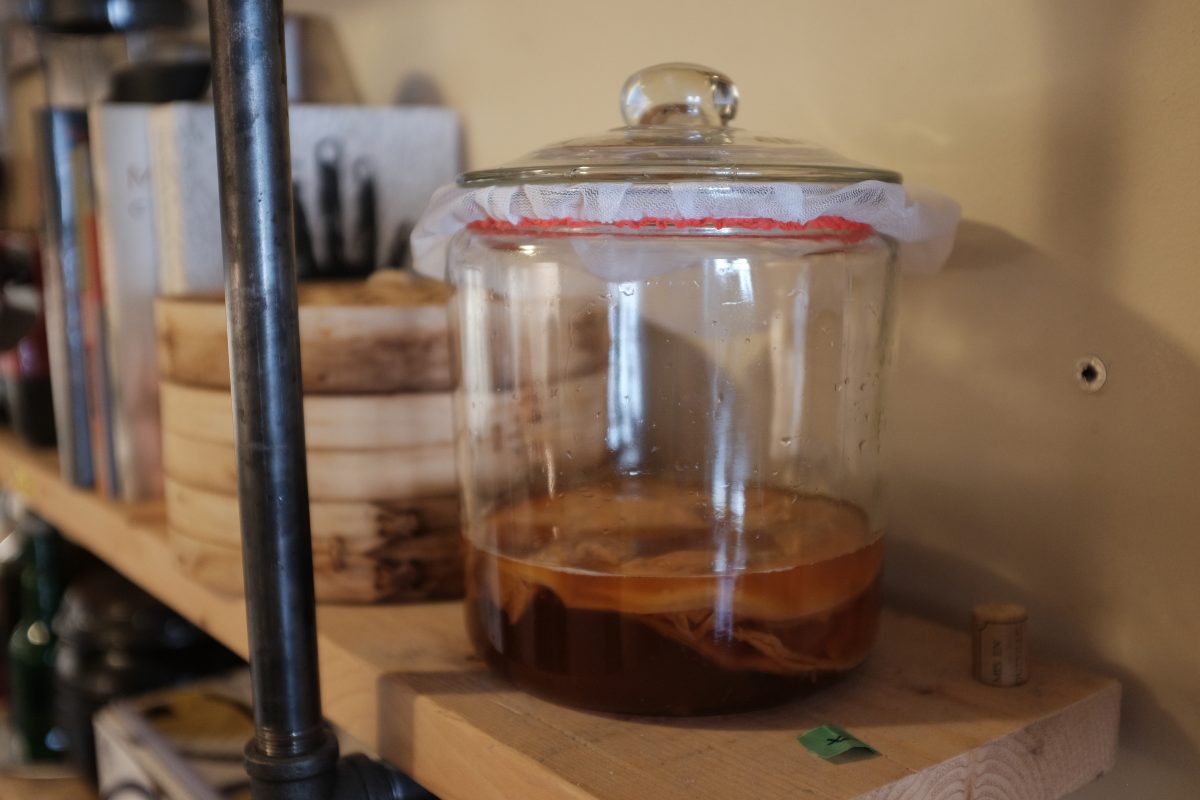
In it’s simplest form kombucha is black tea fermented by a symbiotic culture of bacteria and yeast (SCOBY) in the presence of sugar. There are probably thousands of good articles out there that explain this process in great detail…so I won’t add to the pile. In this article, I only want to provide a simple recipe with a clear process for myself and anyone else who might want to try making kombucha.
Why kombucha?
In addition to having a long and mythical history, kombucha is purported to have many health benefits (the final ferment contains live probiotic bacteria). I make it because it is fun, it makes my kitchen smell interesting and funky and it is delicious and refreshing. It is a terrific substitute for soda when you are eating anything heavy or greasy. It’s great with pizza and burgers but even works with more delicate flavours like sushi and sashimi.
Ingredients:
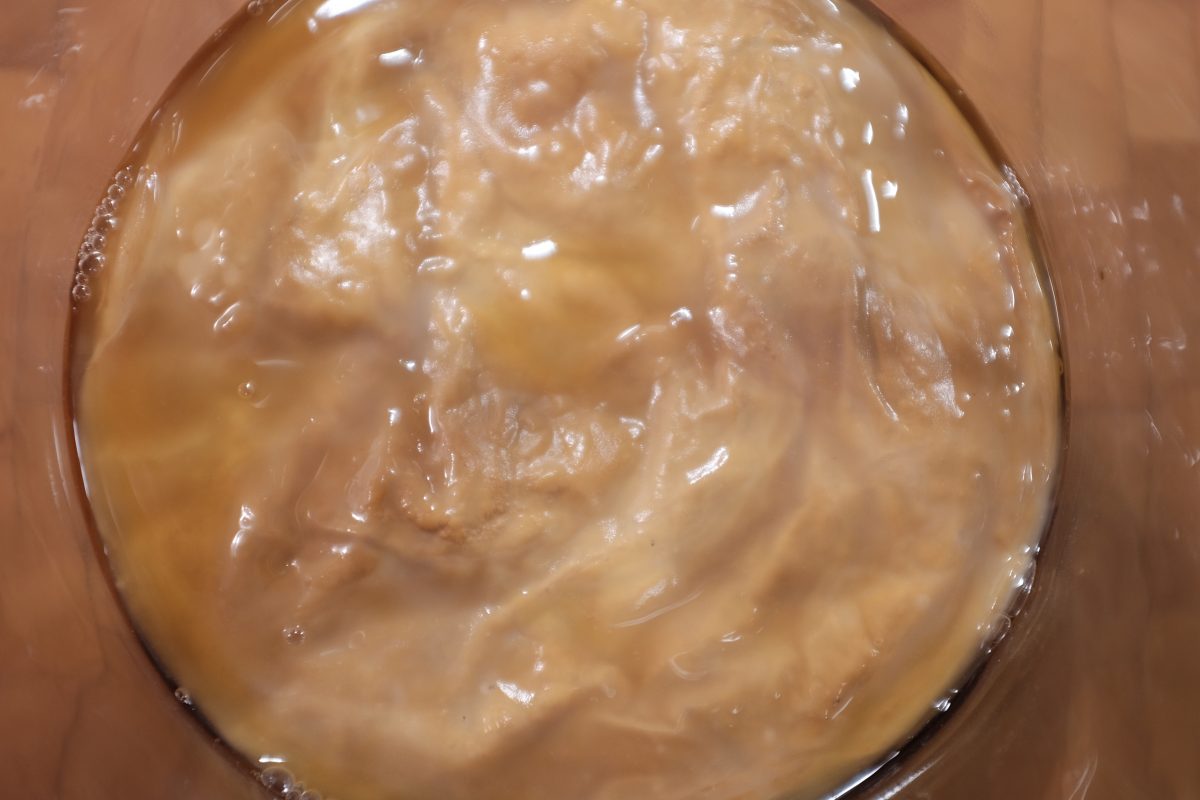
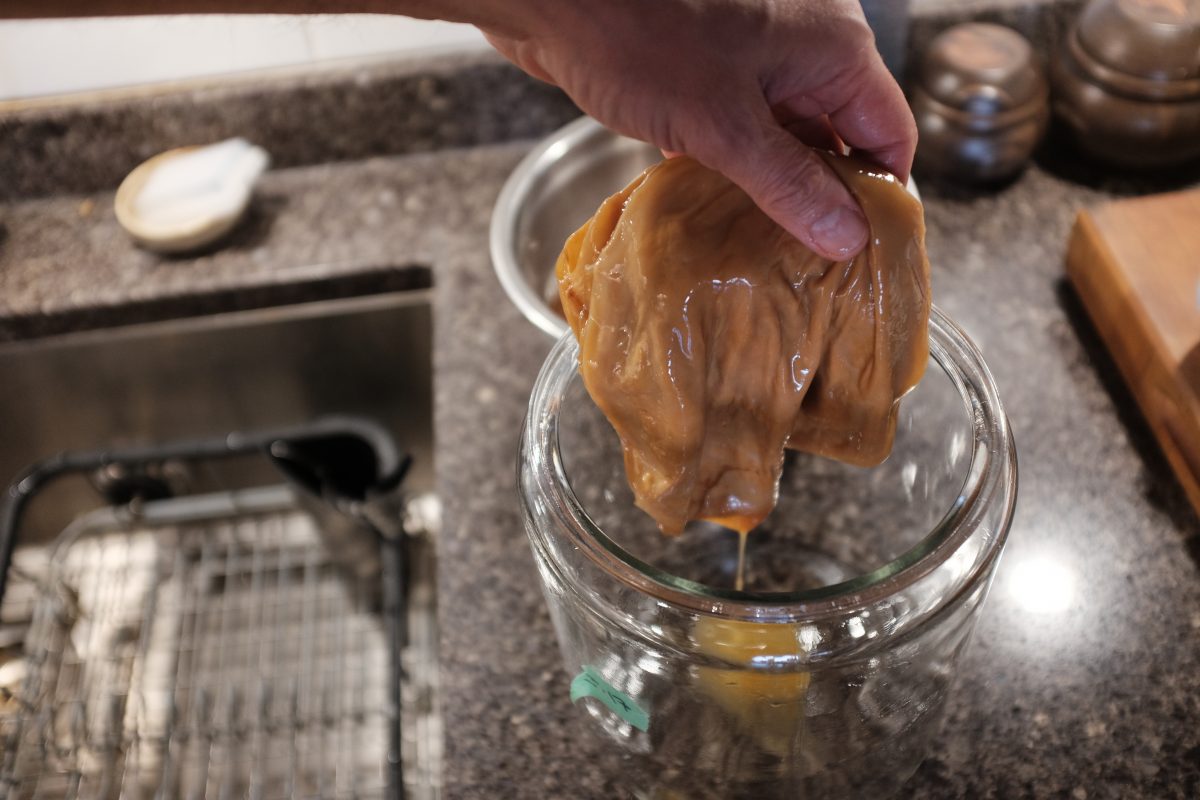
- 1 SCOBY
- 6 black tea bags (I am using orange pekoe)
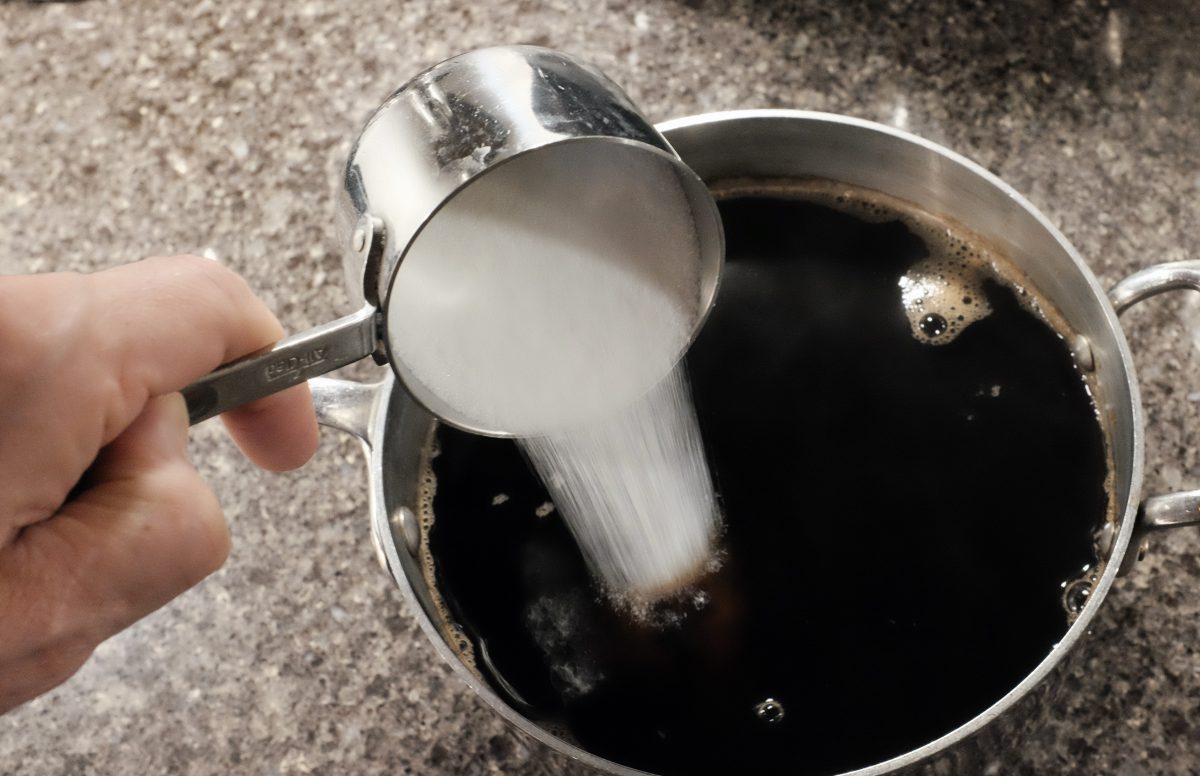
- 1 cup regular white sugar
- 12 cups of water
You can’t really “make” a SCOBY. You will have to buy one online or get one from someone who is brewing. Once you have one, it will grow with every batch and you can peel off layers to share with fellow brewers. I got mine from my lovely downstairs neighbour.
You can just use cheap everyday tea bags. I am using orange pekoe bags from the grocery store. Use black tea and avoid anything flavoured (for now). I like these round Tetley brand ones…they are very strong and brew up to a nice colour and aroma.

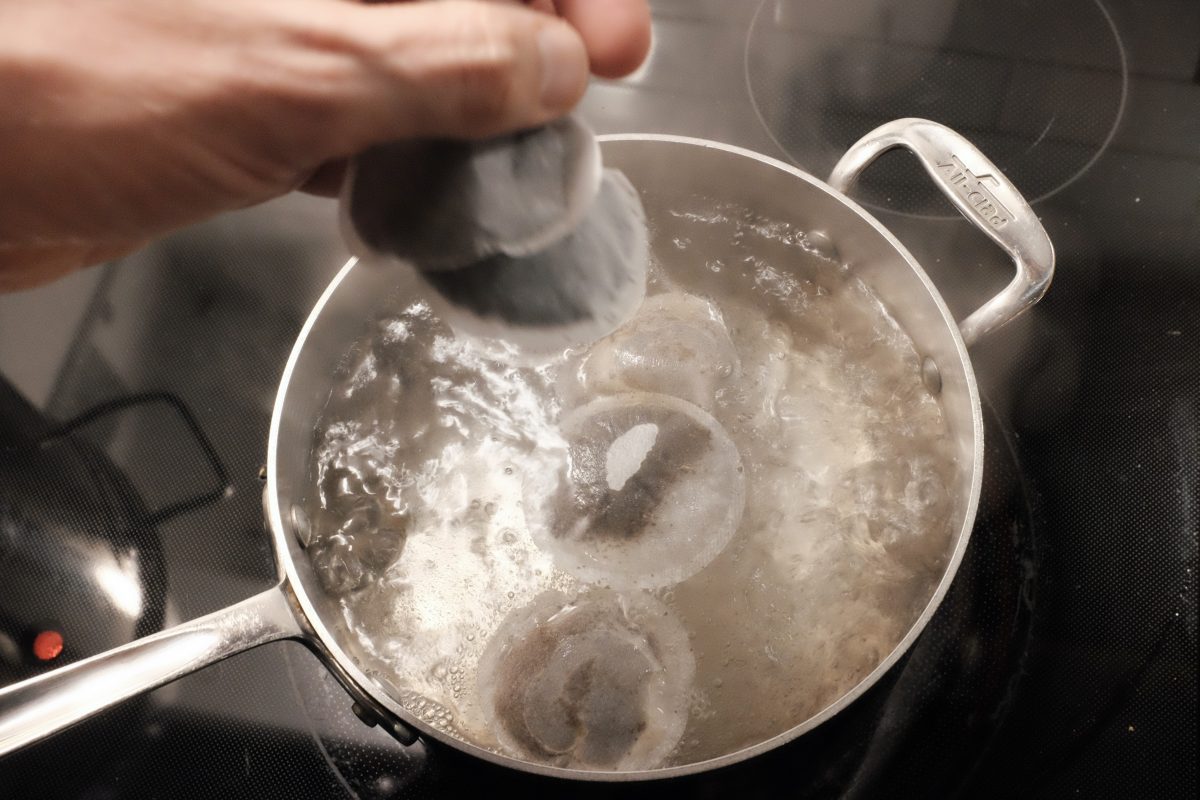
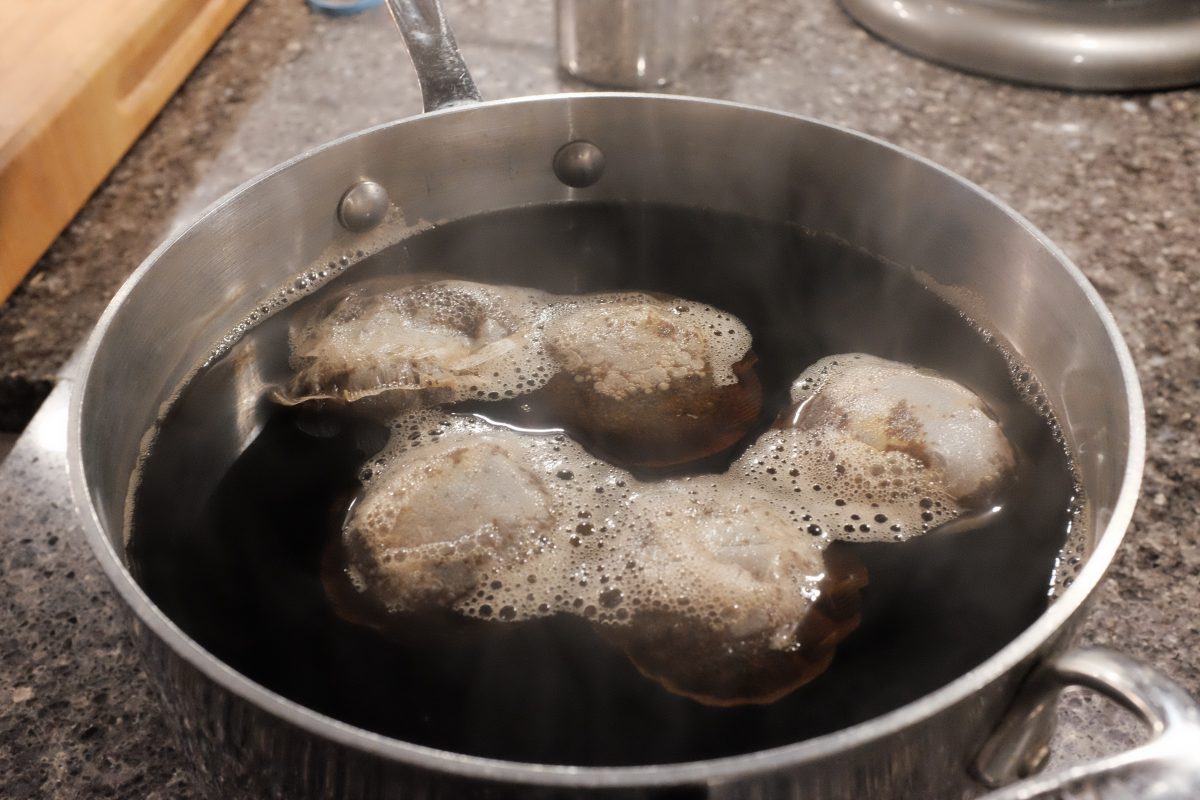
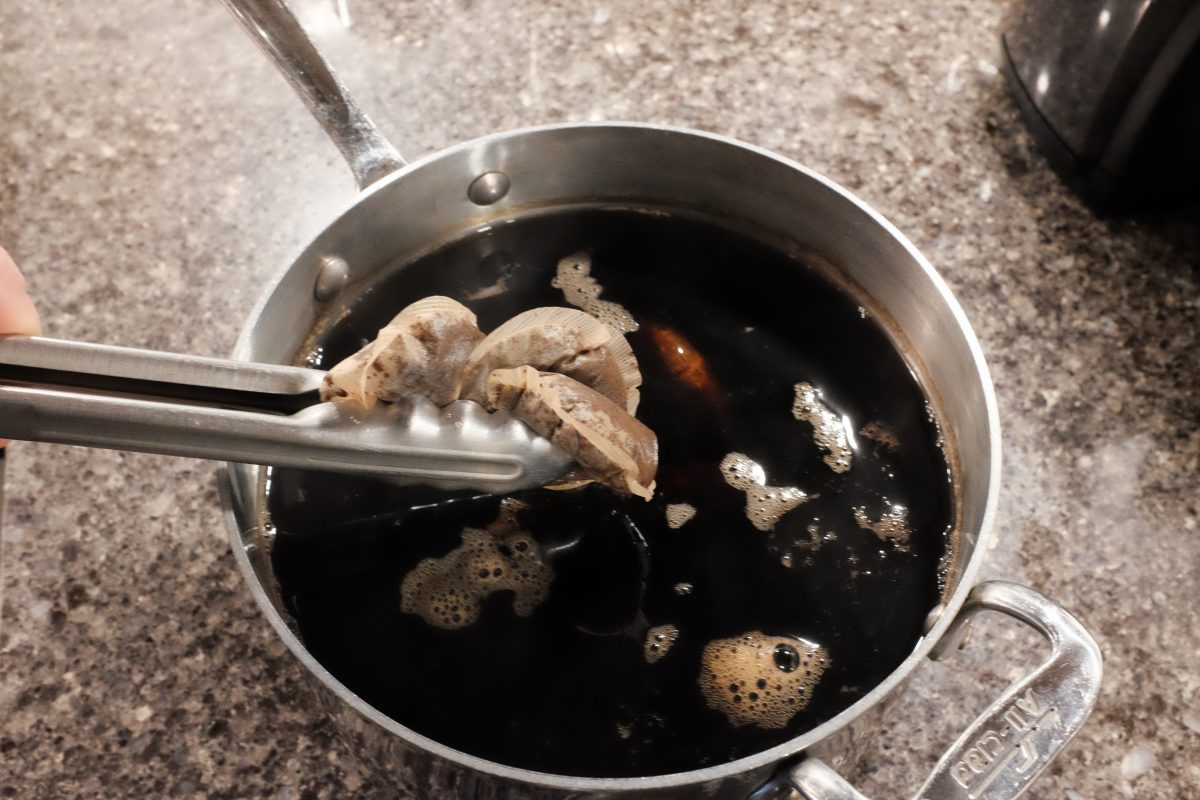
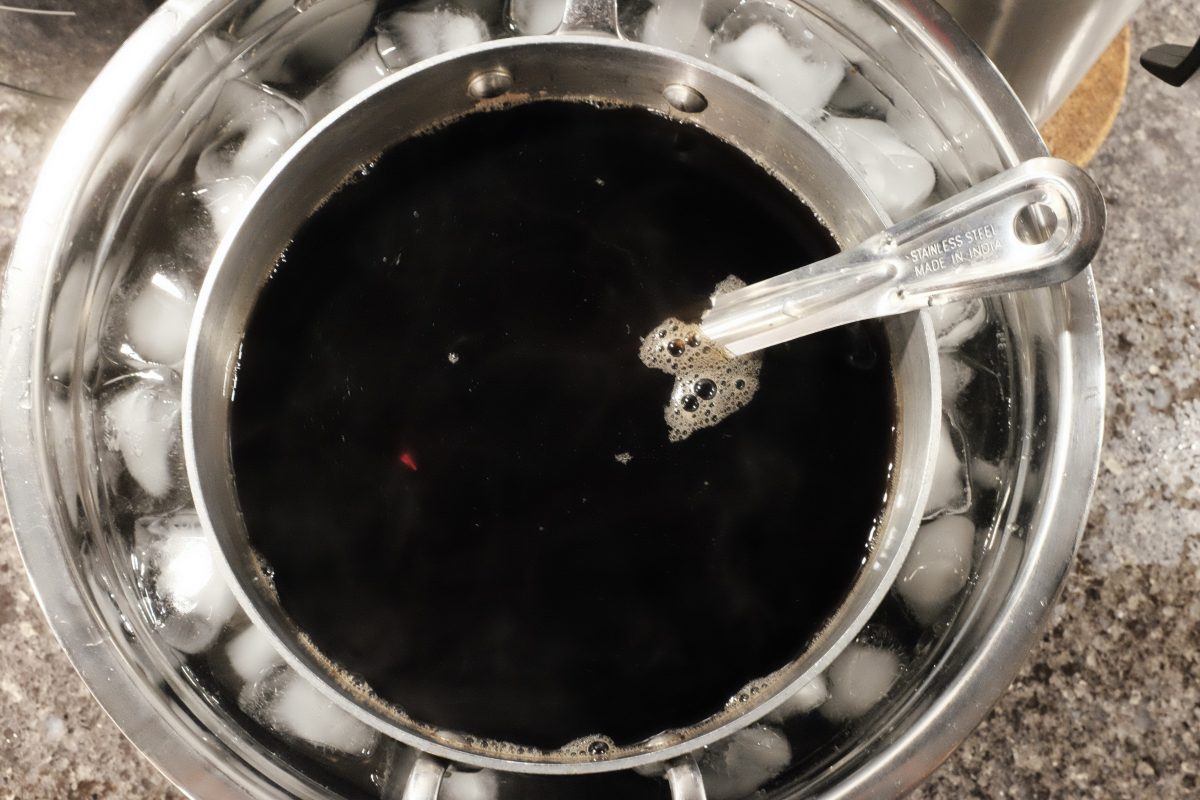
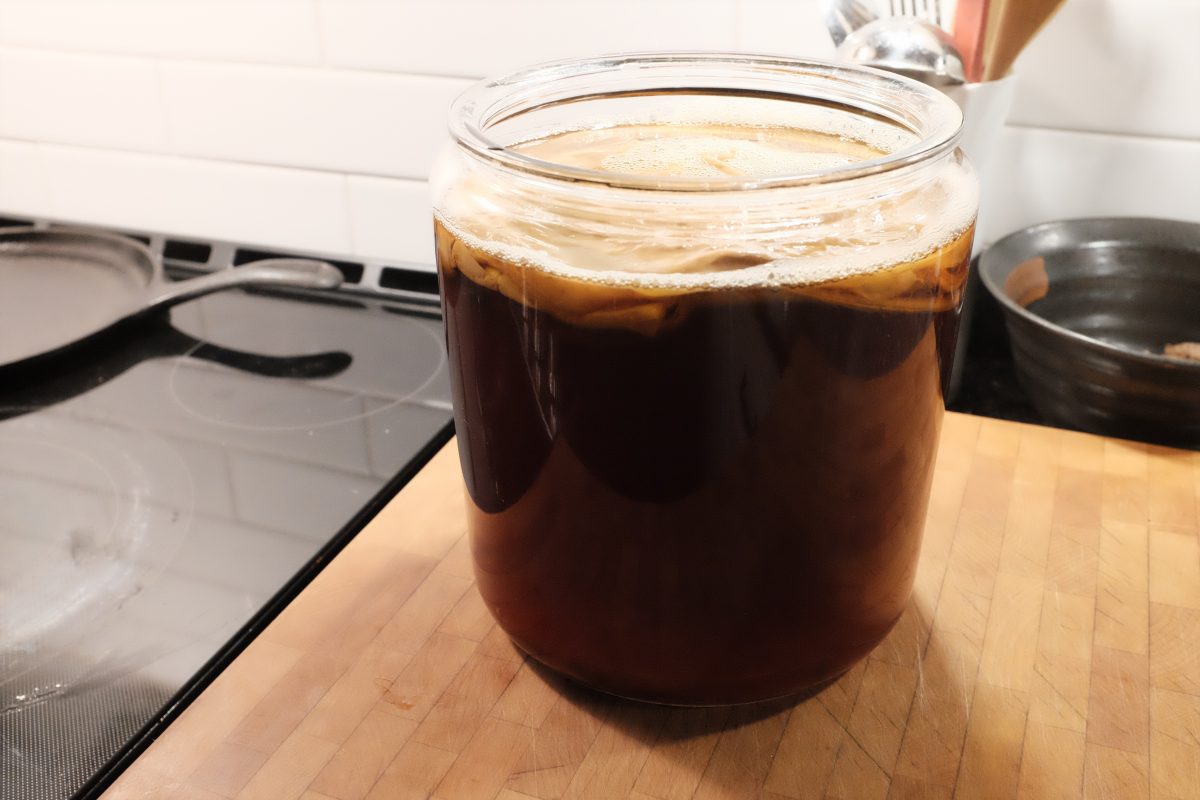
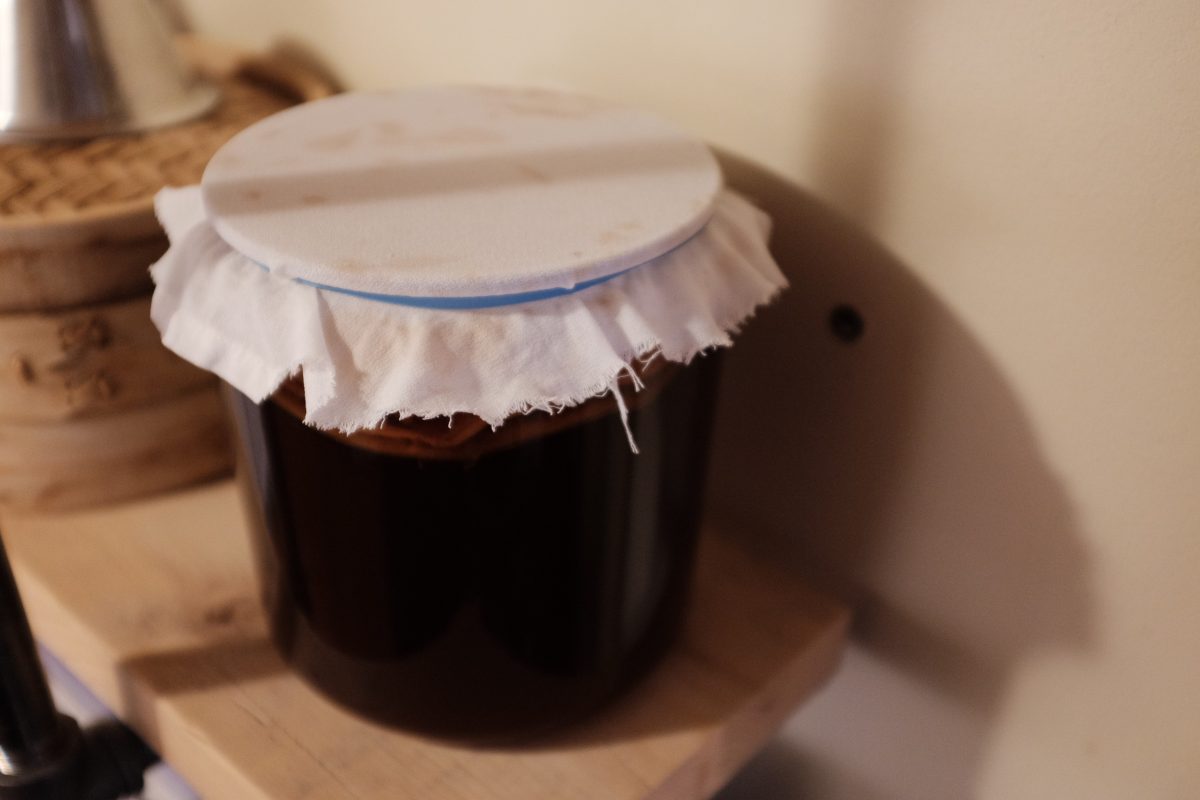
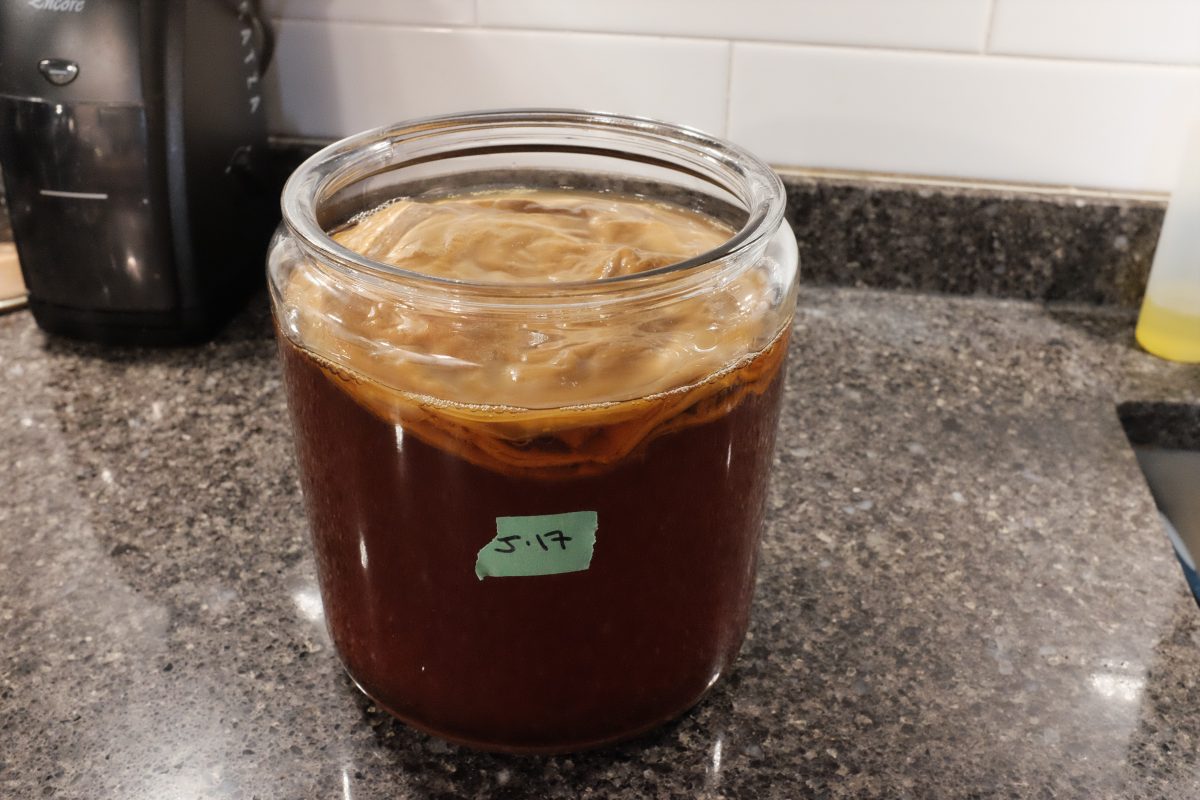
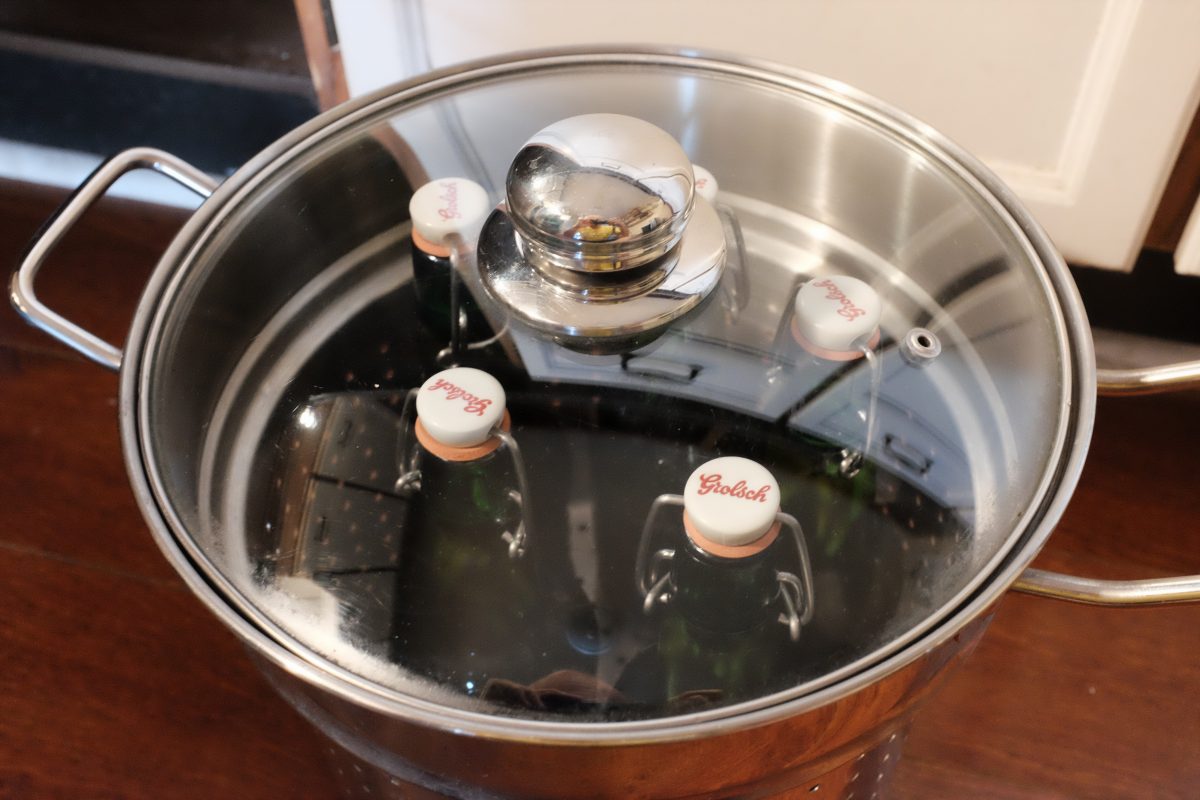
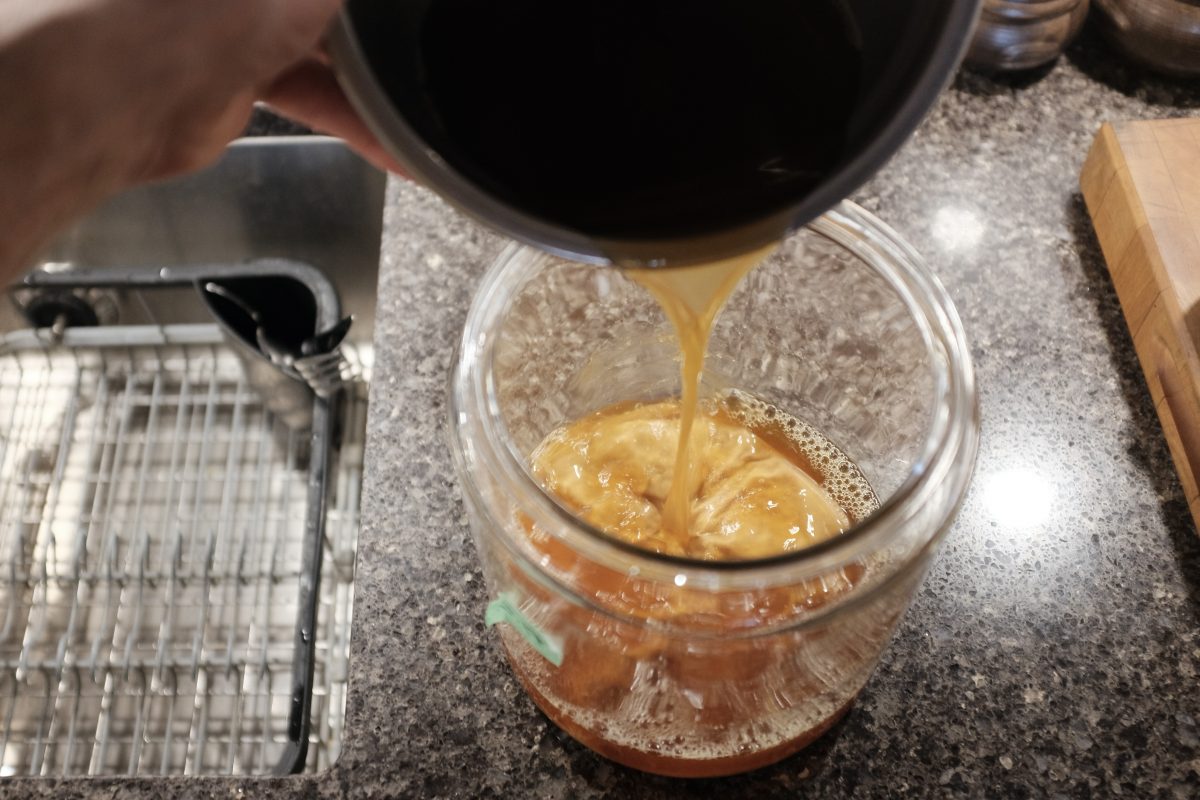
Process

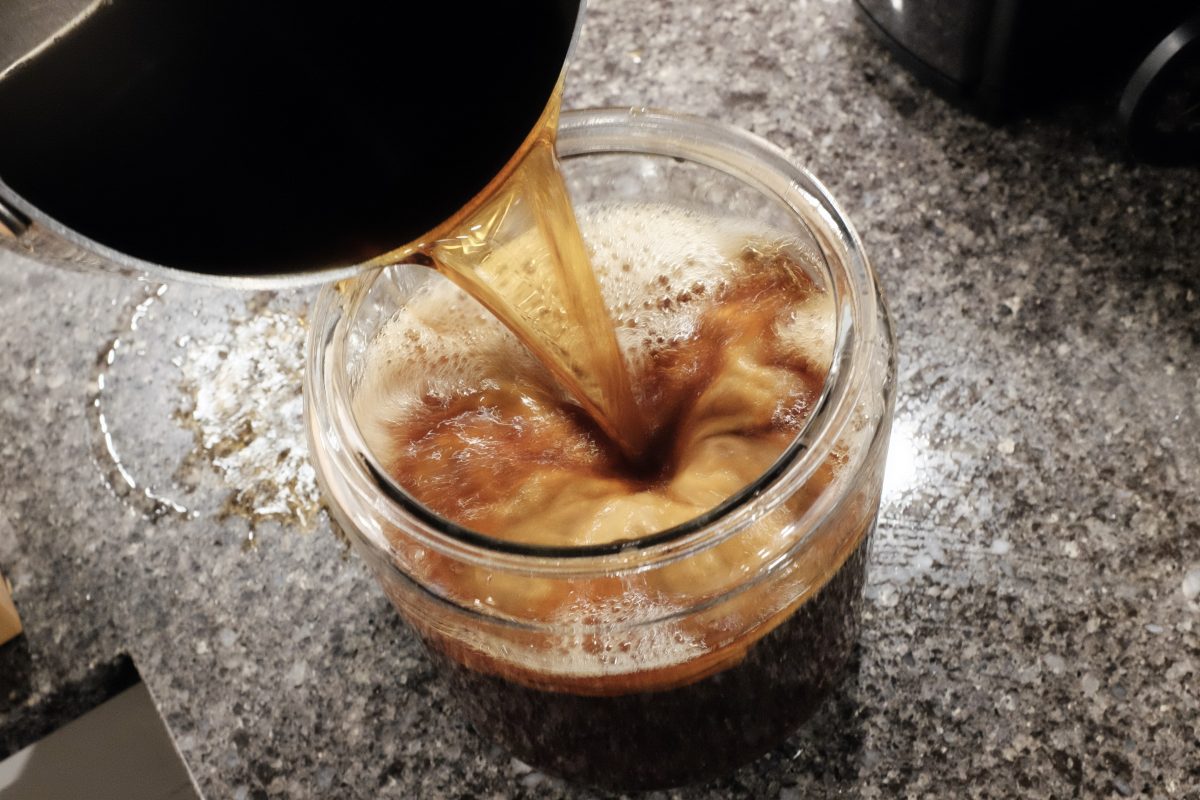
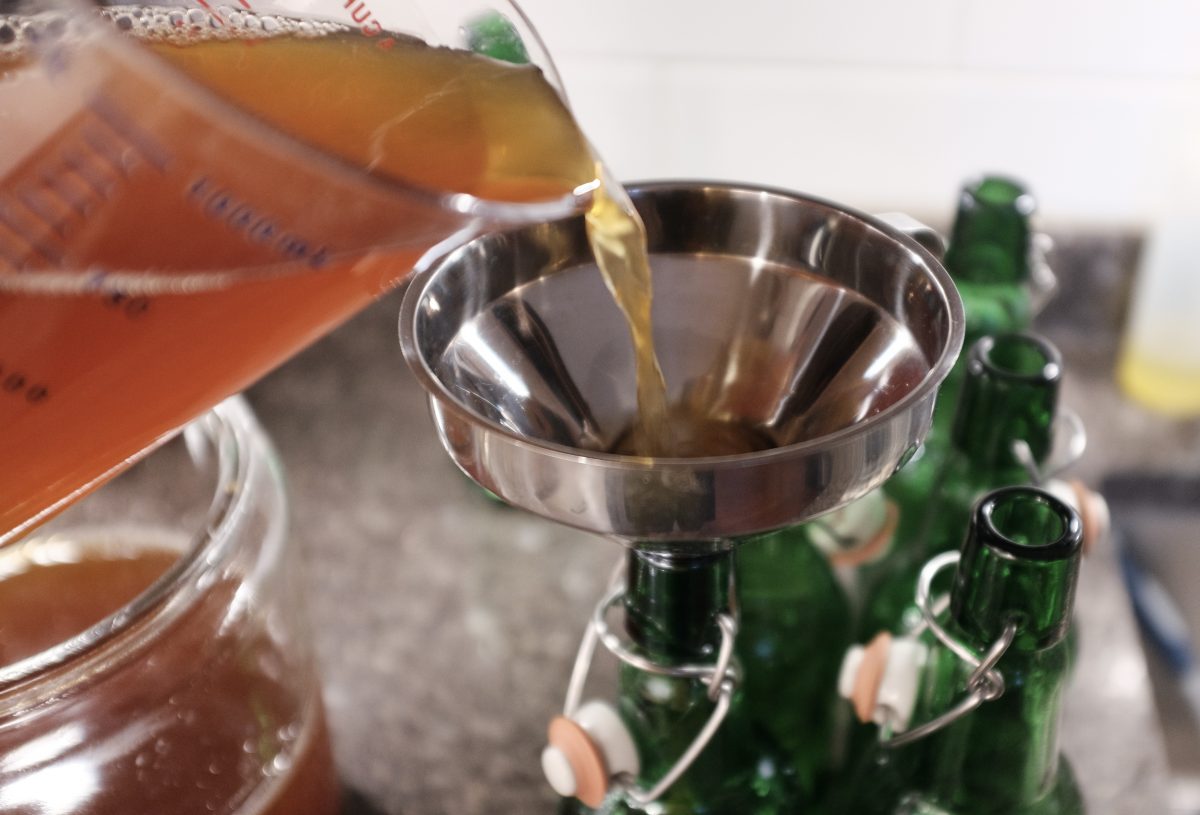
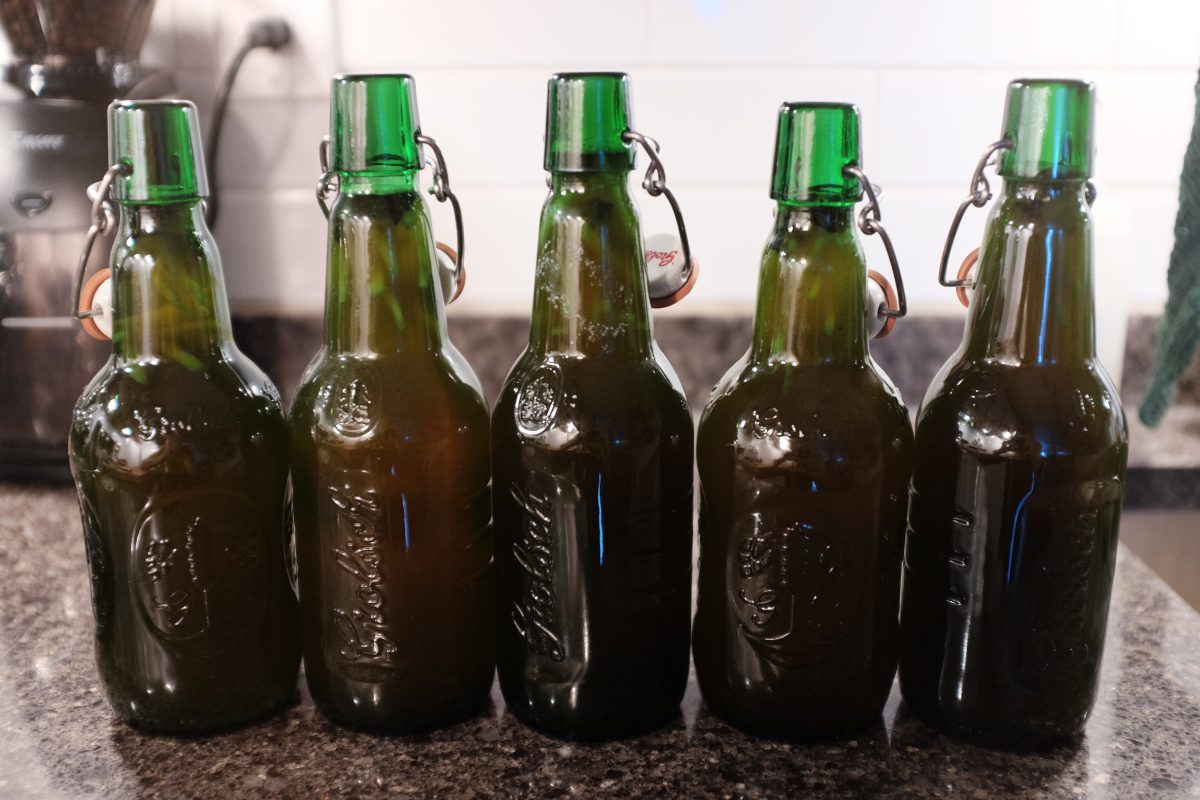
Time to bottle


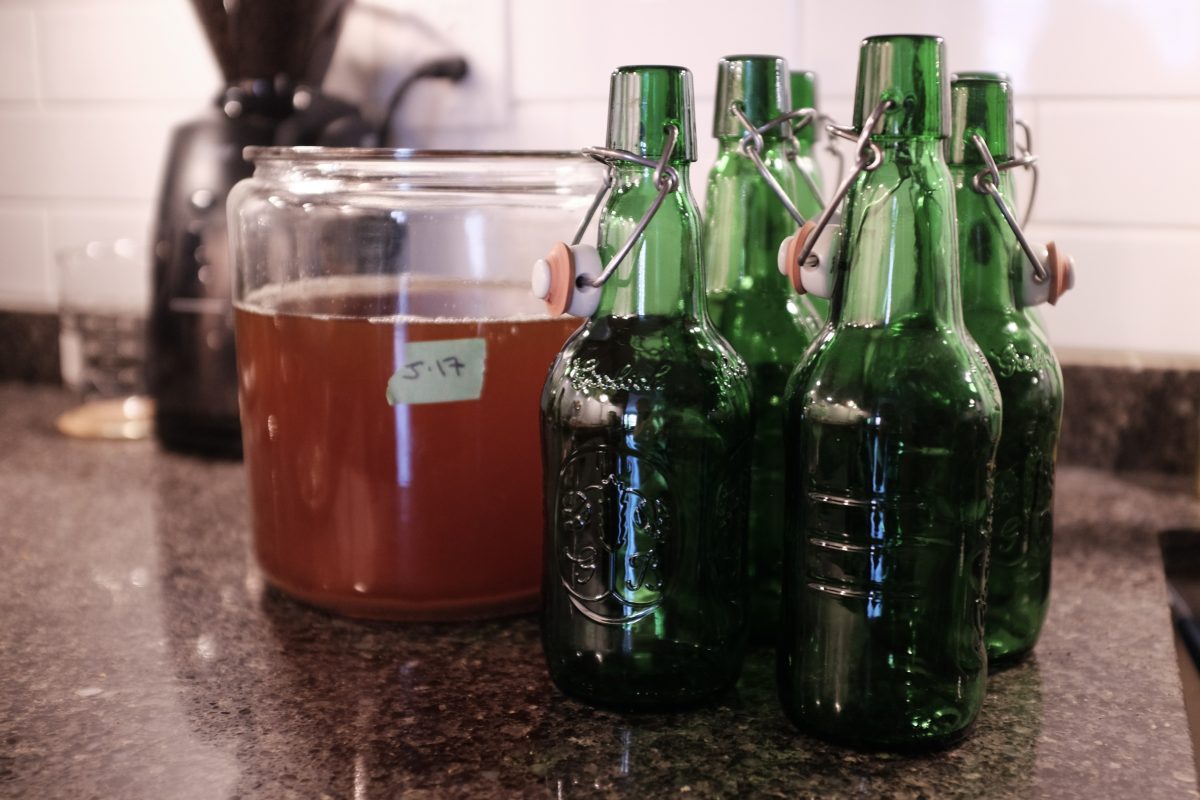
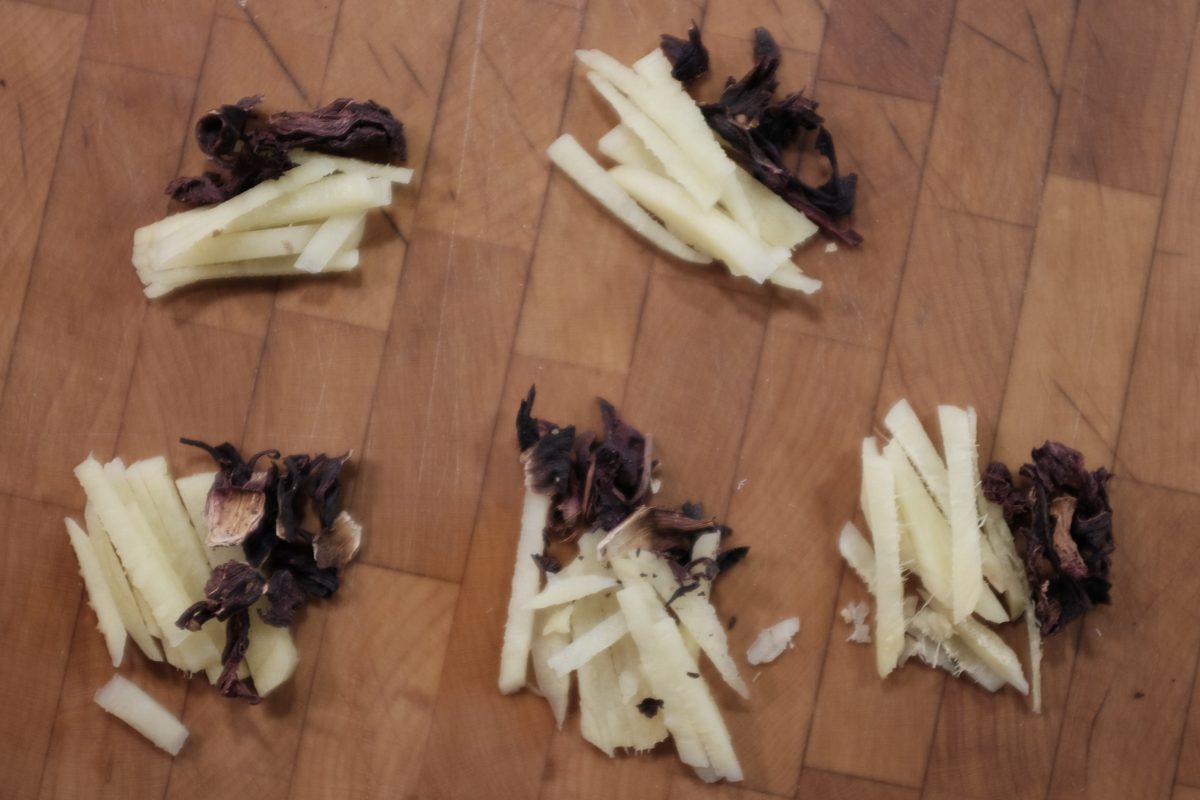
Additional Ingredients / Second Ferment
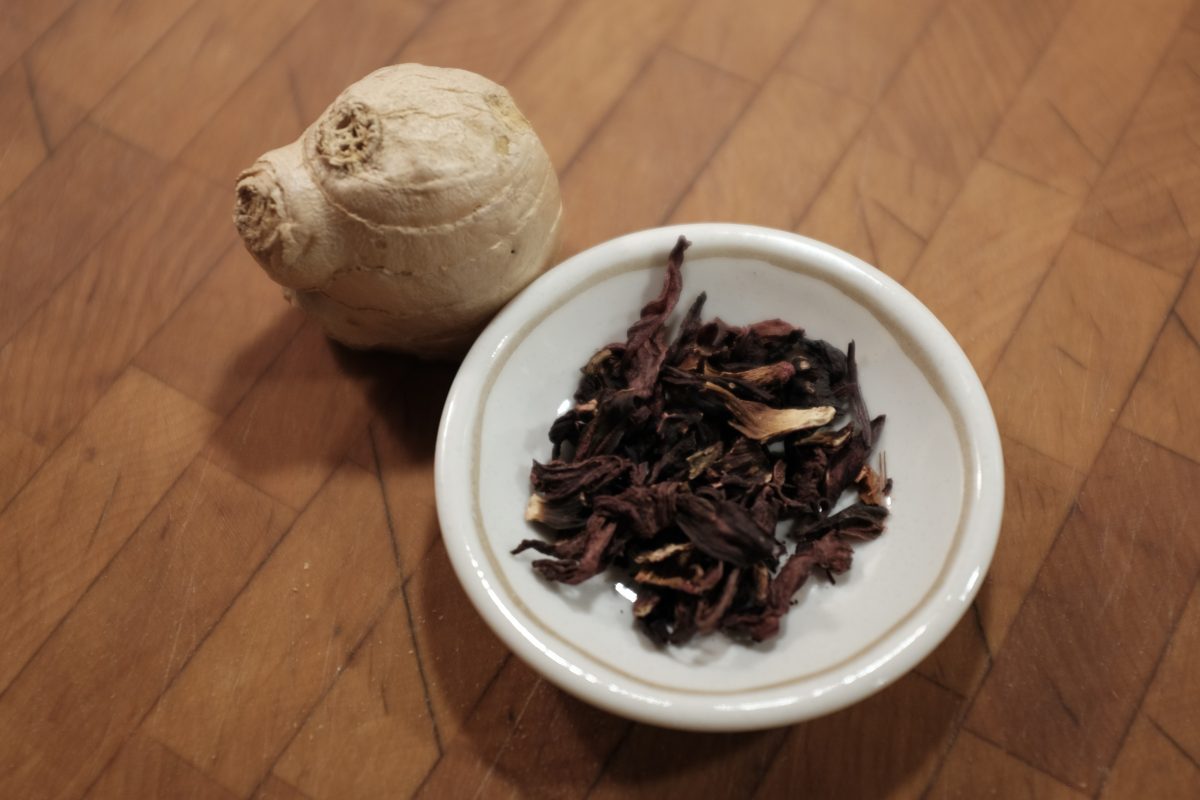
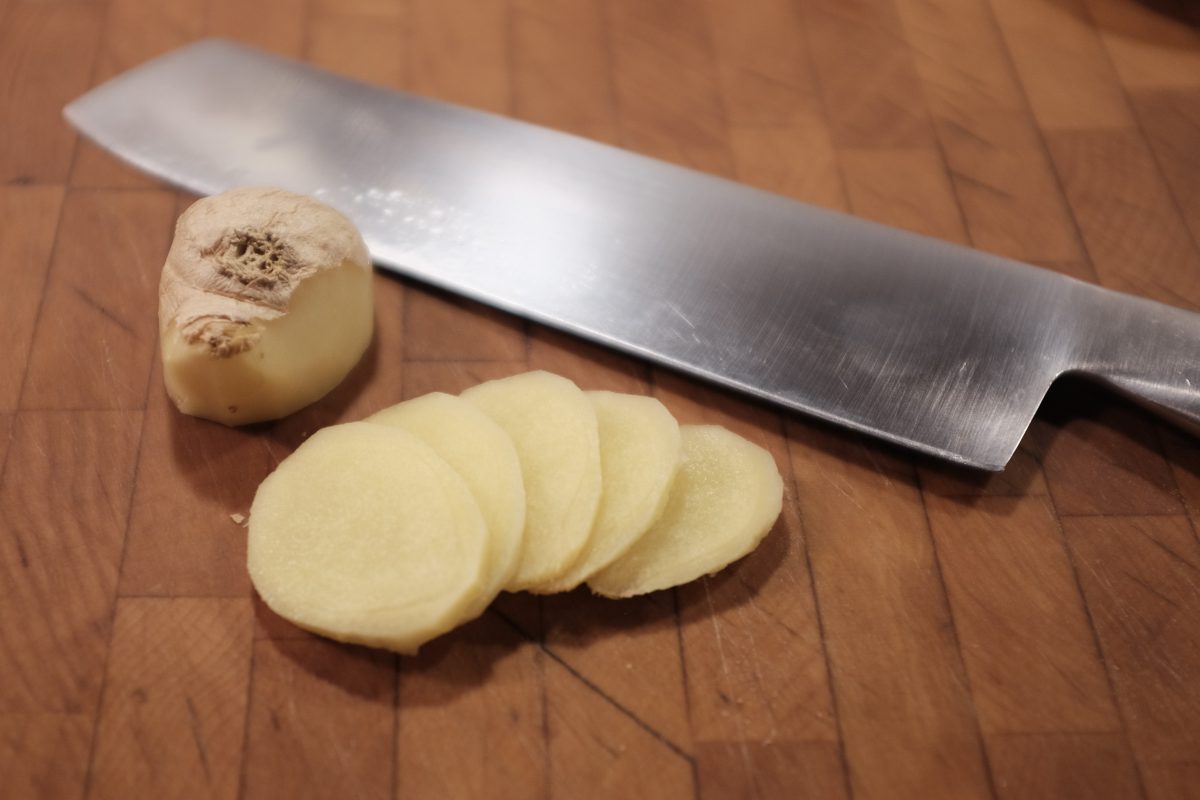
You can bottle your fermented tea just as it is. It will be delicious. Or, if you like, you can also add some aromatics as you bottle. I almost always add fresh ginger and dry hibiscus flowers to mine. The ginger adds a little sweet snap to the brew and the hibiscus add a little tang and a beautiful rosey colour.
Over the years I have tried citrus peels, cinnamon sticks, all kinds of herbs and spices and I always come back to ginger and hibiscus. It is a winning combination with the fermented tea. You can usually find whole dried hibiscus flowers in any spice shop, asian grocery store or Mexican grocery (where it is called Jamaica). It may also be under the name Rose of Sharon. It is all the same thing and definitely worth seeking out.

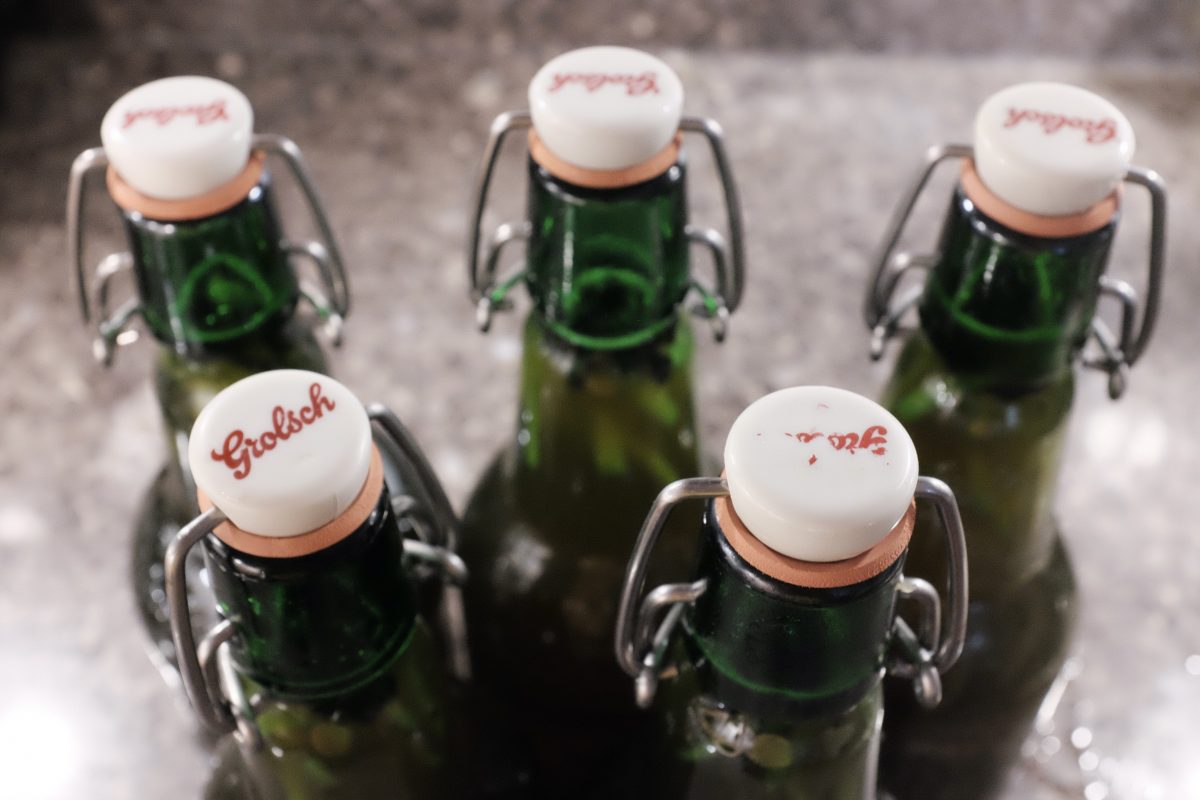
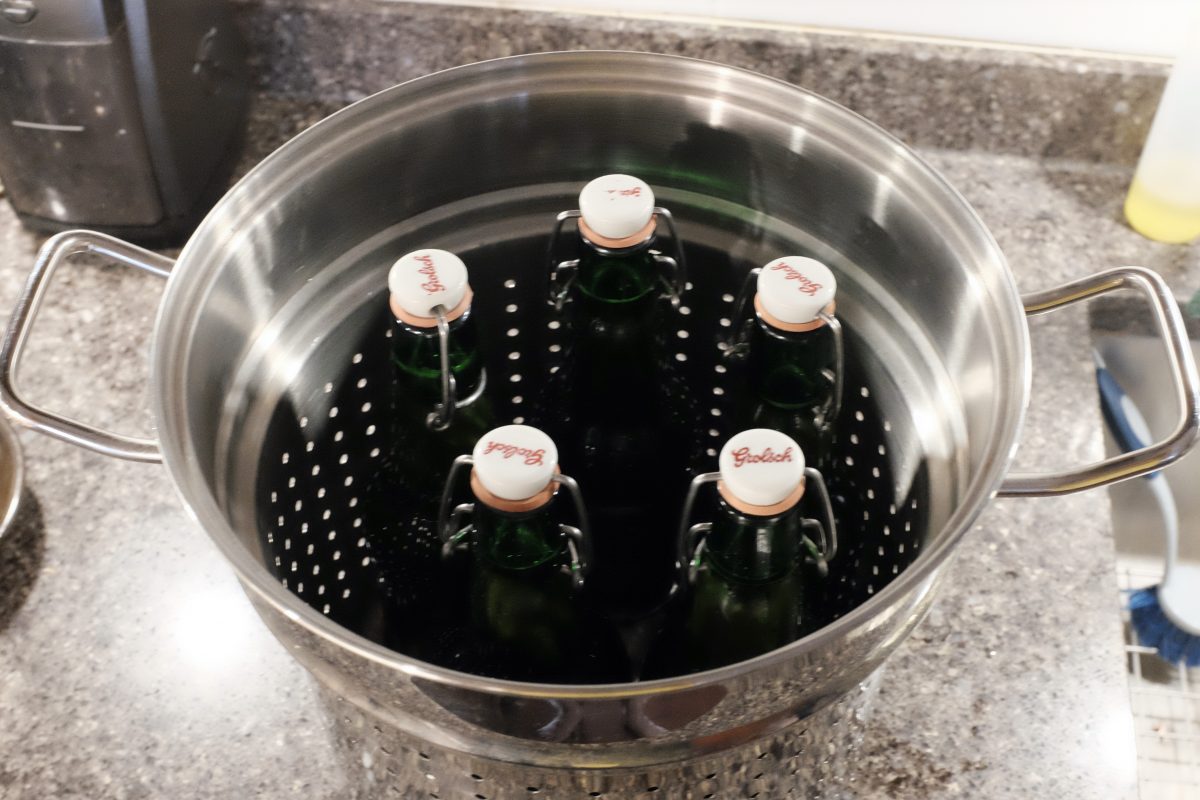
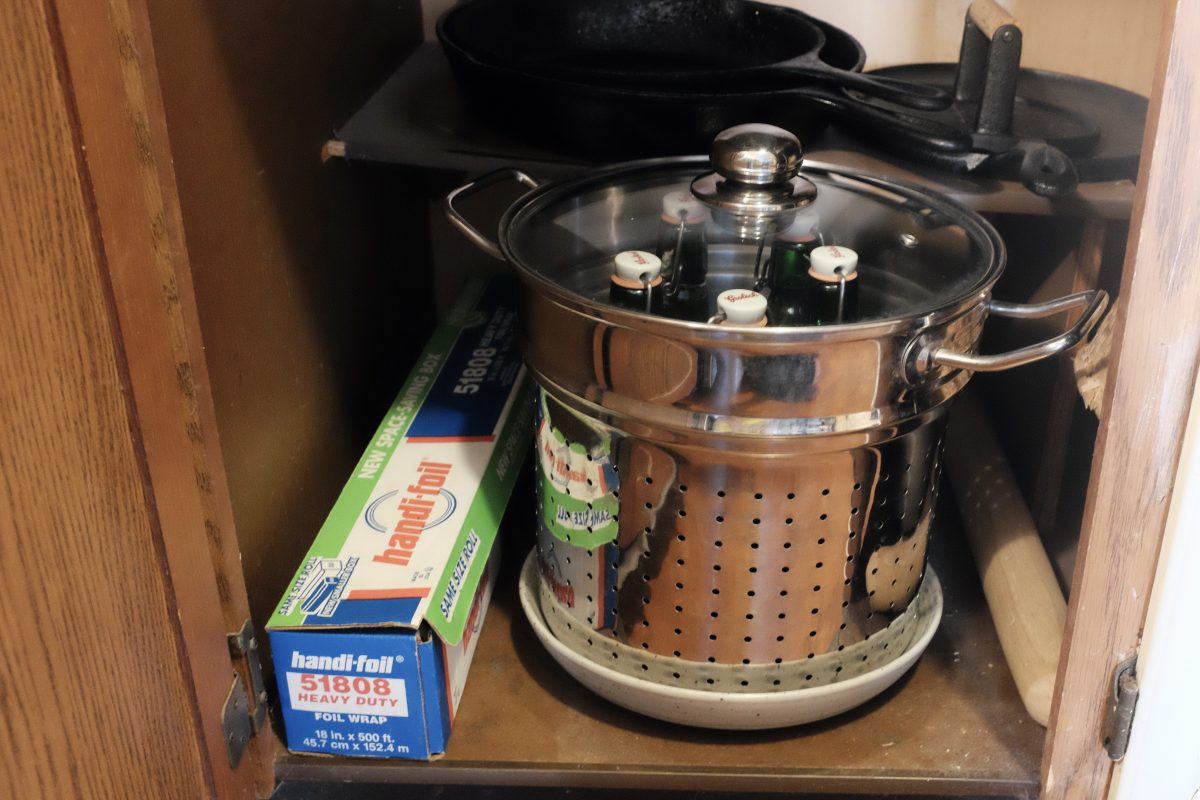
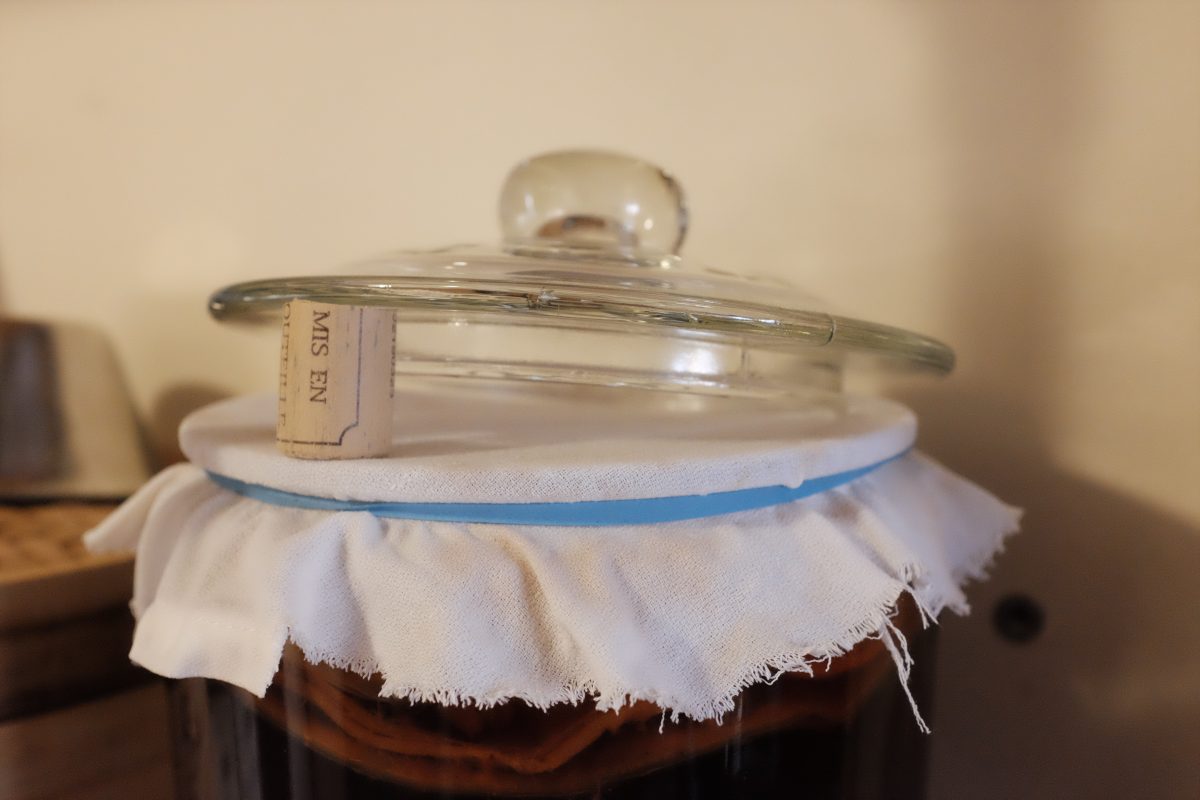
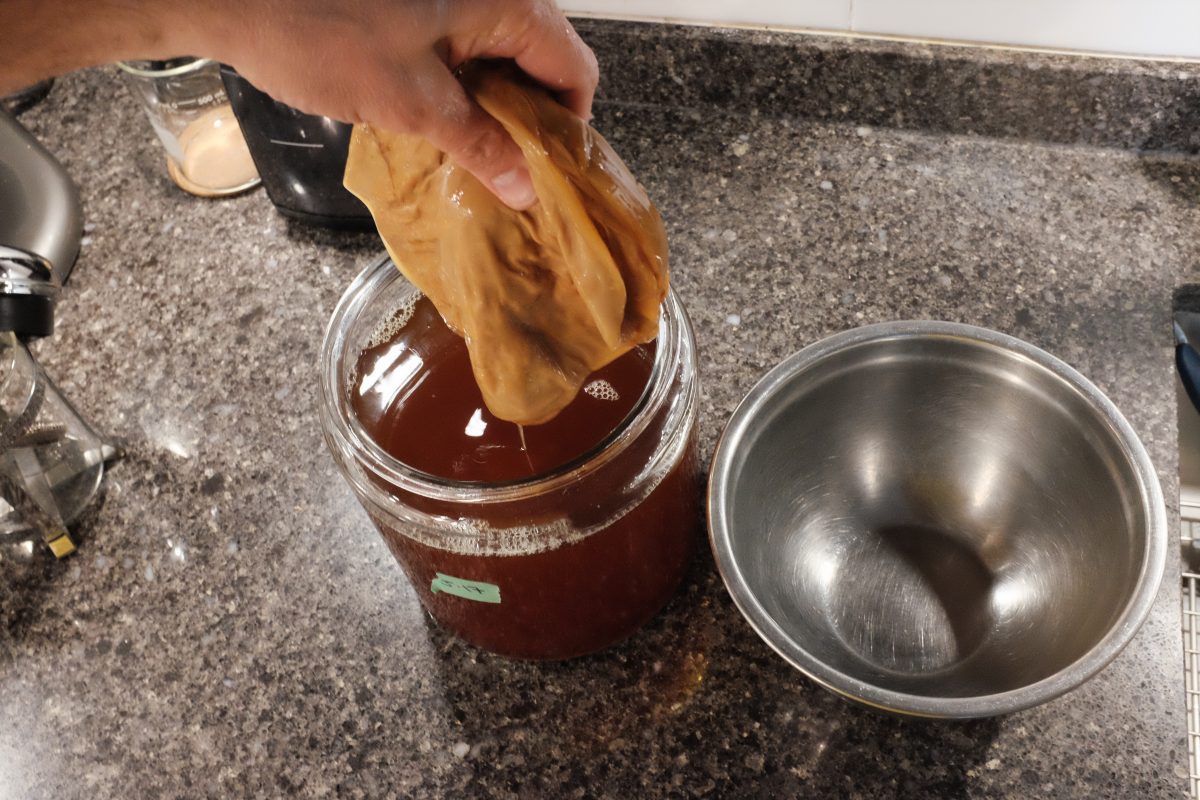
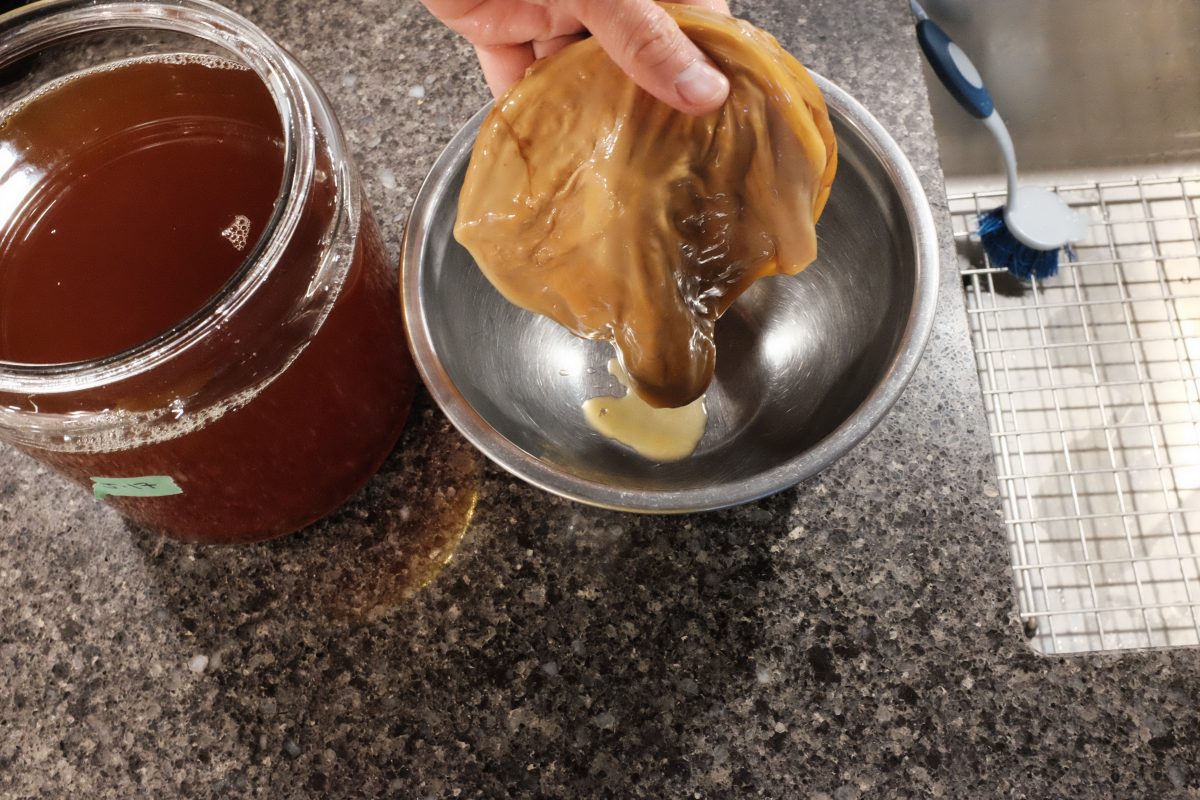
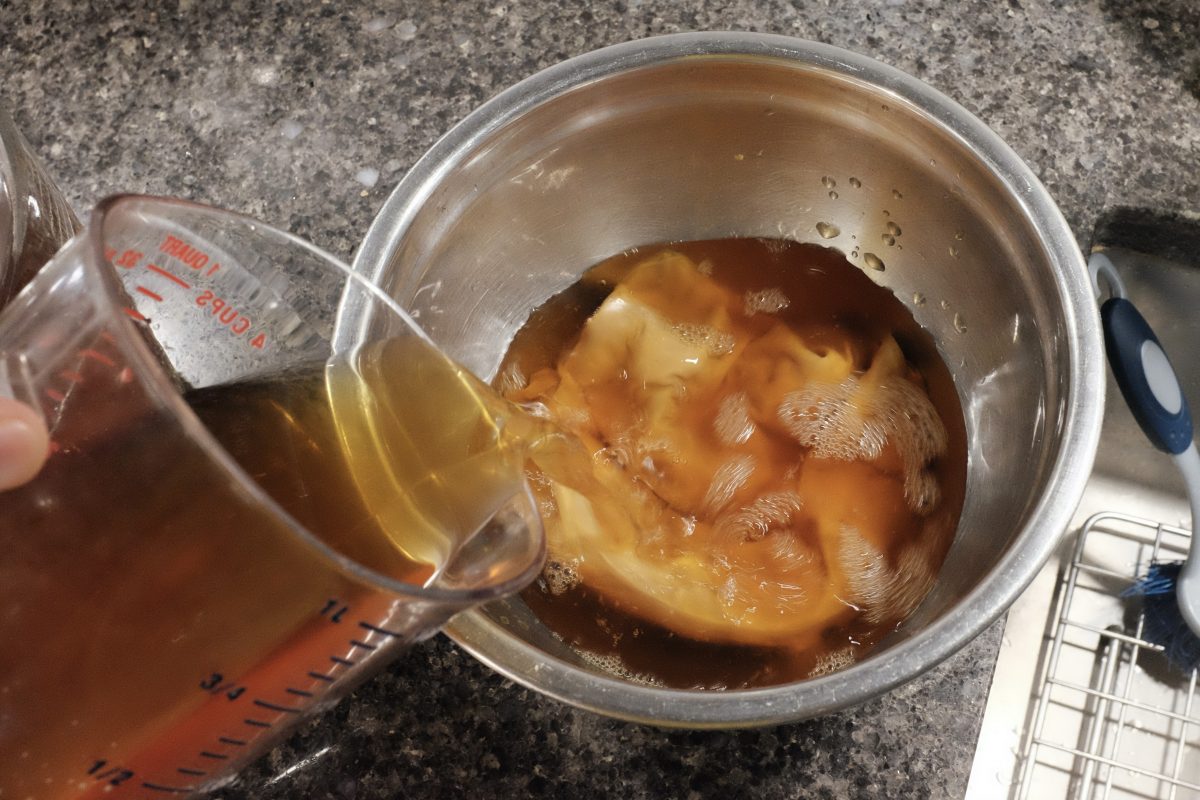
Scoby Storage
3 days later…
After 3 days in the bottle at room temperature, place the bottles in the fridge. The brew is done.

The finished brew is perfect as is but, feel free to add a squeeze of lemon or a few drops of honey or anything else you might want to try. If the flavour is too intense, you can cut it with bubbly water. I often do this if I am drinking this with more subtle flavoured foods.
If you have any questions, comments or suggestions, please leave them below. I always look forward to hearing from you. If you enjoy the content and would like to contribute towards website maintenance and development, you can make a donation here. Thank you for reading TigerSalad.
Roasted Peanut and Anchovy Banchan
Roasted Peanut and Anchovies:
This is one of my all time favourite Korean side dishes. It is much more common to see it called Fried Anchovy and Peanut / 멸차땅콩볶음 but this version has far more peanuts than fish so I reversed the name to Peanut and Anchovy / 땅콩멸치볶음. There are a few different grocery stores around me that sell ready made versions and I have tried all of them. Some are spicy, some are not and the ratio of anchovy to peanut is all over the place. Some are mostly anchovy, some half and half and some (in the cheaper places) are mostly nuts with just a few fish. Peanuts are cheaper than dry anchovies by far. This recipe is a mostly peanut version..which is really the one I love most. I also have an anchovy only recipe here.
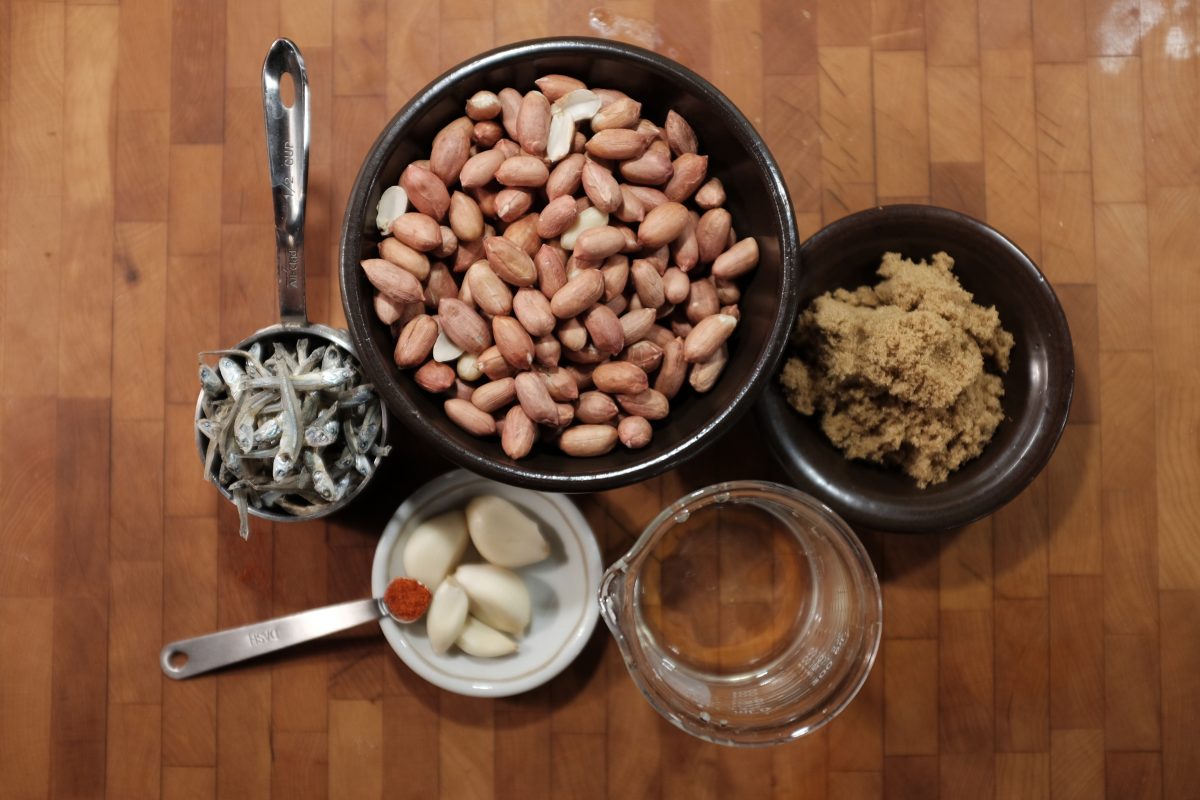
Ingredients:
- 250 grams (about 1.5 cups) dry non-roasted peanuts
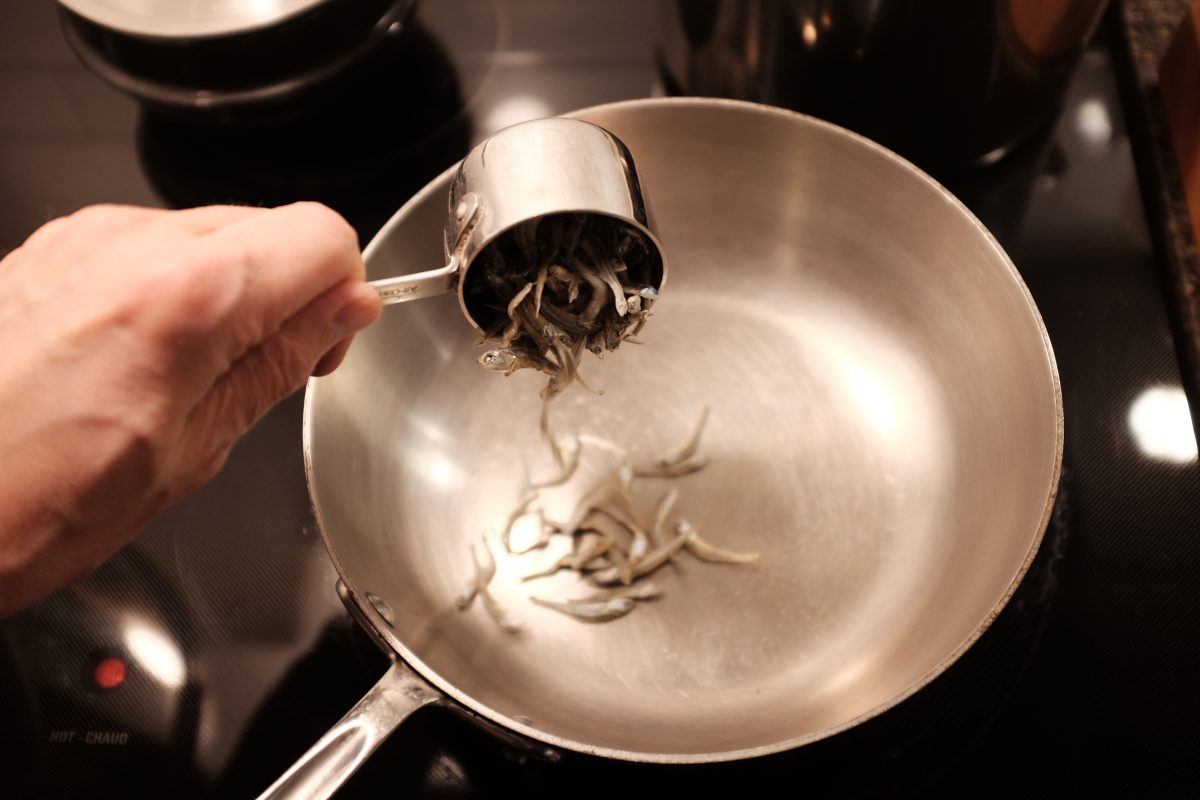
- 25 grams (1/2 cup) medium small dried anchovies
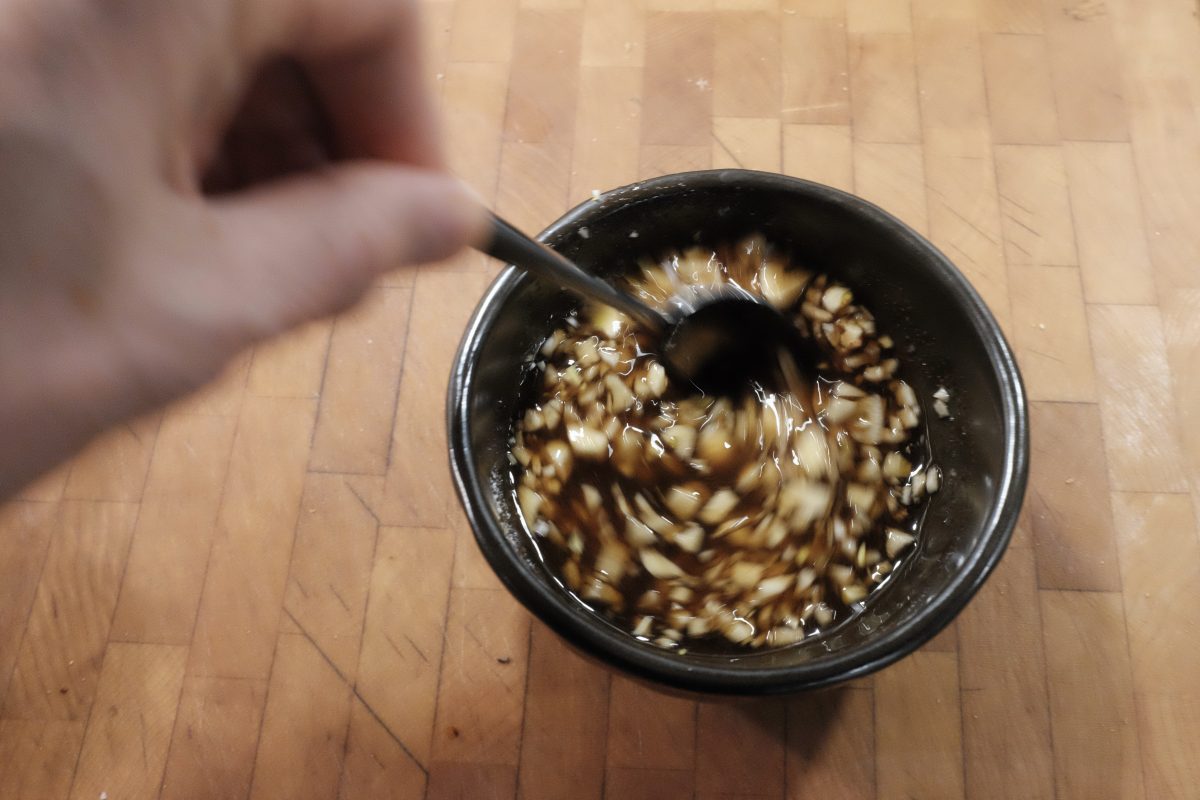
- 45 grams (3 tablespoons) brown sugar
- 50-60 ml (4 tablespoons) water
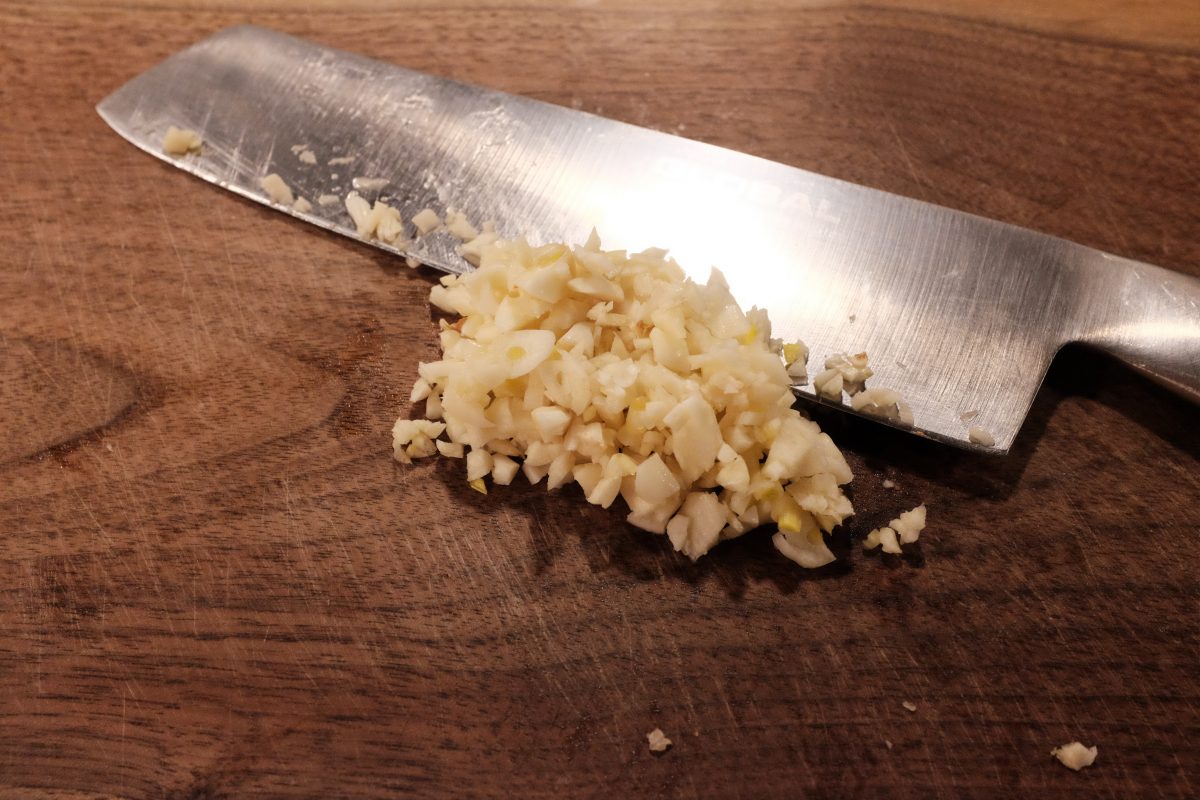
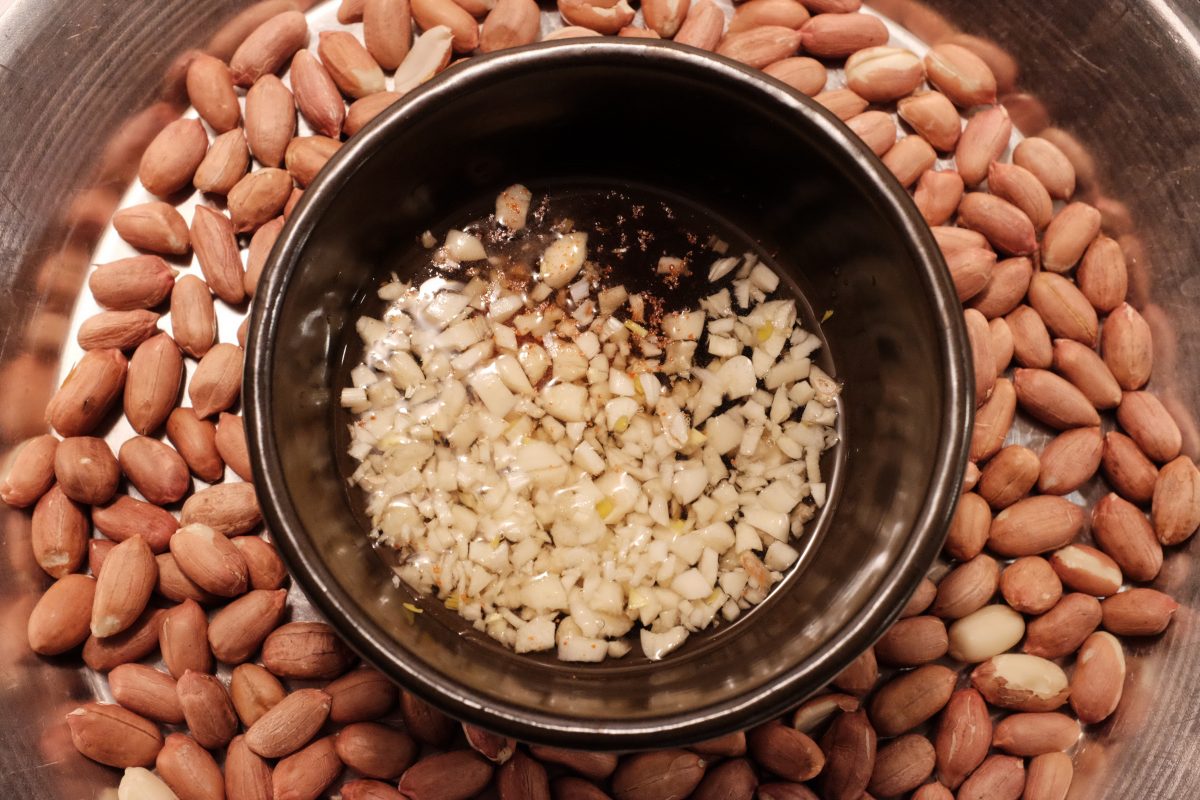
- 4-5 cloves of garlic
- pinch of korean chili flakes (gochugaru)
- sesame oil and sesame seeds (optional but tasty)
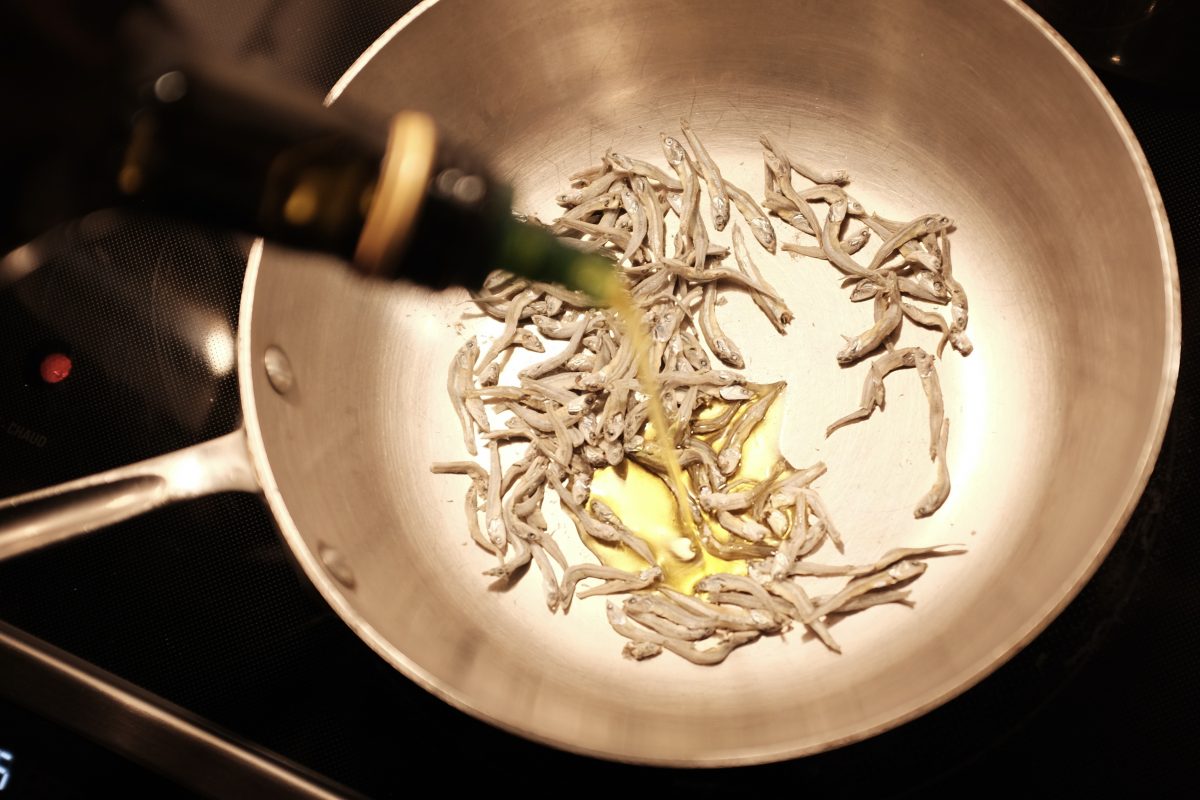
- olive oil for frying
Feel free to change the ratio of peanuts to anchovies. You can even make this without anchovies for a vegan side dish.
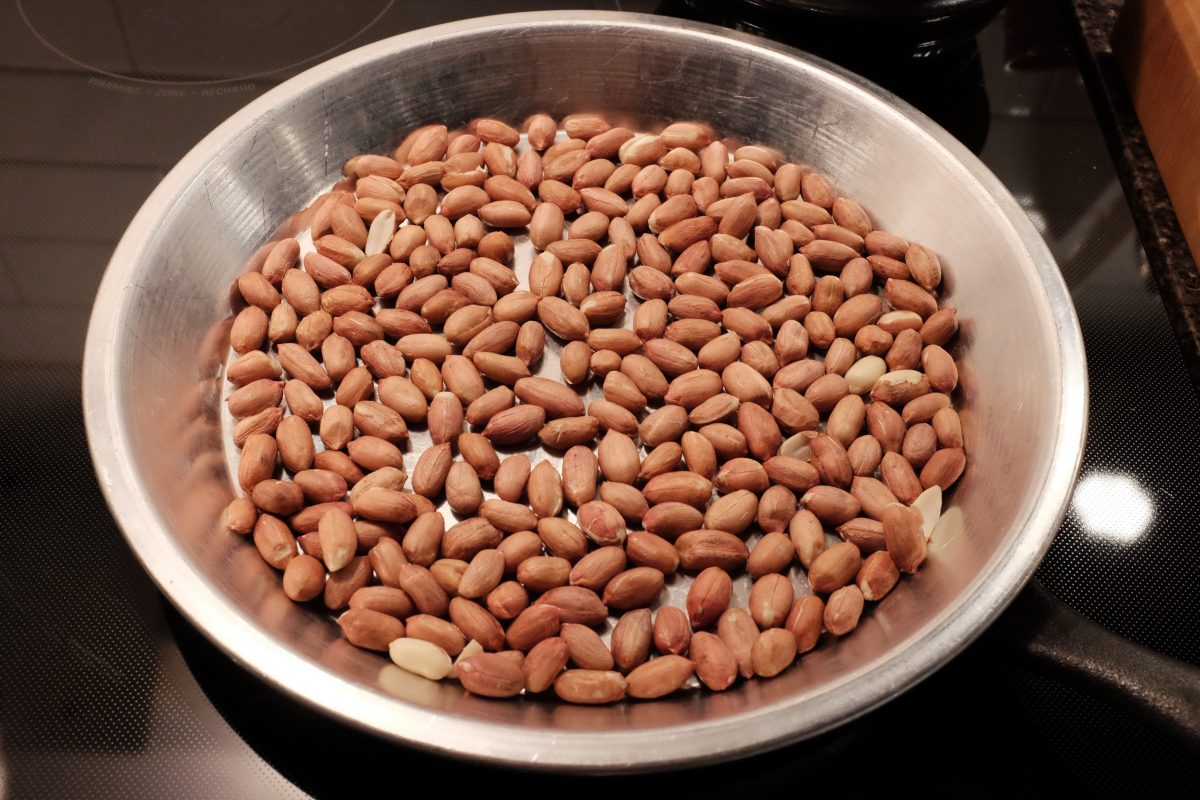
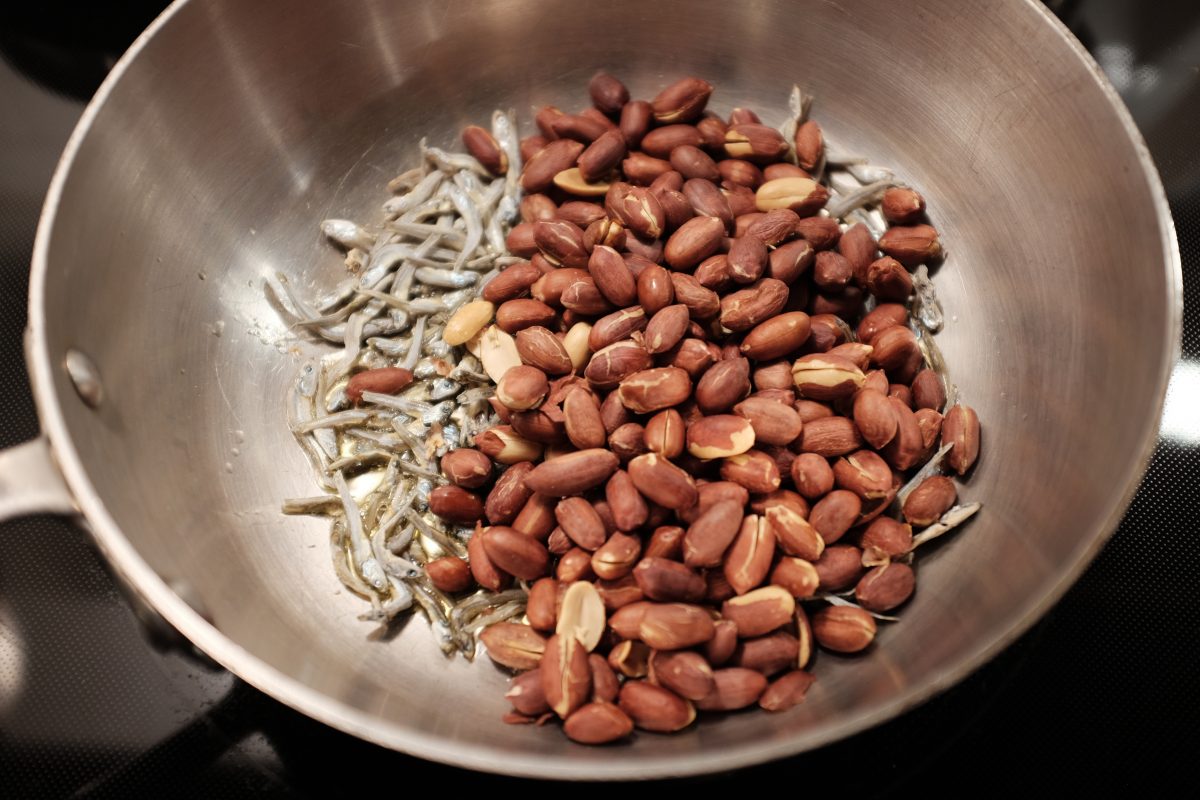
The peanuts should be non-roasted and unsalted. I found these red skin dry (but not roasted) peanuts at a local asian grocery store. If you can’t find raw peanuts…you can substitute roasted peanuts and skip the oven step.
I am using medium small dried anchovies. They are roughly twice the length of a peanut and probably the biggest anchovy I would use without gutting them. I found these at a Korean grocery store in the freezer section.
You can use white sugar instead of brown.
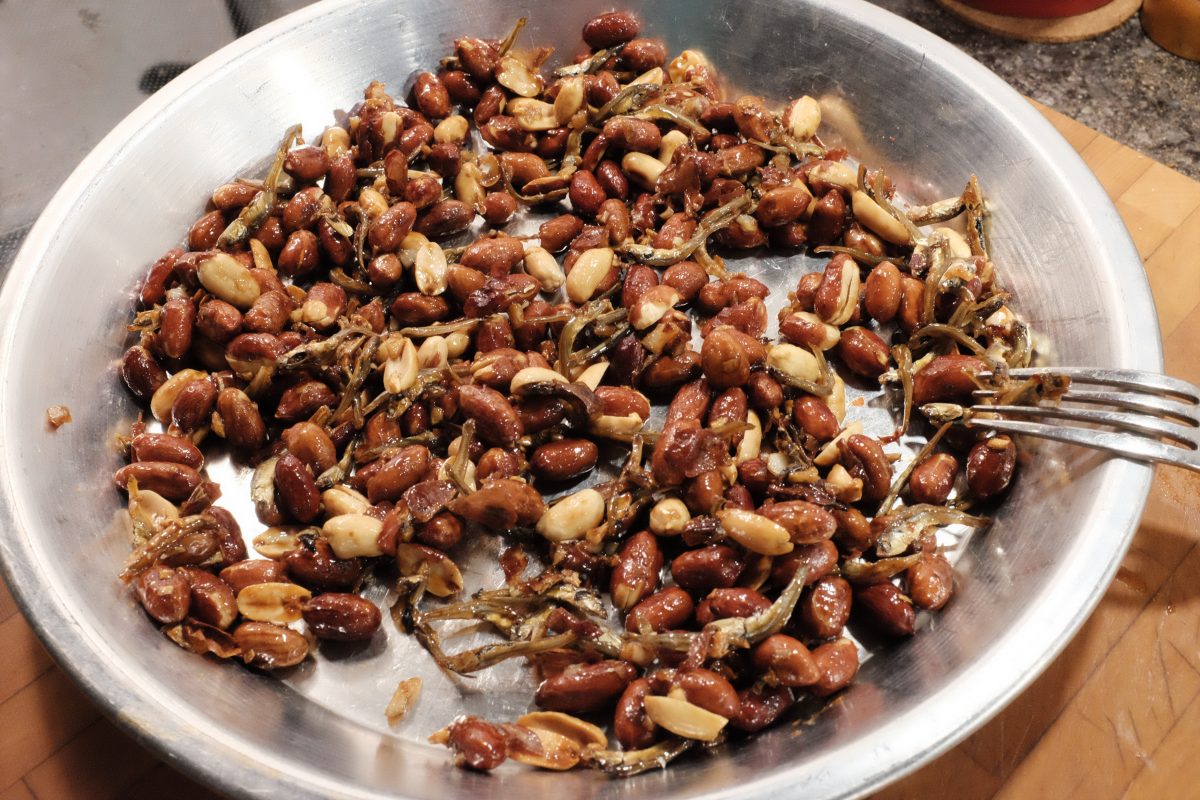
Process:

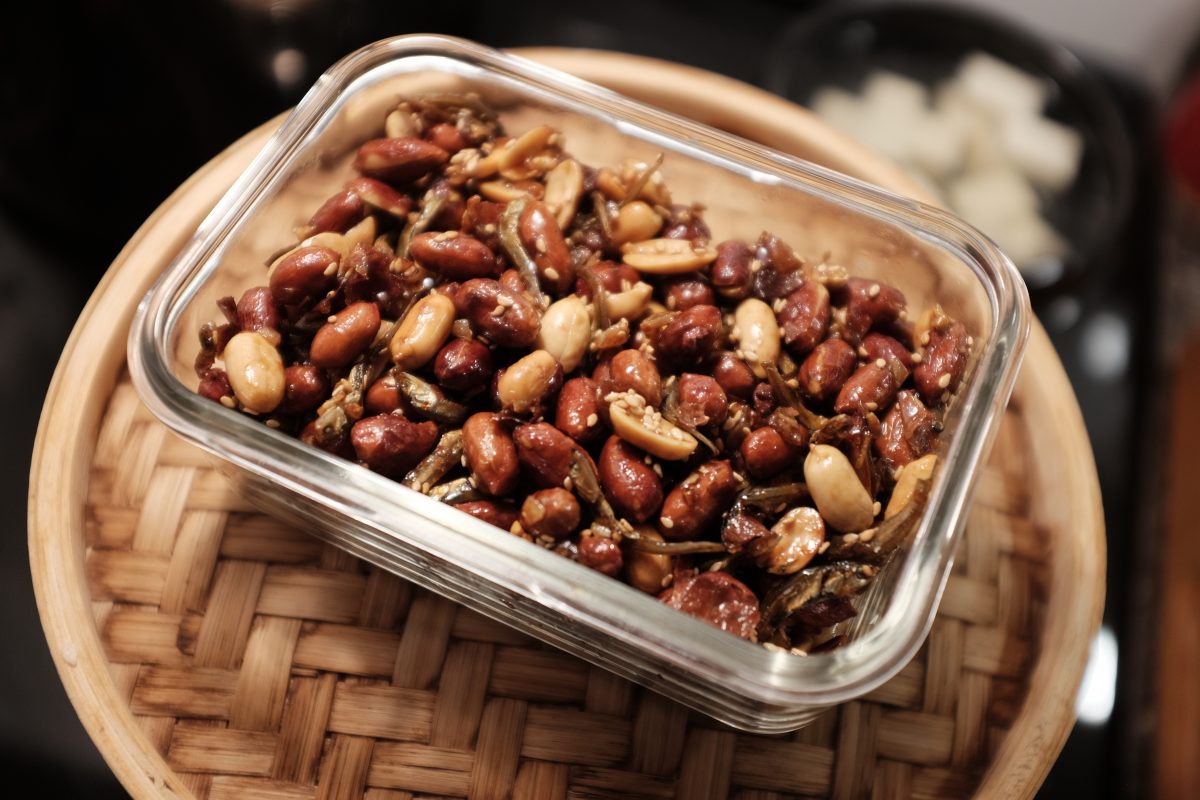
How to eat them
These are delicious to eat straight out of the container with a beer, like a bar snack while you watch a movie. You can, of course, serve them as a side dish to any food. Probably my favourite way to eat these is to use them as a crunchy topping on fresh salad. The deep savoury and nutty sweetness can really make a pretty plain salad extraordinary.
If you have any questions, comments or suggestions, please leave them below. If you enjoy the content and would like to contribute towards website maintenance and development, you can make a donation here. Look forward to hearing from you and thank you for reading TigerSalad!