Posts in Category: Fermentation
Simple Kombucha Recipe
What is kombucha?
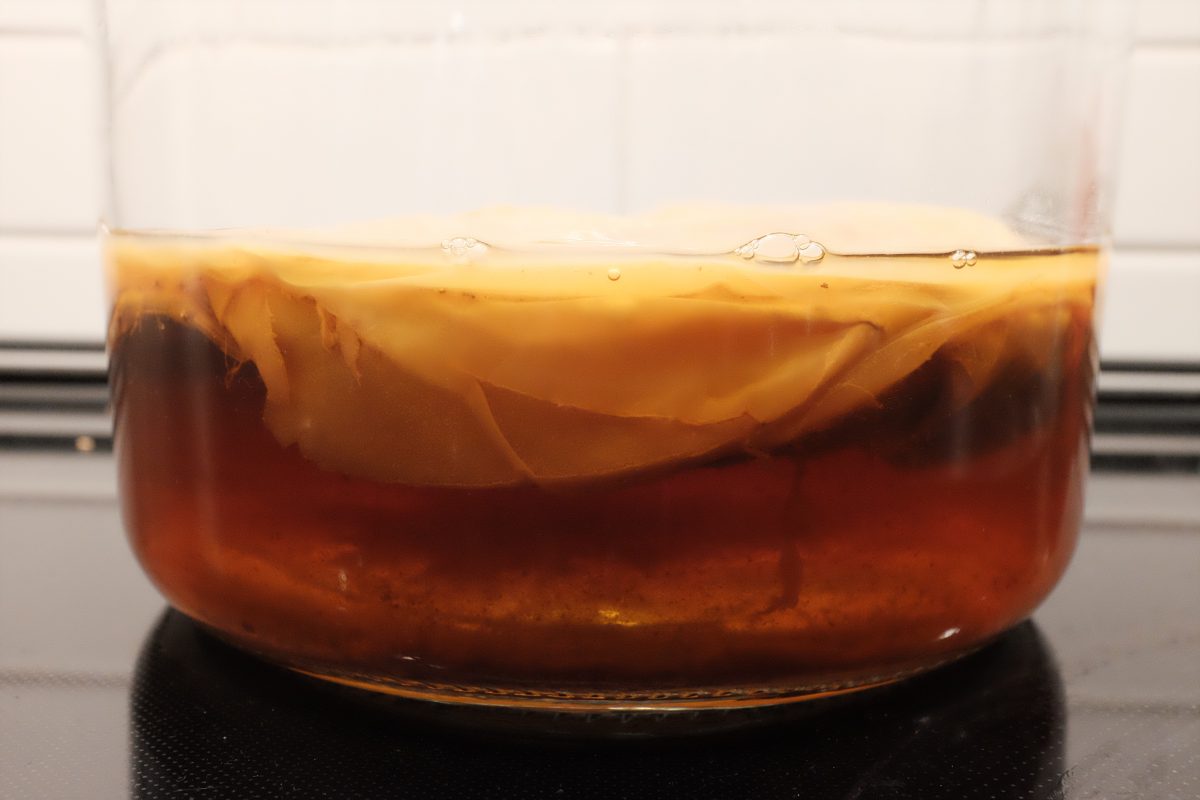
In it’s simplest form kombucha is black tea fermented by a symbiotic culture of bacteria and yeast (SCOBY) in the presence of sugar. There are probably thousands of good articles out there that explain this process in great detail…so I won’t add to the pile. In this article, I only want to provide a simple recipe with a clear process for myself and anyone else who might want to try making kombucha.
Why kombucha?
In addition to having a long and mythical history, kombucha is purported to have many health benefits (the final ferment contains live probiotic bacteria). I make it because it is fun, it makes my kitchen smell interesting and funky and it is delicious and refreshing. It is a terrific substitute for soda when you are eating anything heavy or greasy. It’s great with pizza and burgers but even works with more delicate flavours like sushi and sashimi.
Ingredients:
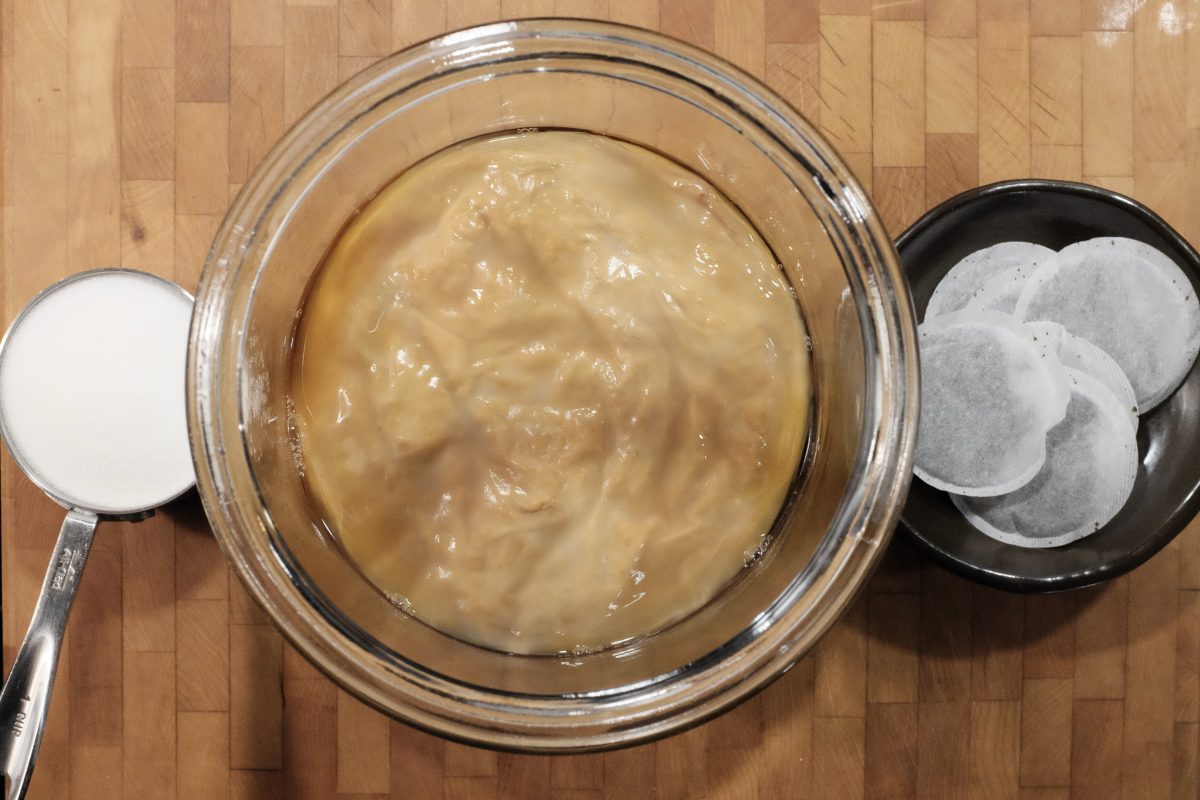
- 1 SCOBY
- 6 black tea bags (I am using orange pekoe)
- 1 cup regular white sugar
- 12 cups of water
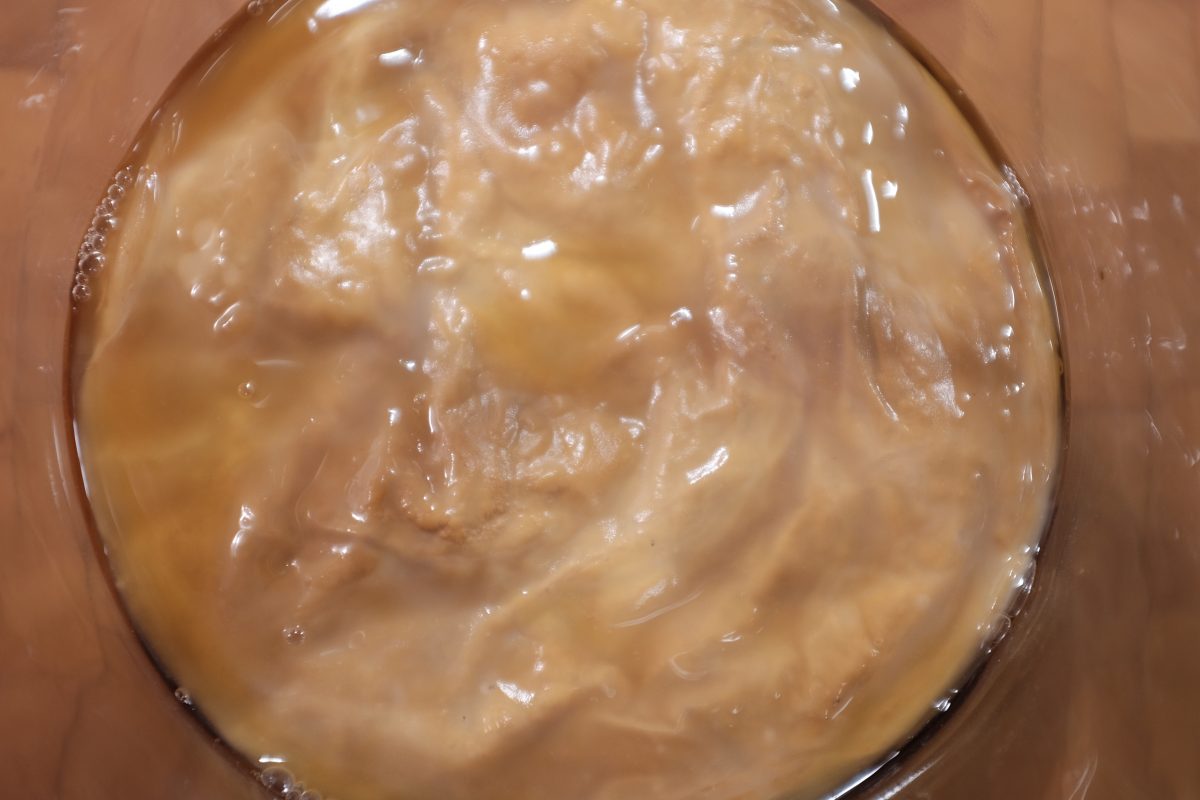
You can’t really “make” a SCOBY. You will have to buy one online or get one from someone who is brewing. Once you have one, it will grow with every batch and you can peel off layers to share with fellow brewers. I got mine from my lovely downstairs neighbour.
You can just use cheap everyday tea bags. I am using orange pekoe bags from the grocery store. Use black tea and avoid anything flavoured (for now). I like these round Tetley brand ones…they are very strong and brew up to a nice colour and aroma.
Process
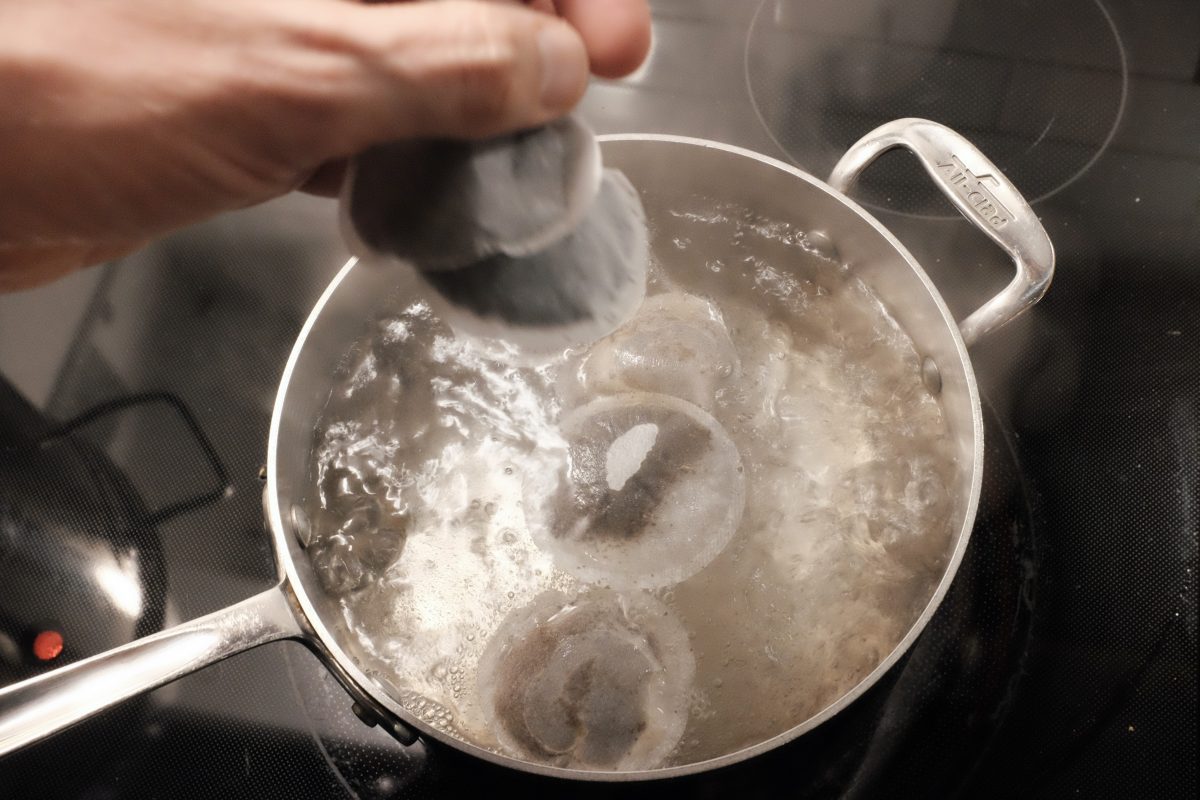
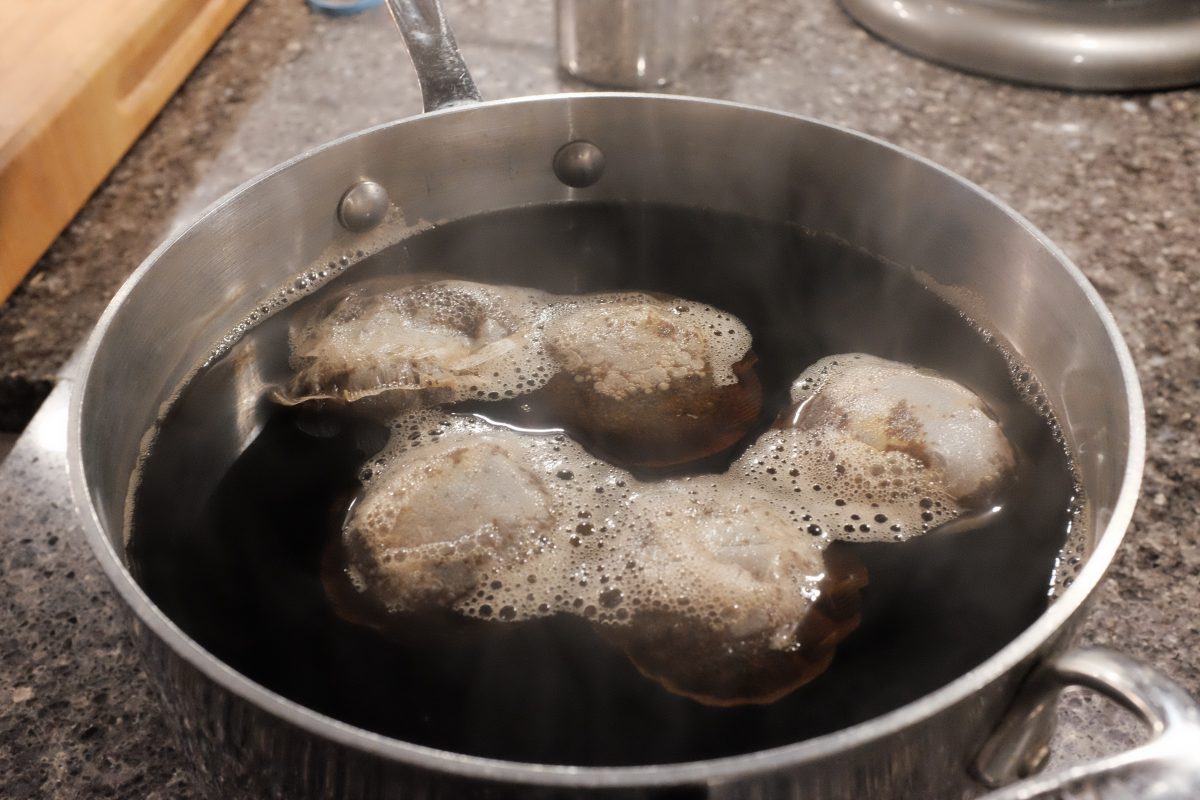
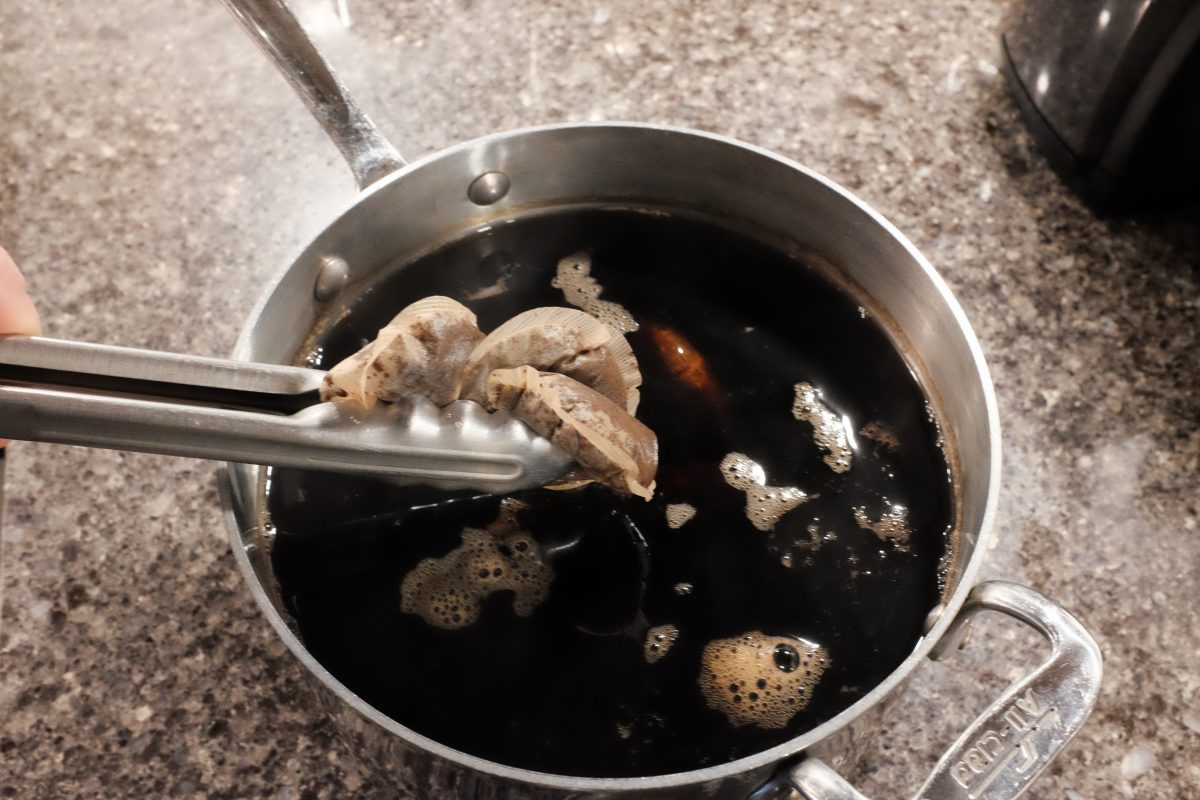
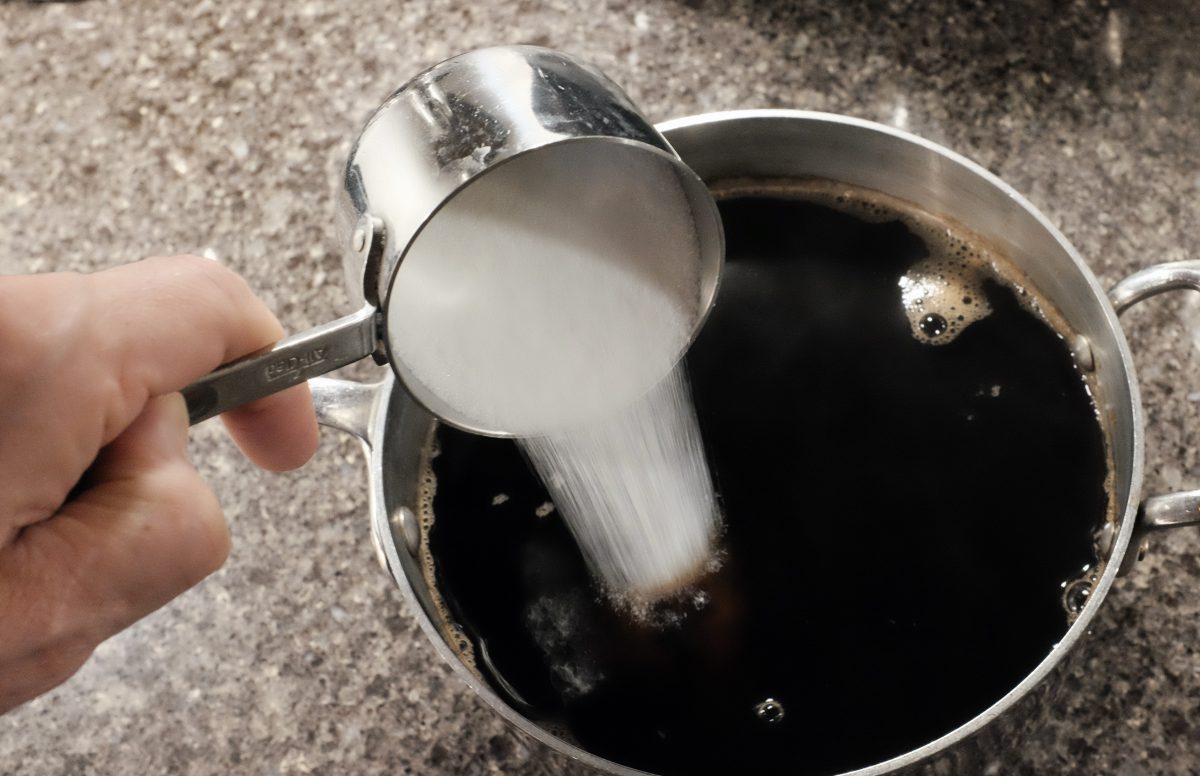
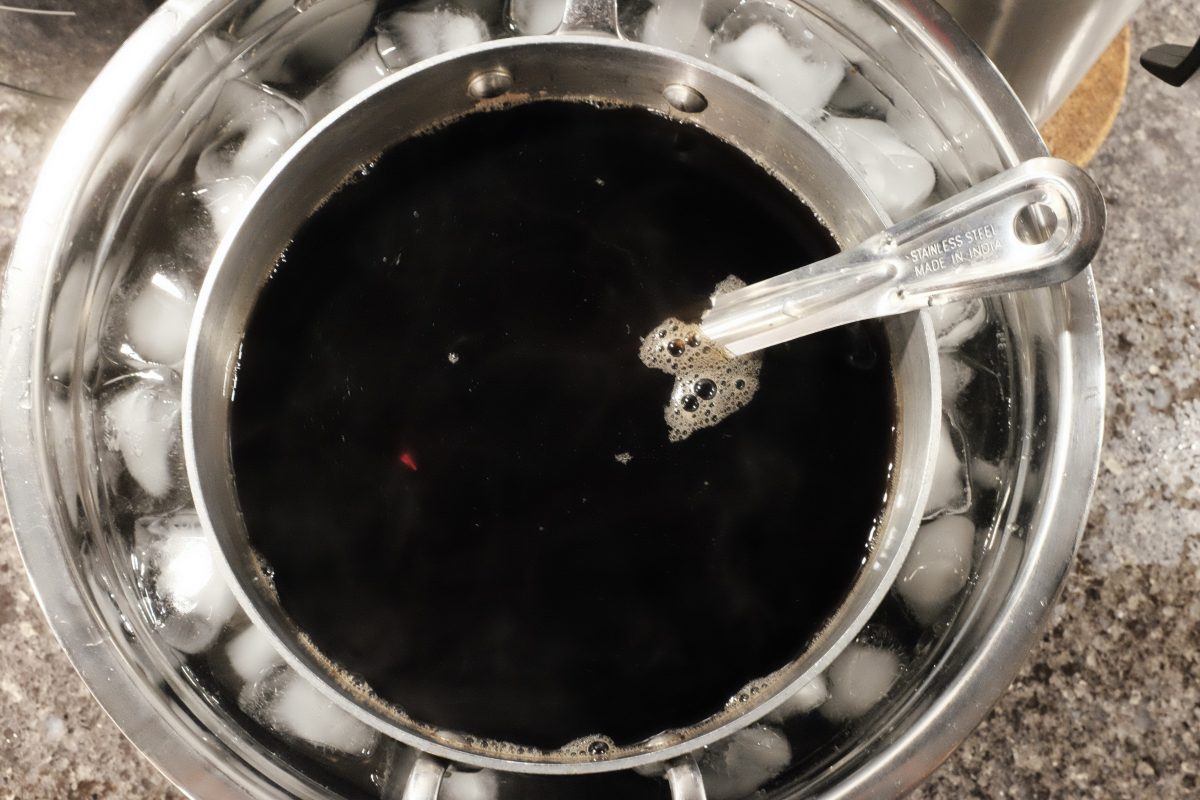
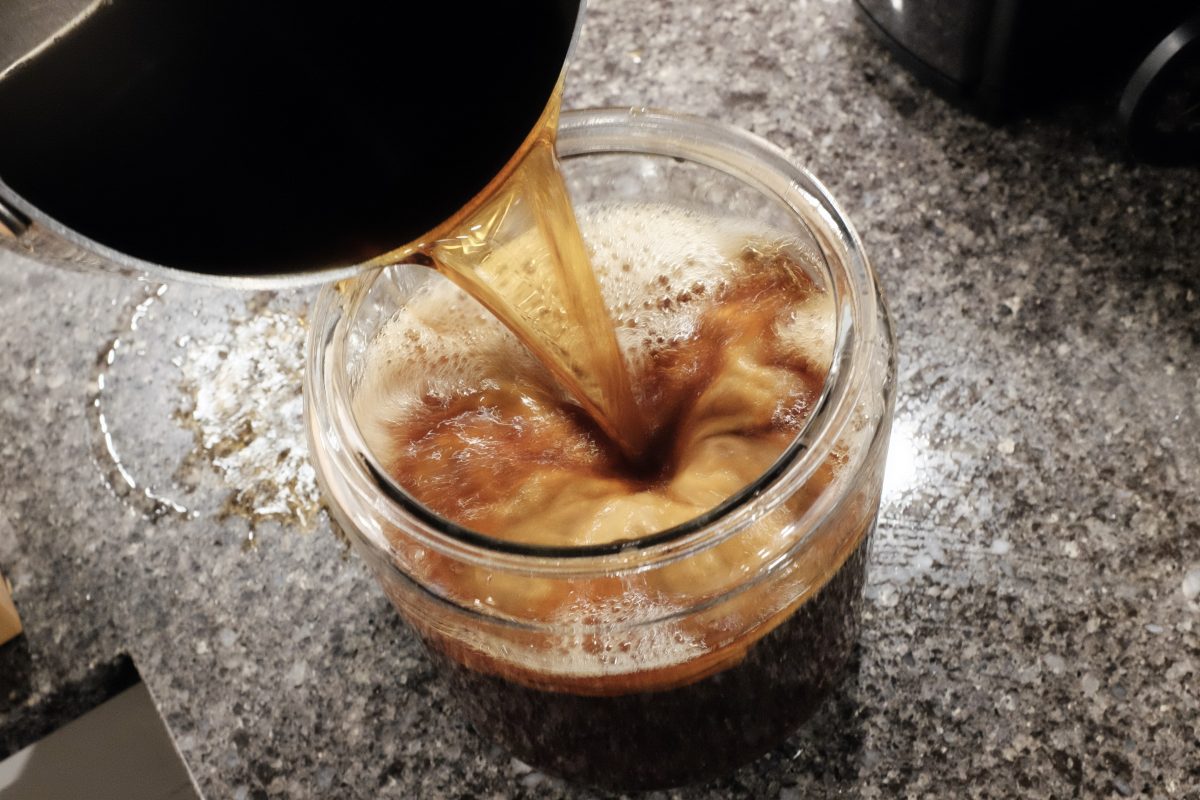
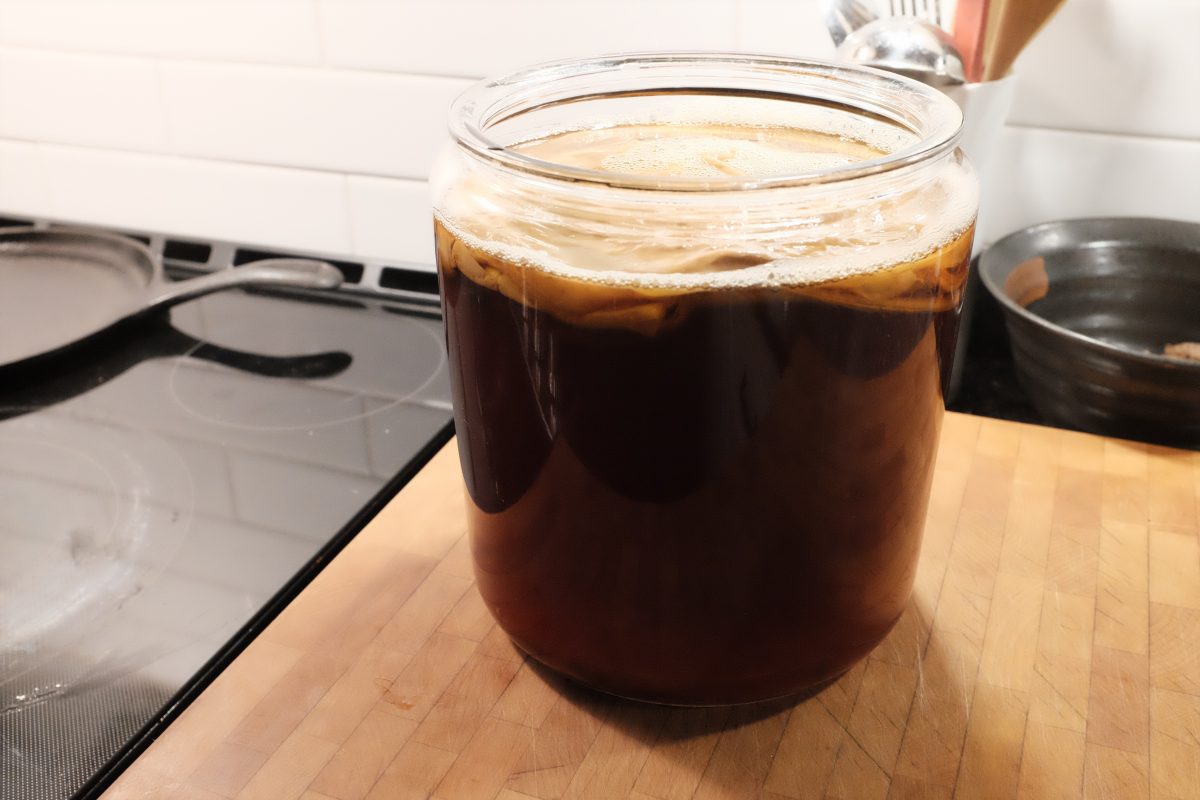
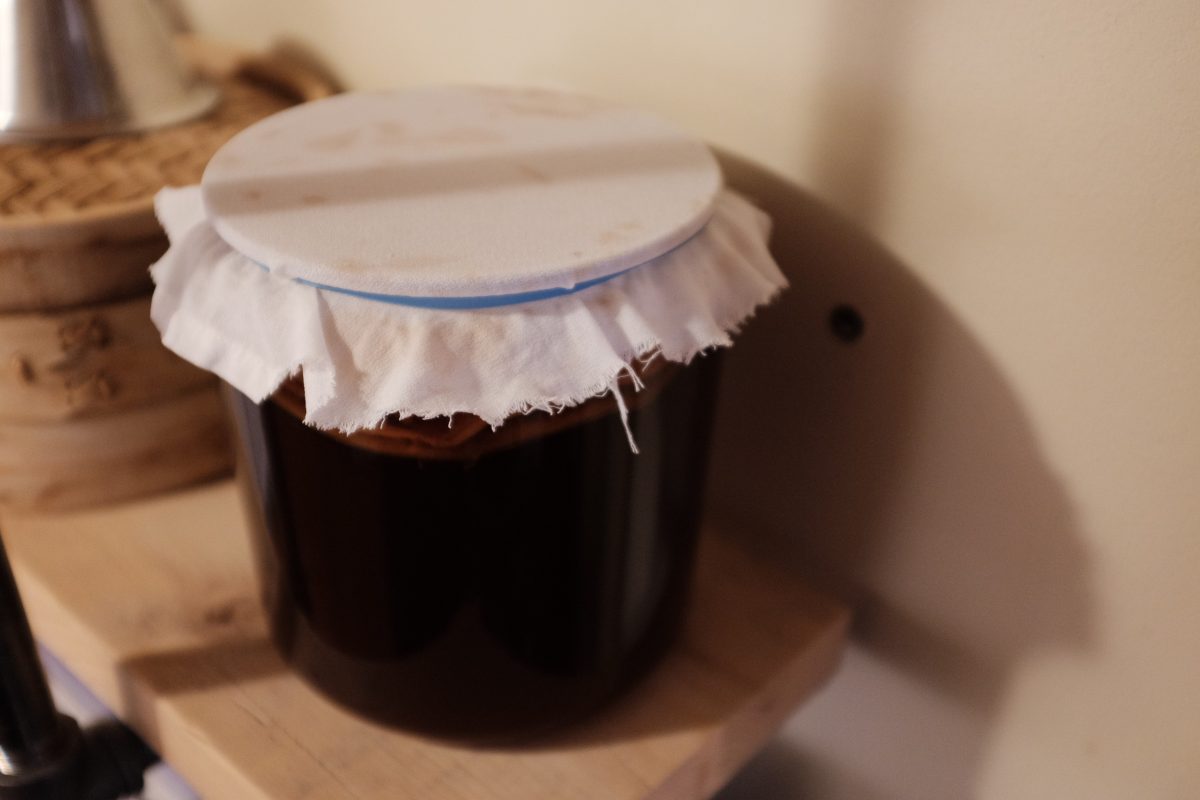
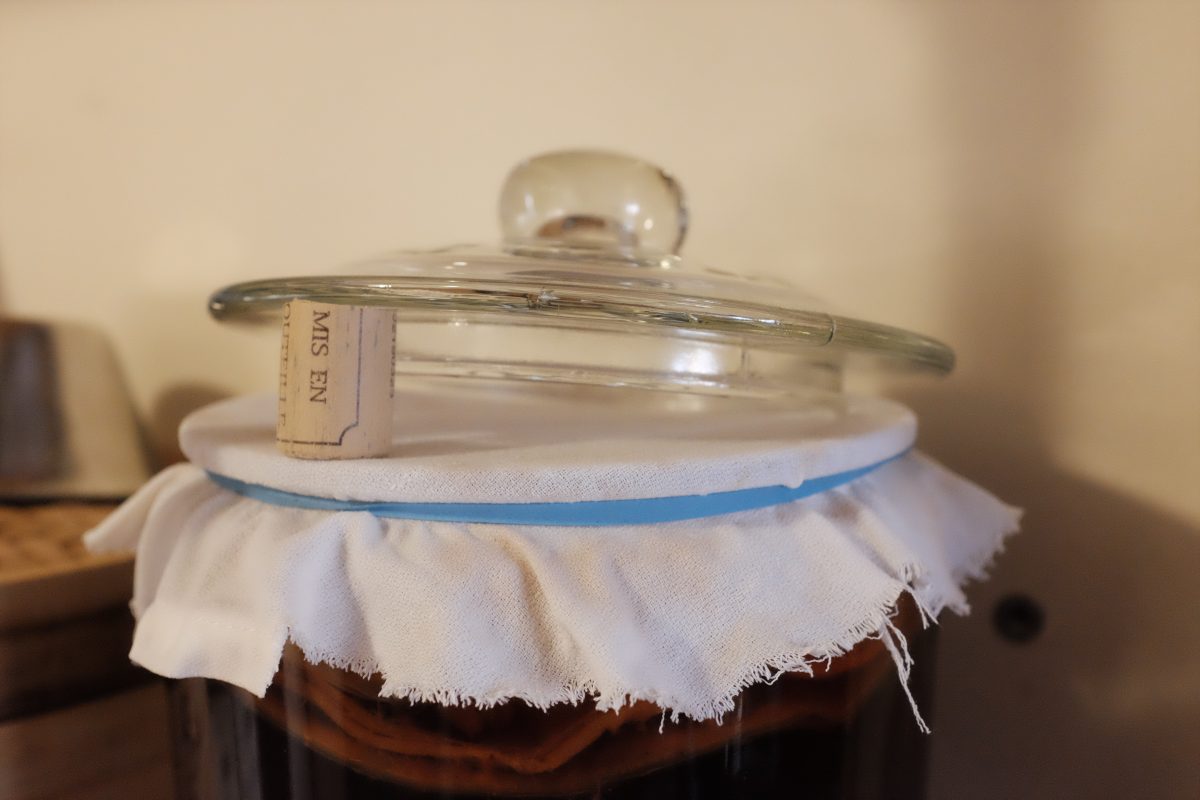
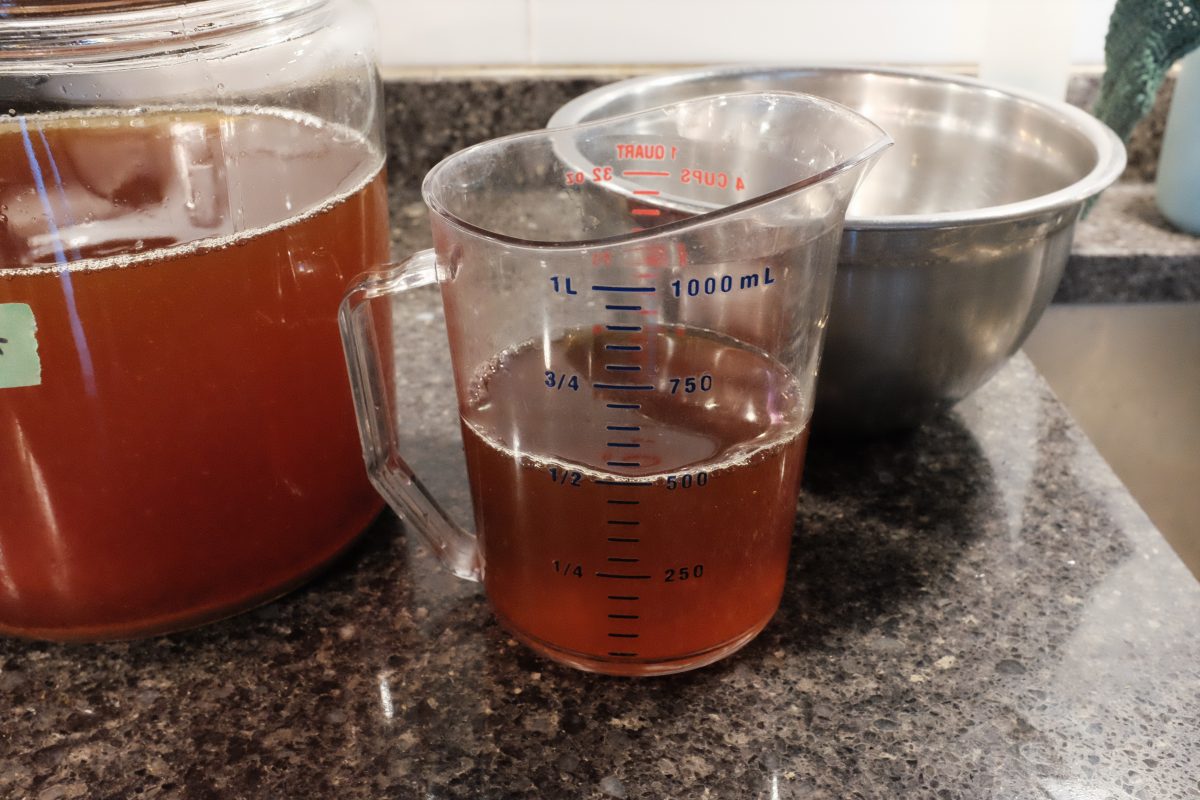
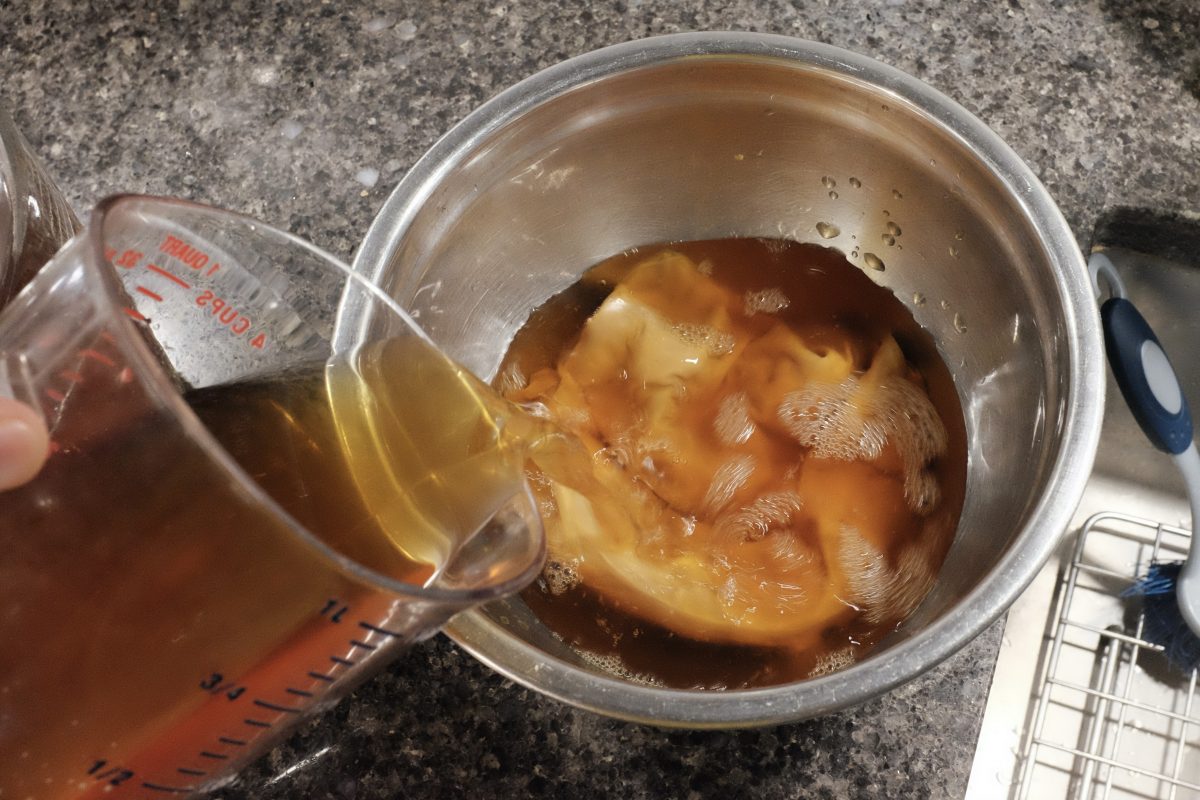
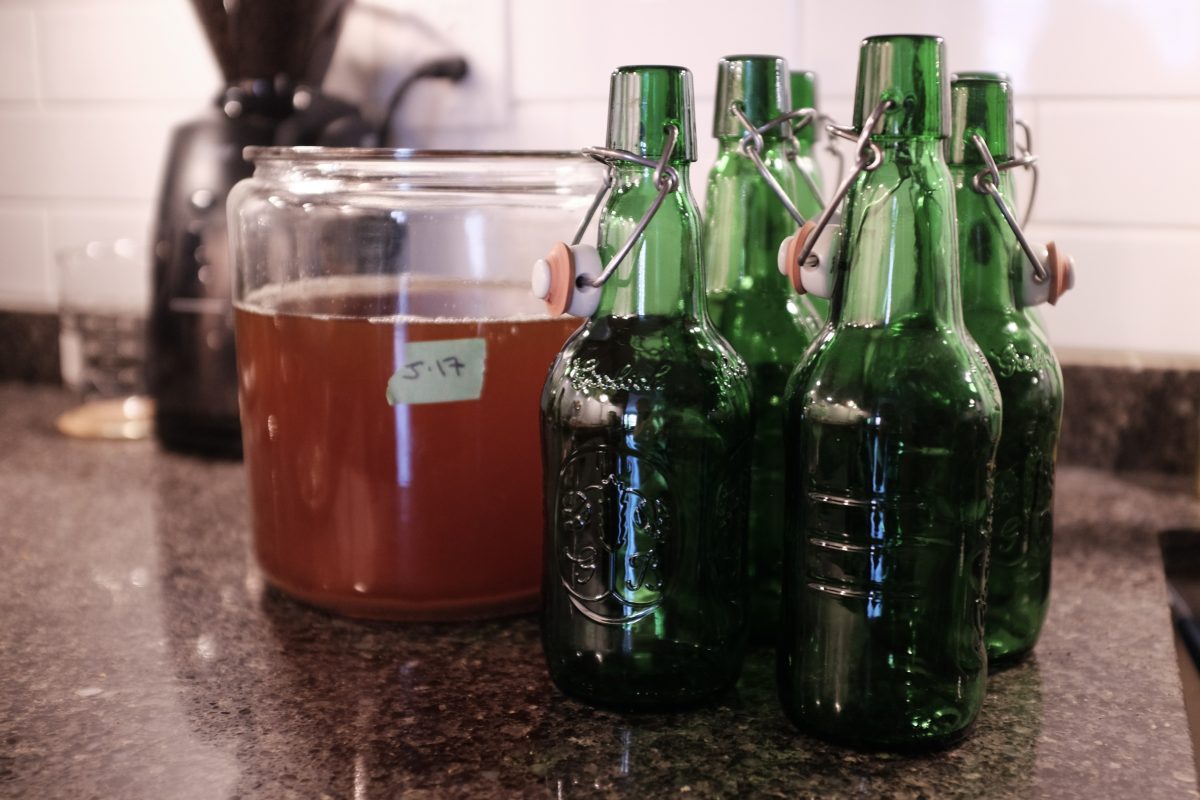
Time to bottle

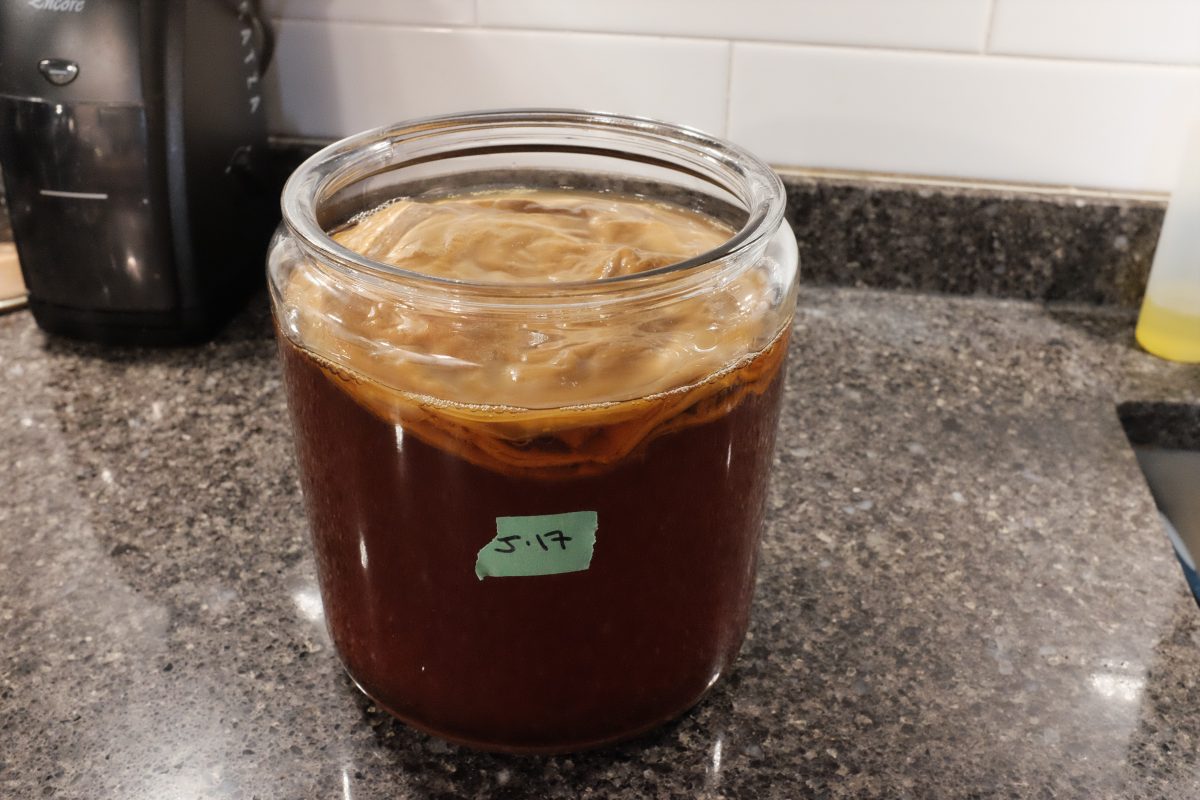
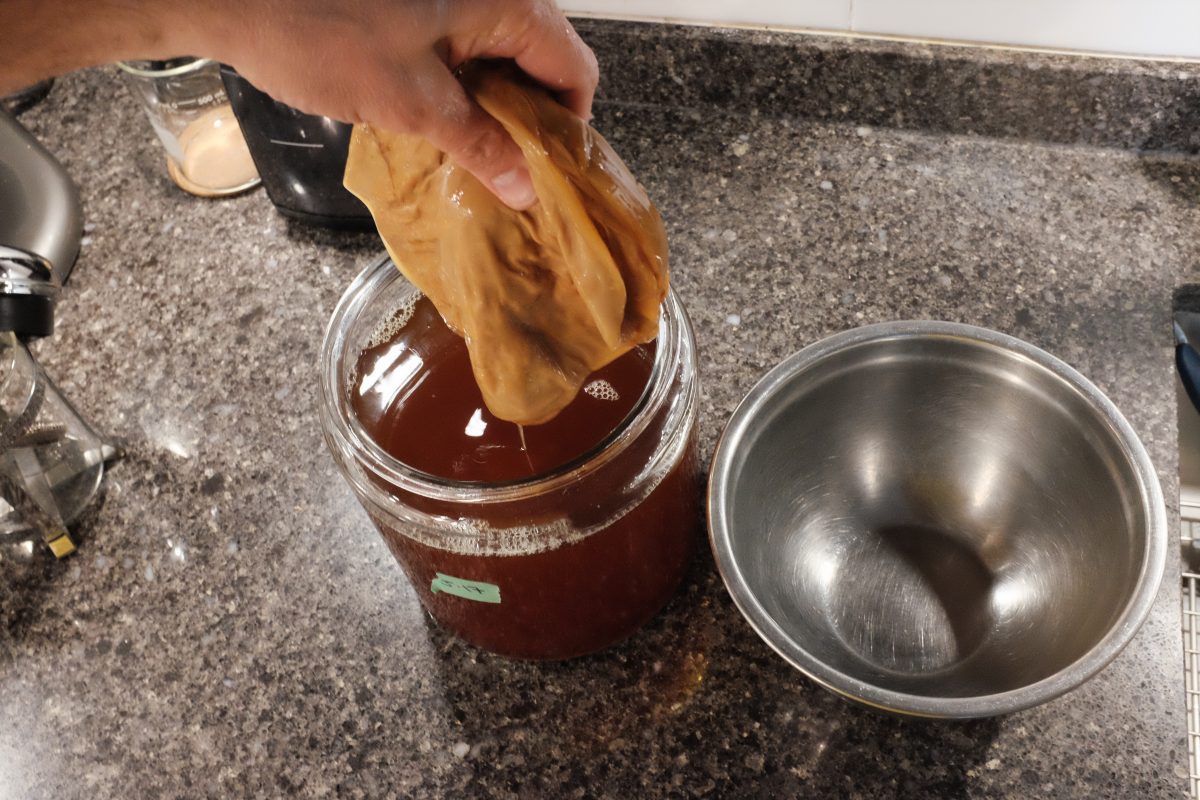
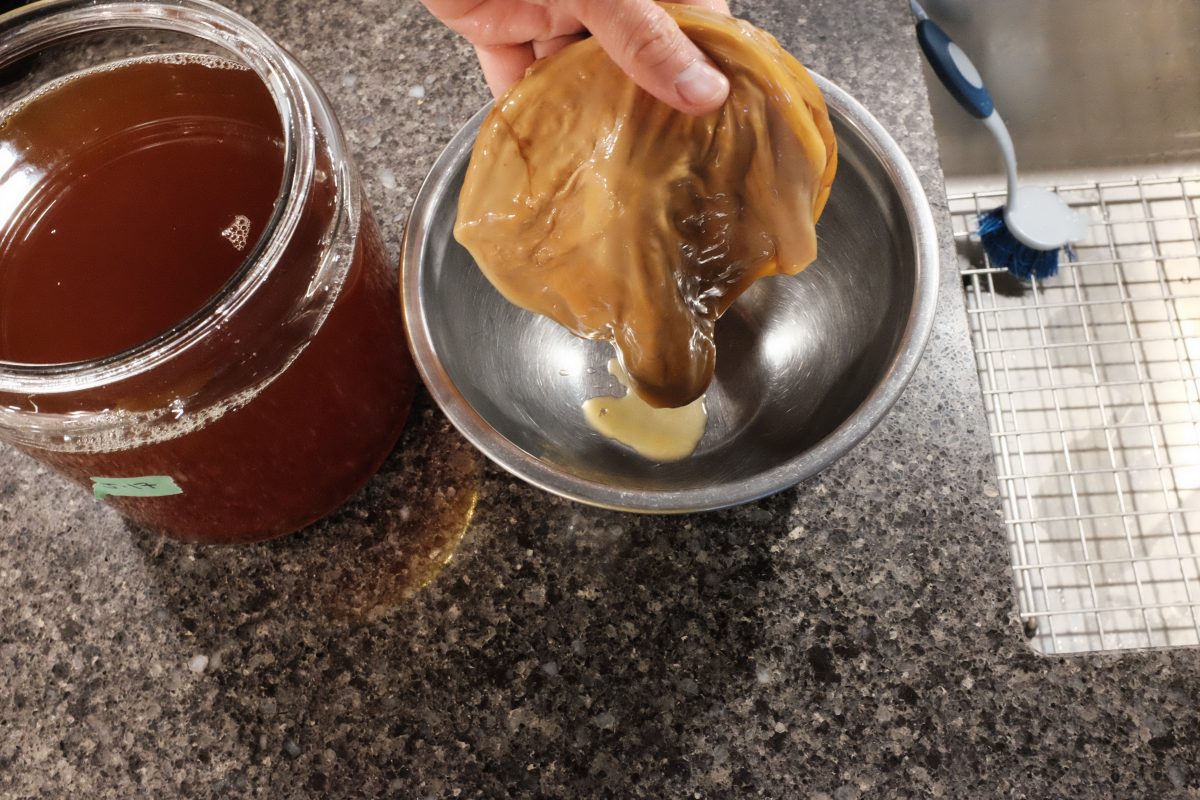
Additional Ingredients / Second Ferment
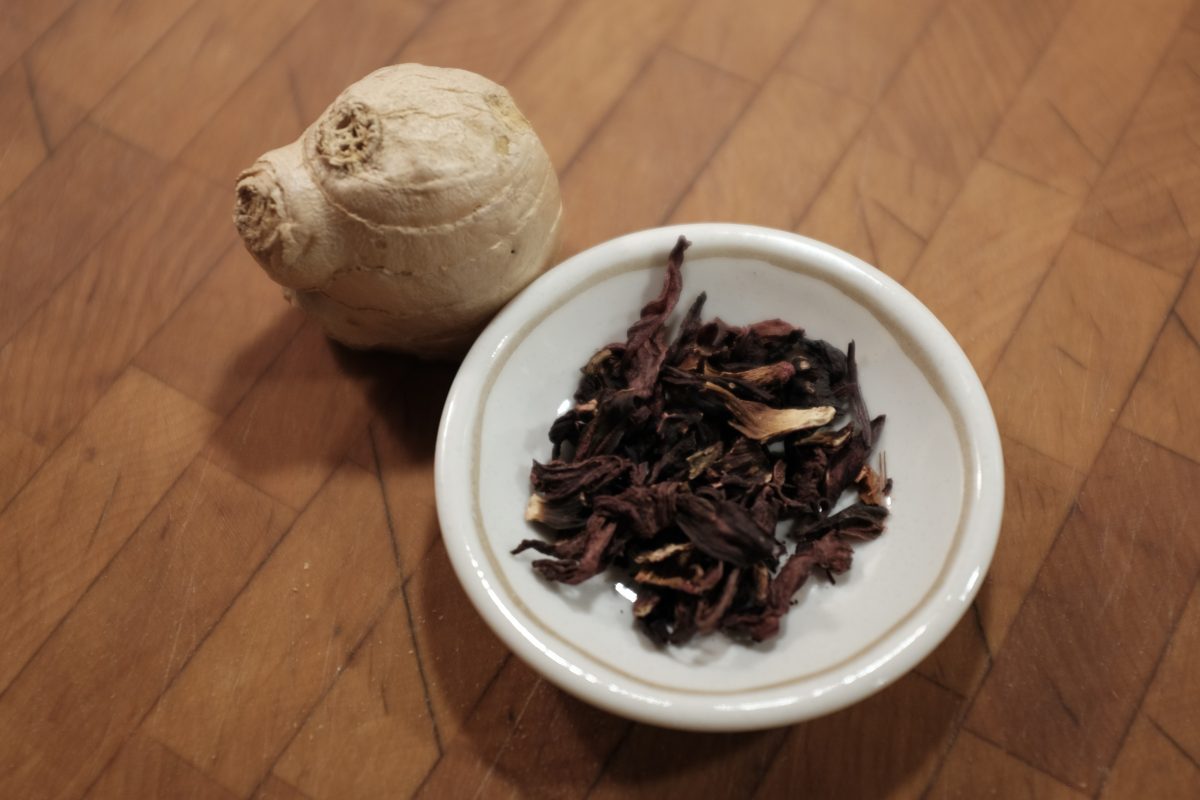
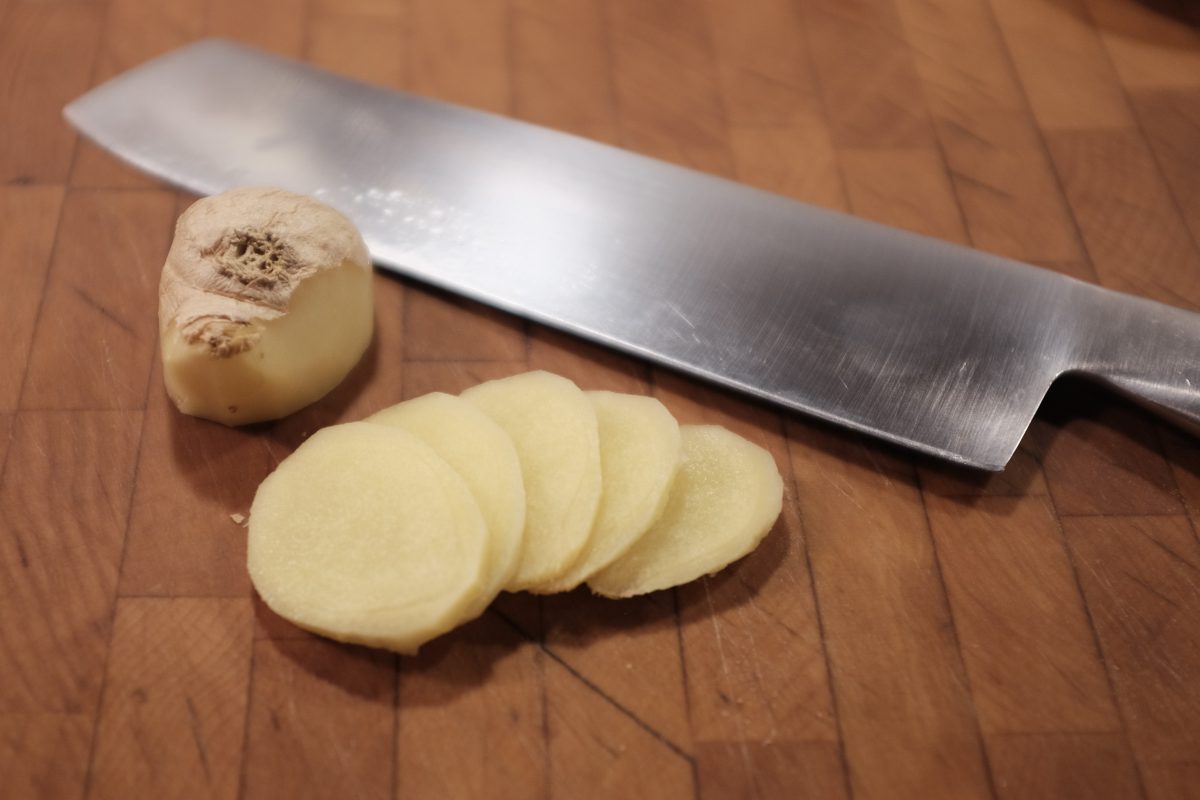
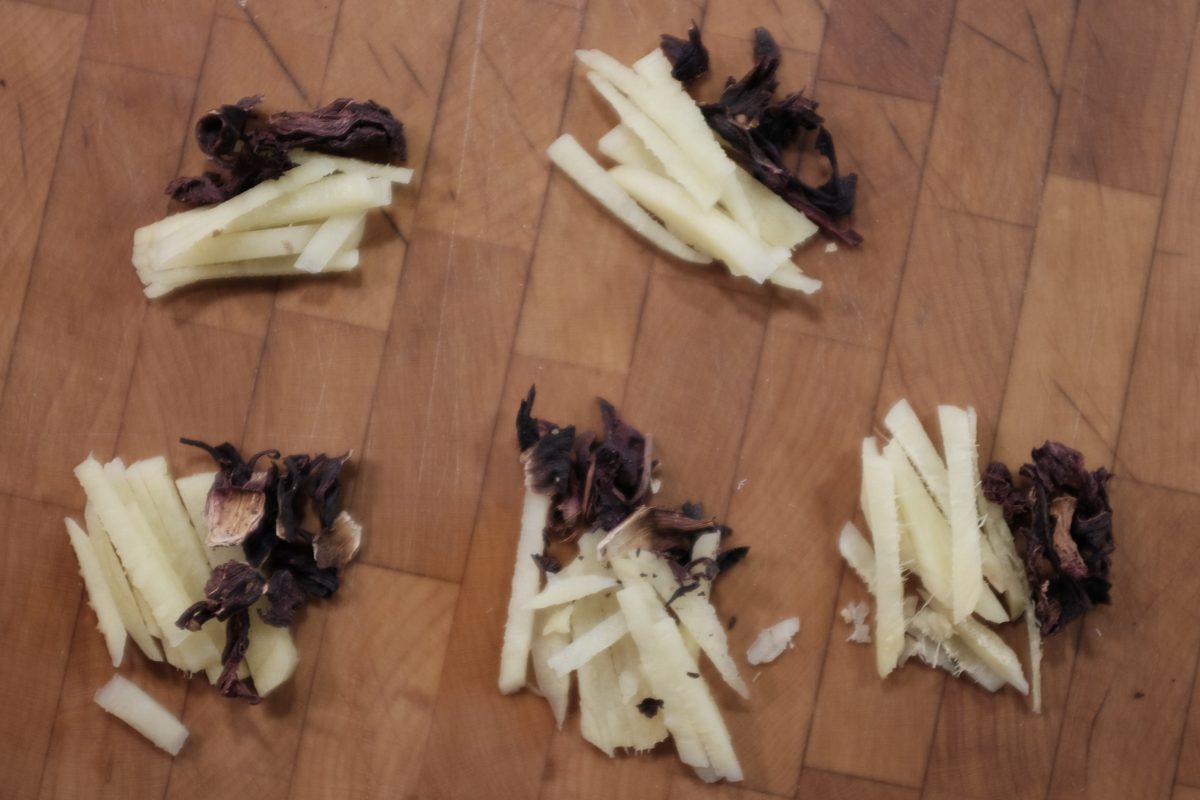
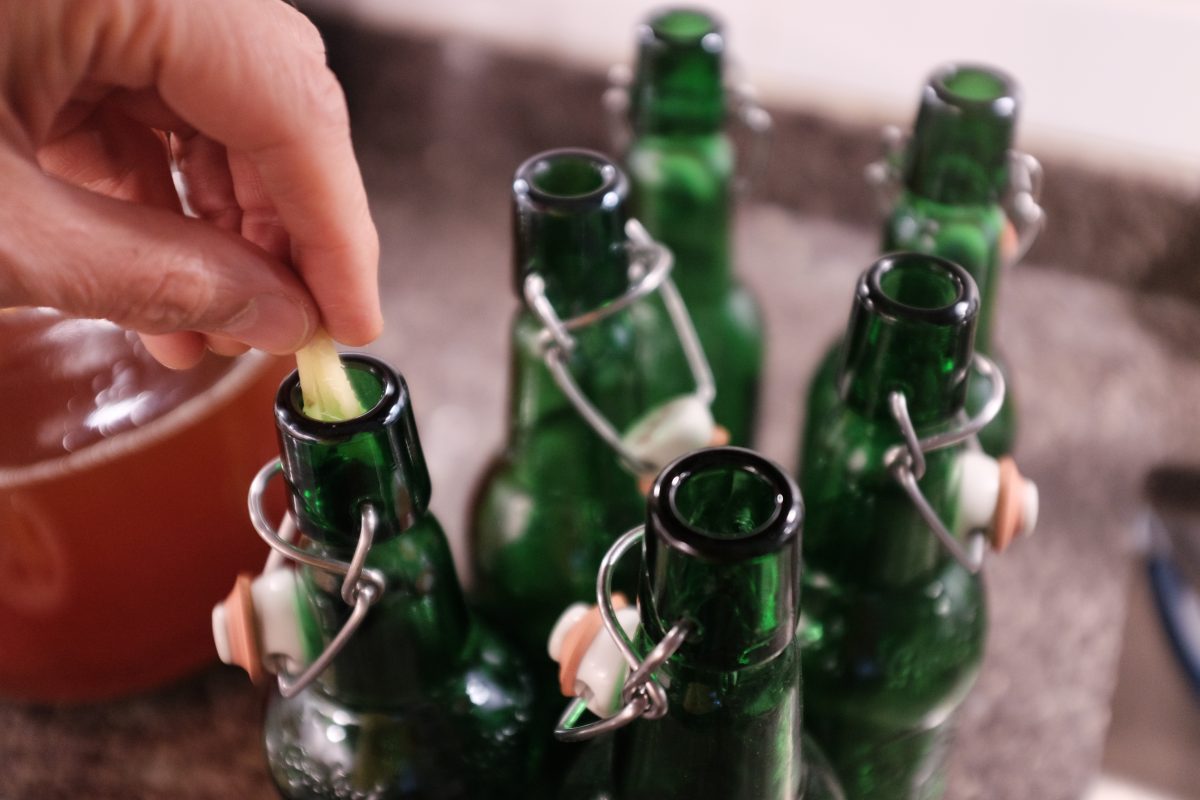
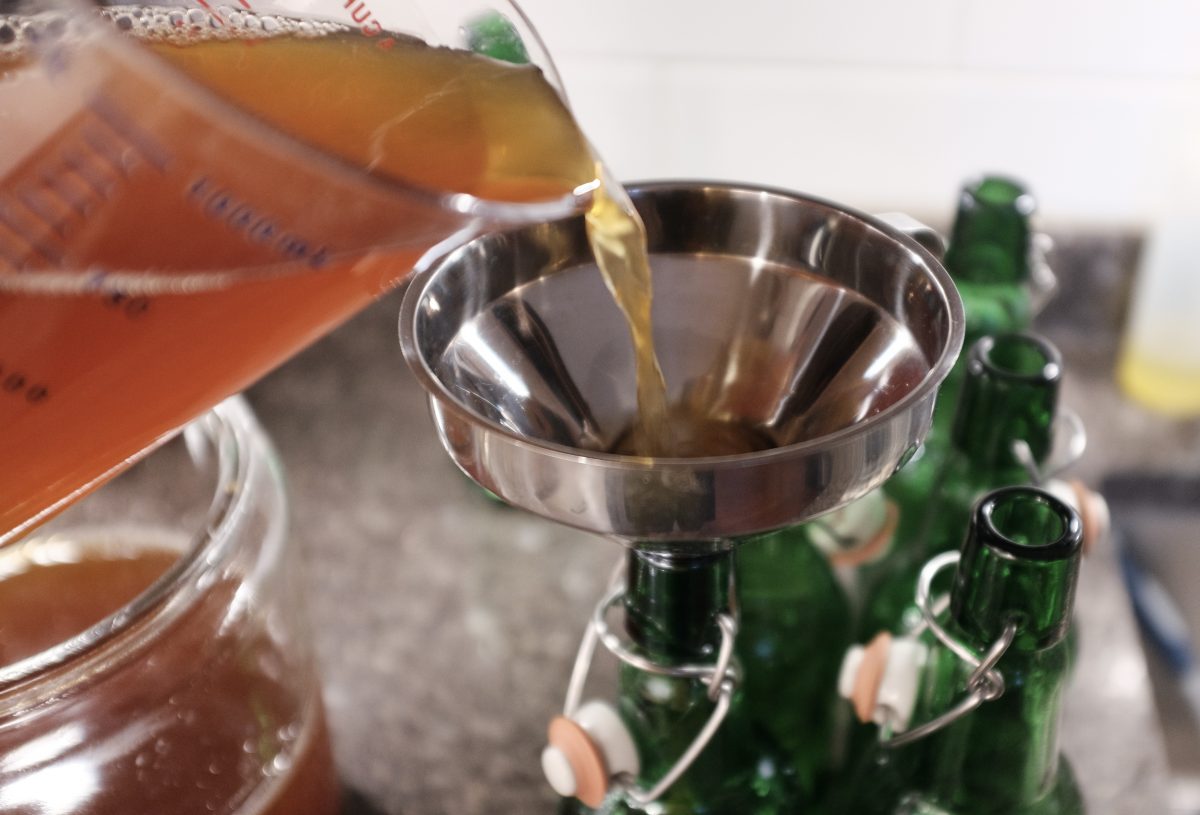
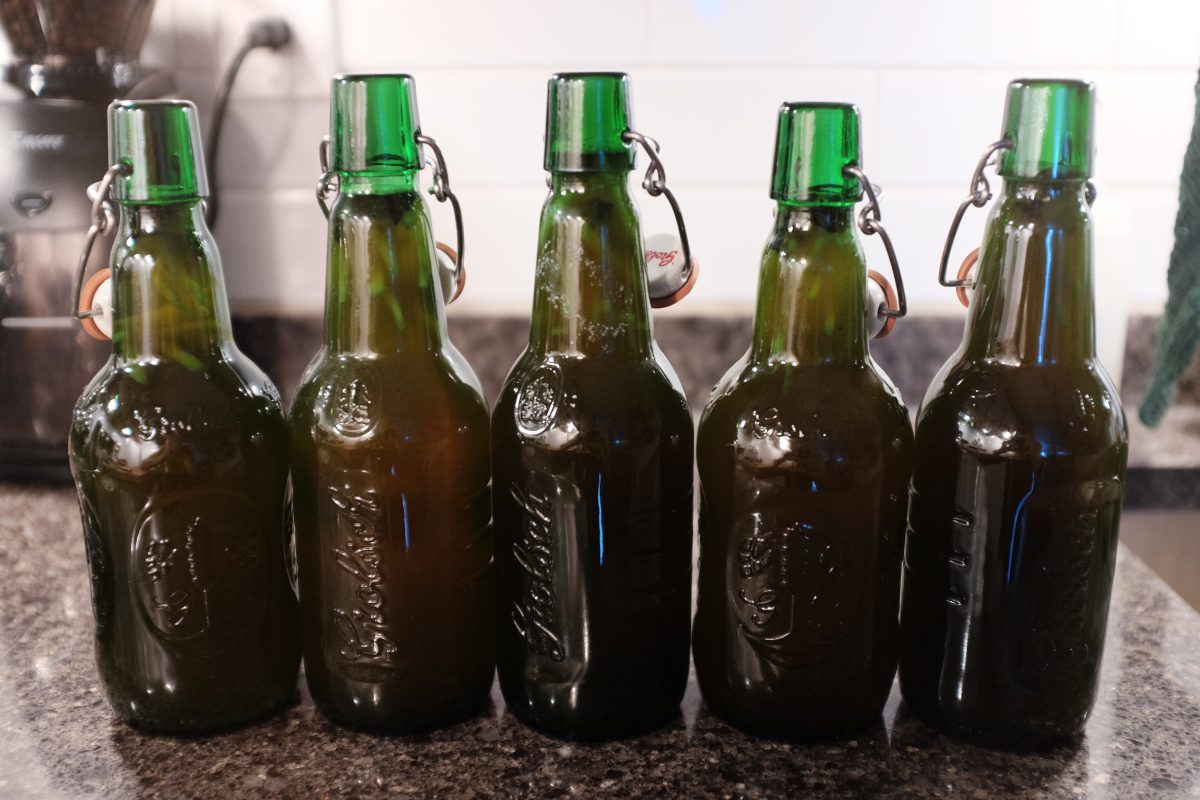
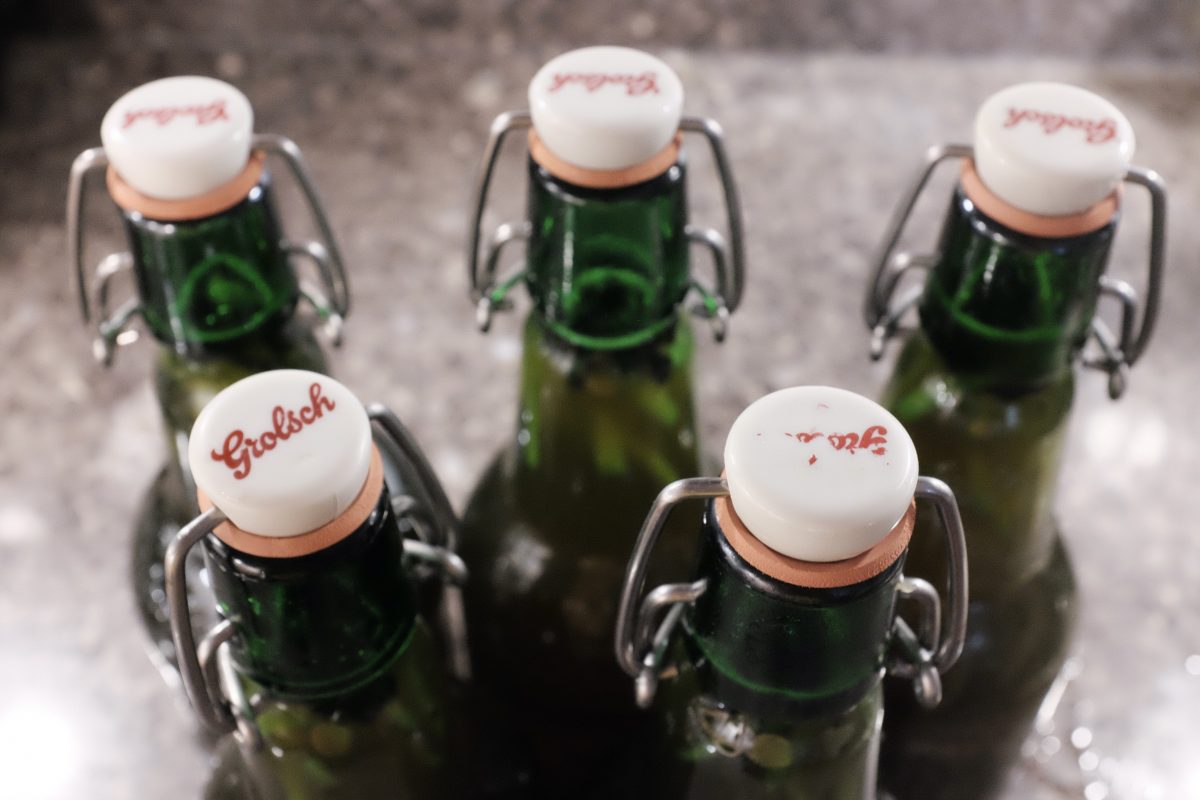
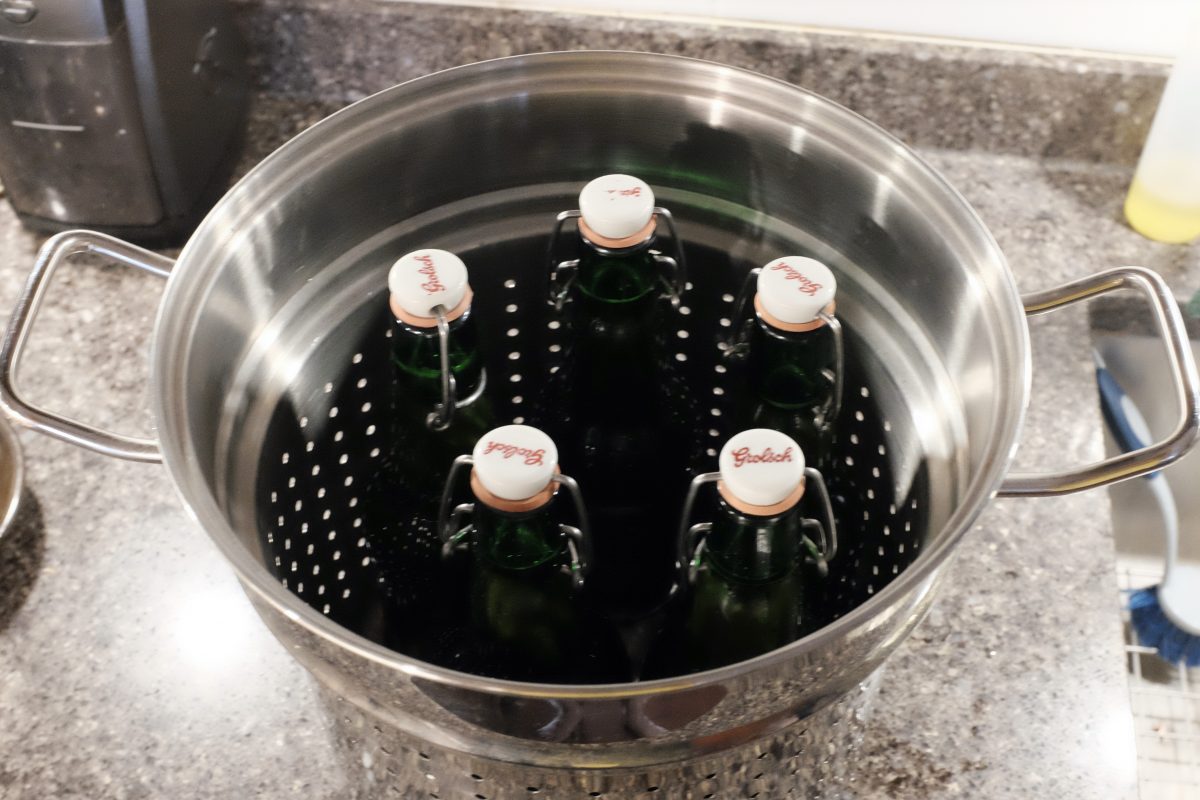
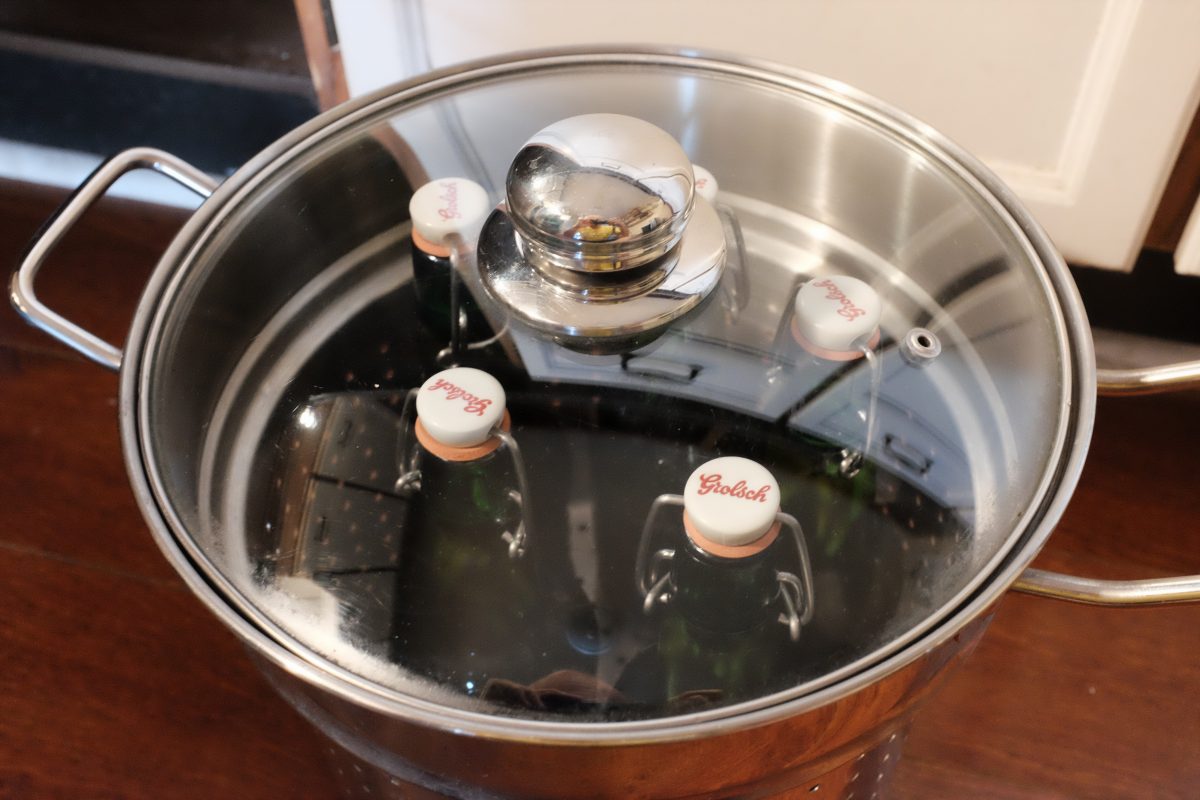
You can bottle your fermented tea just as it is. It will be delicious. Or, if you like, you can also add some aromatics as you bottle. I almost always add fresh ginger and dry hibiscus flowers to mine. The ginger adds a little sweet snap to the brew and the hibiscus add a little tang and a beautiful rosey colour.
Over the years I have tried citrus peels, cinnamon sticks, all kinds of herbs and spices and I always come back to ginger and hibiscus. It is a winning combination with the fermented tea. You can usually find whole dried hibiscus flowers in any spice shop, asian grocery store or Mexican grocery (where it is called Jamaica). It may also be under the name Rose of Sharon. It is all the same thing and definitely worth seeking out.
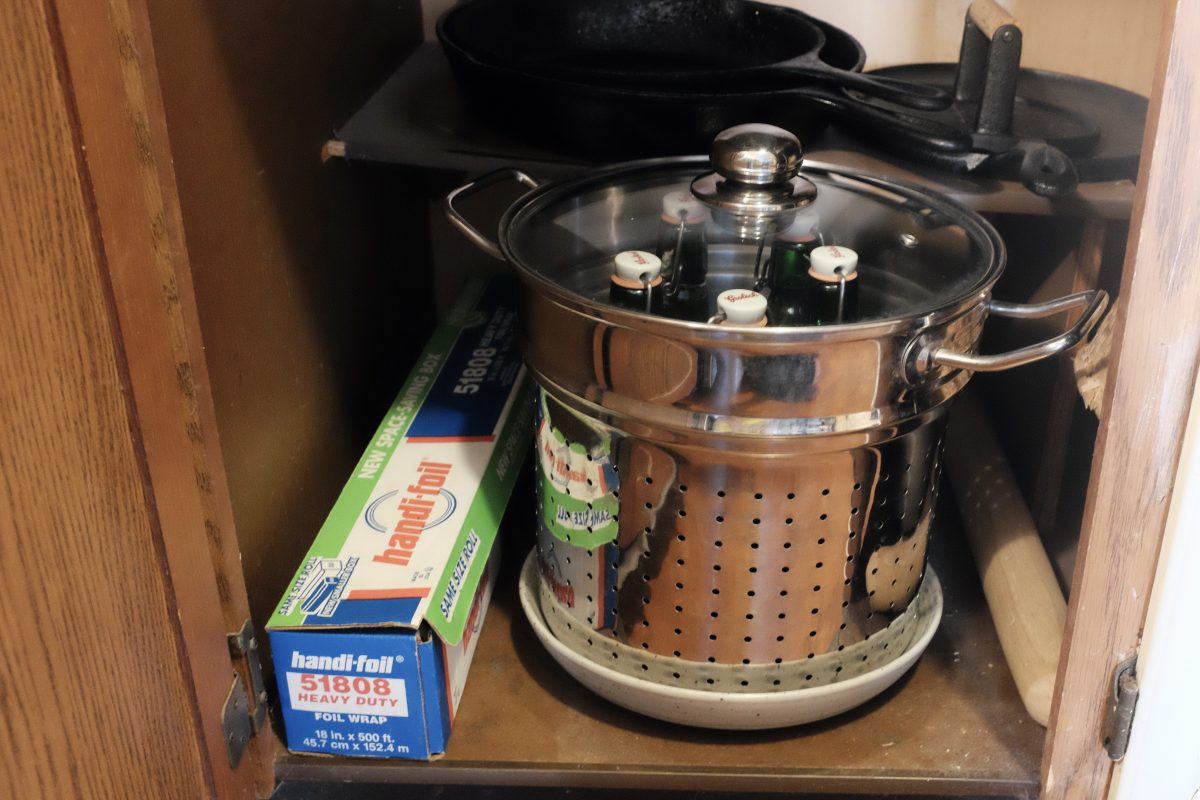
Scoby Storage
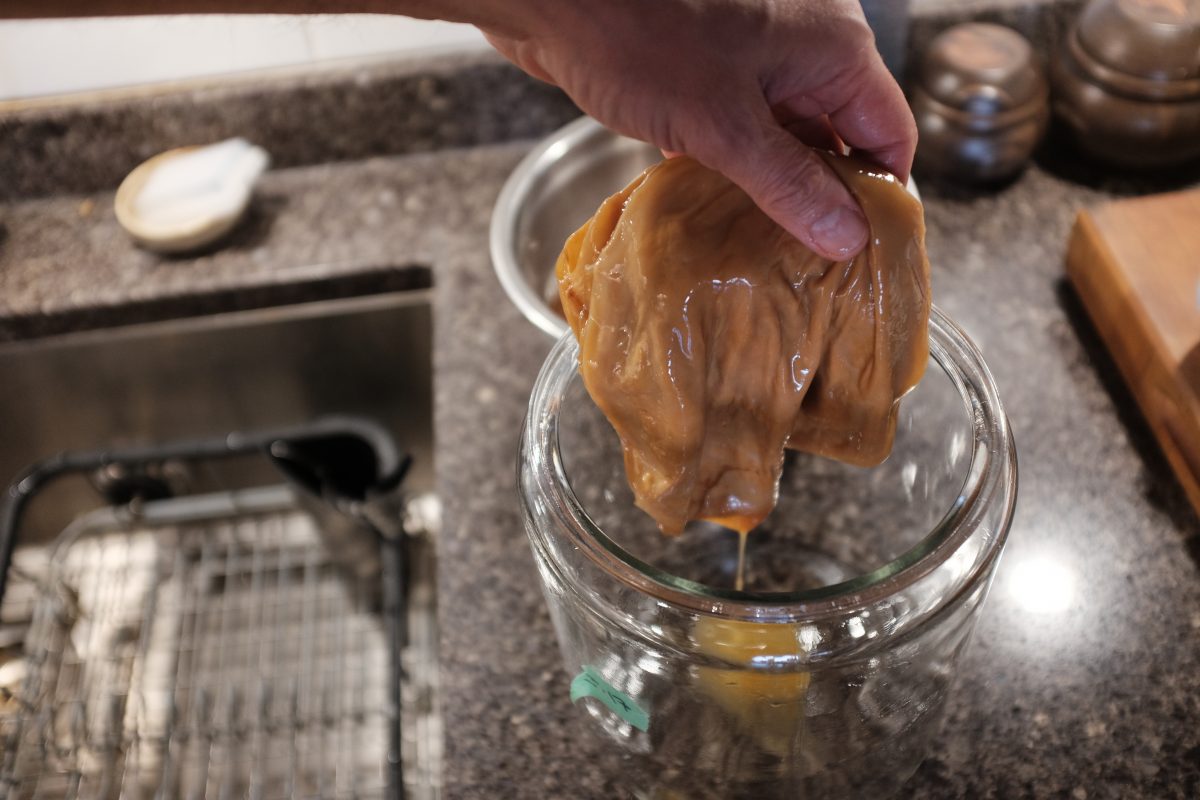
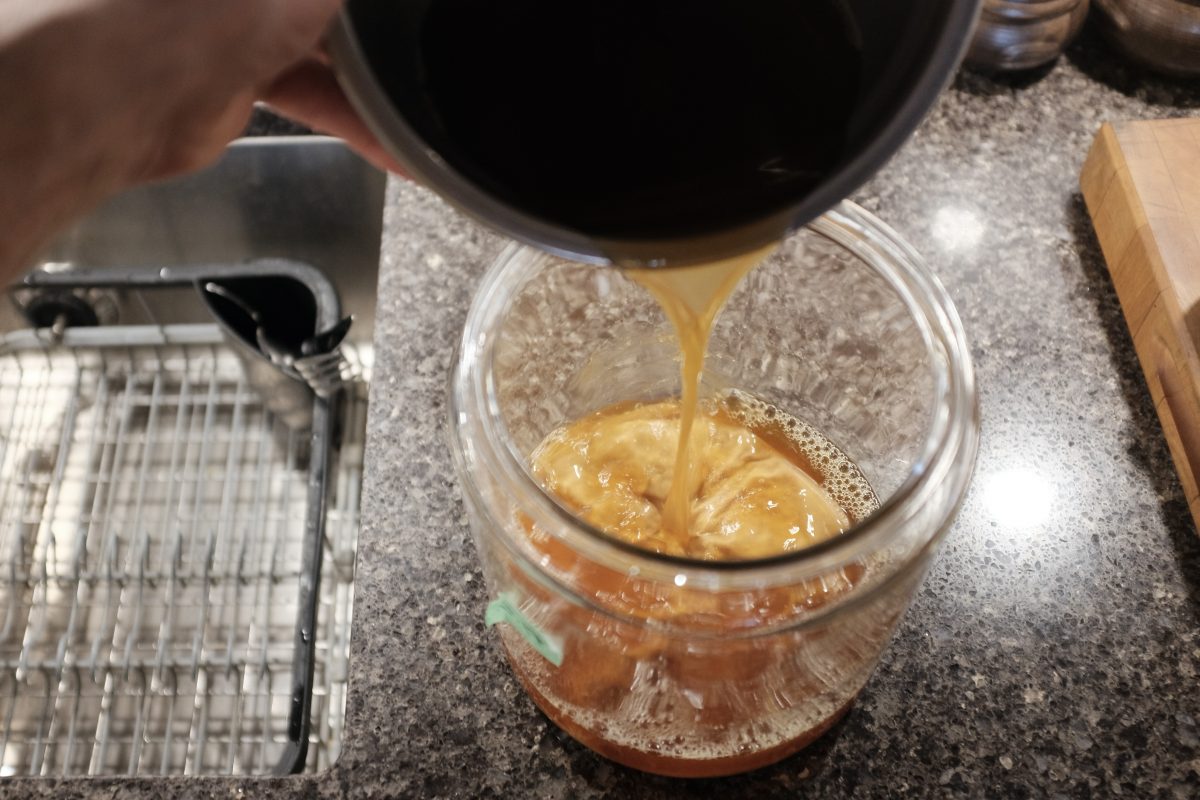
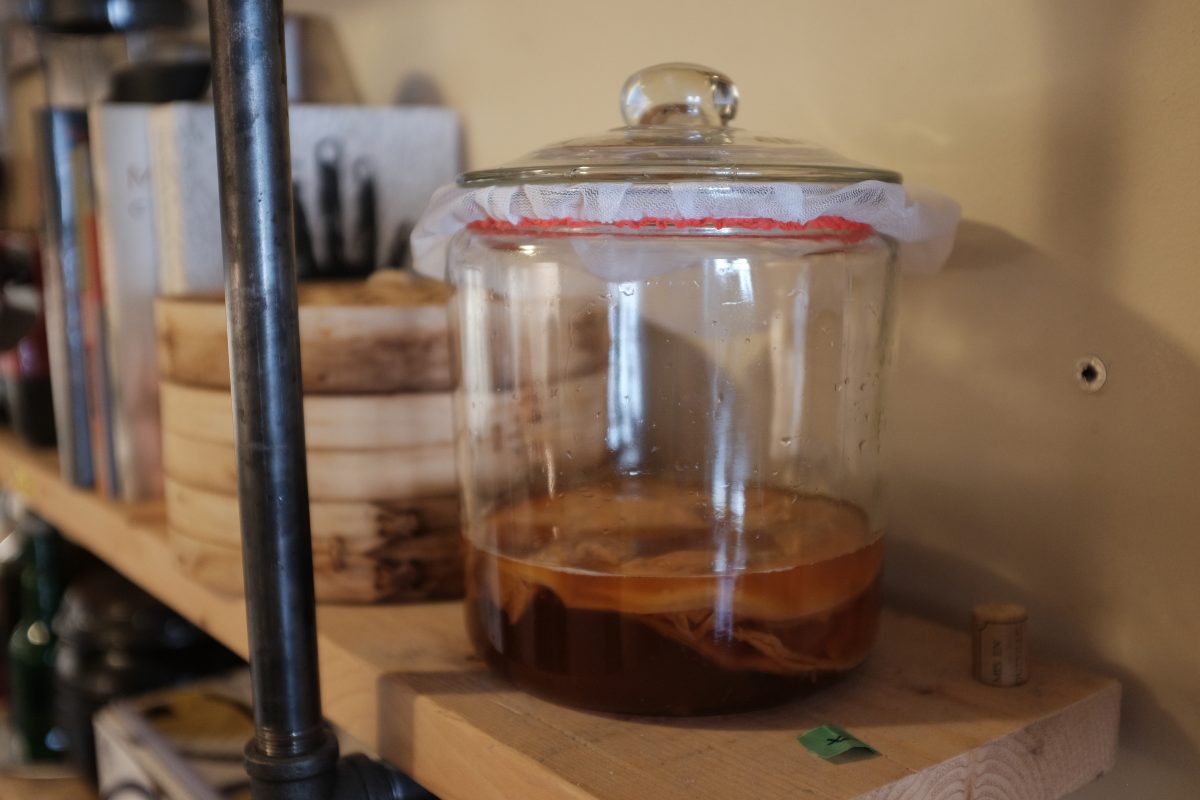
3 days later…
After 3 days in the bottle at room temperature, place the bottles in the fridge. The brew is done.
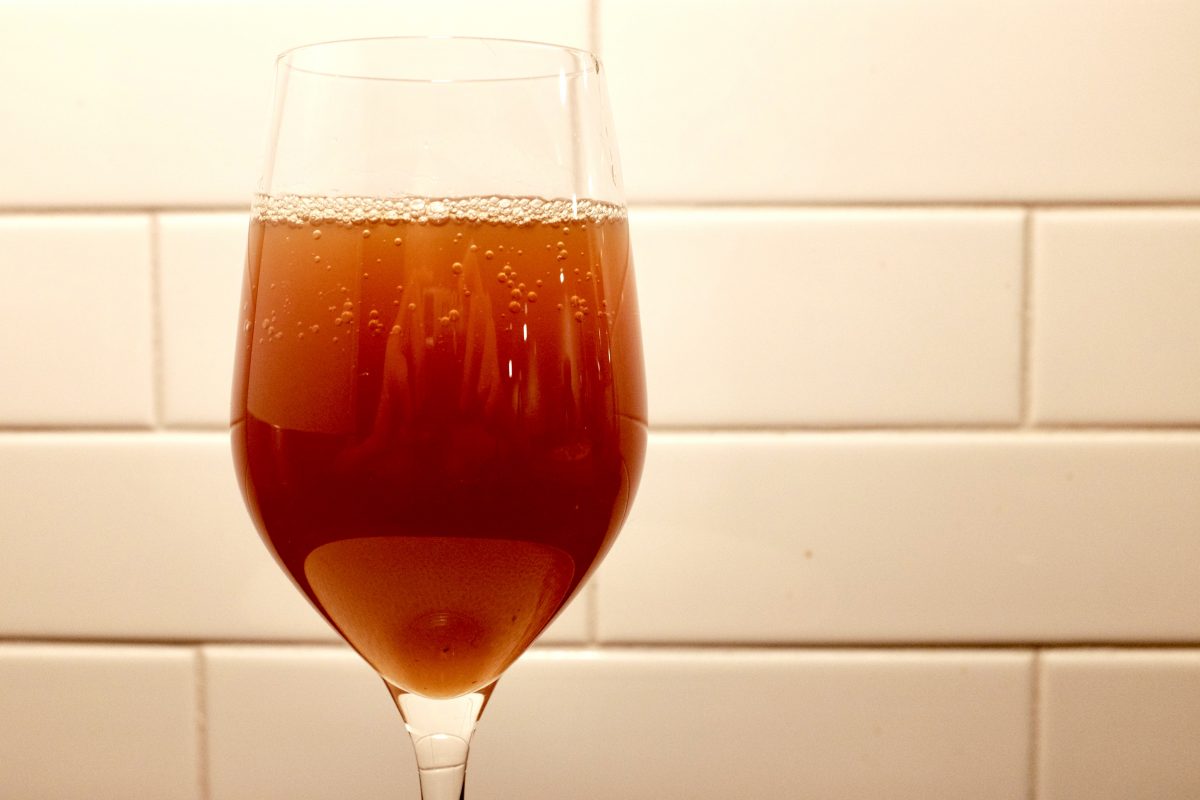
The finished brew is perfect as is but, feel free to add a squeeze of lemon or a few drops of honey or anything else you might want to try. If the flavour is too intense, you can cut it with bubbly water. I often do this if I am drinking this with more subtle flavoured foods.
If you have any questions, comments or suggestions, please leave them below. I always look forward to hearing from you. If you enjoy the content and would like to contribute towards website maintenance and development, you can make a donation here. Thank you for reading TigerSalad.
How To Make Vinegar
How does fruit become vinegar?
If you throw a bunch of sweet fruit into a container, natural yeasts already present on the skins will eventually consume the sugar in the fruit and produce alcohol. This alcohol will then get consumed by acetic acid bacteria in the environment and produce vinegar. Nature does all the work.
The problem with letting natural yeast go wild is that it is hard to know what flavours will result (good or bad), how much time it will take, and how much alcohol will result. Because the final acidity of the vinegar depends on the alcohol content, it is worthwhile to use a yeast with a known strength and flavour profile.
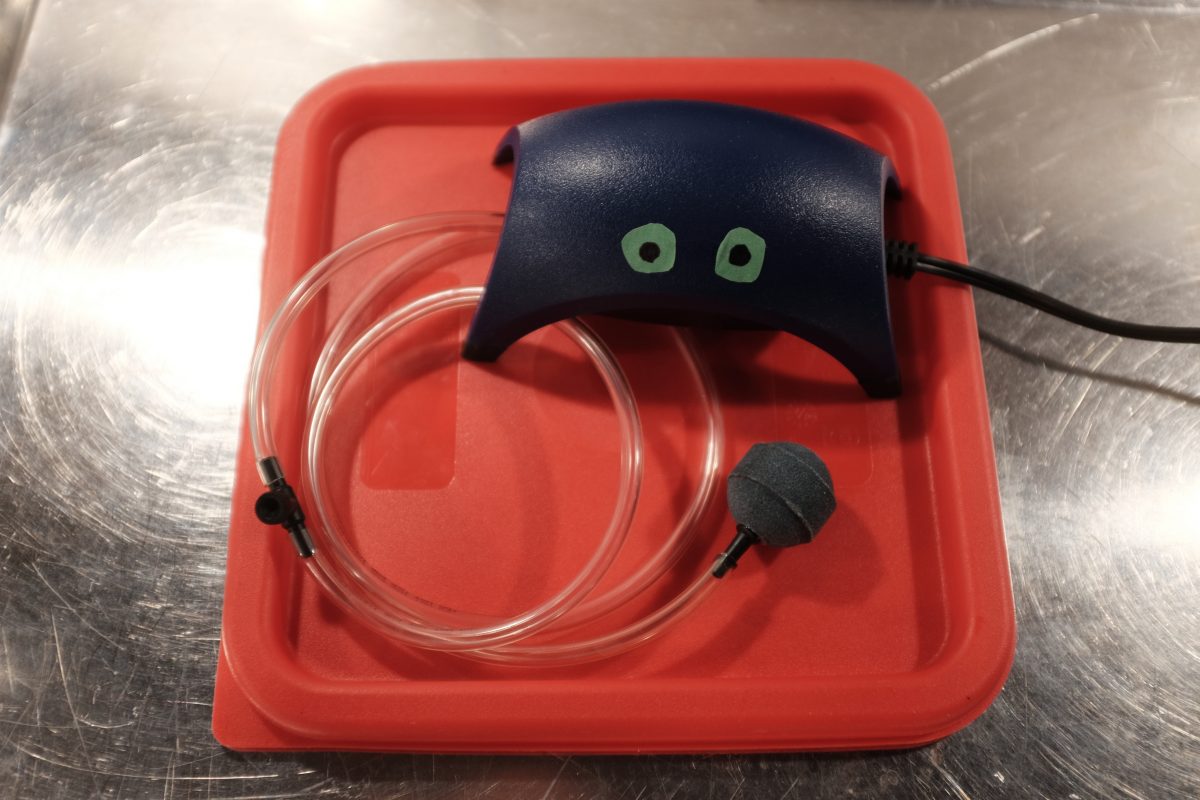
As for conversion of the alcohol into acetic acid, we could just leave a jar of fermented fruit juice covered with a cloth and allow naturally occurring acetic acid bacteria in the environment do the work. The problem here is that it takes a long time…several months at least. To shorten this time, we can inoculate our alcoholic fruit juice with a splash of live culture vinegar to get it started and provide it with a steady supply of oxygen via an air pump.
Making pear vinegar at home
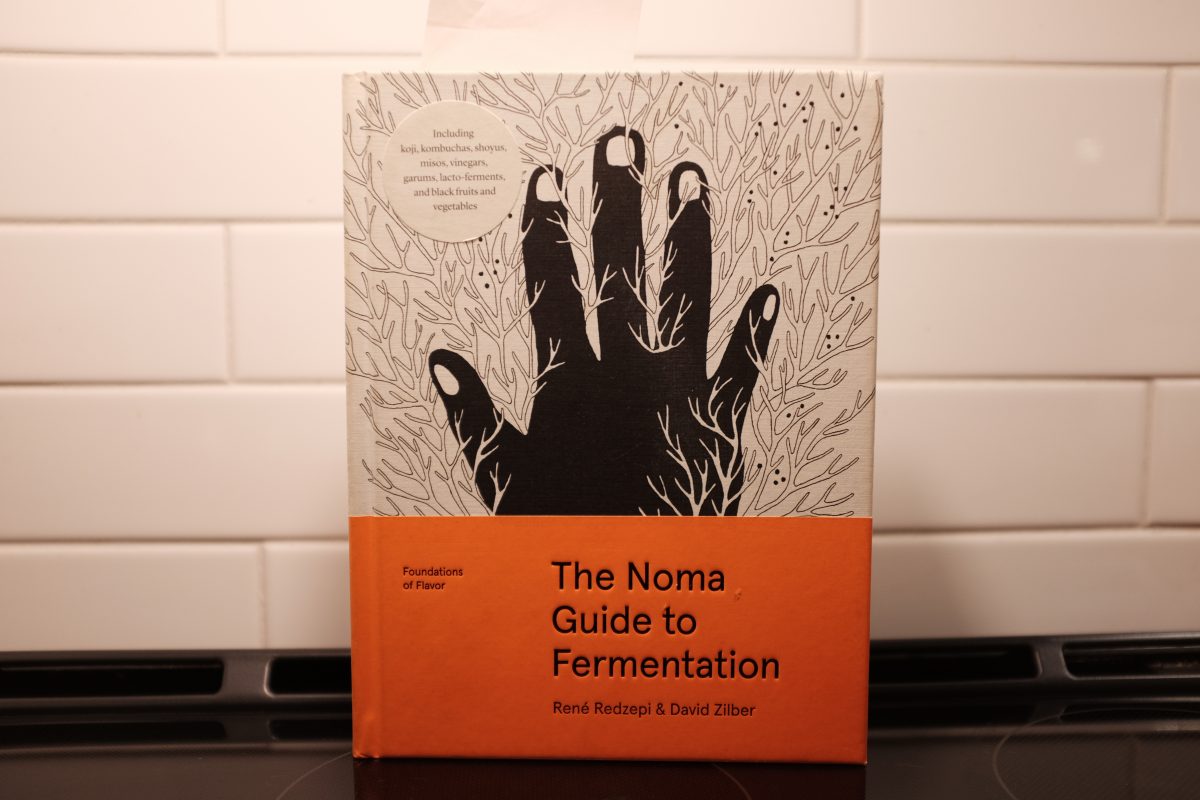
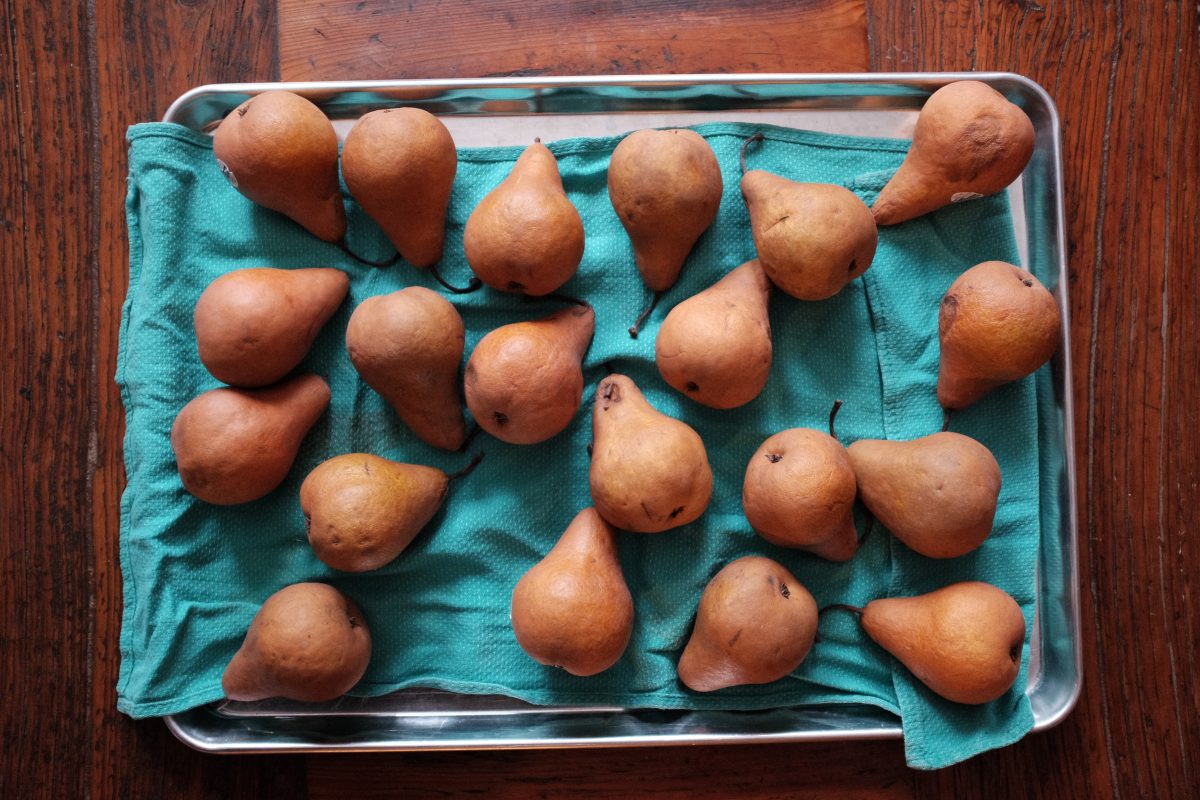
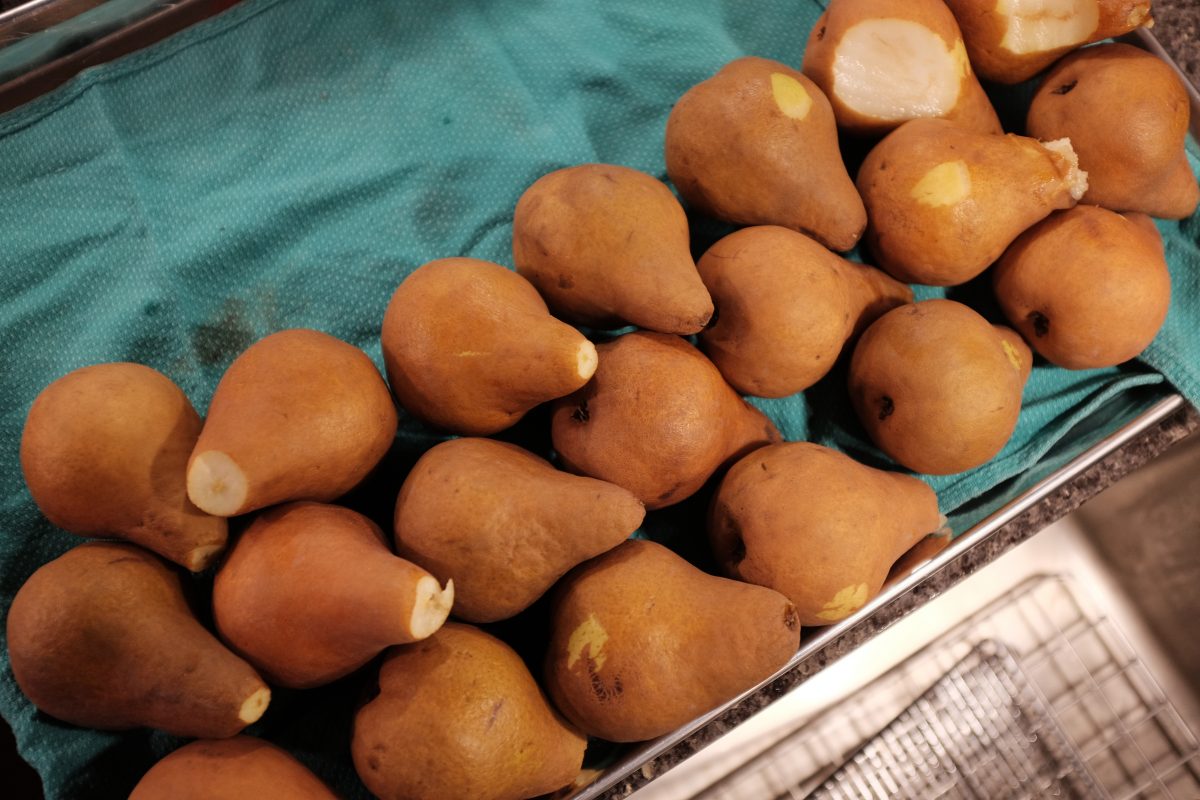
In this recipe we will take ripe bosc pears and, over a month or so, ferment them into pear vinegar. I am mostly following a recipe from this excellent book by Rene Redzepi and David Zilber:
Ingredients:
- 4 kilograms ripe pears
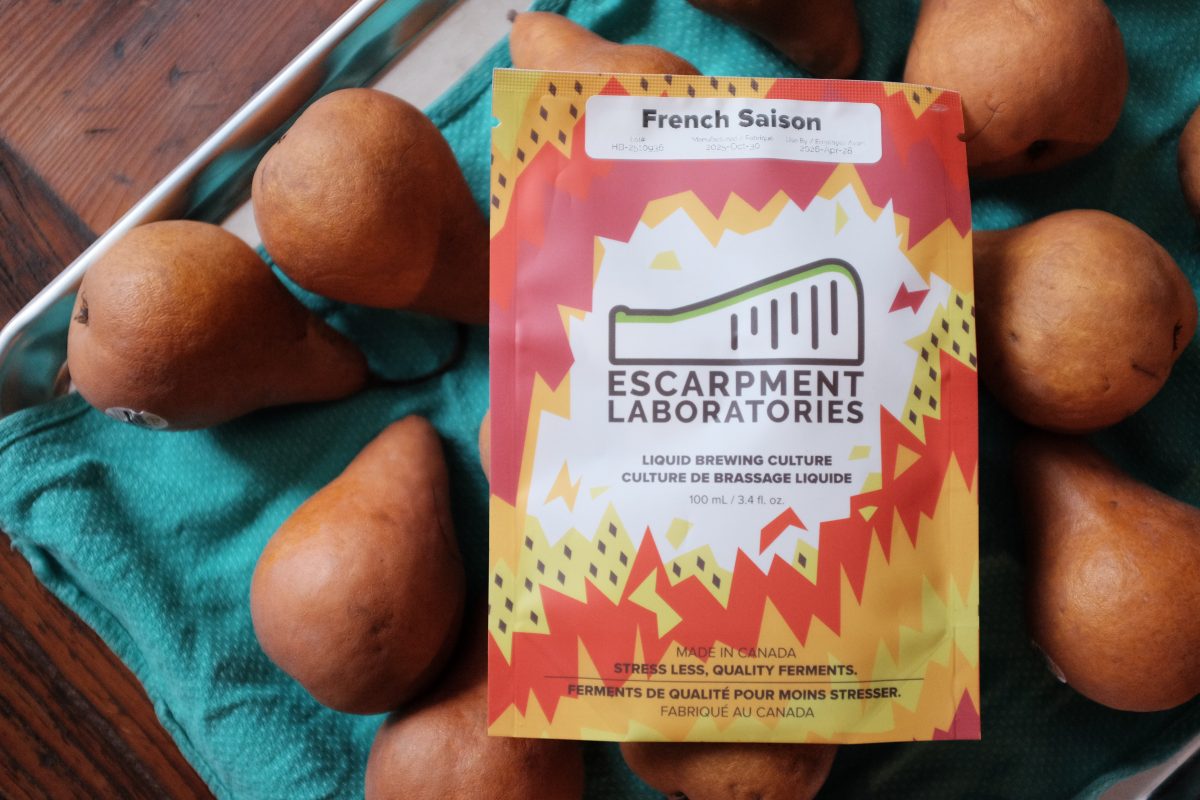
- 35 millilitres liquid saison yeast (or another brewers yeast)
- live culture (“contains the mother”) pear or apple cider vinegar for inoculation
Equipment:
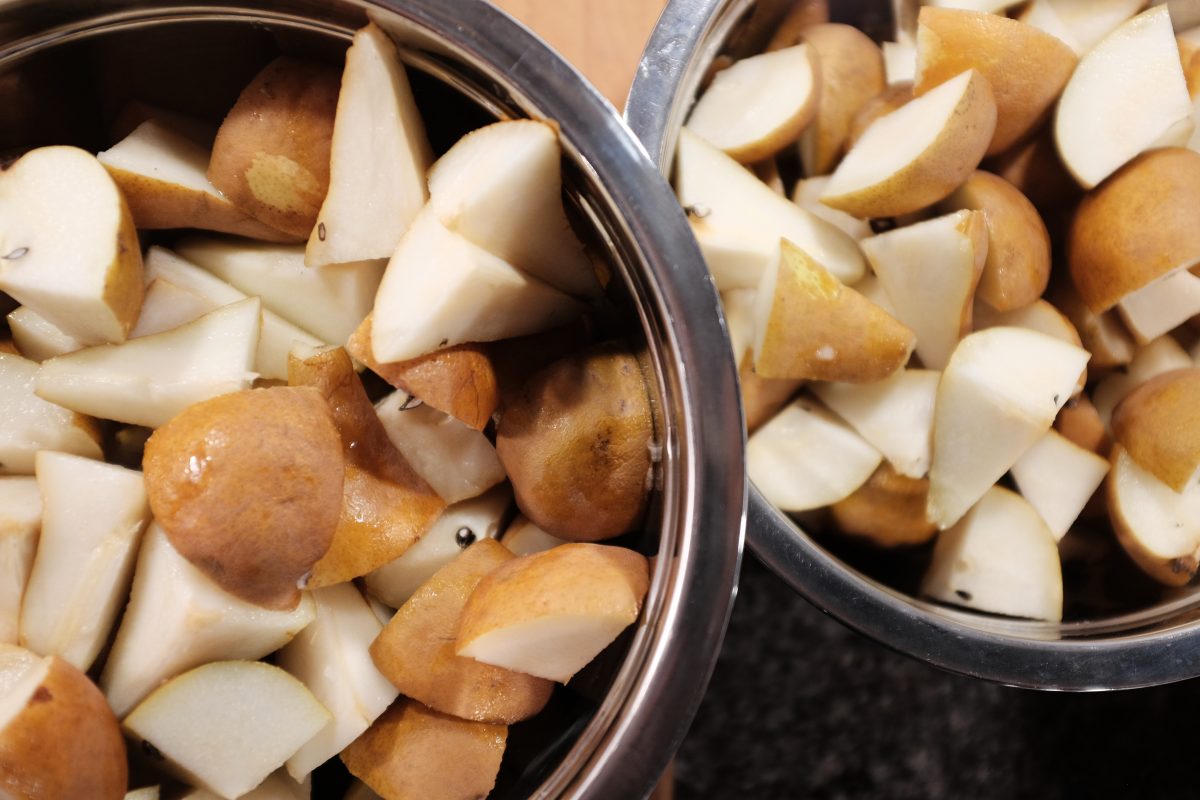
- A container large enough to hold your pears and leave at least 25% extra space. For this recipe I will be using two separate 4 litre / 1 gallon glass jars with lids and airlocks.
- A tight lid and a brewers airlock (more on this below) for each container.
- a strainer or fruit/cider press
- a small aquarium air pump, hose and air stone (any pet shop will have these)
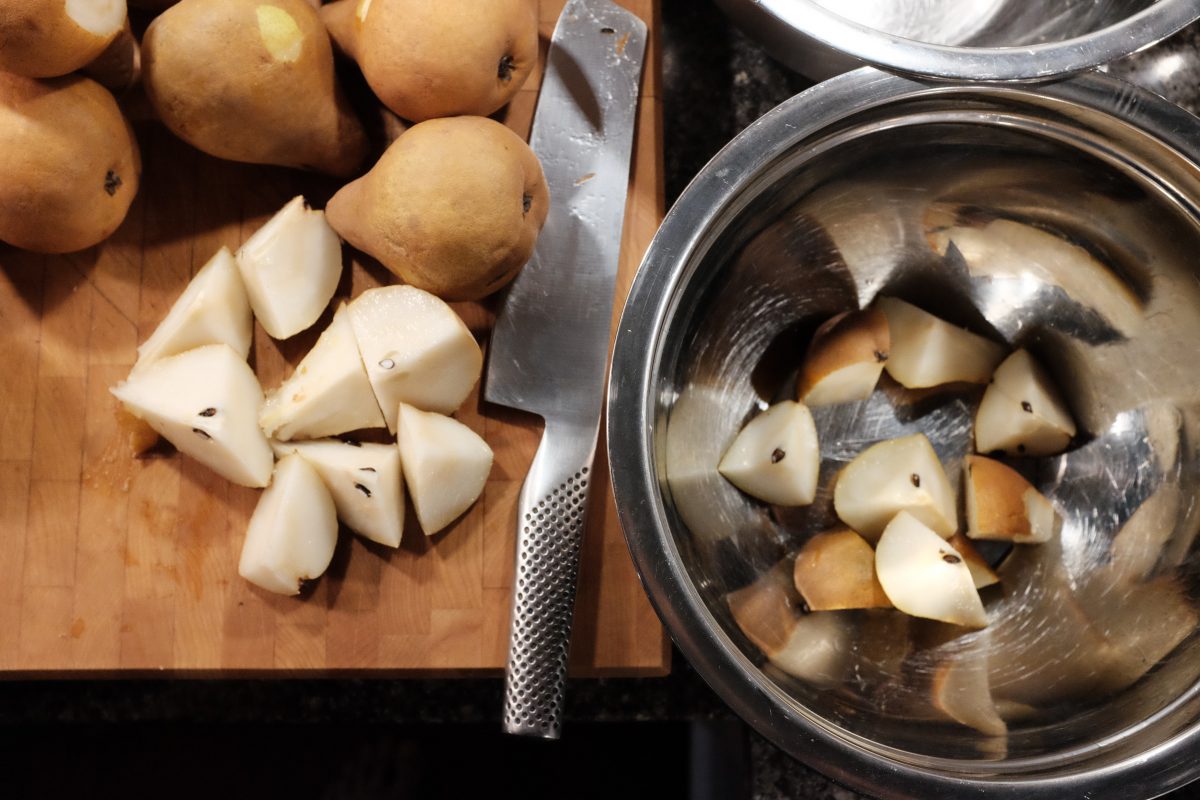
- a blender or food processor is helpful but not necessary
Sanitizing Equipment:
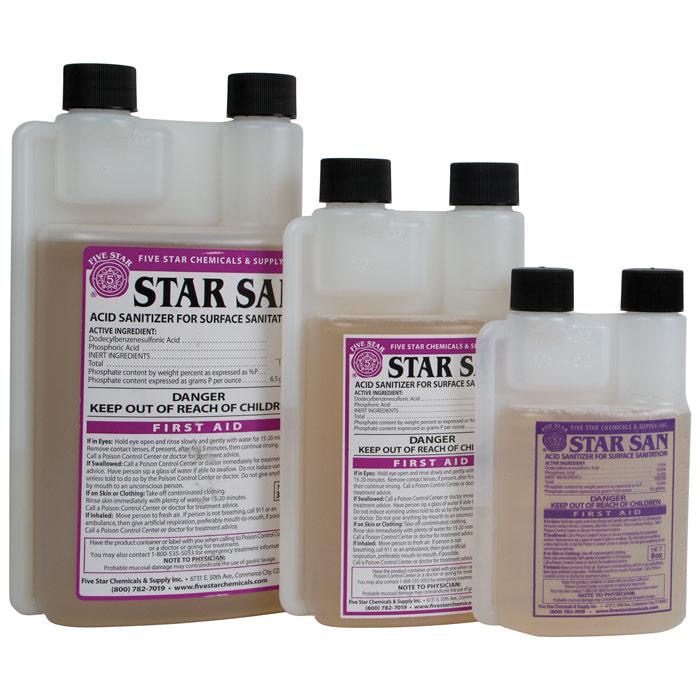
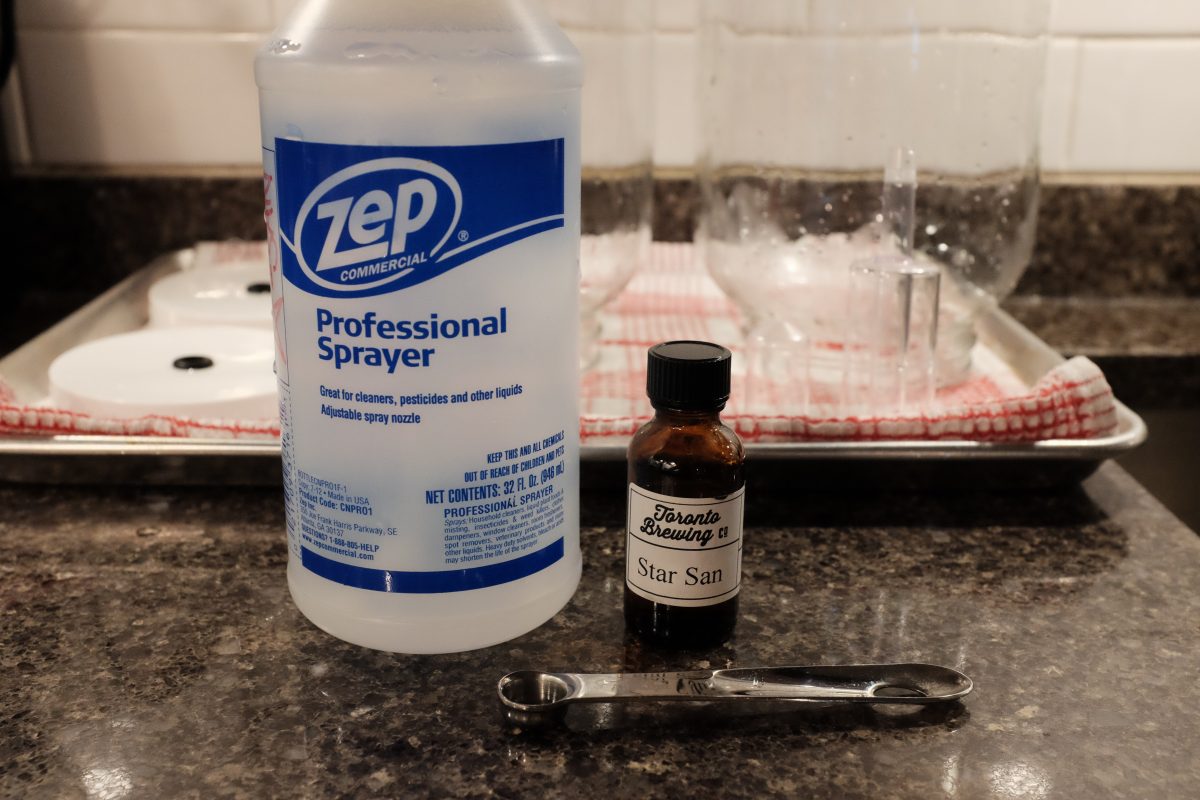
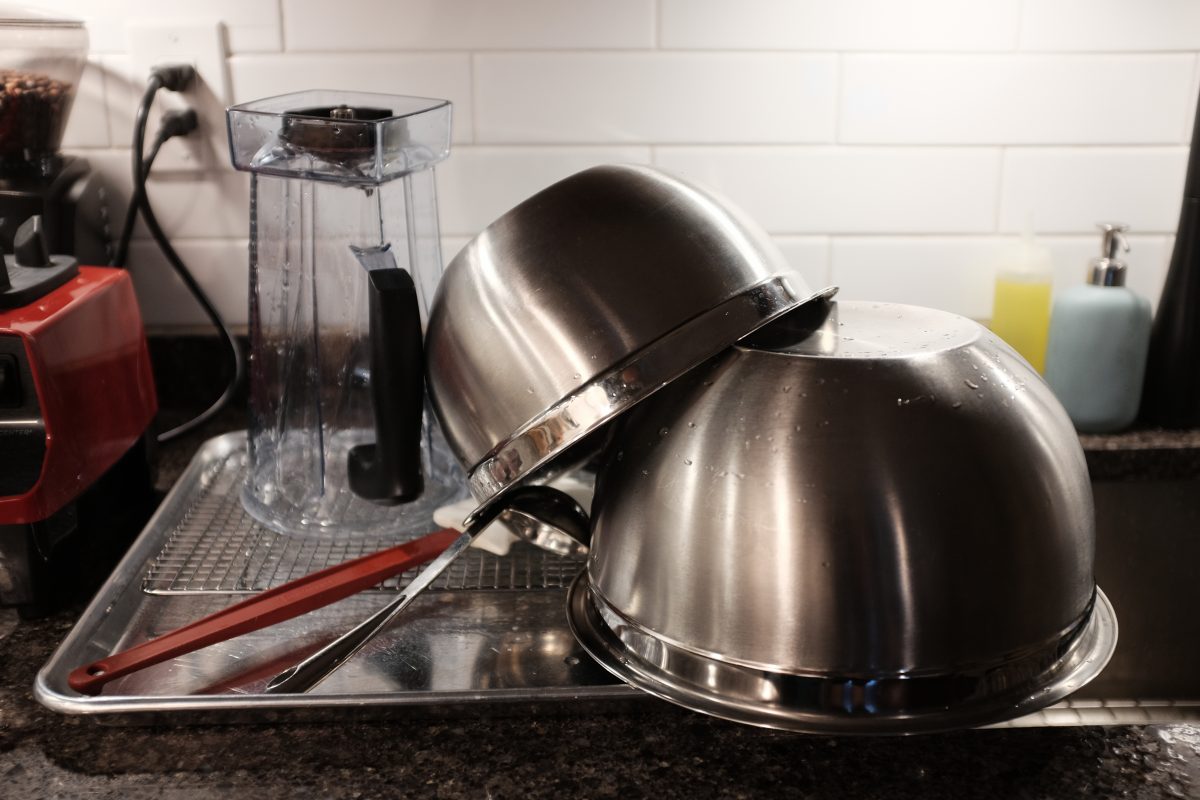
Everything that comes in contact with this brew should be sanitized. Wash everything with soap and hot water, then sanitize whichever way you find convenient. Boiling, steaming and weak bleach solutions will work, but for convenience, I use a sanitizer called Star San.
Star San is available at home brew shops or online. You can mix a tiny amount with fresh water in a spray bottle for very effective and easy sanitizing. My local home brew supplier sells tiny bottles. Unless you are brewing huge amounts with massive equipment, a small bottle will last forever. I dilute it at about 2.5 millilitres per litre of water…that’s around 1/4 teaspoon per spray bottle…a tiny amount. This makes more than enough sanitizer for this whole process. It comes in a few different sizes and looks like this:
Process:
This recipe is divided into 2 parts. In part 1, we make alcohol. In part 2, we make vinegar.
Part 1: making alcohol
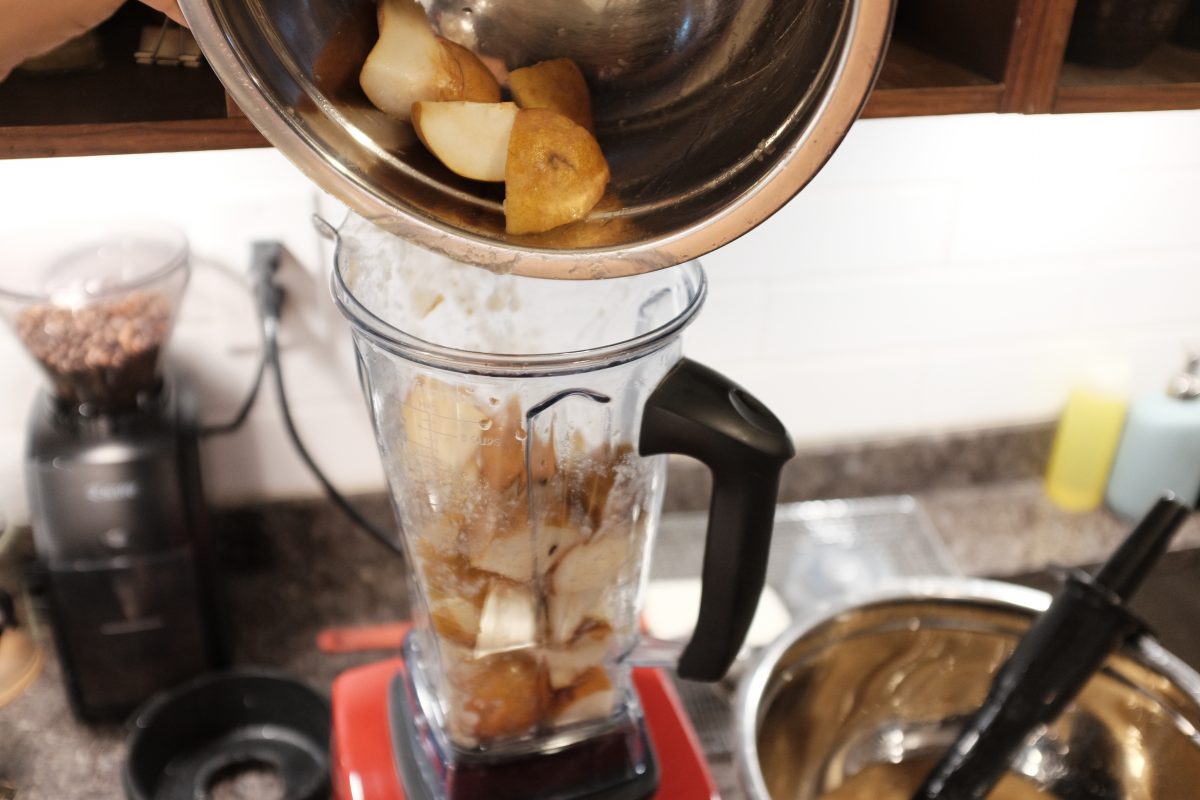
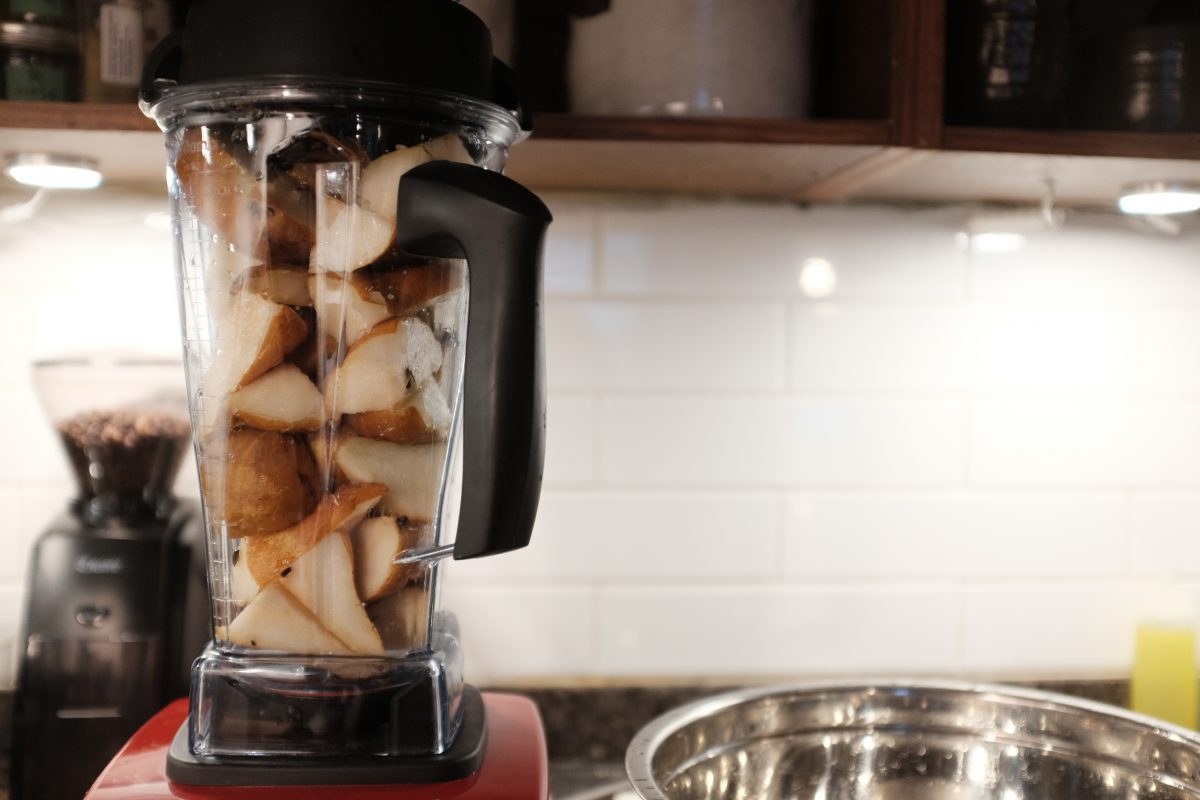
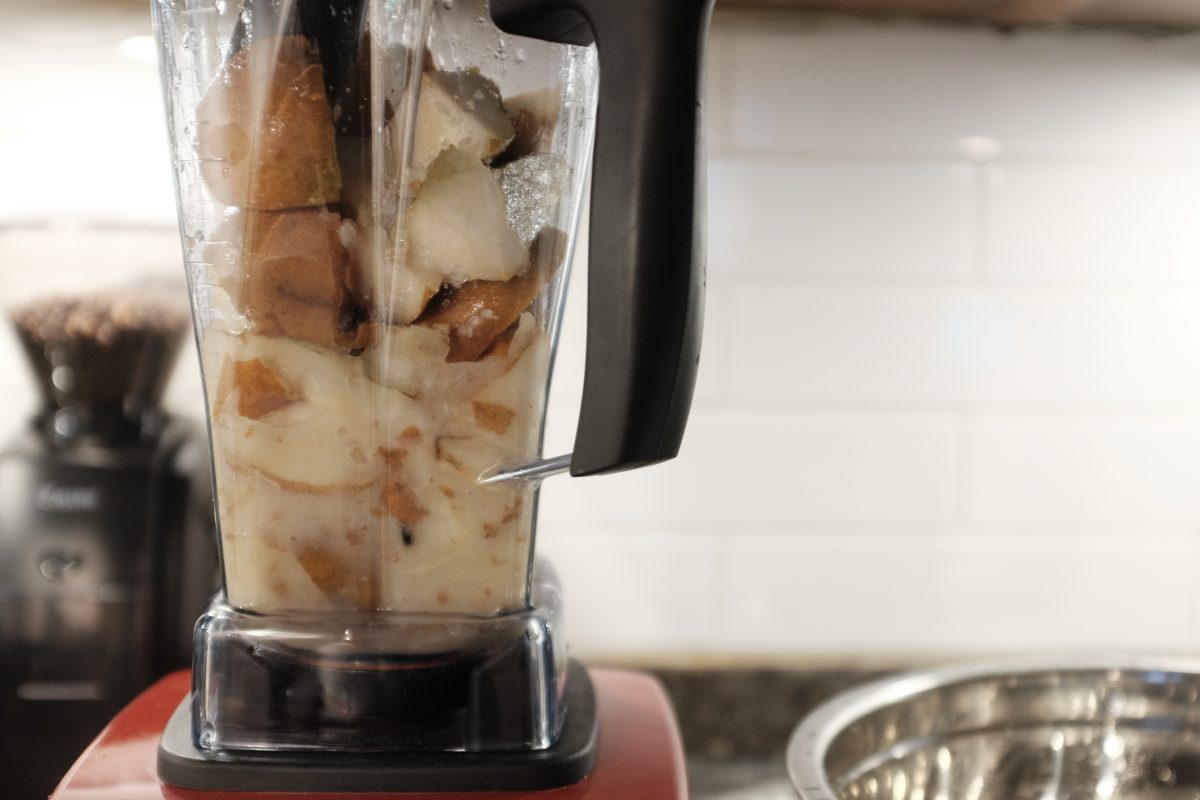
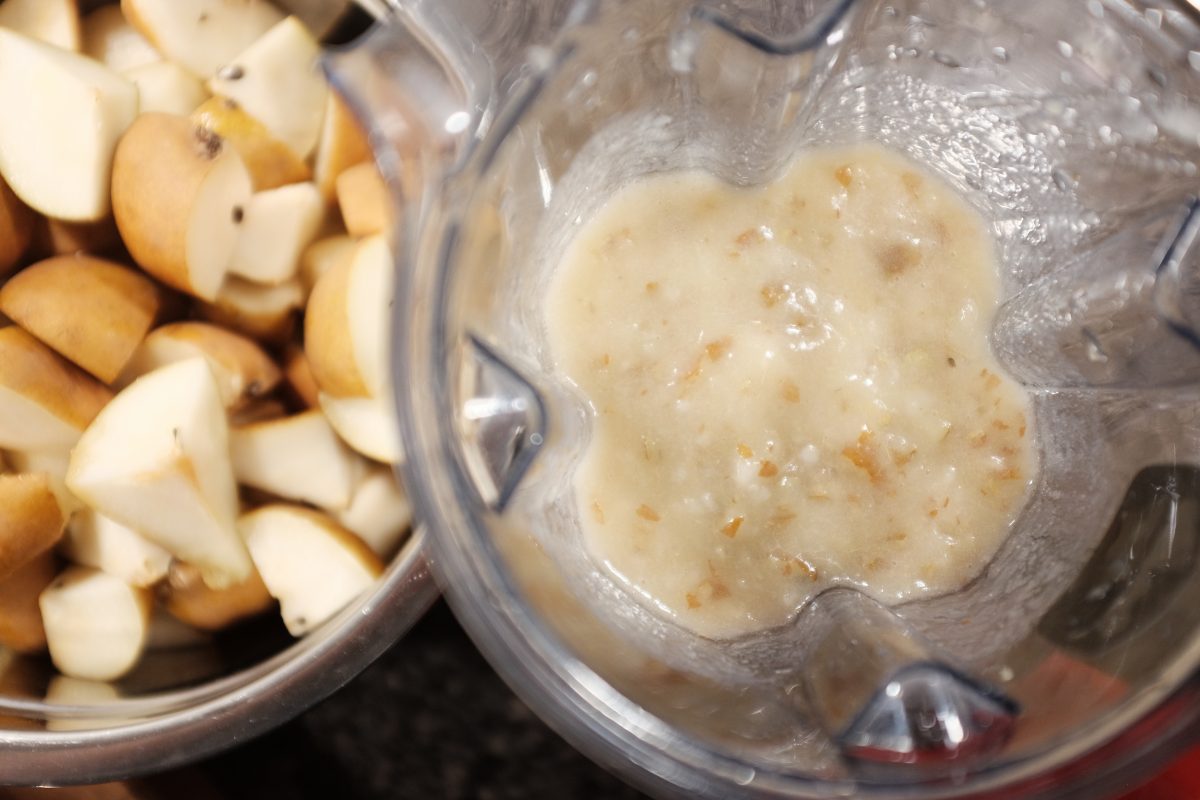
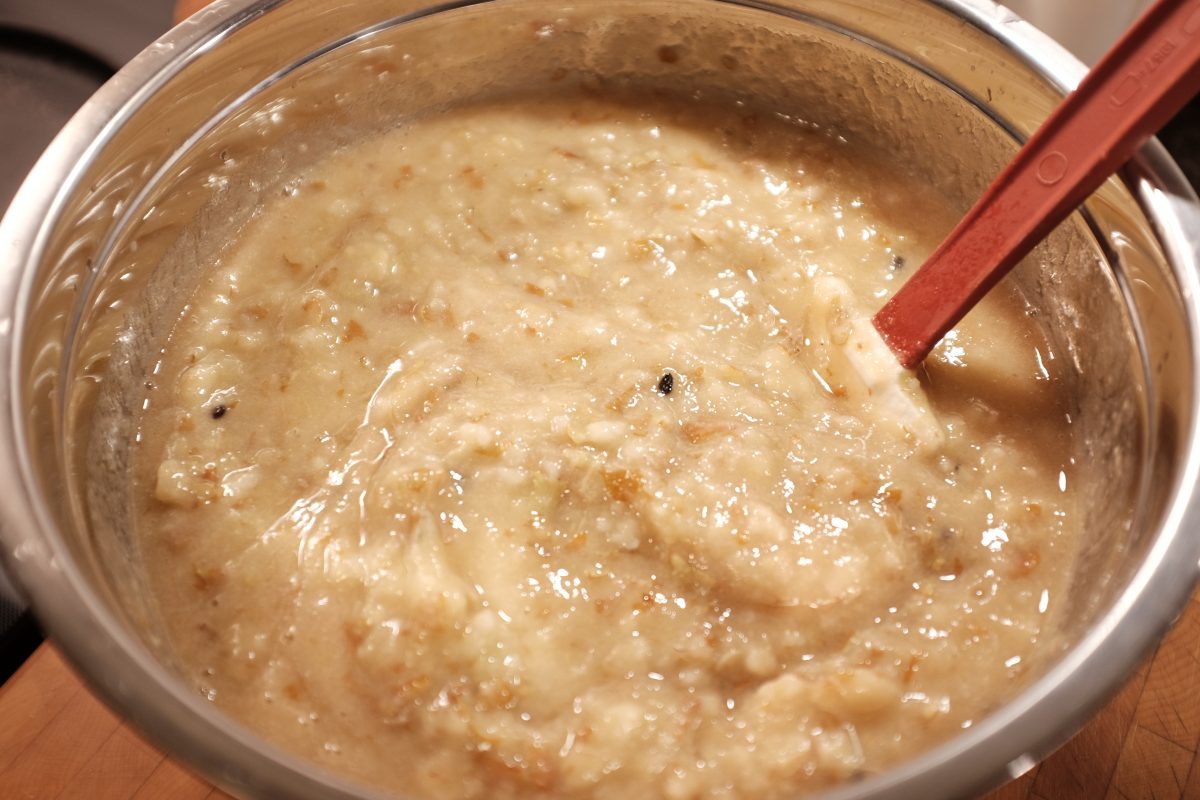
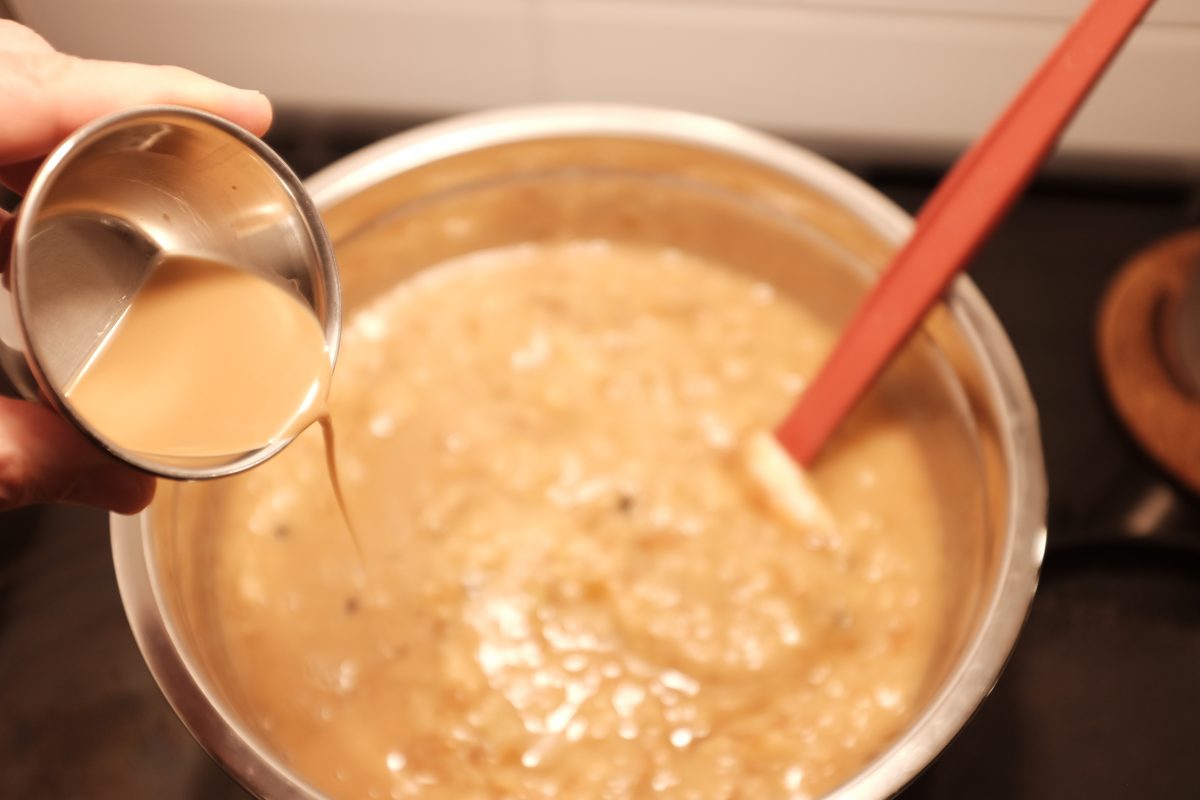
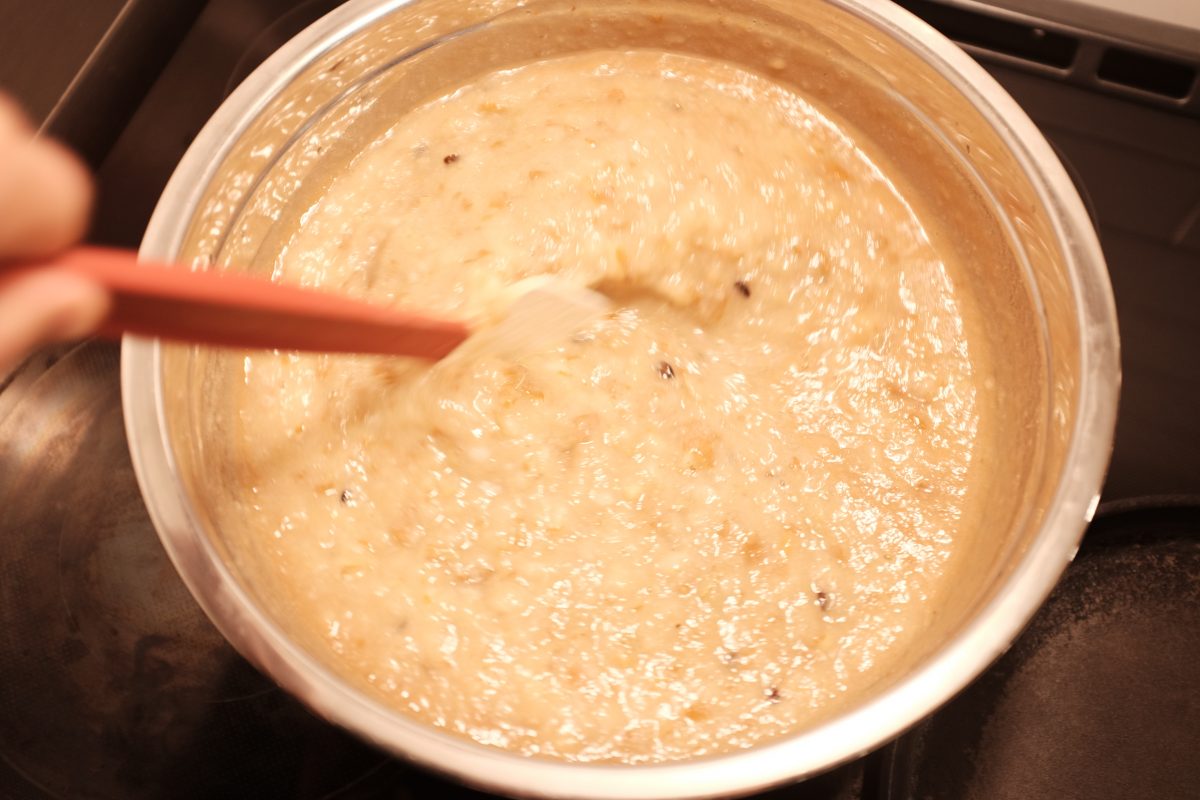
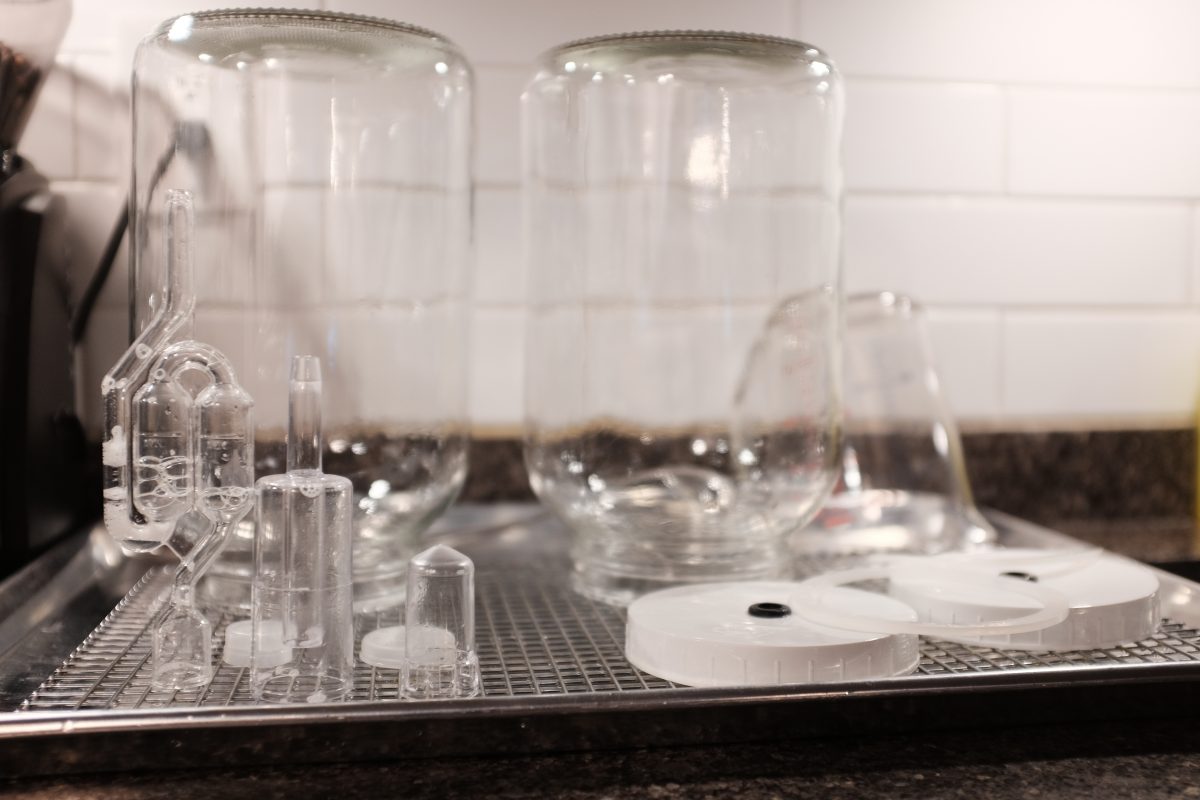
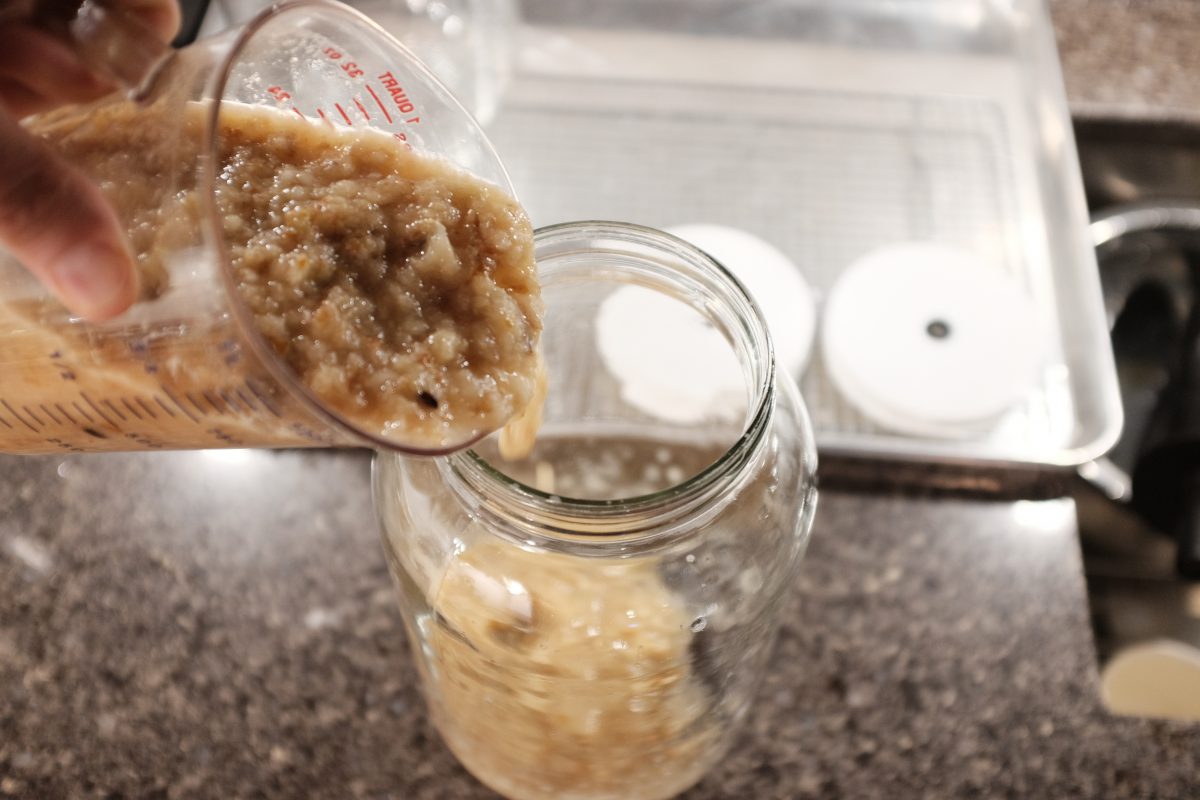
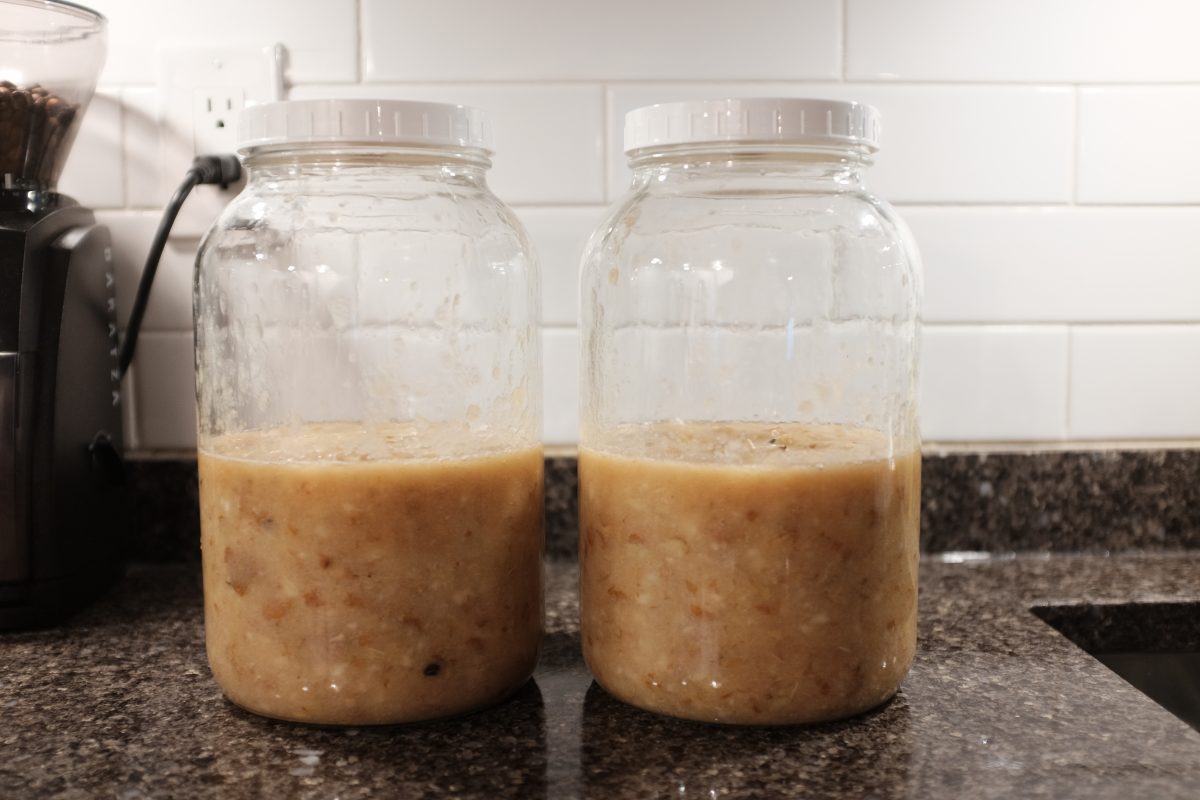
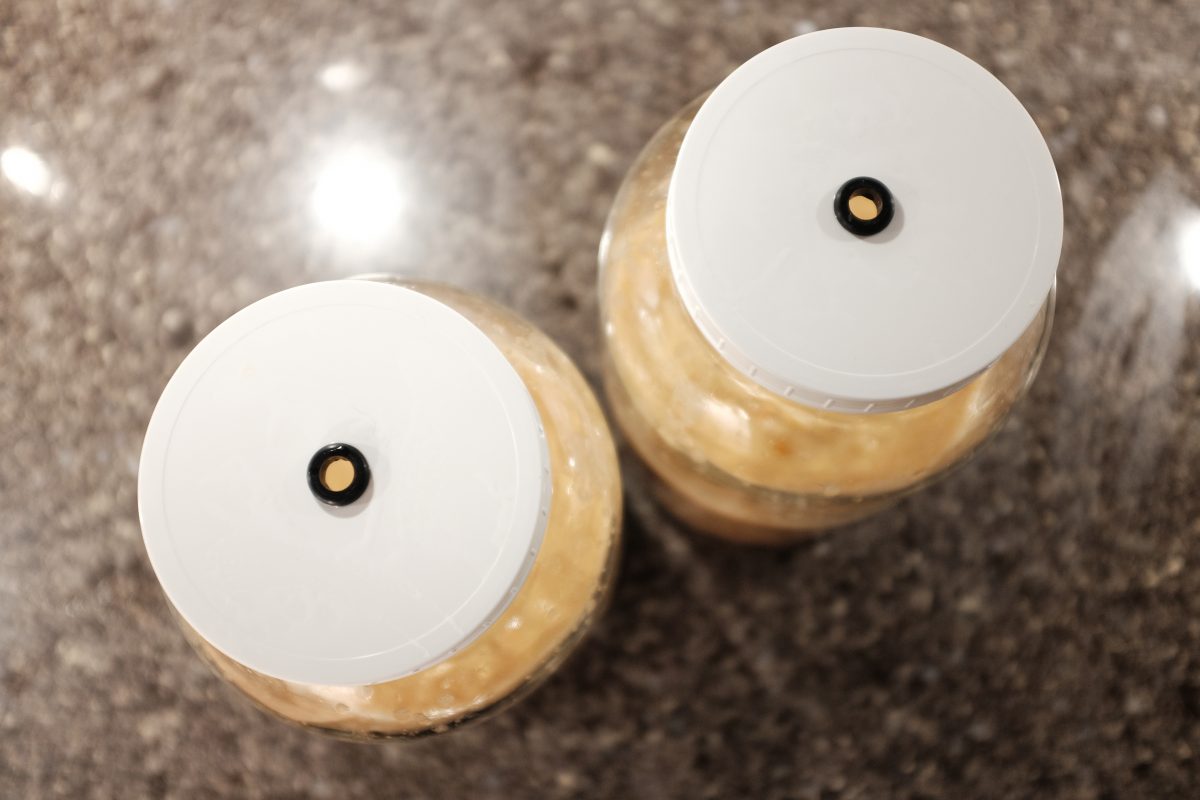
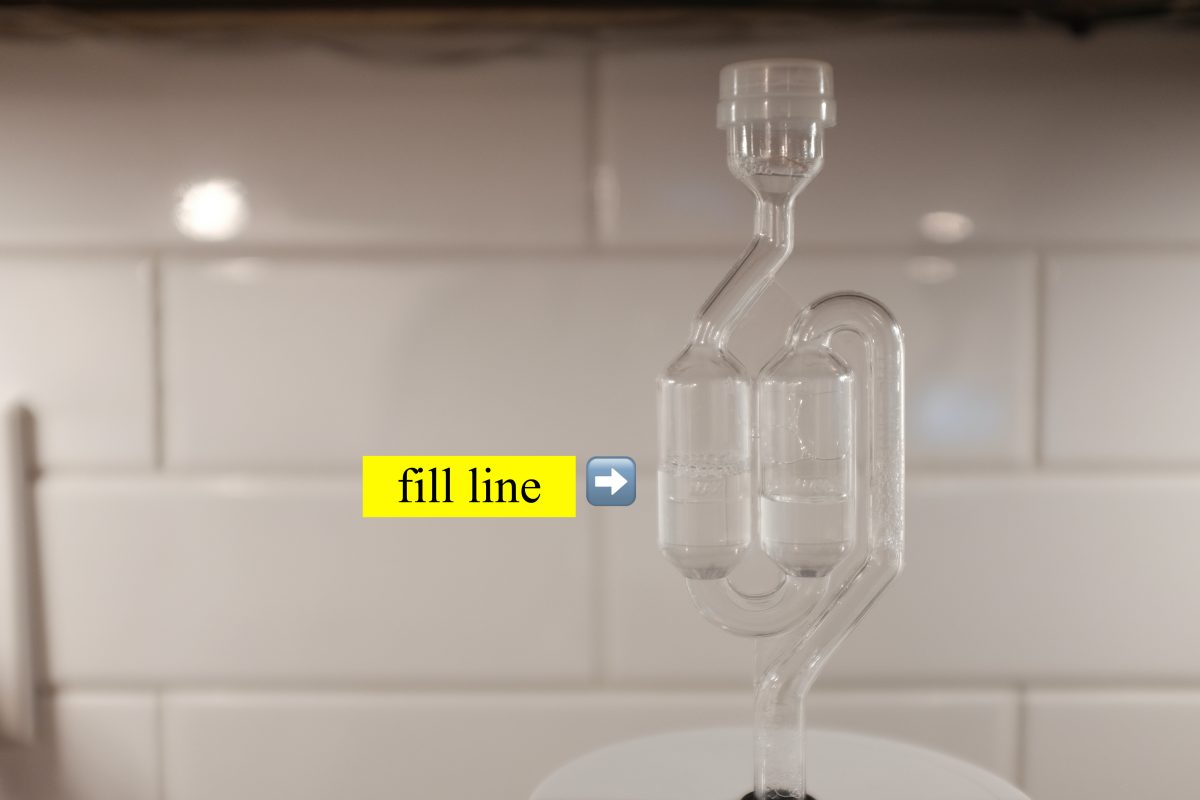
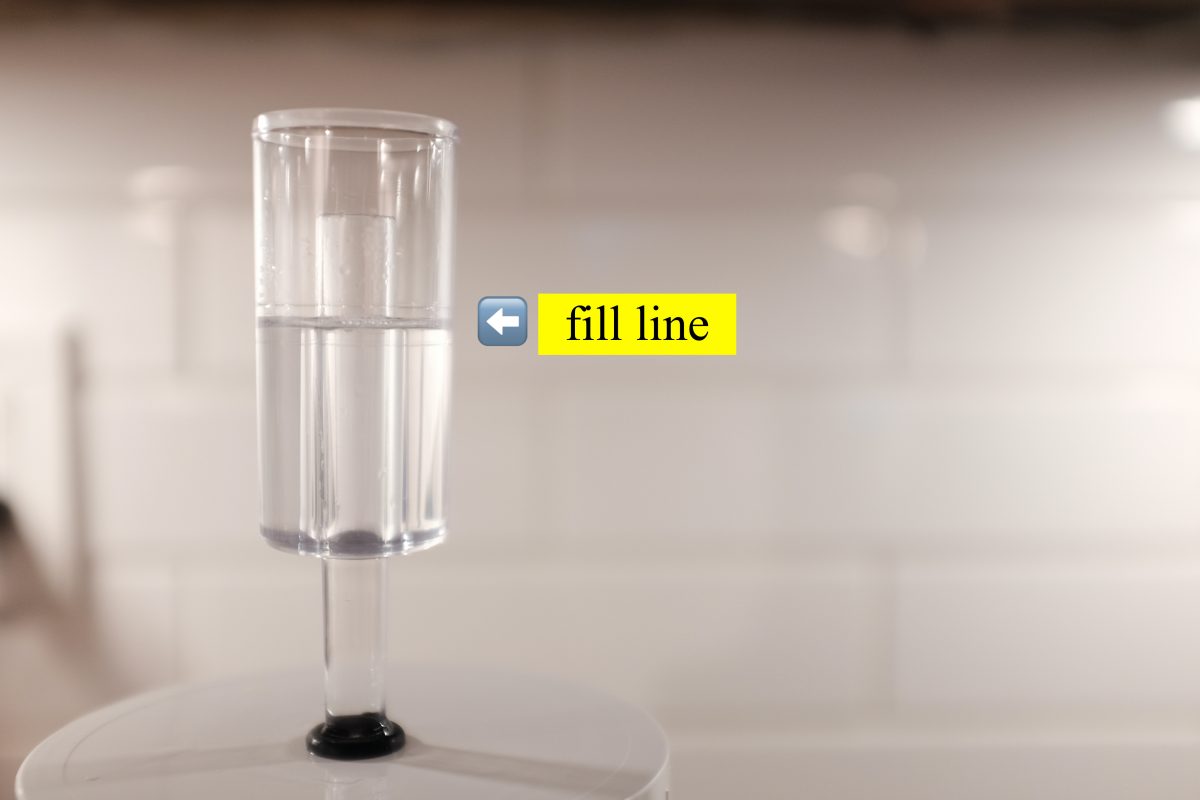
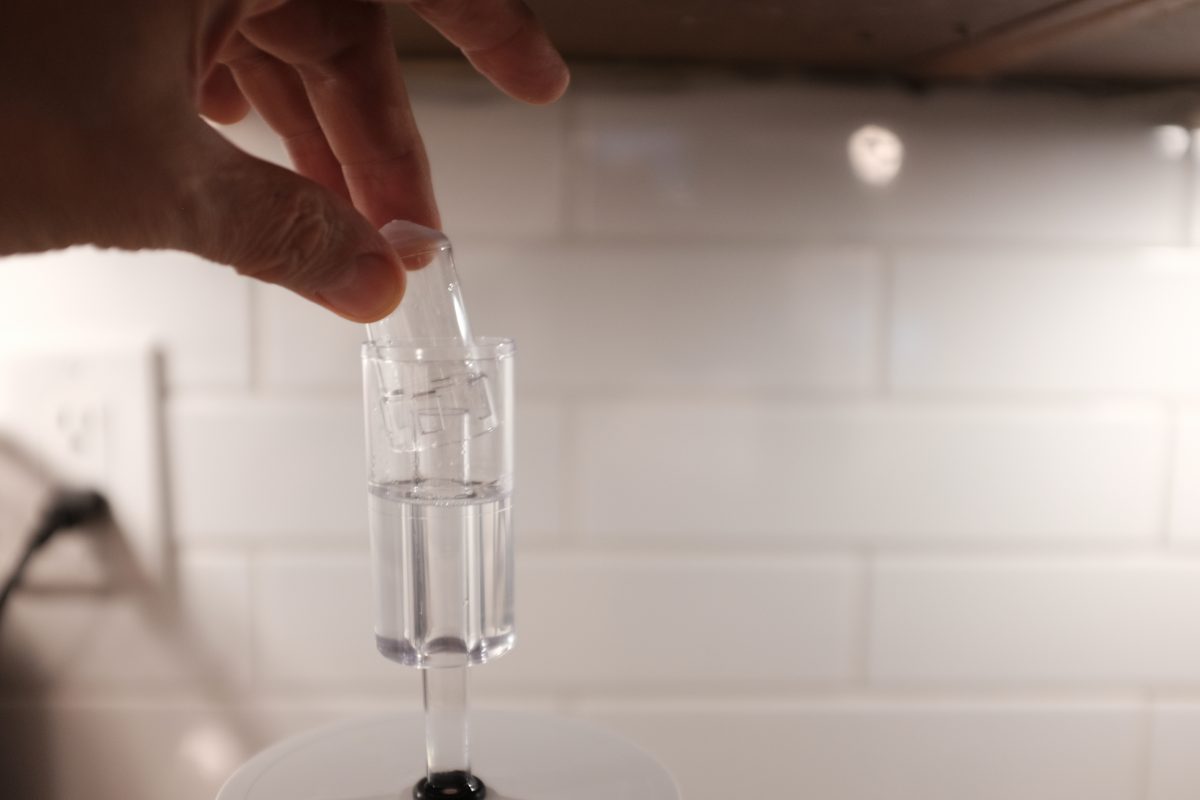
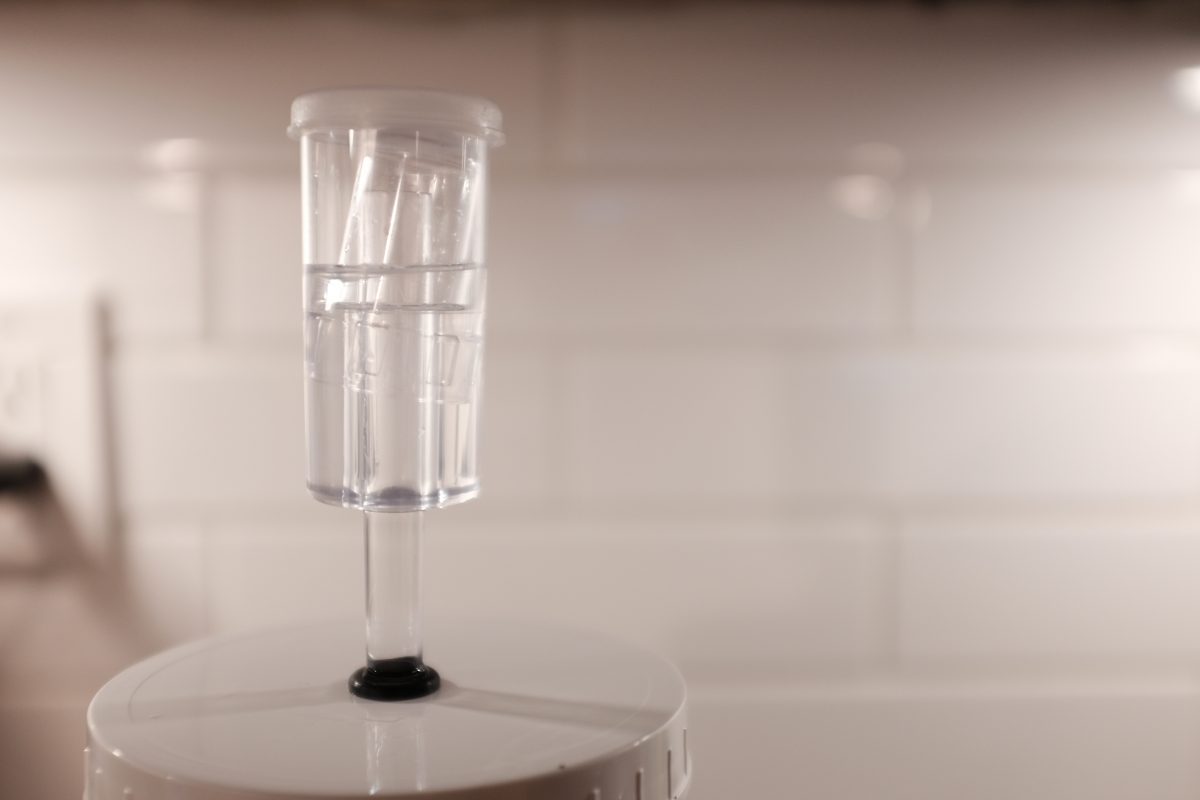
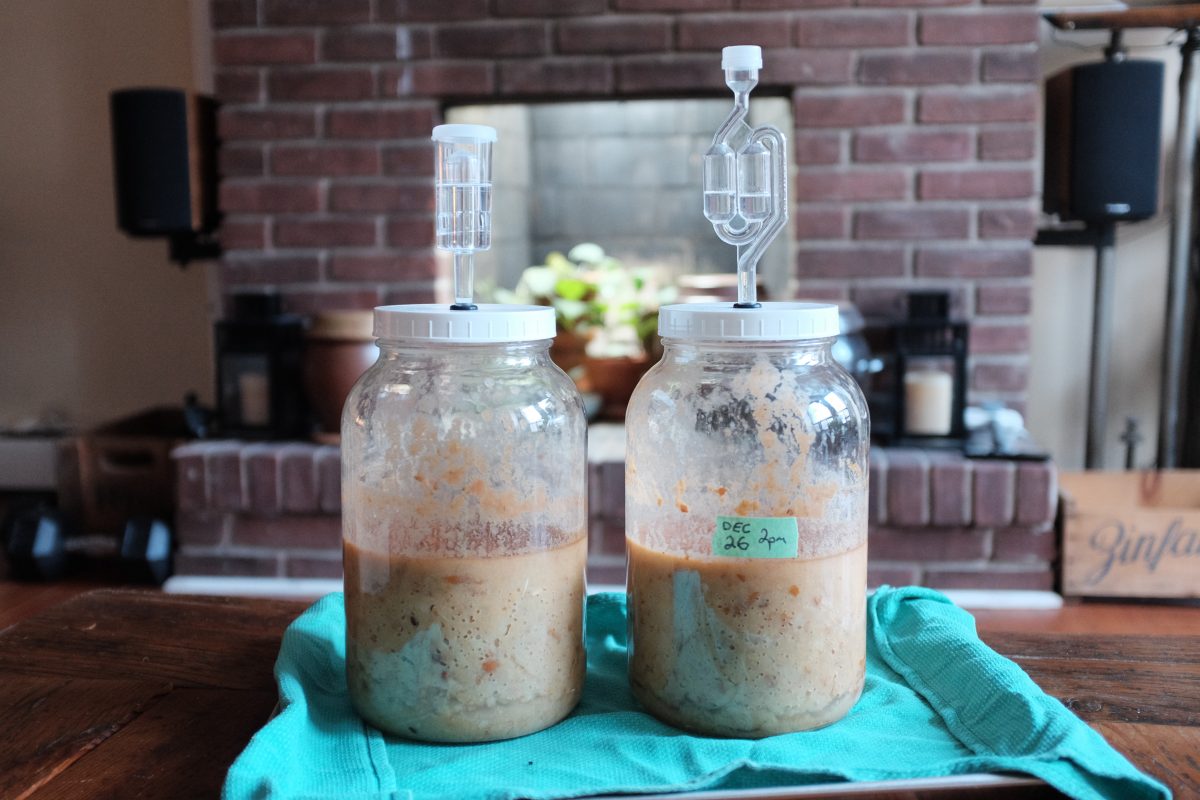
Once the jars are filled, the lids are on tight, and the airlocks are assembled…move them to a spot that is not in bright light and is at a cool room temperature. Around 20 Celsius or even a little cooler is ideal. Sometimes a basement works, or a garage. I have one or two poorly insulated outside walls which stay at a perfect 18-20 degrees in the winter so that is where I do my fermenting.
First Signs of Life
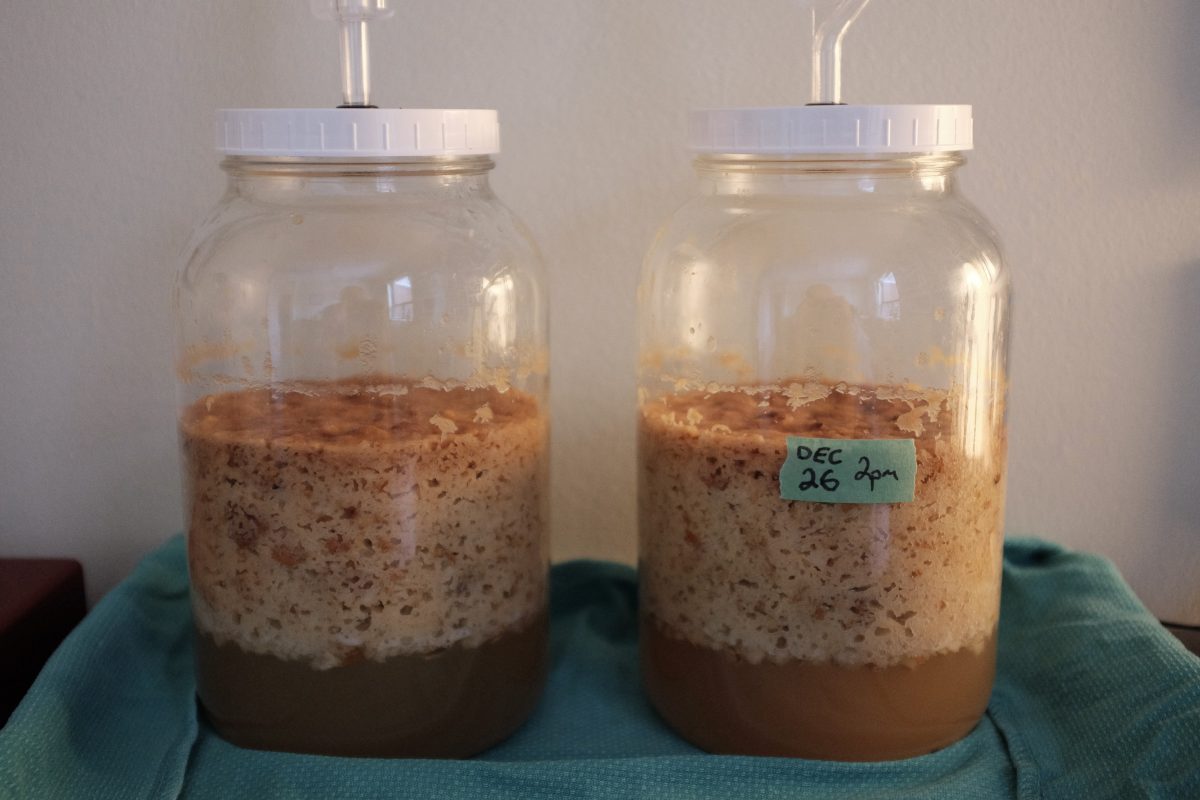
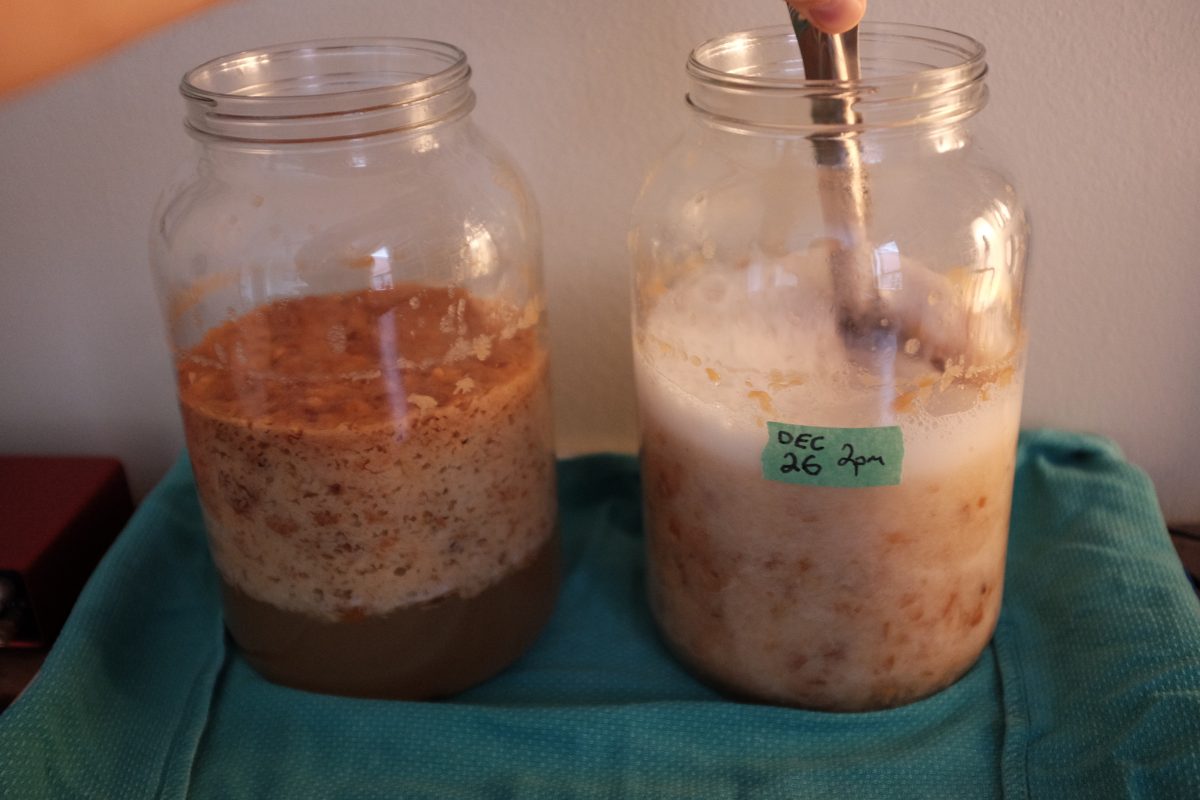
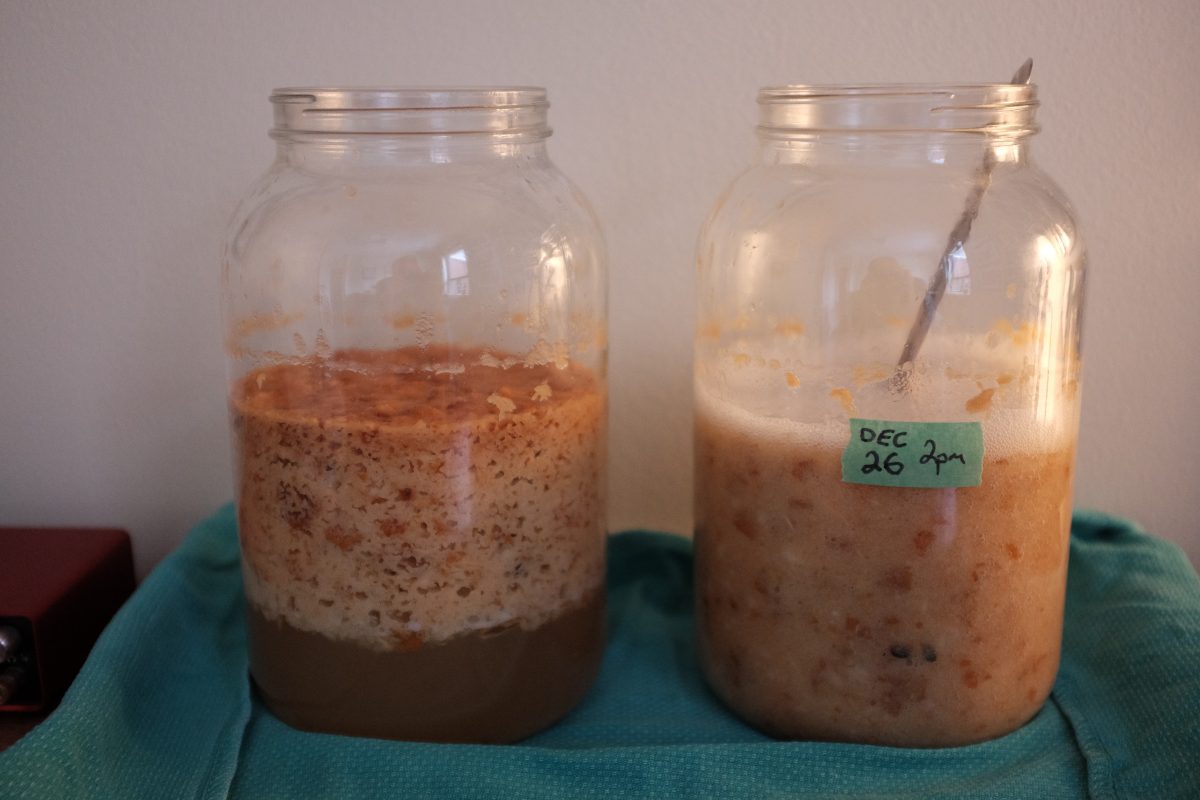
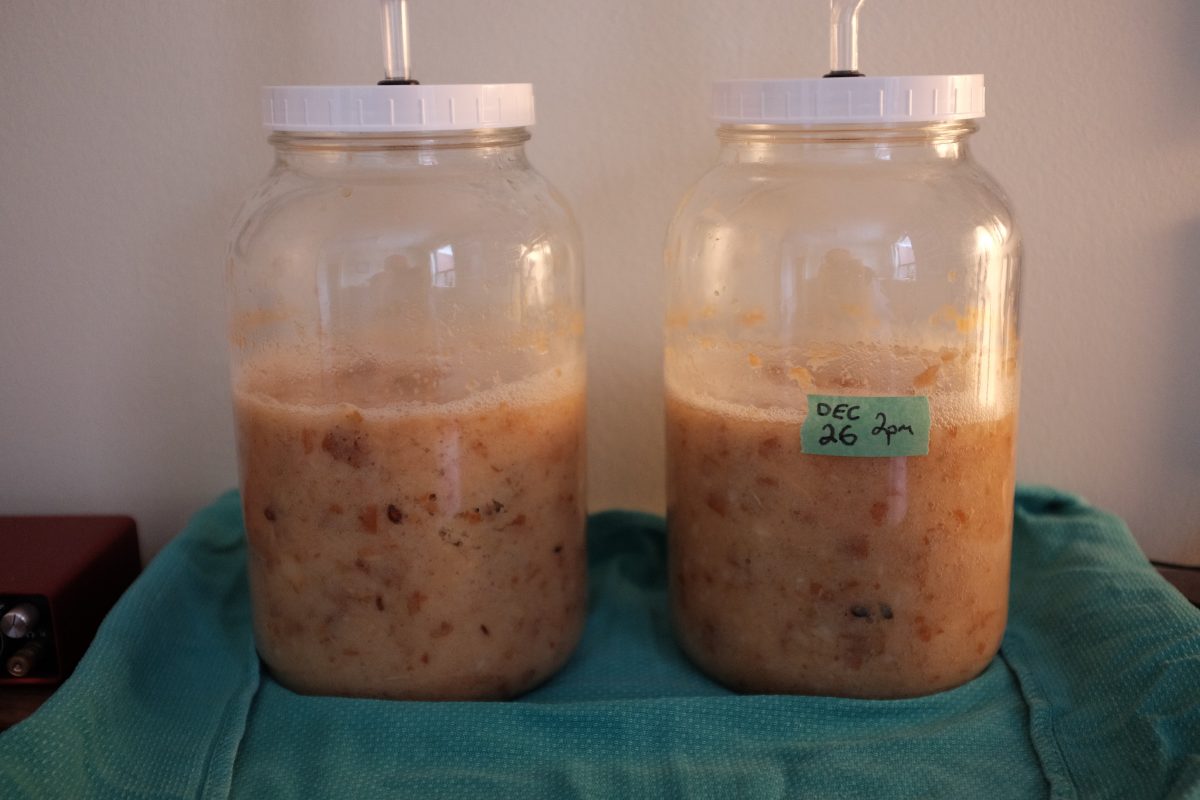
Fermentation slows down…
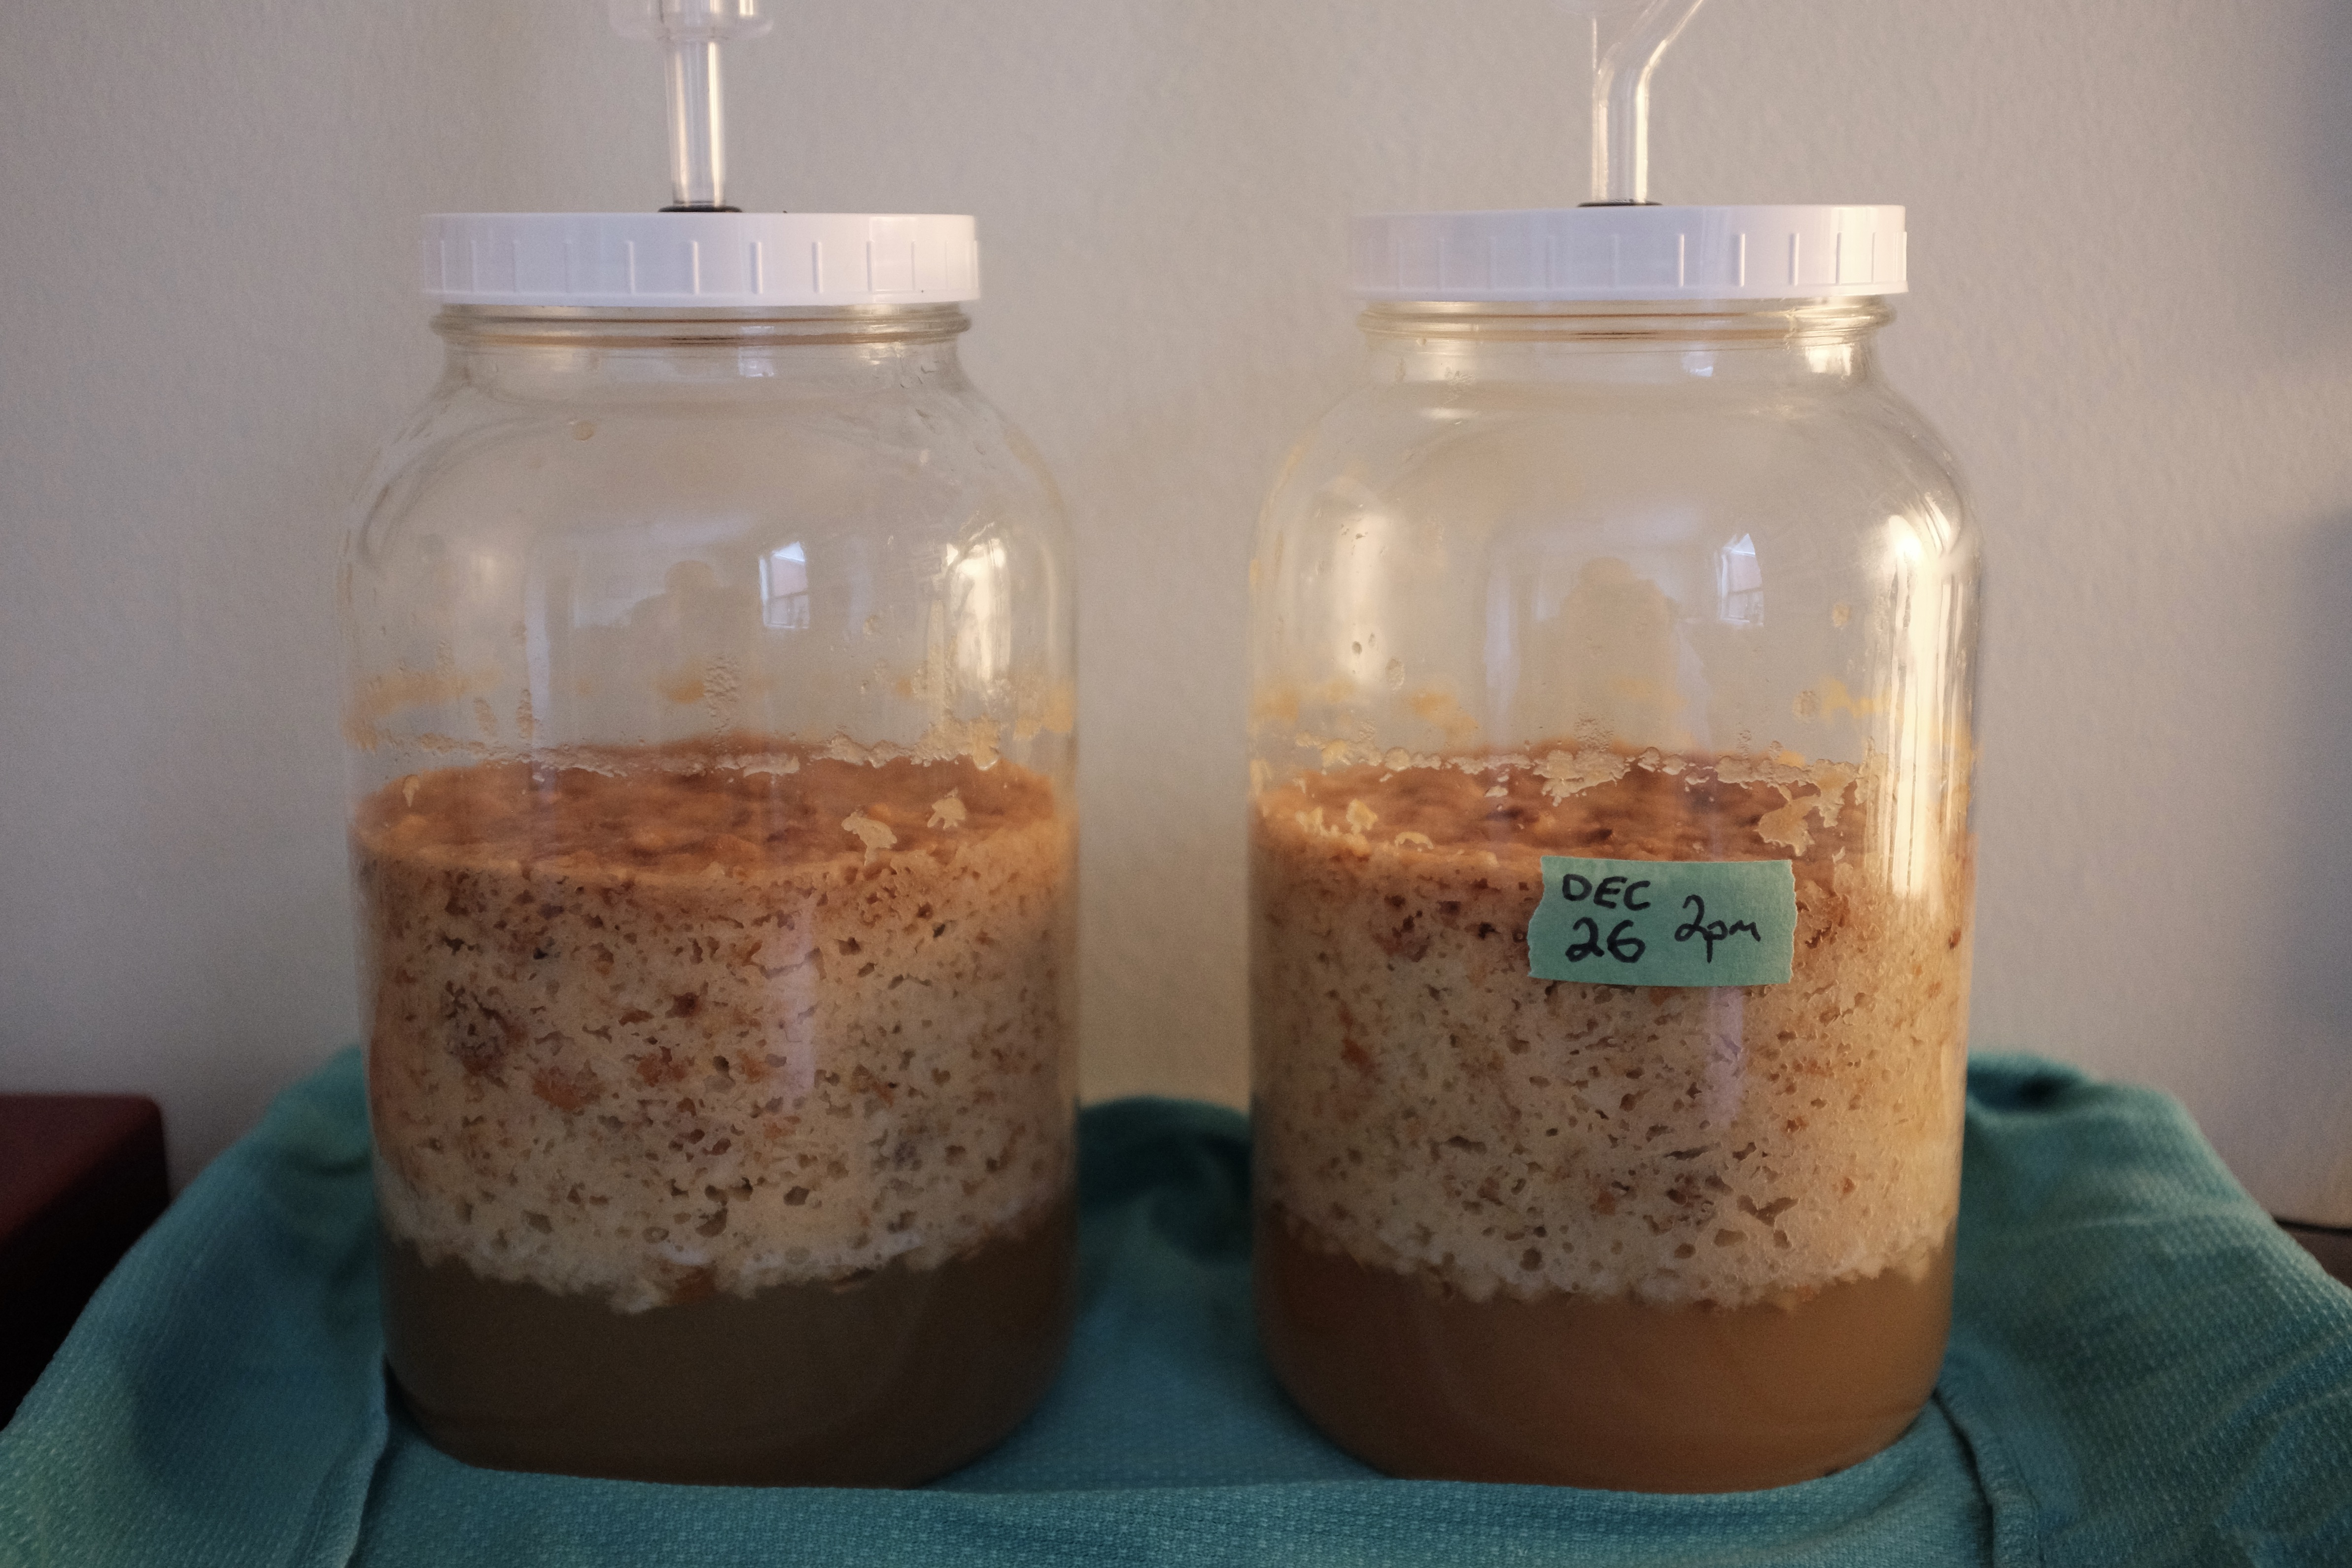
For the first 2 days, fermentation was very active with both airlocks bubbling constantly. Towards the end of the second day the fermentation has slowed noticeably. The airlocks will bubble up a couple of times a minute at most. There is less fizzing when stirring and there is a slight taste and smell of alcohol on the spoon. By day 3, fermentation was very slow. Apparently, this very active initial fermentation followed by a very slow and steady period is characteristic of “saison” yeast. If you are using a different brewers yeast, the fermentation may be more consistent over time.
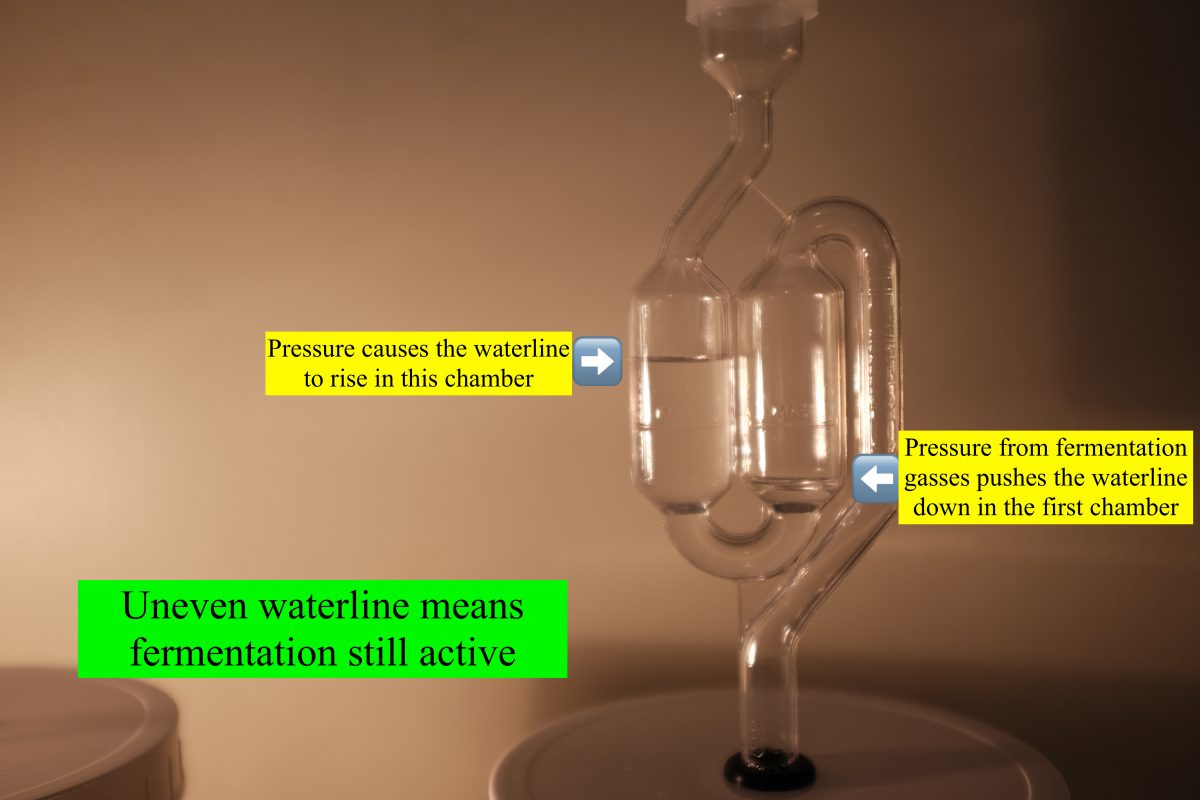
Keep stirring once a day, tasting for sugar and alcohol balance. Monitor activity at the airlocks.
Day 7:
By the 7th day, there is little to no detectable fermentation happening…no bubbling, no sounds, and the pressure in the S-airlock is equalized with both chambers showing the same water level. The mash tastes and smells of alcohol but the sweetness and perfume of pears is still there. This is perfect. It is time to strain the mash and move on to vinegar fermentation.
Straining the Mash
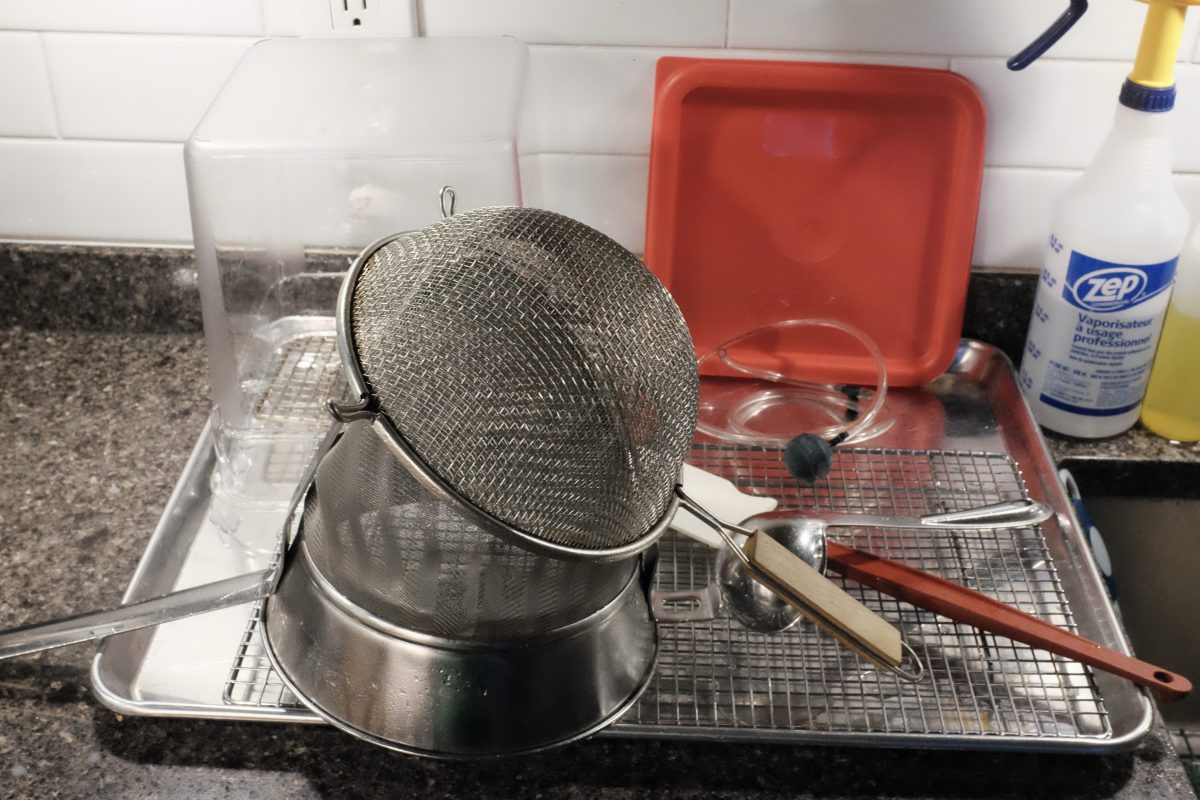
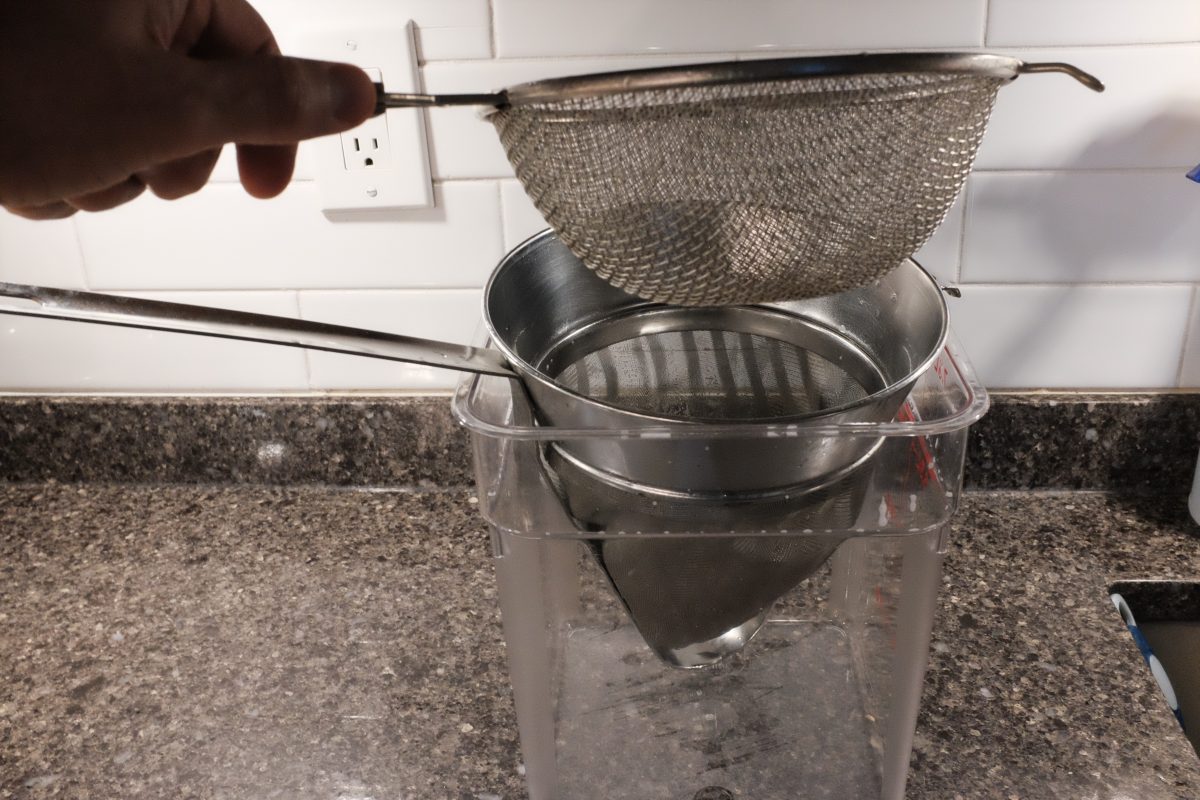
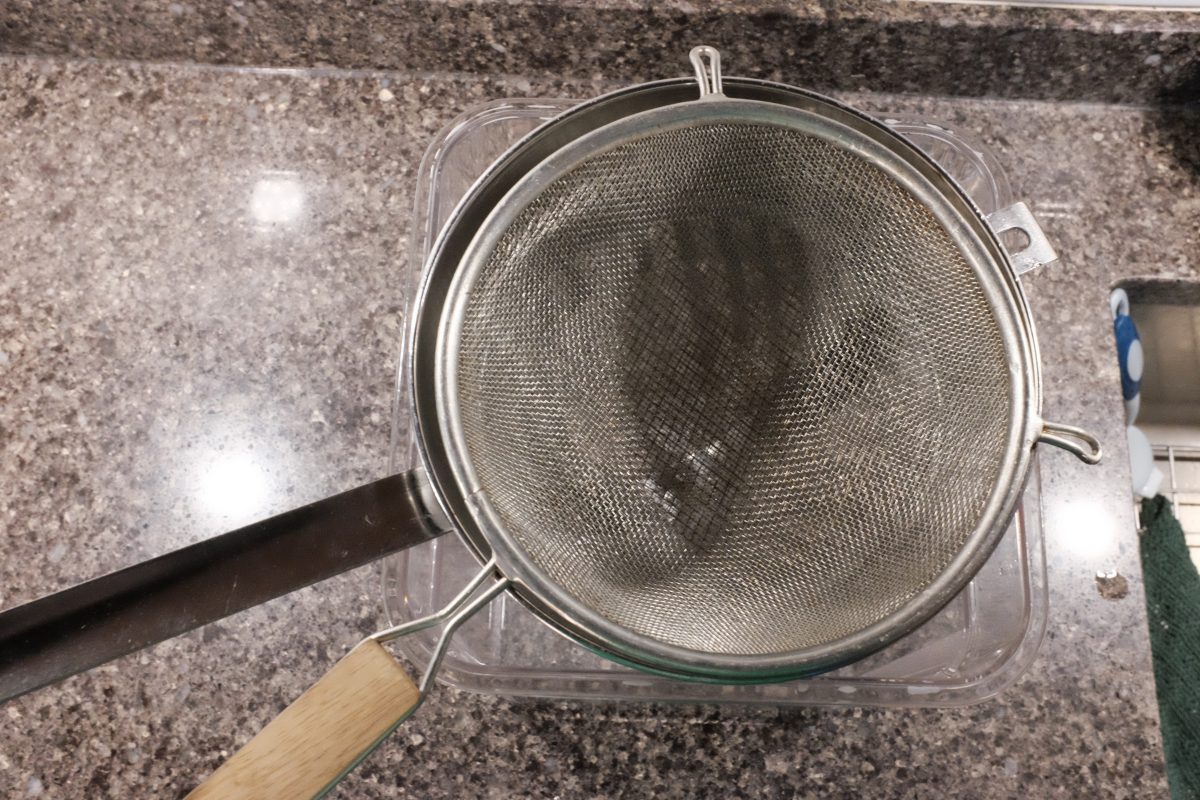
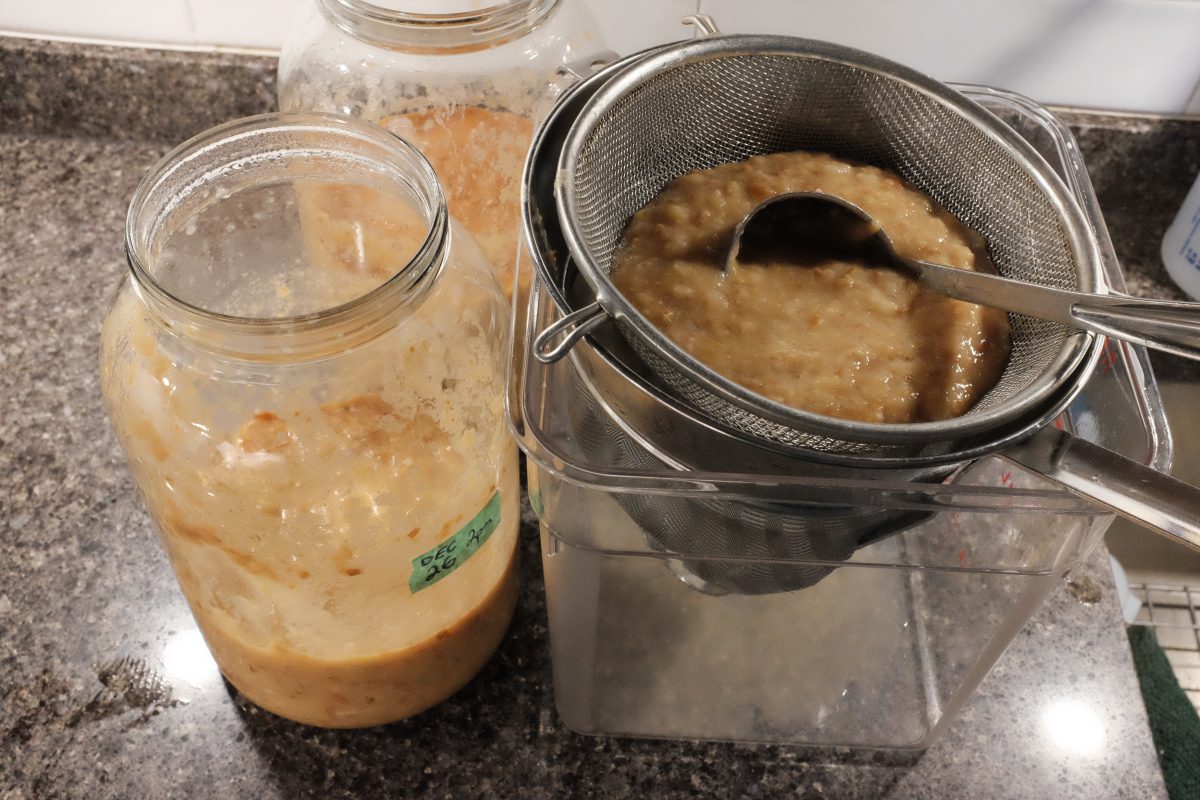
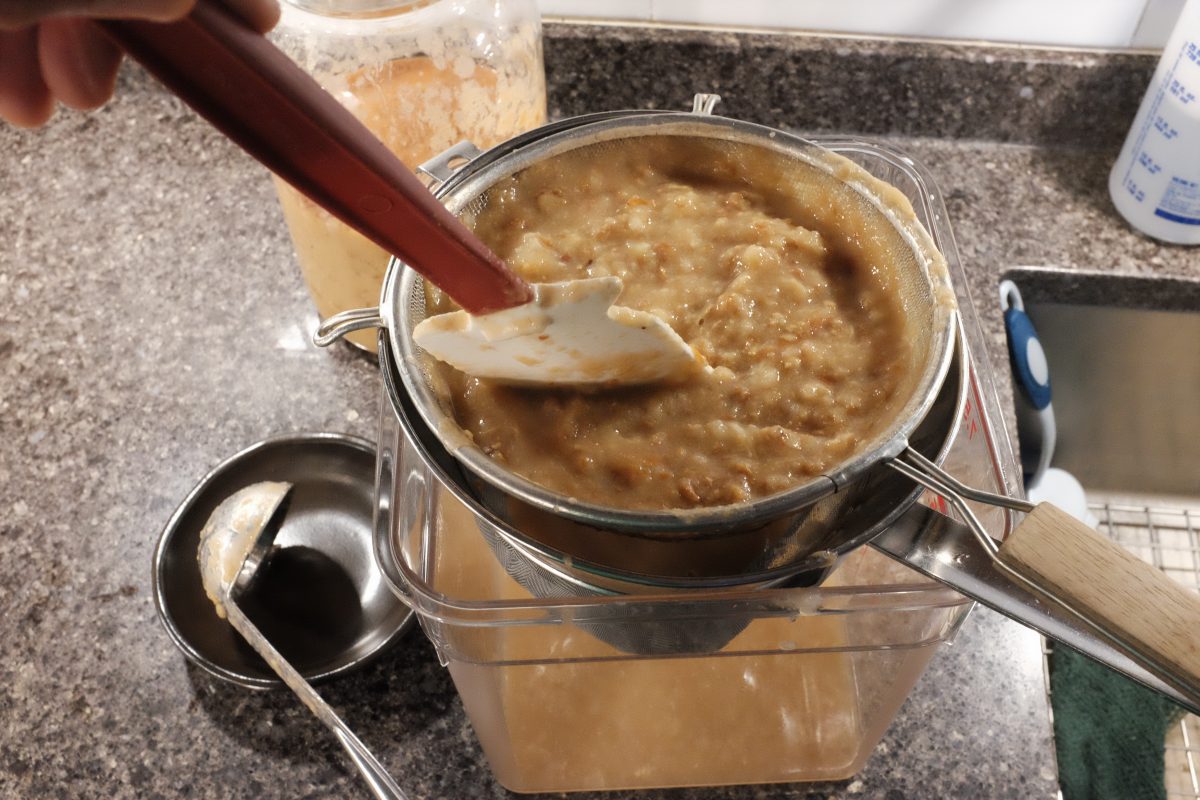
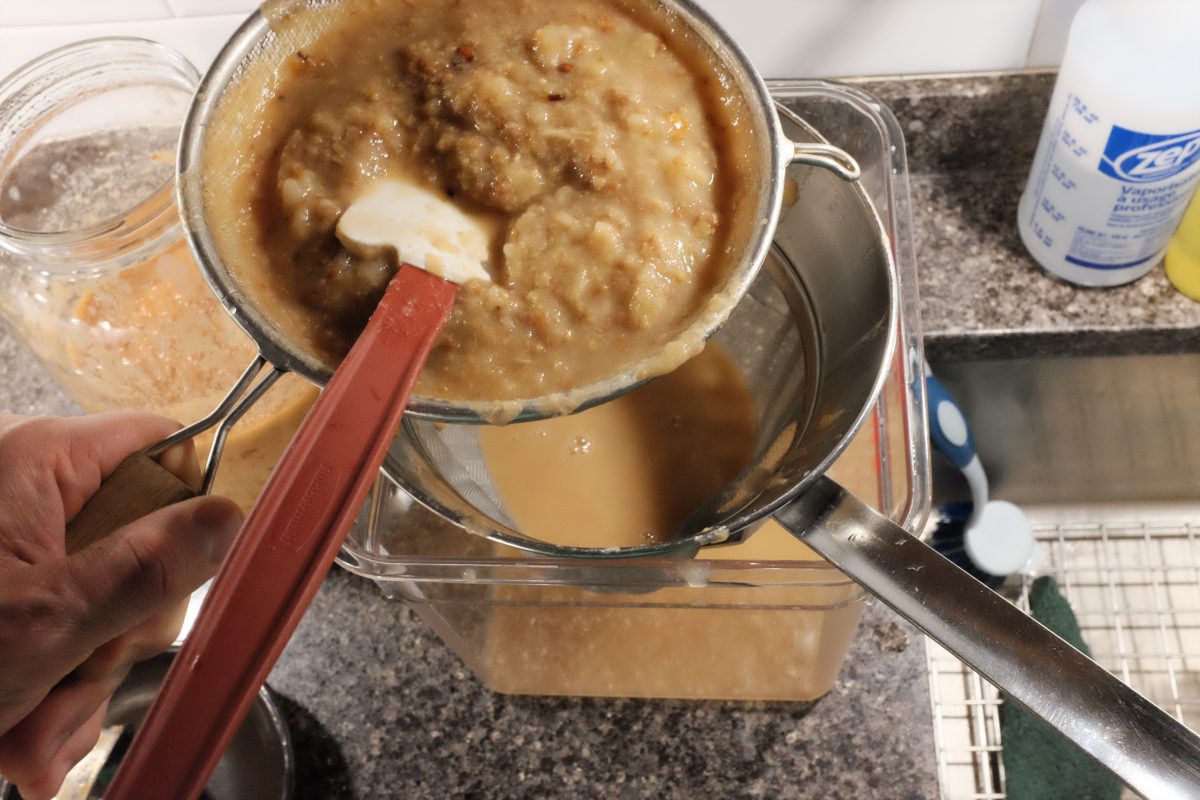
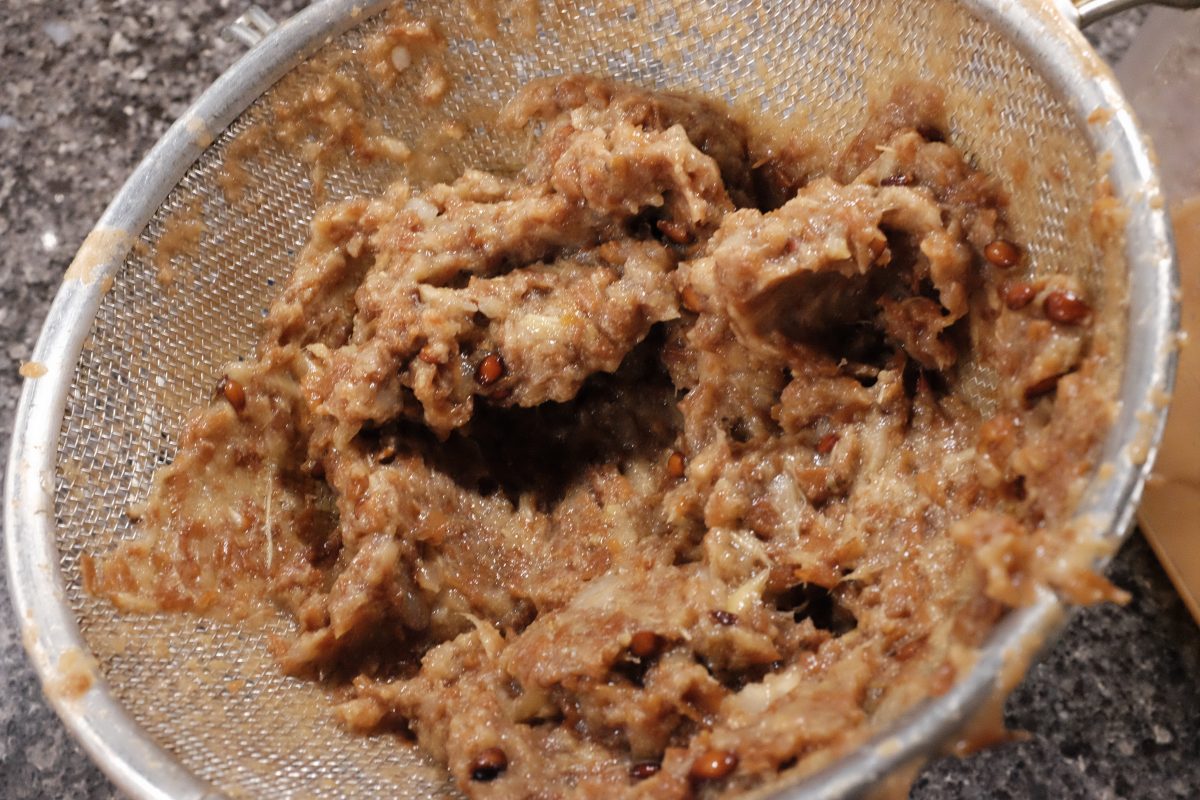
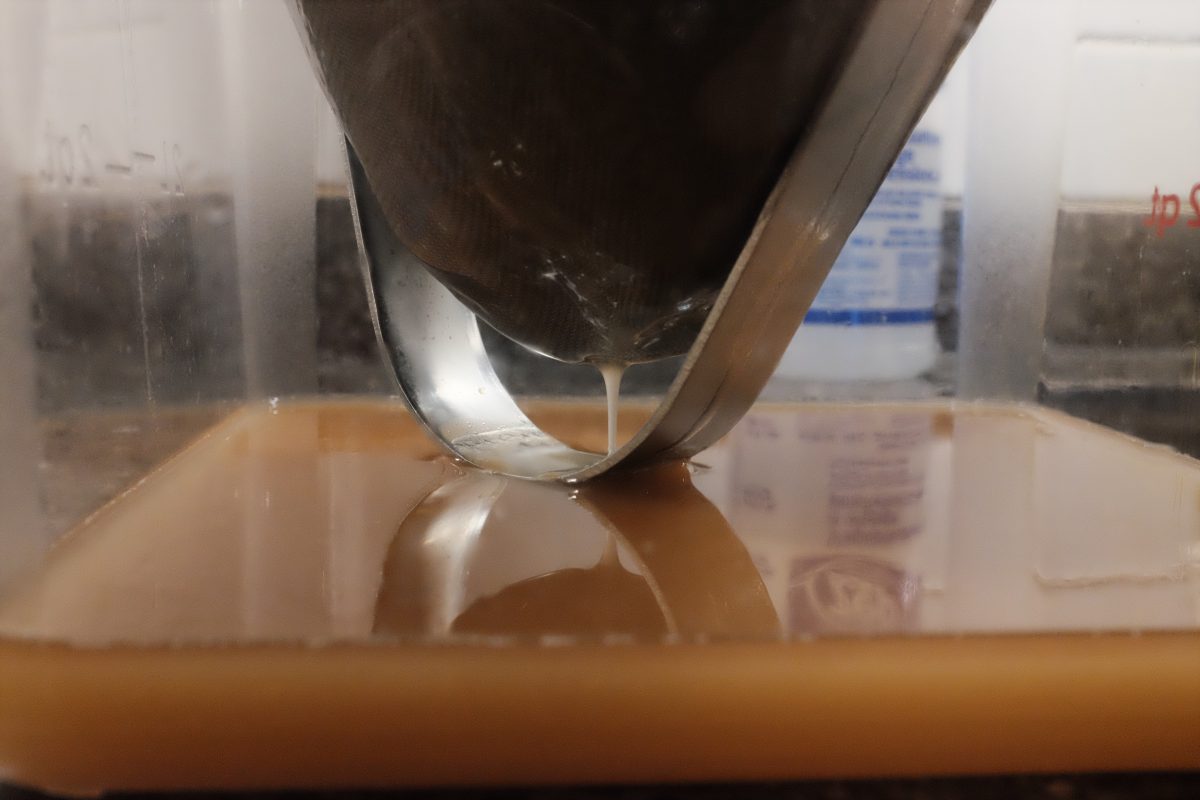
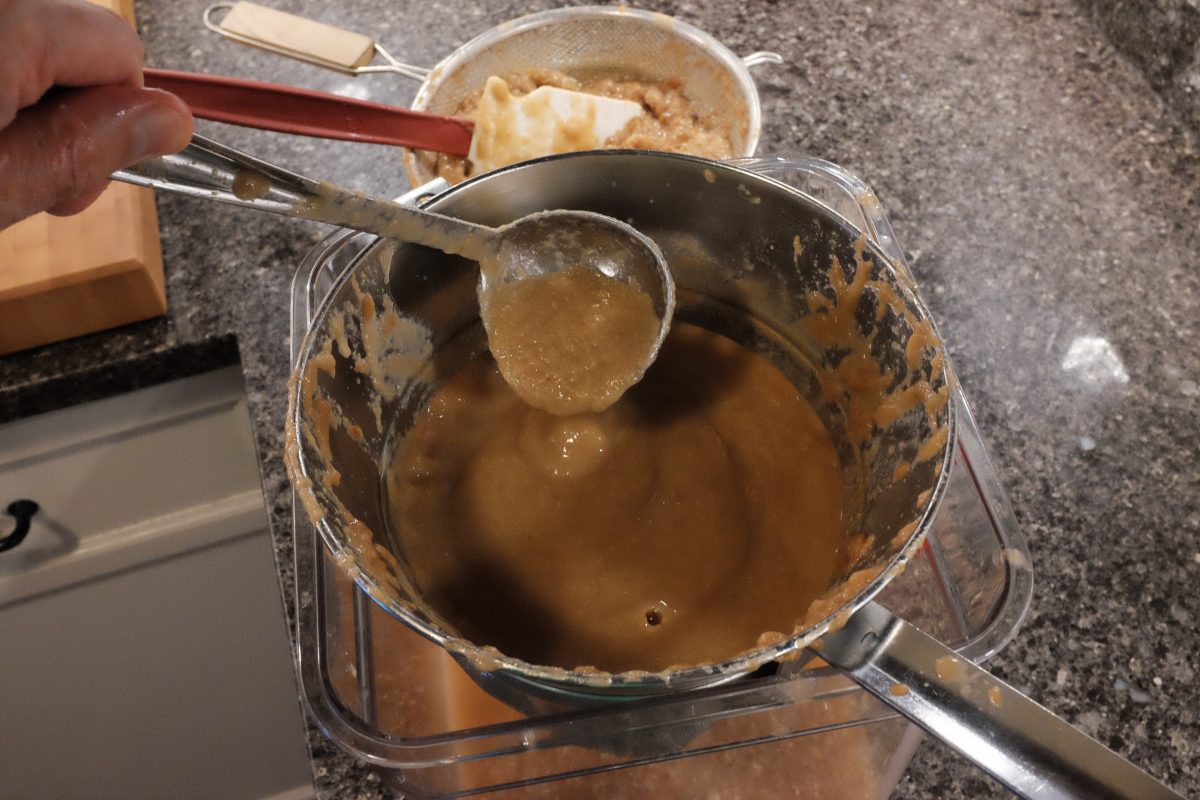
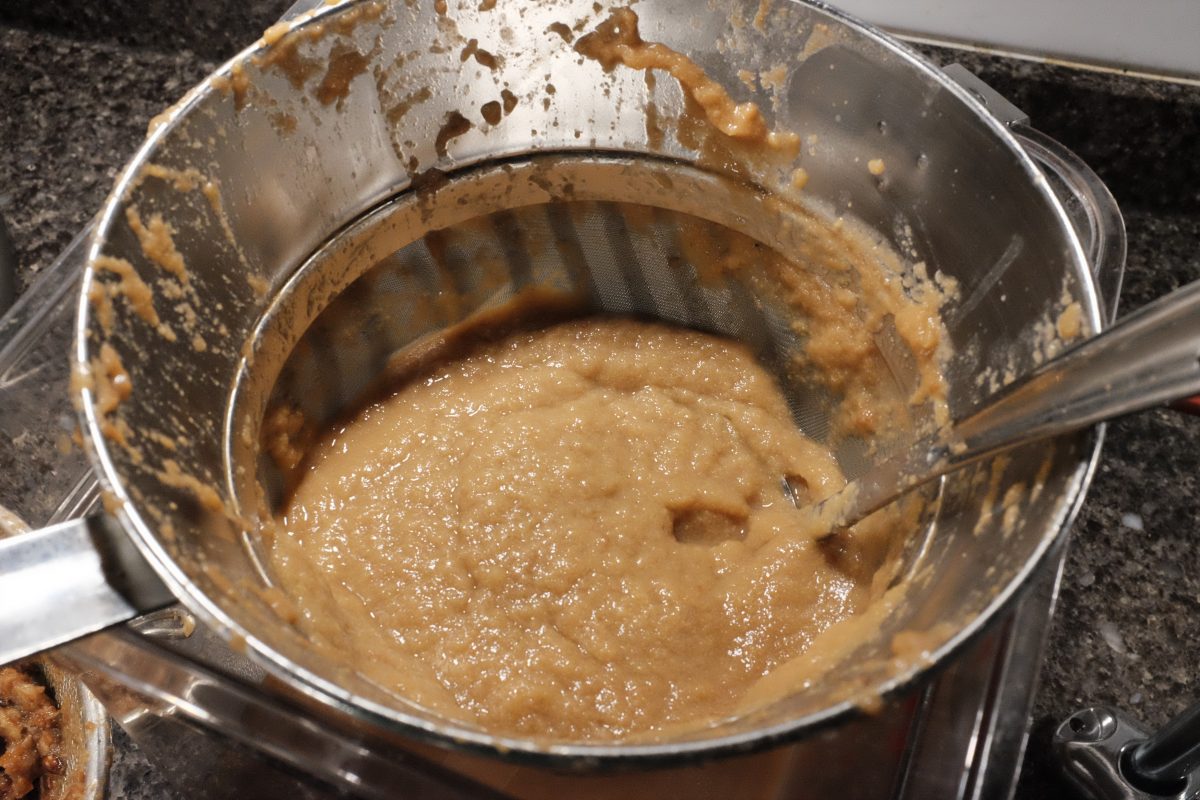
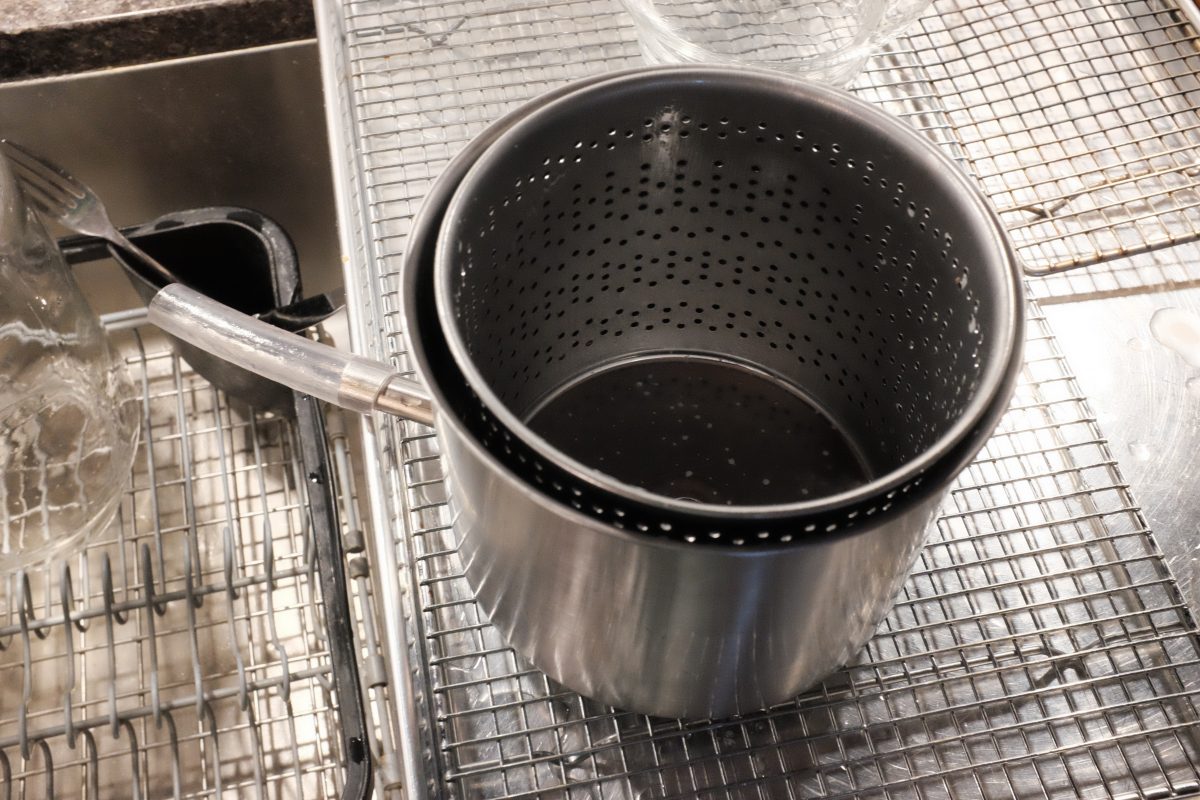
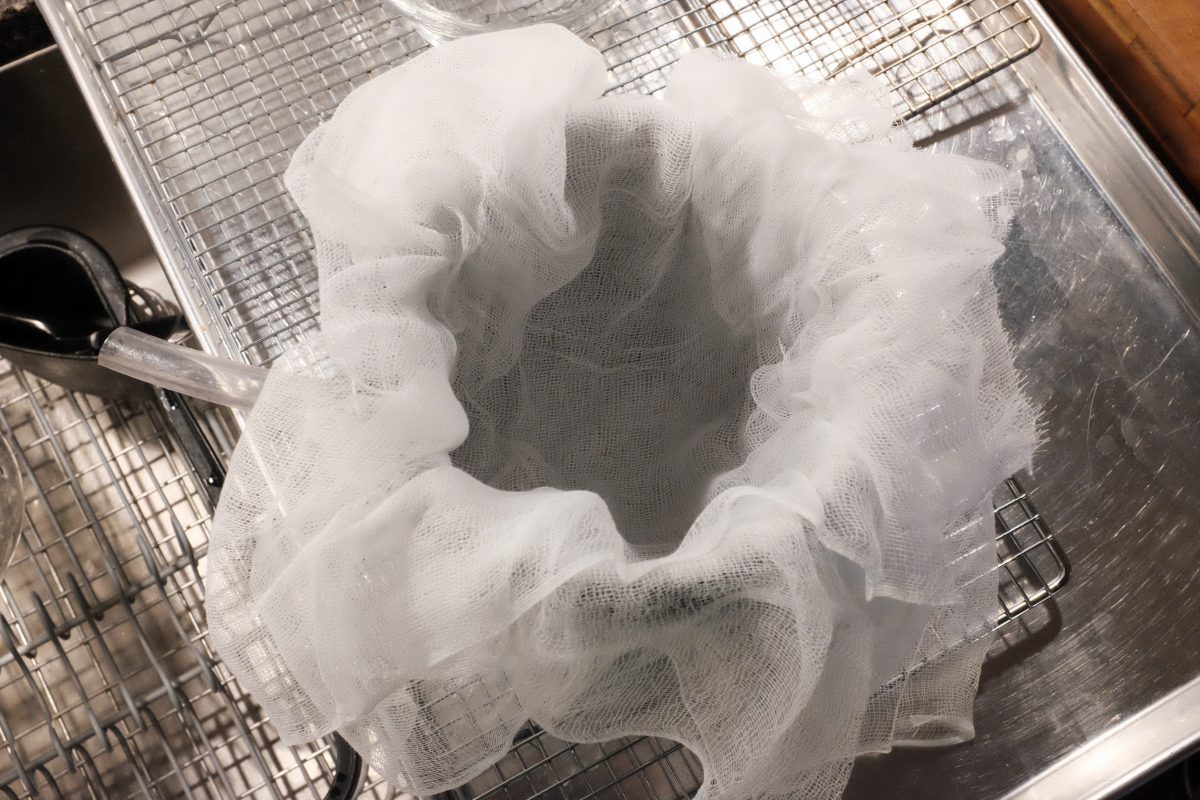
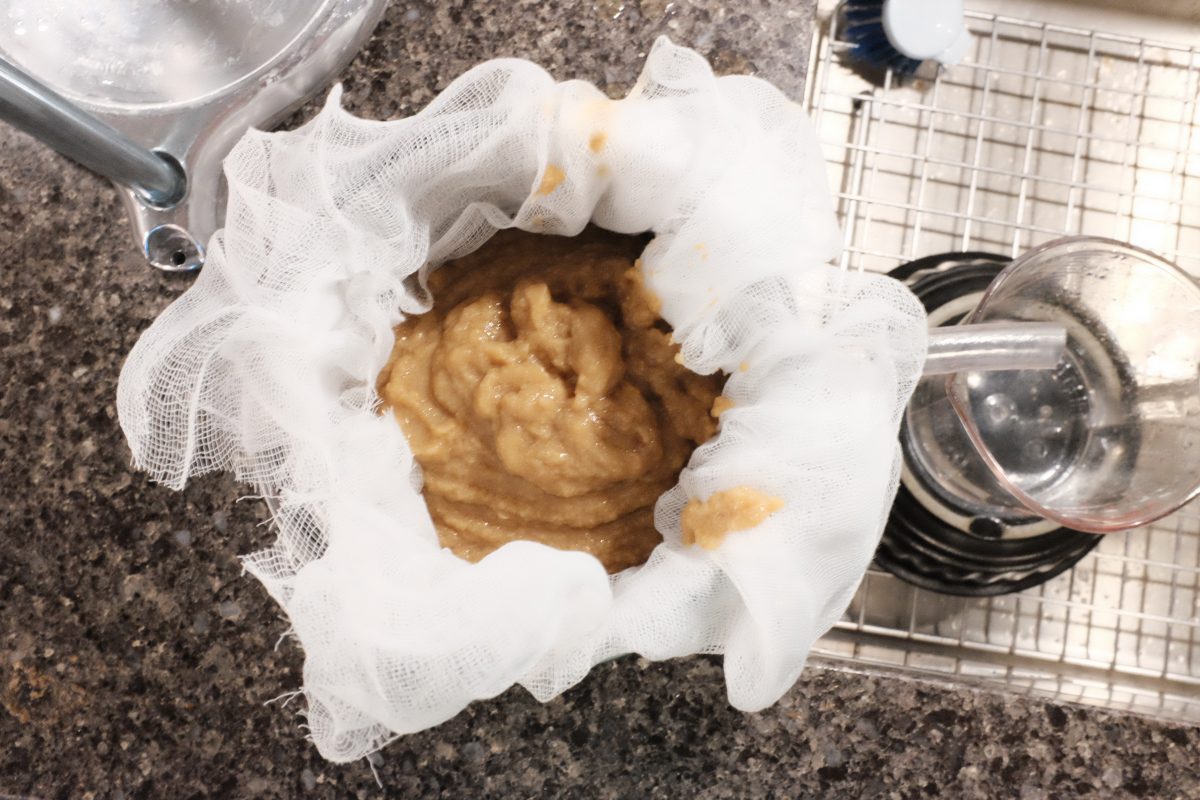
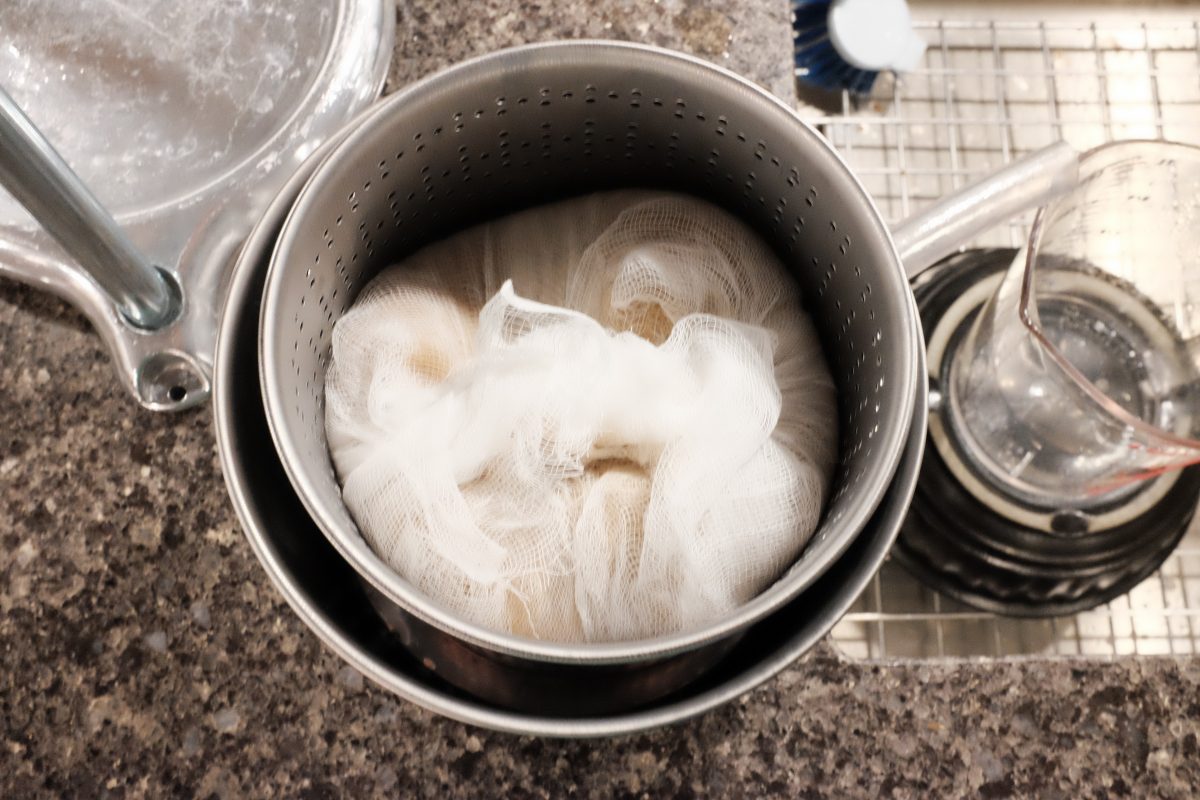
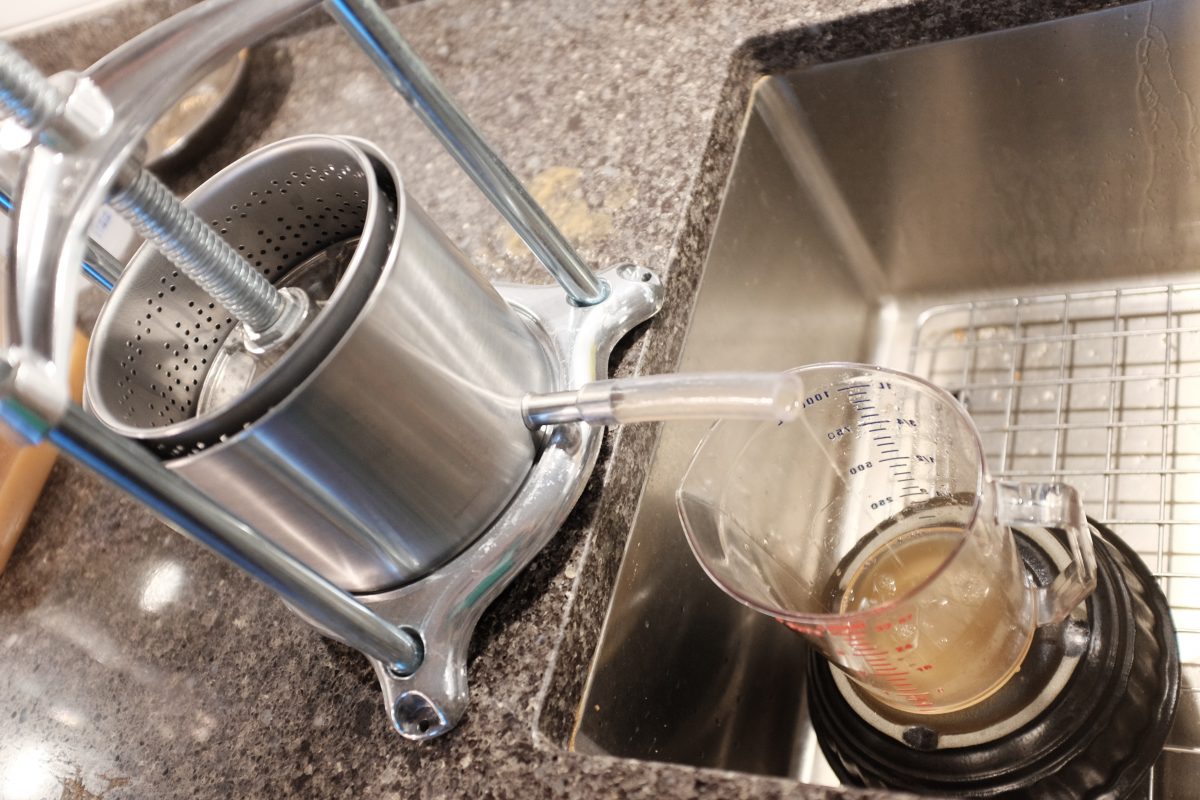
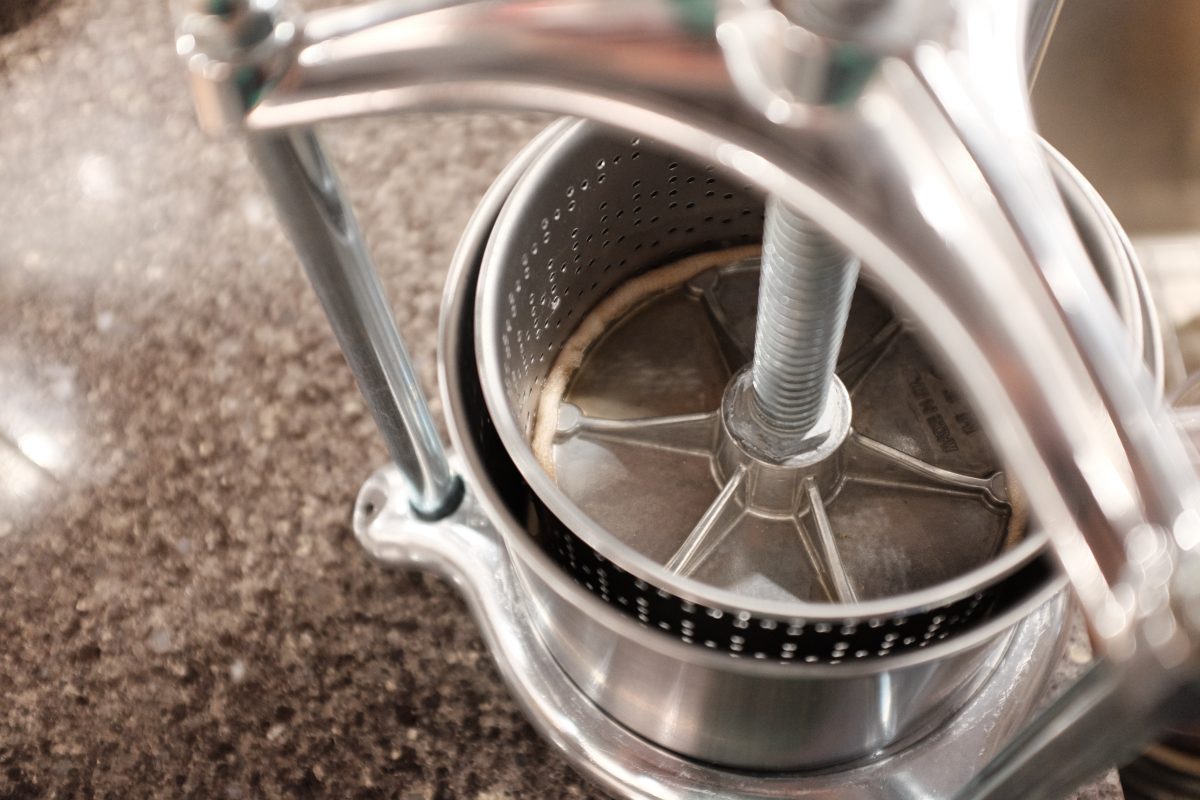
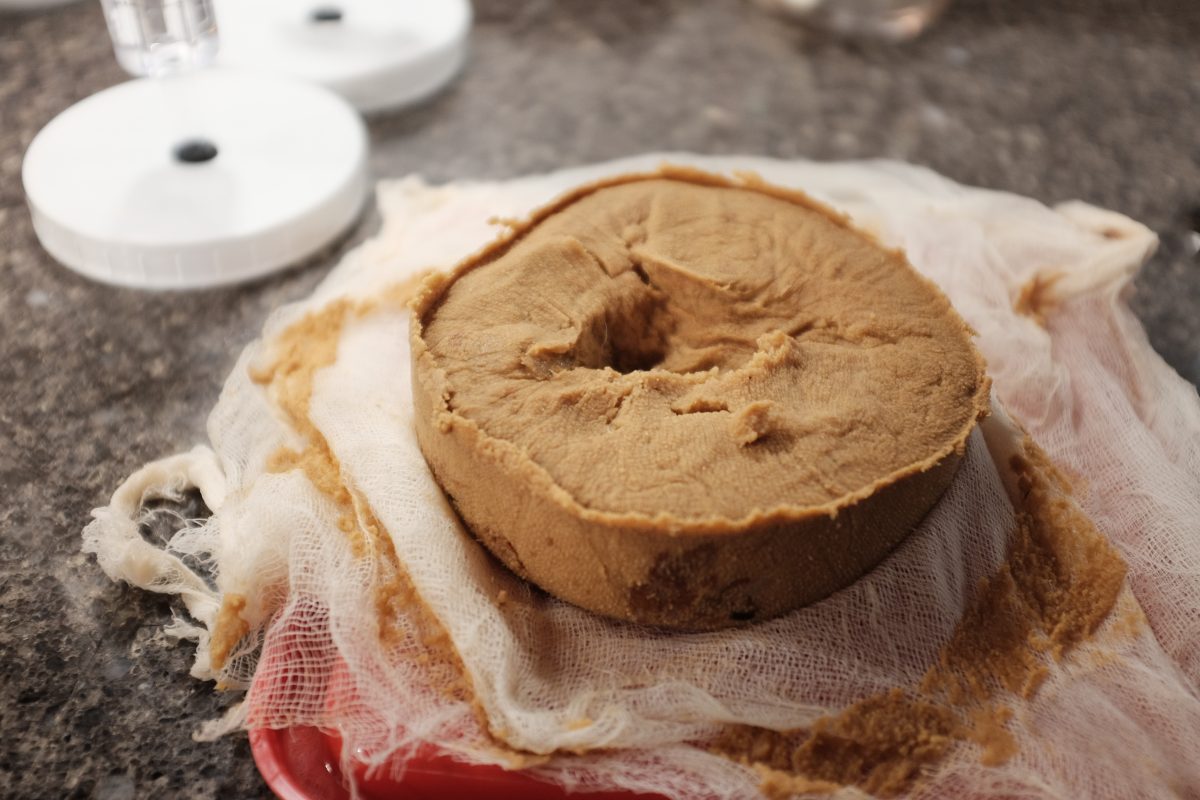
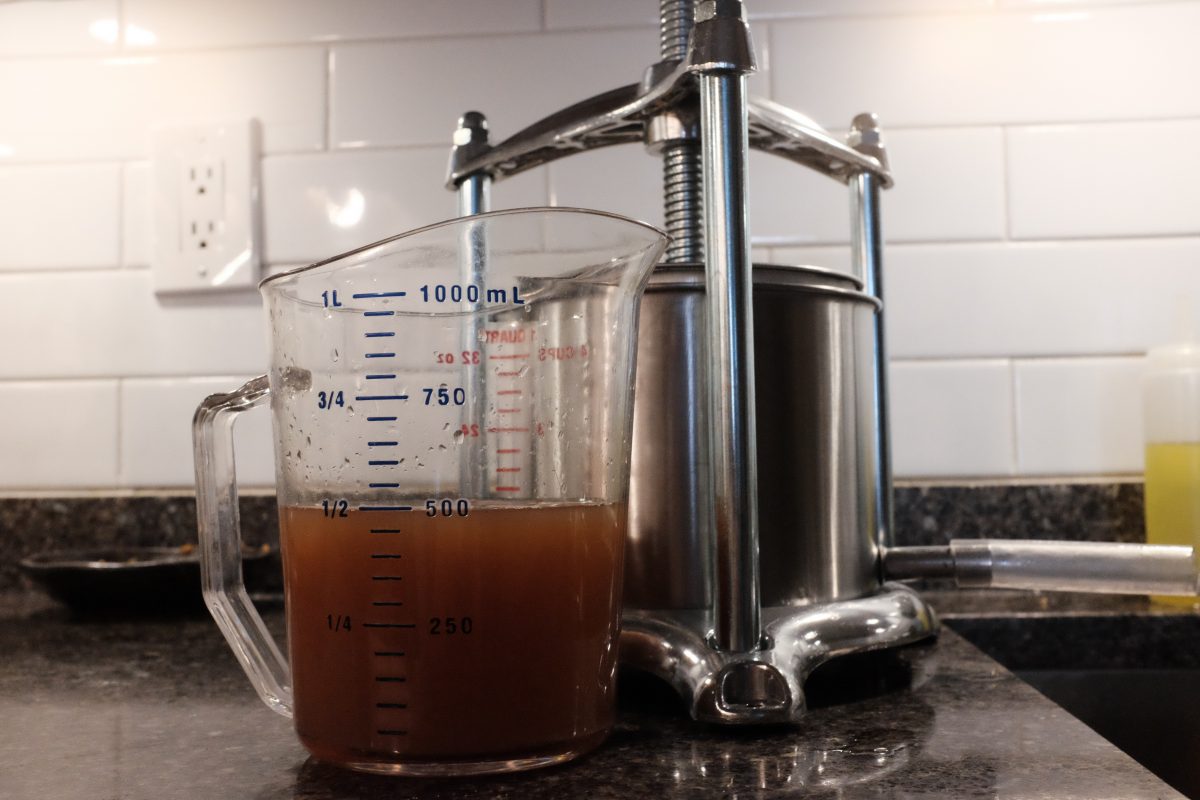
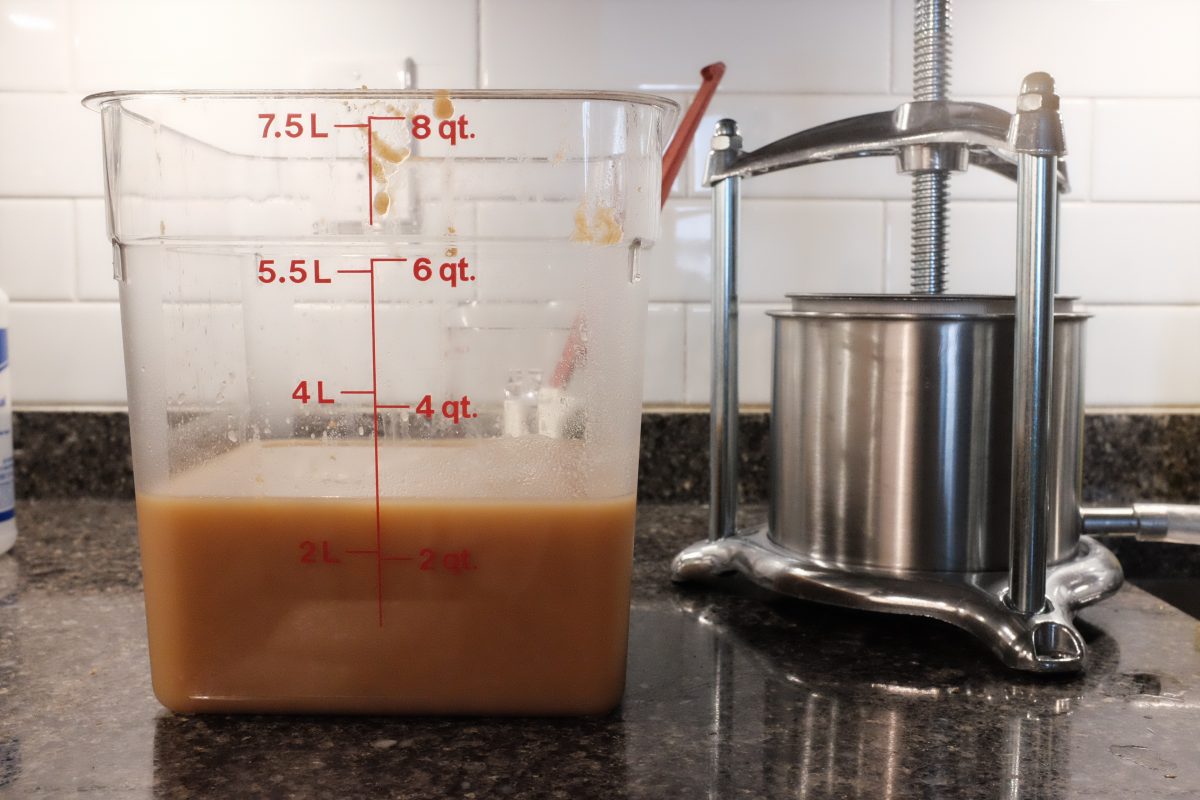
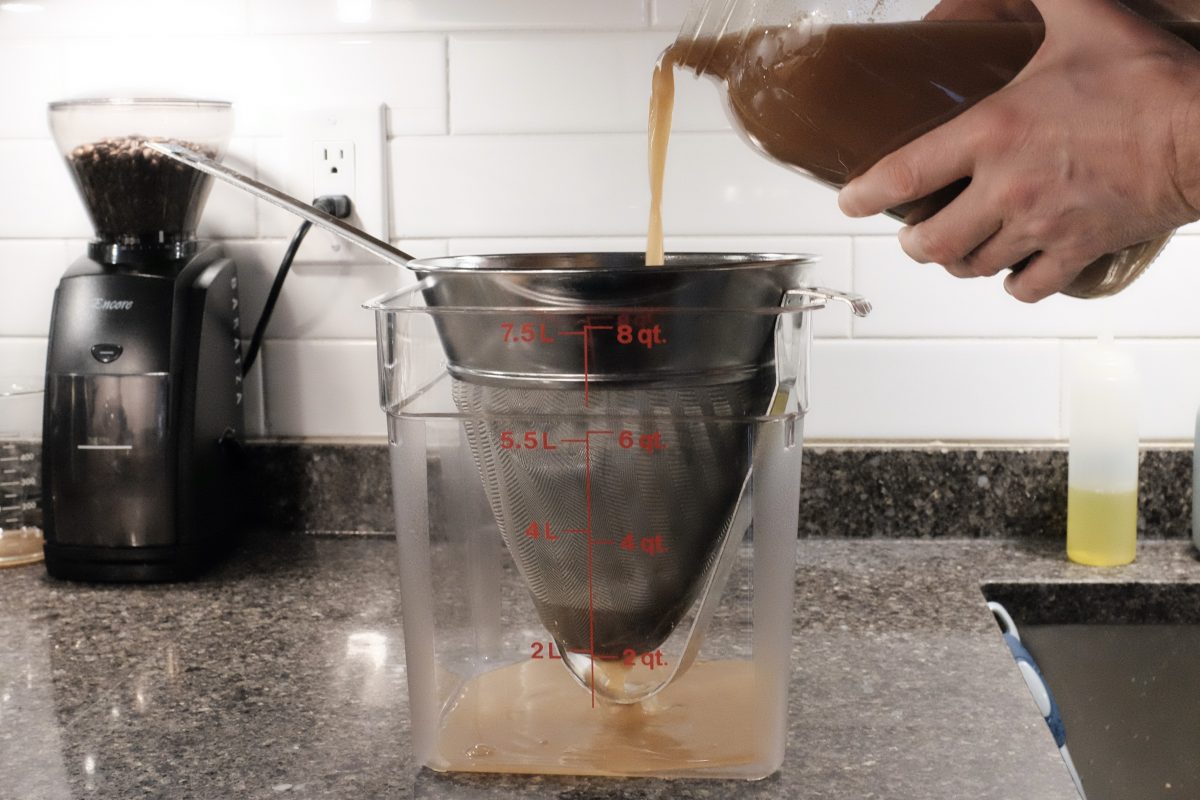
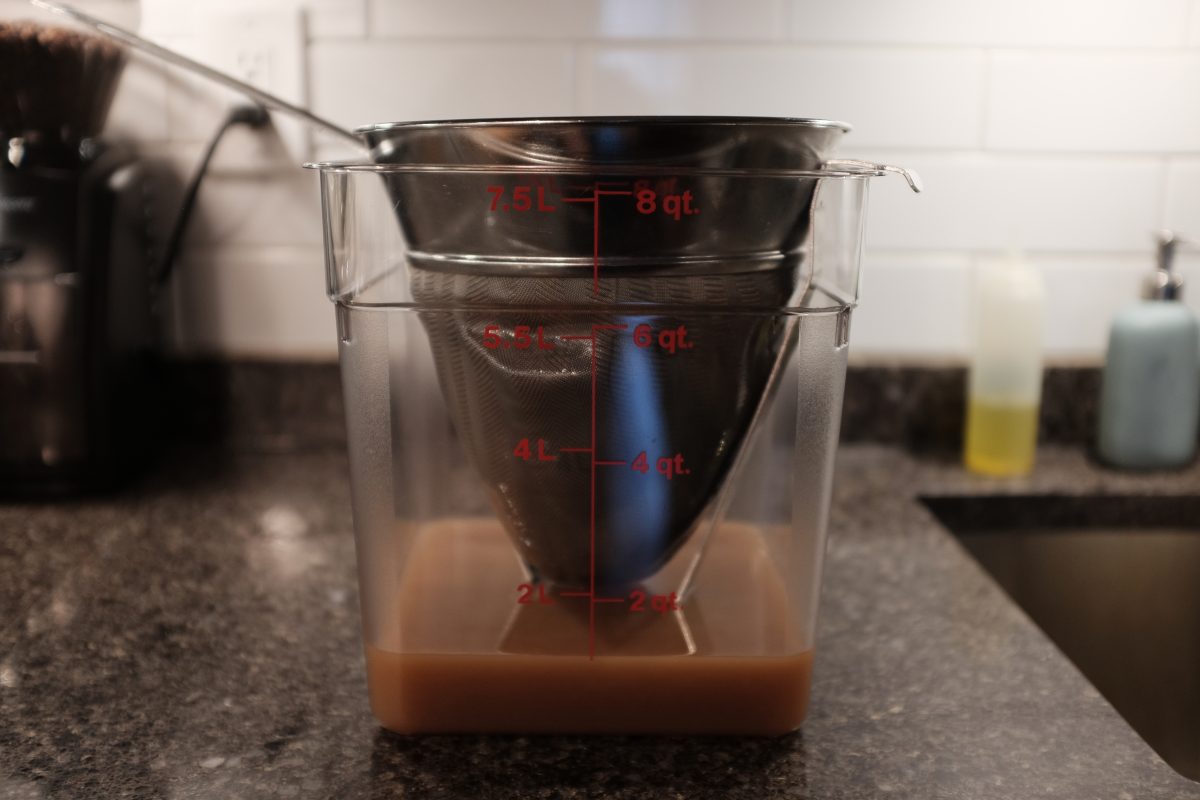
This is probably the most difficult part of this whole process. After doing this a few times, what you see below is the method I prefer but, it is not the only way. The goal is to separate the fibrous parts of the mash from the liquid so as long as you accomplish this, any method is fine.
The Fruit Press
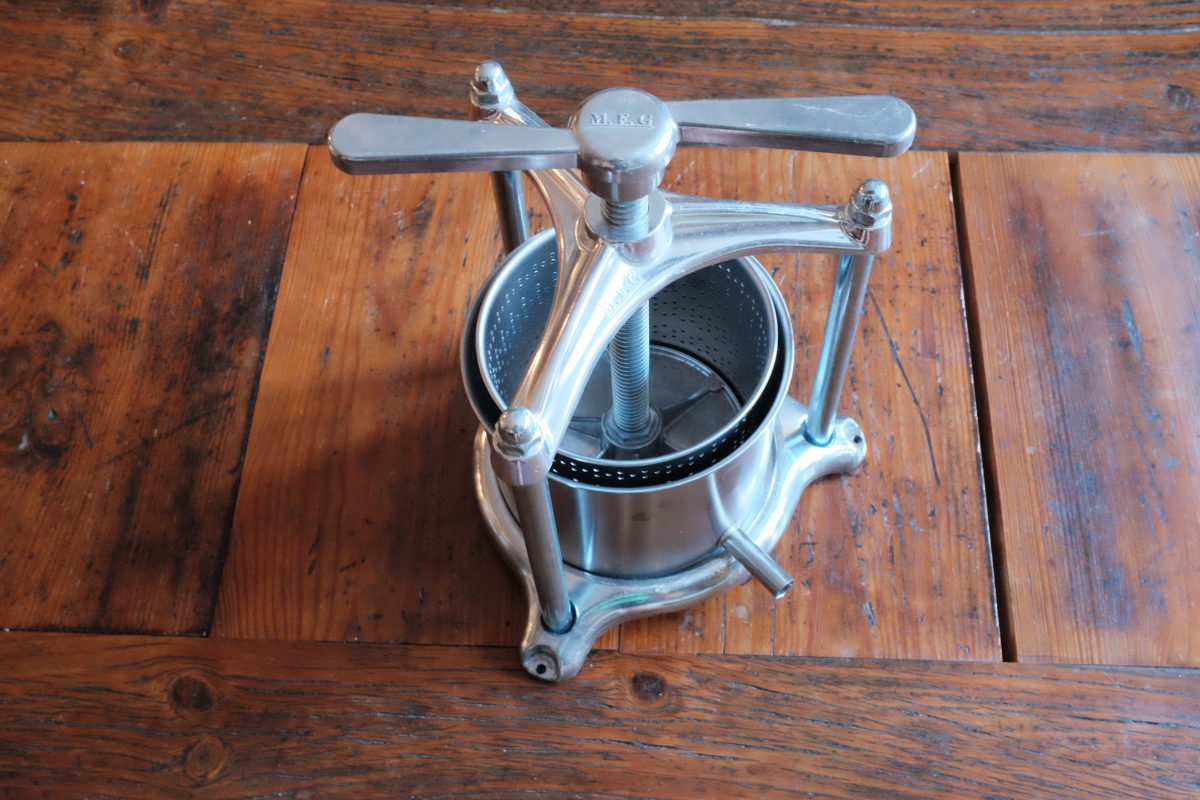
If you don’t have a fruit press, don’t worry. Take your strained juice and skip down to “Neutralizing the Brewers Yeast”. If you have a fruit press or if you are interested in how one works , please read on…
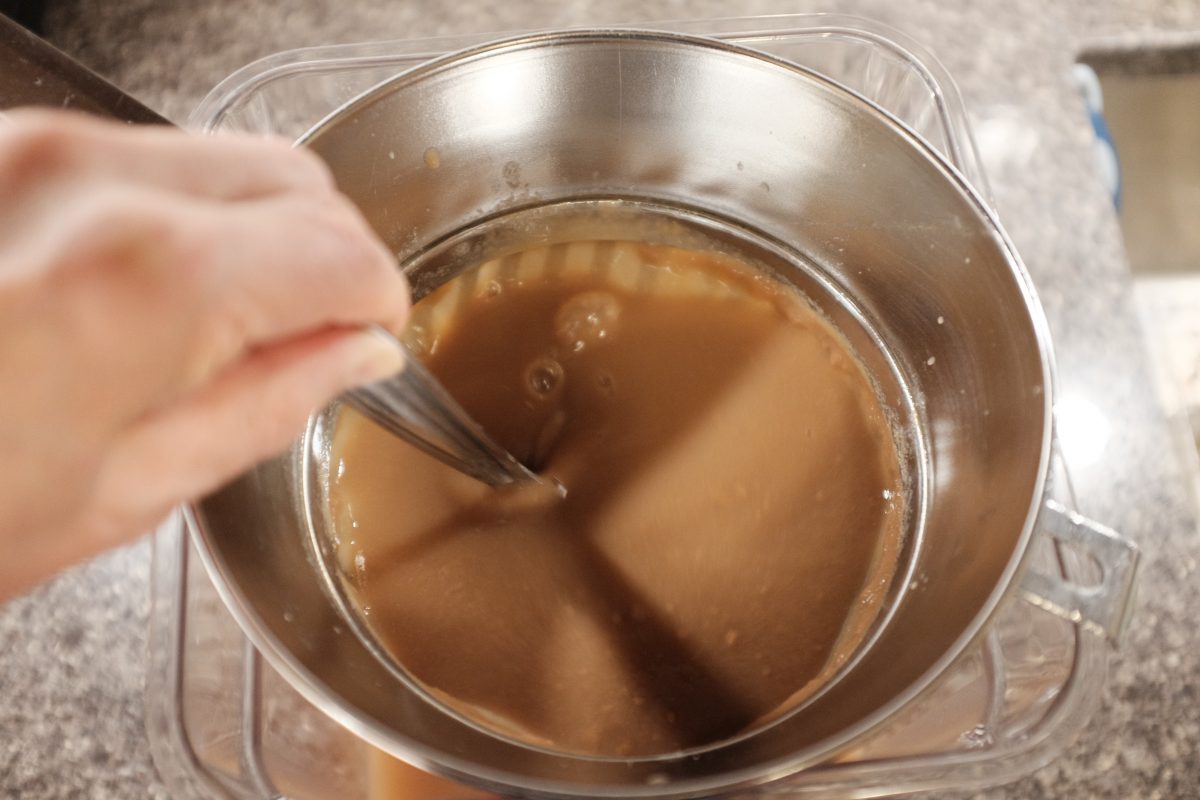
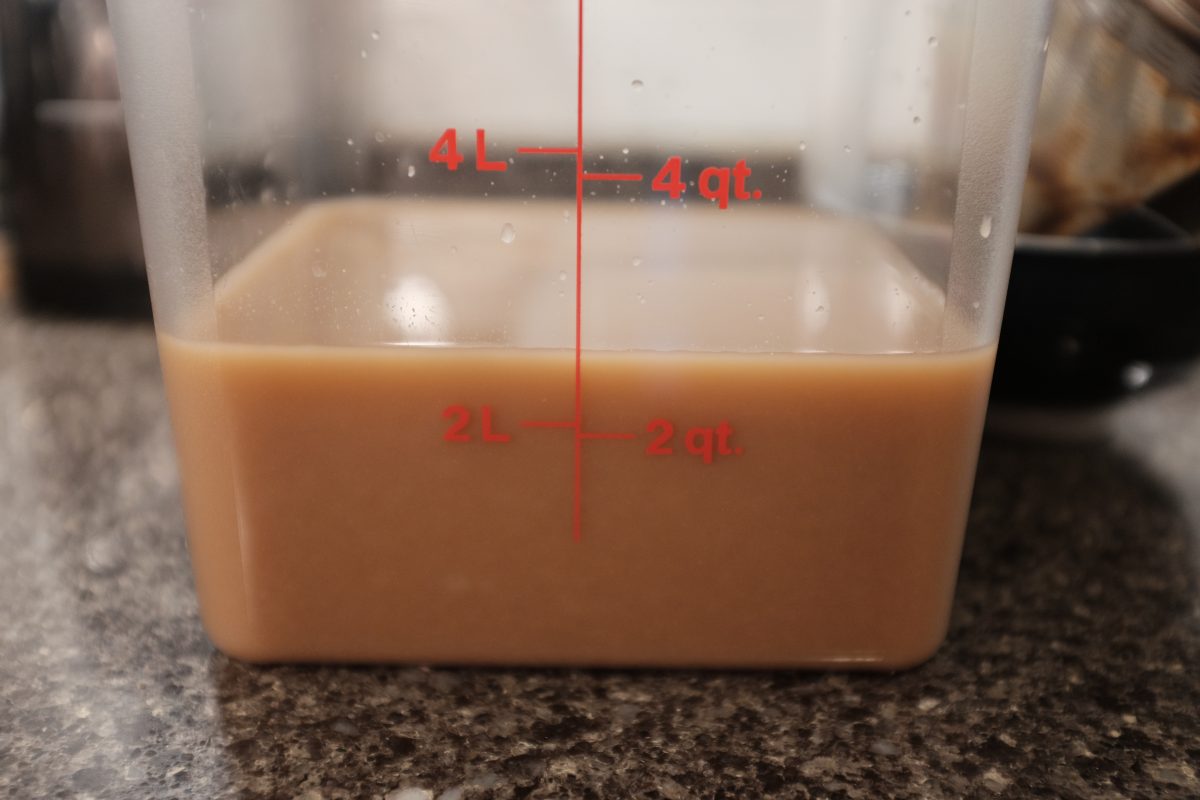
Neutralizing the brewers yeast
Part 2: Making Vinegar
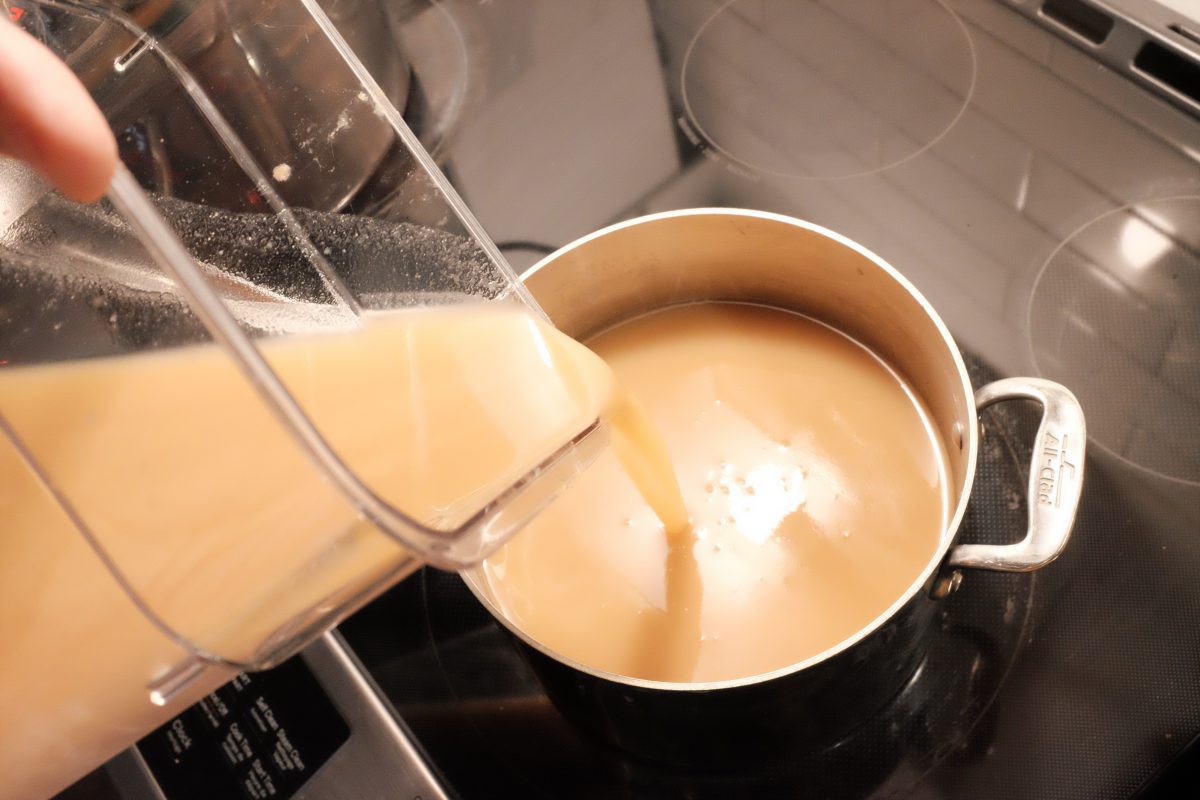
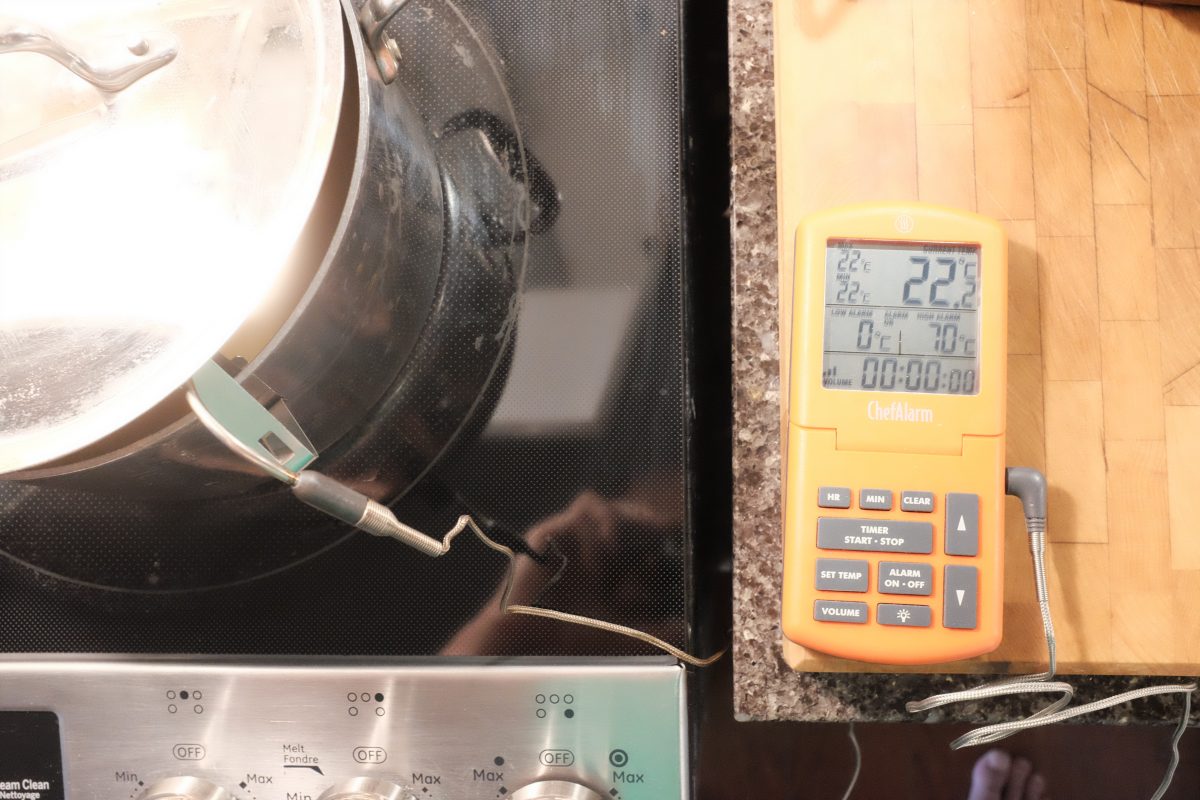
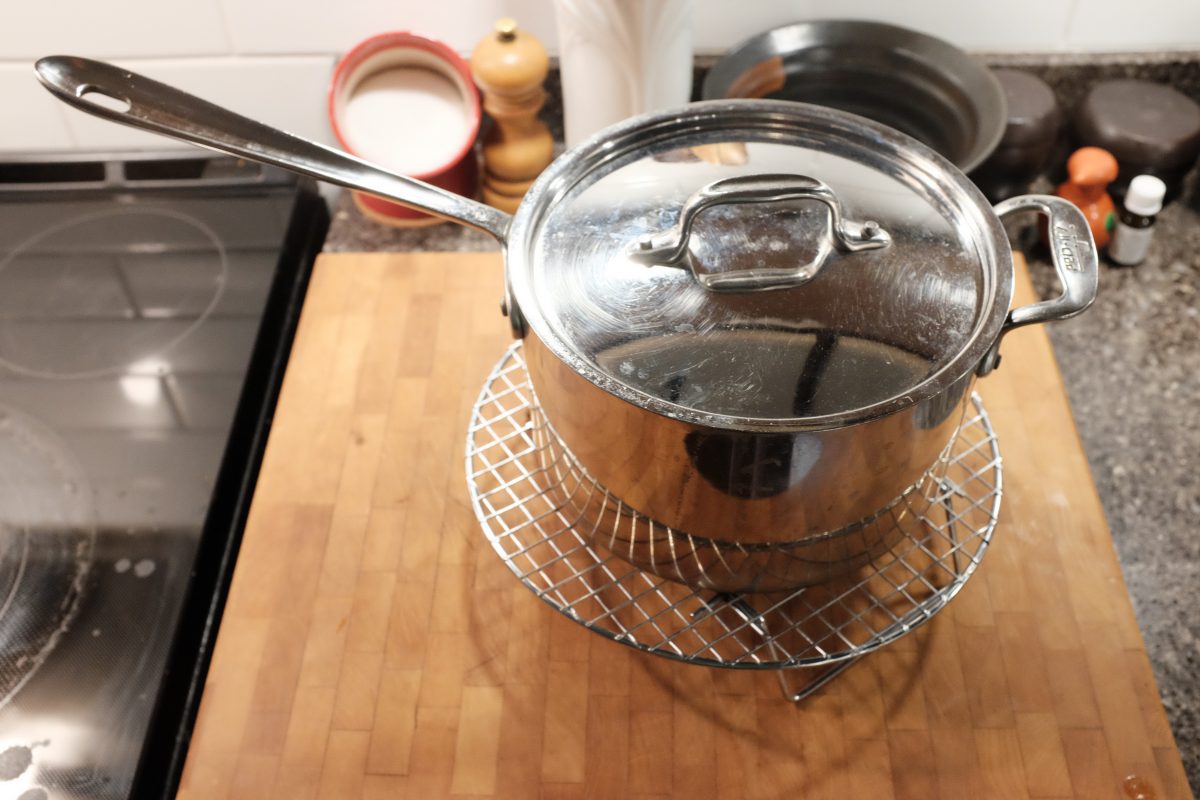
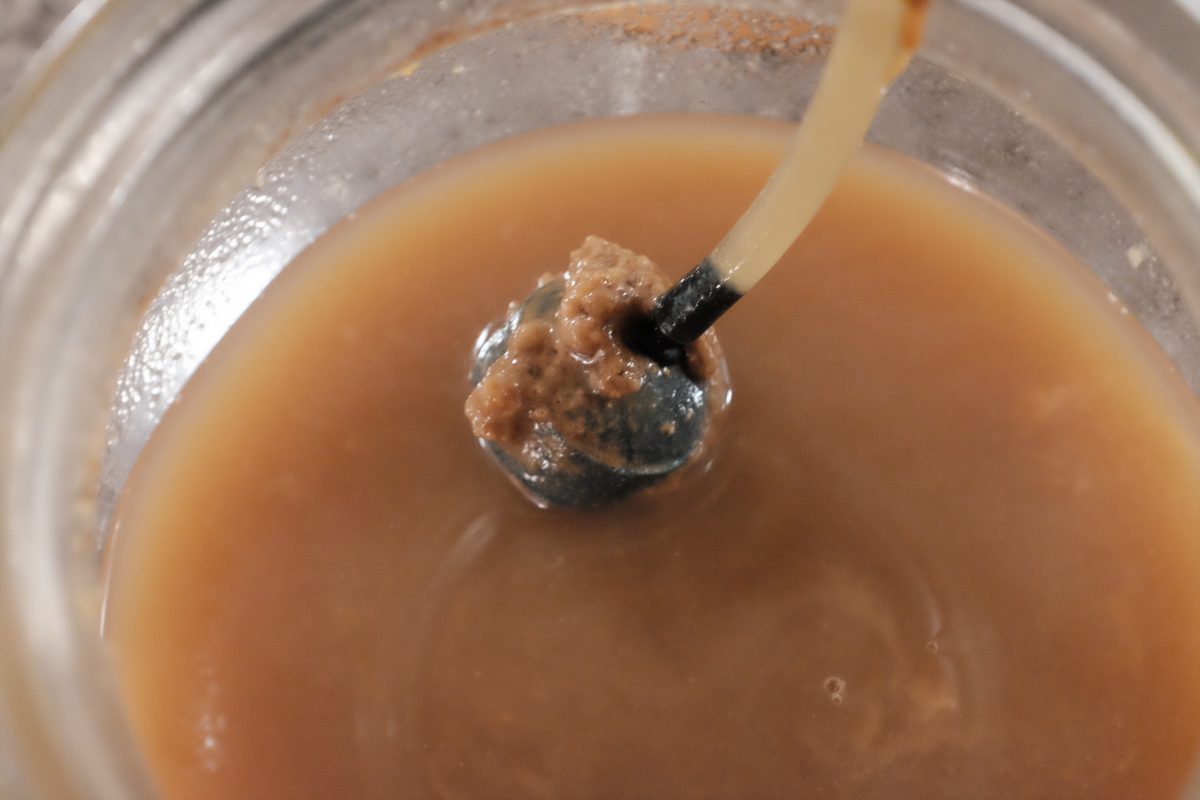
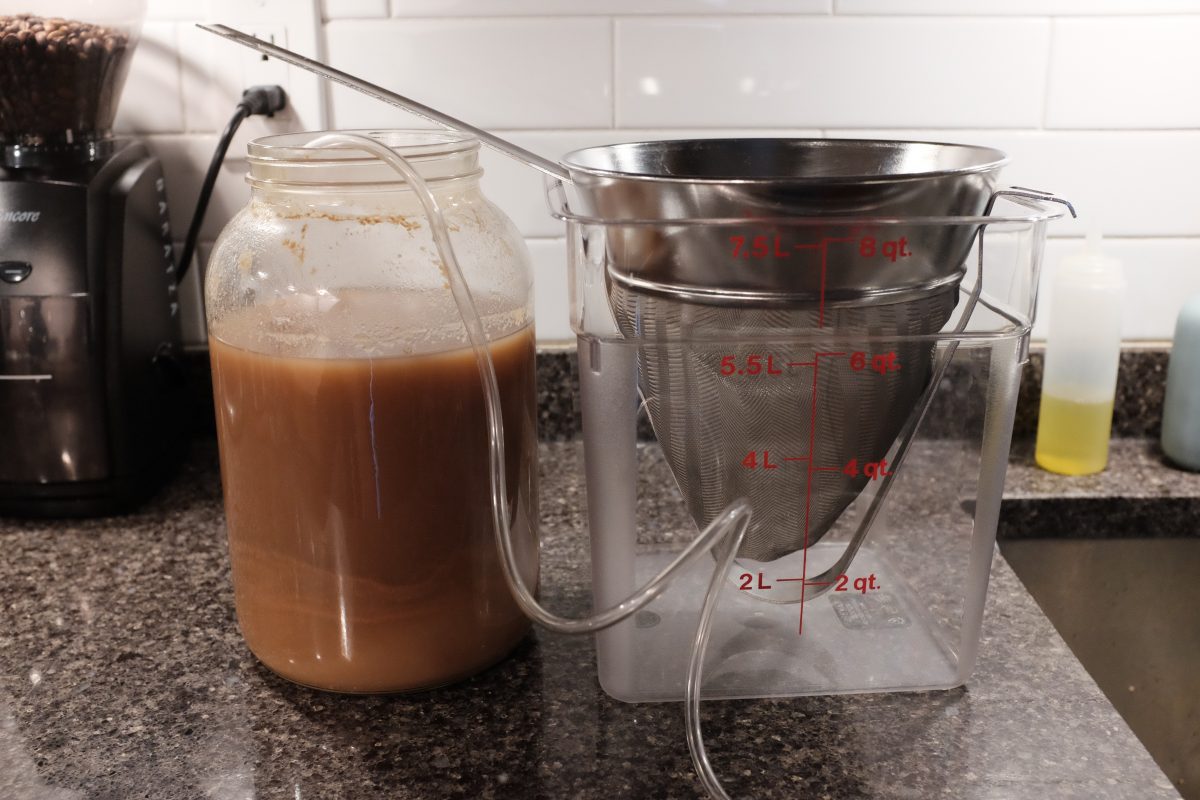
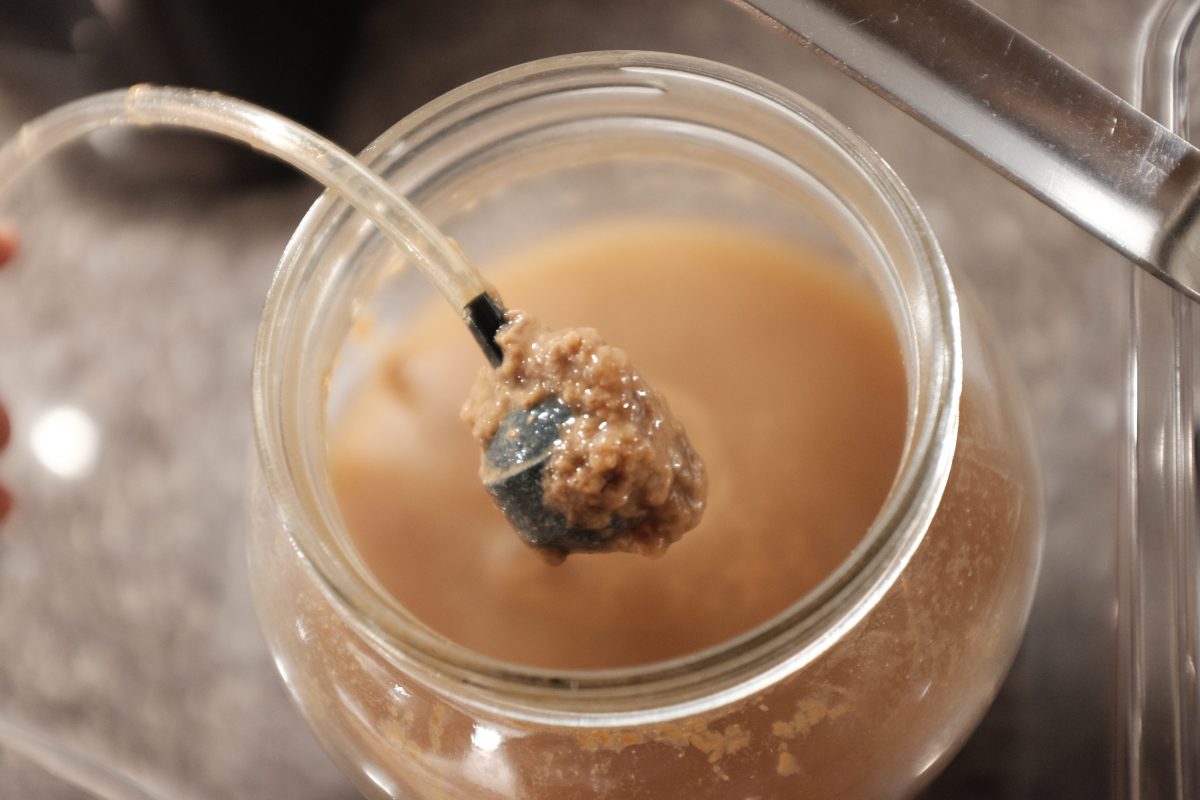
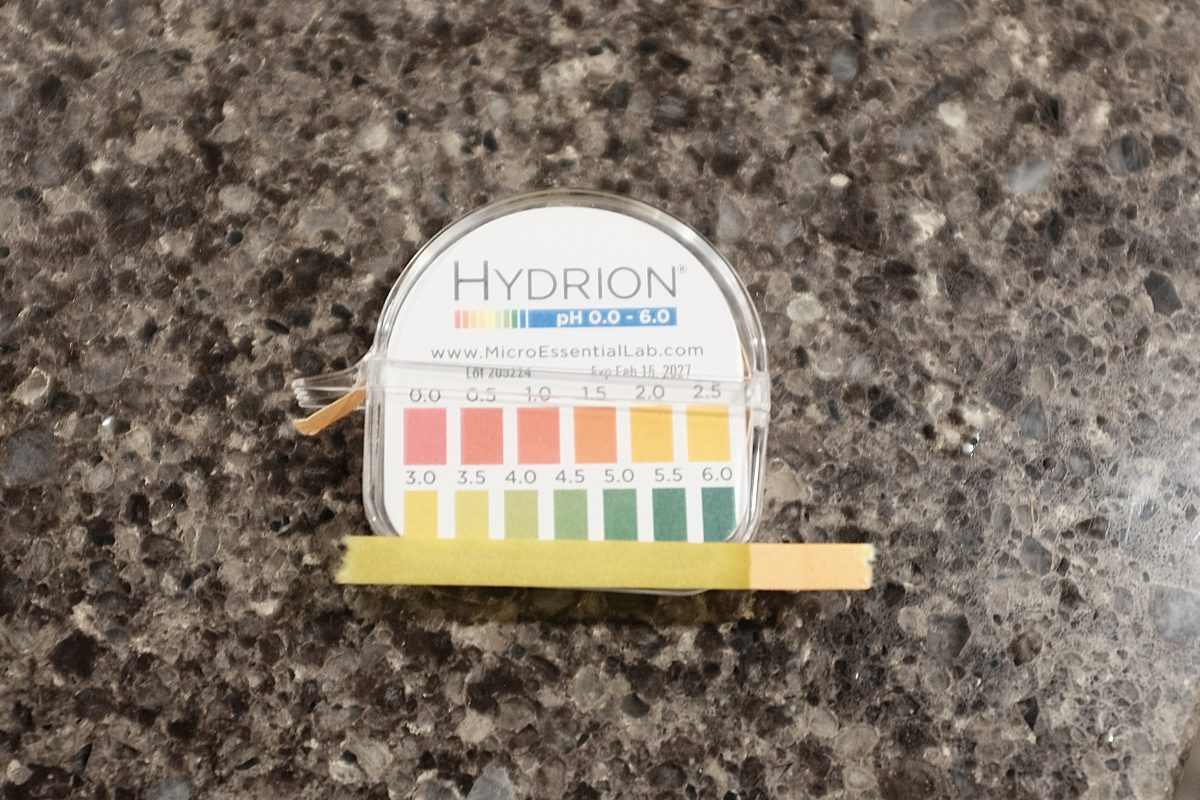
In this second part of the recipe, the pear alcohol will ferment into vinegar with the help of acetic acid bacteria (AAB). We will kick start the fermentation with some live culture vinegar and then aerate it with a pump and air stone until it reaches a pleasant level of acidity.
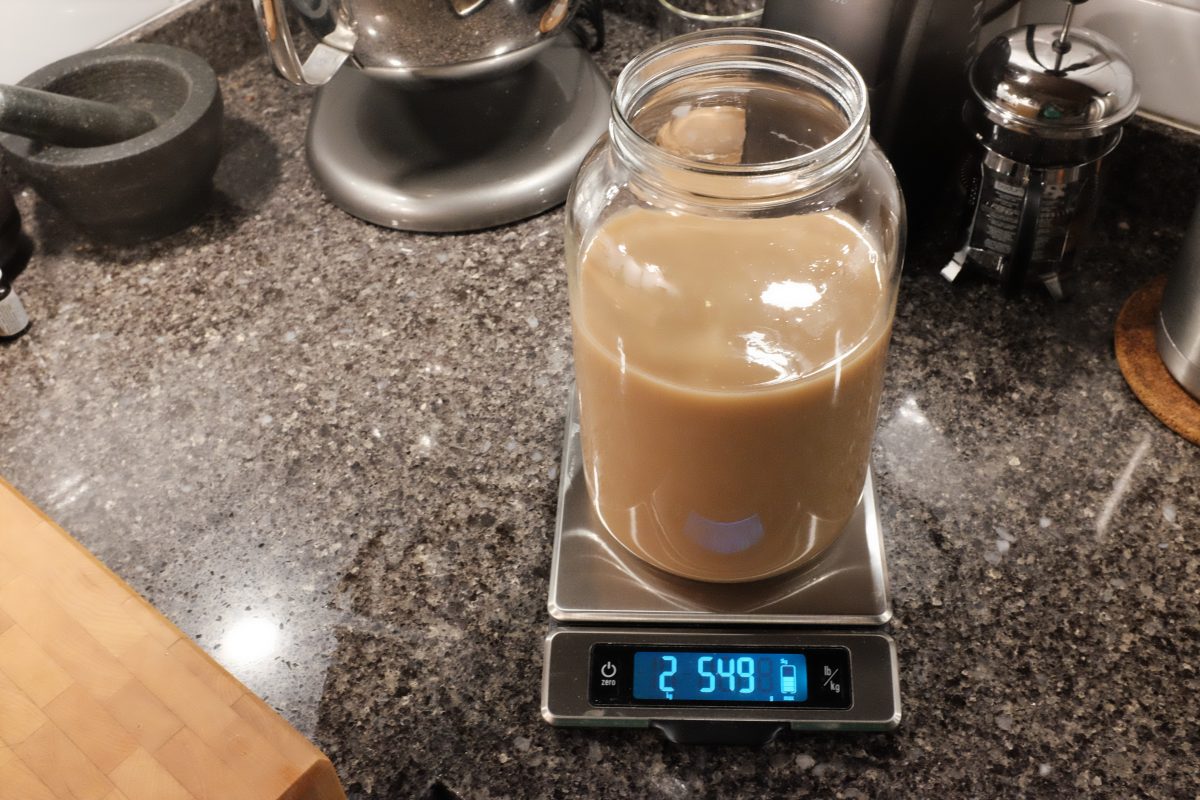
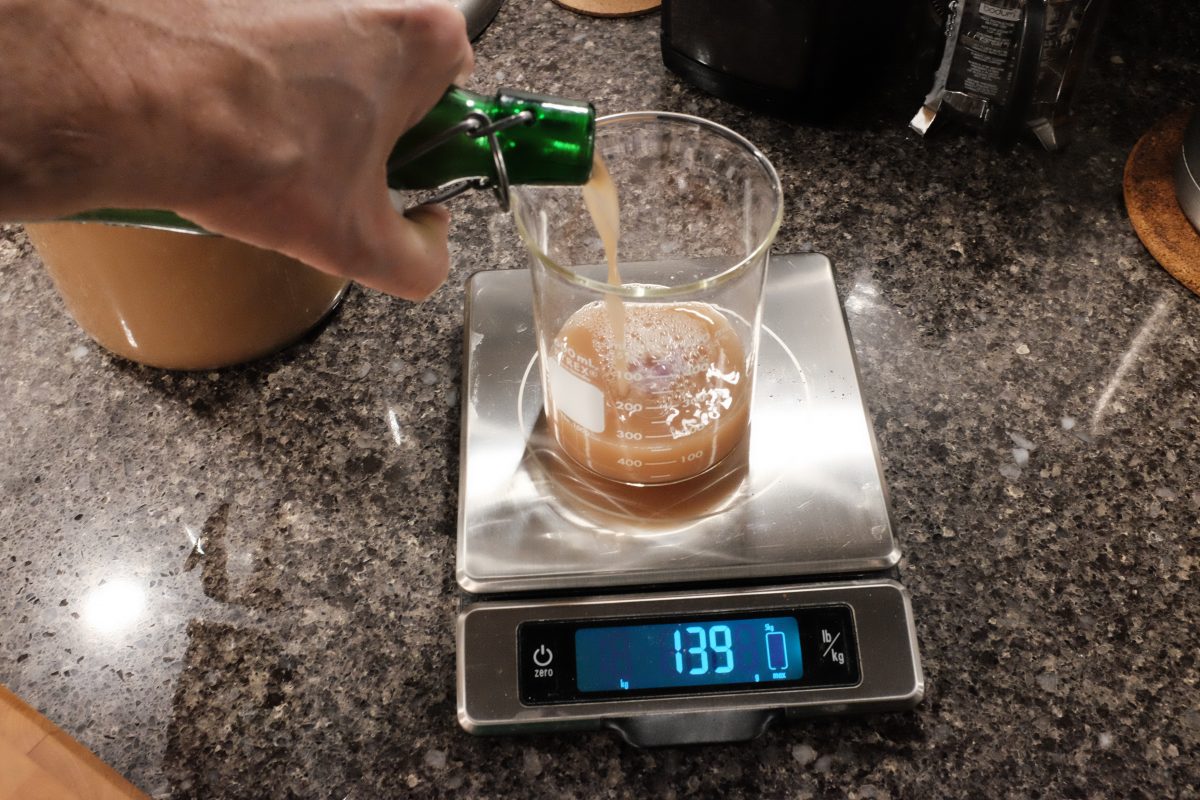
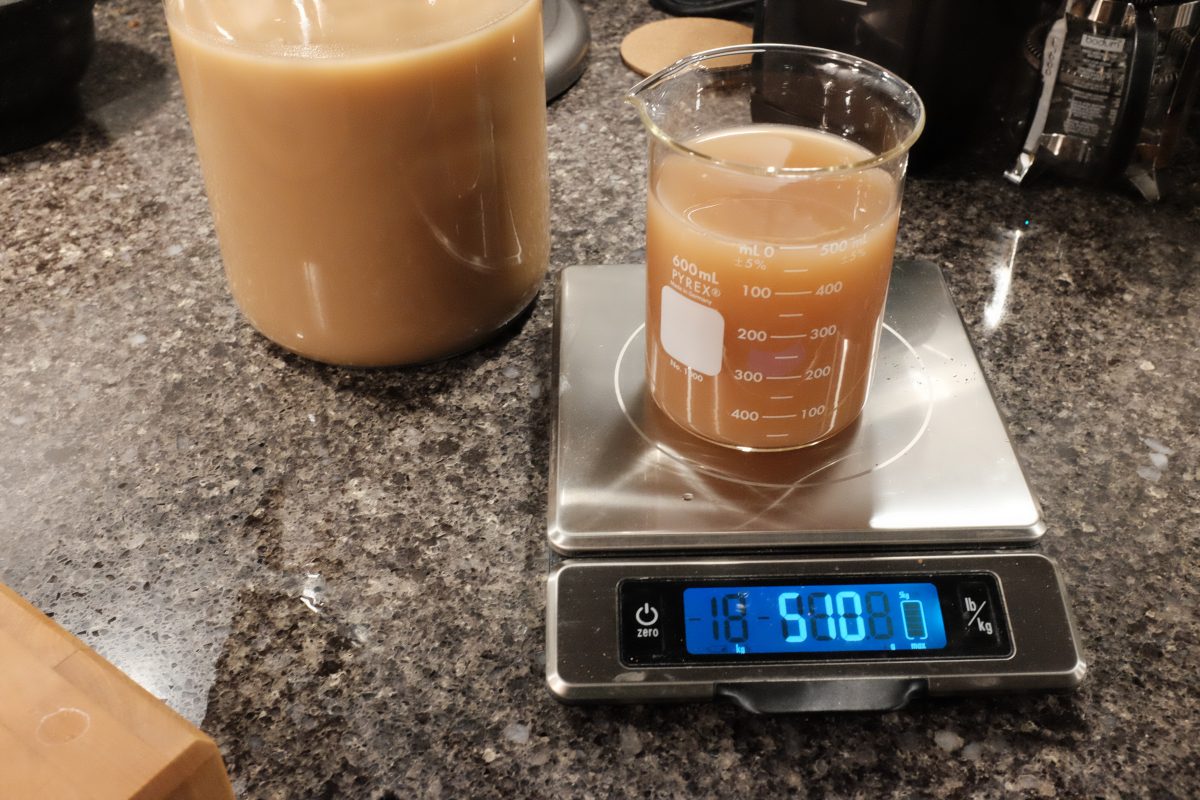
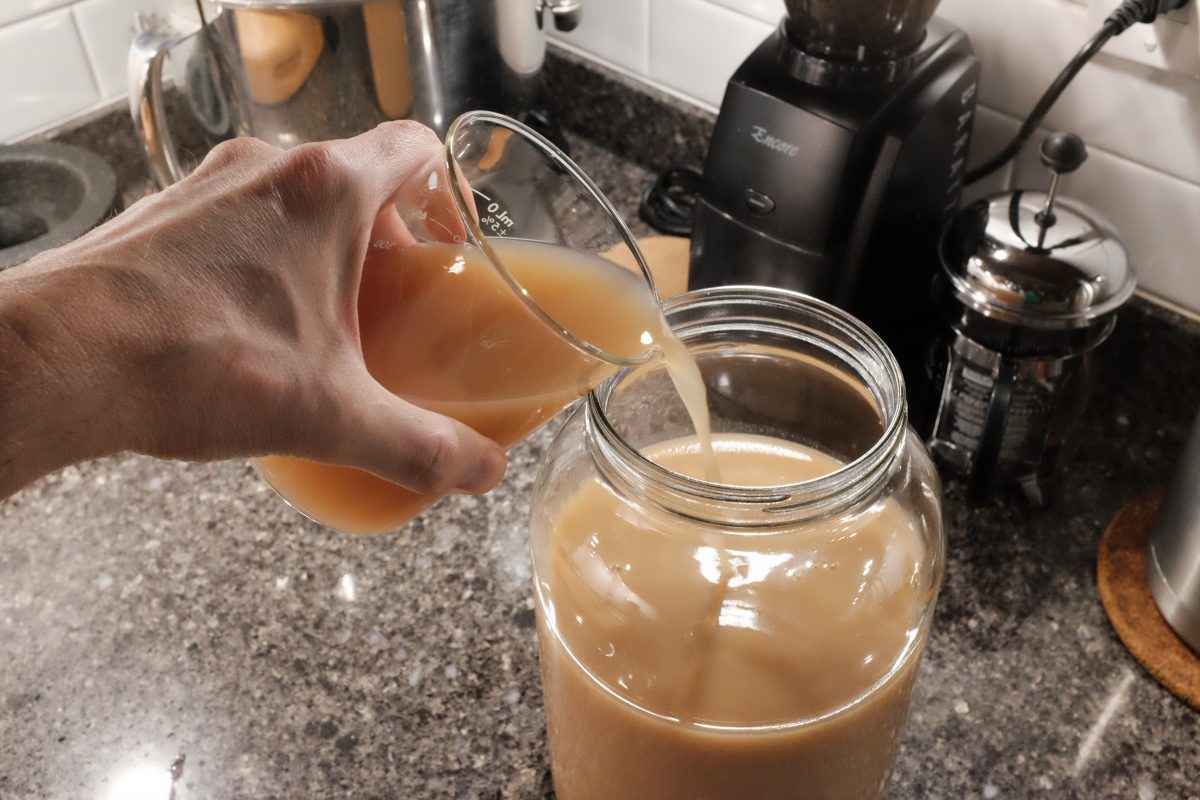
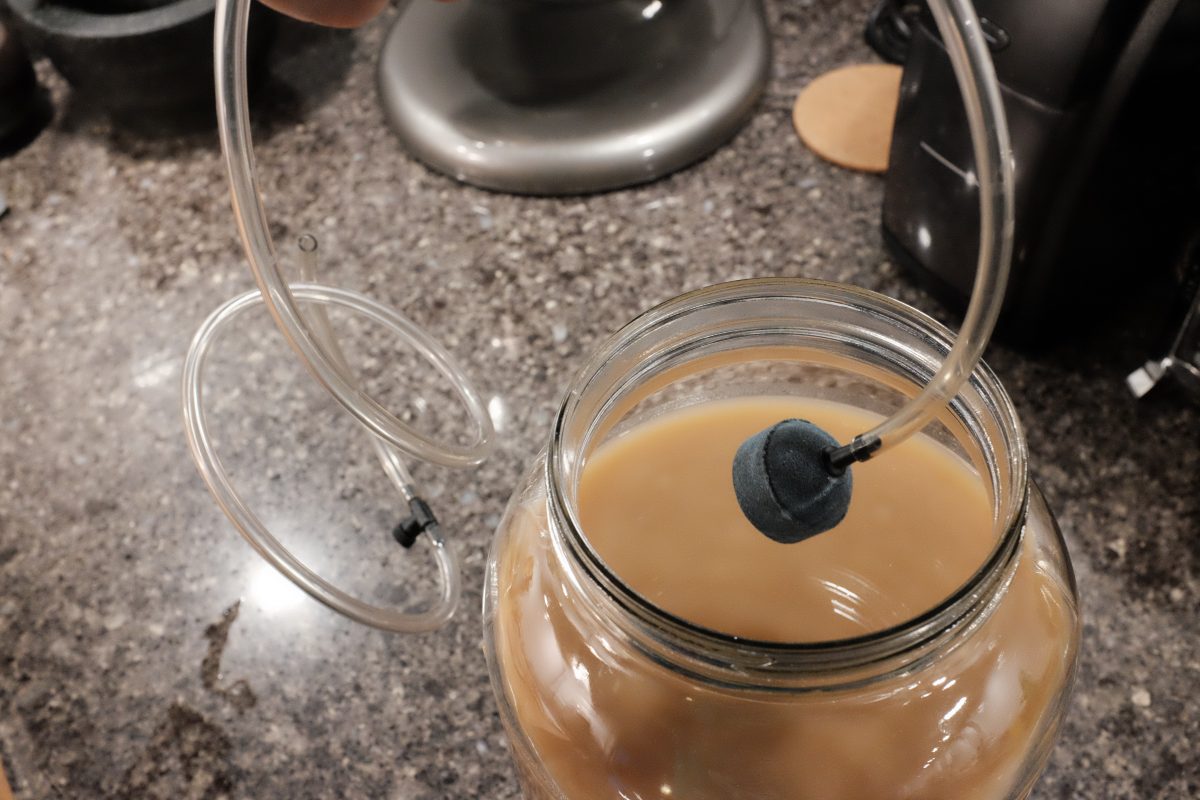
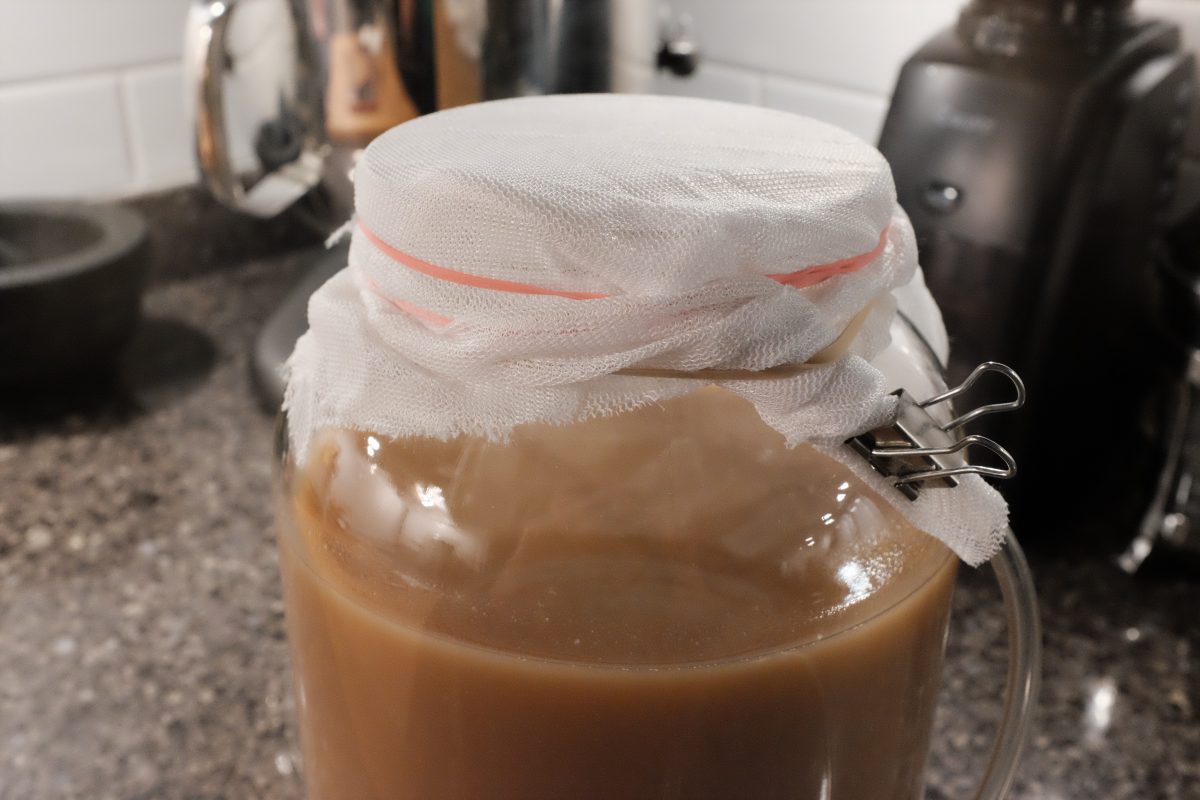
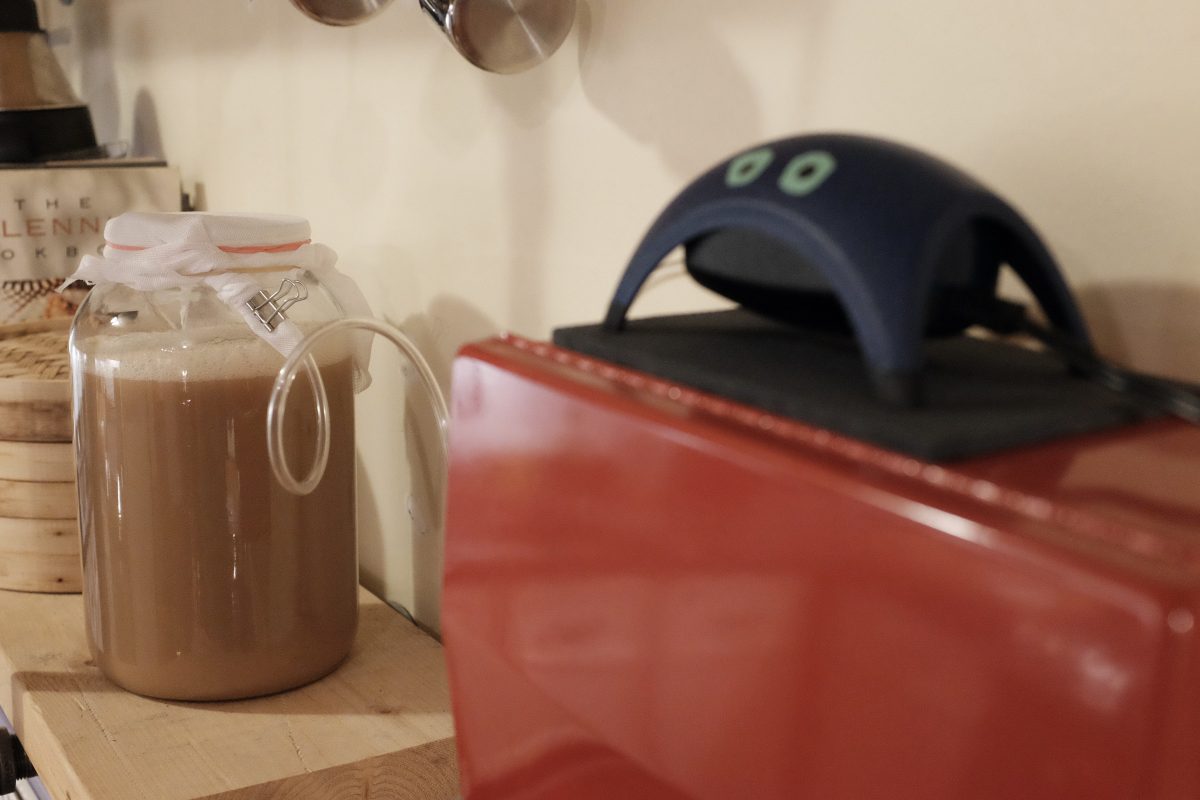
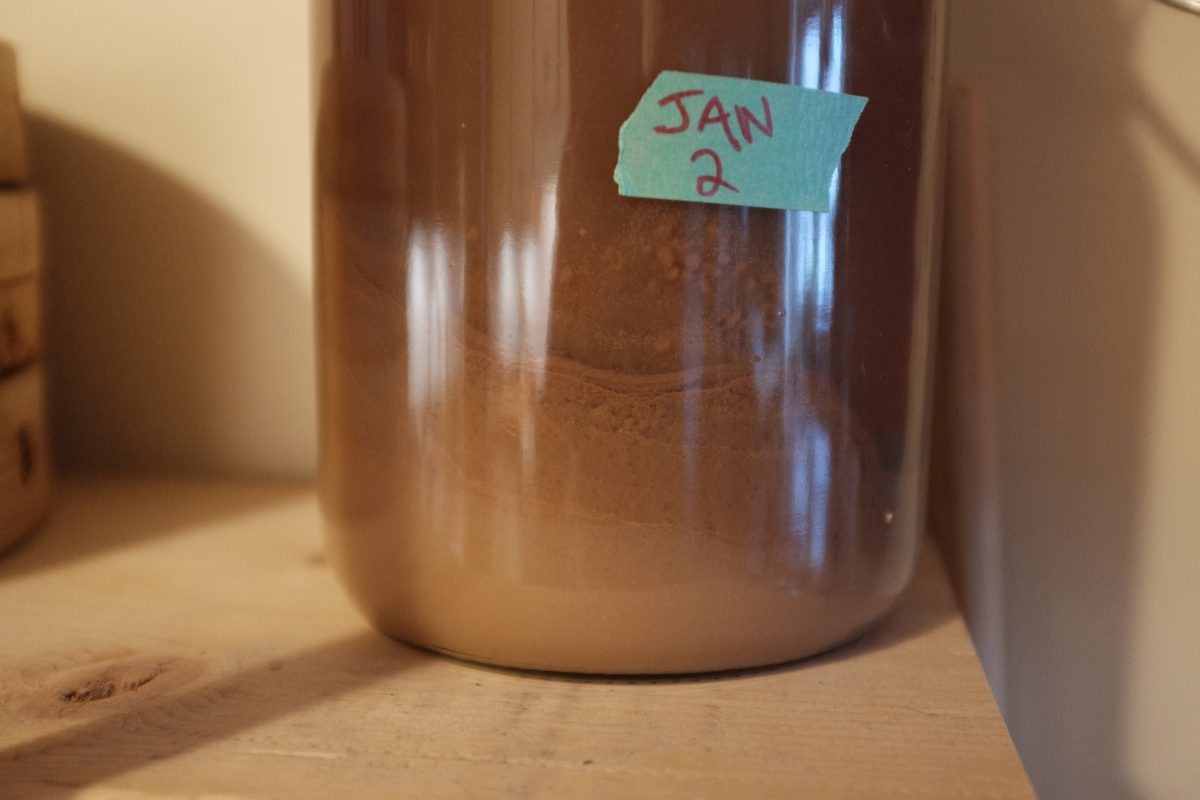
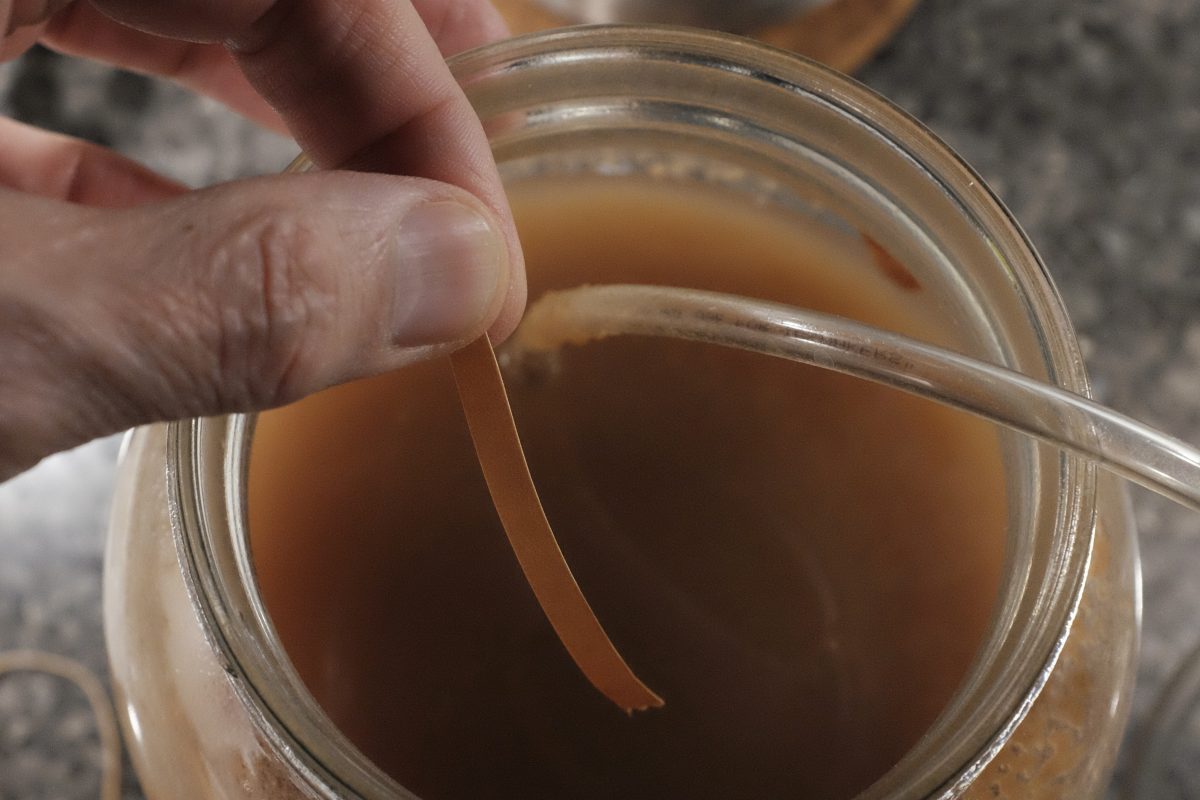
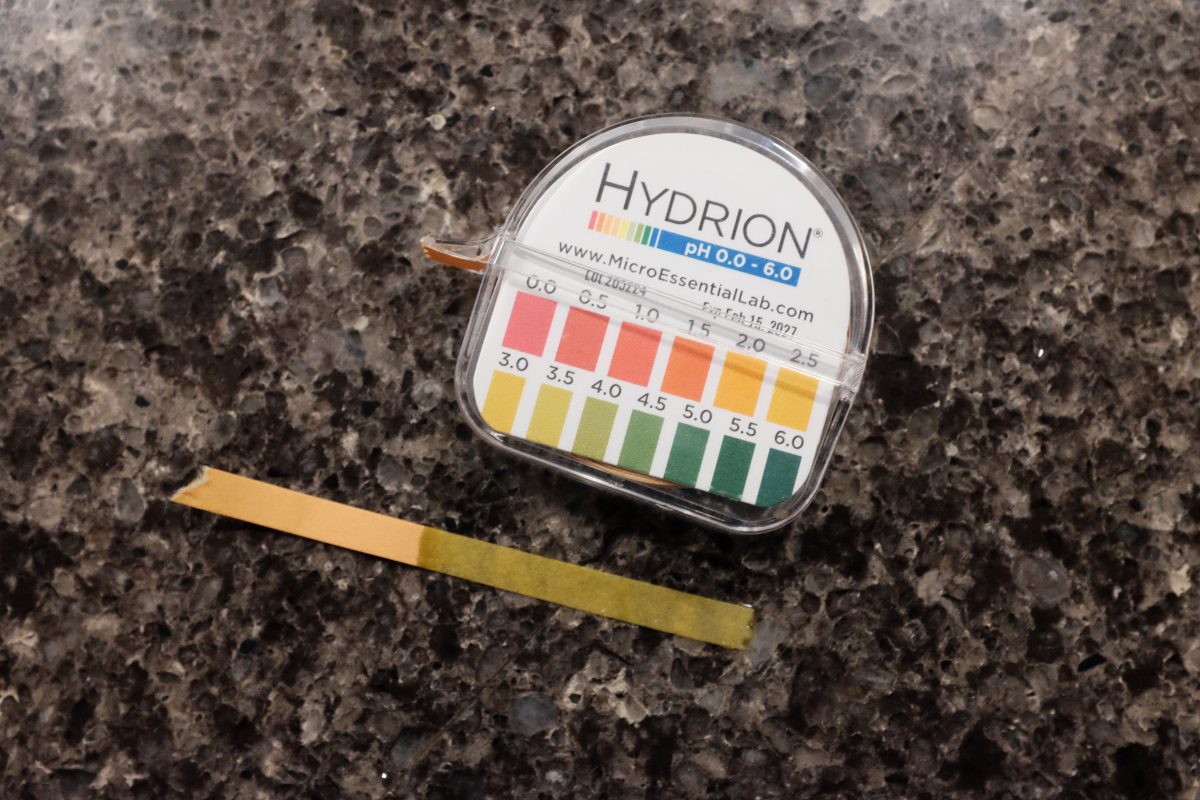
The alcohol should turn to vinegar within 2 weeks. I will leave this bubbling away for a full week before I taste it. In the meantime, I will give it a good sniff everyday to see how the acidity is developing. Once it begins to smell like mild vinegar, I will open it up once a day for a taste.
Now what?
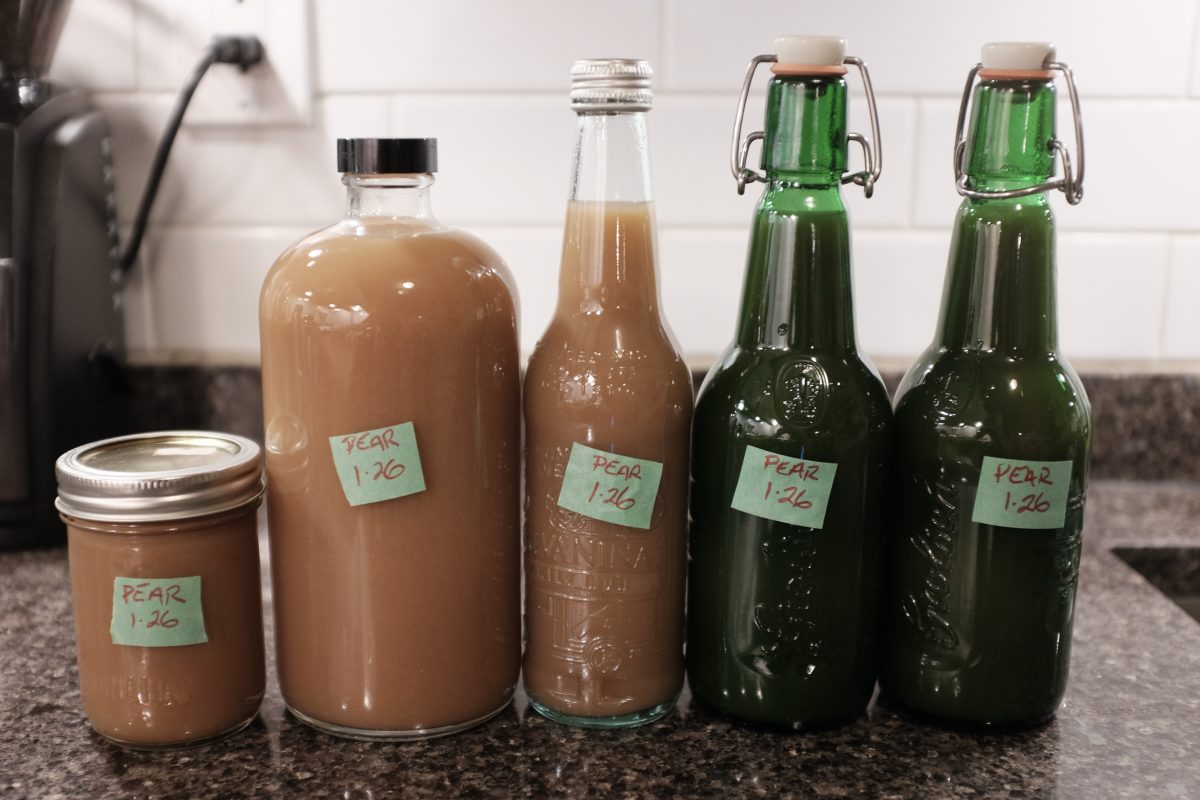
Compared to most store bought vinegars, homemade vinegar is surprisingly delicious. Use it on salads, spritz it over cooked veggies, use it in sauces…it will brighten up almost any dish. You can even drink it straight up or put a few splashes into soda water for a refreshing and healthy drink.
This is a truly fun and fairly easy fermentation project. There is a small initial investment for a little bit of specialized gear but once you have it, it can be used over and over. Just about any sweet fruit can be made into vinegar using this process. In the past I have made vinegar out of ripe persimmons and it was also delicious. I think I will try plum vinegar next, berries in the summer.
If you have any questions, comments or suggestions please leave them below. I am always happy to hear from you. If you enjoy the content and would like to contribute towards website maintenance and development, you can make a donation here. Thanks for reading TigerSalad!
Makgeolli
What is Makgeolli / 막걸리 ?
Makgeolli is a Korean alcohol (or sool 술) made by fermenting rice with a natural starter called nuruk (누룩, sounds like noo-rook). I have heard it called “rice wine”, “rice beer” and “Korean sake” but it has very little in common with any of those. Makgeolli is its own thing. A few good ingredients and a complex, multi-layered, simultaneous fermentation by a large variety of bacteria and yeasts make this a uniquely Korean sool. It has its own distinct flavours, textures and history. It is unlike any other rice ferment.
The recipe below is not the most simple but the preparation and process are fairly straightforward. My goal was to make the recipe easy to follow so I have included lots of pictures and even some sounds.
Important considerations before you start
There are 2 stages to this recipe and, from start to finish, this brew can take anywhere from 3 weeks to a month. In Stage 1, during the first three days or so you will need to stir it up a few times. In Stage 2, you will need to stir it again for a few days after which it is mostly just waiting and tasting occasionally.
Each stage of this recipe takes several hours to prepare. In Stage 2, you will spend 5 hours just washing, soaking and steaming rice. It’s best to plan ahead so you have enough time to get through the process in one shot.
Temperature is important. You will need to find a spot that is room temperature or a bit cooler for fermenting this brew (20-25C). Higher temperatures can cause your brew to ferment too quickly and may cause some off-flavours. Cooler is always better.
Equipment
You will need a glass or pottery container to hold your brew. 8-10 litres is a good size.
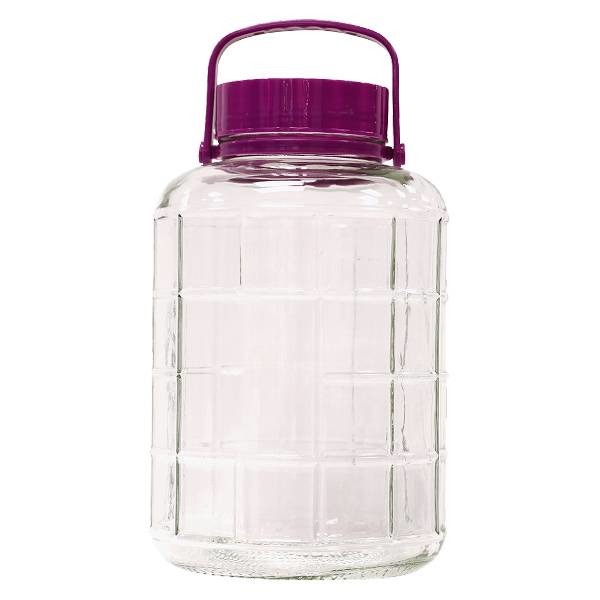
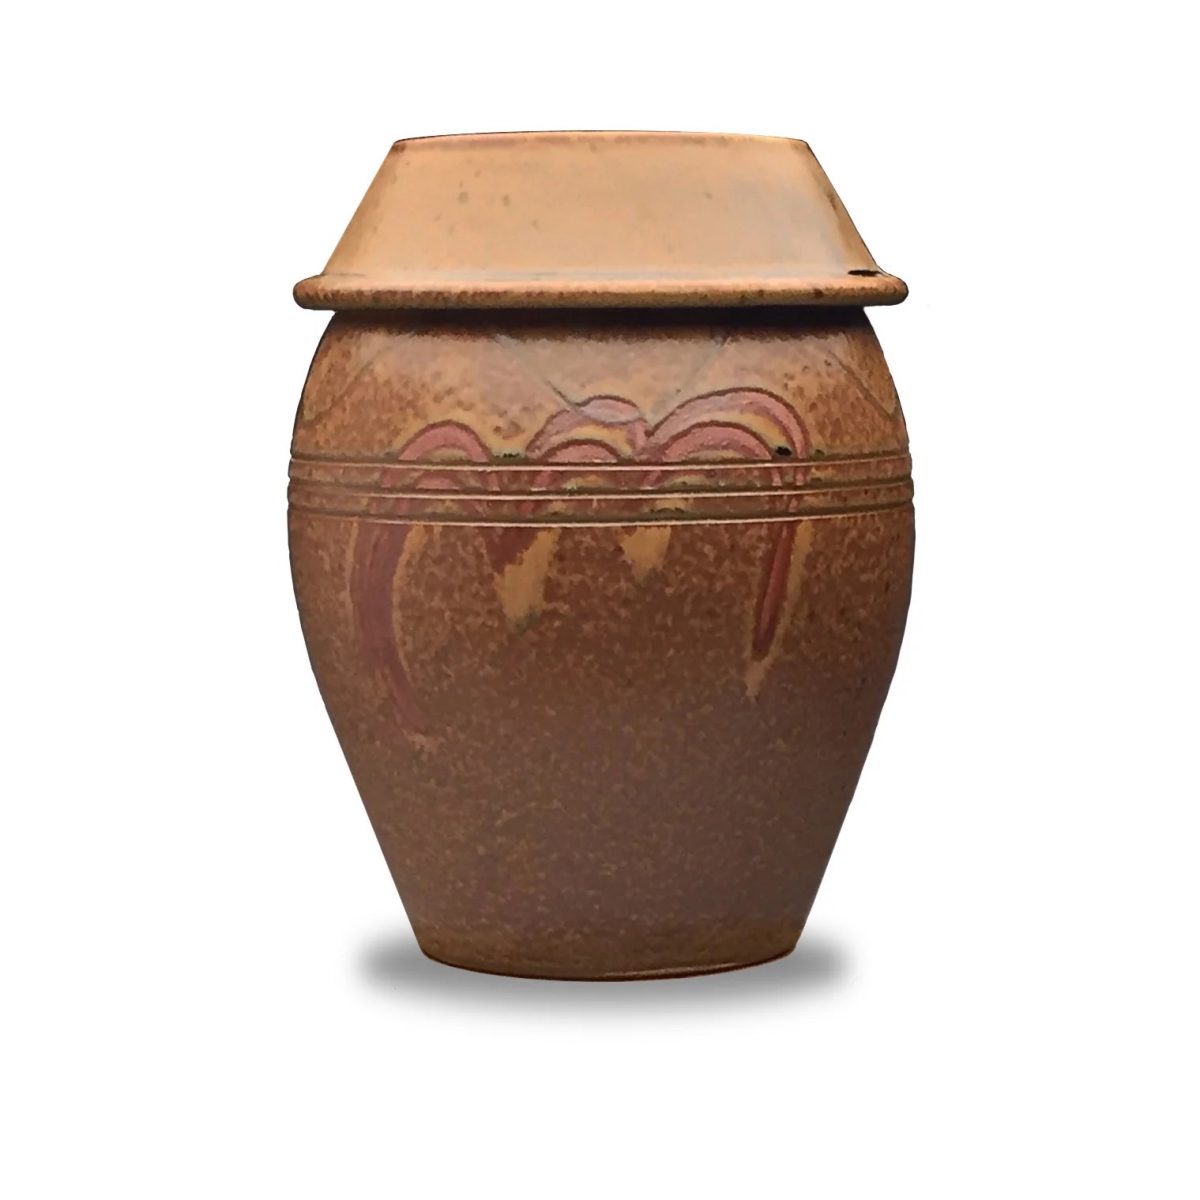
I think most people use glass. I have ceramic onggi jars around the house so that is what you will see in the pictures but either will get the job done. You will also need a piece of fabric or cheesecloth and an elastic band to cover the top of your jar. This ferment needs to breathe and will release a lot of gas. A fabric cover will let it vent and keep insects and dust out.
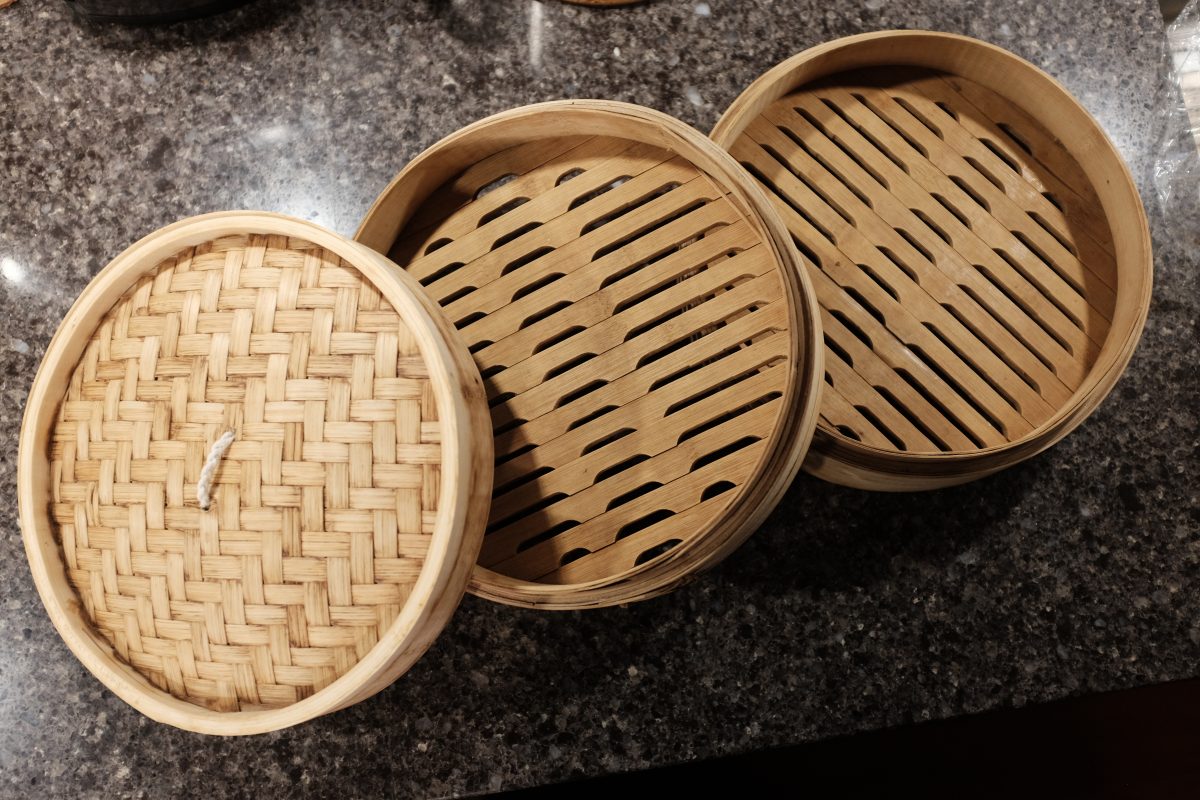
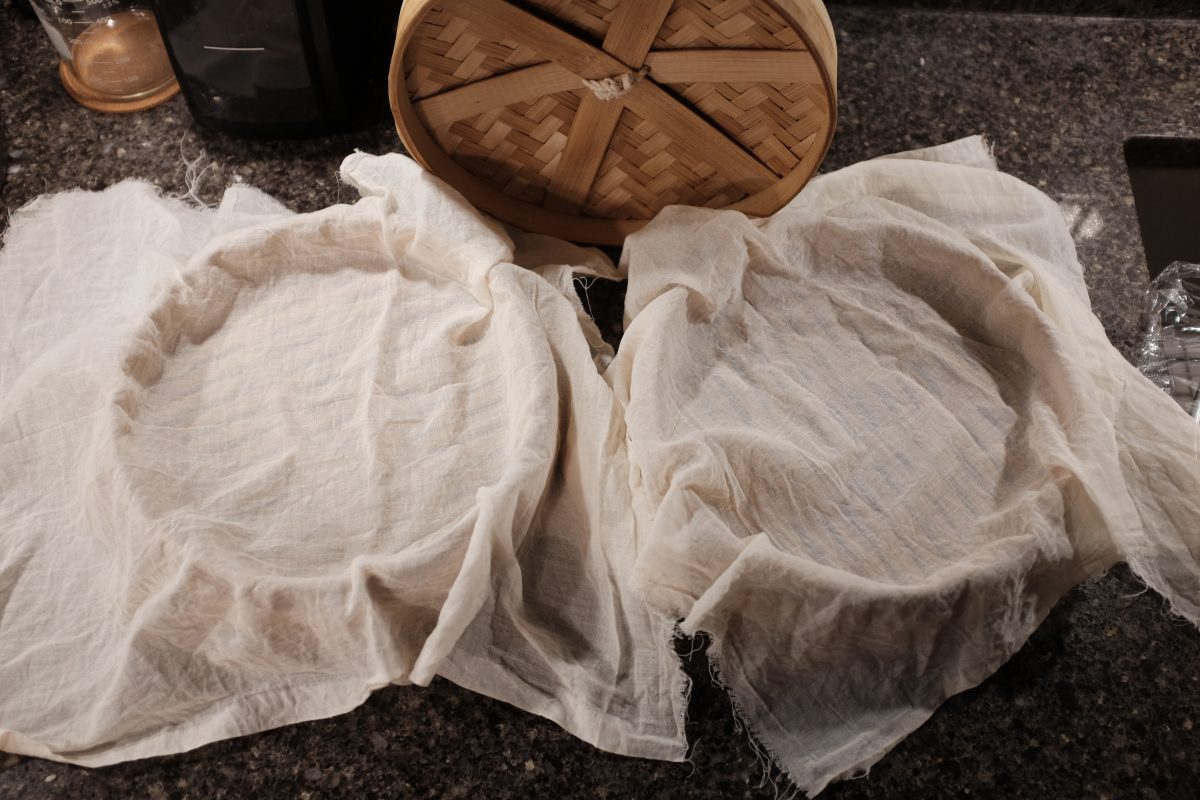
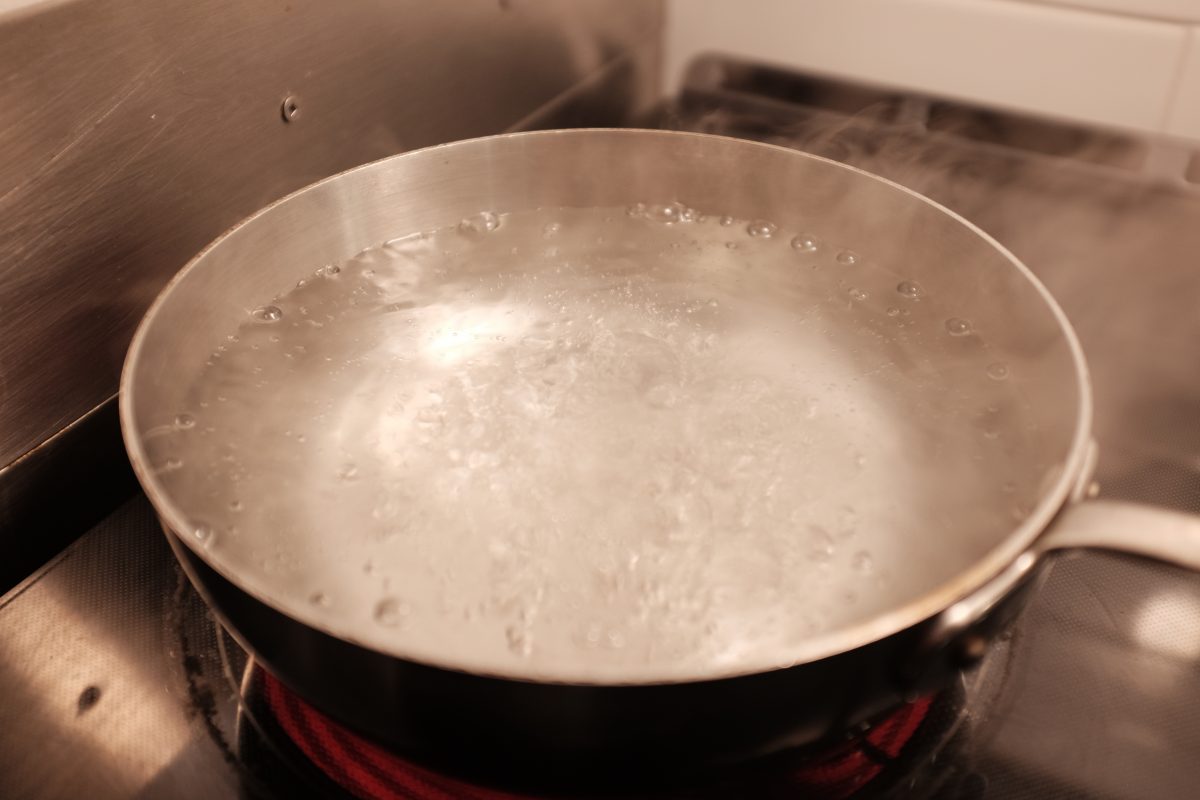
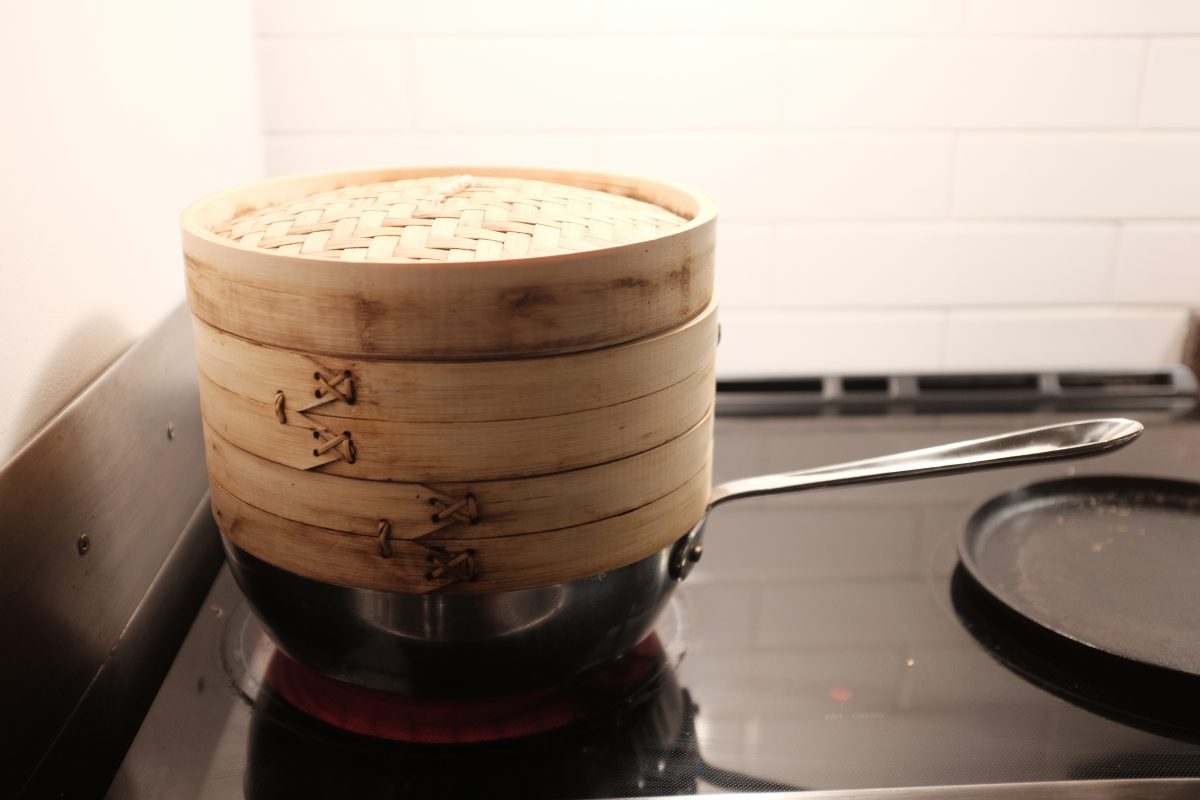
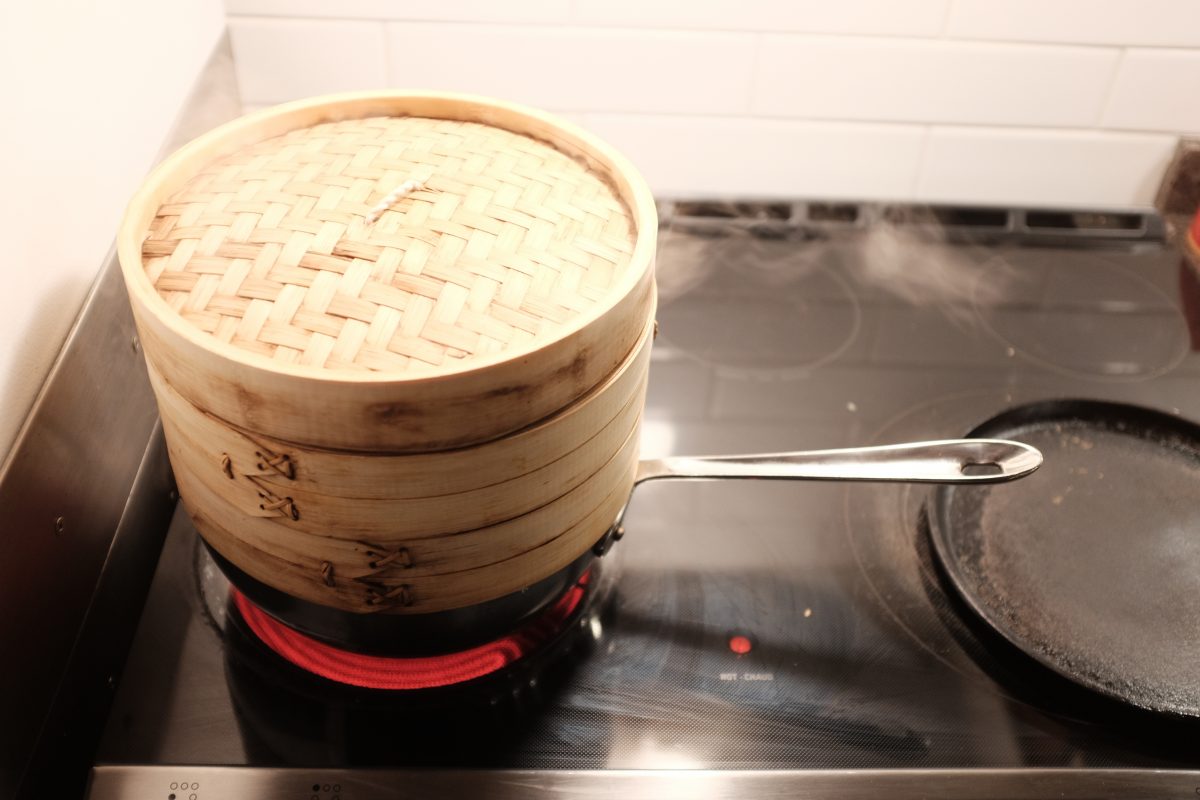
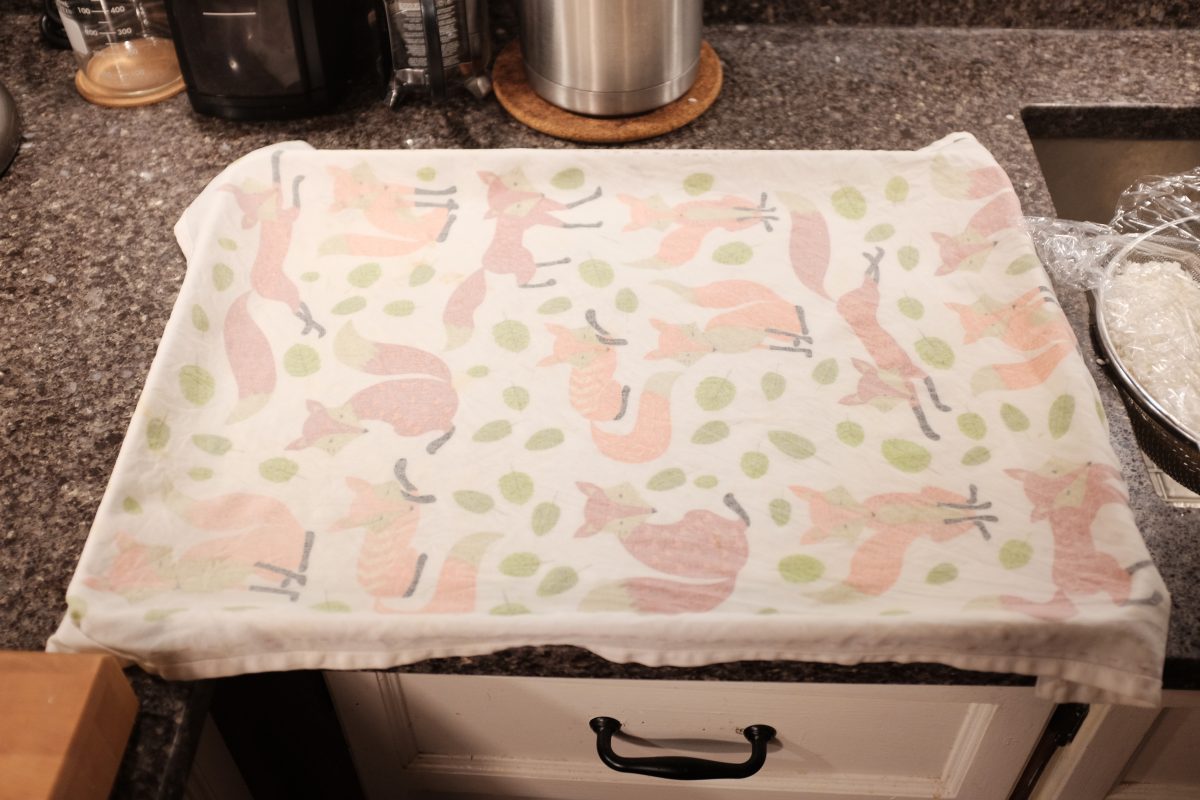
You will need a steamer of some kind. Bamboo steamers are cheap and very useful. I have a medium size one with two decks that I will use to steam rice for this recipe. If you have a pot with a stainless steel steamer insert, that will also work. Lastly, you will need a piece of cheesecloth or other fabric big enough to wrap the rice in the steamer.
Ingredients:
There are only 3 ingredients here: rice, water and nuruk.
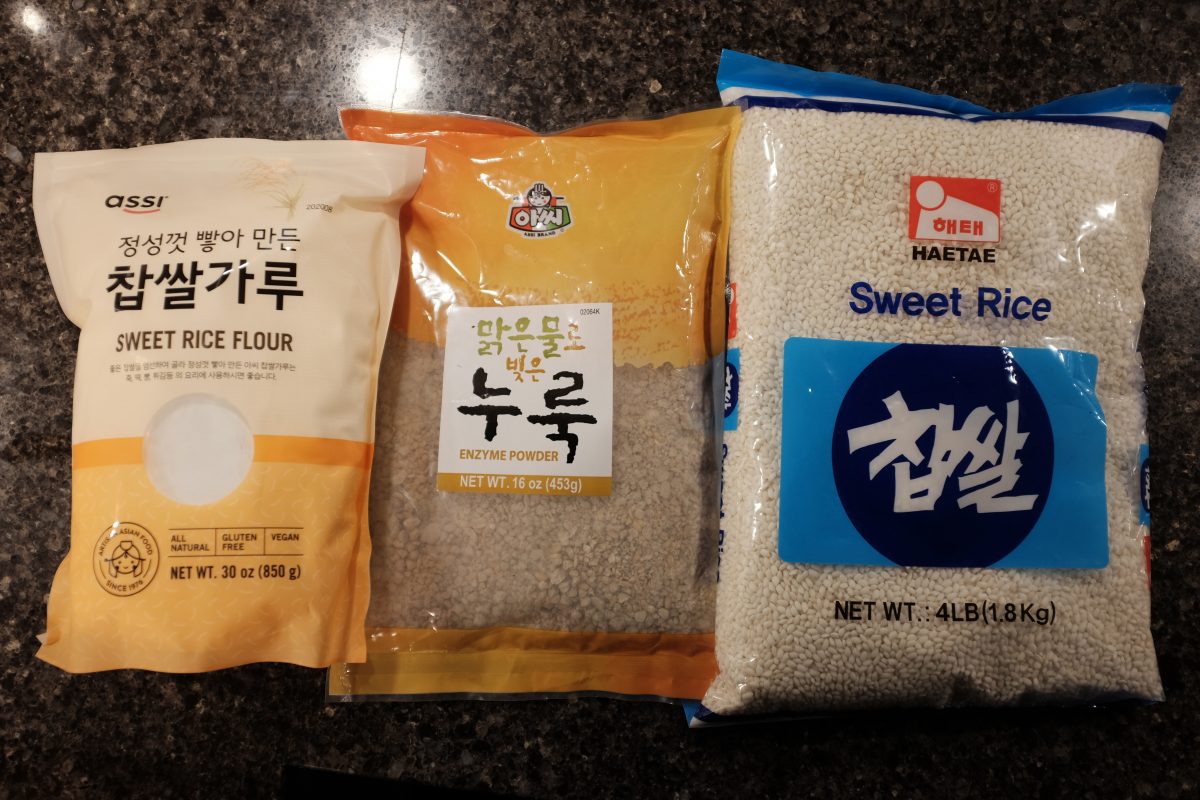
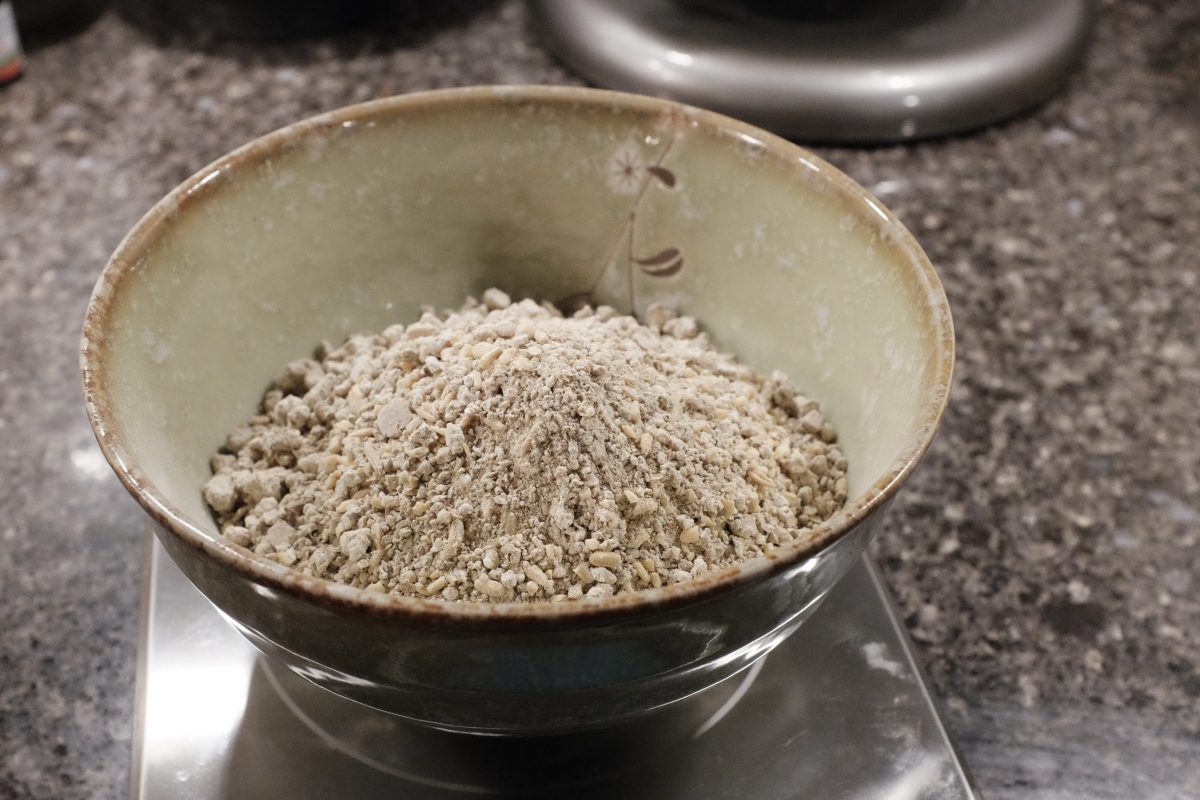
Nuruk is made by forming moist cakes of grain (usually some combination of wheat and barley and rice) and hanging them in open air to attract wild yeasts, bacteria and mold as they dry. These are then pounded into rough granules to use as a fermenting starter. Bags of this powder can be found at Korean grocers under the english name “Enzyme powder” or just look for the Korean name “누룩” on the bag. There is a picture of a bag of nuruk in the ingredients below.
You can make makgeolli with many different kinds of rice. For this recipe I am using a short grain sweet rice called chapssal (찹쌀). I think that this rice is most likely to make a successful and easy drinking first brew.
Here is what we need:
- 500 grams sweet rice flour (this is just rice milled into a fine powder)
- 2 kg sweet rice (chappsal)
- 2.5 litres filtered or spring water
- 250 grams nuruk plus another 250ml filtered or spring water to hydrate it
Process:
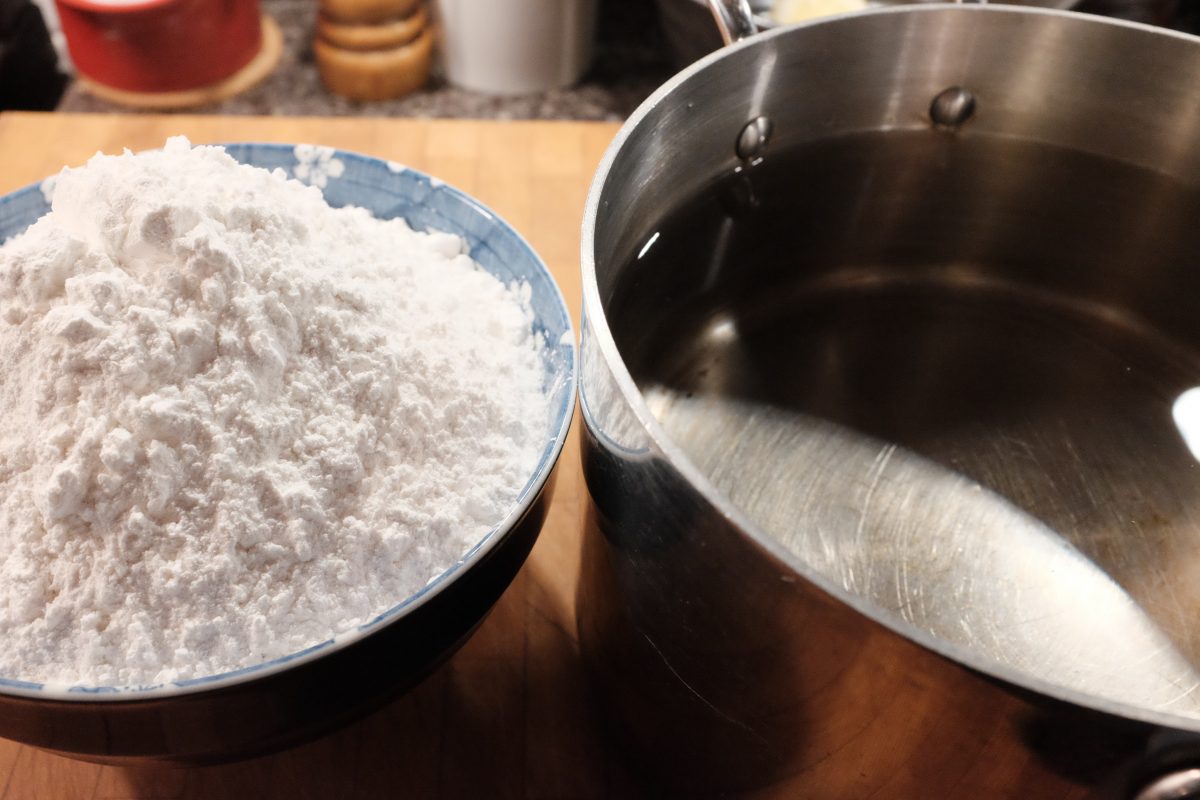
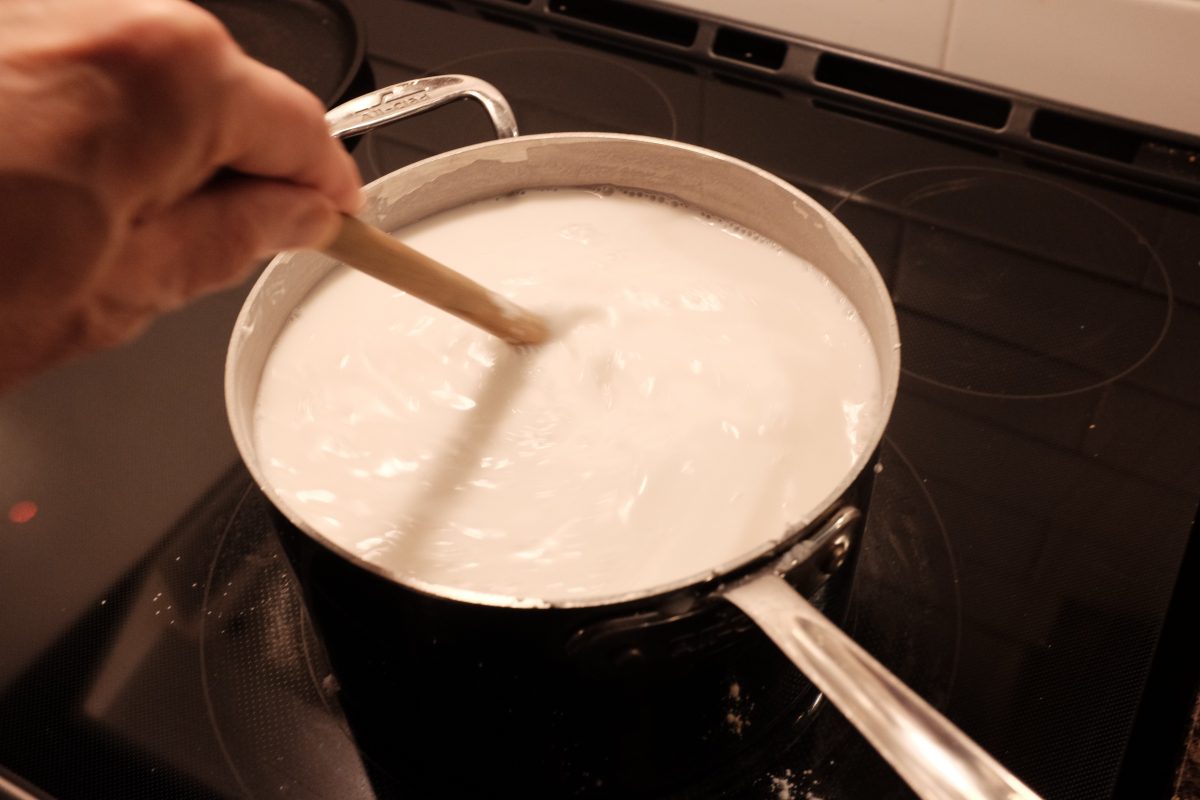
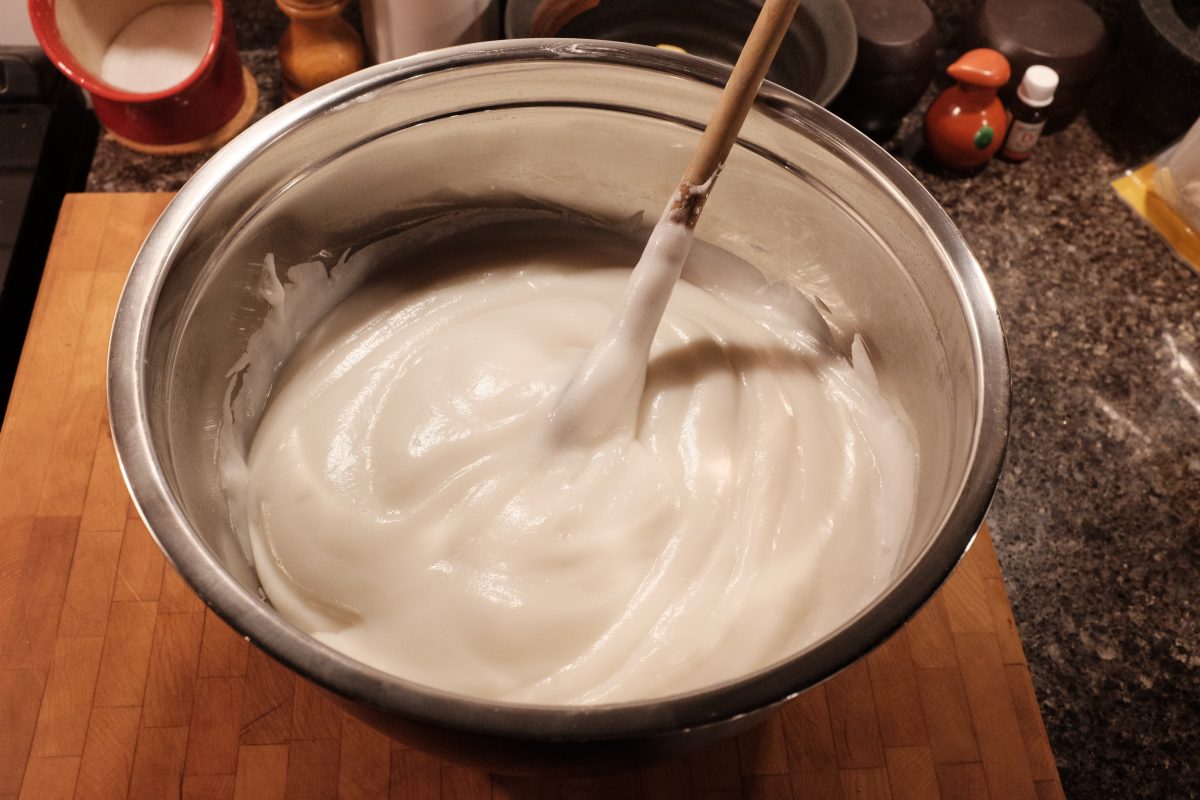
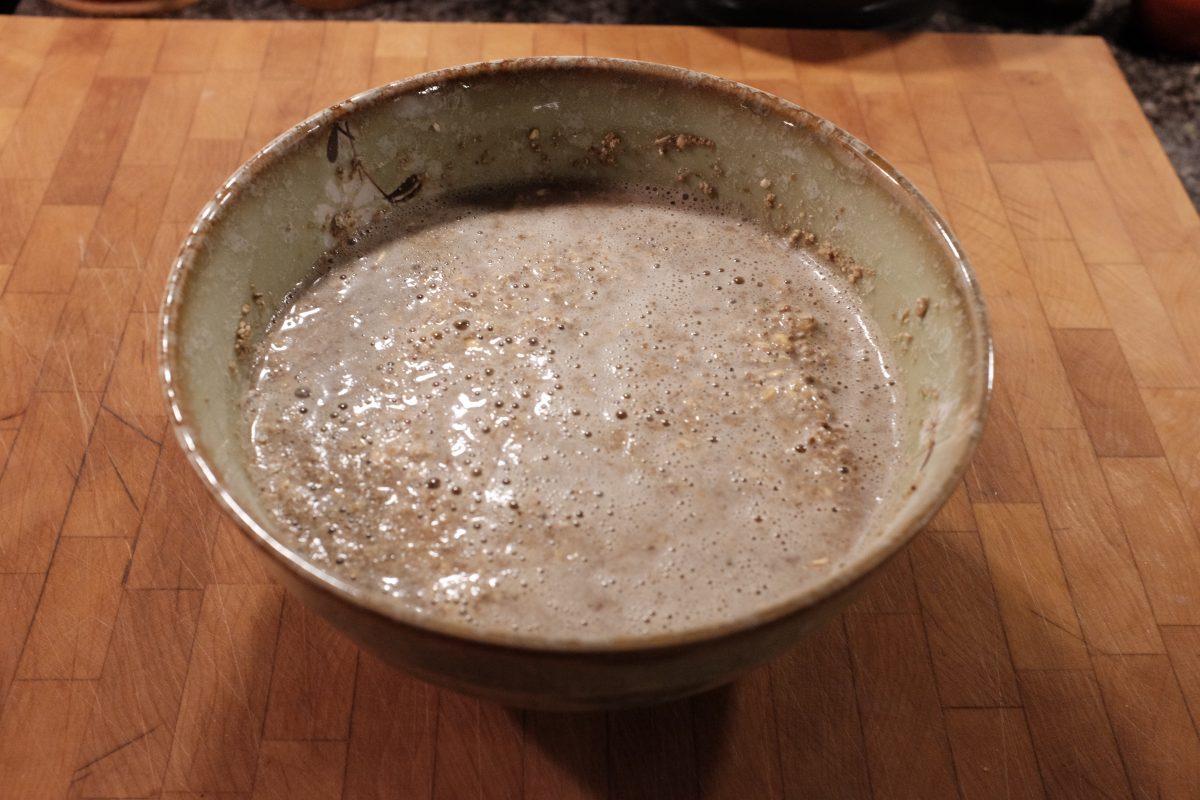
The recipe is broken into 2 parts. In Stage 1, we will ferment the rice flour for a number of days (around 3). In Stage 2, we will add steamed sweet rice and finish the ferment over the next few weeks. A two stage recipe like this is called “Iyangju”.
Stage 1
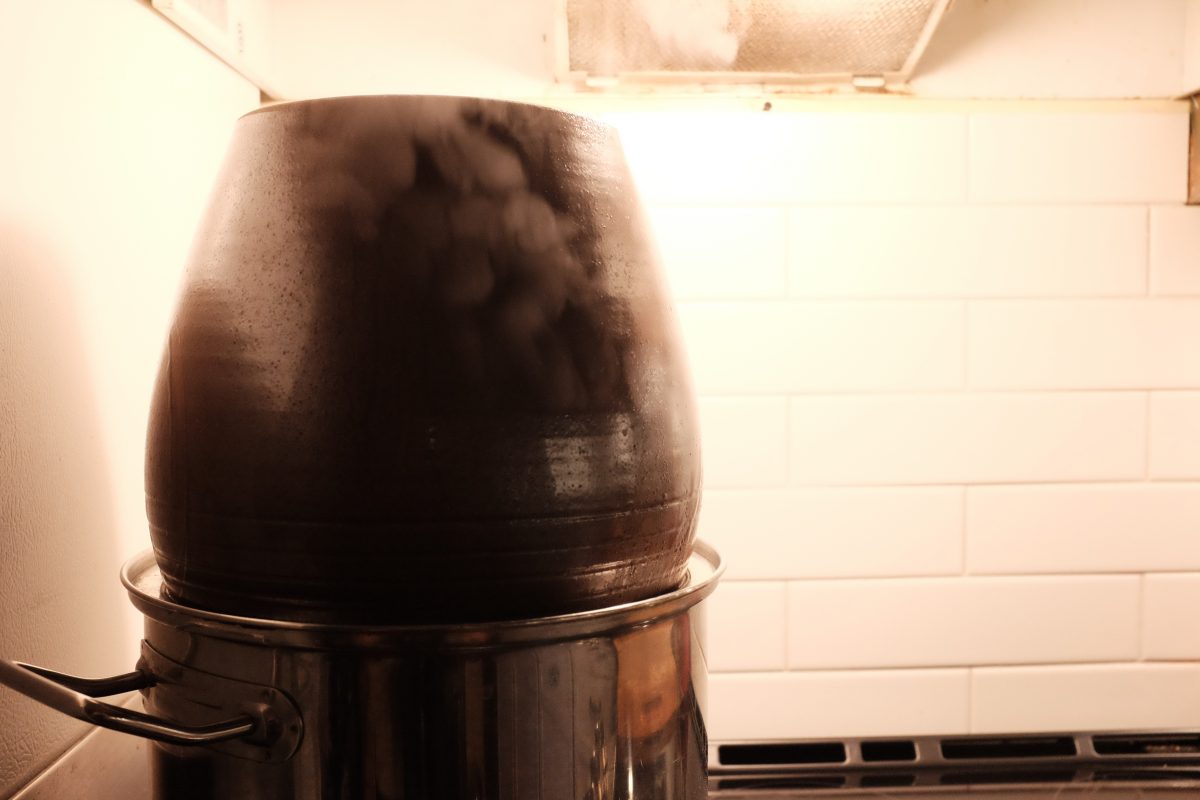
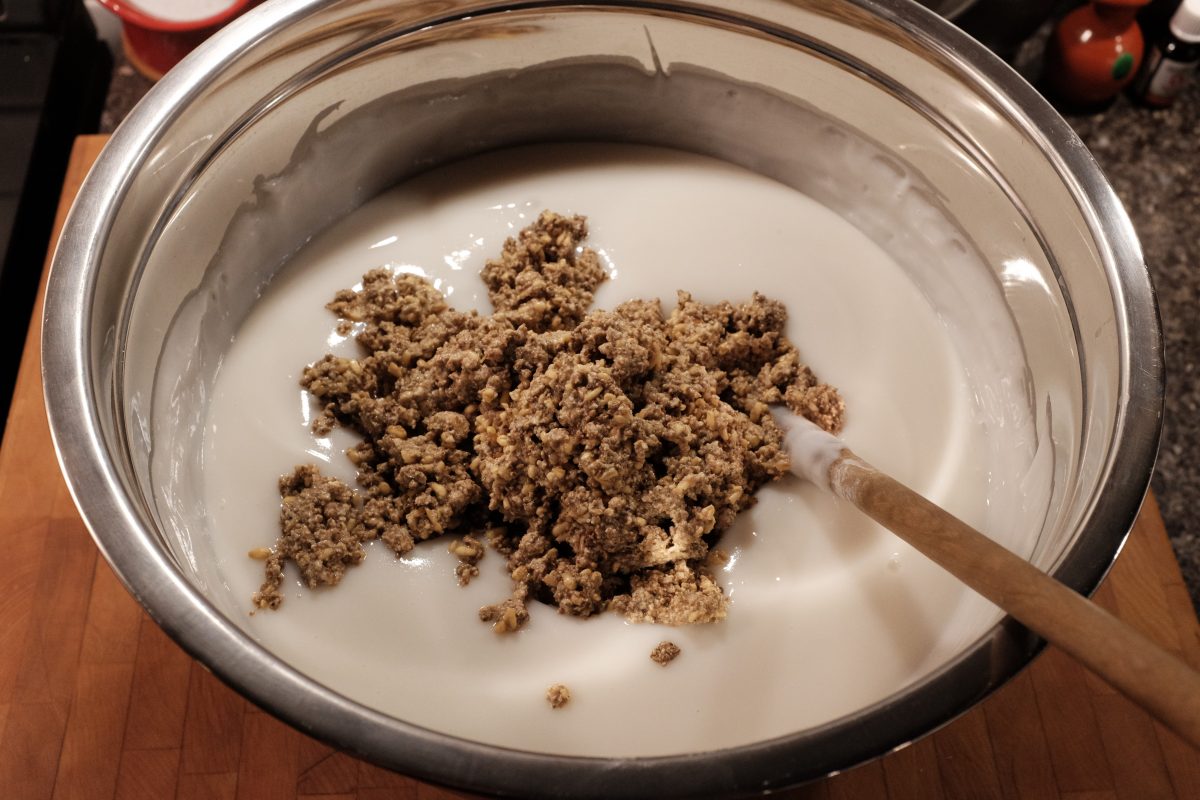
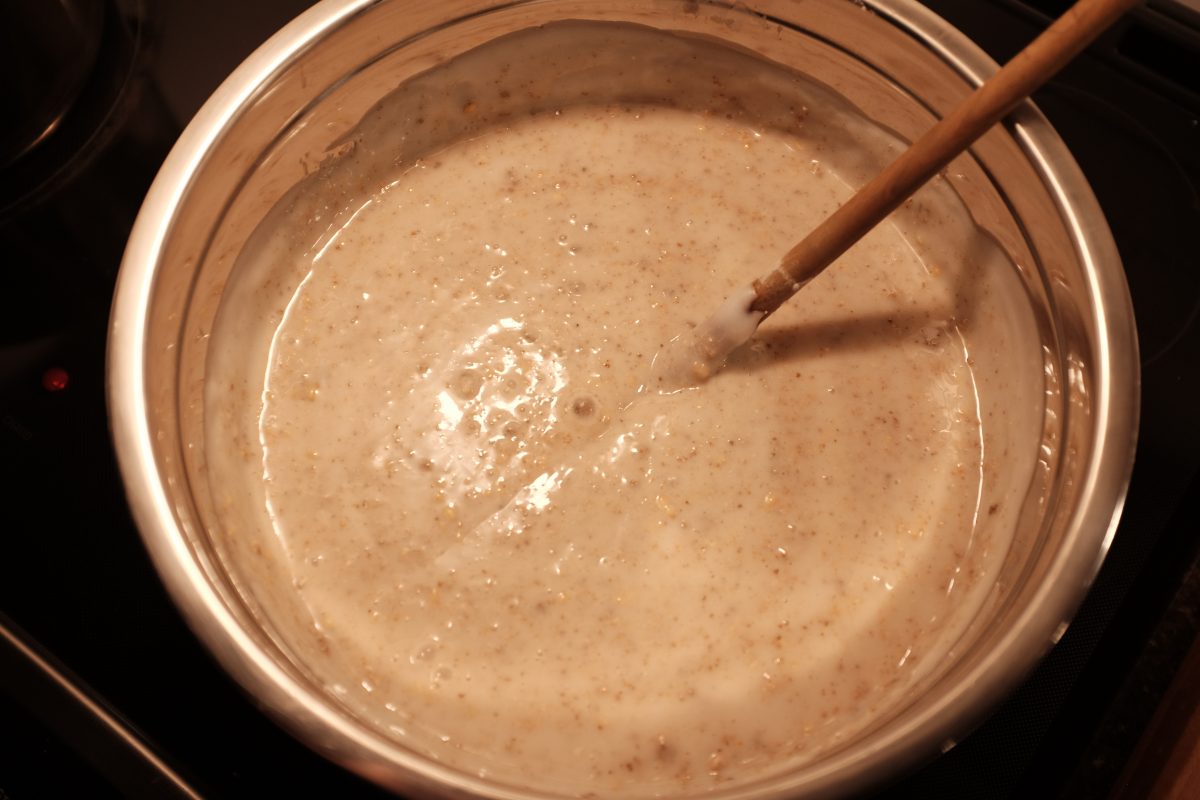
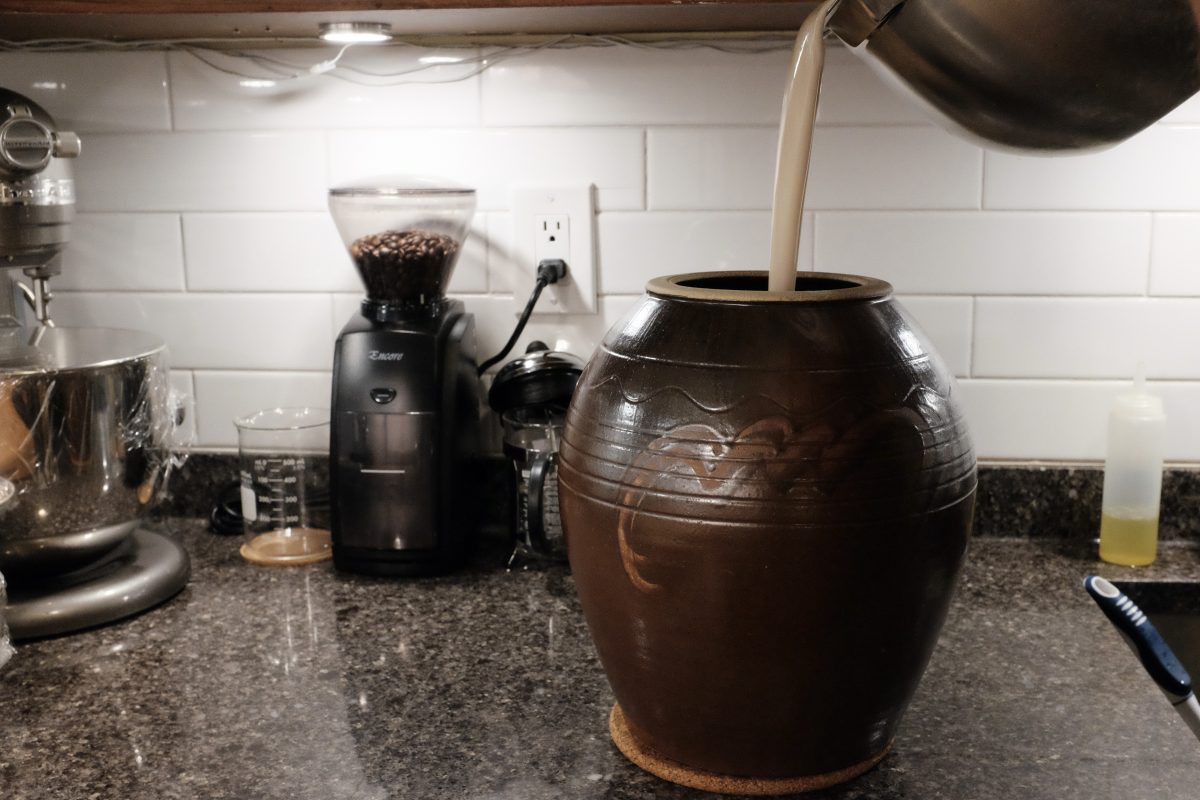
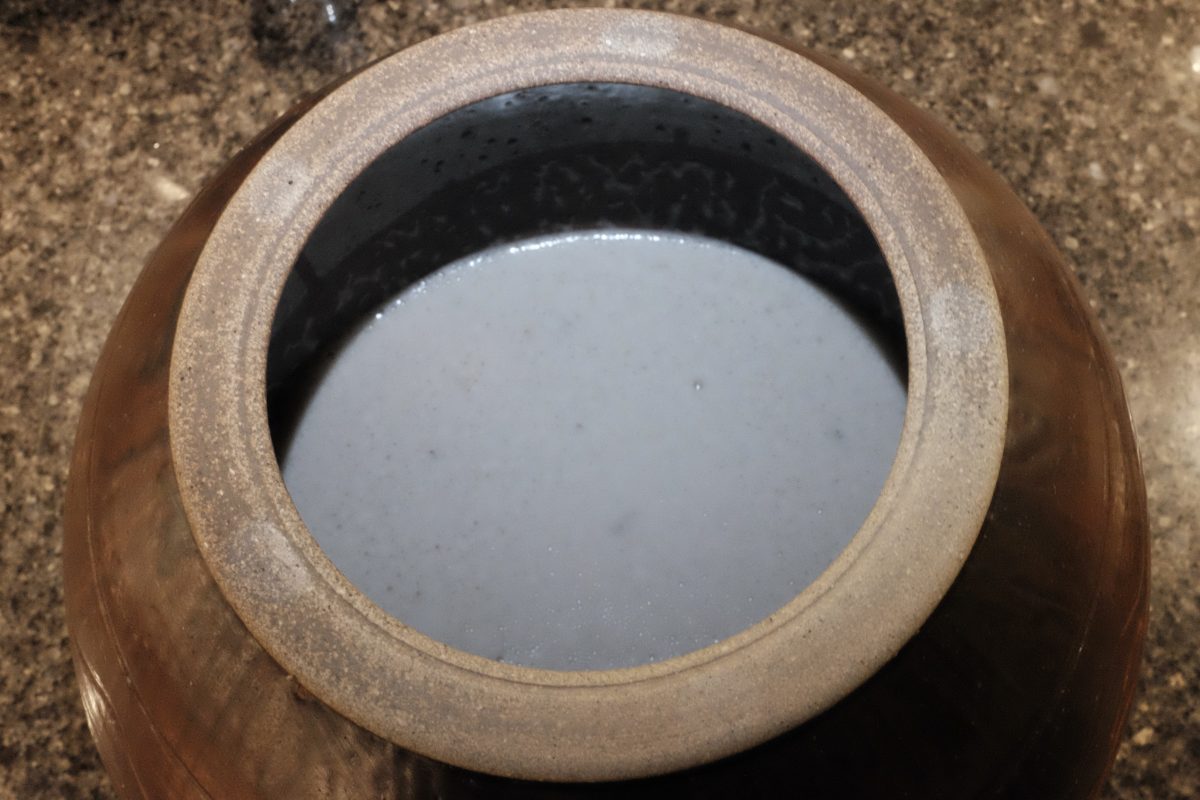
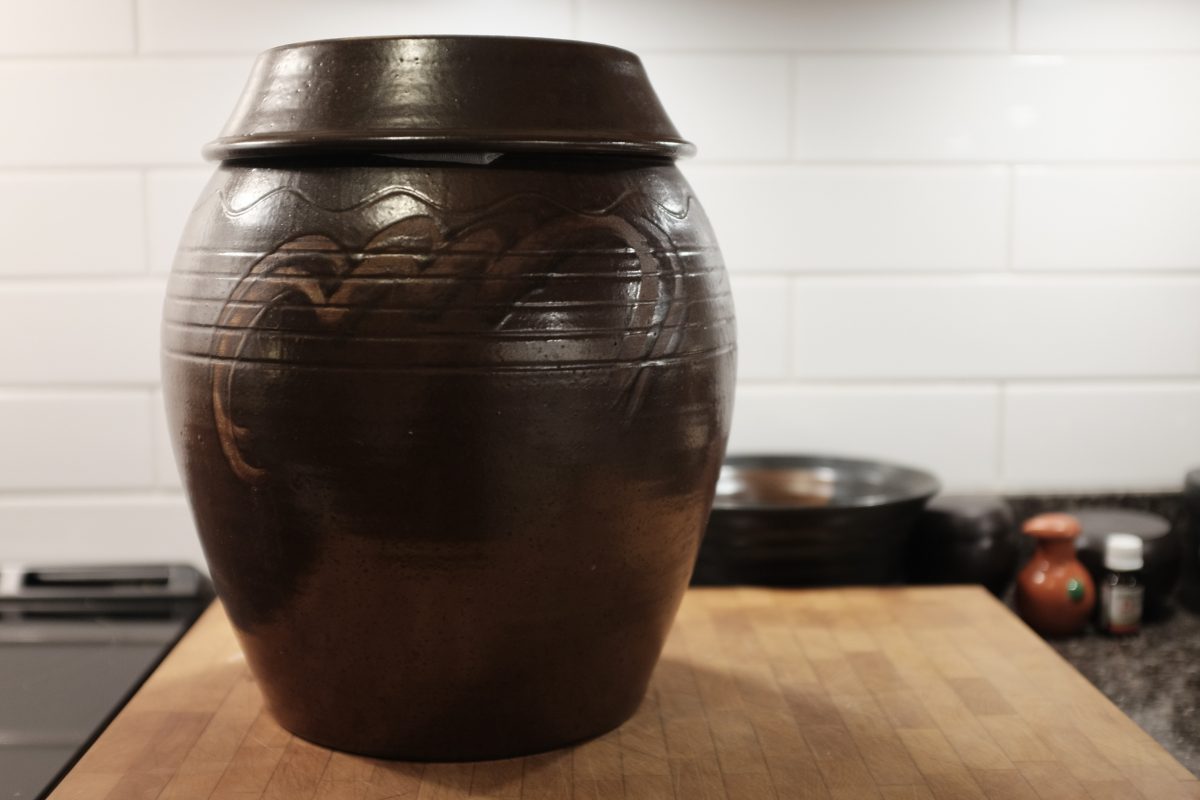
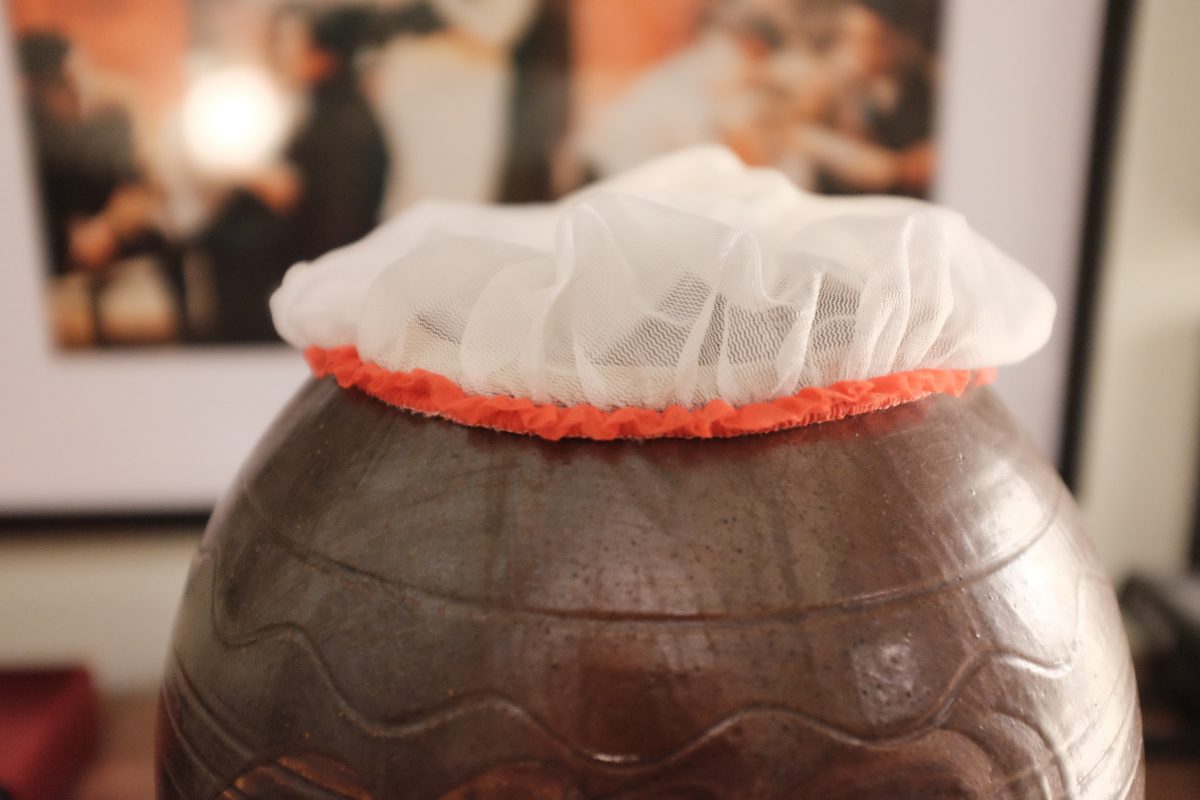
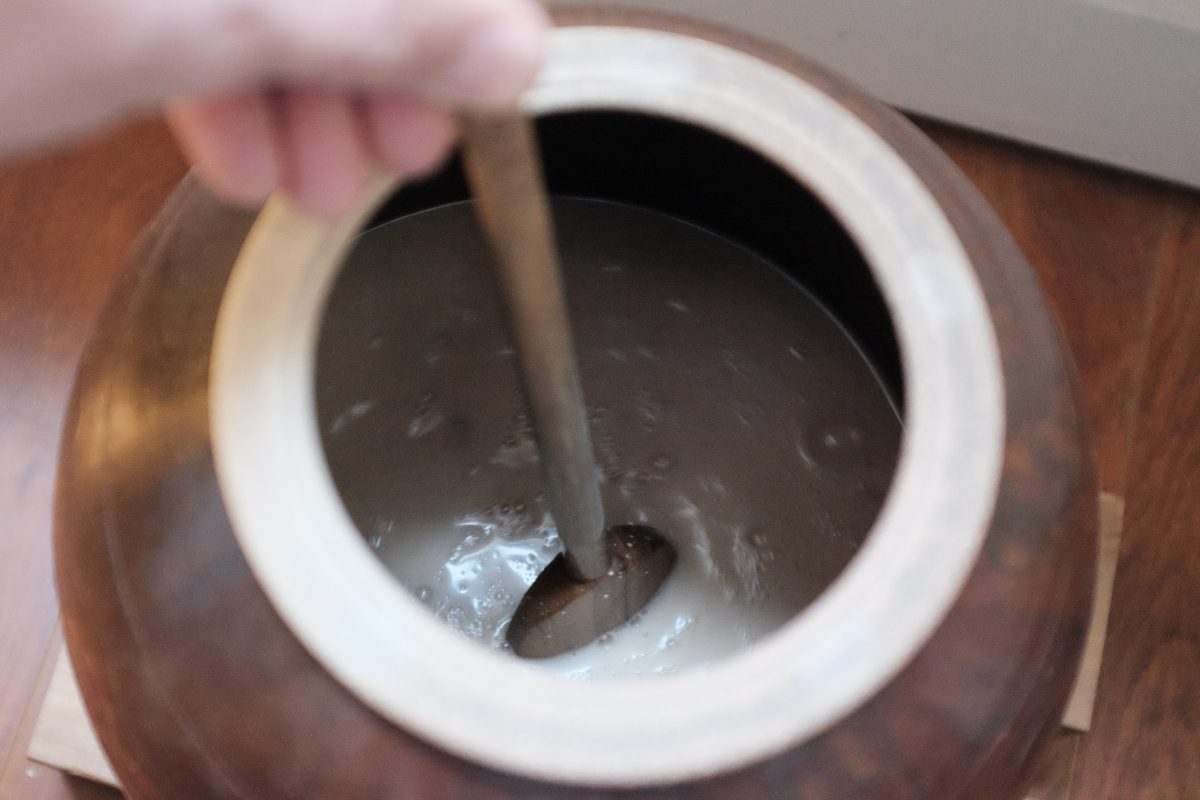
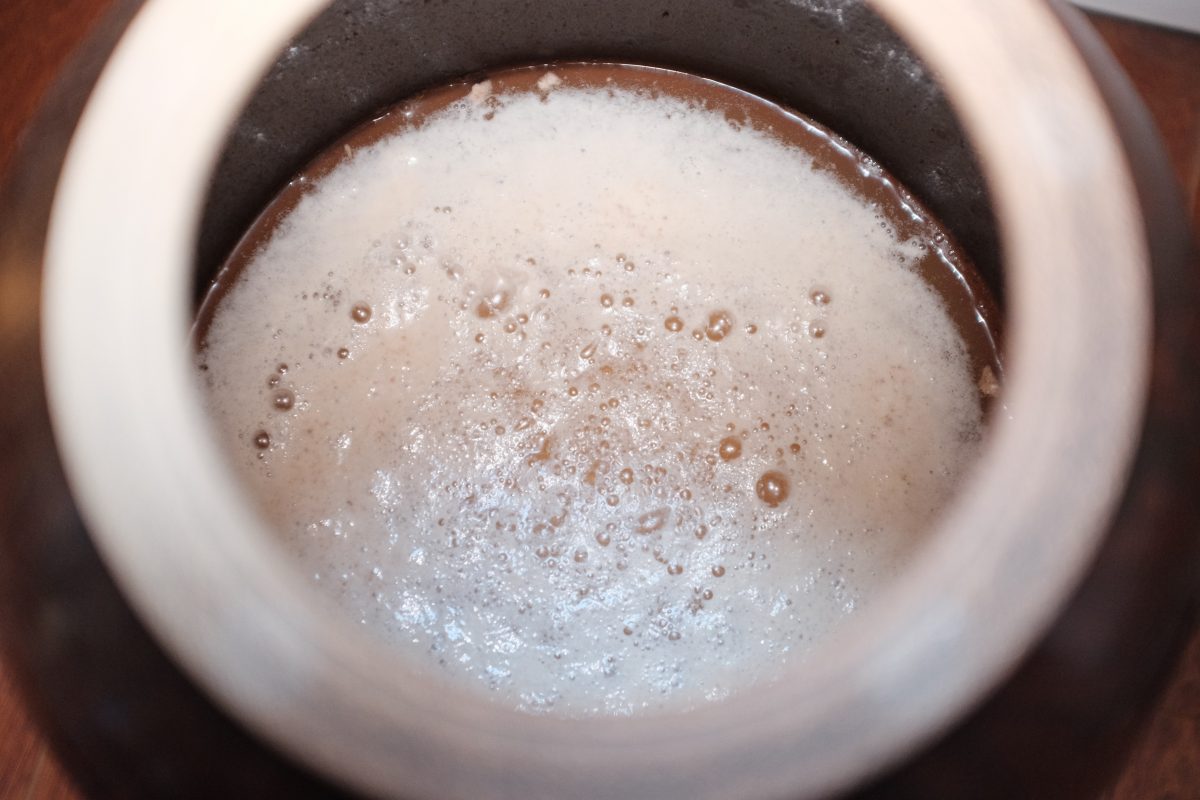
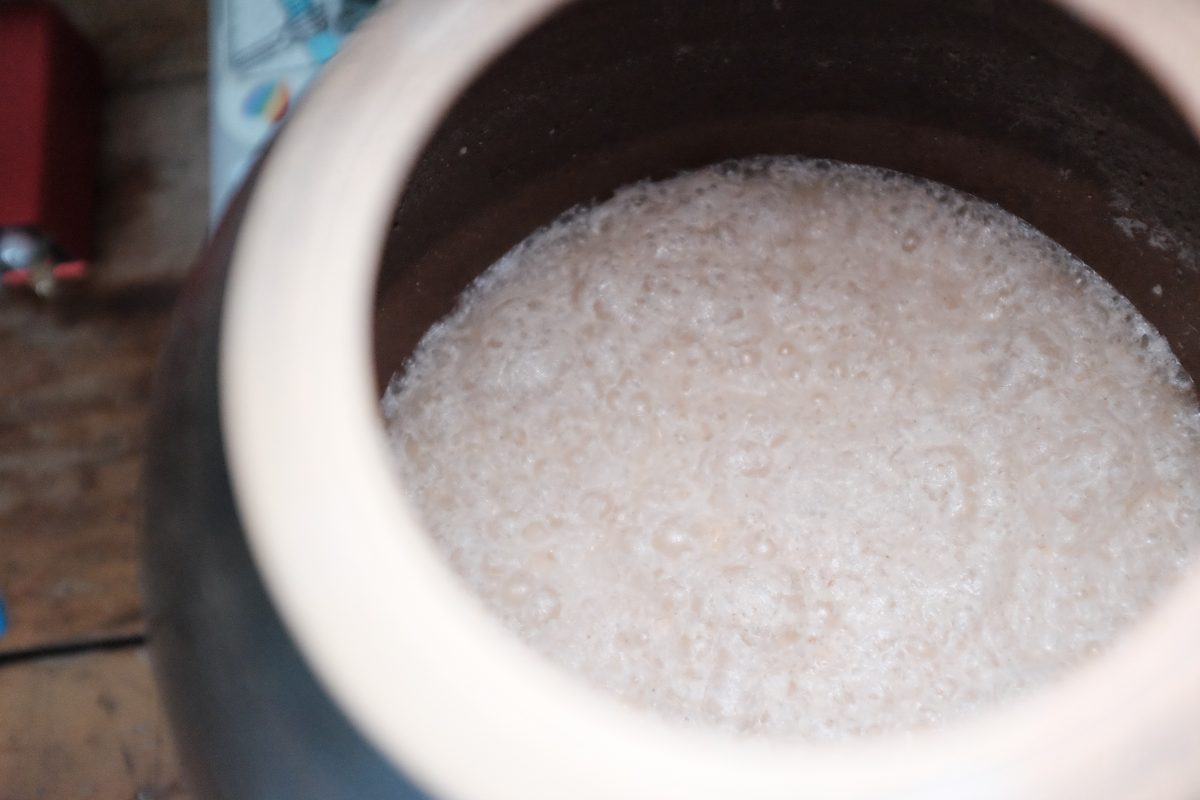
Stage 2:
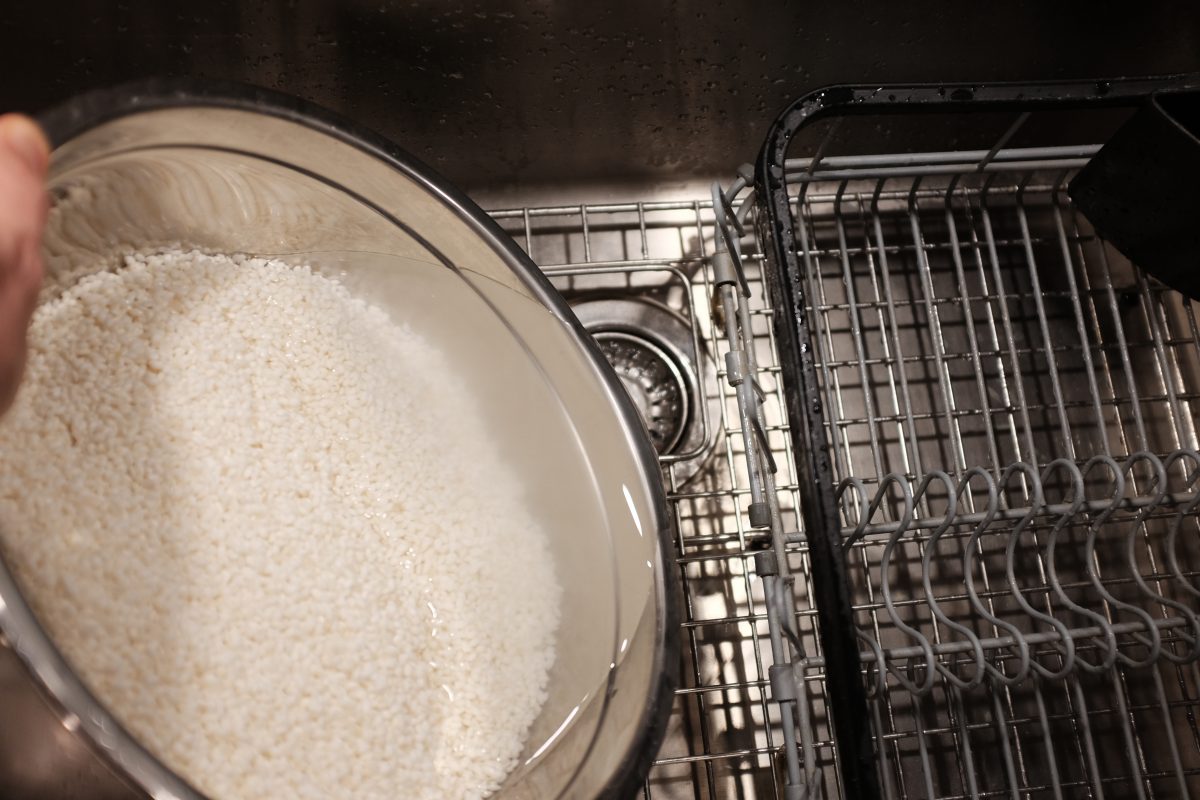
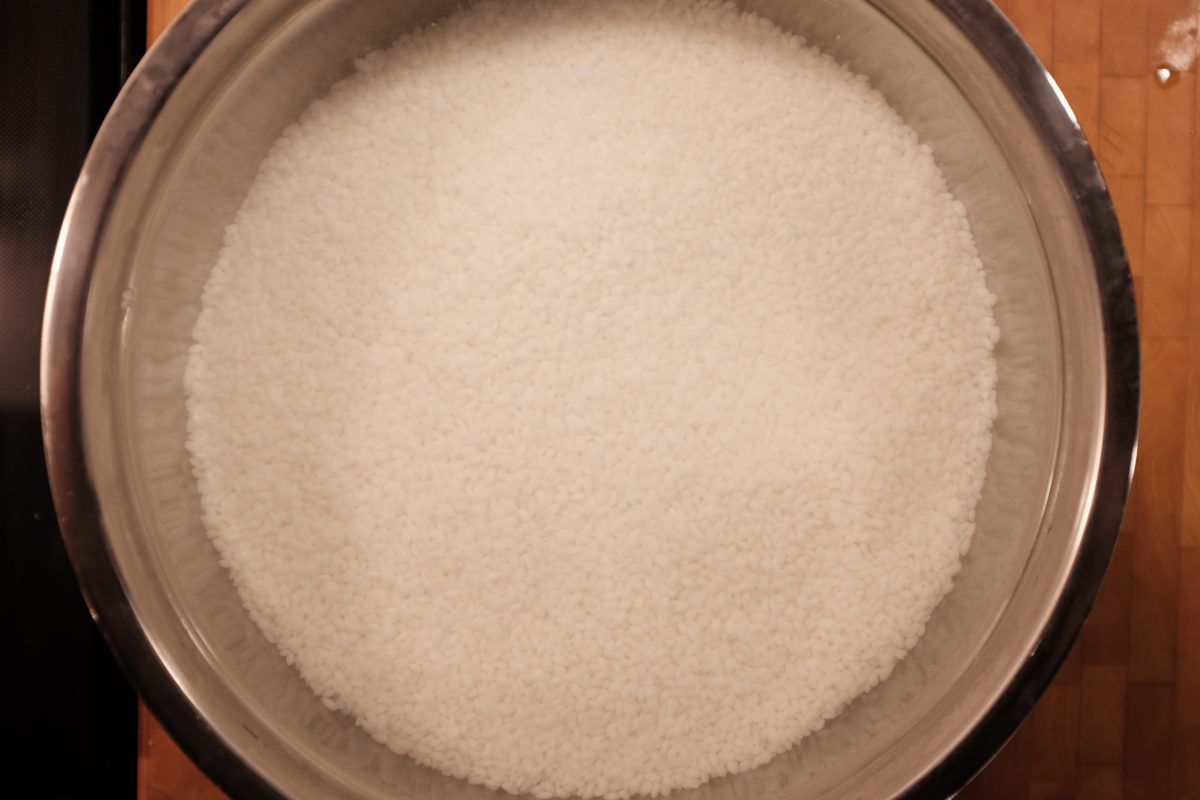
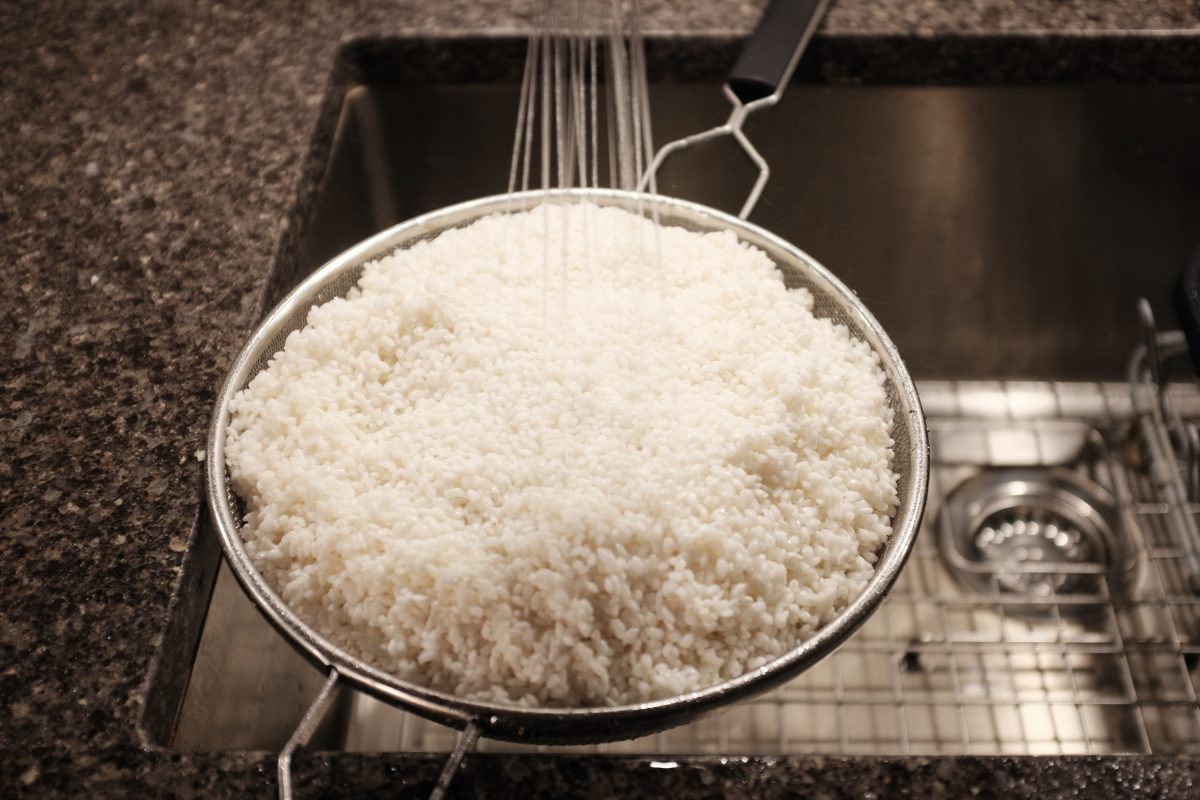
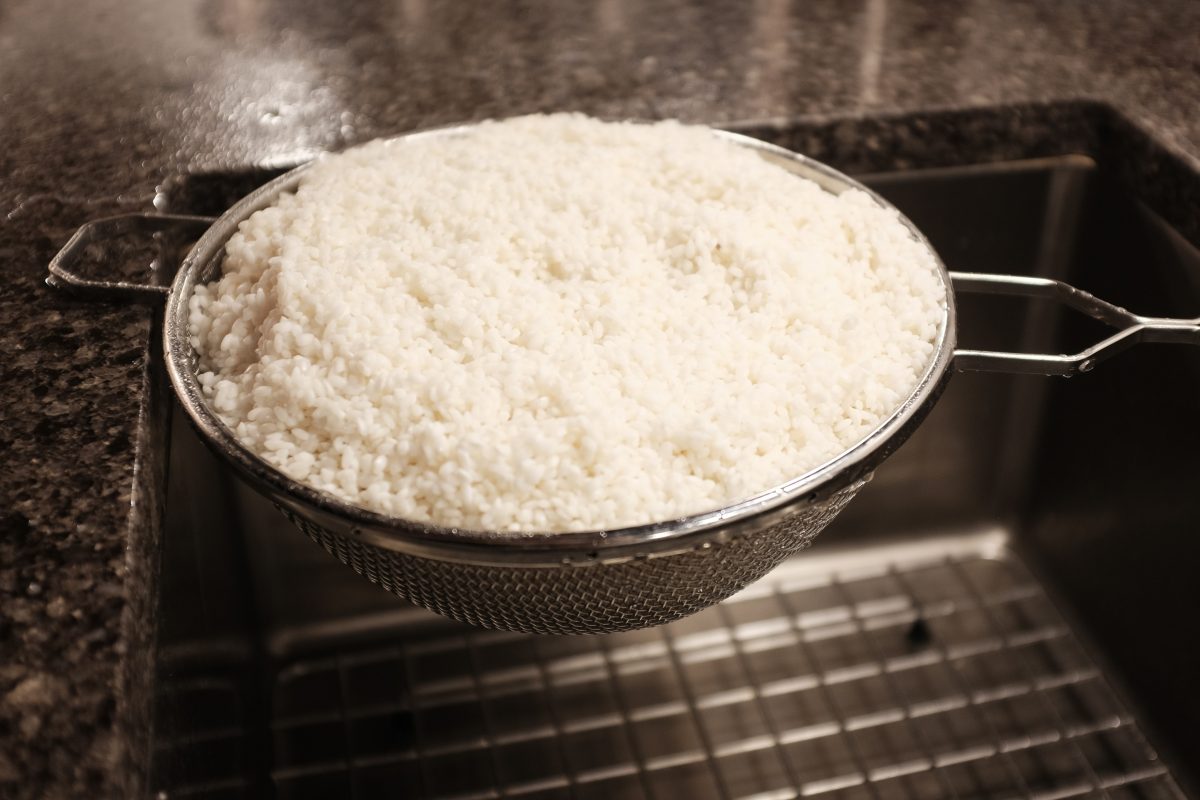
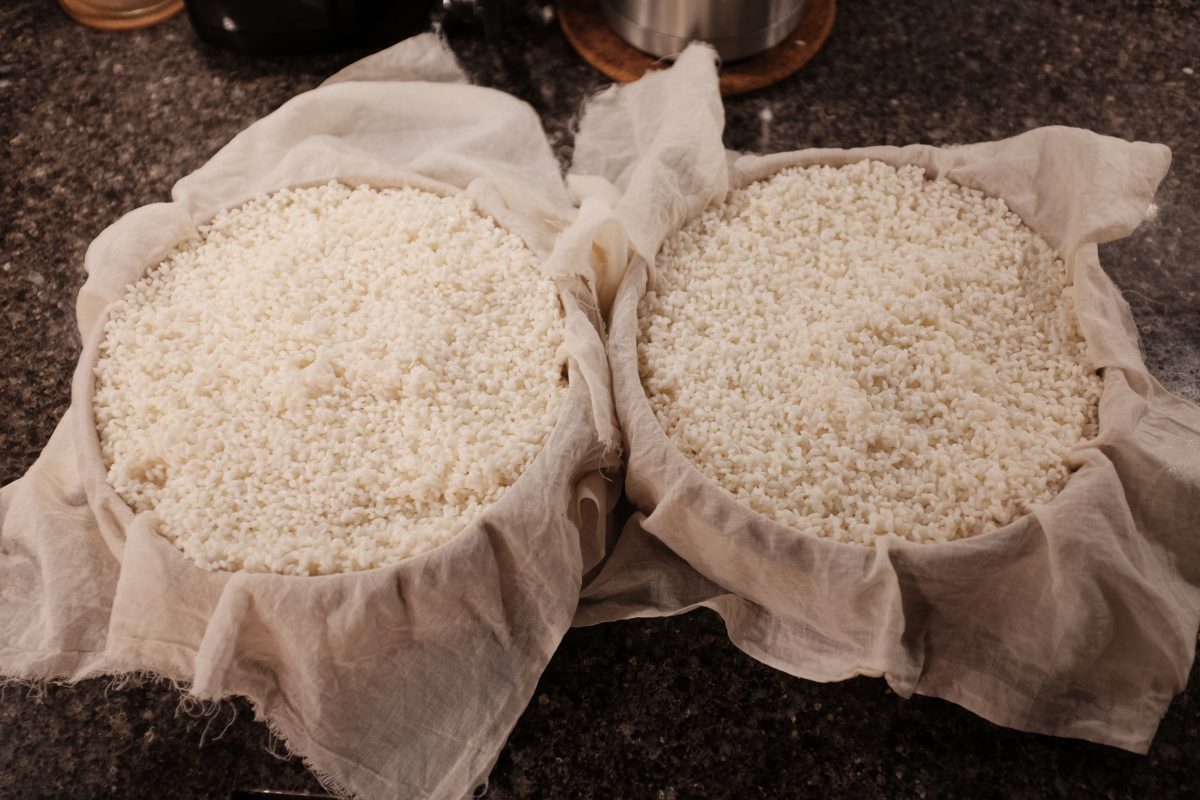
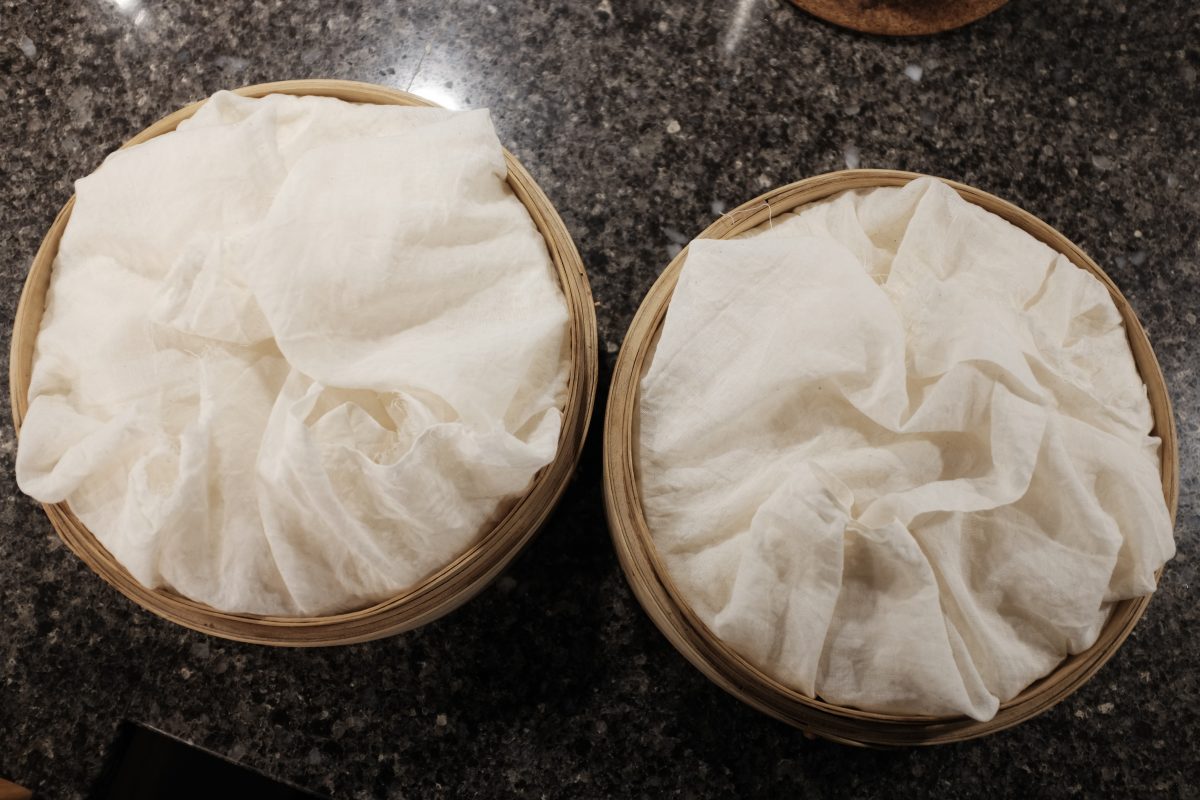
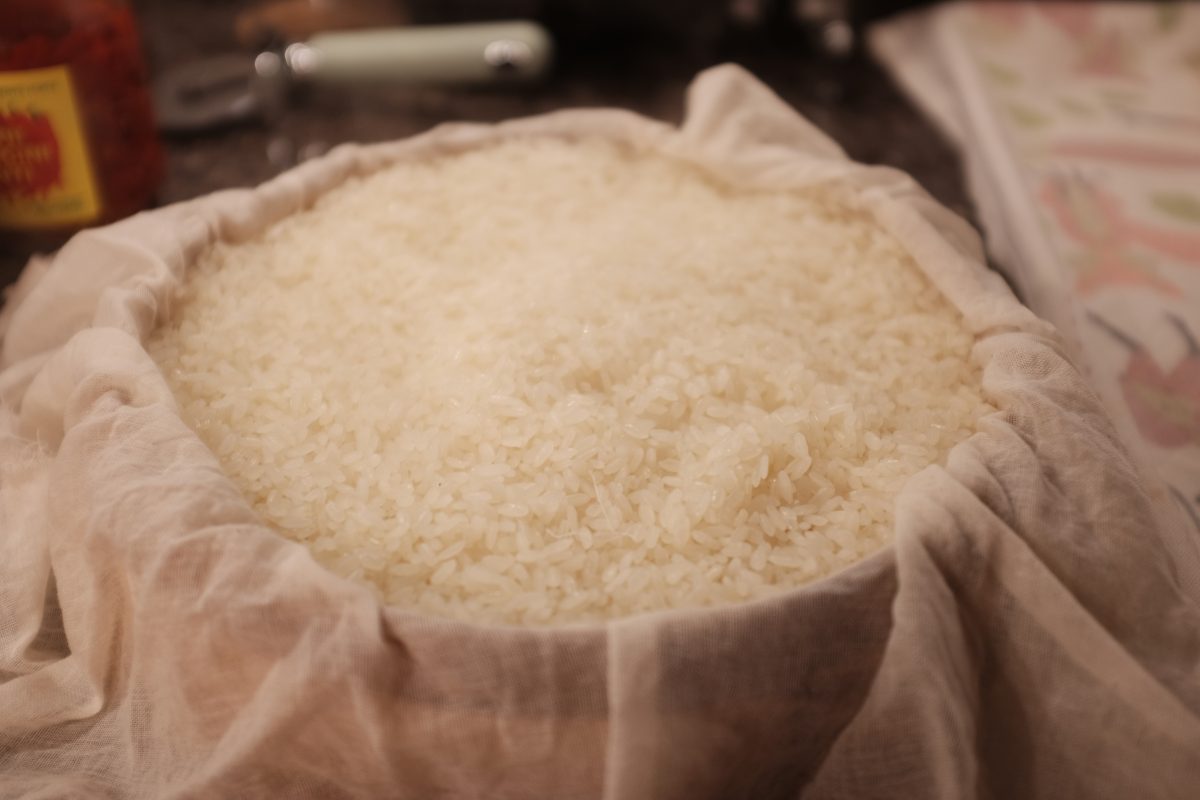
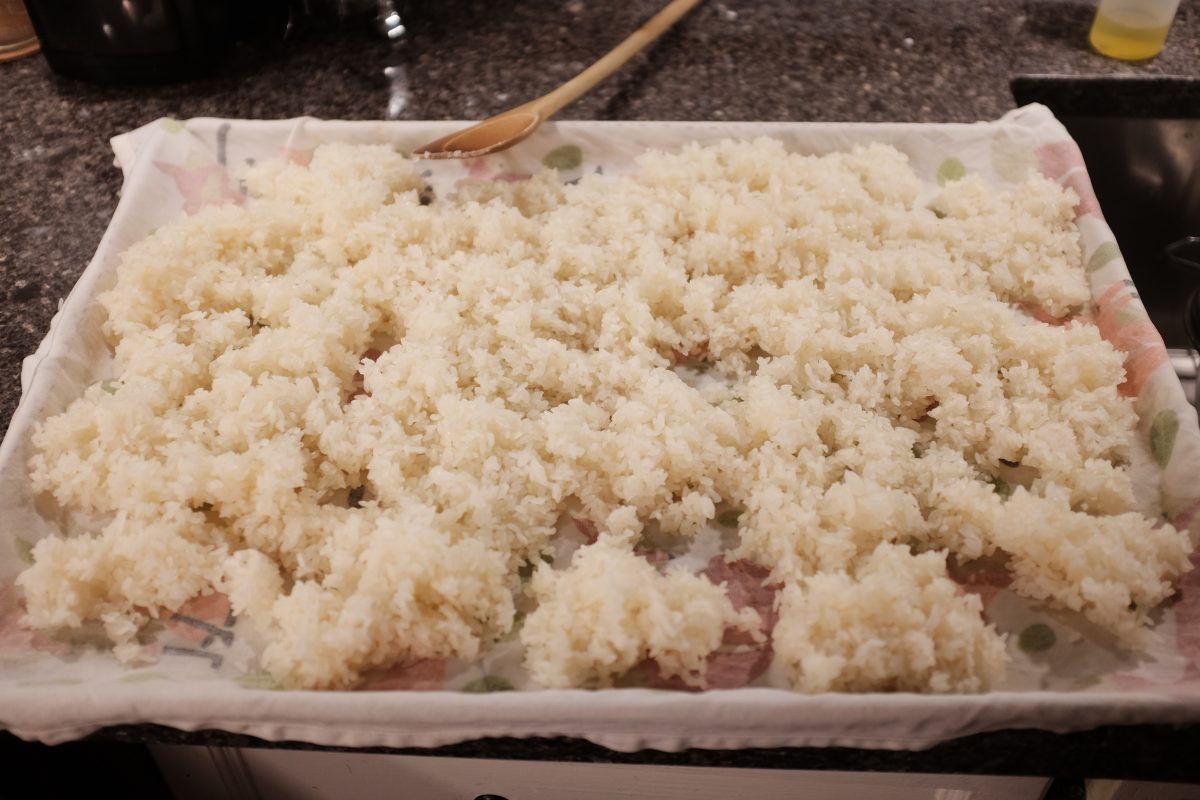
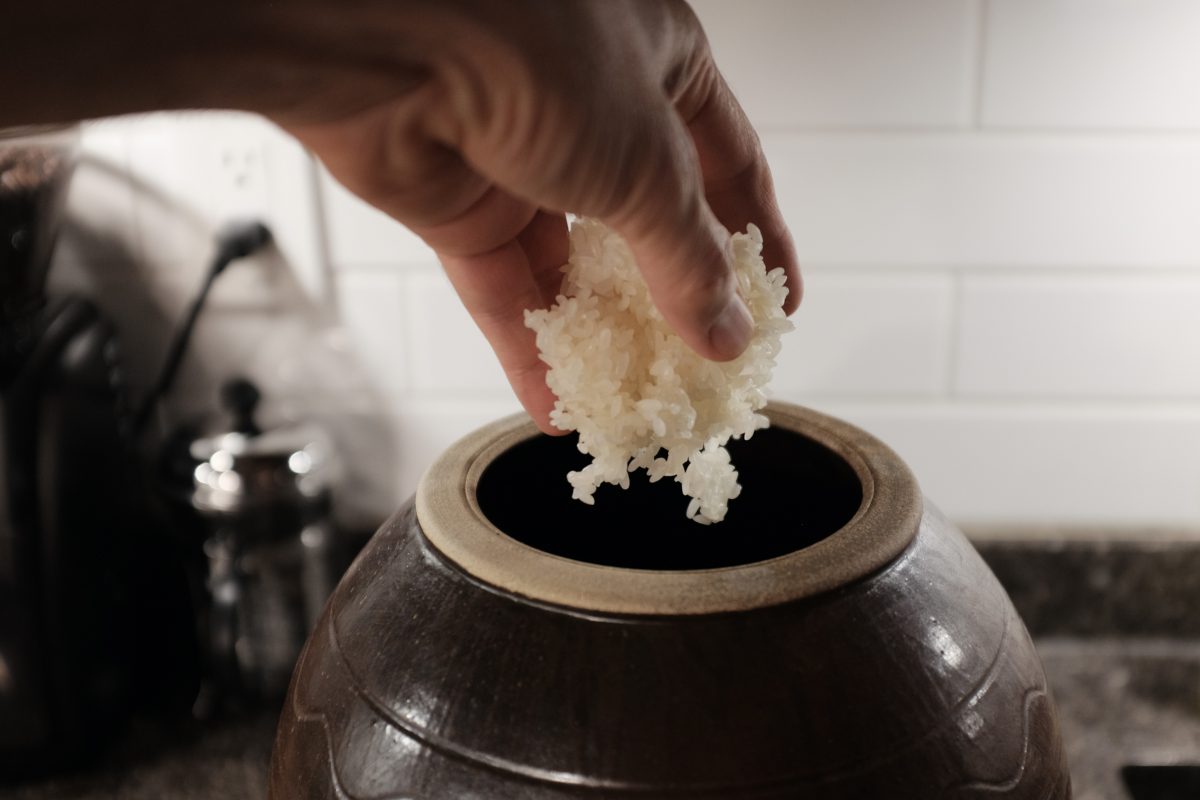
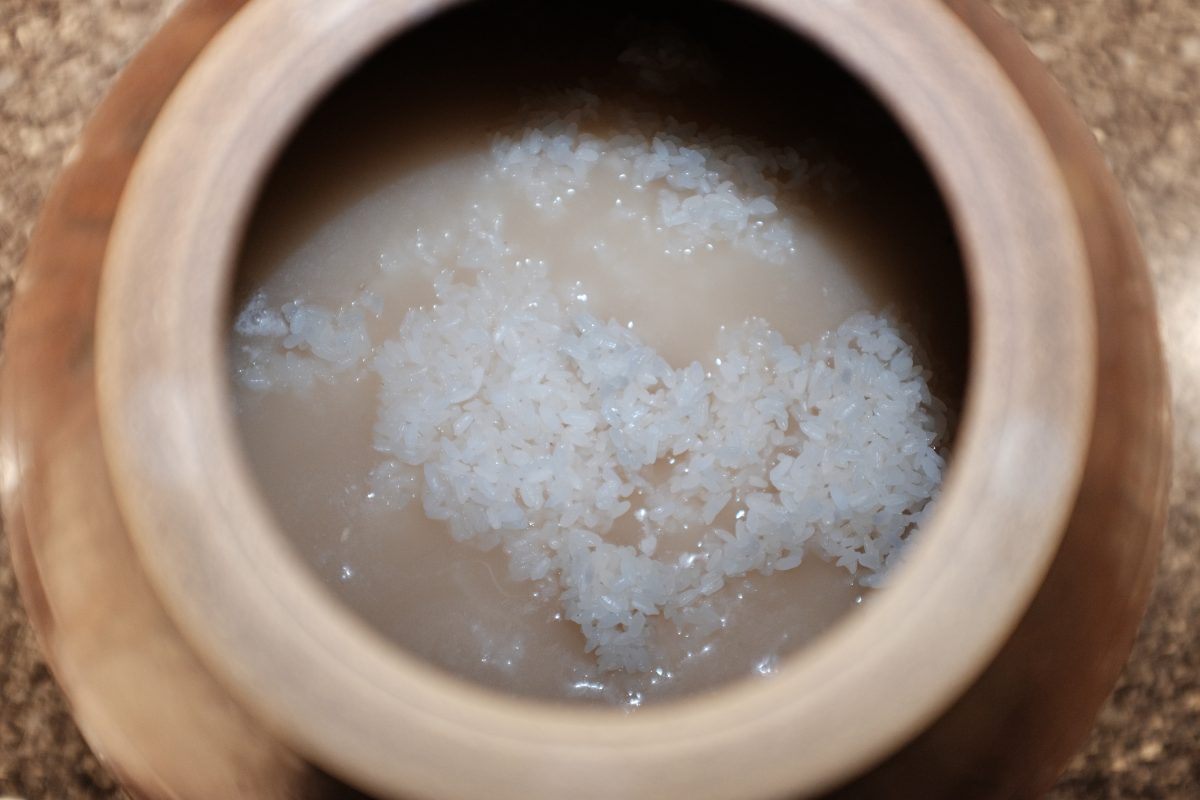
In this stage we will wash, soak, drain, steam and cool our 2kg of sweet rice. And, afterwards, we will add it to our fermenting container.
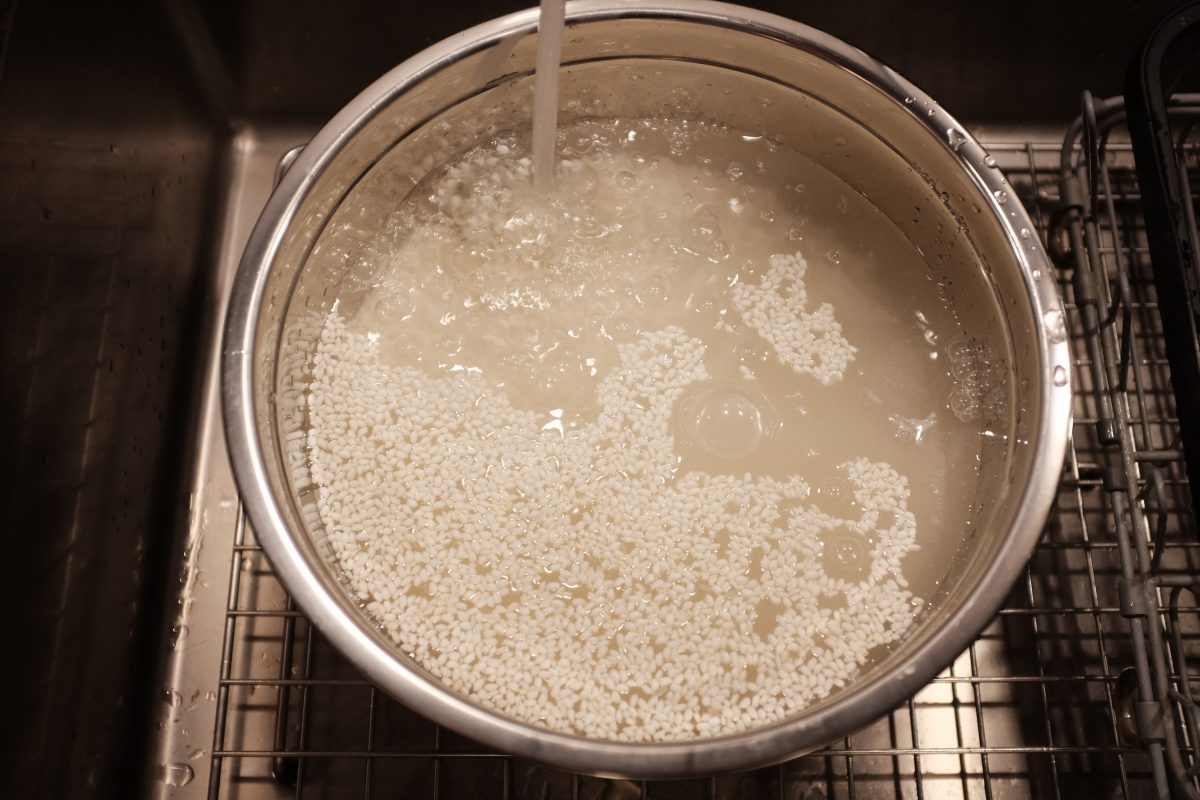
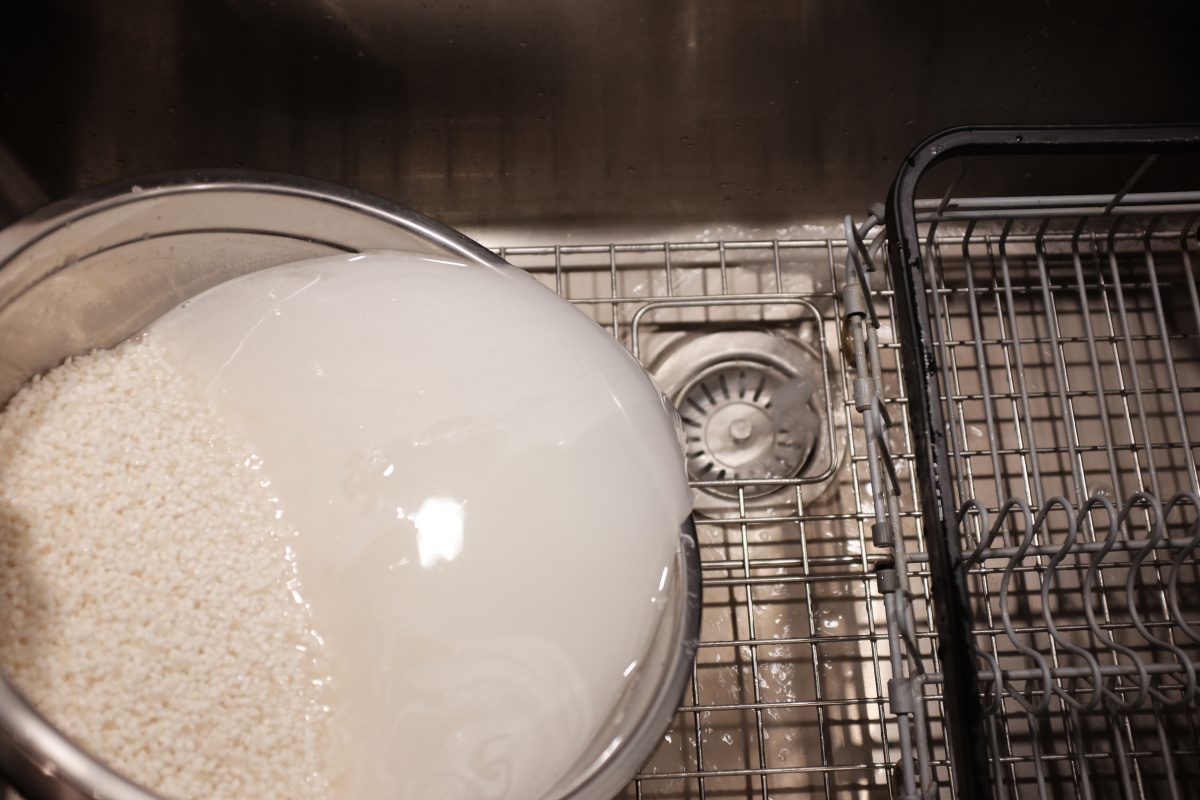
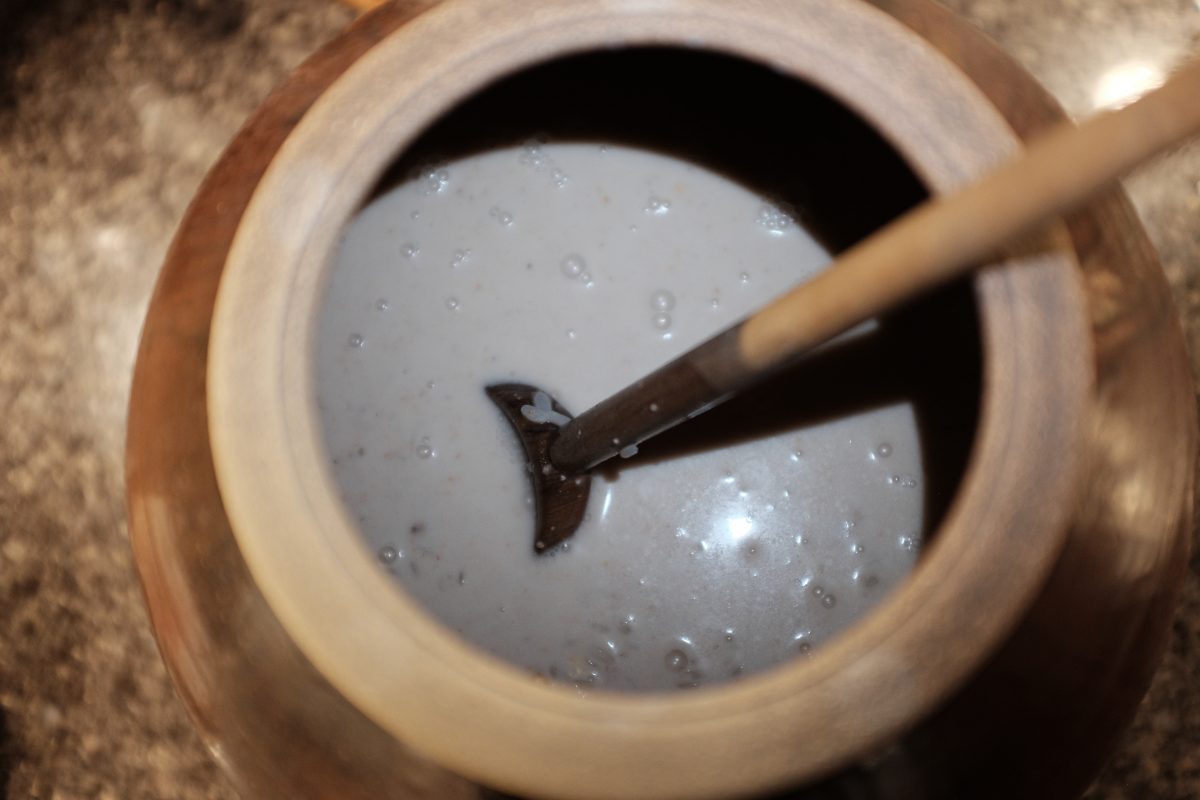
Stage 2, Day 1
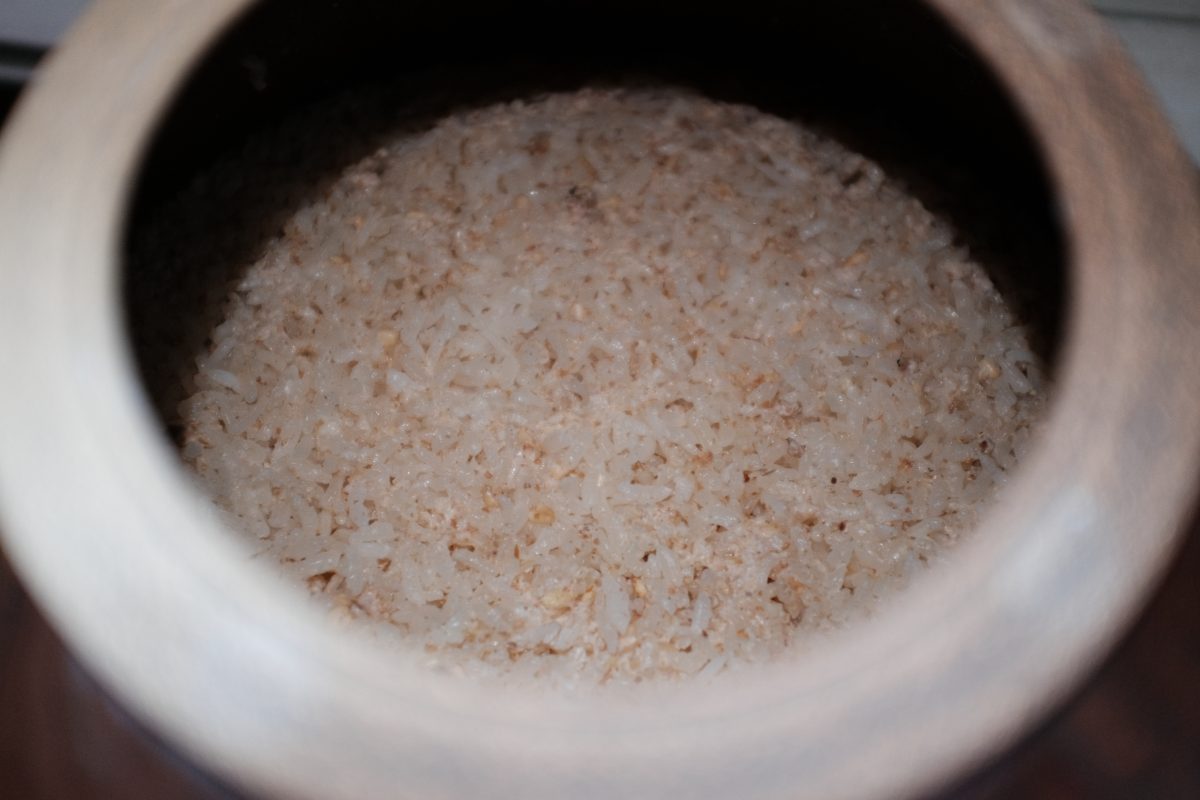
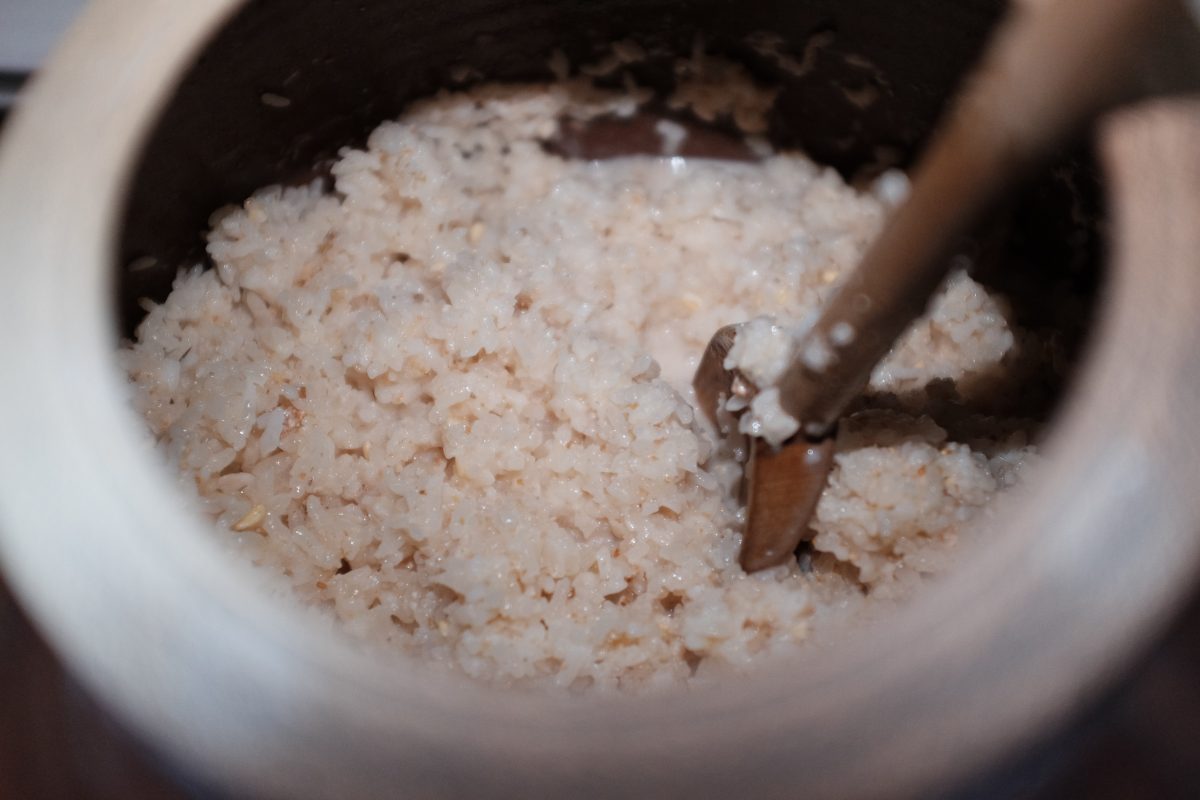
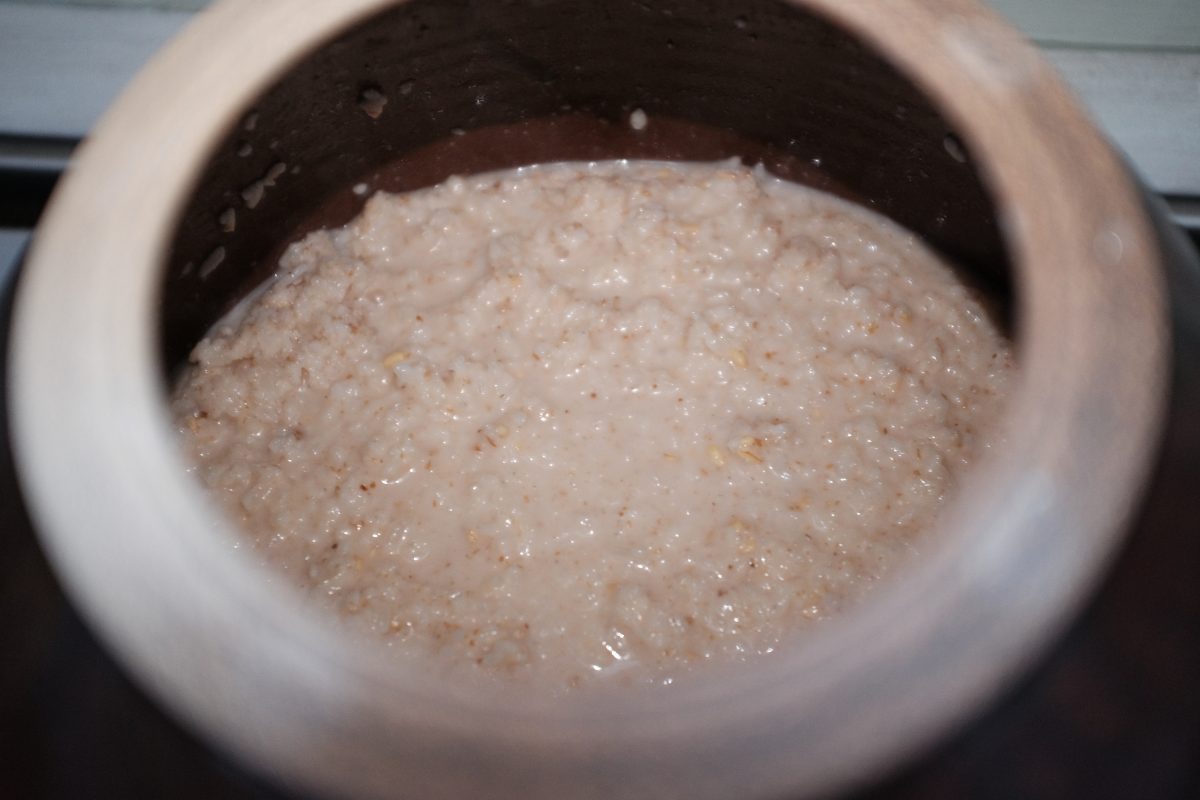
Stage 2, Day 2
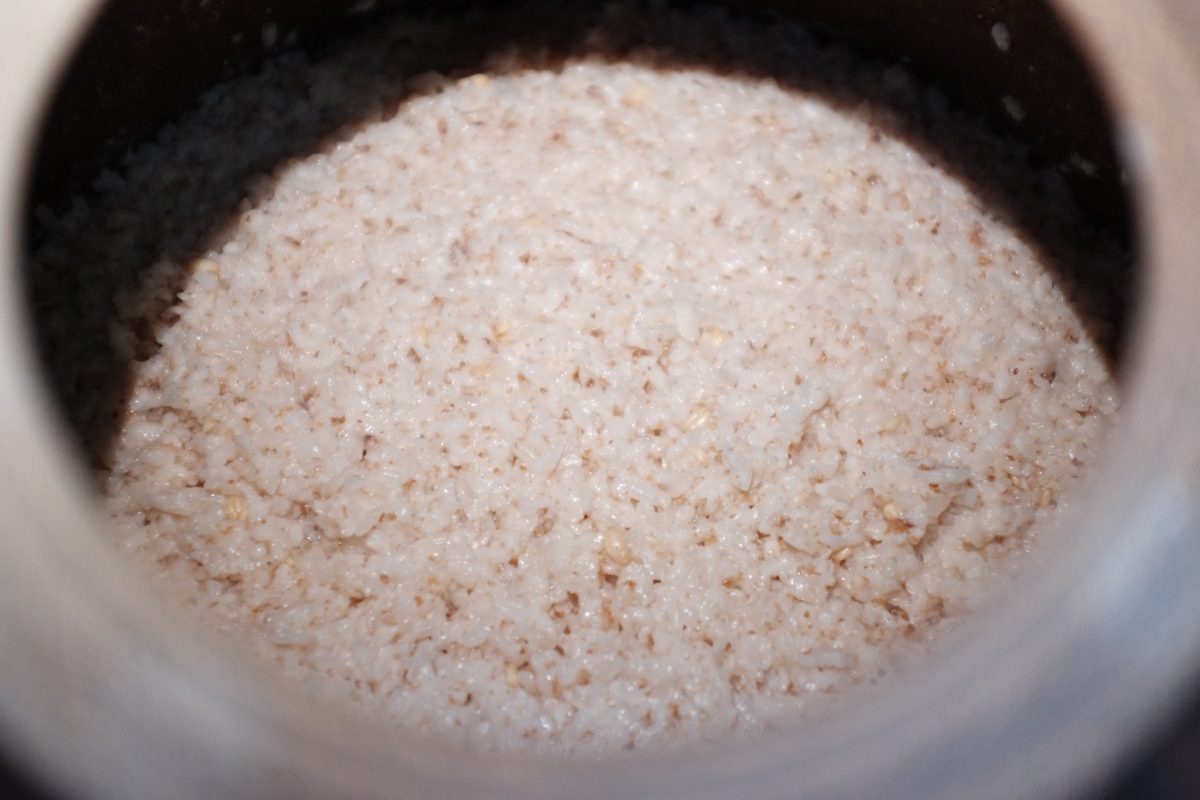
Stage 2, Day 3
Now we wait
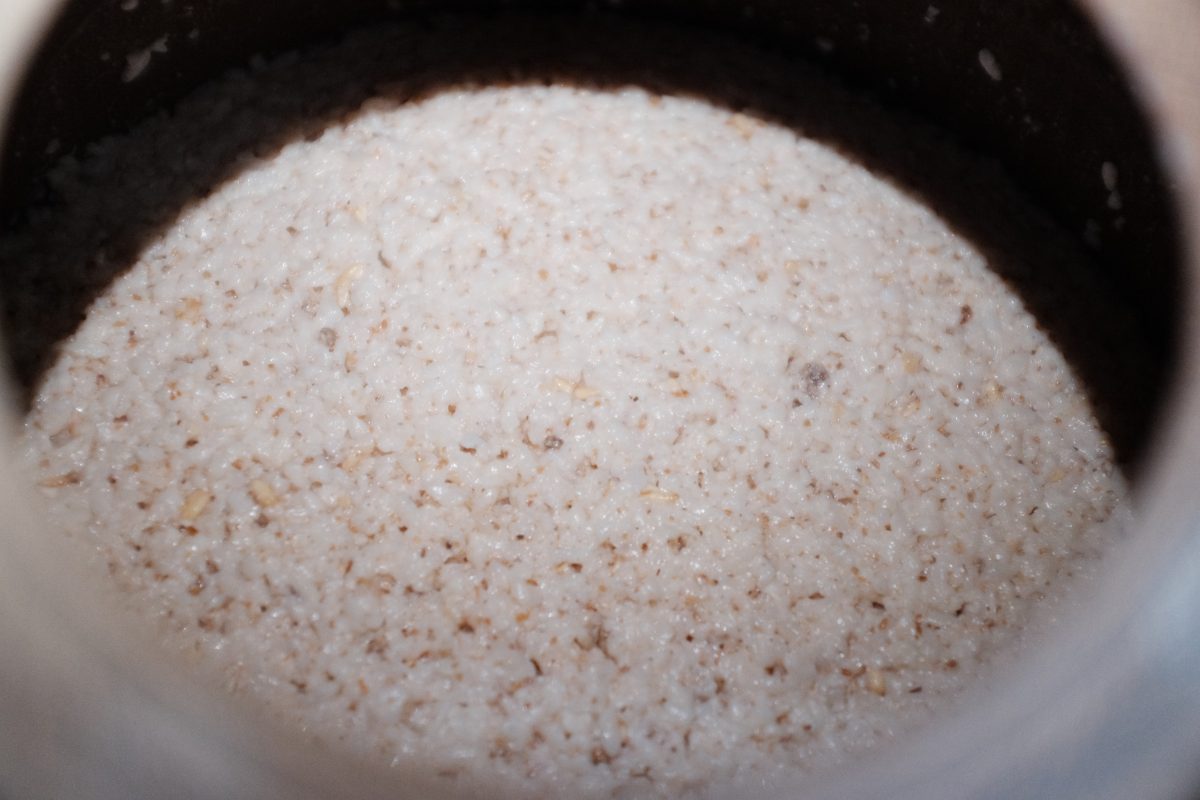
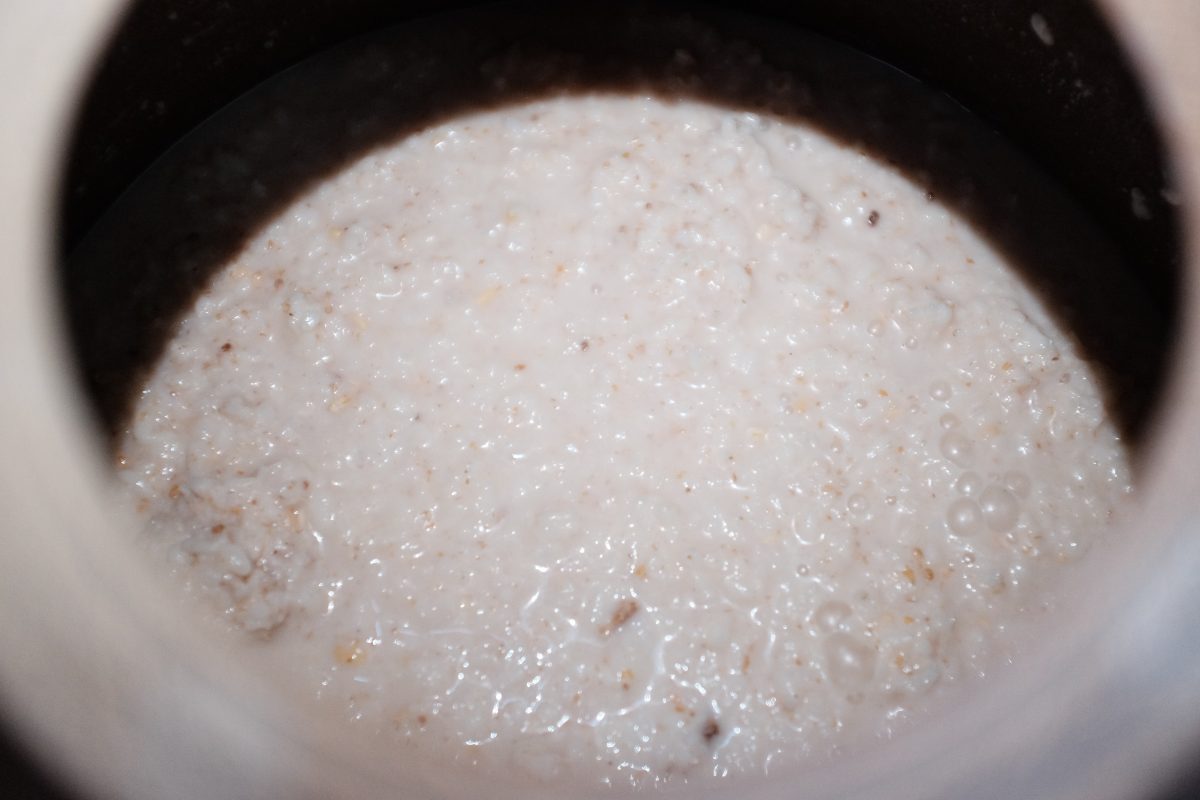
For the next 2 to 3 weeks or so, open up the jar every few days and listen for activity and monitor any changes on the surface. Smell it and taste it for alcohol strength by sticking a spoon or chopstick into the mix.
The Match Test
By lowering a lit match into your container, you can get a visual cue for how much fermentation is going on. An actively fermenting brew will give off carbon dioxide. This will snuff a match quickly. The brew below is around 10 days into Stage 2. The match test shows that it is still actively producing CO2. The match goes out as soon as it gets past the rim of the jar. Eventually, as fermentation slows, you should be able to lower a match right to the surface without it going out.
This is just a fun measure of how active the fermentation is.
Stage 2: 2 weeks after adding rice
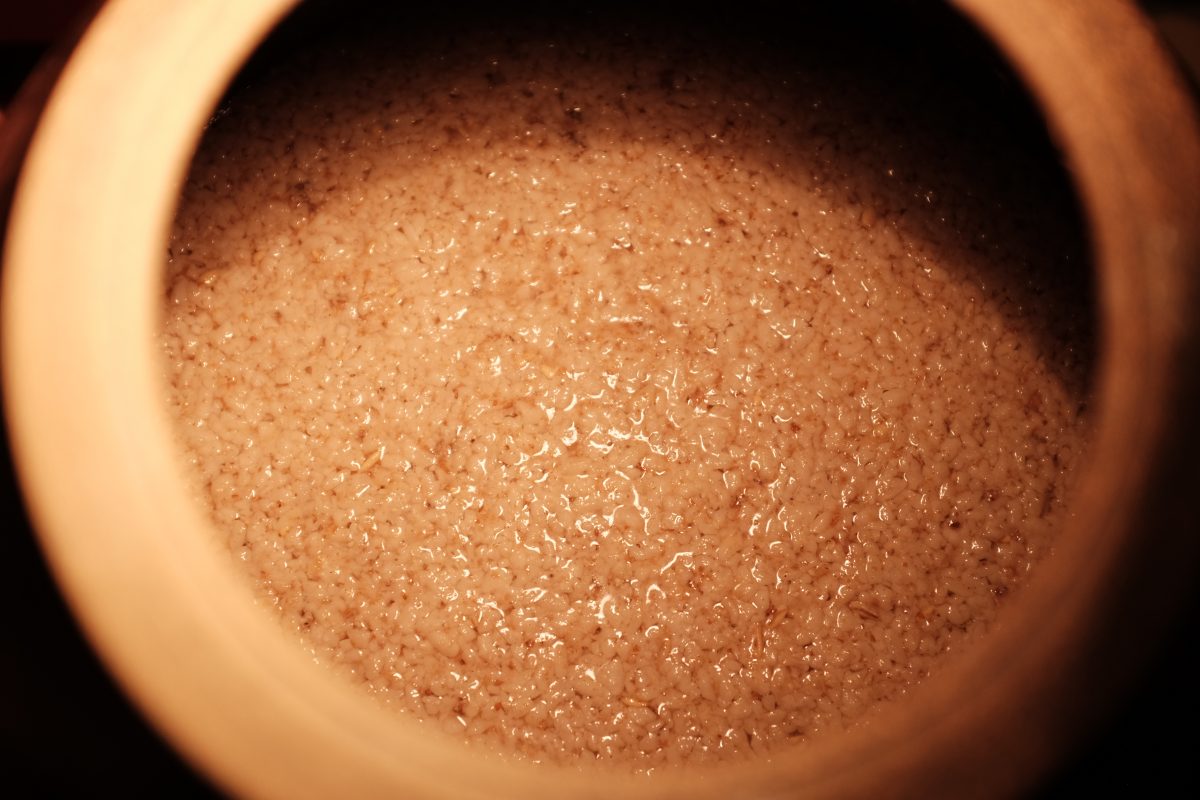
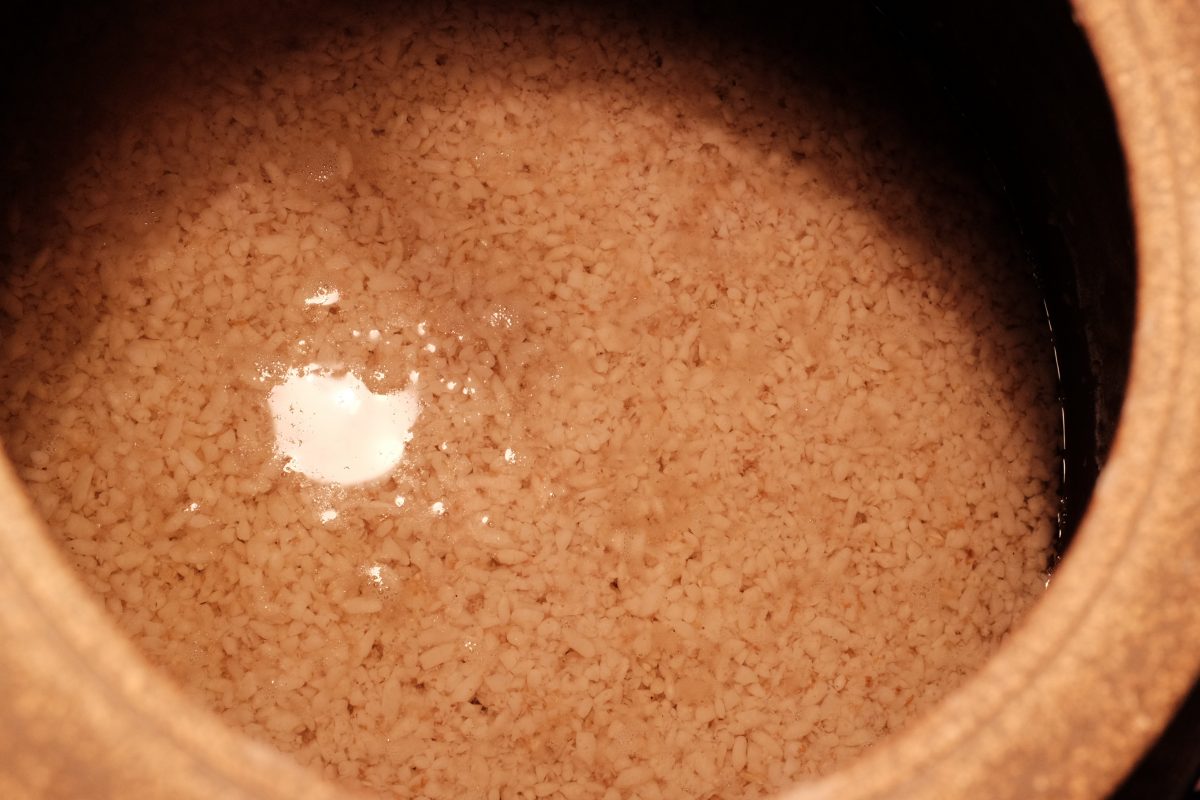
The brew is starting to have a nice boozy sweet smell. There is a thin shiny layer of liquid forming on top of the rice mash.
Brew is showing signs of being done
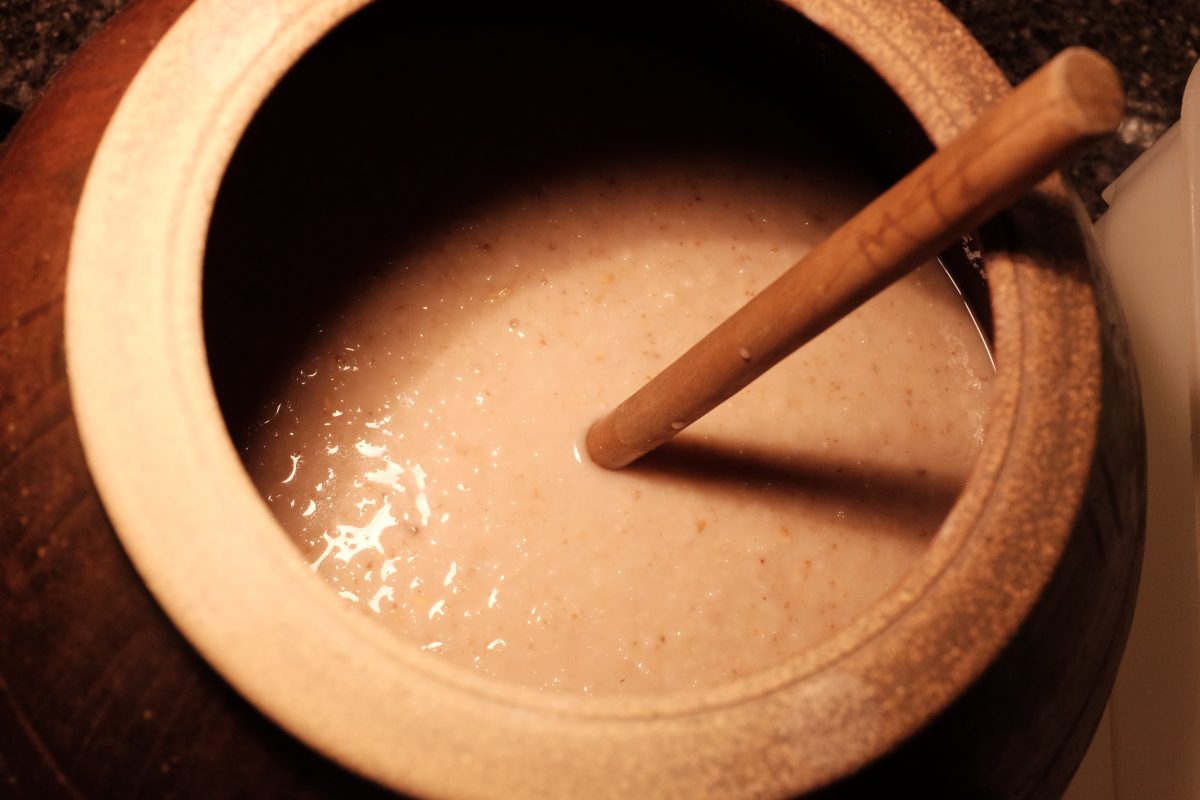
We are now 18 days into Stage 2 (3 weeks total fermentation time measured from the start of Stage 1). The bubbling has practically stopped with very little activity (not enough to even get one bubble during a 10 second sound recording). The brew smells and tastes of alcohol. Compared to a few days ago, there is now a very clear layer of liquid on top.
The Match Test Take 2
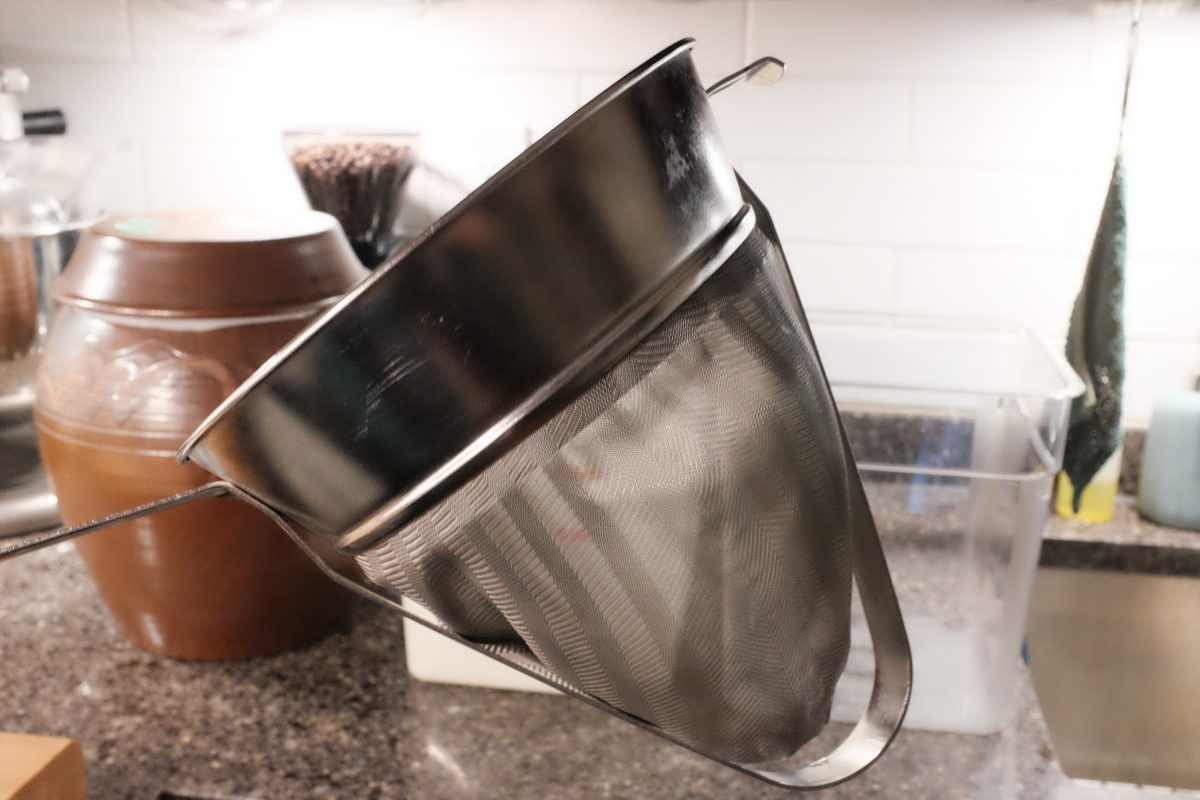
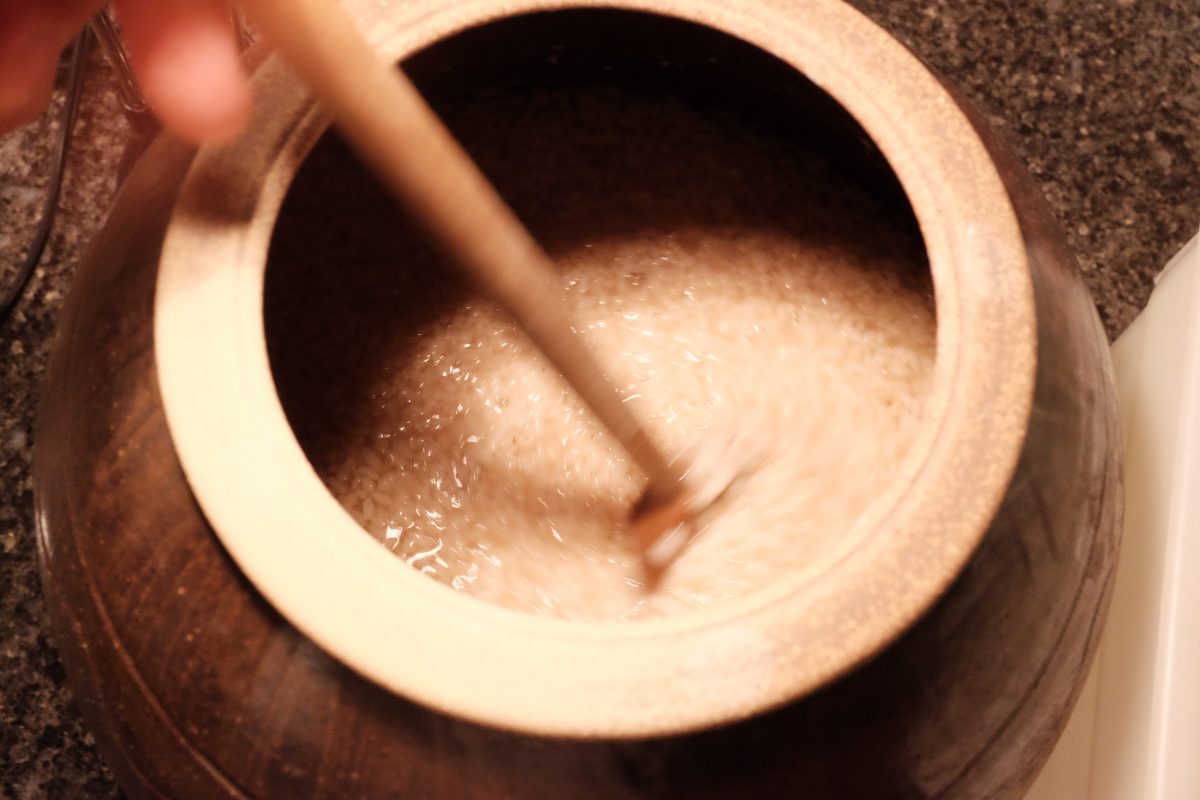
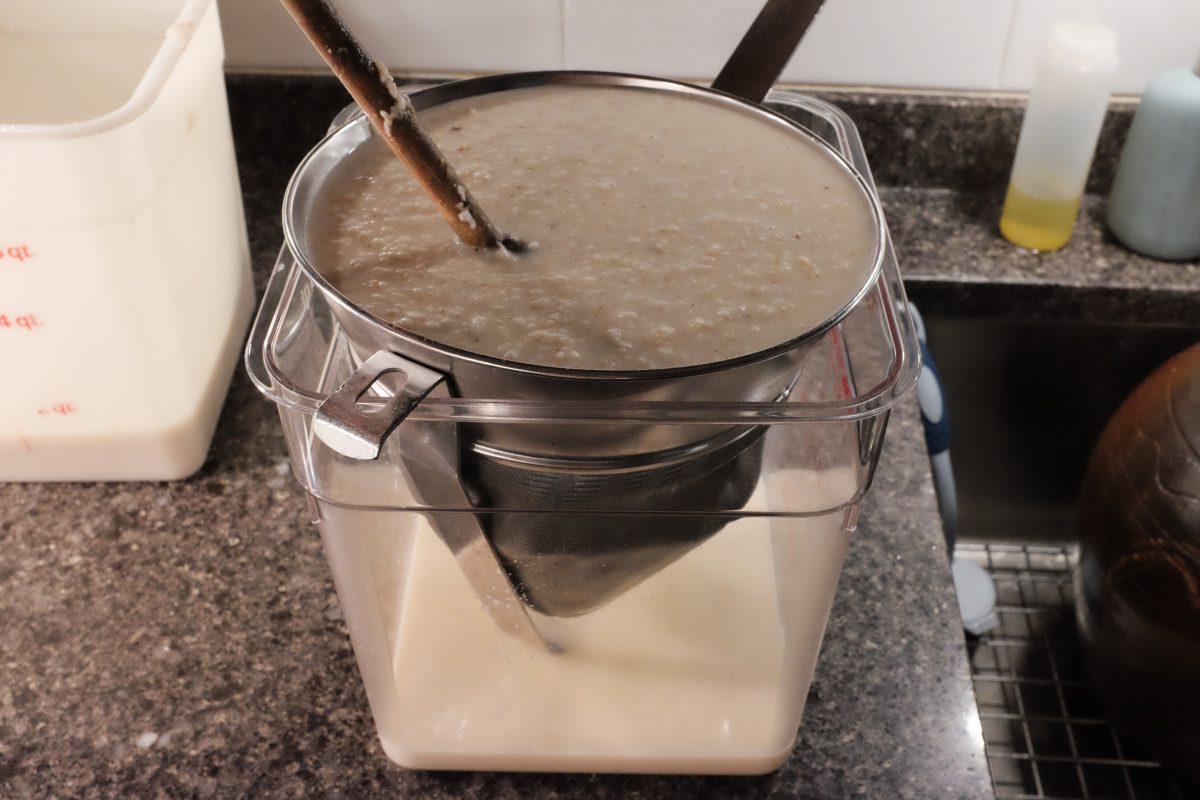
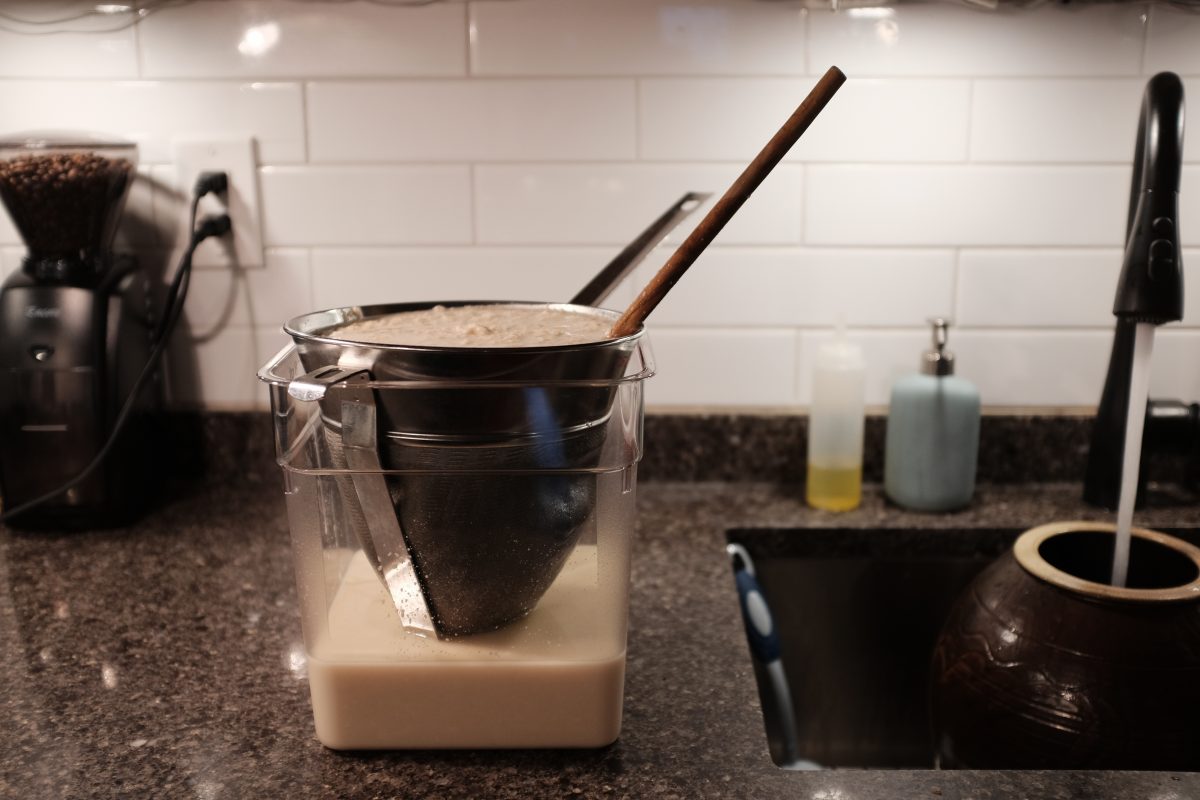
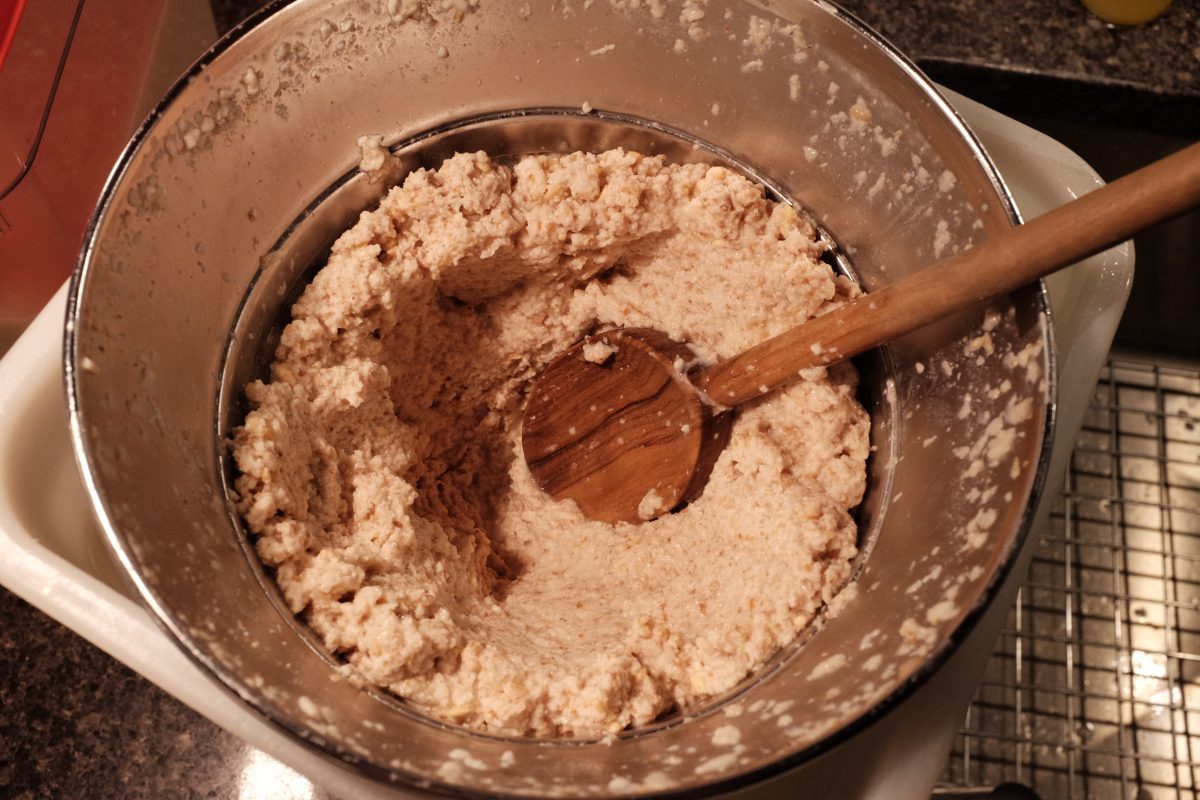
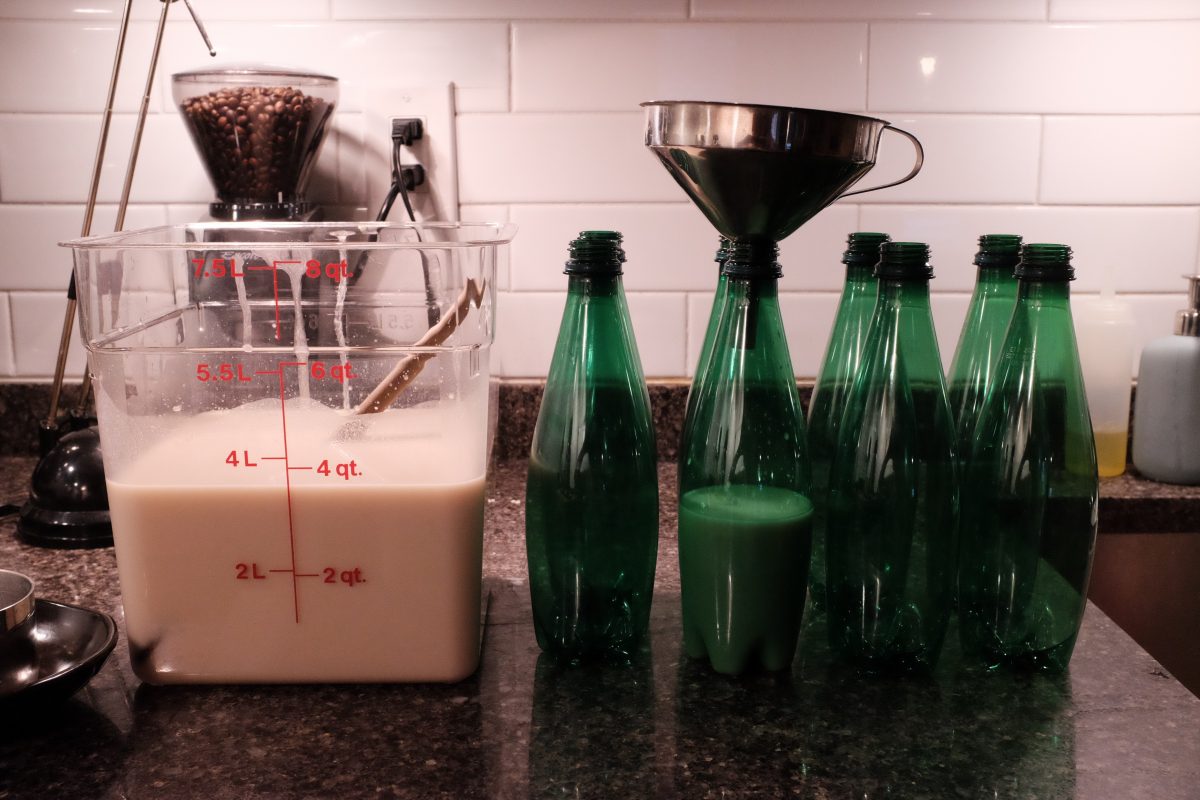
Filtering the brew
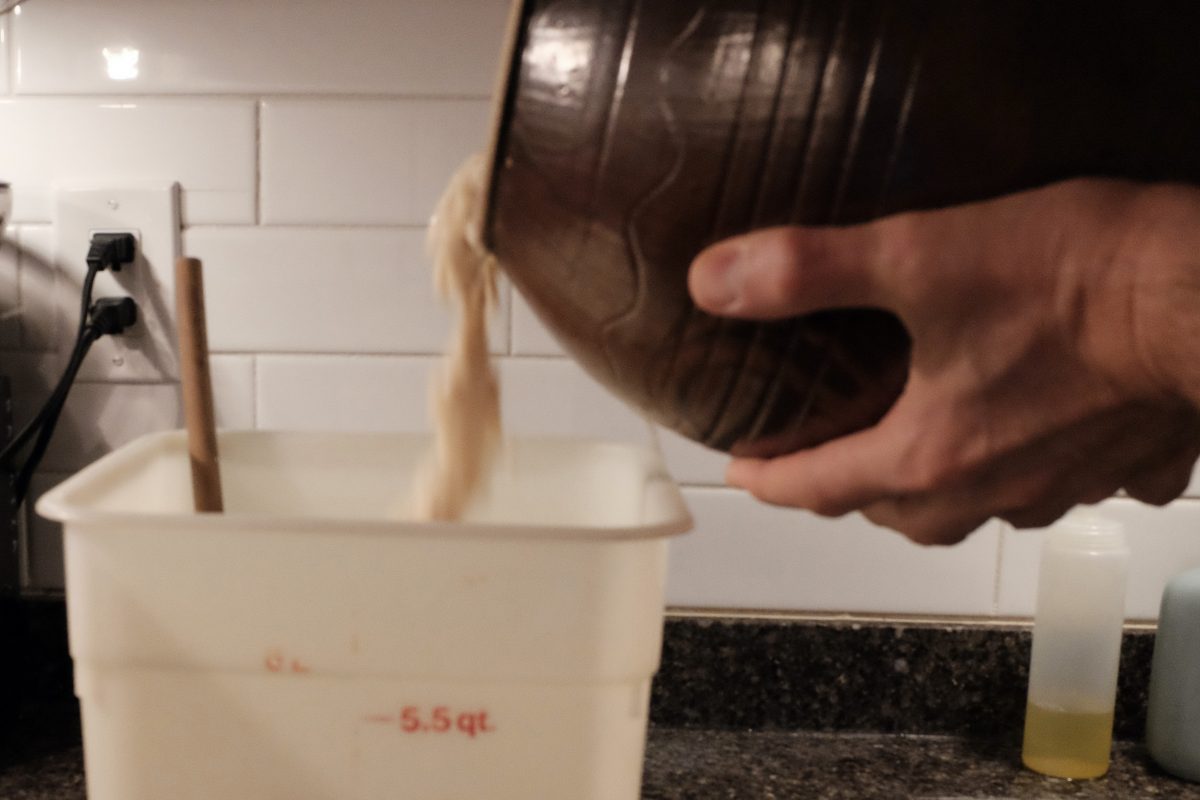
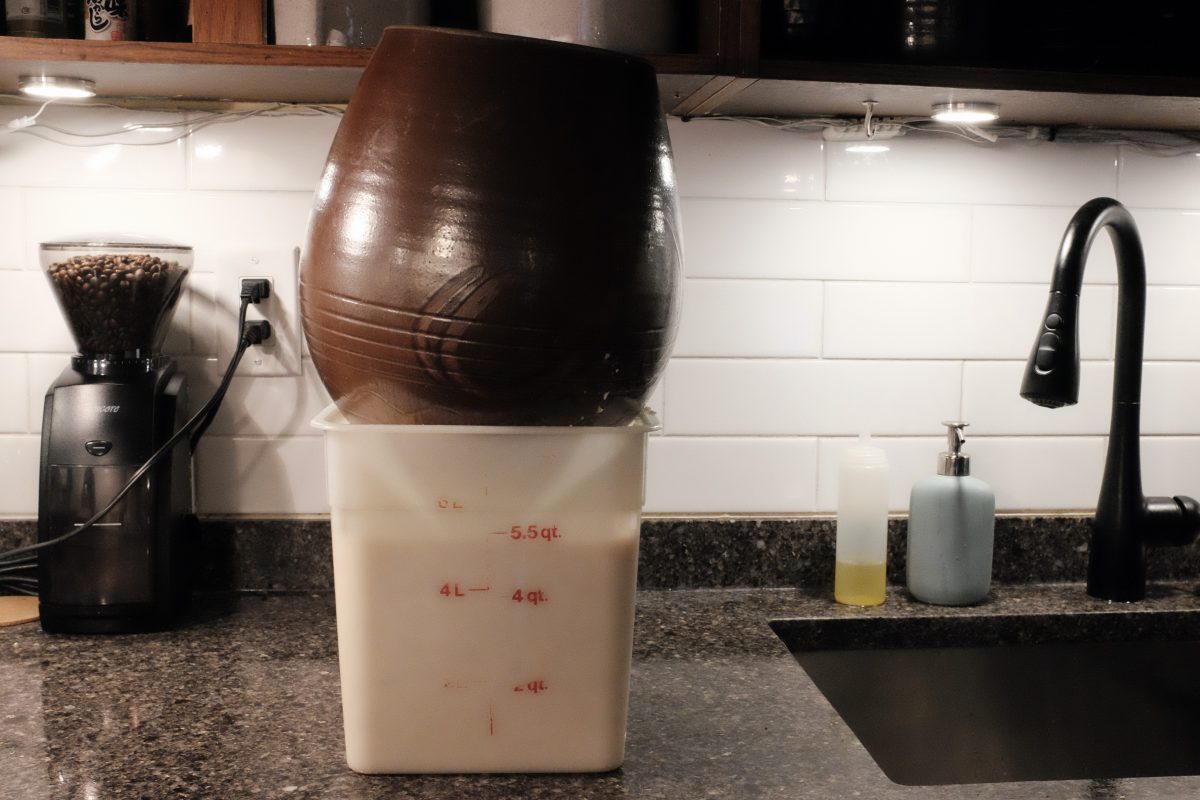
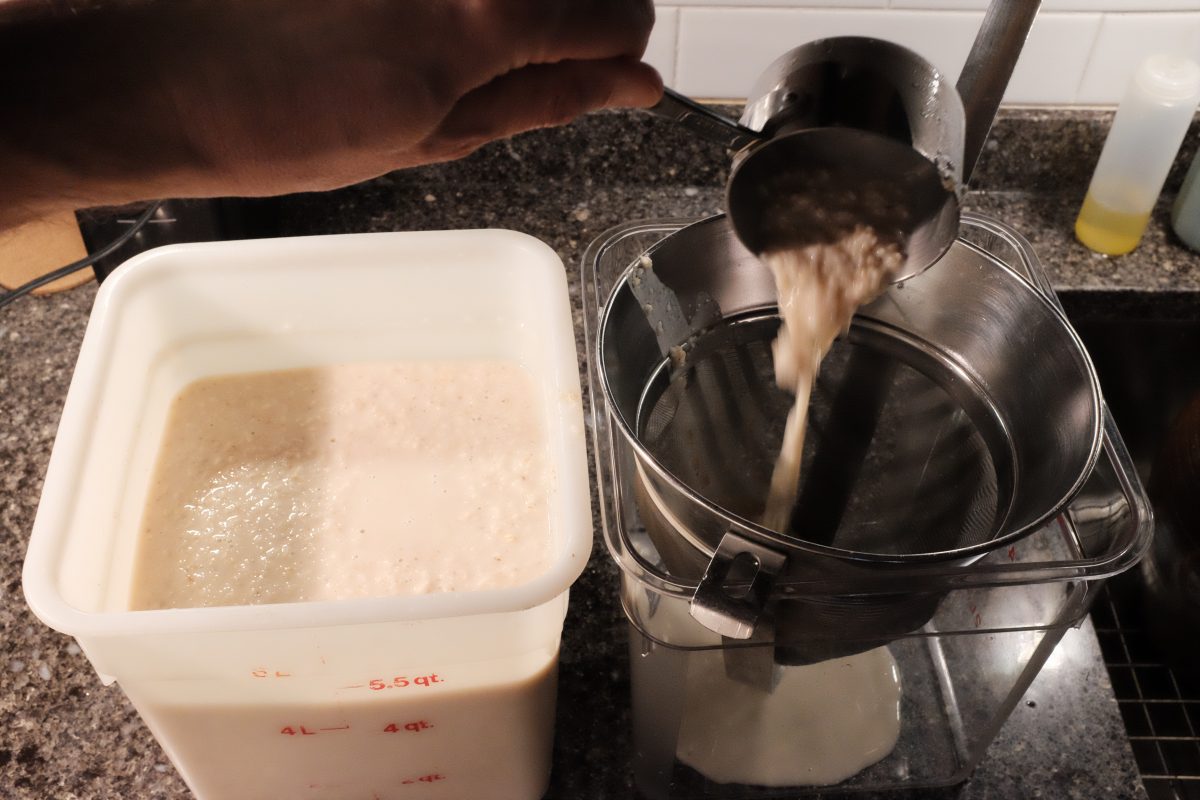
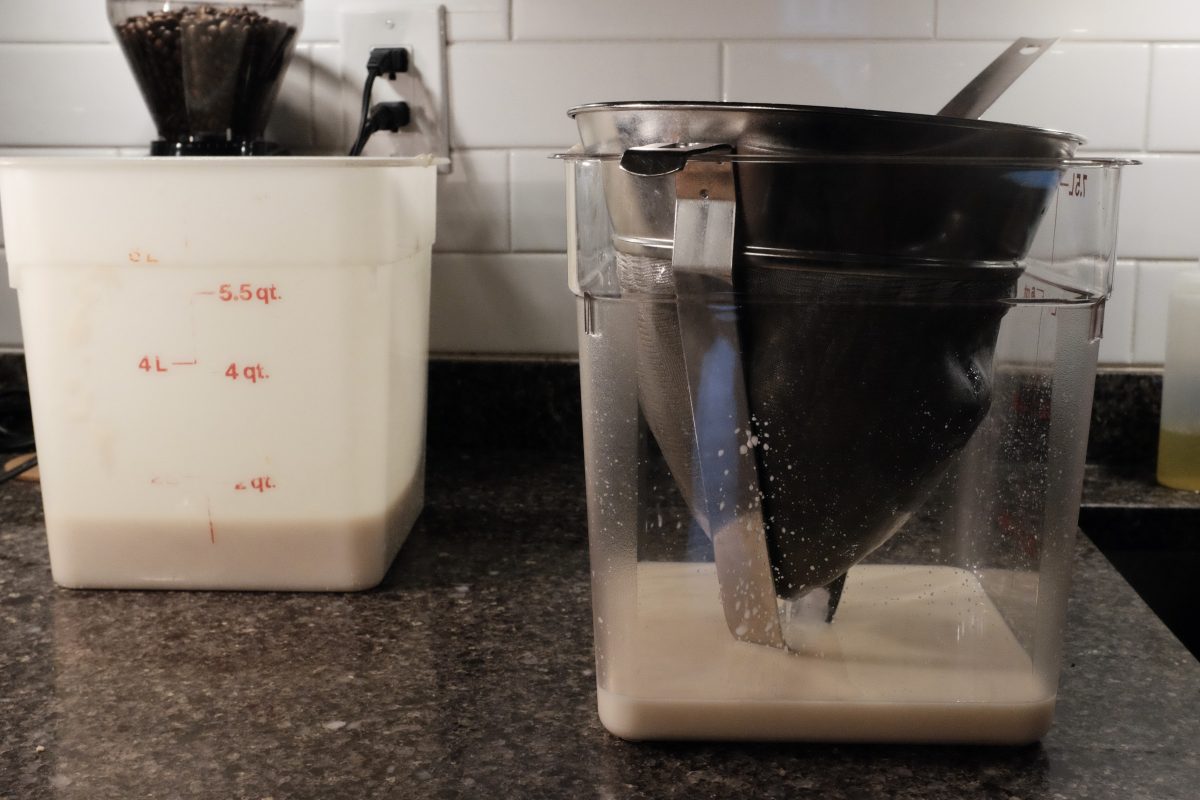
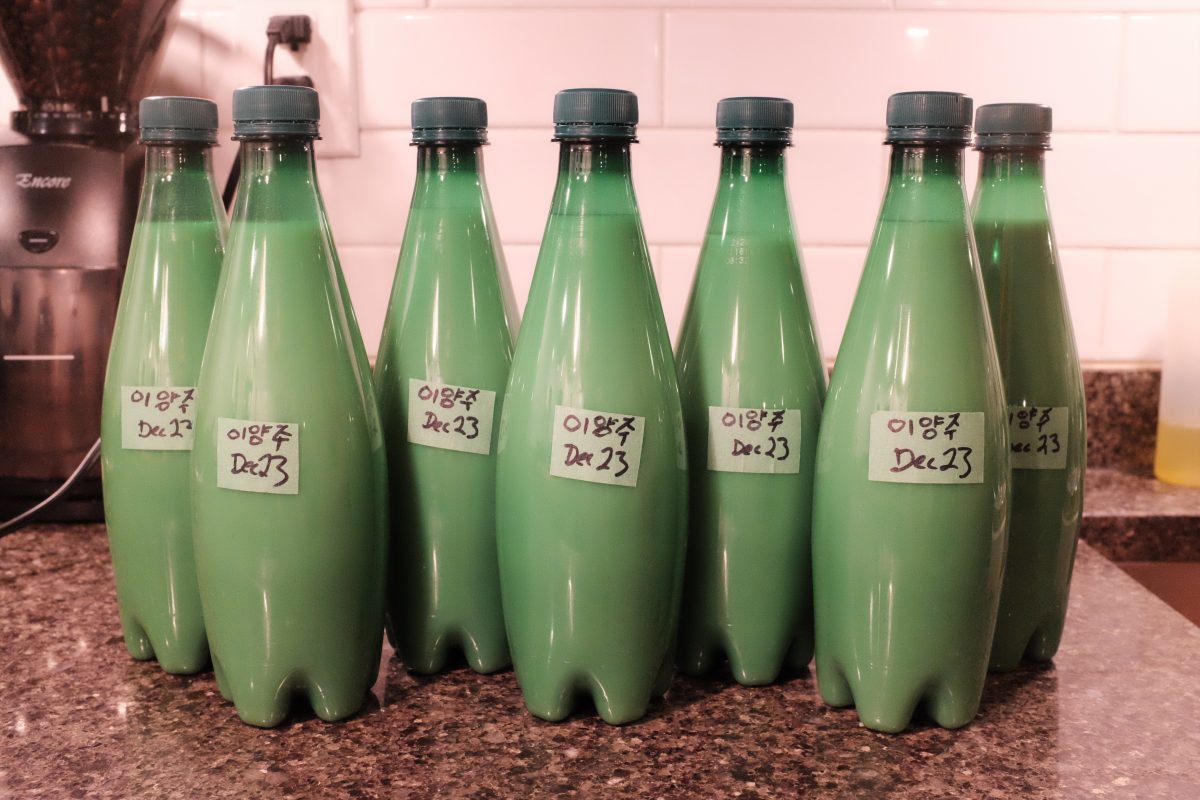
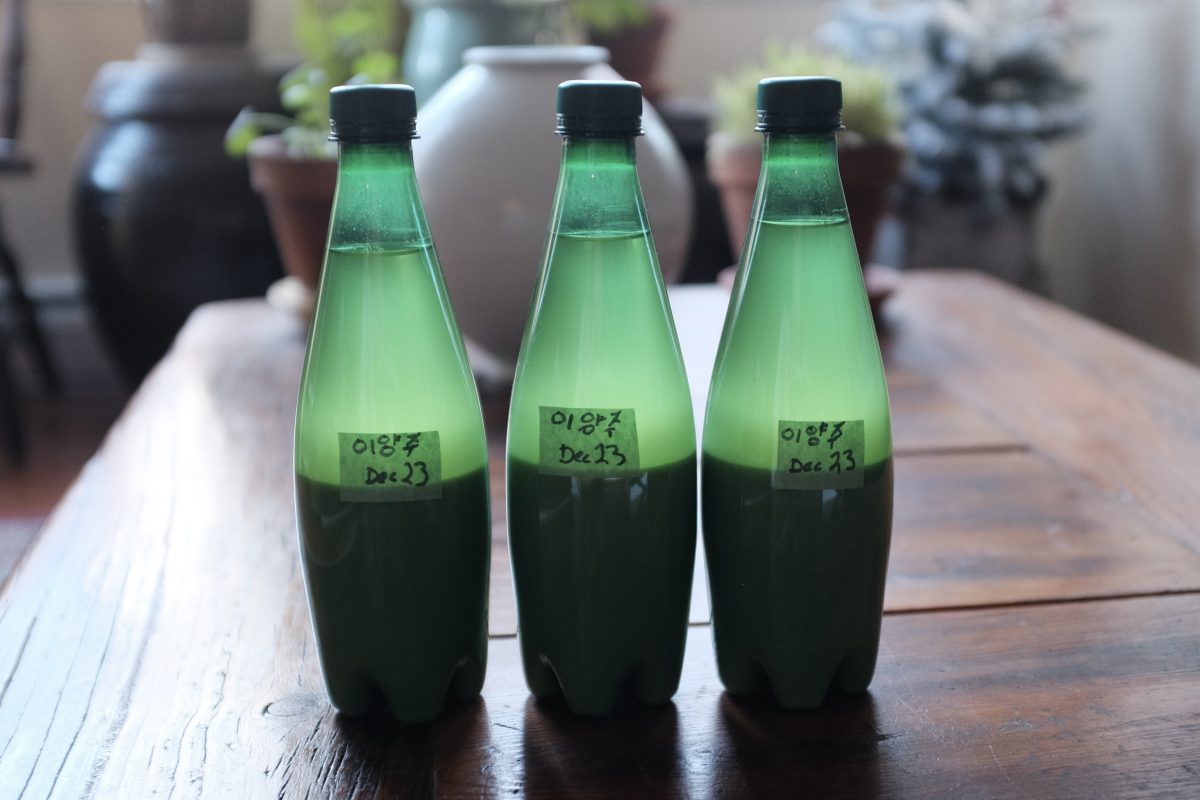
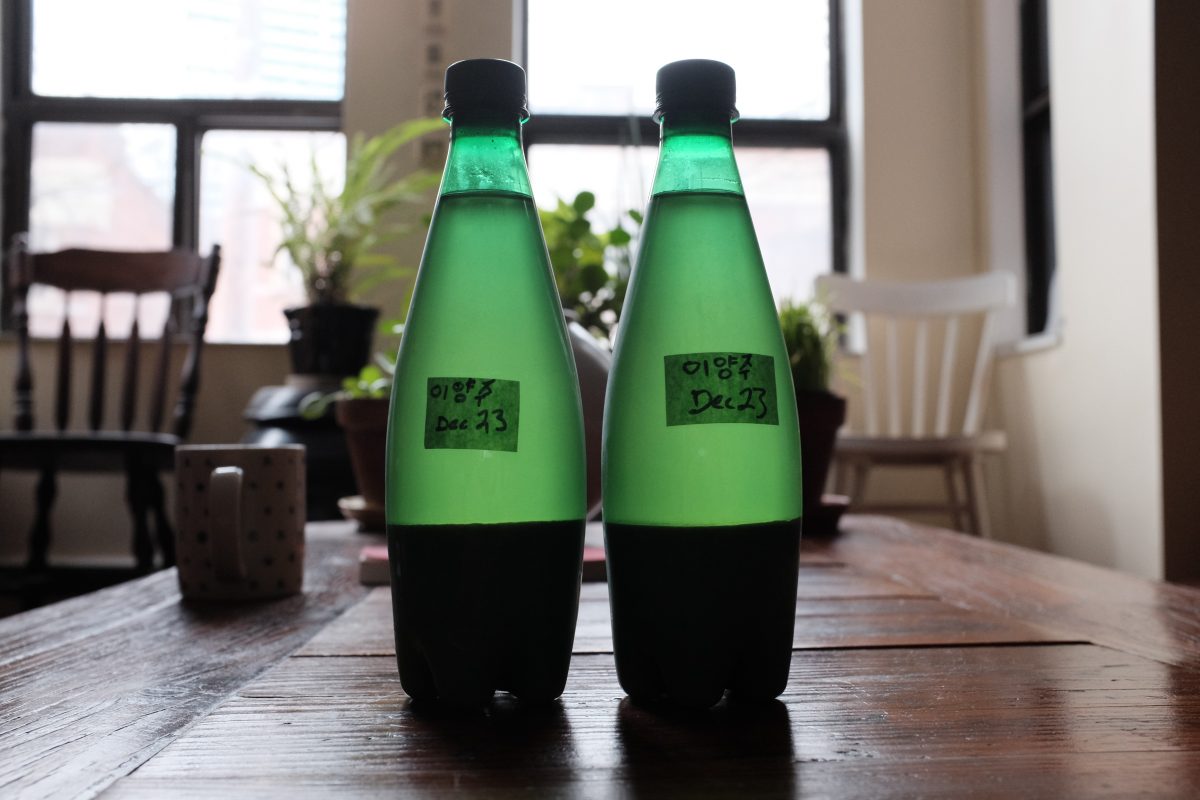
Terminology around nuruk-fermented rice alcohol and how to enjoy your brew:
Depending on a few different factors, there a few different categories of rice alcohol. Without going into a lot of detail, here is a basic list:
- Makgeolli: sedimented brew with less than 10% alcohol
- Takju: sedimented brew with more than 10% alcohol
- Yakju: clarified rice brew (the clear top layer in the above picture)
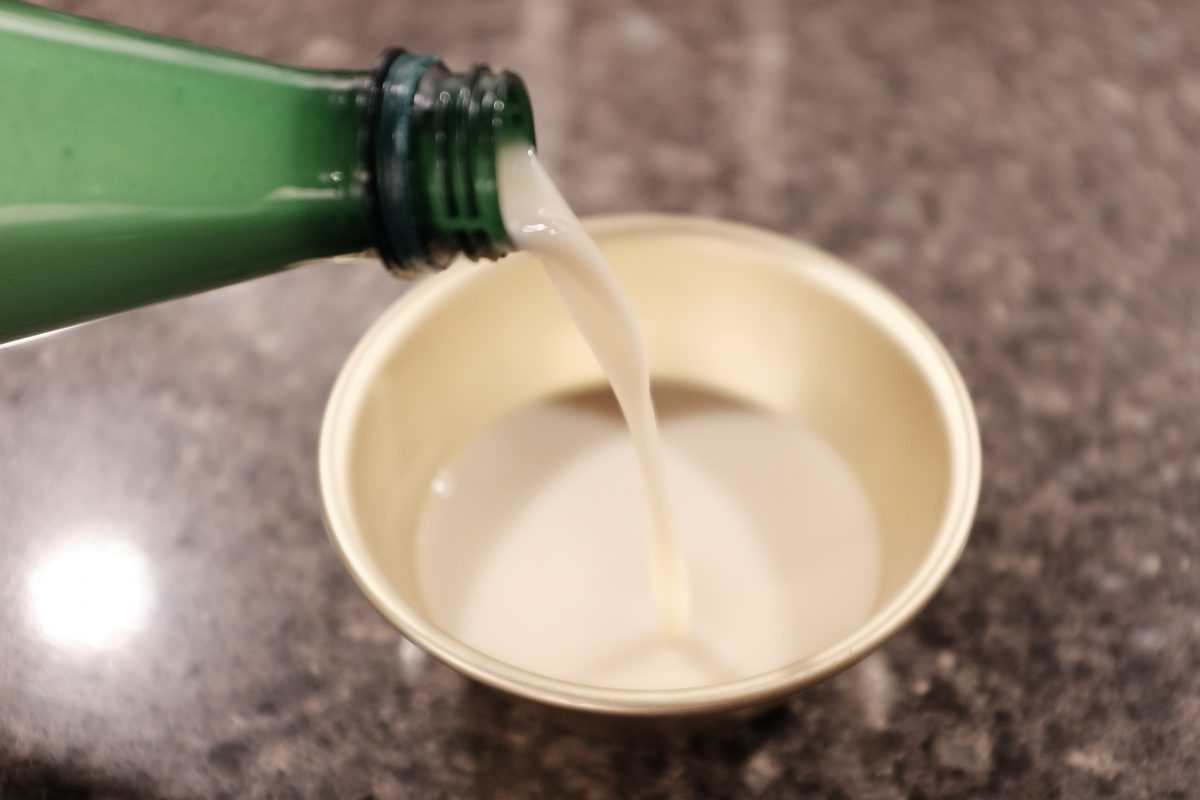
Our two-stage brew, long-fermented in a cool environment will almost certainly have more than 10% alcohol by volume. This means that it is a “Takju” and I think it is best to drink it as is. Gently turn the bottle over a few times to distribute the sediment and enjoy.
If you leave the bottles to rest, after a week or so, all of the sediment will settle to the bottom and there will be a very clear sediment-free layer on top. This is “Yakju”. You can pour it off slowly so as not to disturb the sediment and enjoy just the clear alcohol on it’s own. You can also pour it off, rebottle only the clear layer and age it indefinitely. It will change and develop new flavours over time.
If you pour off the Yakju, and dilute the sediment with fresh water, you will end up with a weaker drink in the under 10% alcohol range: this is Makgeolli. OR..you can also dilute your Takju with water to lighten it up and bring the alcohol concentration down…this would also be Makgeolli.
If I want something really refreshing and thirst quenching to drink with spicy food, I will often dilute my Takju with sparkling water. The brew is lighter and slightly fizzy and the flavours open up in a little different way…similar to the way an ice cube or a little water affects Scotch whiskey.
Commercial Makgeolli:
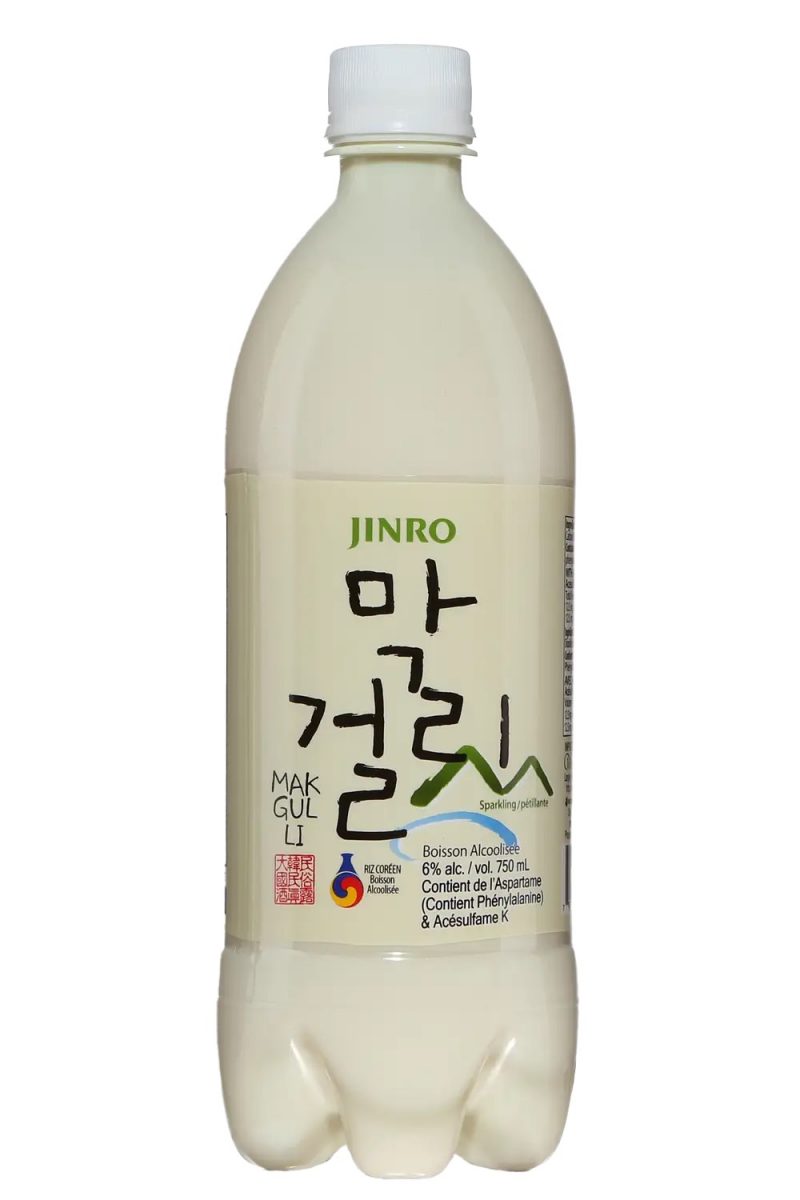
You have probably seen plastic bottles of commercial makgeolli at your local liquor store or in convenience stores in Korea. This cheap and tasty drink has it’s own charm but it does not have that much in common with a traditionally fermented brew like we have made. This commercial Makgeolli is usually fizzy, watery, has very low alcohol content and it surprisingly sweet, almost like a soda. It is sweetened with aspartame to make it more palatable and to prevent further fermentation in the bottle (and pressure related accidents while it is transported).
In contrast, our home brew has little to no fizz, a much higher alcohol content and is not especially sweet. In fact, it will lean closer to the dry and tart side with complex rice-y, boozy flavours and a thick creamy mouthfeel. You will taste and feel the alcohol very quickly. It is delicious! And, it is unlike anything else. Korean rice alcohol is entirely it’s own thing and it is next to impossible to compare it to any other brew.
Commercial brewers making traditional Korean sool
Over the last 5 years or so, some commercial brewers of traditional Korean sool have emerged. The first in the US was Hana Makgeolli, founded by Alice Jun. Alice and her team have produced a range of small-batch rice brews ranging from traditional Takju to, most recently, a potent full-strength Soju 60. I have linked a video below of Alice explaining the range of traditional Korean sools as well as Hana Makgeolli’s current offerings.
It was probably close to 10 years ago that I had the pleasure of meeting Alice in New York City when she was still developing recipes in her Brooklyn apartment. I got to sample an early brew “under the table” over Poke-bowls at a Manhattan SunriseMart. To this day, it is still one of my best New York experiences! Alice is one of the loveliest and most generous people I have met and she has a deep understanding of Korean rice alcohol, learning first-hand as a child helping her dad with traditional home brews. I highly recommend having a look at the above video for a comprehensive Sool School and if you are lucky enough to be able to try Alice’s brews in person, don’t hesitate to visit her shop and brewery.
As always, if you have any questions, comments or suggestions, please leave them below. If you try this recipe and like the results, please let me know. I hope you enjoy making your own rice brew as much as I do. Cheers! : )
If you enjoy the content and would like to contribute towards website maintenance and development, you can make a donation here.