Posts in Category: Fermentation
Vegan Napa Cabbage Kimchi
This is a tested recipe for anyone who does not eat meat, anyone with shrimp allergies or anyone who does not like the fishy taste of fish sauce. Once this recipe ferments, you will have a tasty vegan kimchi that you can use just like any other kimchi. It is a variation on a cut kimchi recipe that I posted previously. If you are interested in making a kimchi with all the seafood included or if you are interested in more information about kimchi in general, you can find that by clicking here.
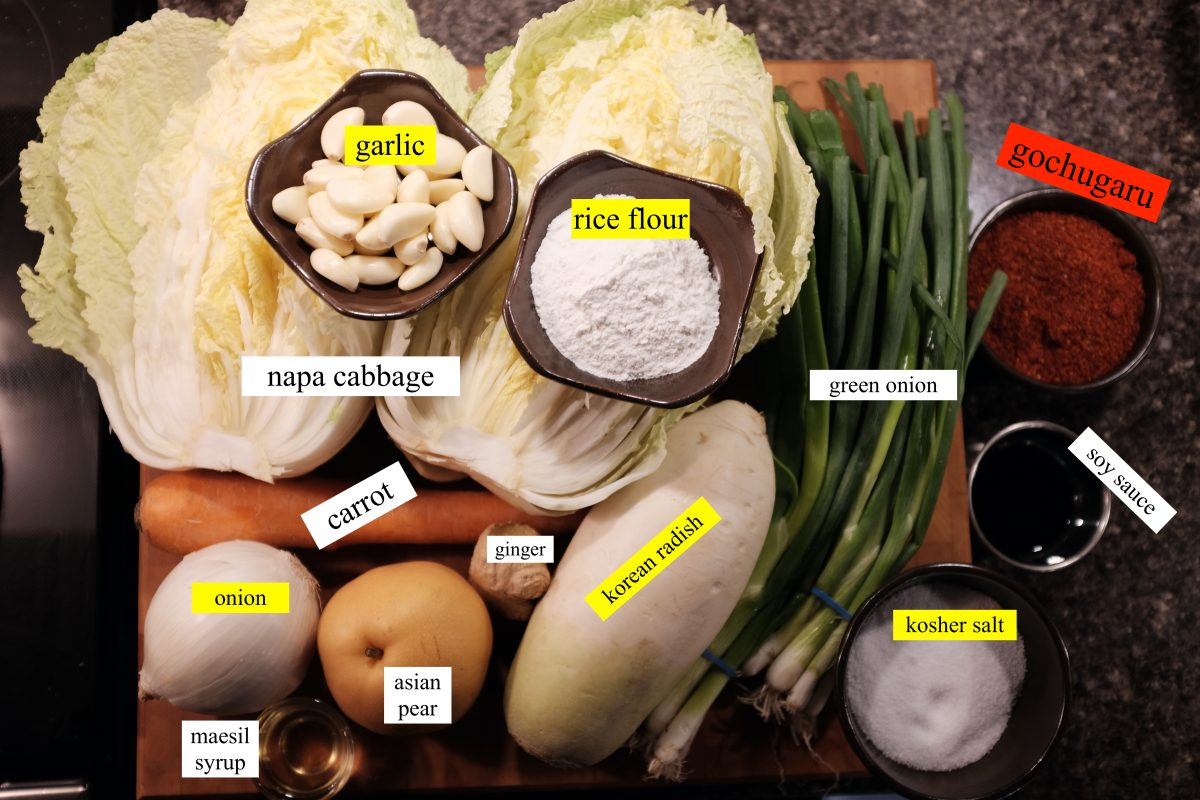
Ingredients
- 1 large (2kg) Napa Cabbage
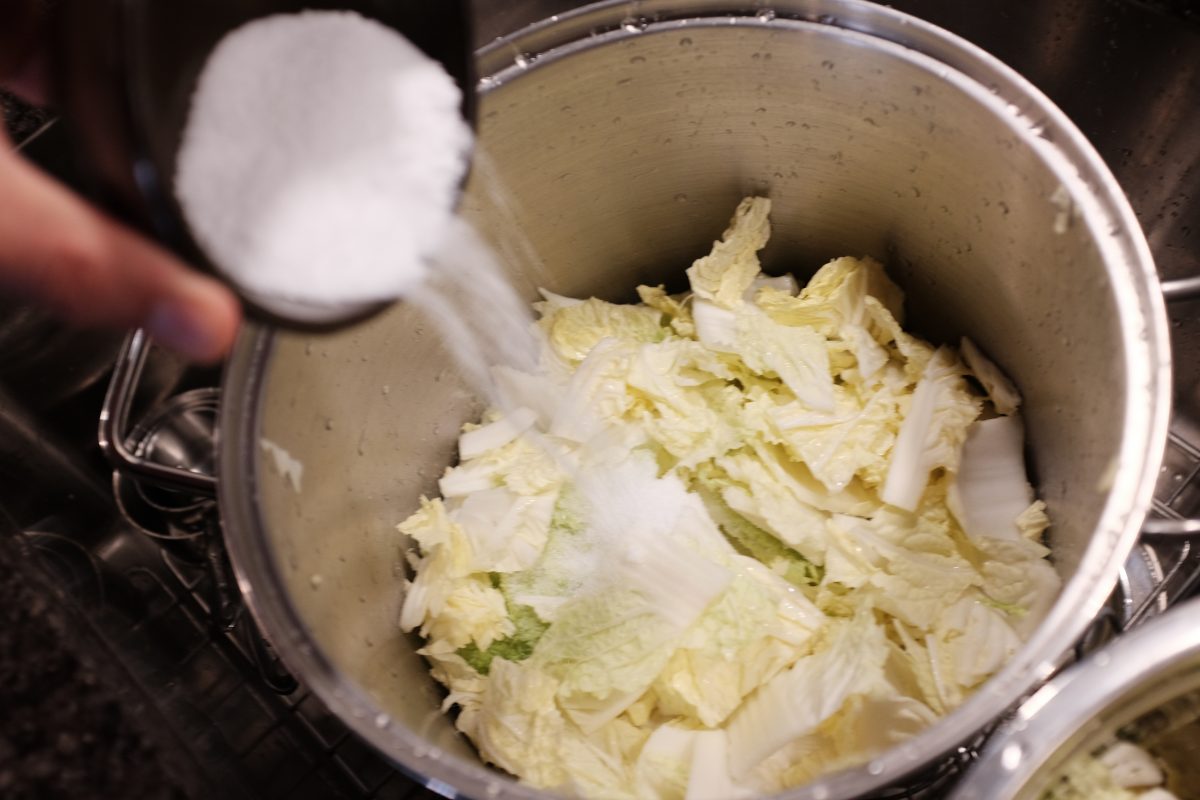
- 80 grams/3oz (around 1/2 cup) Diamond Kosher Crystal salt for brining
- up to 2 Tablespoons kosher salt for seasoning (not for brining…save this for later)
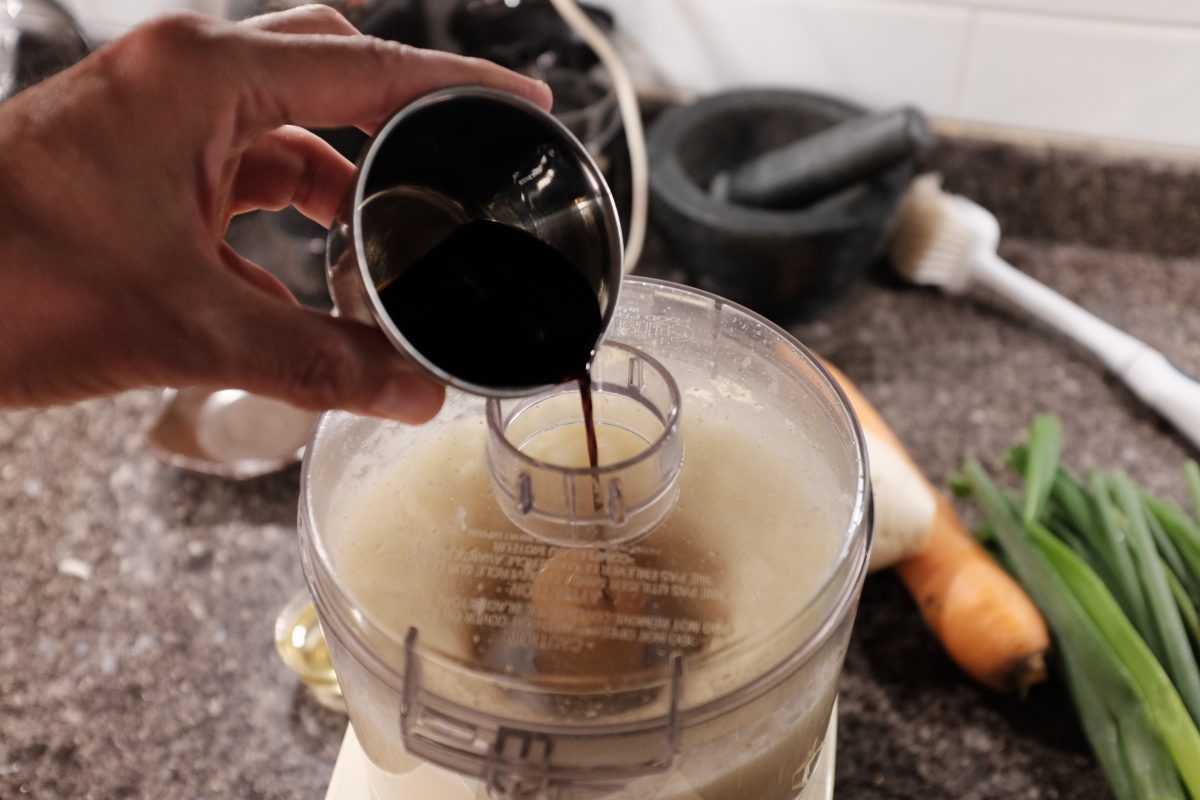
- 1 tablespoon soy sauce
- 275ml (1 1/2 cups) water
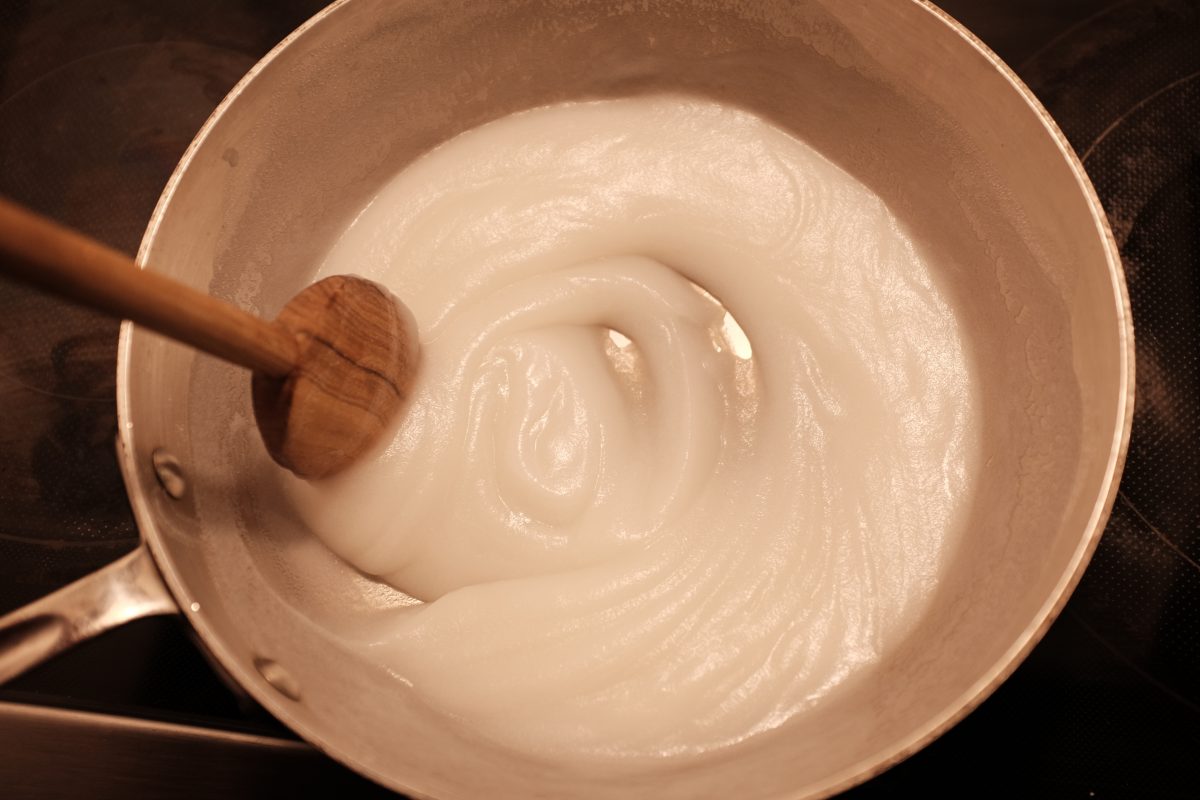
- 1/4 cup rice flour
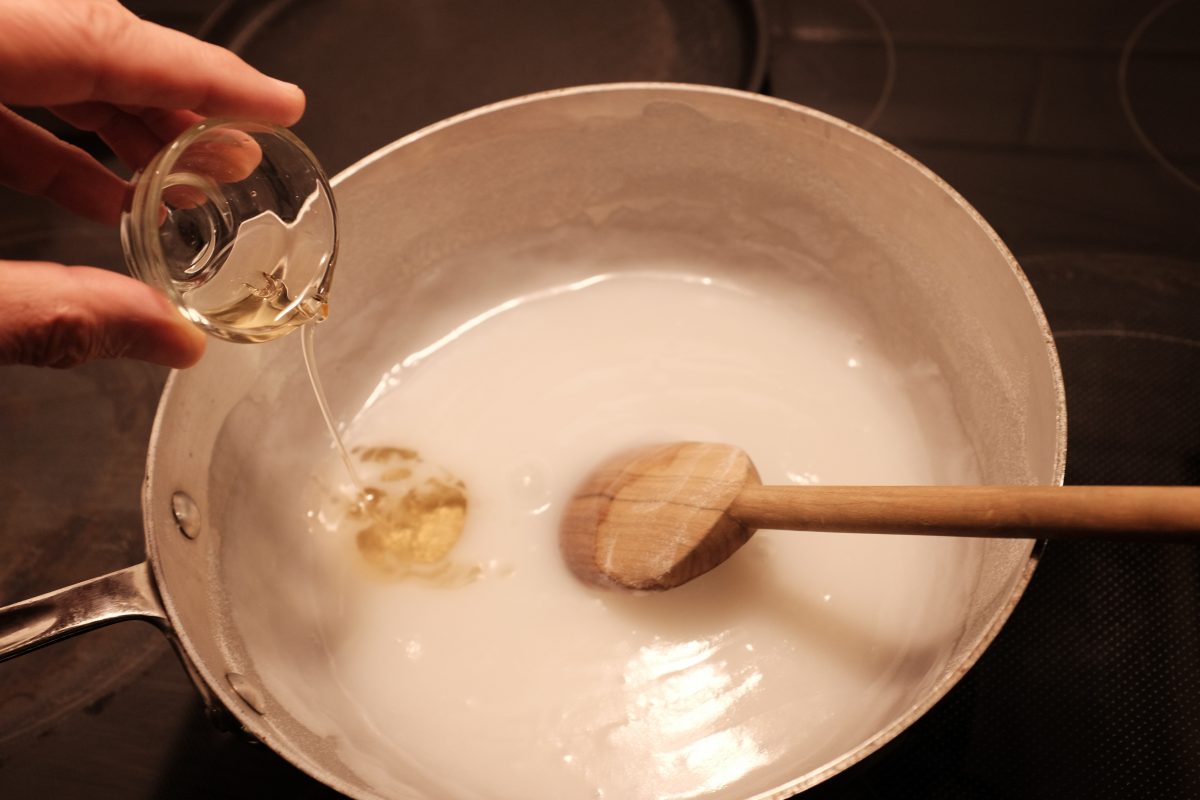
- 1 tablespoon white sugar or maesil plum syrup
- 1/2 cup peeled garlic cloves (around 20)
- 1 tablespoon ginger peeled and sliced
- 1 white onion peeled and chopped
- 1 asian pear or apple peeled and chopped
- 1/4 up to 1 cup (30-120 grams) korean chili flakes (gochugaru)
- 2 bunches (12 or so) green onions sliced
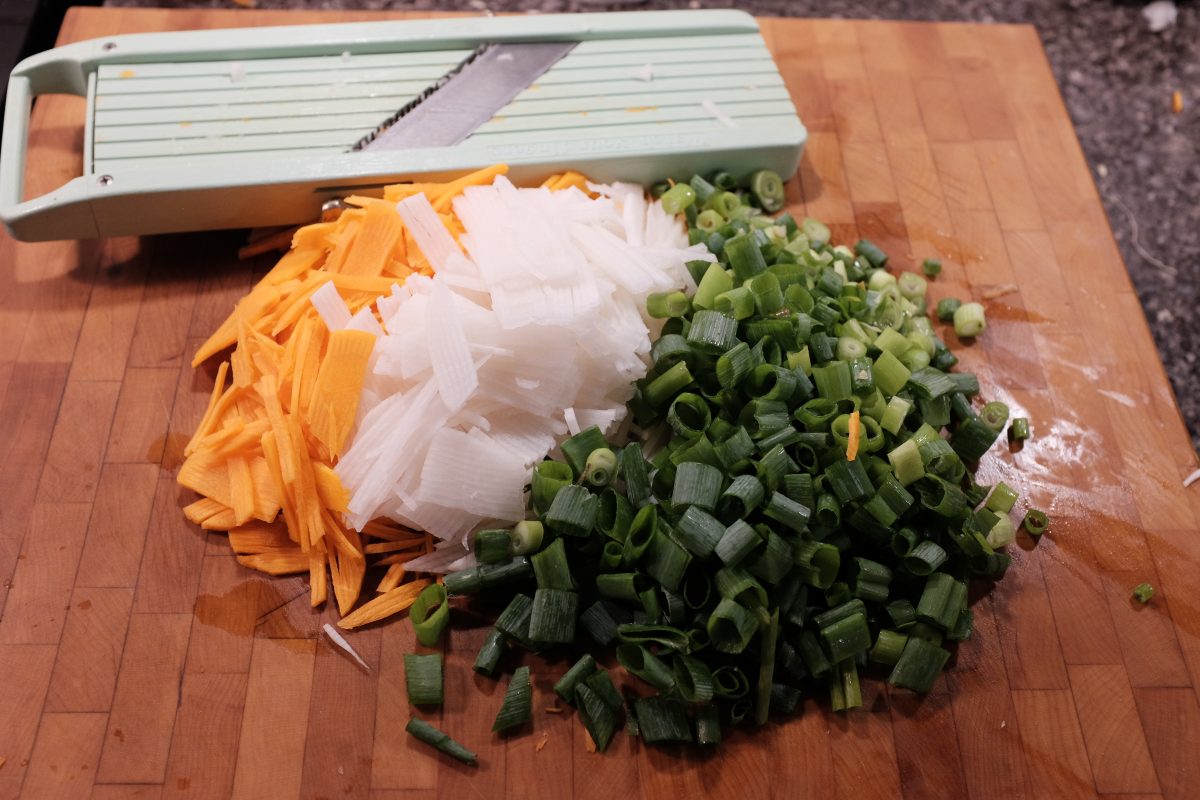
- 1 cup carrot matchsticks
- 1 cup korean radish matchsticks
Try to weigh your salt rather than measuring by cups. Diamond Kosher is a popular salt in my area. If you live in the US, you may be using Morton’s. This salt is much saltier by the cup. Same goes for sea salt if this is what you are using. Whichever salt you use, it is better to weigh it. Avoid using table salt.
Rice flour/rice powder is just finely ground sweet rice. Mochiko is a popular brand but any brand will work.
Korean chili flakes are all very different from batch to batch. Some are mild and fruity and some are sharp and very spicy. It is better to start with less, taste, and then add more if you want it spicier.
Process
Cabbage preparation
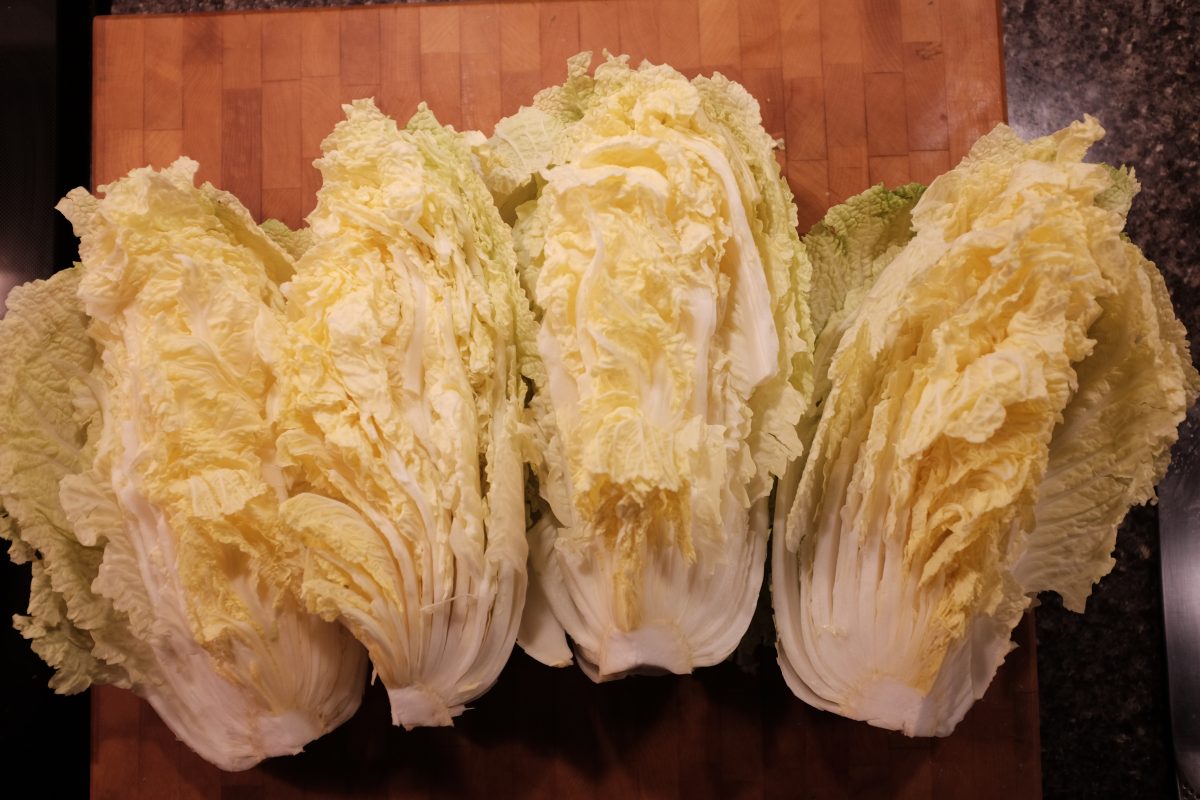
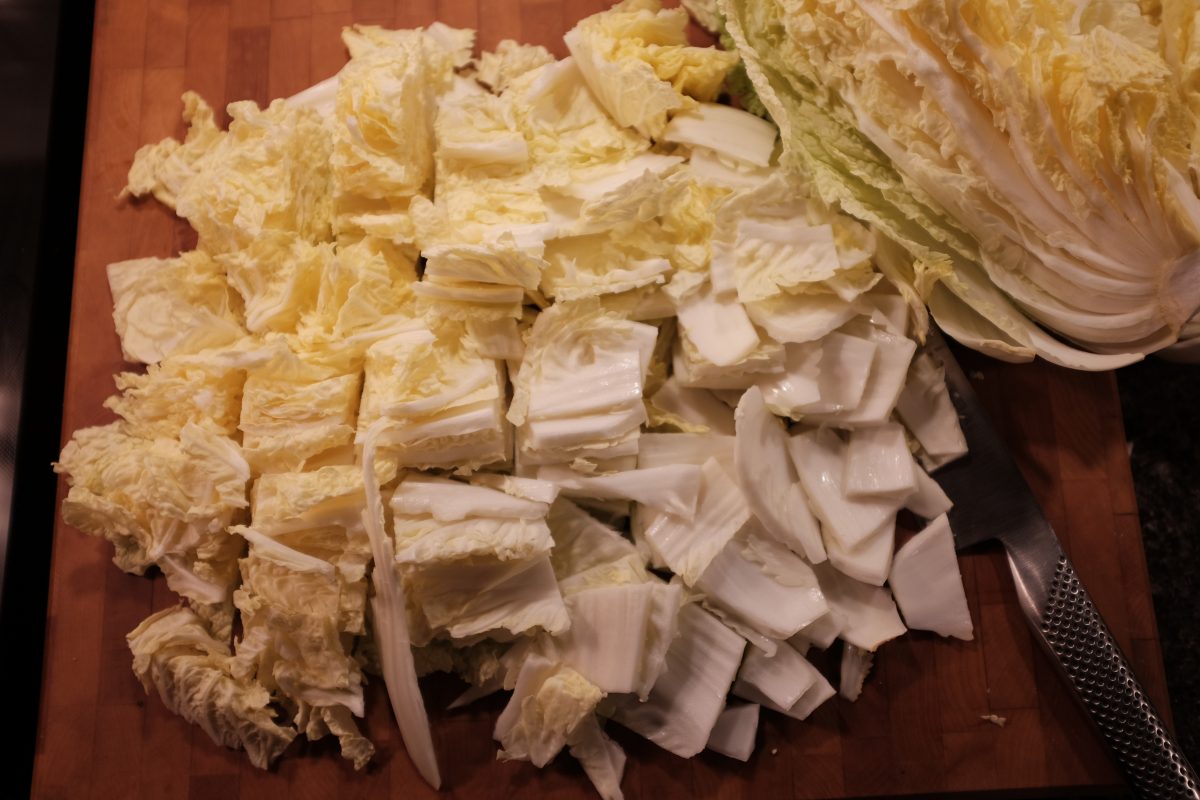
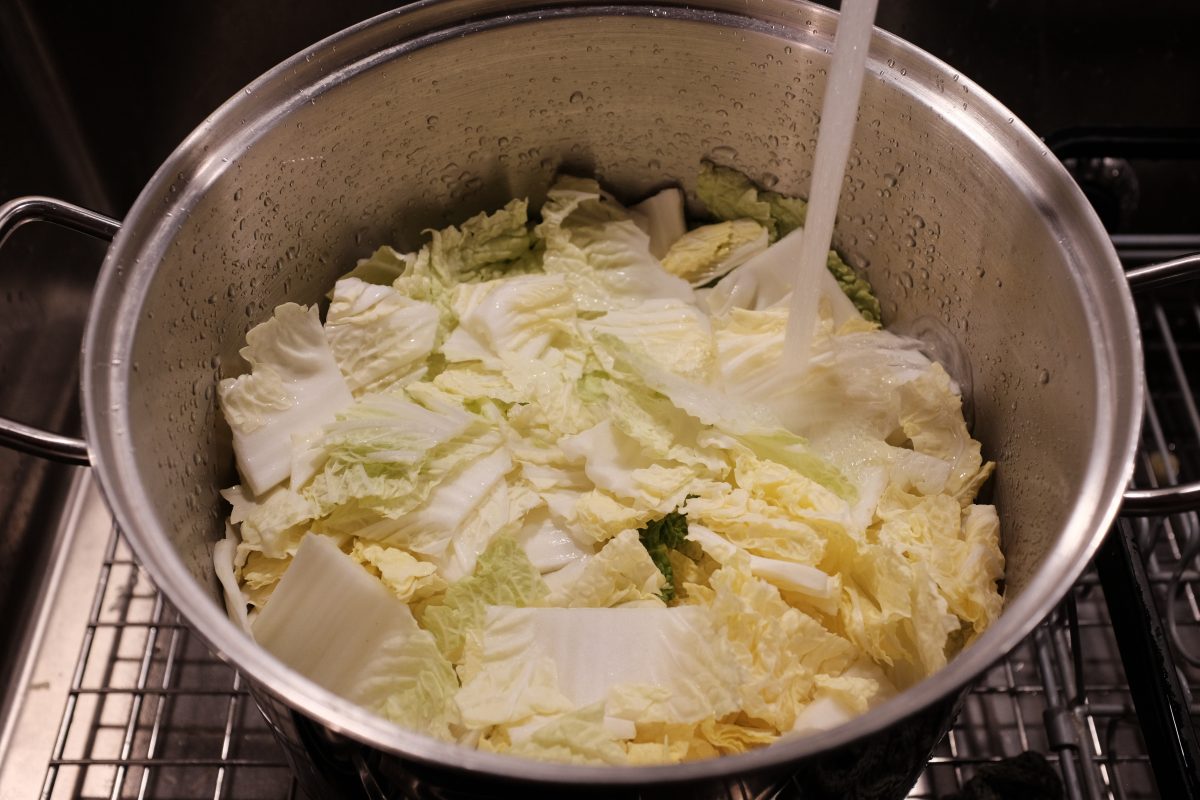
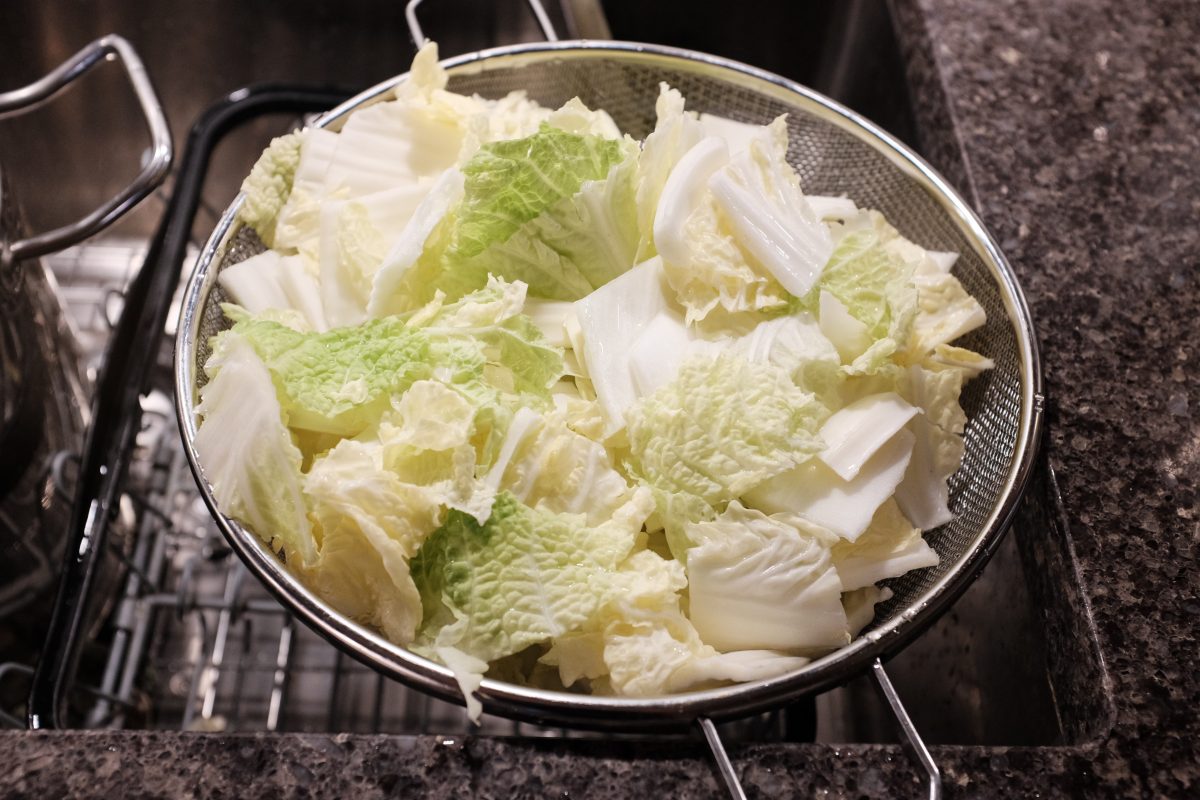
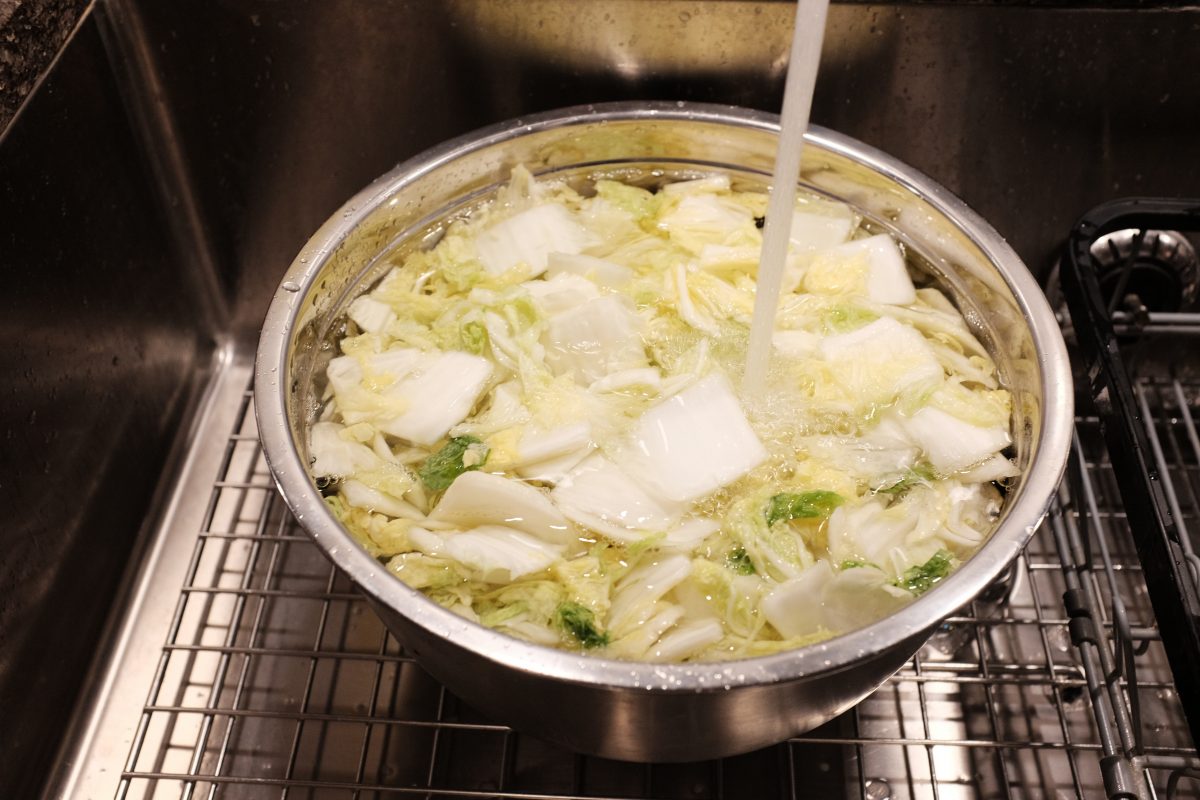
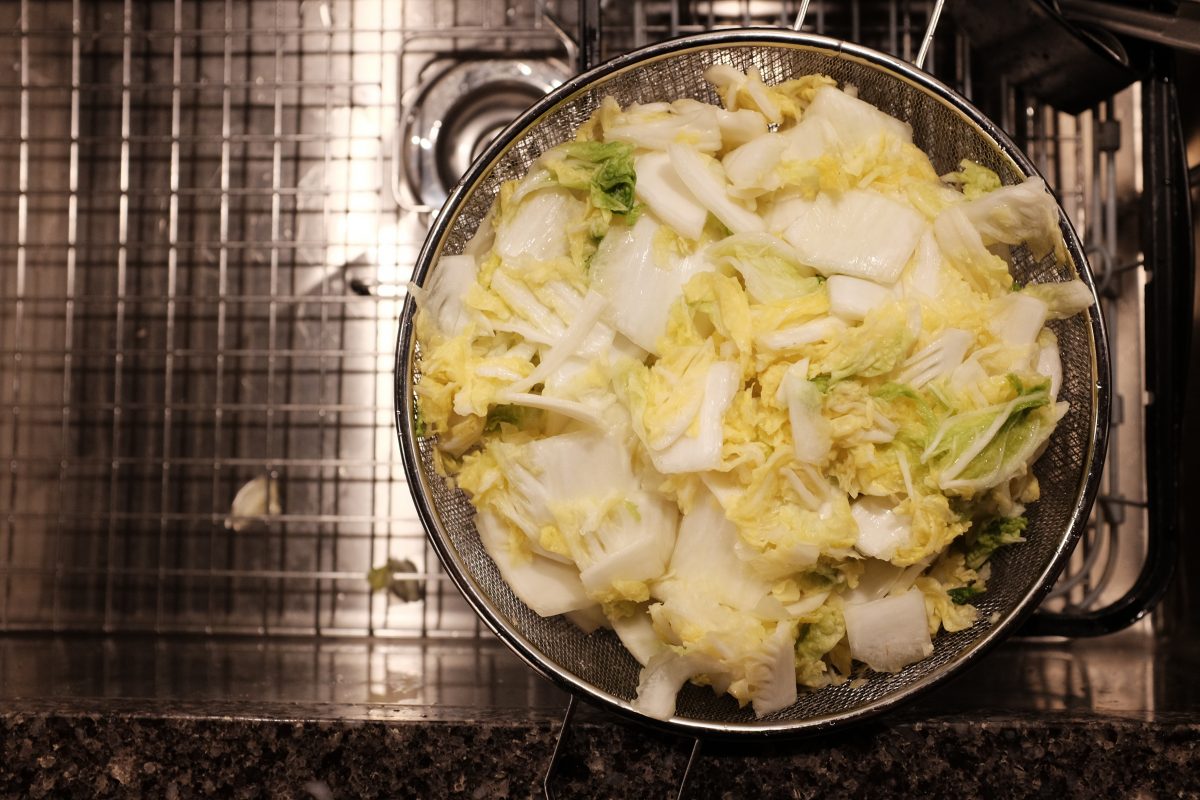
Brining
Making the kimchi paste
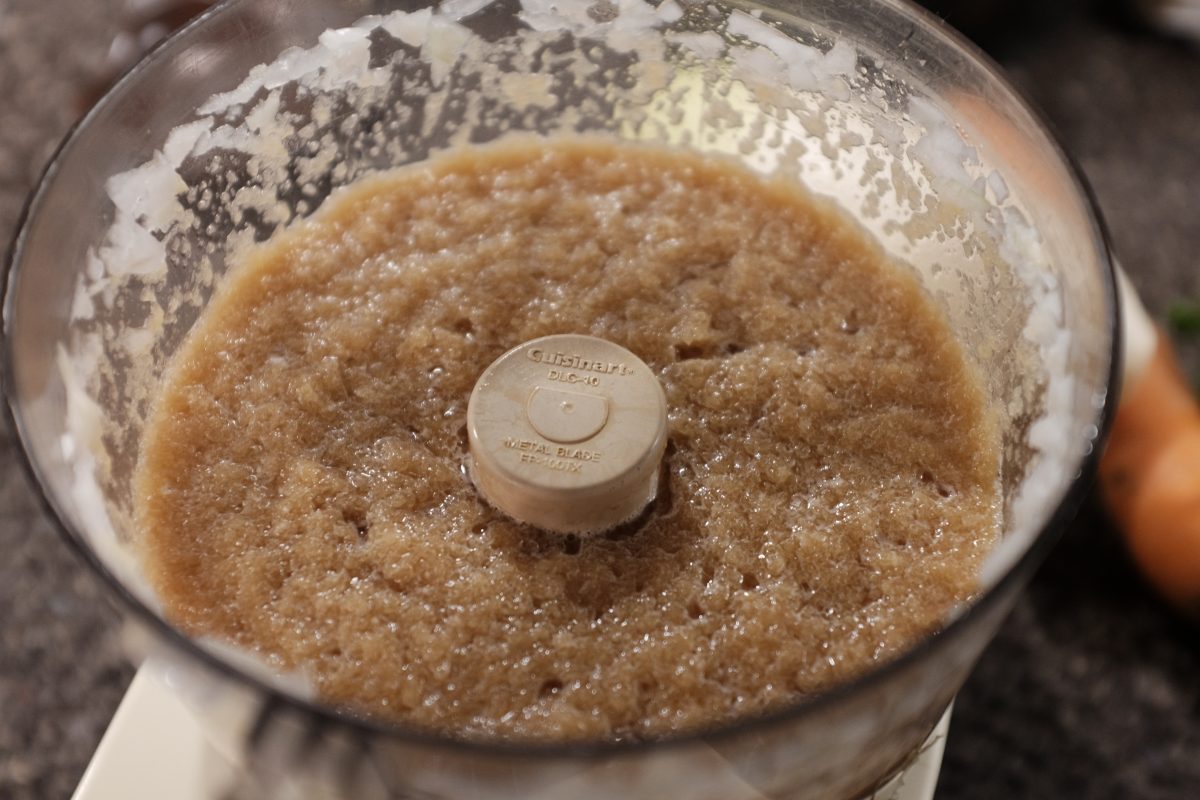
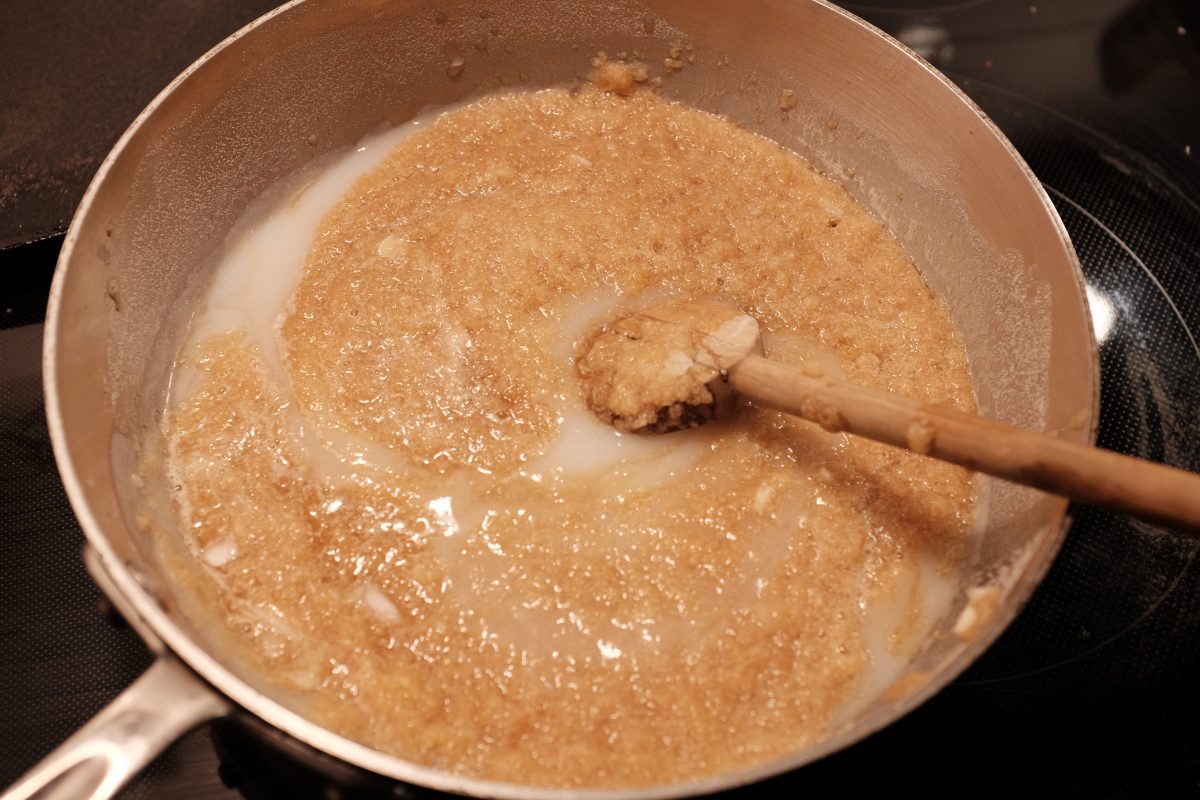
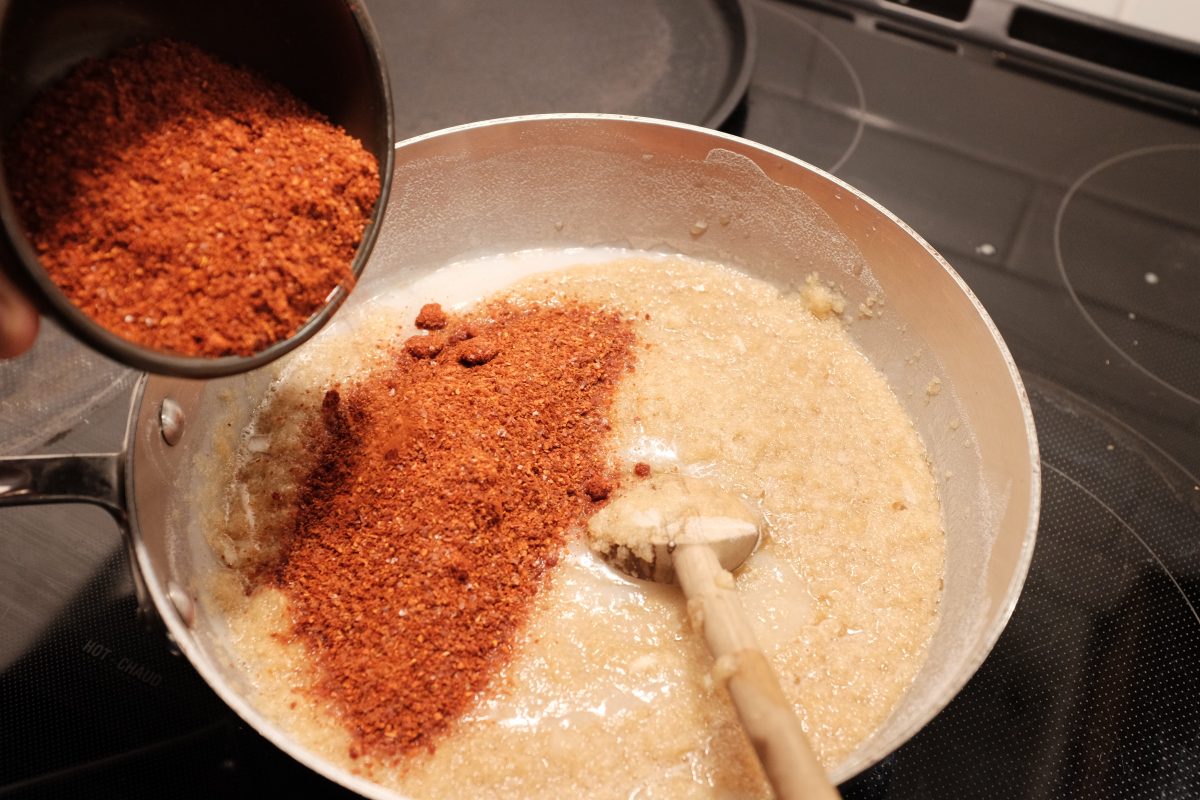
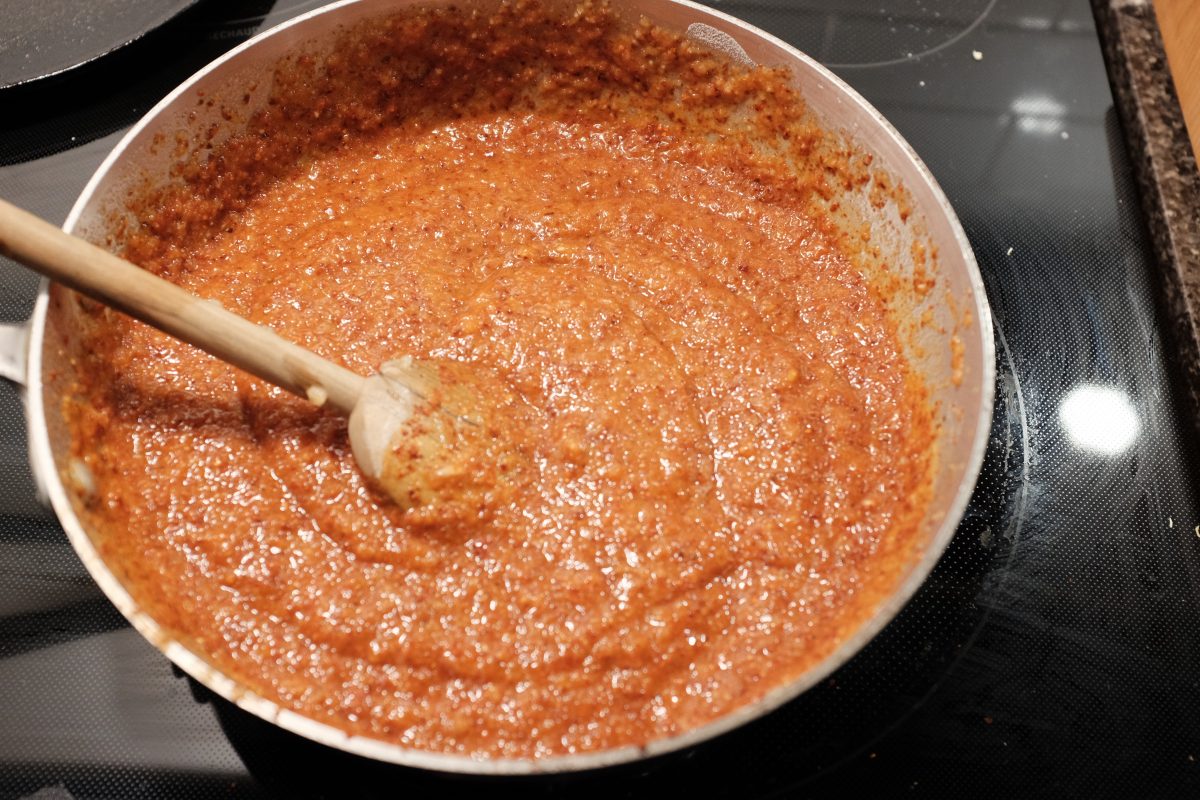
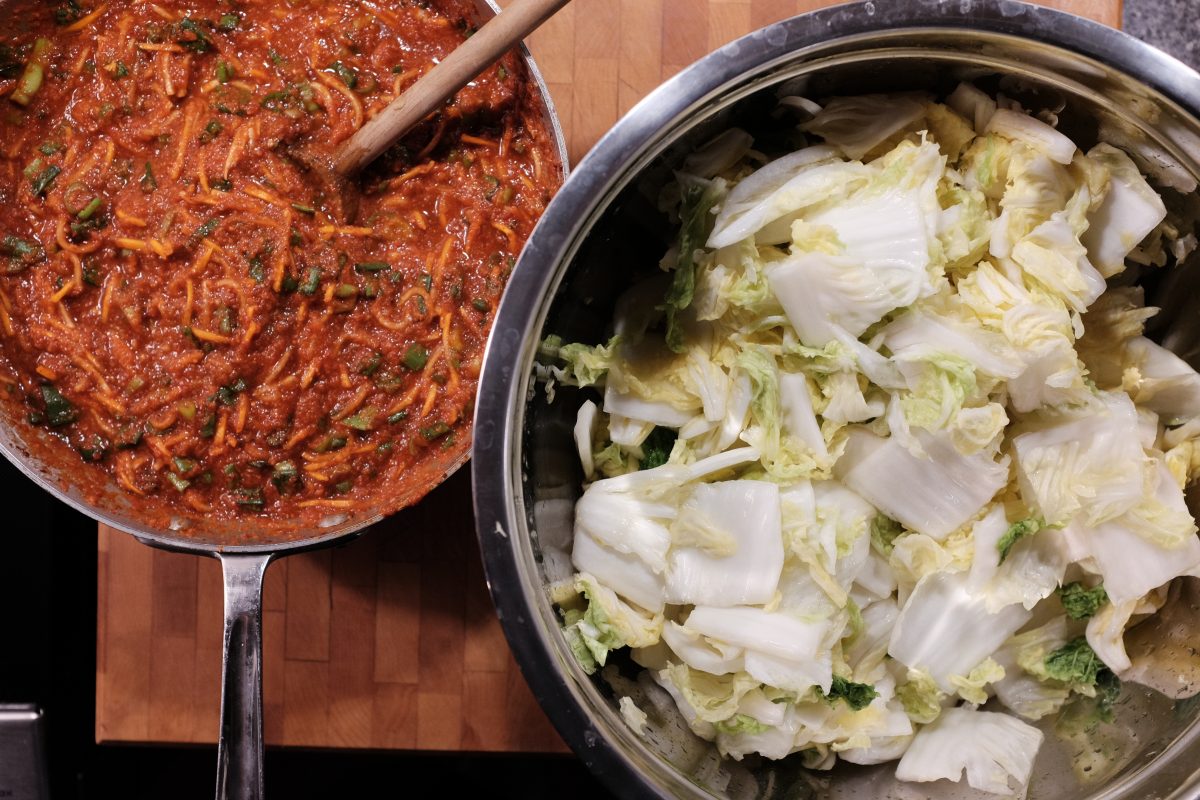
While the cabbage is brining, make the kimchi paste:
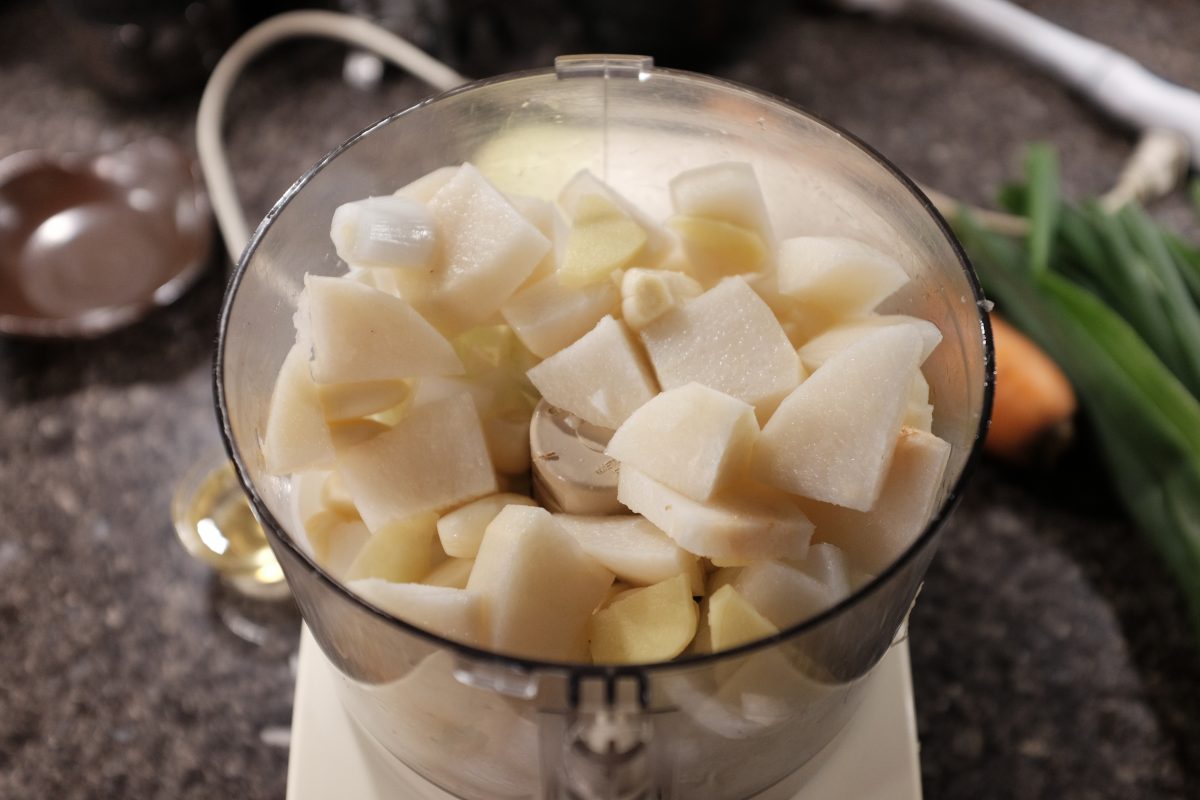
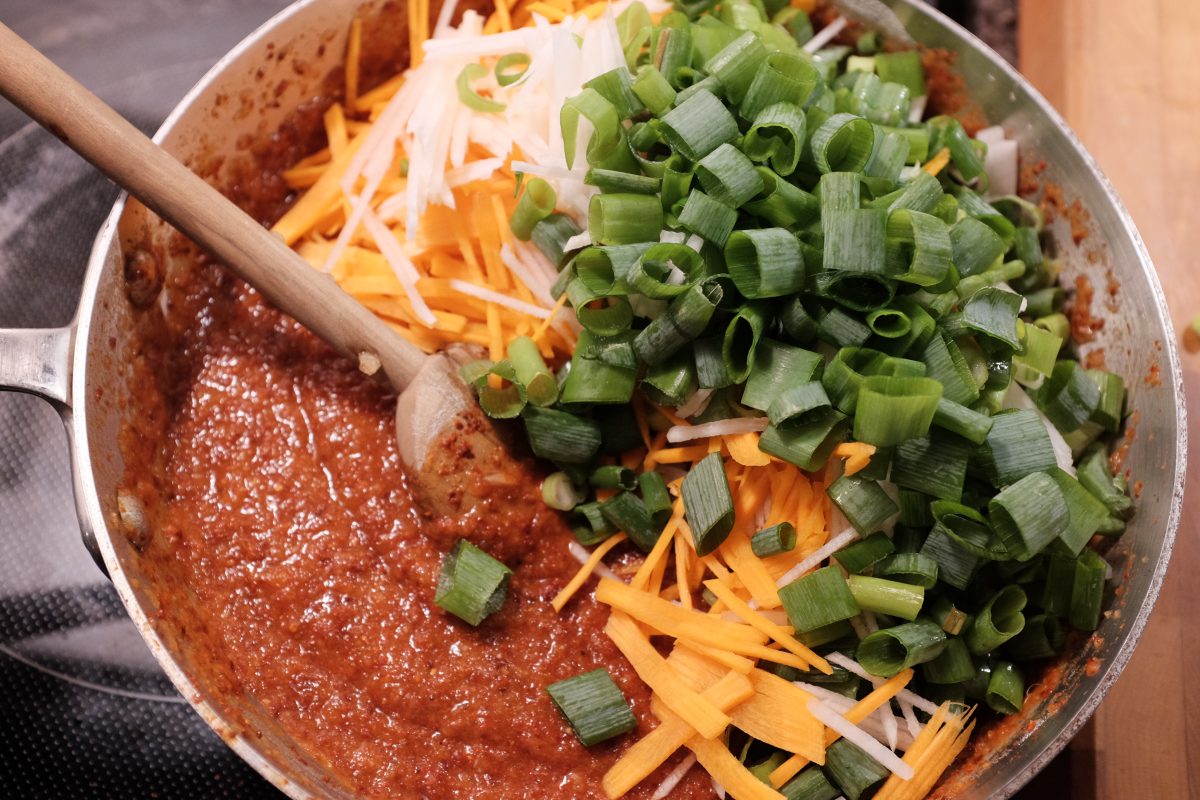

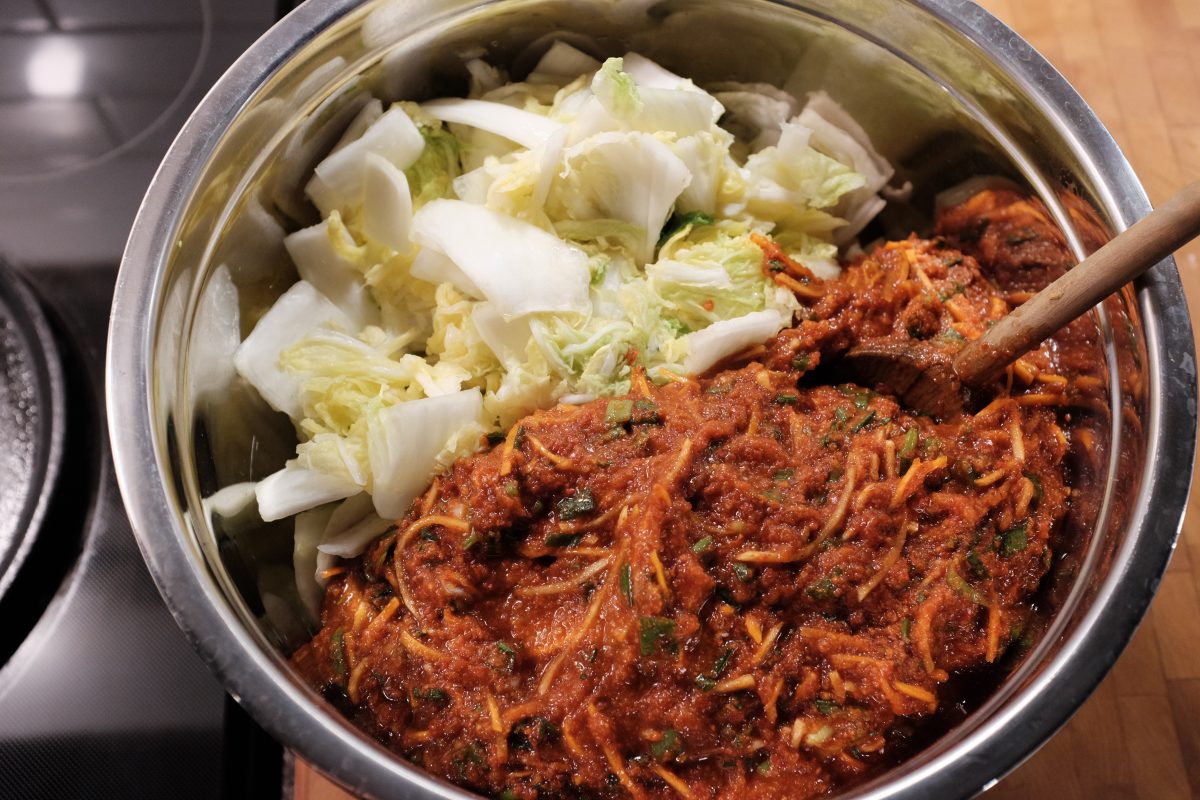
Put it all together
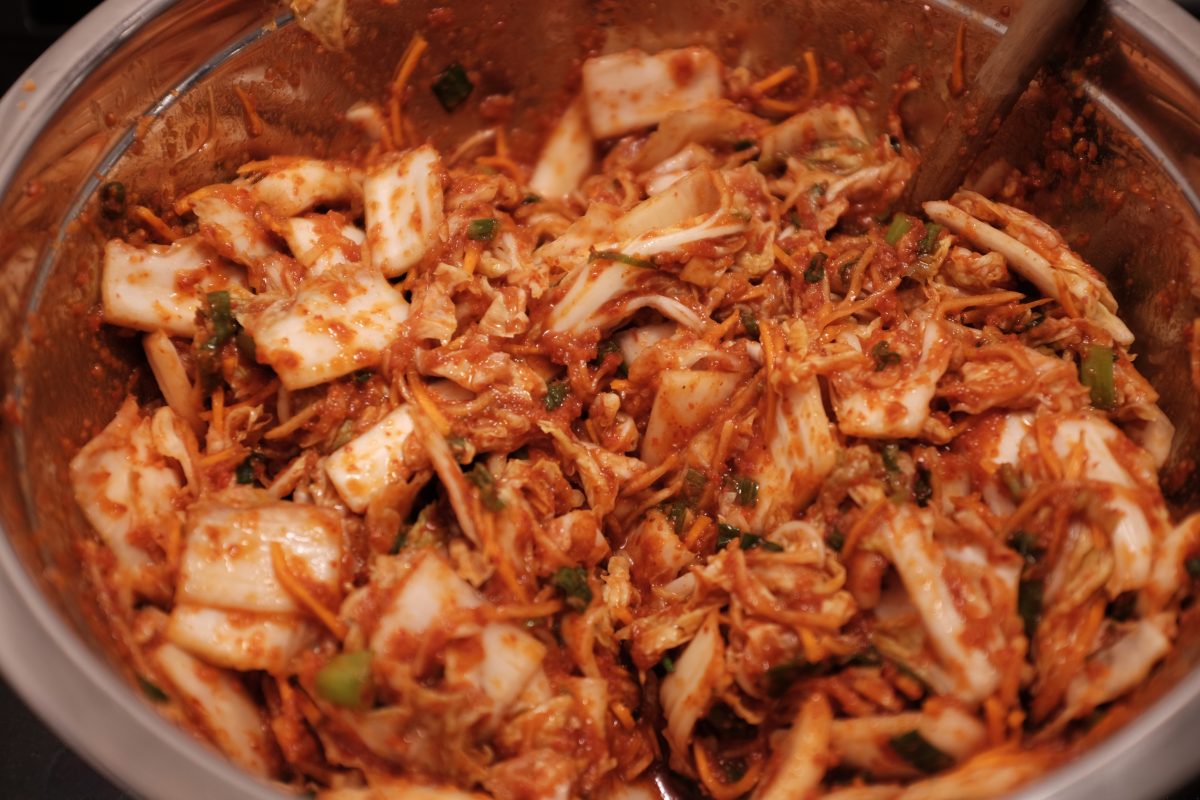
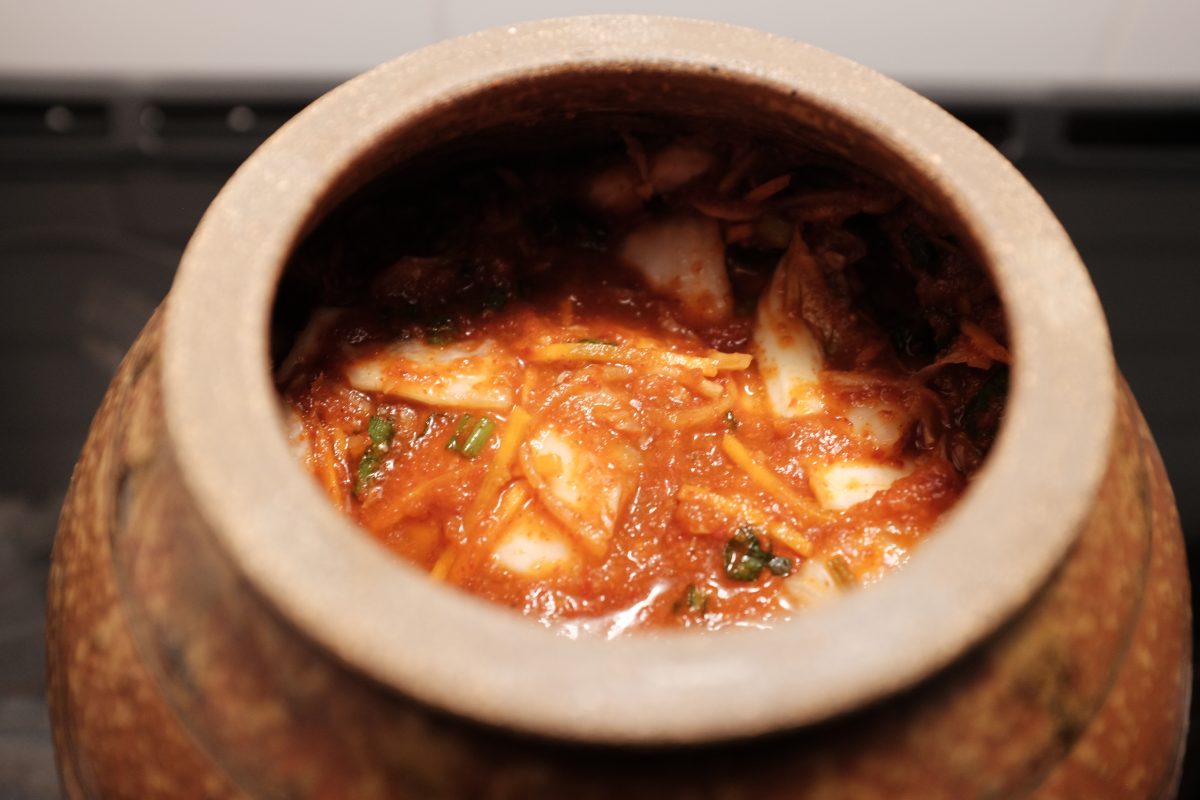
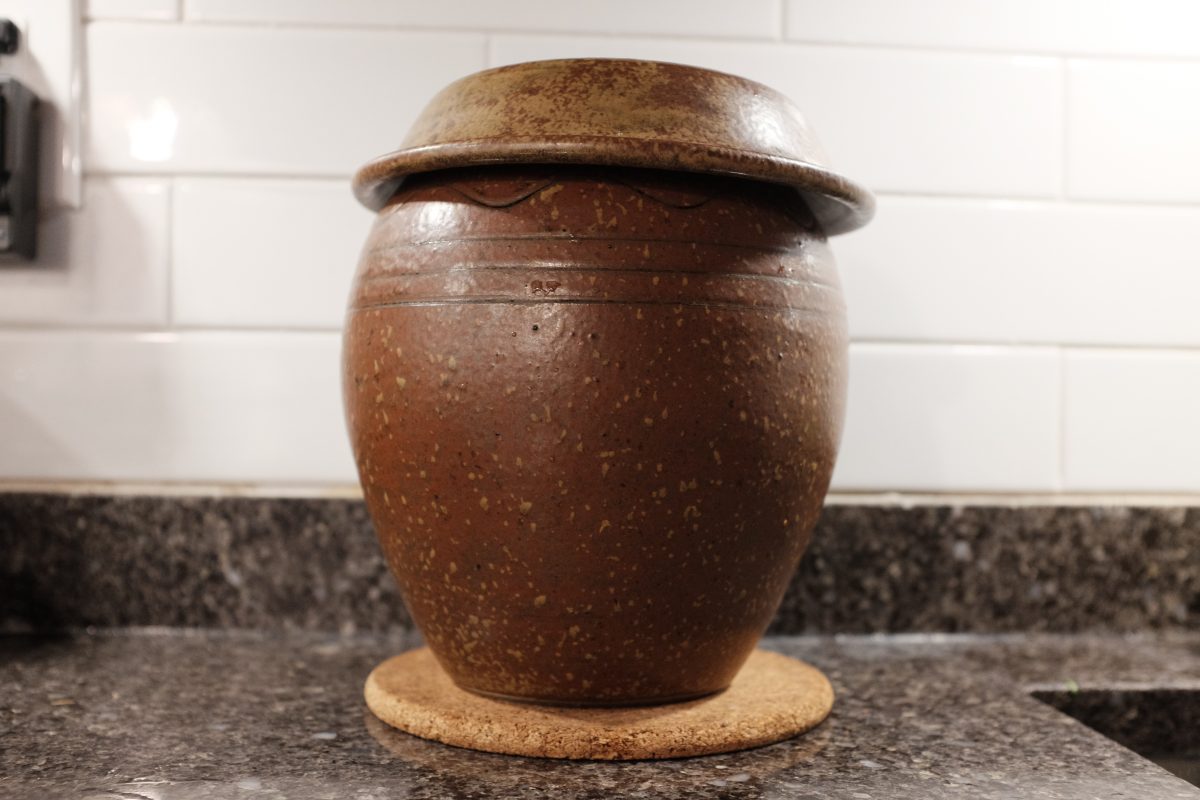
Now what?
For ideas on what to do with your kimchi take a look at this post.
If you have any questions or comments, please leave them below. I am always happy to hear from you.
Thanks for reading!
Kkakdugi or Korean Radish Kimchi
Kkakdugi, or Korean Radish Kimchi, is one of the fastest and simplest kimchis to make. There are relatively few steps and just a handful of ingredients. The recipe you will see here is a little different from others you may find.
Last time I travelled through Korea, I noticed 2 distinct kinds of kkakdugi. One was the classic little cubes served as a side in many restaurants. The other is a much larger and chunkier radish kimchi. This second one accompanies clear and mild beef broth dishes like seolleongtang or doganitang. The pieces of radish tend to be bigger and less uniform and there is much more liquid in the kimchi. The kimchi is on the table in a big container from which you can eat the radish but you can also use the kimchi-juice to season your soup. This is what I am attempting to make here. You can also just eat it as a side the same as you would any kkakdugi.
Ingredients
As a chef, I always preferred to cook by weight rather than volume. I grew up using the metric system and I like it very much. So, as much as possible from now on, I will include metric equivalents. Keep in mind that other than salt and radish, you can vary ingredients as you like to suit your tastes.
- 3.5-4lb (1.5-2kg) Korean radish (the one i am using is 1700gr)
- 2 tablespoons (25gr) Diamond Crystal Kosher Salt
- 1/4cup (30gr) korean chilli flakes / gochugaru
- 1 tablespoon (20gr) salted baby shrimp / saeujeot
- 10 cloves (35gr) garlic minced
- 1 teaspoon (10gr) ginger minced
- 1 tablespoon sugar (75gr)/syrup
- 1 asian pear peeled and chopped
- 1 cup of chopped green onion/scallion or asian chive/buchu
Korean radish is similar to white daikon in some ways but the flavour of Korean radish is usually more sweet and vegetal and less hot and bitter. But, if you really can’t find Korean radish, daikon is a reasonable substitute.
I am using Diamond Kosher salt. You can substitute 30 grams of any good salt, but avoid using table salt.
I just happen to have a homemade maesil plum syrup on hand which I am using instead of sugar. If you want to try it, you can find maesil syrup in any Korean grocer.
Feel free to vary the amount of chilli flakes to make this as spicy or as mild as you like.
Korean pears are not available at this time of year so I am using a whole regular asian pear which is roughly half the size of the Korean variety. You can also substitute an apple or regular pear or leave it out altogether.
Process


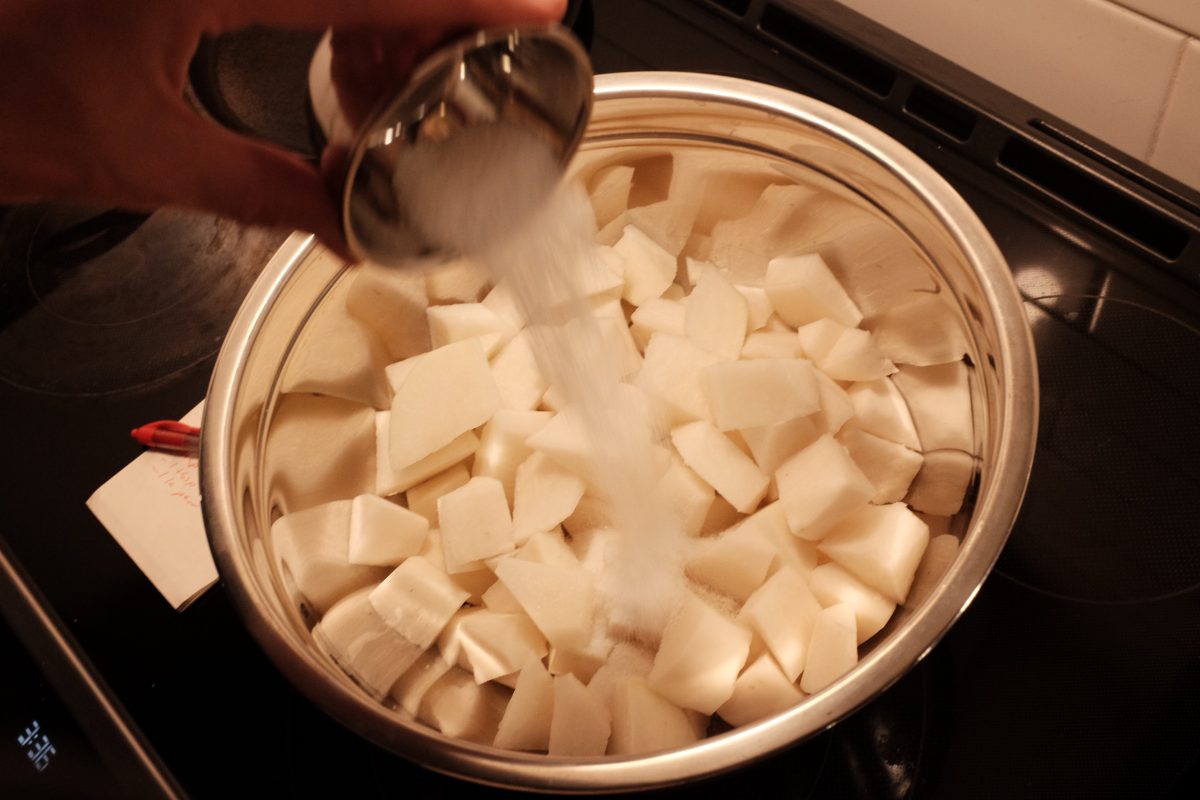


Allow the kimchi to ferment on the counter for a day or two. Taste it a couple times a day and when you are happy with the flavour, refrigerate it. You can eat the radish kimchi as is as a side to any dish or use the kimchi liquid to season mild soups.
Just like any kimchi, kkakdugi will continue to ferment and sour over time. If it gets too sour to eat as is have a look here for ideas on how to use well aged kimchi. Radish kimchi will work just as well as cabbage kimchi in hot dishes. I especially like it in kimchi fried rice.
If you are also looking for a good cabbage kimchi recipe, you can find mine here.
Lastly, if you are interested in what Seolleongtang looks like in Seoul, Korea, have a look here or here. Maybe in the future I will put up a recipe for Seolleongtang although it is a long long process that is challenging to make at home. Here is a good recipe from Korean Bapsang. This kimchi would be a perfect accompaniment!
If you have any questions or comments, please leave them below. I love to hear from you.
If you enjoy the content and would like to contribute towards website maintenance and development, you can make a donation here.
How to Fix Kimchi

What is wrong with my kimchi?
Sometimes the kimchi you imagine making is different from the kimchi you actually end up with. There are so many variables involved that it is difficult to predict the outcome even if you follow the exact recipe every time. The ingredients are powerful: garlic, ginger, chilis, fish sauce, etc. The main elements are fresh vegetables, which may be different every time you buy them. One cabbage may have more water content than another. Or a greater sugar content. One clove of garlic may be more intense than the next. One chilli powder is spicier than the other. And so on…
On top of that, the finished kimchi itself is alive, changing dramatically over time as it ferments and ages. So, if you have a very specific expectation of what your kimchi should taste like…it will probably get there eventually but it won’t stay there for long.
It is important to start with good quality ingredients and a tested recipe. But, beyond that, there will always be aspects that are difficult to control. Some flavours can be manipulated to some degree after the fact. And, of course, mistakes can happen in executing any recipe. Some are more repairable than others.
Before you do anything
Don’t worry about how to fix your kimchi until it has a little time to settle down. A freshly made batch of kimchi contains ingredients that have intense and pungent flavours. Dry ingredients need time to fully hydrate. Veggies continue to release water for some time diluting everything else. Don’t judge your kimchi until you have given it two or three days to come together.
After that time, give it a taste and then decide if there is a problem….
Let’s have a look at a few common issues and how to fix your kimchi:
My kimchi is too sour
Freshly made kimchi is not sour at all. As it ferments, lactic acid is produced, resulting in a sour flavour over time. If your kimchi is already more sour than you like, there is not much you can do to reverse it. However, sour kimchi is ideal for warm recipes like kimchi jjigae, kimchi fried rice or kimchi pancakes. In my opinion, the more sour it is, the more delicious for cooking with. So keep this sour batch for cooked meals. Ideas for how to use sour kimchi are here.
If you like fresh and crisp tasting kimchi, store it in the refrigerator immediately after making it. Cool temperatures will delay the onset of fermentation and slow the progress over time. Your kimchi will stay “fresh” much longer. Consider making smaller batches so you can finish it before it gets too sour. It is fine to cut recipes in half to always have a fresh batch on hand.
My kimchi is not sour enough
If you like your kimchi sour, once you finish making it, leave it out at room temperature. It will not go bad. Taste it once or twice a day and, when it is just about sour enough, refrigerate it to slow down the fermentation. Make sure you are pressing the veggies back down under the brine every time you taste it. If you like both fresh and sour kimchi for different uses, put half in the refrigerator right away and ferment the other half at room temperature until sufficiently sour.
My kimchi is too spicy
Once you have mixed in your chilli flakes there is no going back. The spiciness may mellow a little in the first few days as the kimchi comes together, but not that much. The solution here is to control the amount of spice you are adding right from the start.
ALL chilli flakes are different…they are from different places with different weather patterns and growing seasons. No two will be equally spicy (or sweet). The only way to judge a chilli powder is to taste it. If it is burning hot on your tongue, start with 25% of what the recipe says and add from there. You will probably find that you need much less than the recipe calls for. On the other hand, if you happen to buy a sweeter, fruitier chilli powder with less heat, add as much as you like. Taste it when your kimchi paste is finished and adjust.
My kimchi is not spicy at all
Some chilli flakes are quite mild (and will likely say so on the package). I prefer these because you can add a large amount. Your kimchi will have a deep red colour and a nice fruity chilli character. Just like above, taste the chilli and adjust as you go. If you really want sharp heat, as a last resort you can mix in a some cayenne pepper. This will ramp up the heat without affecting the overall flavour too much.
My kimchi tastes “fishy”
Fish sauces vary in saltiness and “fishiness”. Try as many as you can and choose the one you like best. In general, avoid ones with more than 2 or 3 ingredients. Many are made with anchovy but some are made with other fish, like sand lance. They will all taste “fishy” to some extent so if this is a flavour you don’t enjoy, just use less or none at all. It is not an essential ingredient for a successful kimchi but you will lose some depth of flavour without it. You can also play with the amount of salted shrimp you are using from lowering the amount to using none at all. These ingredients contribute salt to the recipe, so if you remove them you may need to replace them with some kosher or sea salt.
My kimchi is fizzy
When the lactic acid content gets very high in a long fermented batch of kimchi, you may feel fizziness on your tongue. Your kimchi has not spoiled but it may be fermented beyond the point where you like to eat it raw. It will still be excellent for cooking though and the fizz will disappear in a hot dish.
My kimchi is too salty
This is a tough one. If it is not too extreme, you may be able to dilute the salty flavour to some extent. The best way to do this, without destroying the balance of the finished kimchi, is to add more vegetables. Korean radish has a high water content and ferments nicely. Peel and chop up a korean radish and sink it into your finished kimchi. The salt in the kimchi will draw water from the radish which should dilute the mix and decrease the saltiness somewhat. Give it a few days and taste it again. Hopefully it will be improved but if not, you may need to reserve this kimchi for hot cooking, adding small amounts to dishes as both flavouring and seasoning.
The best thing is to figure out why it is so salty in the first place. Most recipes will include a step where the salted cabbage gets a rinse. This is to wash the cabbage but also to remove excess salt. Don’t forget this step. Other sources of salt in the recipe are the fish sauce and salted shrimp. If you like your kimchi less salty, you may need to use less of these ingredients.
Lastly, but maybe most importantly, do not use fine iodized table salt in your kimchi. A cup of this salt is much much saltier than a cup of kosher or coarse sea salt. No matter which salt you choose, the best thing you can do is weigh your salt. For reference, a cup of Diamond Crystal kosher salt weighs around 140 grams or 5oz. This kosher salt in the red box is the one I use for everything. If you are using a different salt, try weighing it out to control saltiness in your finished batch. This is a good post about salt varieties and substitutions.

Many recipes online give salt measurements in cups instead of weight. Try to find one that gives a weight for salt instead. Click here for my napa kimchi recipe.
My kimchi is bland
Bland tasting kimchi is probably from a lack of salt which is an easy fix. Simply add more salt or fish sauce or salted shrimp. Bland kimchi can also be improved by increasing the chilli powder, or tossing in a few more cloves of crushed garlic or ginger. Sometimes a little sugar can help as well but start with small amounts, taste and add as necessary.
My kimchi is too watery
Watery kimchi is not necessarily a bad thing thing. There are even “water kimchi” recipes where the kimchi juice is either eaten or used in other recipes. But, if you have made a regular cabbage kimchi recipe and you find it too watery or bland, there are a few things to consider.
It is possible that the cabbage was processed before it was brined long enough. Once the cabbage is salted, it needs around 2 hours to absorb salt and release water. If you combine it with the kimchi paste too soon, the cabbage will continue to release water into the salty paste and dilute the batch.
Or…
The cabbage was not drained enough. The cabbage will need to be rinsed/washed after the 2 hour brining time. After washing, the cabbage needs to be drained thoroughly. You can place it into a large colander, moving it/flipping it every few minutes until no more water is draining out the bottom. This can take some time. Maybe as long as 10-15 minutes. If you rush this process and mix still wet cabbage with your kimchi paste, it could also end up too watery.
You can drain off some water from a finished batch if you just want to eat the vegetables. Just make sure there is enough liquid left to keep the veggies submerged. It is probably a better idea to just use a slotted spoon to remove the kimchi you want to eat and keep all that juice for flavouring a soup or stew later on.
My kimchi is moldy
I have only had mold grow on kimchi once in the last 10 years and it was because I left chunks of kkakdugi above the liquid and forgot about it for some time. The radish pieces that were not submerged began to mold. That was my fault. I don’t think kimchi spoils very easily, however:
IF there is green, blue or black mold on your kimchi, the safest thing to do is discard it and make a new batch. White spots are more likely yeast. If it’s more than just a few small spots, I would be inclined to toss it as well although I have read that rinsing it and cooking with it is ok. If the kimchi is soft or slippery/slimy and smells BAD, throw it out.
To avoid these kinds of problems, make sure that the container you are storing your kimchi in is clean and sanitized (boiling water sanitizing is fine). Keep it covered in the fridge. It is also important to keep the veggies submerged in the brine. Press the kimchi vegetables back down under the brine after you use it. As an alternative you can hold back one or two whole cabbage leaves and use them as a natural lid on top of your cut vegetables. Or do the same thing with plastic wrap.
Consistency comes with practice
I have been making kimchi regularly for around 10 years and no two batches are exactly alike. There are too many variables that are difficult to control, not to mention that the finished kimchi keeps changing over time. But, with practice, I have learned how to steer things in the right direction and almost always end up with something i really enjoy eating.
As you can see above, some things can be manipulated after the kimchi is finished but it’s best to get things right at the start. Make notes of what you like or don’t like with each batch and vary your ingredients until your kimchi tastes delicious to you. There is no “best” or “correct” kimchi. There is only the one you enjoy eating. Make that your goal.
If you have any questions or if you are having issues that I haven’t thought of here, please post a comment below. I always enjoy hearing from you.
If you enjoy the content and would like to contribute towards website maintenance and development, you can make a donation here.