Posts Tagged: kimchi

Kimchi Jjigae with Tuna

Kimchi jjigae with tuna (참치김치찌개) is a hot and satisfying dish that you can put together in a few minutes with as little as two or three ingredients. Below is a list of ingredients that I like to use but really, almost anything goes. Feel free to add different vegetables or leave out anything you don’t like. This recipe will make two smaller portions or one very large portion.
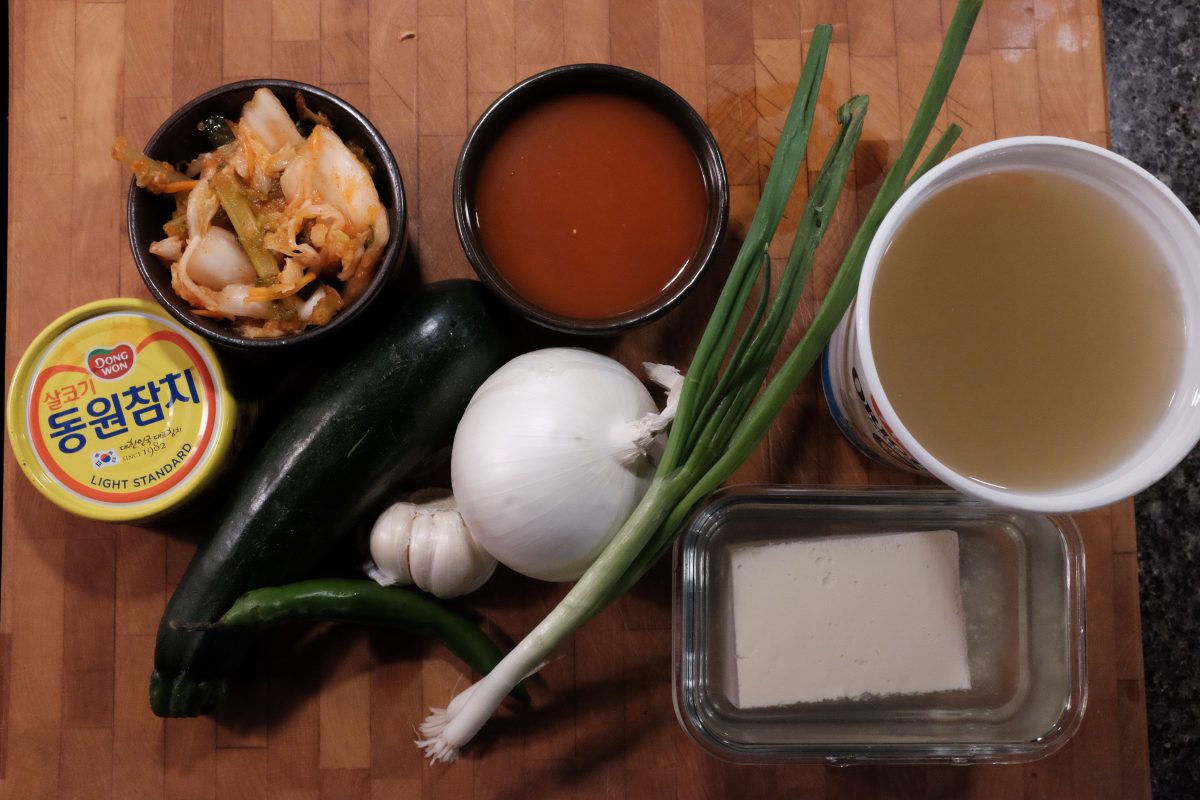
ingredients for kimchi jjigae with tuna

Ingredients:

  • 1 can of tuna in oil
  • 1 cup sour kimchi
  • 1/2 cup kimchi juice
  • 1 cup anchovy broth (or water)
  • 1/2 zucchini
  • 1 korean green chili pepper
  • 1 cup diced tofu
  • 1/2 onion
  • 3 cloves garlic
  • 2 green onions
  • sesame oil
  • salt
  • sugar

The ingredients in bold are essential. Everything else is optional. I am using veggies I have in the fridge. You can add or subtract anything you like. As long as you have some fermented kimchi and a can of tuna, you can make this. I like it with extra veggies and especially with tofu.

Use canned not fresh tuna. It is not the same. I am using Korean tuna in oil but any canned tuna is fine.

There is a link in the ingredients to a recipe for anchovy broth. You don’t need it but, it adds a lot of depth to dishes like these if you use it in place of water.

Process
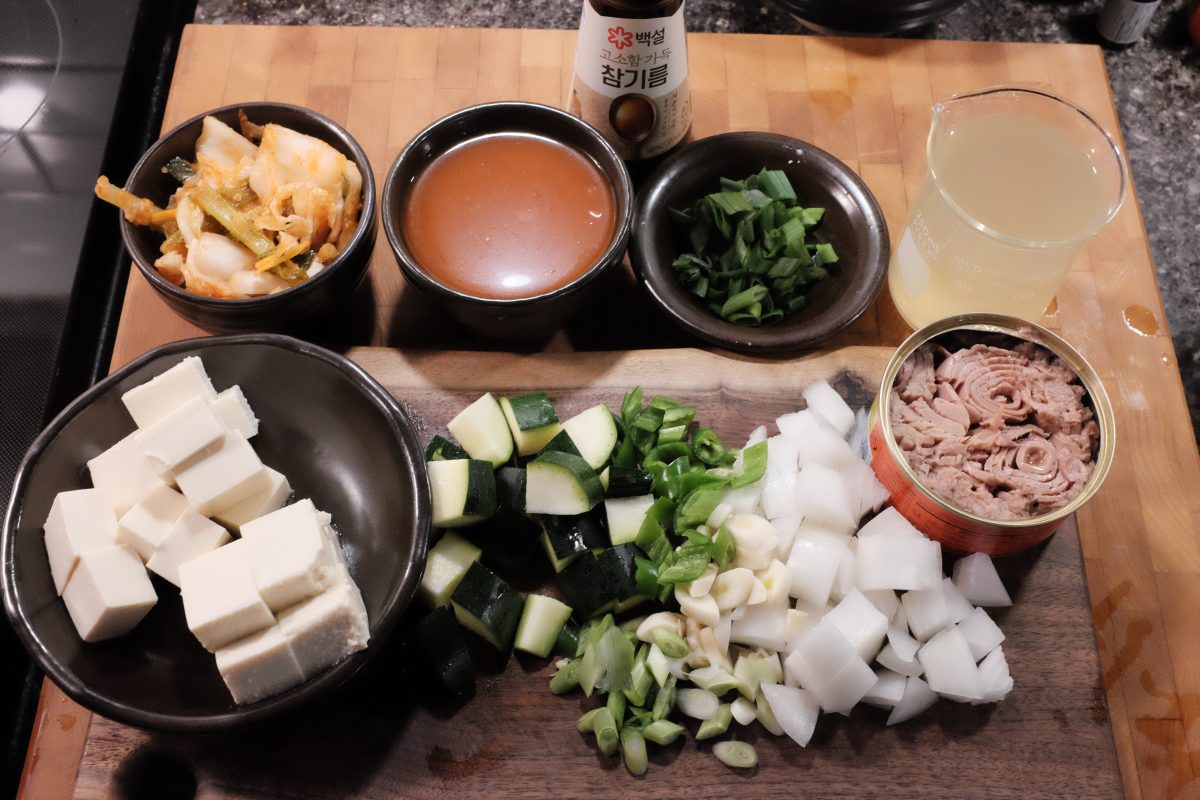
ingredients all chopped up
Chop all your veggies into bite sized pieces.
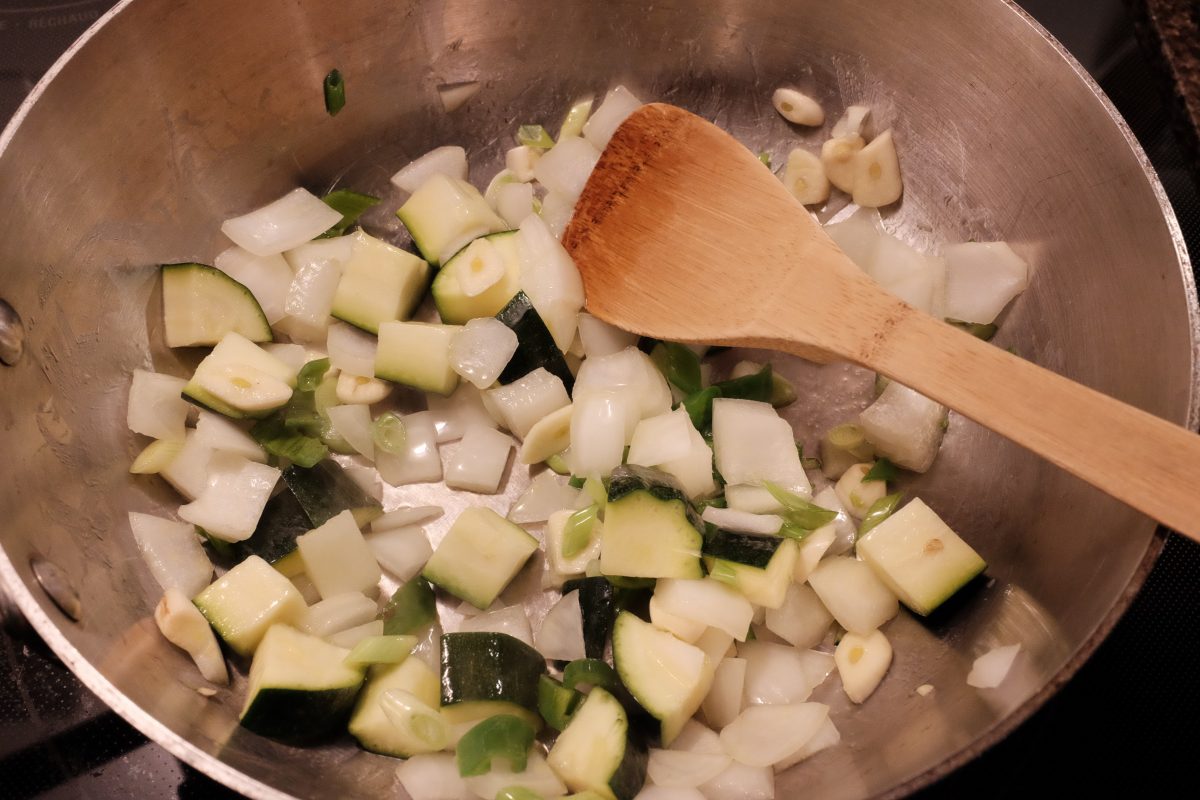
frying vegetables in stainless pan
Heat your pan, add some oil and cook vegetables until they are warm and a little soft and translucent.
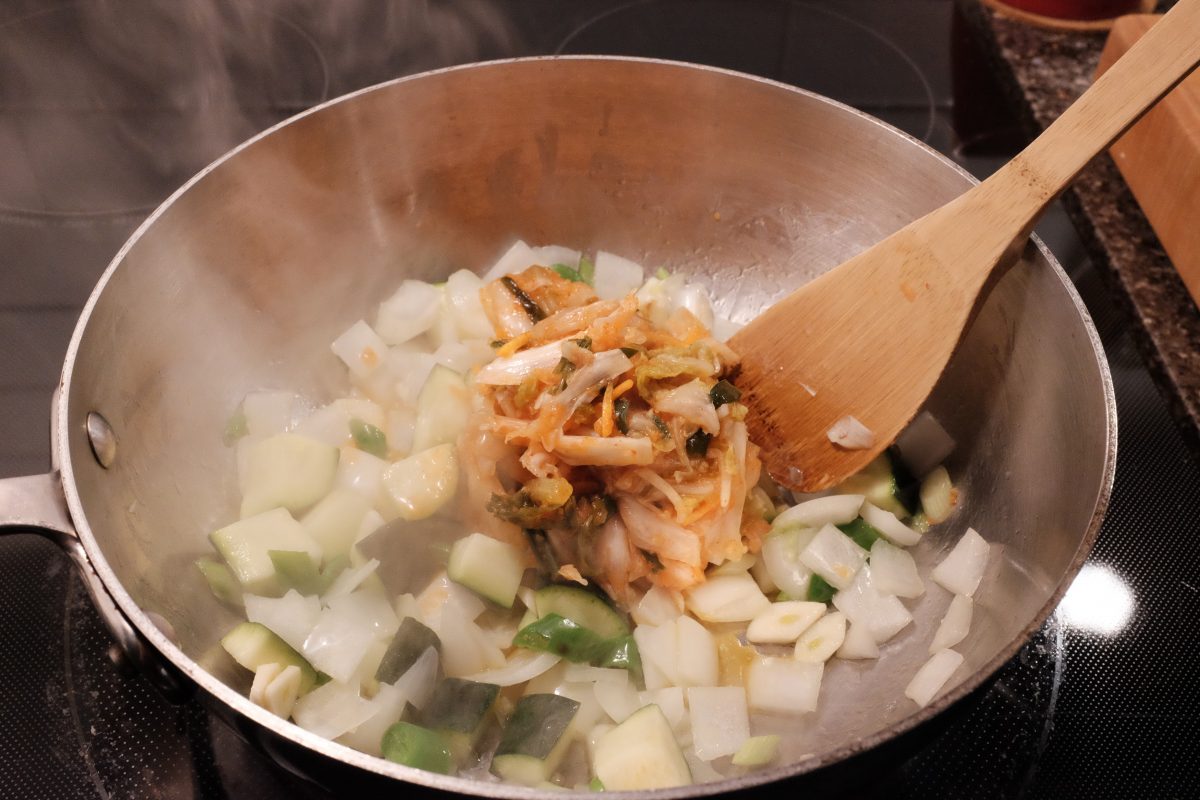
adding in sour kimchi
Drop in sour kimchi and warm it through.
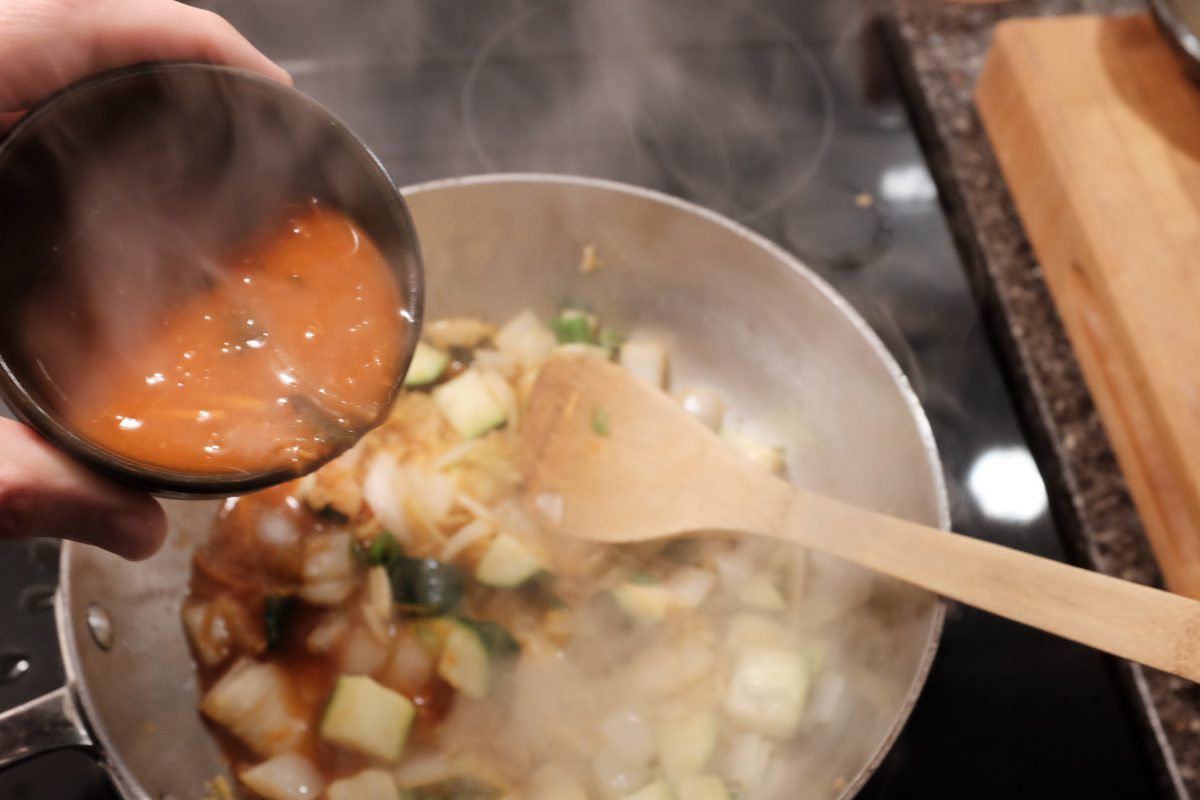
adding kimchi juice
Add kimchi juice if you are using it.
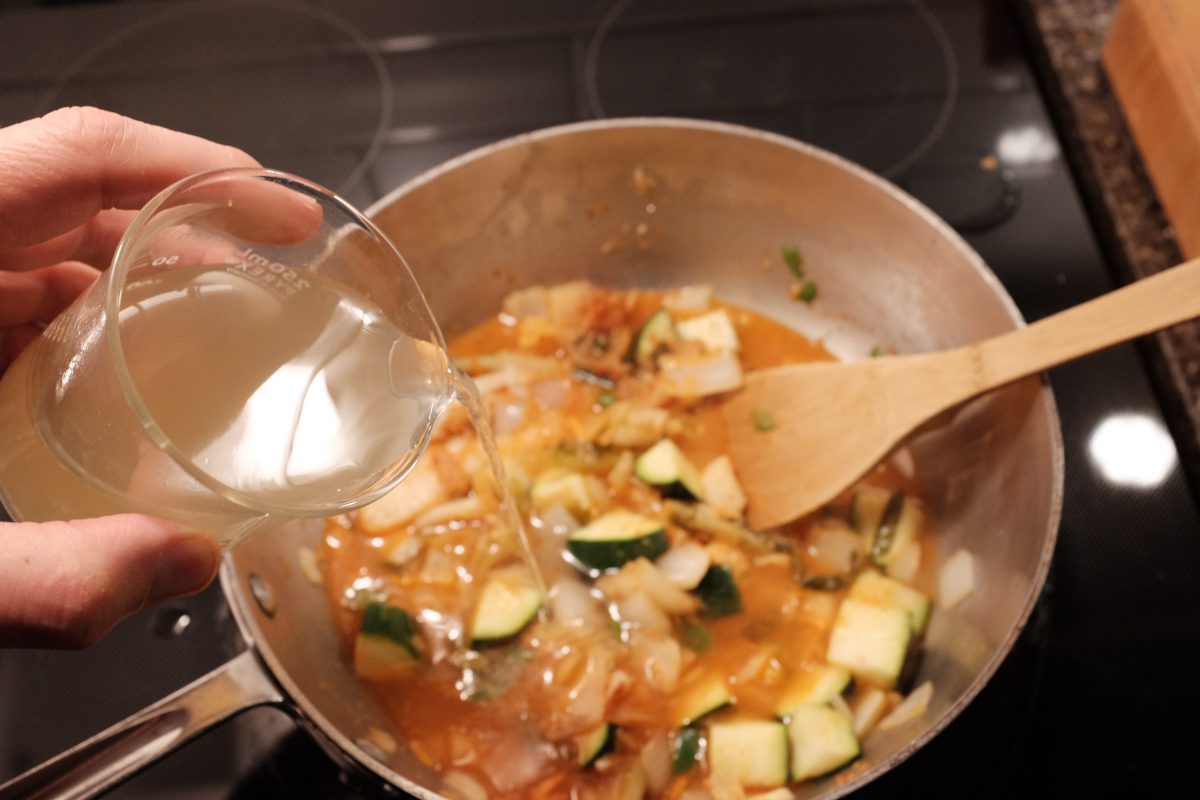
adding anchovy broth
Add anchovy stock if you are using it. If you don’t have kimchi juice or anchovy stock, don’t worry. Just add enough water to cover and cook the vegetables.
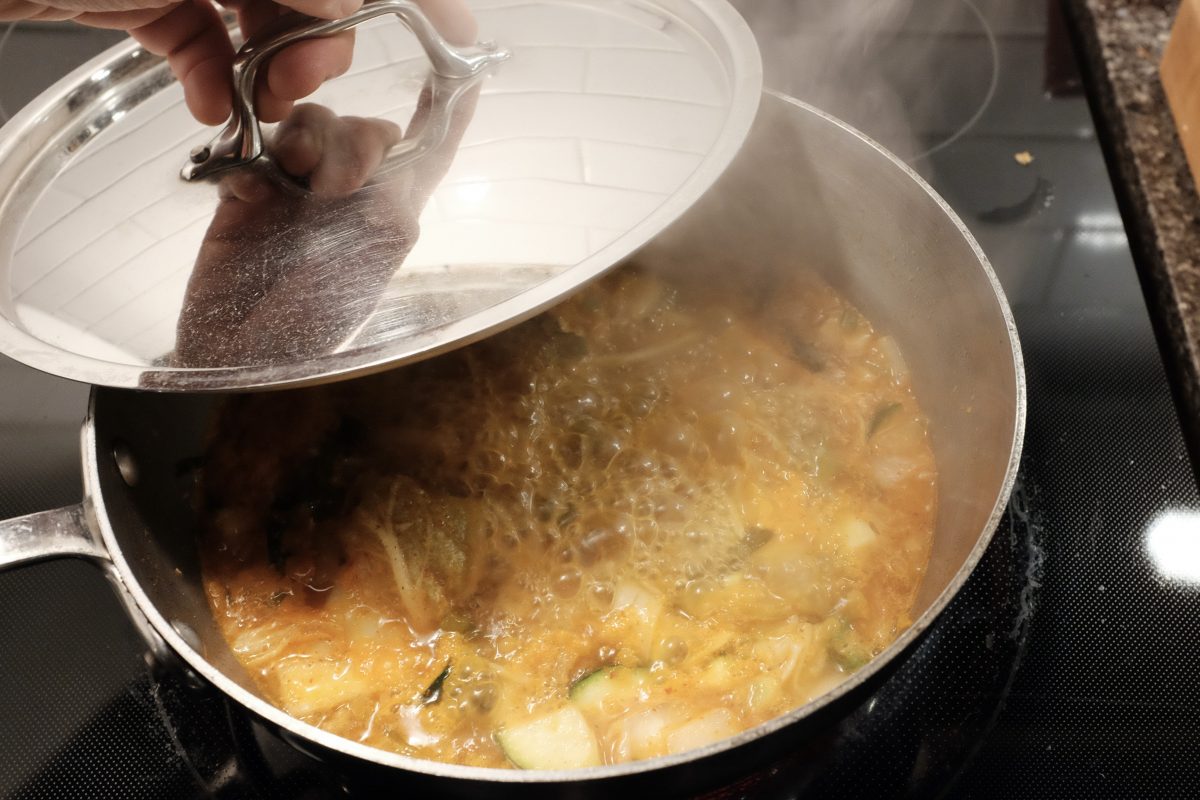
covering pot
Bring to a boil, lower heat to a simmer and cover with a lid. Cook for 20 minutes.
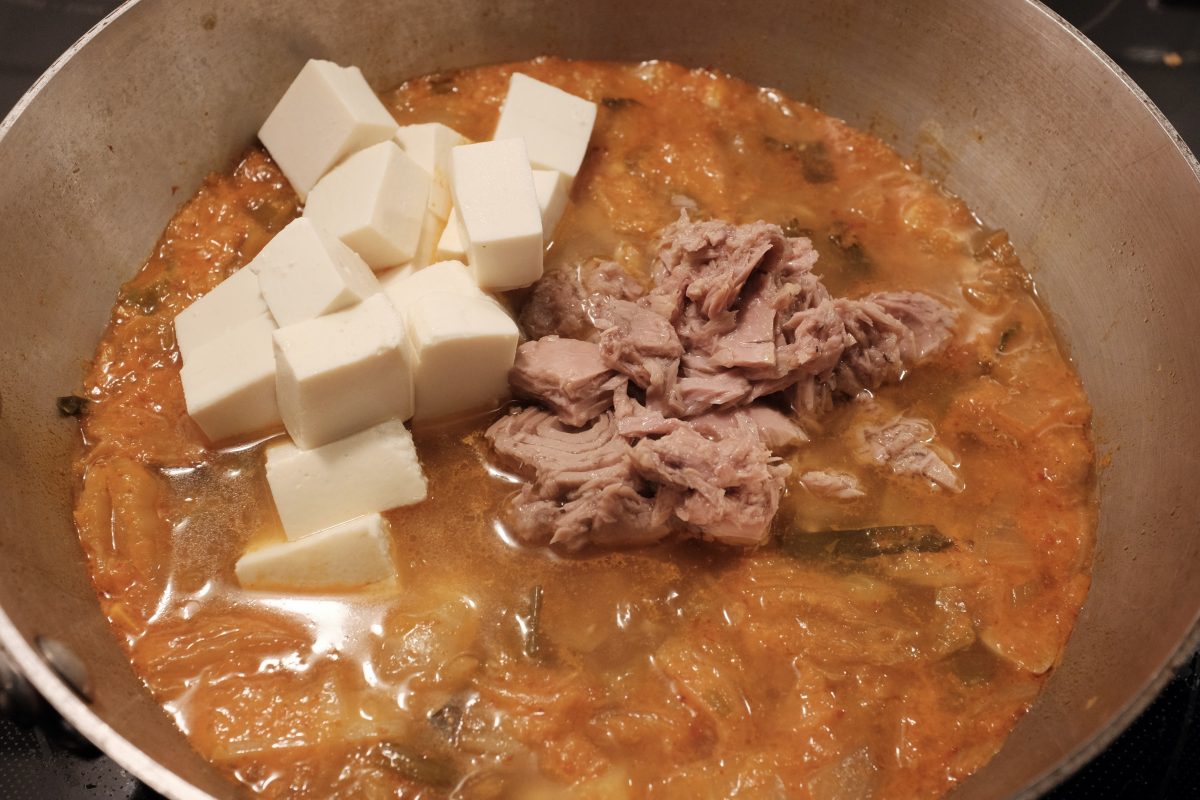
adding tofu and canned tuna
After 20 minutes, add in tofu and tuna. Stir gently and cook until warm. Now is the time to taste and adjust seasoning. Add salt if you think it needs it. Add sugar for a little sweetness. Stir in a little chili powder or gochujang if you want it a little spicier. I ended up adding just a teaspoon of sugar and it was perfect for me.
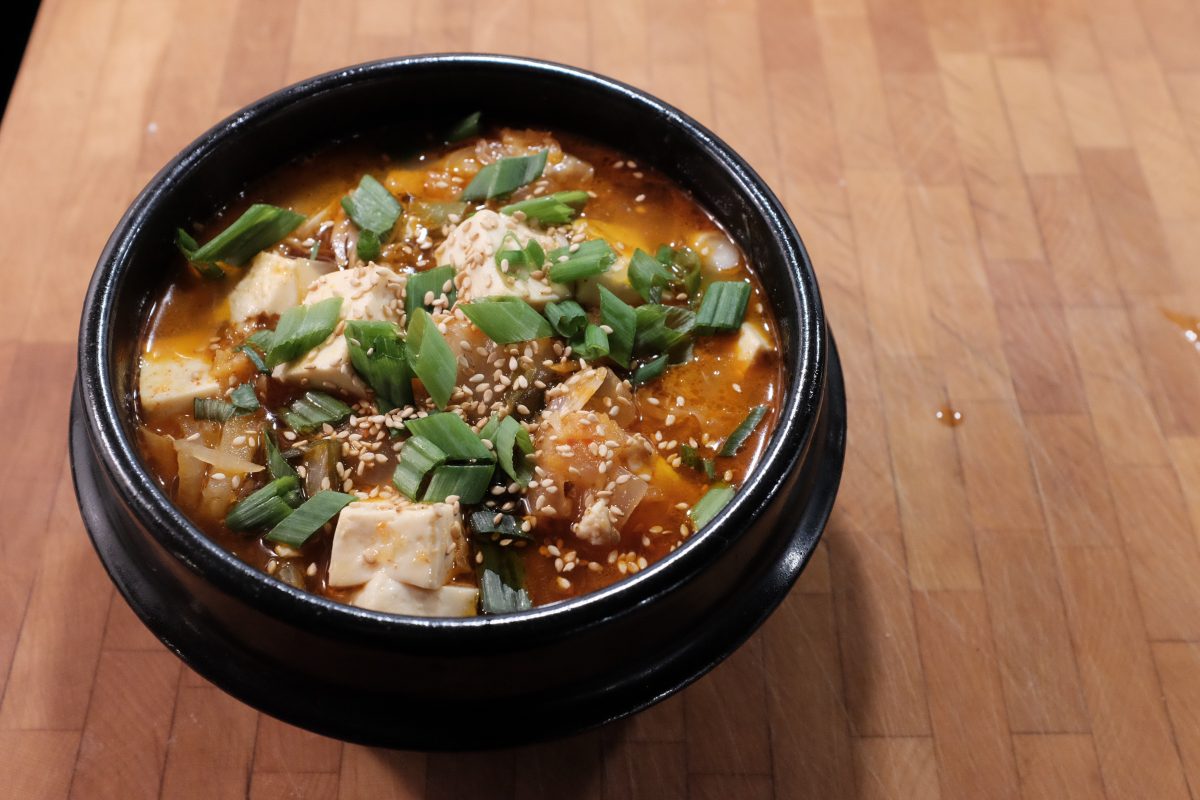
the finished stew in a black bowl garnished with chopped green onion, sesame seeds and sesame oil
Ladle into bowls and garnish with fresh green onion, sesame seeds and a little sesame oil.
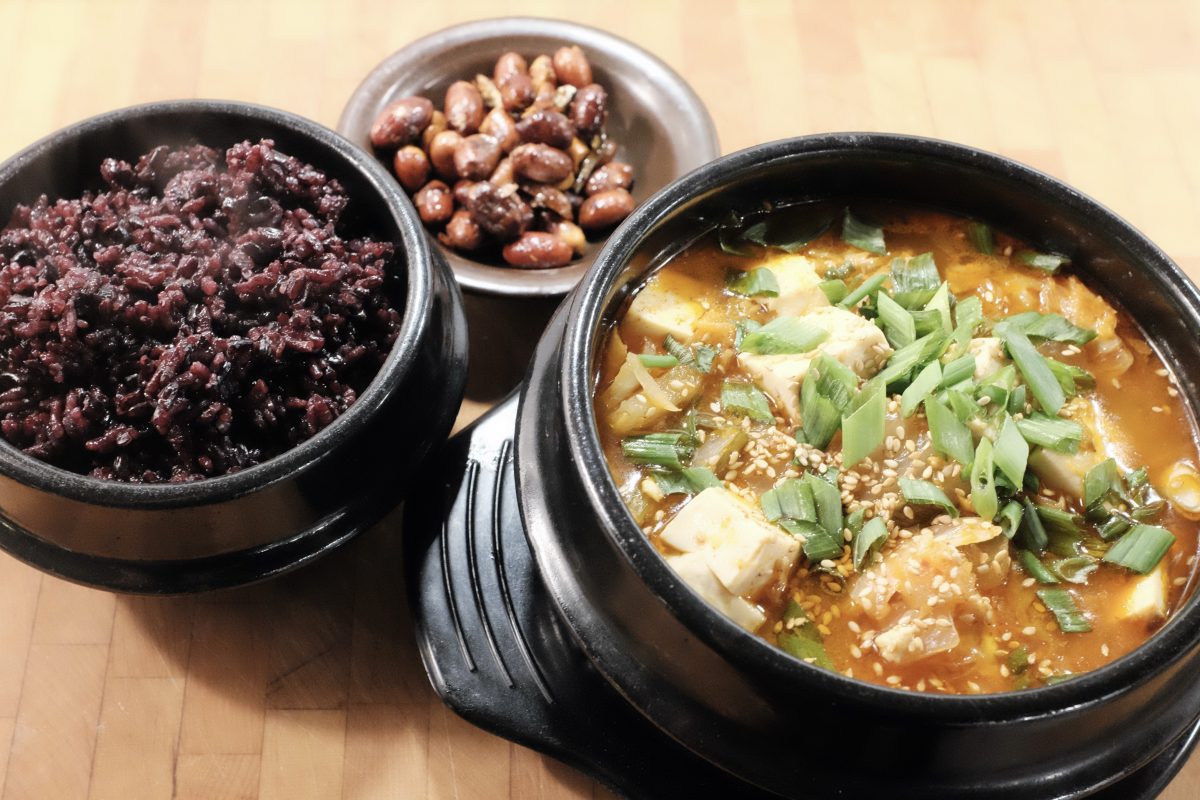
finished dish of kimchi jjigae with tuna alongside a bowl of purple rice
I usually just eat this with a bowl of rice. I happen to have some peanut and anchovy banchan so I will have that too. Today I went shopping without my glasses to buy black AND white sesame seeds. When I got home, I found out that I actually bought white sesame seeds and a bag of black rice. Happy accident! Black rice is delicious. Add a spoonful of black rice to normal white rice in your rice cooker and you end up with this beautiful and savoury purple rice.

Variations

As I mentioned at the start, you can put just about anything you want into this dish. There is no definitive recipe for kimchi jjigae. Aged sour kimchi and a can of tuna are the only must haves. Experiment with all kinds of veggies. I also love smoky bacon in this dish. Fry it up with your veggies at the start.

If you are using water instead of kimchi juice, you can stir in a little gochujang for extra colour, flavour and spice if you like.

If you do not have anchovy broth but you do have anchovies and kelp on hand: take a square of kelp and a few dry anchovies and tie them in a little sack of cheesecloth. Add them to the simmering jjigae at the start. This will give you a similar flavour to anchovy broth. Just pull them out and discard after 15-20 minutes.

For a good recipe for homemade kimchi have a look HERE.

If you have any questions or comments or suggestions, please leave them below. I always look forward to hearing from you. If you enjoy the content and would like to contribute towards website maintenance and development, you can make a donation here. Thank you for reading TigerSalad!

Vegan Napa Cabbage Kimchi

This is a tested recipe for anyone who does not eat meat, anyone with shrimp allergies or anyone who does not like the fishy taste of fish sauce. Once this recipe ferments, you will have a tasty vegan kimchi that you can use just like any other kimchi. It is a variation on a cut kimchi recipe that I posted previously. If you are interested in making a kimchi with all the seafood included or if you are interested in more information about kimchi in general, you can find that by clicking here.
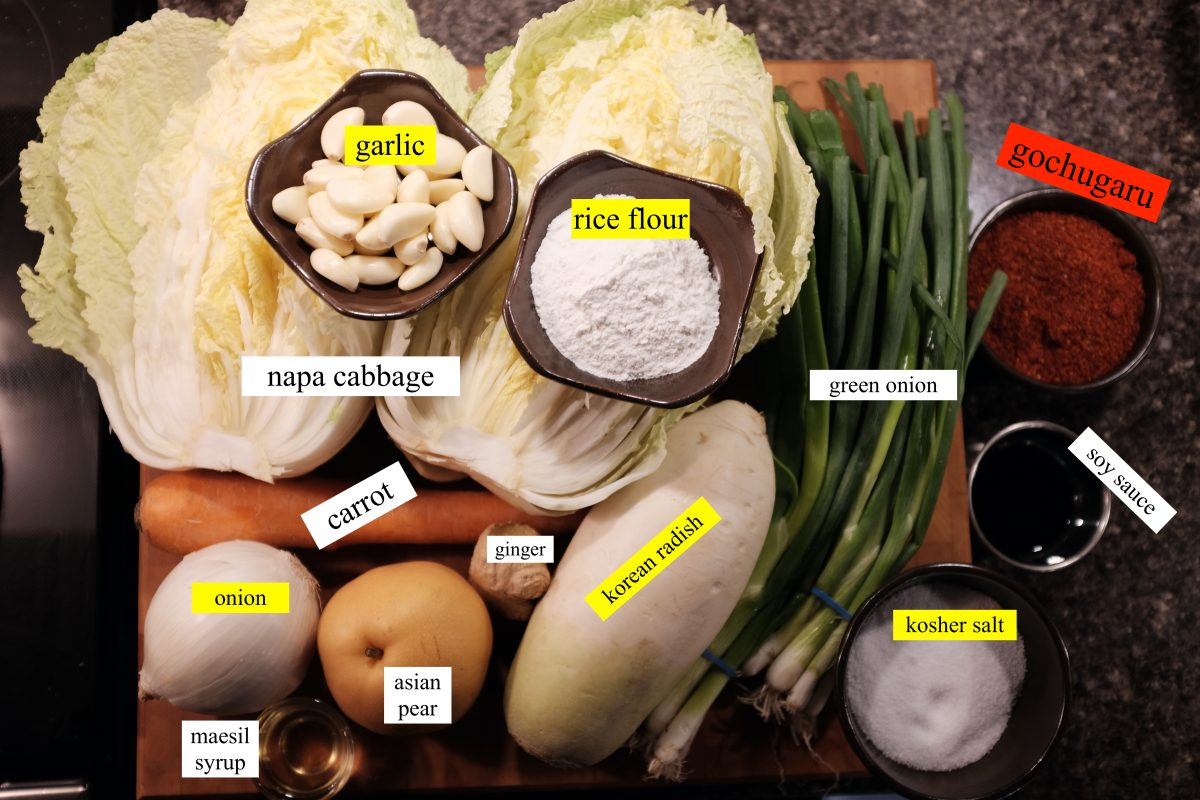
Ingredients

  • 1 large (2kg) Napa Cabbage
  • 80 grams/3oz (around 1/2 cup) Diamond Kosher Crystal salt for brining
  • up to 2 Tablespoons kosher salt for seasoning (not for brining…save this for later)
  • 1 tablespoon soy sauce
  • 275ml (1 1/2 cups) water
  • 1/4 cup rice flour
  • 1 tablespoon white sugar or maesil plum syrup
  • 1/2 cup peeled garlic cloves (around 20)
  • 1 tablespoon ginger peeled and sliced
  • 1 white onion peeled and chopped
  • 1 asian pear or apple peeled and chopped
  • 1/4 up to 1 cup (30-120 grams) korean chili flakes (gochugaru)
  • 2 bunches (12 or so) green onions sliced
  • 1 cup carrot matchsticks
  • 1 cup korean radish matchsticks

Try to weigh your salt rather than measuring by cups. Diamond Kosher is a popular salt in my area. If you live in the US, you may be using Morton’s. This salt is much saltier by the cup. Same goes for sea salt if this is what you are using. Whichever salt you use, it is better to weigh it. Avoid using table salt.

Rice flour/rice powder is just finely ground sweet rice. Mochiko is a popular brand but any brand will work.

Korean chili flakes are all very different from batch to batch. Some are mild and fruity and some are sharp and very spicy. It is better to start with less, taste, and then add more if you want it spicier.

Process

Cabbage preparation
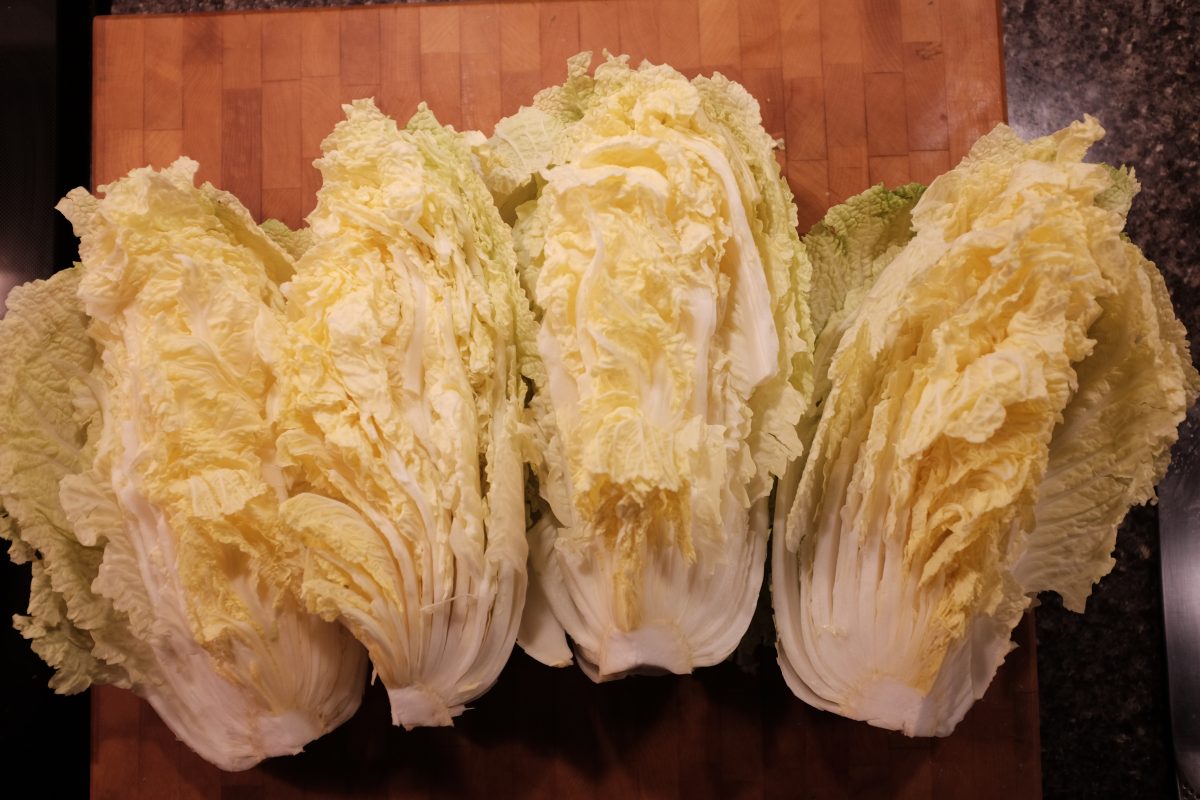
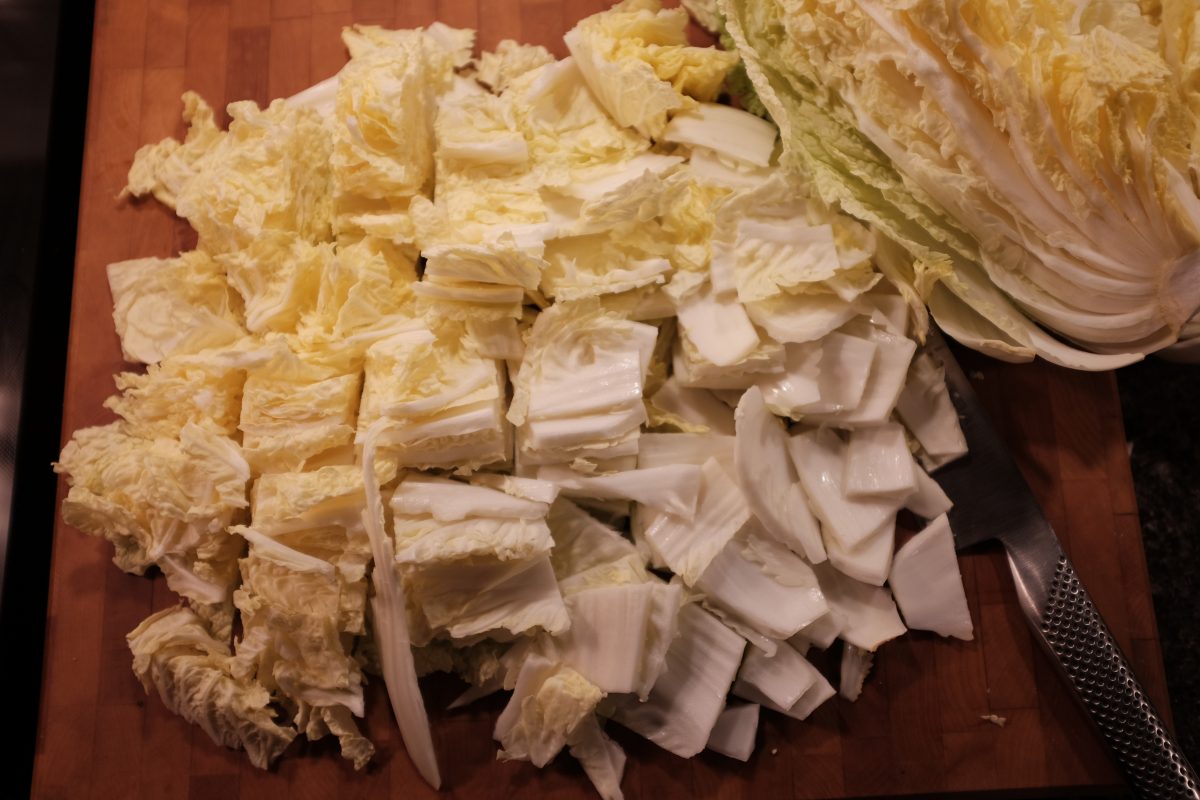
Quarter the cabbage and chop off the stalks.
Slice into big-bite-sized pieces.
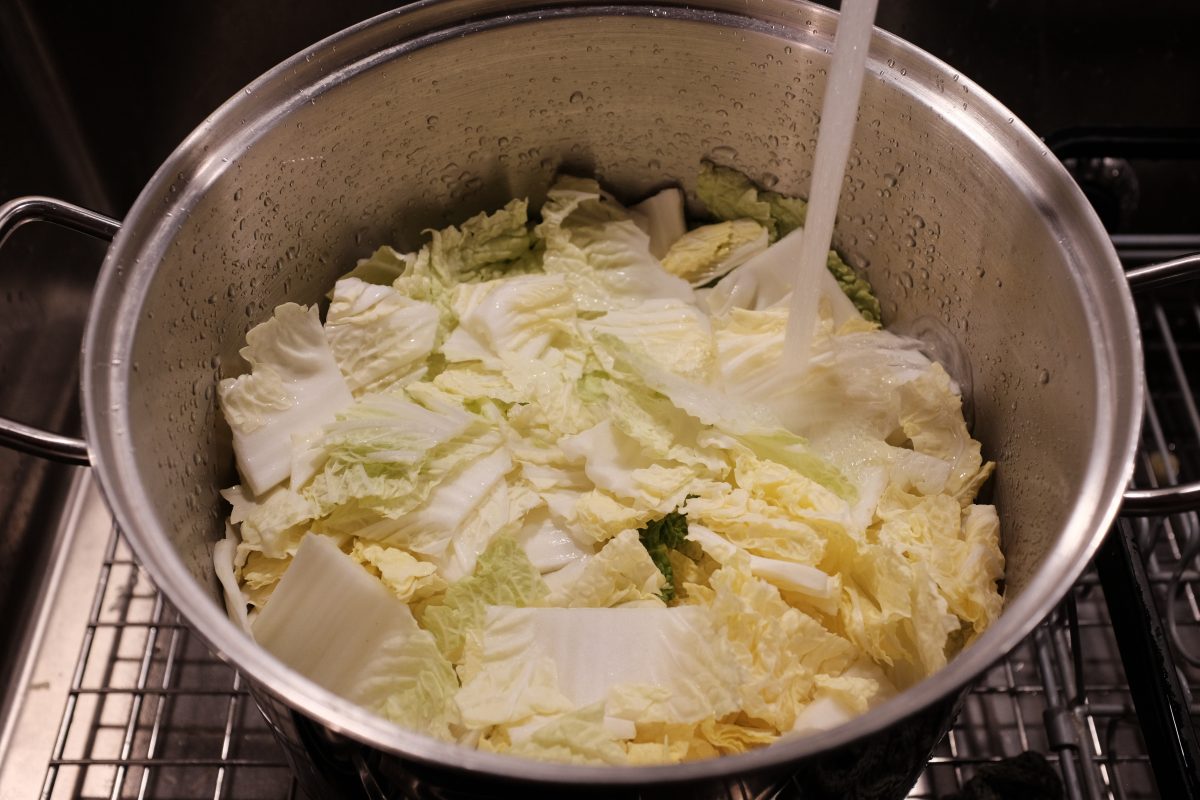
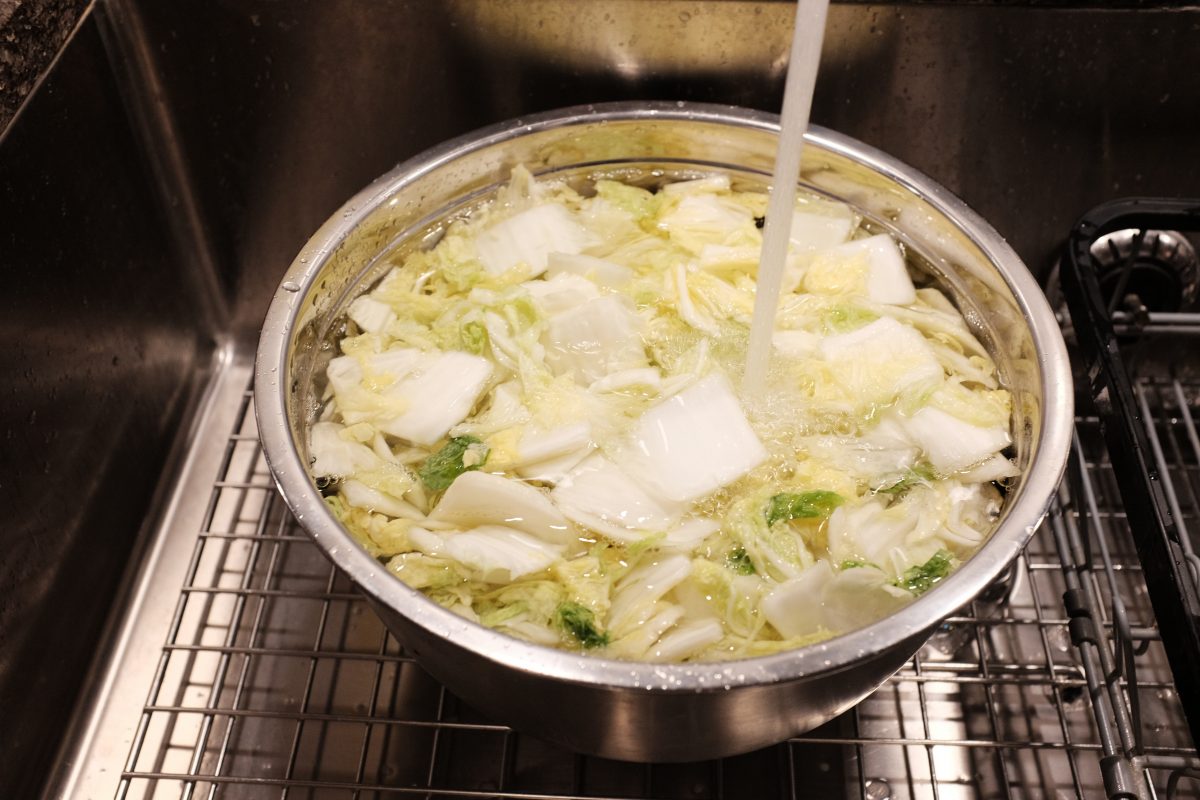
In a large container, rinse the cut cabbage in fresh cold water.
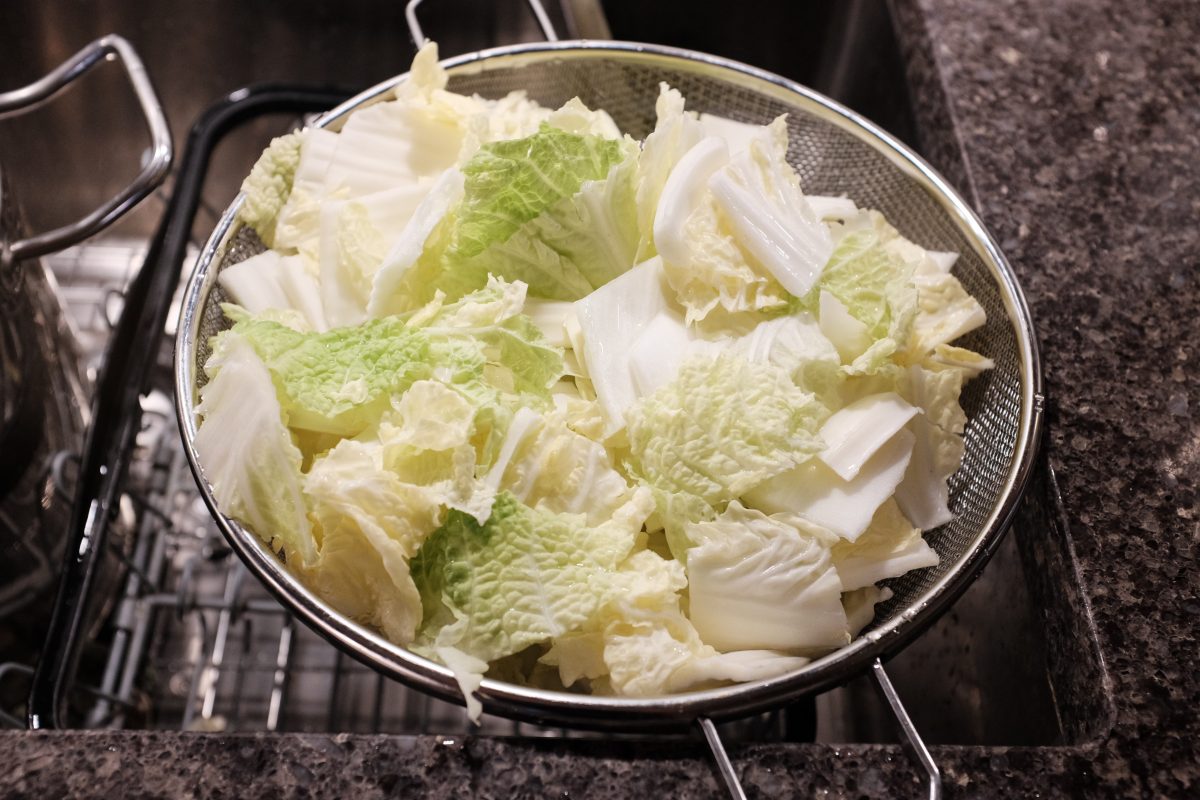
Drain it for a few minutes before salting.

Brining

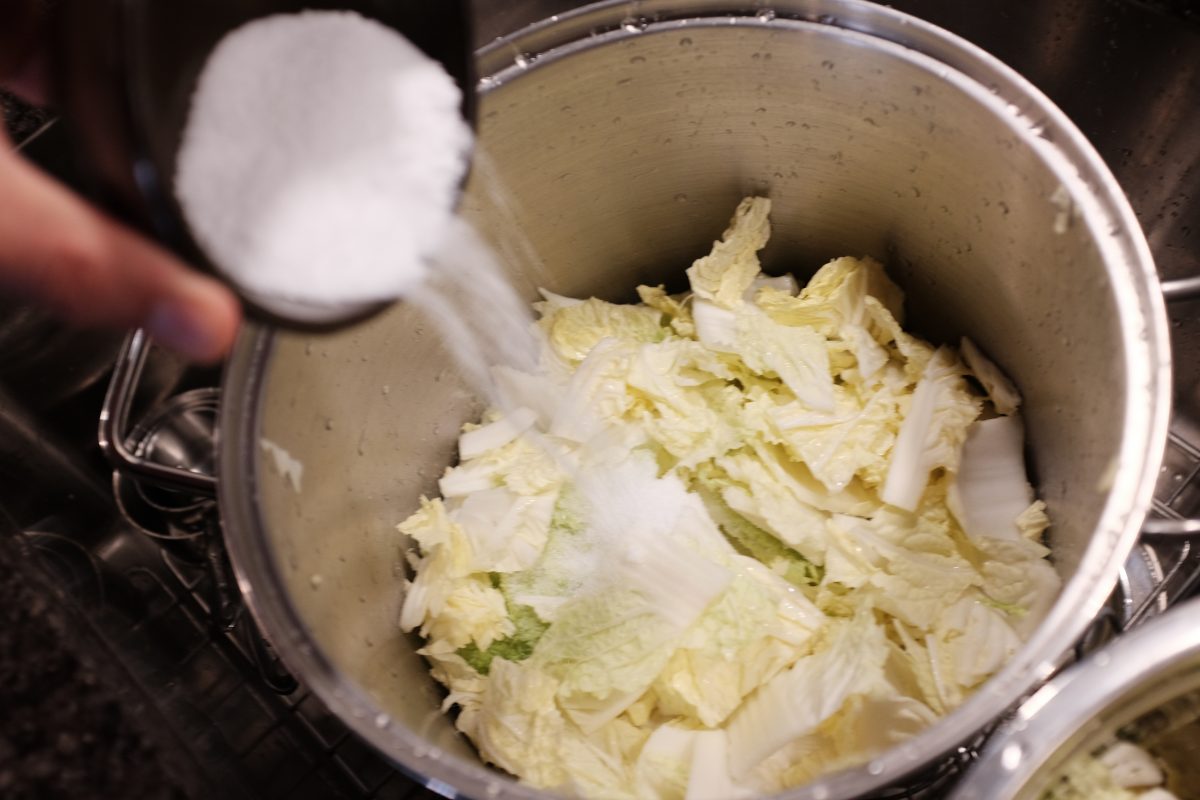
In a container large enough to hold all the cabbage, salt the cabbage in layers and mix it up well by hand. Use all 80 grams of kosher salt for brining but hold back the extra 2 tablespoons for seasoning until later. This is the brining stage. This will take about two hours. Mix the cabbage by hand every 30 minutes or so. Try to move the leaves from the bottom to the top. The cabbage will wilt and produce a good amount of water.

Making the kimchi paste

While the cabbage is brining, make the kimchi paste:
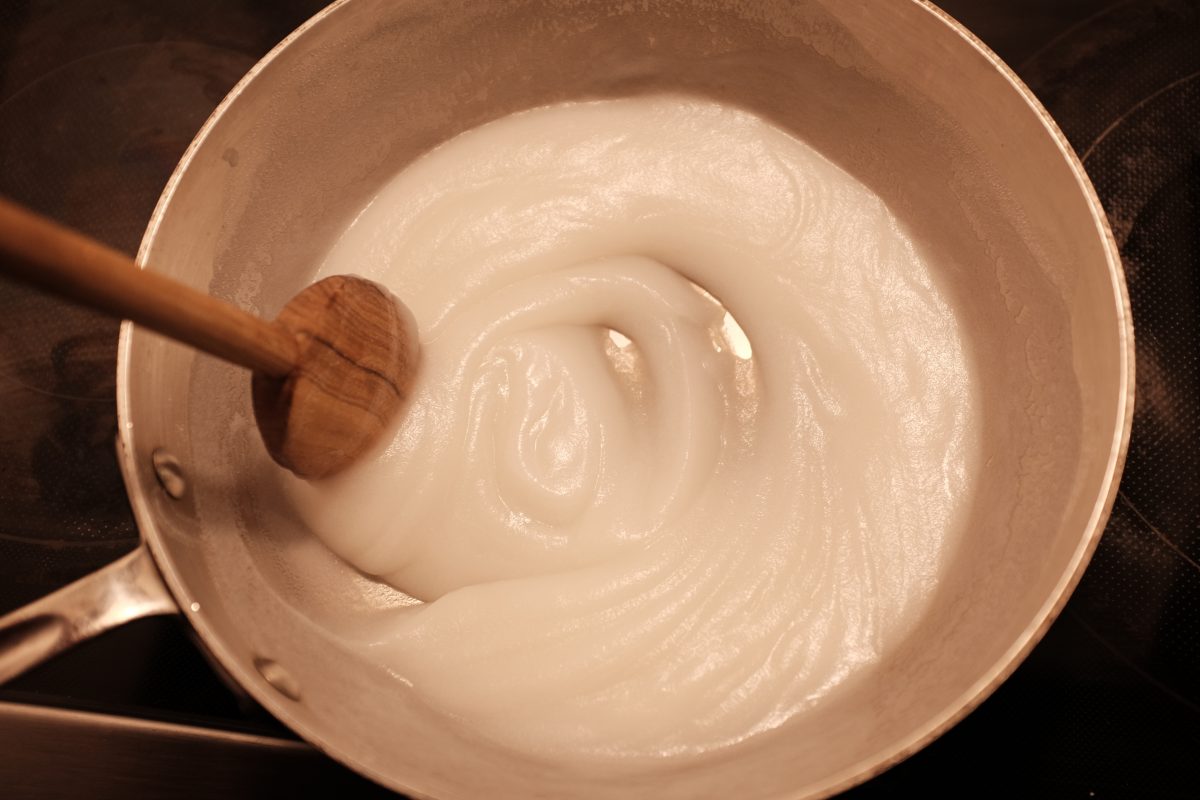
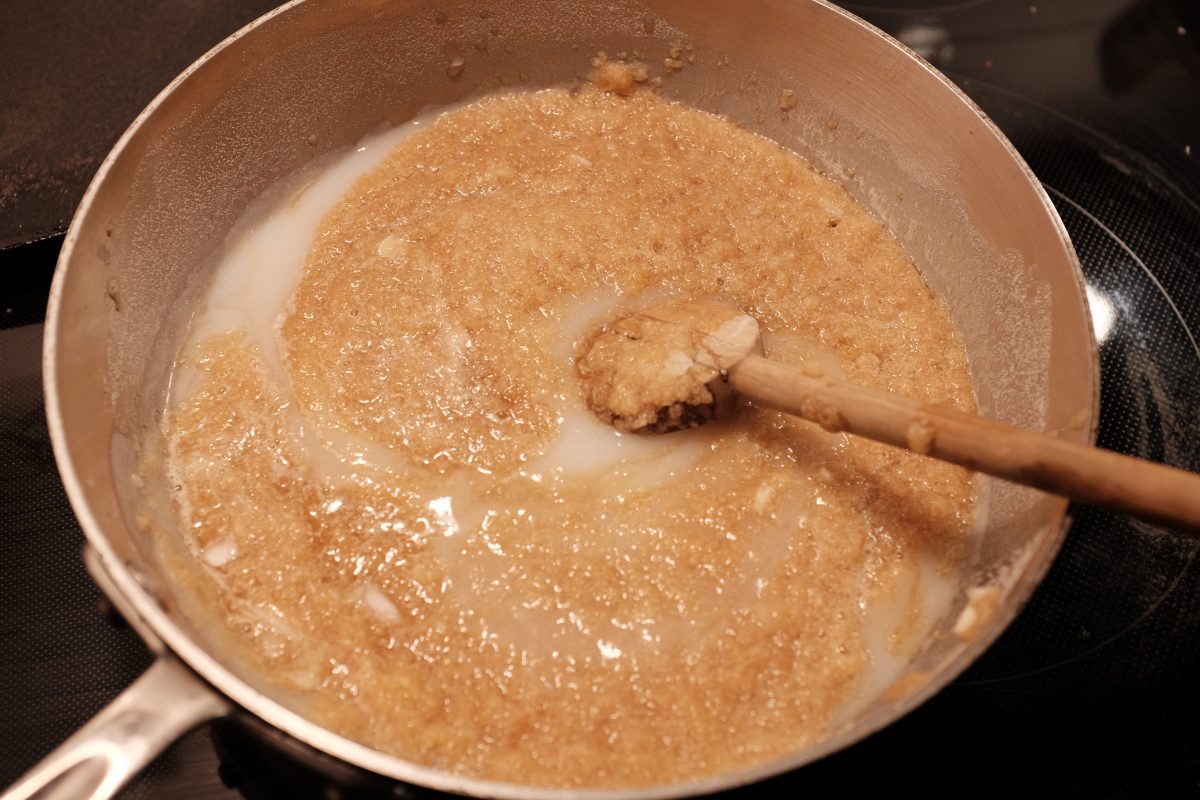
Combine the water and rice flour in a pot over medium high heat. Stir constantly until the slurry get very thick and starts bubbling a little. Afterwards, set it aside until it cools to room temperature.
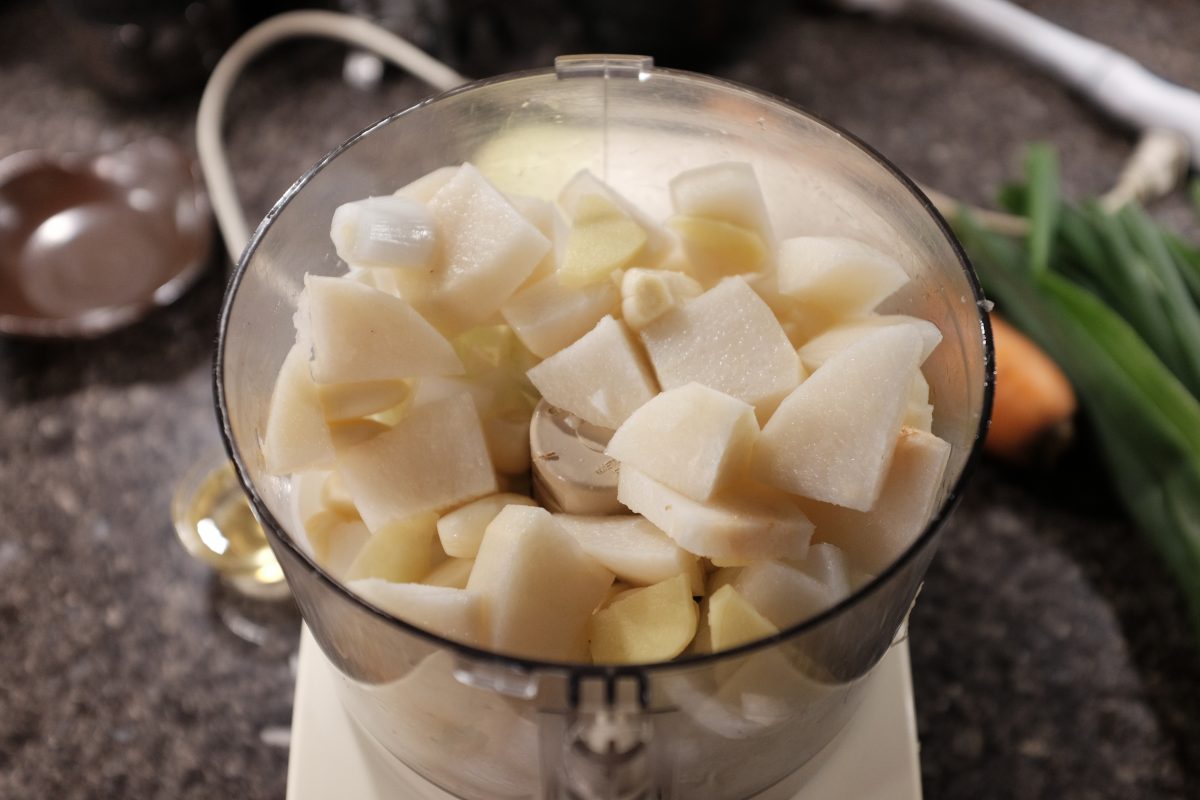
Peel and chop ginger, asian pear (or apple), onion and garlic. Place them in a food processor and mix into a uniform sauce.
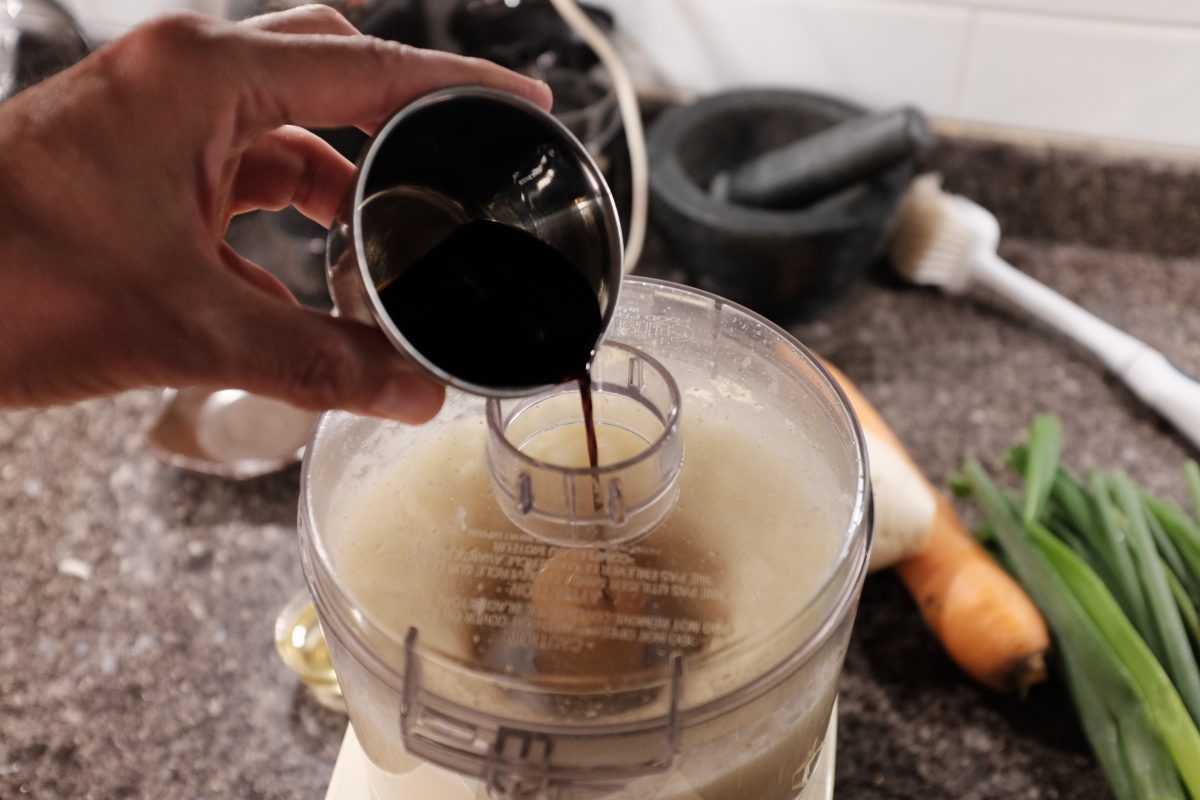
While it is running, add the soy sauce.
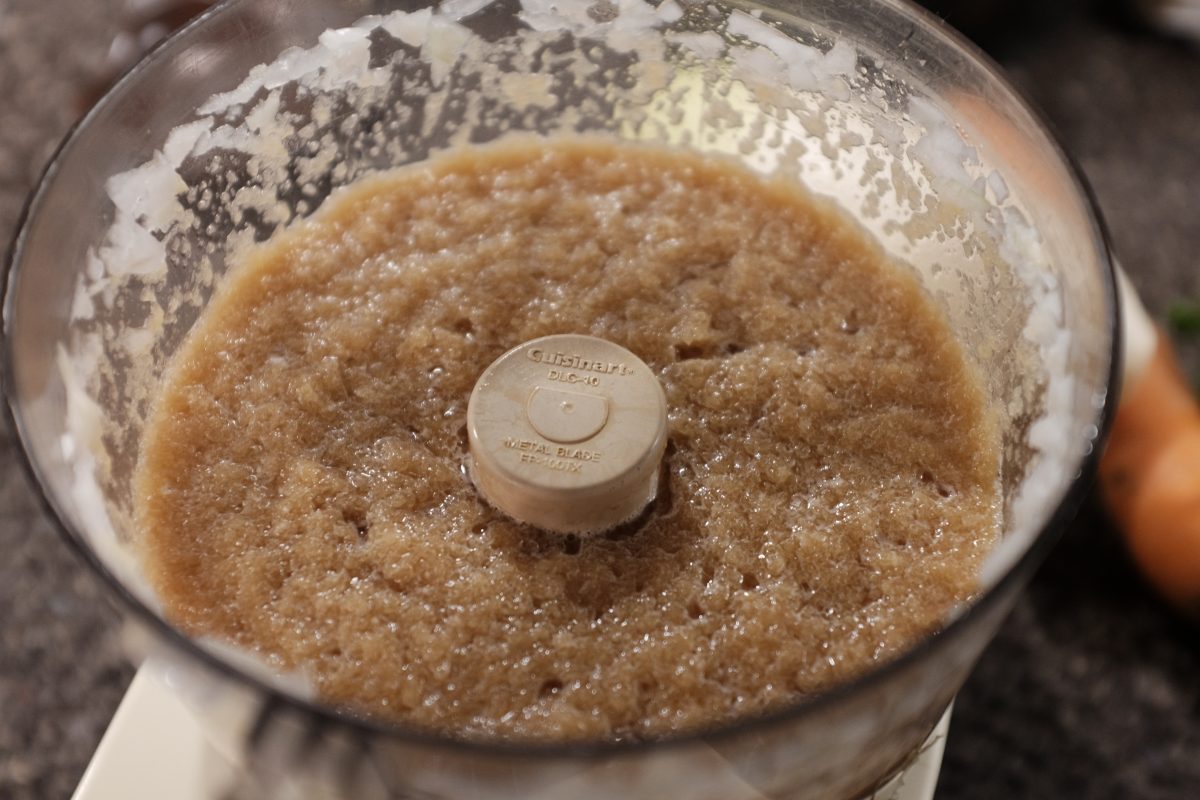
It should look something like this when it is done. If you don’t want to use a food processor or blender, you can also chop these ingredients by hand. It does not have to be this smooth.
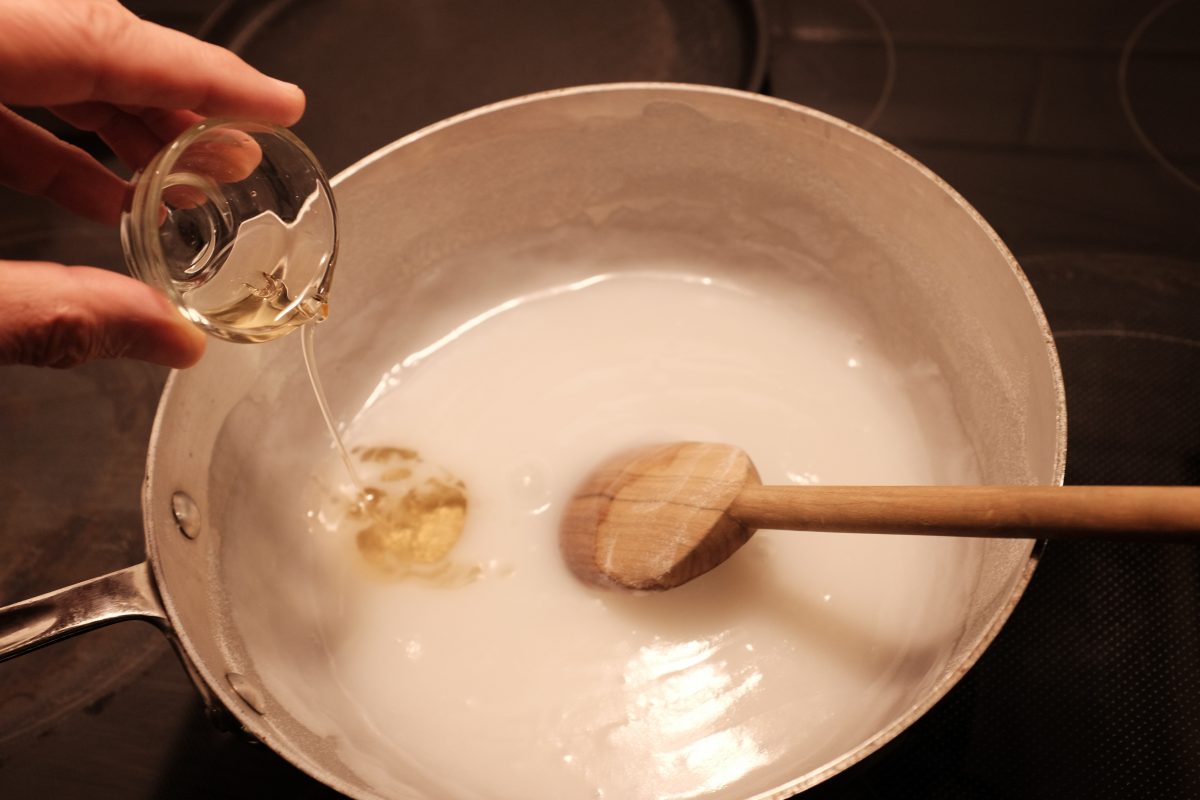
Add maesil plum syrup or white sugar to your cooled rice flour slurry. I am using maesil plum syrup because I have it on hand but white sugar works just as well.
Mix in the sauce from the food processor.
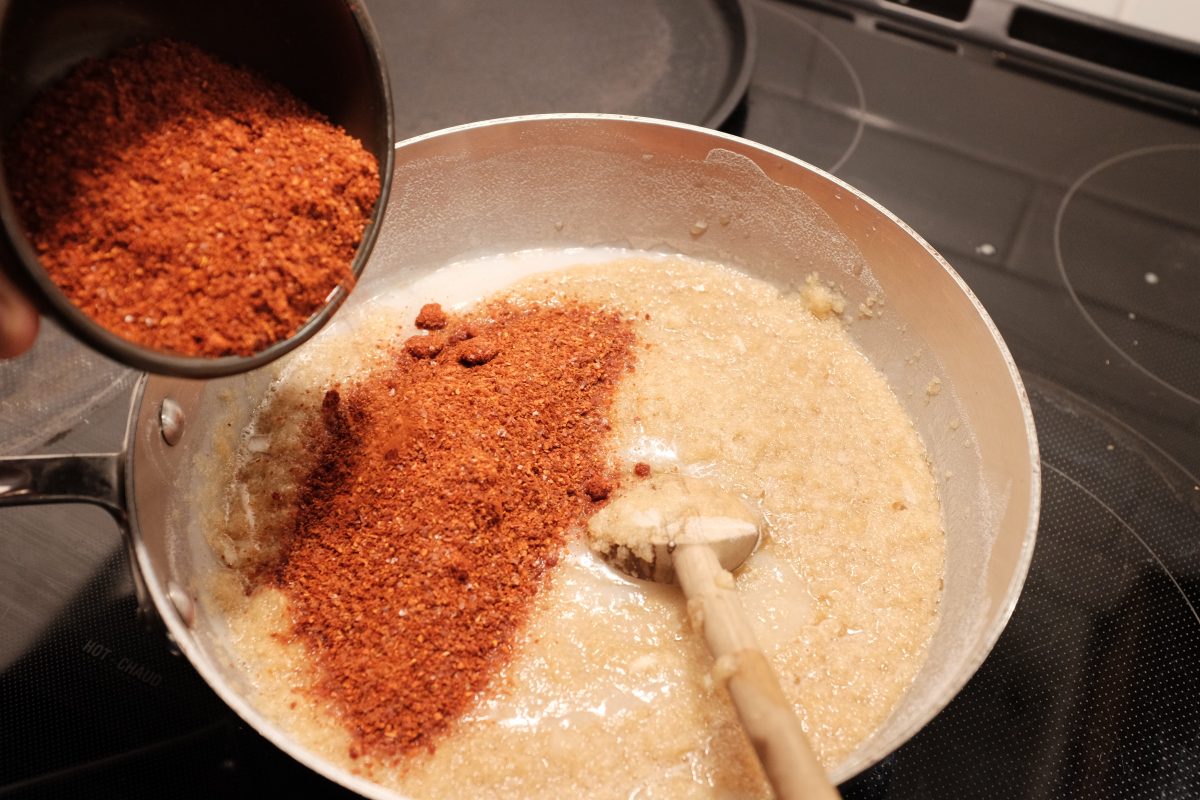
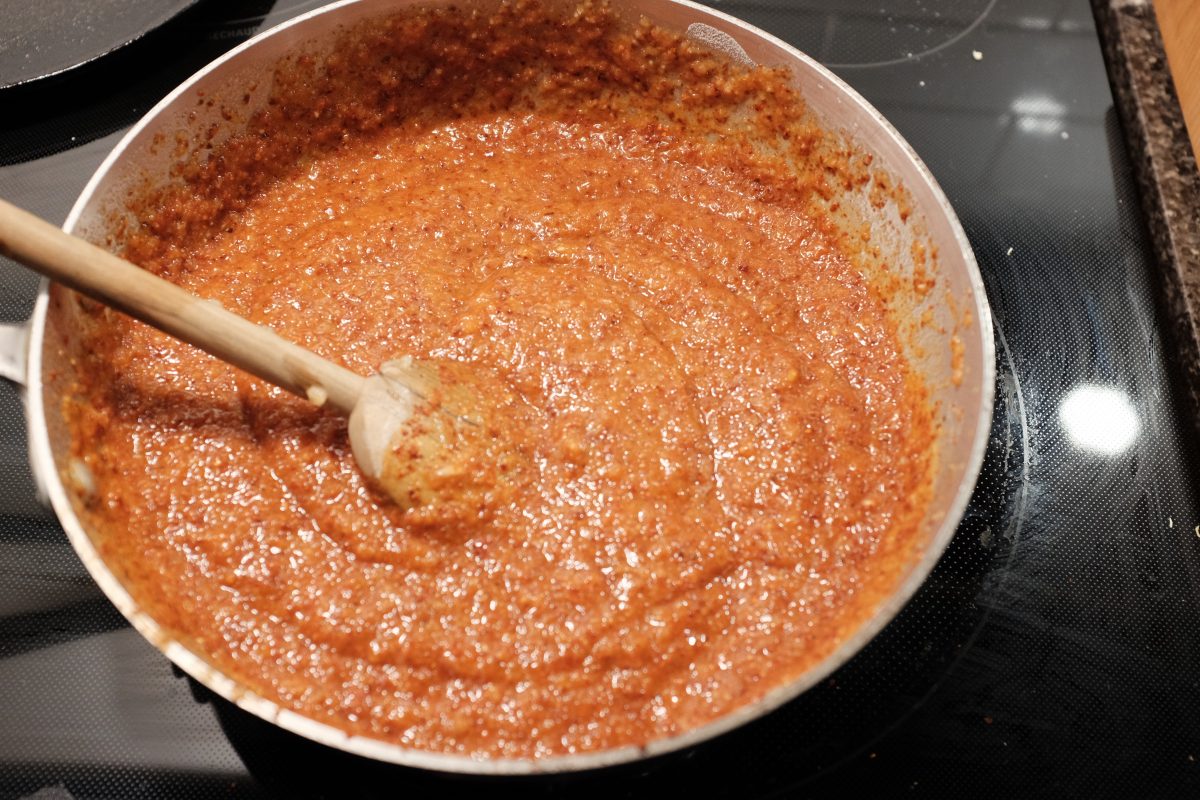
Add in the chili flakes. Start with a small amount, taste it and then add more if you want more spice. You can taste and add more now or later in the process. Chili flakes can be mild or very spicy so it’s hard to give a fixed amount to use. Depends on your preferences and the chilis you have. As long as you like the flavour, you have done it right.
Mix well and give it a taste to judge the heat levels.
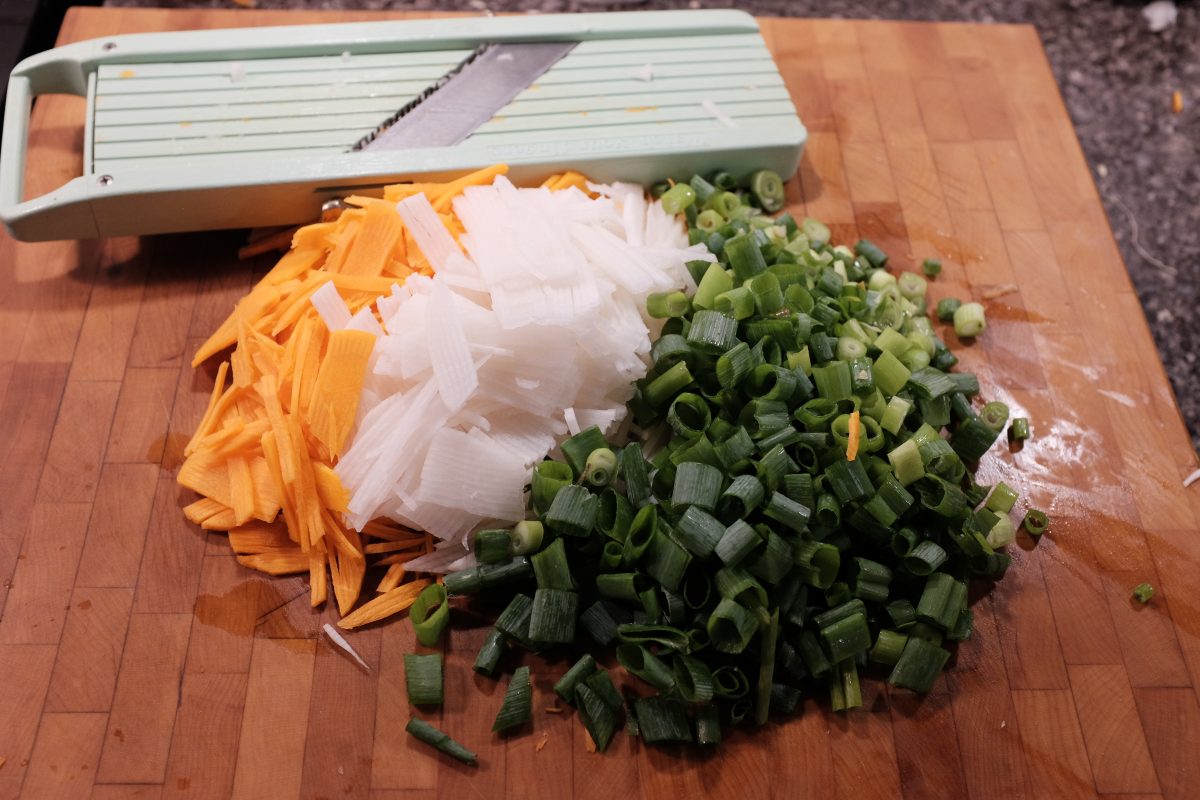
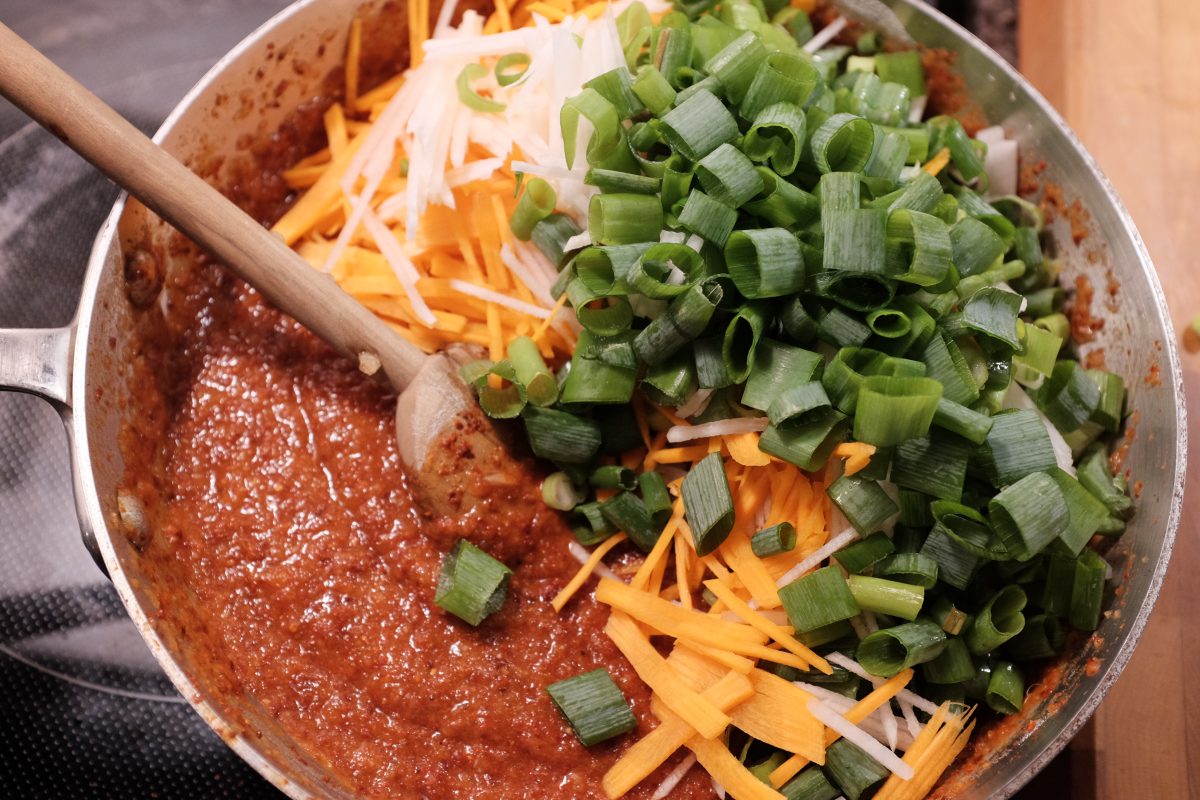
Cut the carrot and the Korean radish into matchsticks. I used this Japanese Benriner brand veggie slicer but you can use a knife instead. They don’t need to be perfectly uniform. Slice the green parts of the green onions into 1-2cm pieces.
Combine the veggies and paste.
Mix well, let it sit for a few minutes, and taste it again. This is a good time to adjust the spice level AND the salt level. If you think that the paste is a little bland, season with small amounts of salt until you like the flavour. In a regular kimchi recipe, brined baby shrimp and fish sauce add a large amount of salt. Because we have left them out, we have to bring up the salt level a little in other ways. The soy sauce will do some of the work, but you will probably need to add a little salt here as well. I ended up using around 2 tablespoons but you do not have to use this much. It better to put less now and add some later on, even days later. Once it is too salty, it is nearly impossible to fix.
The kimchi paste is done. Once the cabbage has finished it’s 2 hour brine, these will get combined.

Put it all together

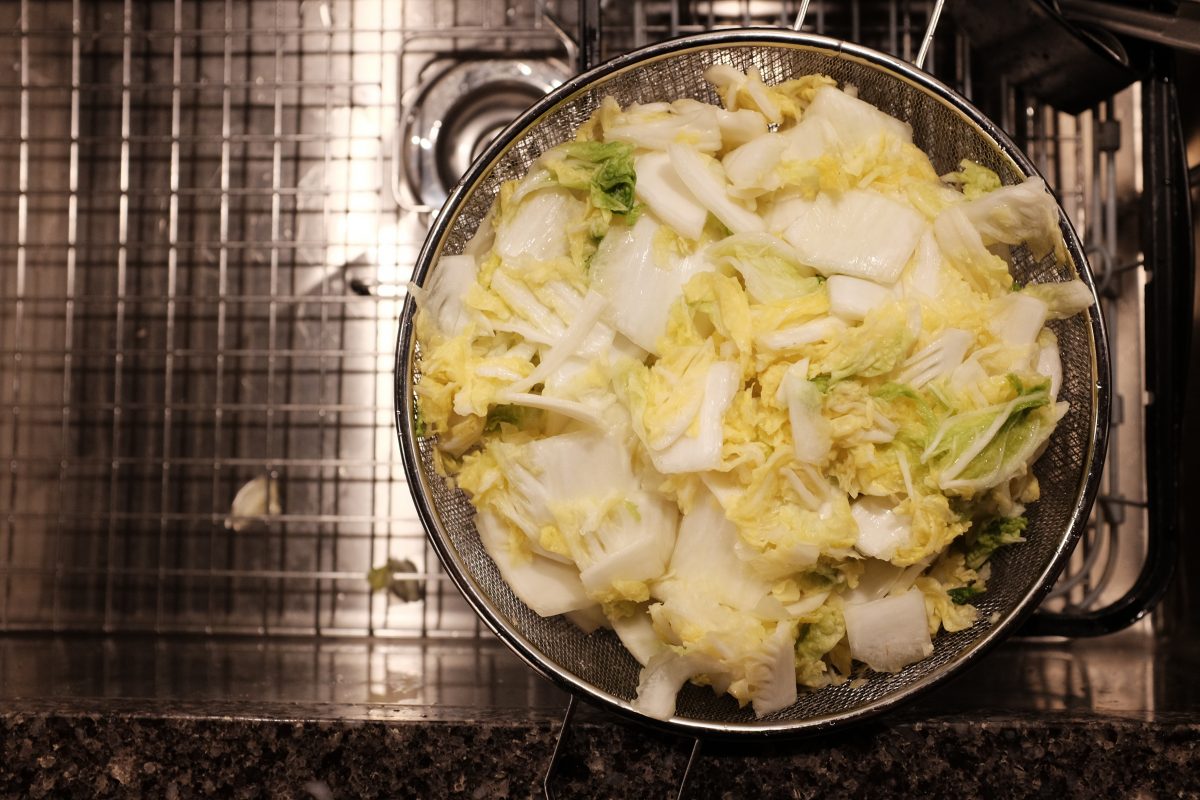
Once the 2 hour salting time is up, wash the cabbage 2 or 3 times in fresh cold water.
Put it into a strainer and allow it to drain completely. This can take 10-15 minutes. Wait until no more water is running out of the bottom of the strainer.
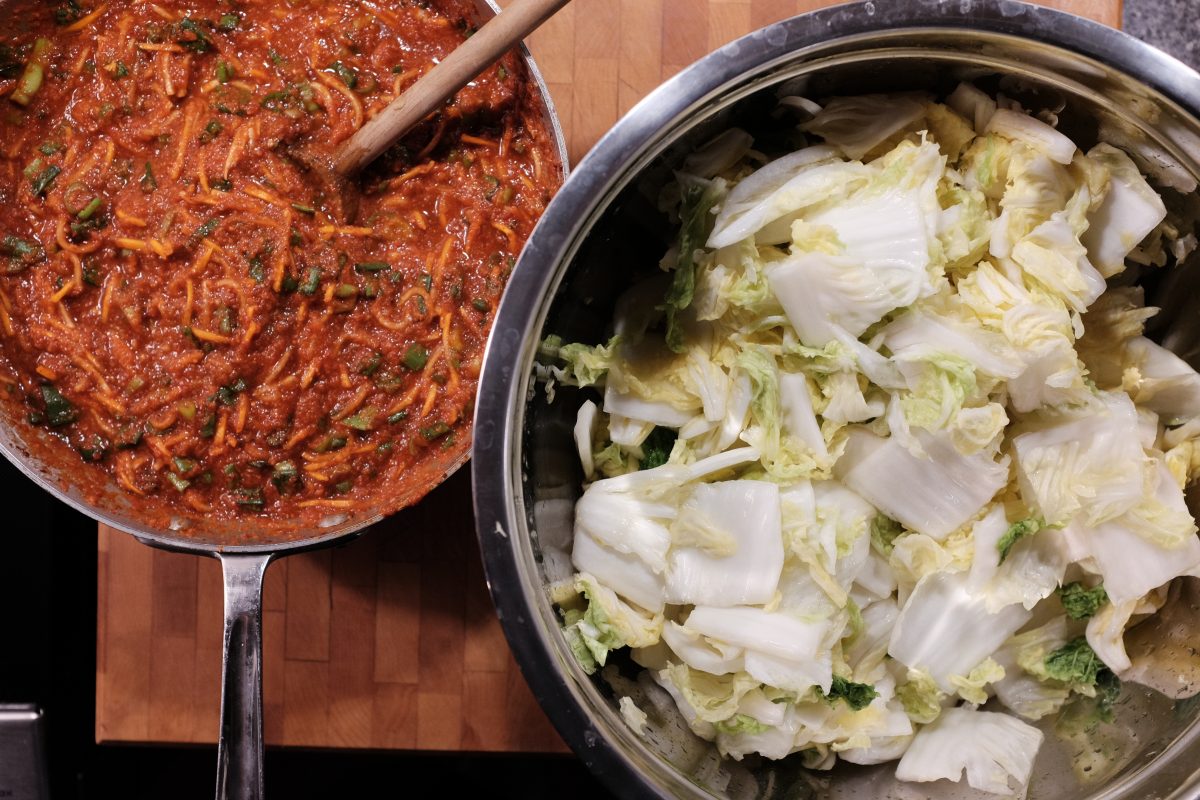
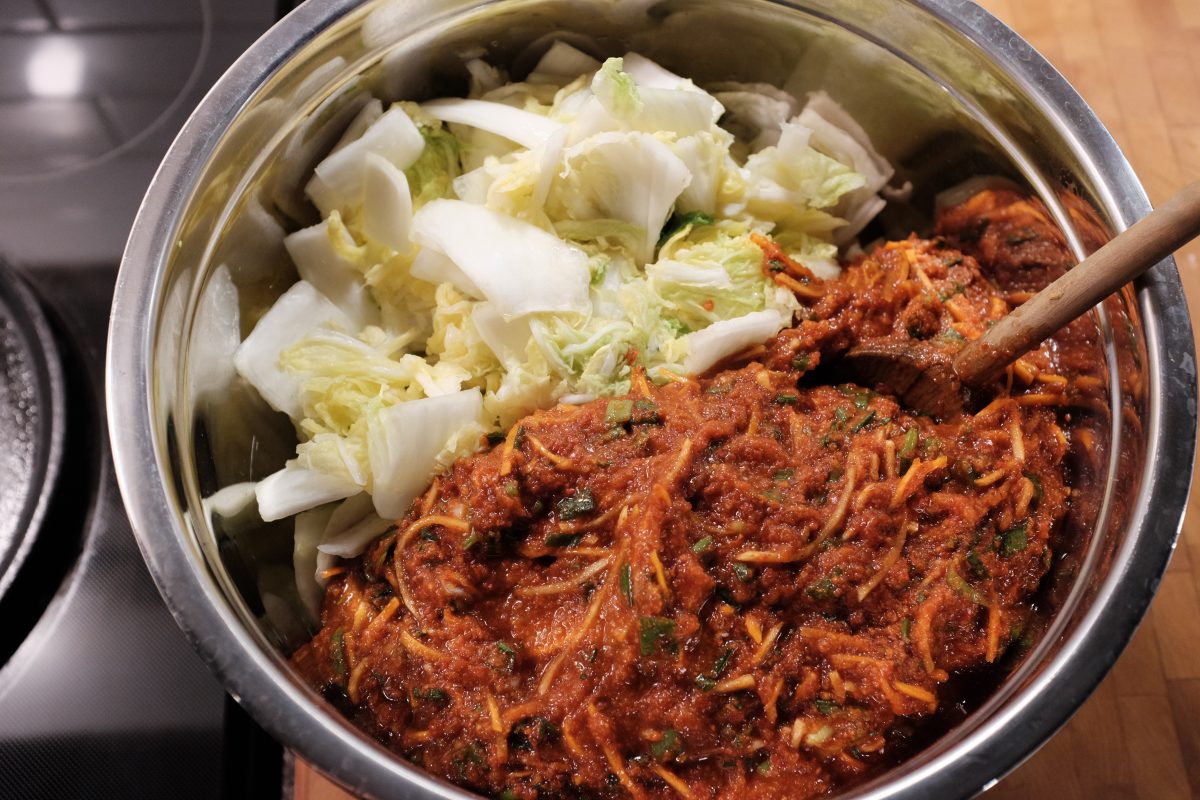
Cabbage and paste can meet.
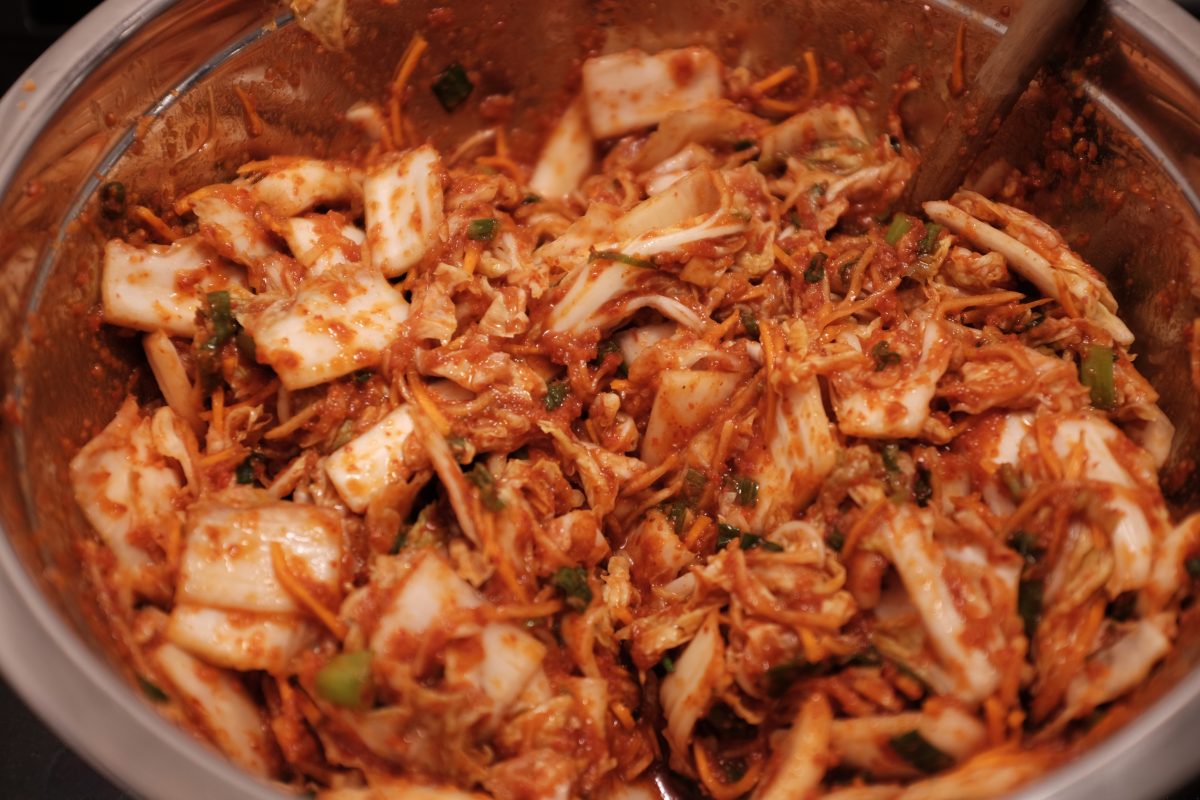
Mix them together and taste it again. Adjust salt and chili if you think it is necessary. If it tastes ok, you are done!
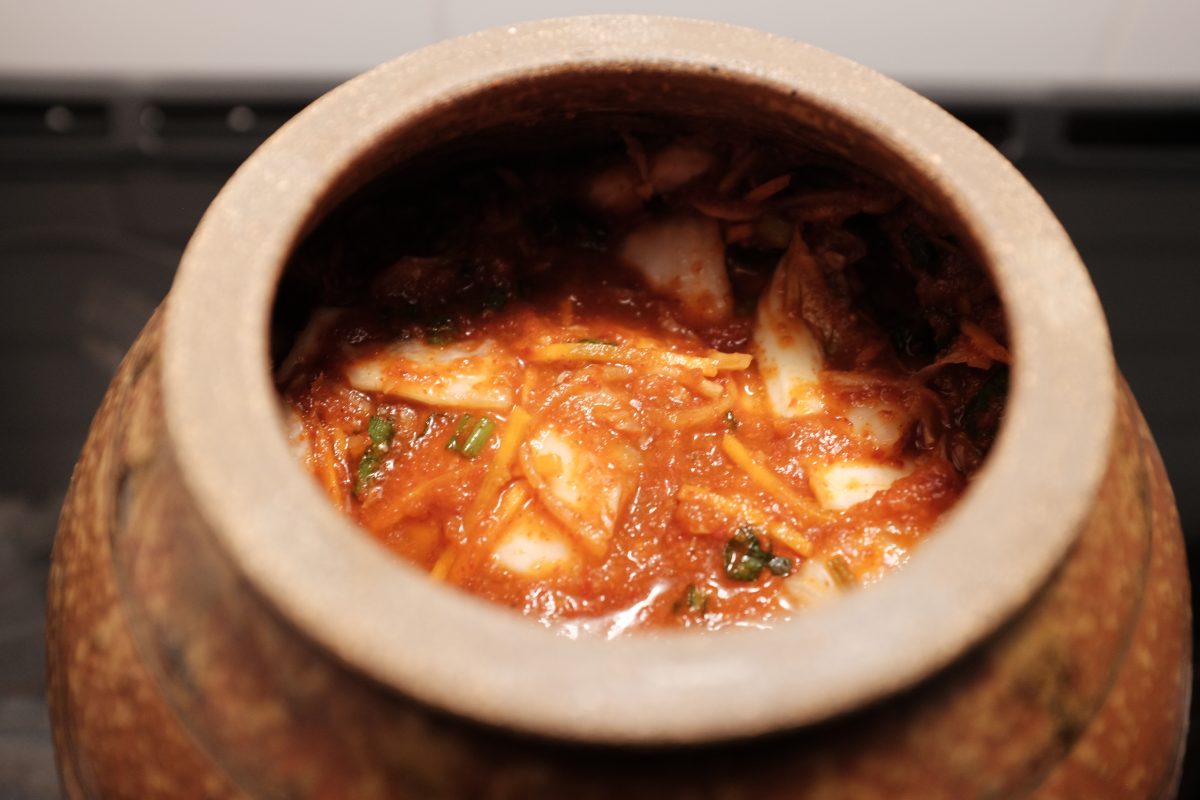
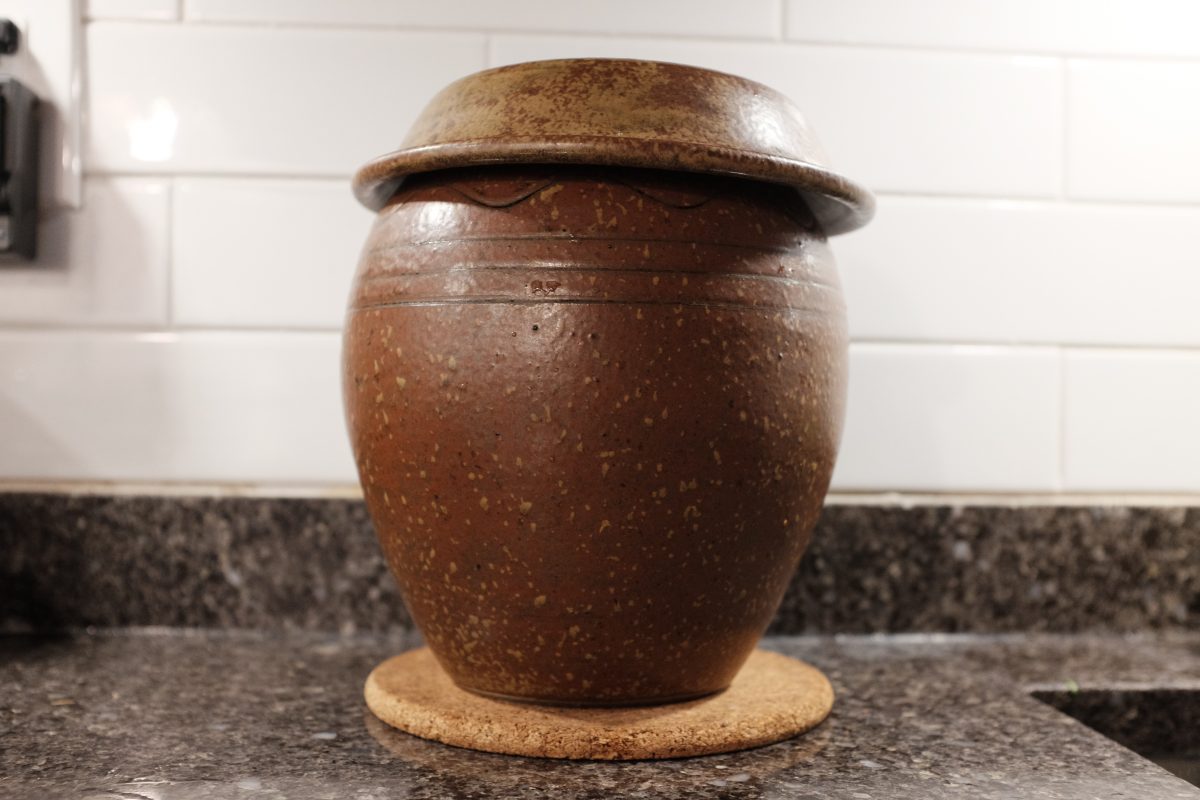
I am using a stoneware onggi jar to ferment this batch of kimchi. I have them around the house so this is what I usually use. Mason jars or a glass storage container can work just as well. You can also use plastic containers but keep in mind that they will probably always smell like kimchi after you have used them. Whichever container you choose, make sure to leave the lids loose so that fermentation gasses can escape.
Leave your container at room temperature until the kimchi is fermented to your liking. This could be as little as overnight or as long as several days depending on the temperature of the room. Taste it a couple of times per day. When the kimchi is nearly as sour as you like, store it in the fridge to slow down the fermentation. If you prefer fresh crisp kimchi, you can refrigerate it right away.

Now what?

For ideas on what to do with your kimchi take a look at this post.

If you have any questions or comments, please leave them below. I am always happy to hear from you.

Thanks for reading!

Kkakdugi or Korean Radish Kimchi

Kkakdugi, or Korean Radish Kimchi, is one of the fastest and simplest kimchis to make. There are relatively few steps and just a handful of ingredients. The recipe you will see here is a little different from others you may find.

Last time I travelled through Korea, I noticed 2 distinct kinds of kkakdugi. One was the classic little cubes served as a side in many restaurants. The other is a much larger and chunkier radish kimchi. This second one accompanies clear and mild beef broth dishes like seolleongtang or doganitang. The pieces of radish tend to be bigger and less uniform and there is much more liquid in the kimchi. The kimchi is on the table in a big container from which you can eat the radish but you can also use the kimchi-juice to season your soup. This is what I am attempting to make here. You can also just eat it as a side the same as you would any kkakdugi.

Ingredients

As a chef, I always preferred to cook by weight rather than volume. I grew up using the metric system and I like it very much. So, as much as possible from now on, I will include metric equivalents. Keep in mind that other than salt and radish, you can vary ingredients as you like to suit your tastes.

  • 3.5-4lb (1.5-2kg) Korean radish (the one i am using is 1700gr)
  • 2 tablespoons (25gr) Diamond Crystal Kosher Salt
  • 1/4cup (30gr) korean chilli flakes / gochugaru
  • 1 tablespoon (20gr) salted baby shrimp / saeujeot
  • 10 cloves (35gr) garlic minced
  • 1 teaspoon (10gr) ginger minced
  • 1 tablespoon sugar (75gr)/syrup
  • 1 asian pear peeled and chopped
  • 1 cup of chopped green onion/scallion or asian chive/buchu

Korean radish is similar to white daikon in some ways but the flavour of Korean radish is usually more sweet and vegetal and less hot and bitter. But, if you really can’t find Korean radish, daikon is a reasonable substitute.

I am using Diamond Kosher salt. You can substitute 30 grams of any good salt, but avoid using table salt.

I just happen to have a homemade maesil plum syrup on hand which I am using instead of sugar. If you want to try it, you can find maesil syrup in any Korean grocer.

Feel free to vary the amount of chilli flakes to make this as spicy or as mild as you like.

Korean pears are not available at this time of year so I am using a whole regular asian pear which is roughly half the size of the Korean variety. You can also substitute an apple or regular pear or leave it out altogether.

Process

raw ingredients for kkakdugi korean radish kimchi
Raw ingredients
chopped Korean radish
Peel and slice radish into disks approximately 3cm/just over an inch thick
Showing the size of the radish pieces after cutting
Use a chef knife to chop the radish into chunks. They don’t need to be the same shape but they should be roughly the same size. As a size guide, you should probably not be able to fit more than one or two chunks on a spoon.
This looks pretty good…
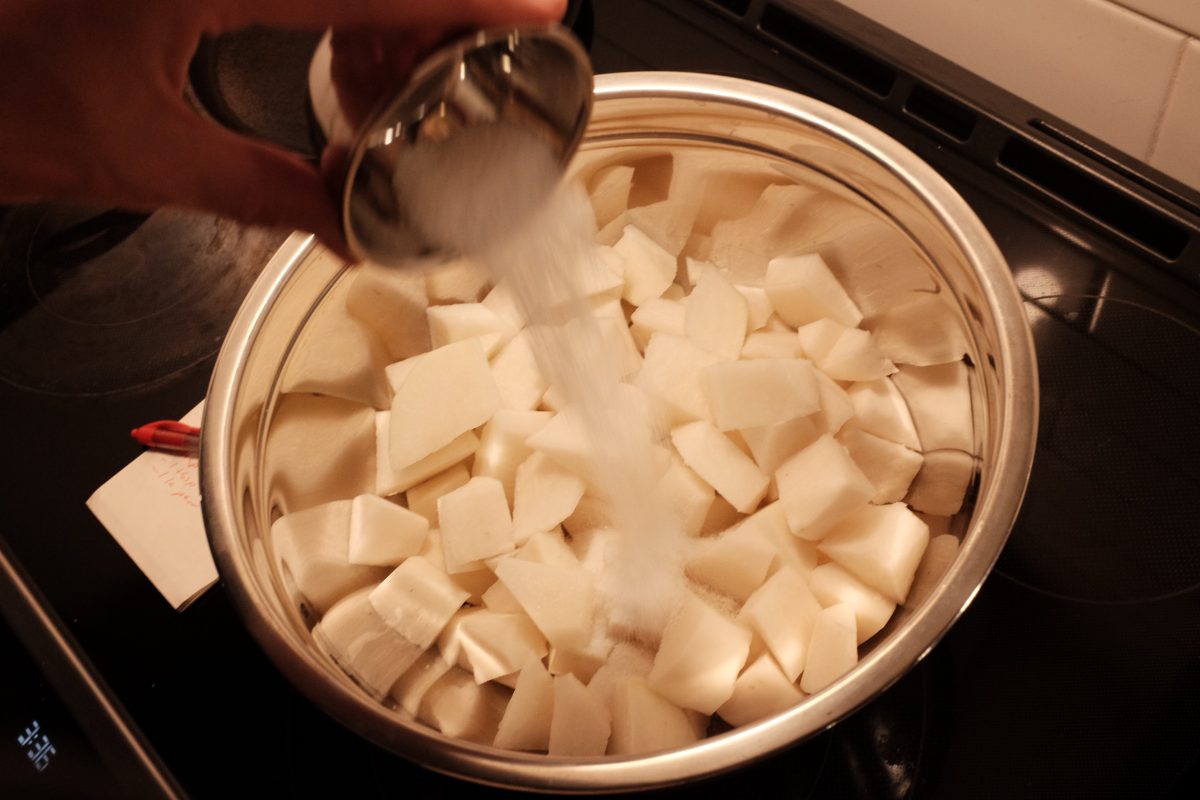
adding salt to the chopped Korean radish
Add the salt and mix thoroughly. You can now let the radish rest for an hour or so. Mix it up every 15-20 minutes moving the radishes on the bottom to the top.
picture shows moisture coming out of salted Korean radish
Within just a few minutes, the radish pieces will start to release water.
shows minced garlic and ginger ready for kkakdugi korean radish kimchi
While you are waiting for the radish to brine, mince the garlic and ginger.
shows asian pear shredded on slicer
Peel and chop the asian pear. I chose to run it over this Benriner Japanese slicer/shredder.
Shows chilli flakes, garlic, ginger, shrimp, pear and plum syrup together in one bowl. Ready to season kkakdugi kimchi
Put garlic, ginger, pear, salted shrimp, chilli flakes and sugar (or syrup) together in a bowl
bowl of stirred up seasoning ingredients for Kakkdugi Korean radish kimchi
Mix them all together
shows how much water the salted radish released
After an hour, the radish has released a good amount of water.
showing the draining of water from the radish
Drain off the radish water and reserve it. Do not rinse the radish.
a measuring cup showing the volume of water released: 250ml/1 cup
I got almost 250ml/1 cup of water out of this radish. I will probably end up adding all of it back as I want this kimchi wet and the radish itself does not taste too salty right now.
Add all ingredients together
radish mixed with seasoning ingredients
Stir them up. Now is a good time to taste the kimchi. The radish will still release a large amount of water so don’t worry if it seems salty now: this will change. Taste for spice..add more chilli flakes if you prefer more heat.
how to chop buchu or scallions
Chop your buchu or scallions into 2cm pieces
adding back released water
Stir the greens back into the radish mix and add back the water
Finished product: here you get an idea of the size of the pieces.
Shows finished Kakkdugi Korean radish kimchi in a mason jar
I will let this ferment in a large mason jar on the counter for a day or two until it starts to sour. It is a good idea to put a plate or tray under the jar. The kimchi will expand as it starts to ferment and it may overflow a bit. Also…the bacteria that ferment your kimchi are much happier in the dark. Keep your jar away from sunlight or bright indoor light. I will cover this jar with a towel.

Allow the kimchi to ferment on the counter for a day or two. Taste it a couple times a day and when you are happy with the flavour, refrigerate it. You can eat the radish kimchi as is as a side to any dish or use the kimchi liquid to season mild soups.

Just like any kimchi, kkakdugi will continue to ferment and sour over time. If it gets too sour to eat as is have a look here for ideas on how to use well aged kimchi. Radish kimchi will work just as well as cabbage kimchi in hot dishes. I especially like it in kimchi fried rice.

If you are also looking for a good cabbage kimchi recipe, you can find mine here.

Lastly, if you are interested in what Seolleongtang looks like in Seoul, Korea, have a look here or here. Maybe in the future I will put up a recipe for Seolleongtang although it is a long long process that is challenging to make at home. Here is a good recipe from Korean Bapsang. This kimchi would be a perfect accompaniment!

If you have any questions or comments, please leave them below. I love to hear from you.

If you enjoy the content and would like to contribute towards website maintenance and development, you can make a donation here.