Posts Tagged: Korean
Roasted Peanut and Anchovy Banchan
Roasted Peanut and Anchovies:
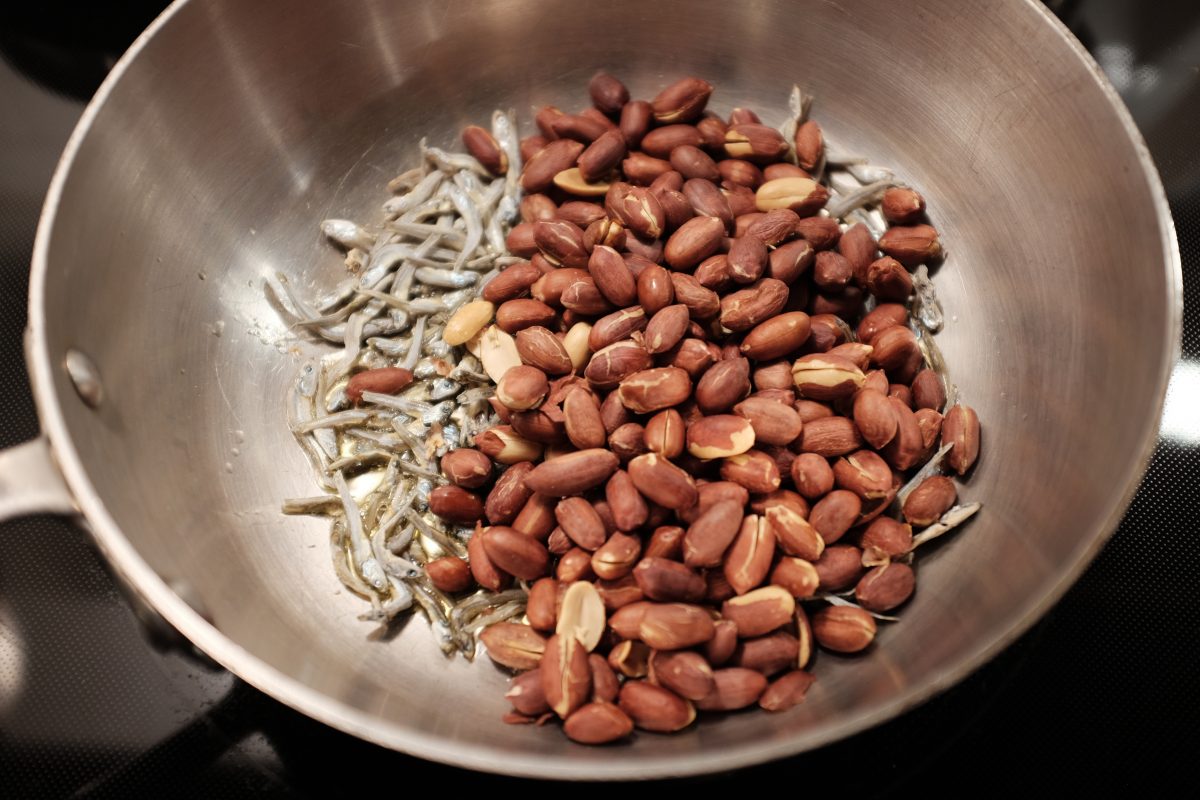
This is one of my all time favourite Korean side dishes. It is much more common to see it called Fried Anchovy and Peanut / 멸차땅콩볶음 but this version has far more peanuts than fish so I reversed the name to Peanut and Anchovy / 땅콩멸치볶음. There are a few different grocery stores around me that sell ready made versions and I have tried all of them. Some are spicy, some are not and the ratio of anchovy to peanut is all over the place. Some are mostly anchovy, some half and half and some (in the cheaper places) are mostly nuts with just a few fish. Peanuts are cheaper than dry anchovies by far. This recipe is a mostly peanut version..which is really the one I love most. I also have an anchovy only recipe here.
Ingredients:
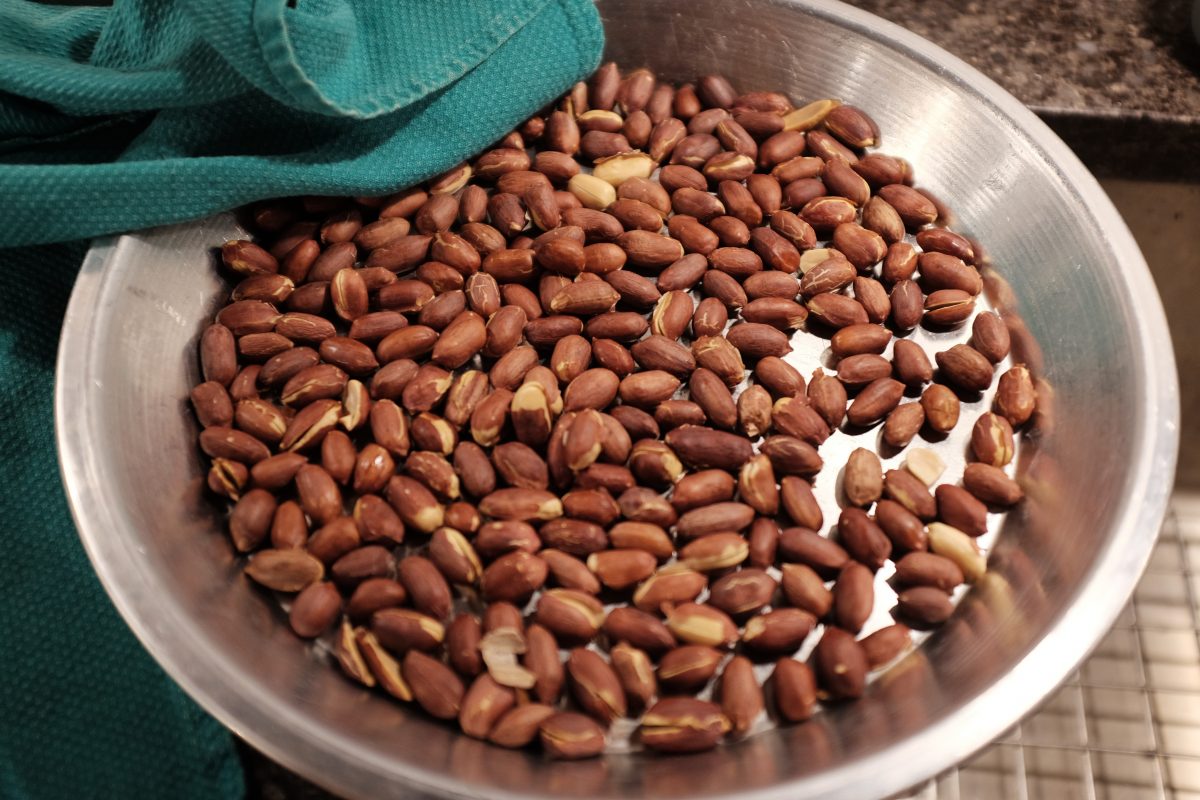
- 250 grams (about 1.5 cups) dry non-roasted peanuts
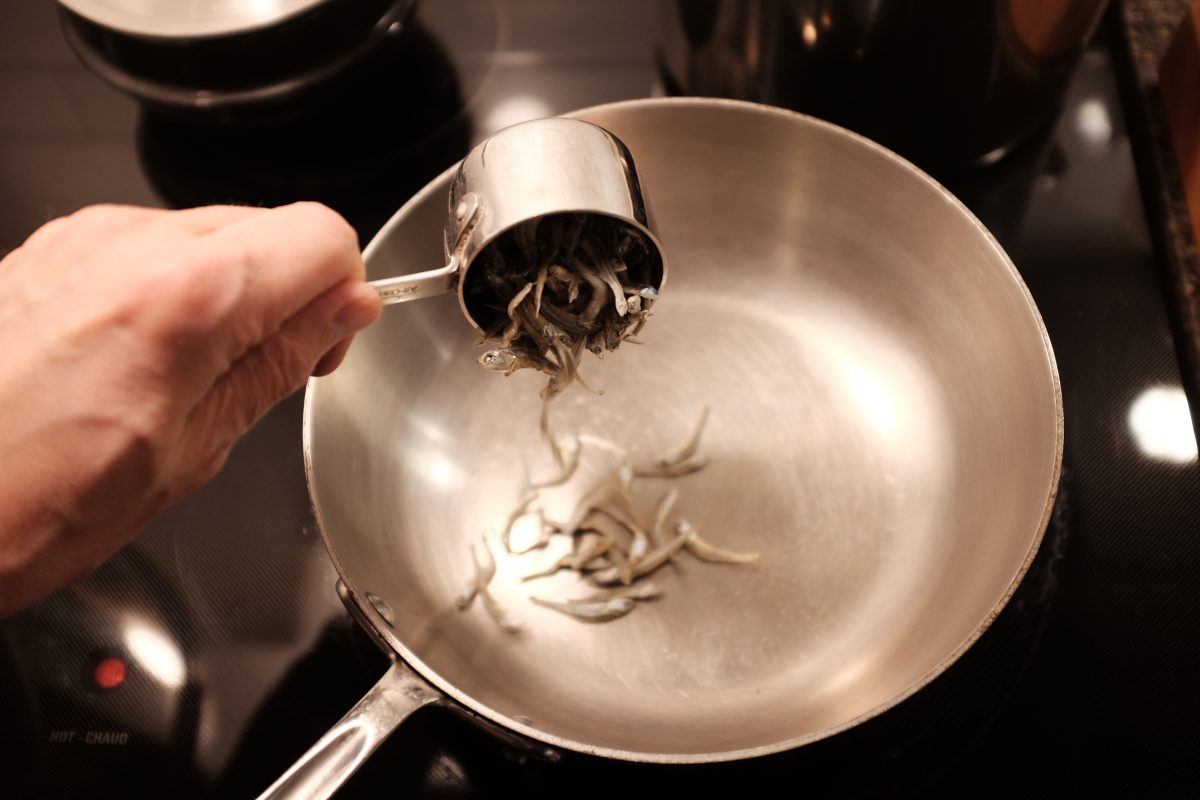
- 25 grams (1/2 cup) medium small dried anchovies
- 45 grams (3 tablespoons) brown sugar
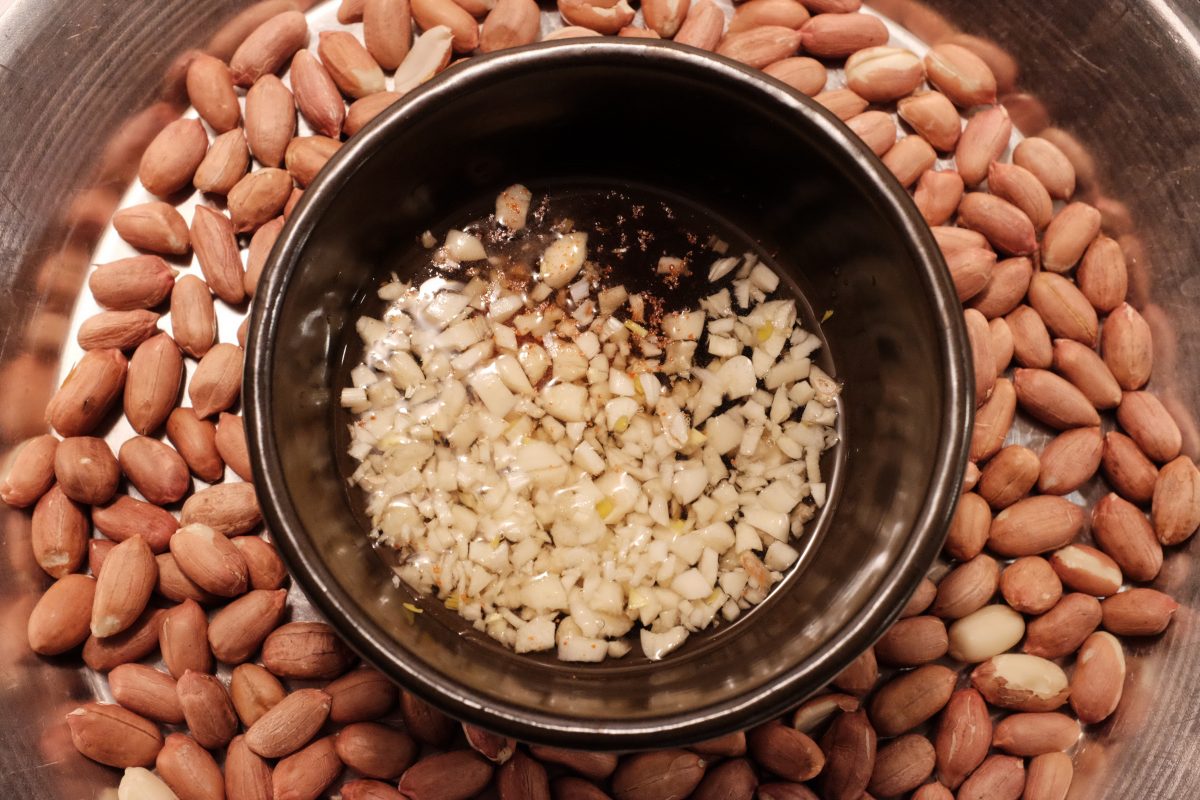
- 50-60 ml (4 tablespoons) water
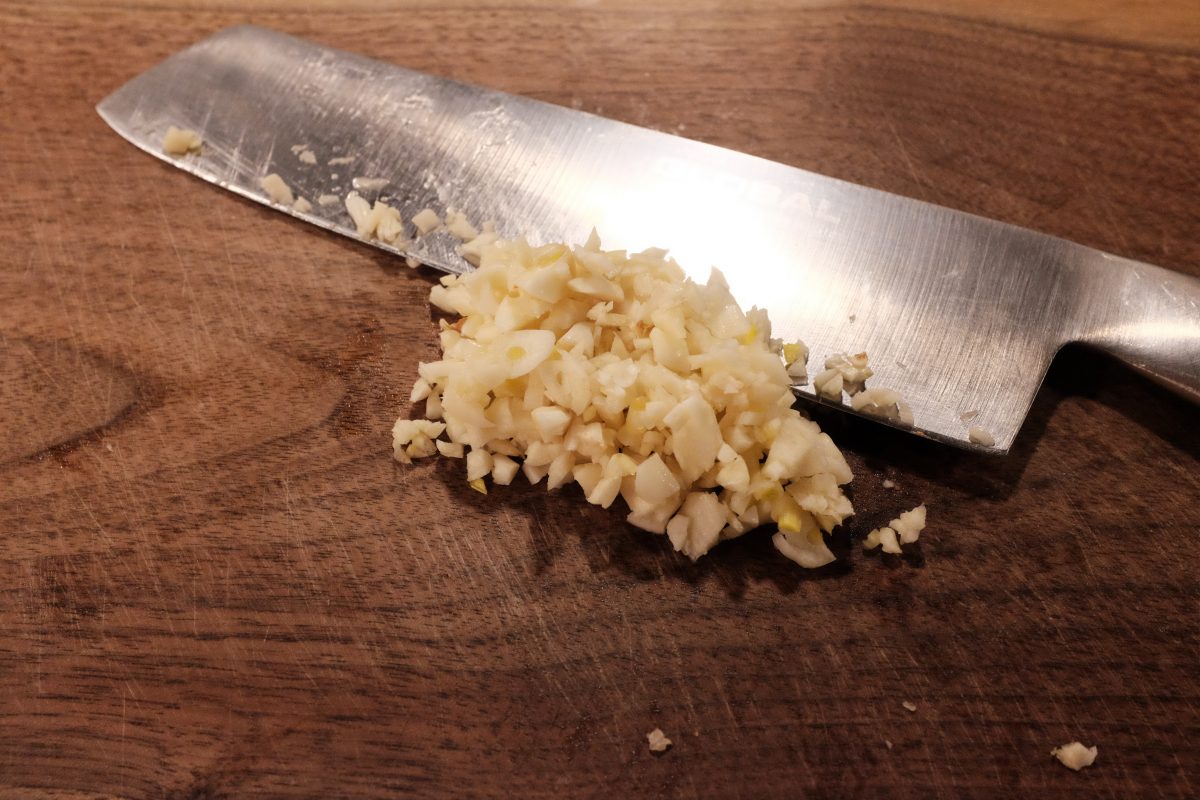
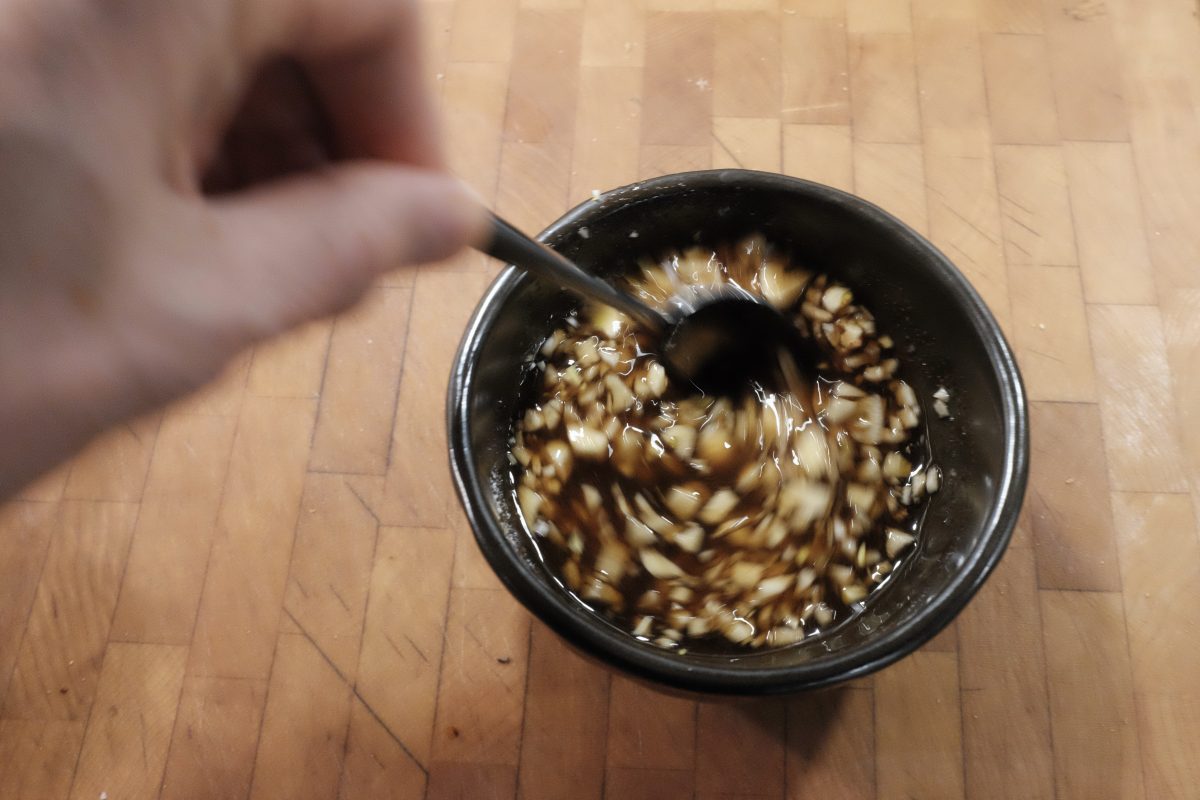
- 4-5 cloves of garlic
- pinch of korean chili flakes (gochugaru)
- sesame oil and sesame seeds (optional but tasty)
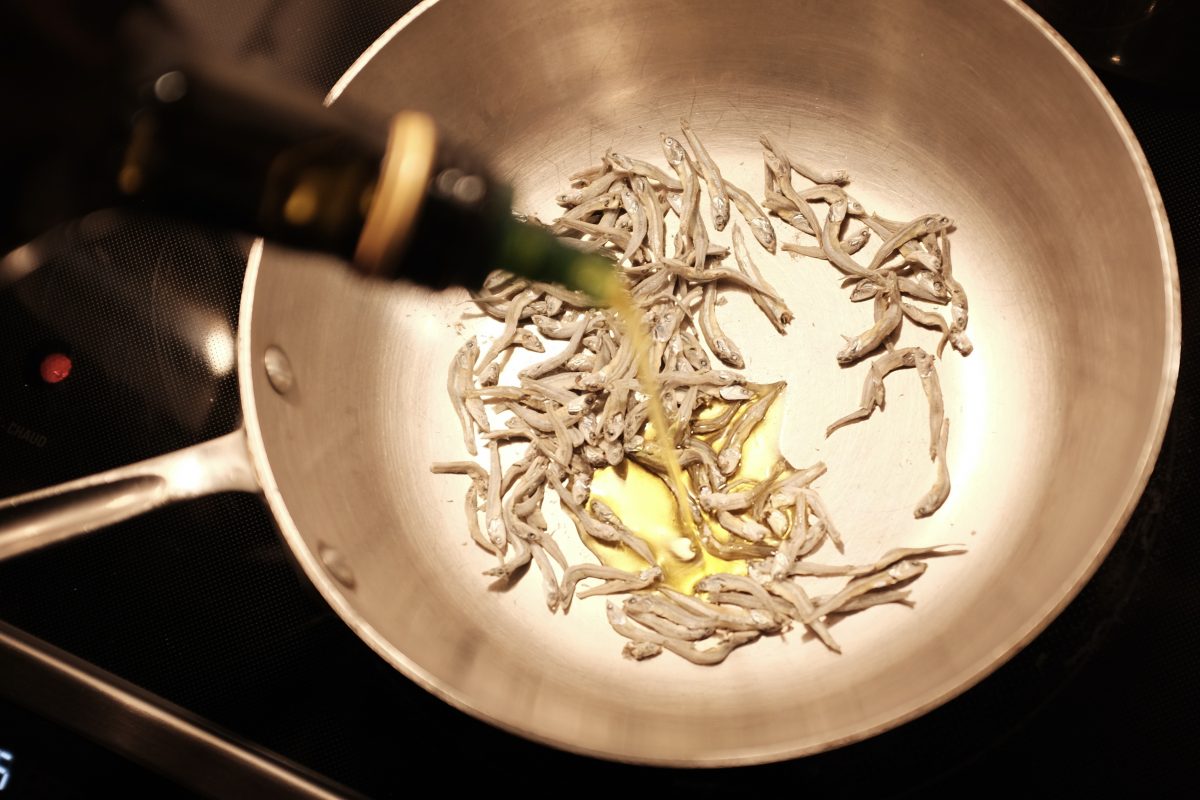
- olive oil for frying
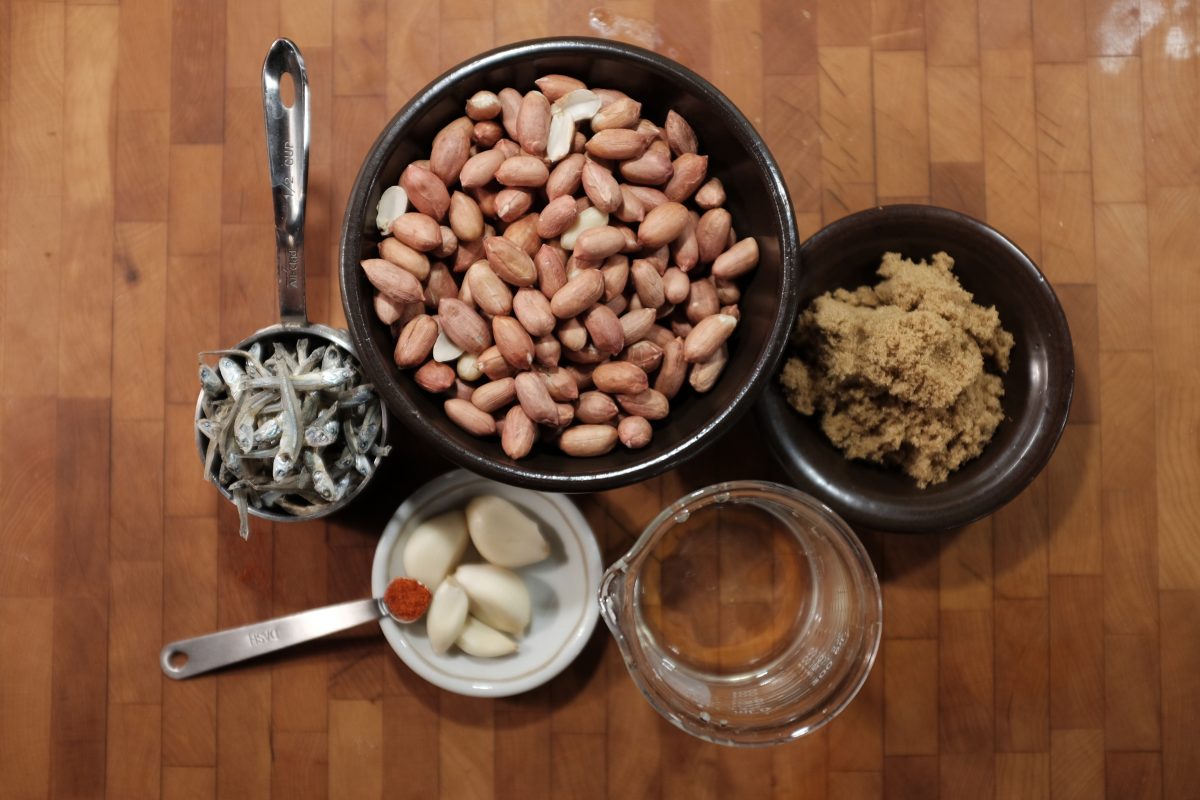
Feel free to change the ratio of peanuts to anchovies. You can even make this without anchovies for a vegan side dish.
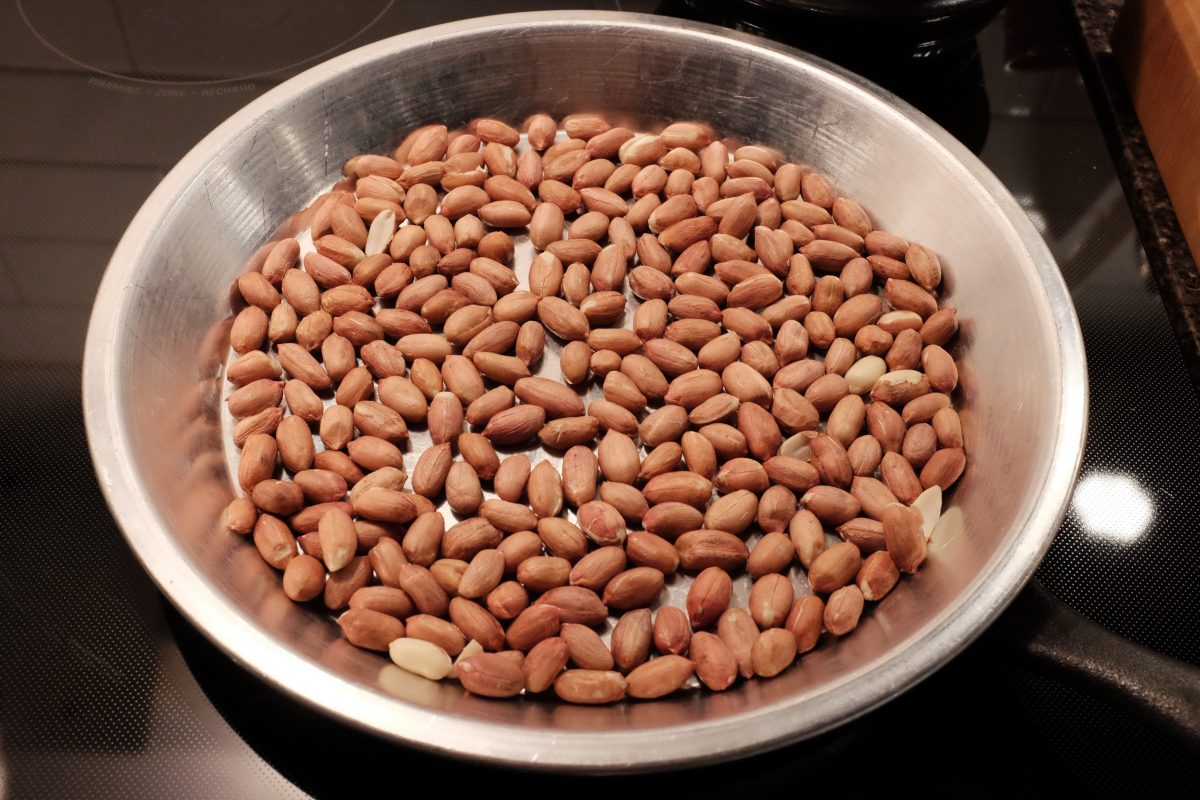
The peanuts should be non-roasted and unsalted. I found these red skin dry (but not roasted) peanuts at a local asian grocery store. If you can’t find raw peanuts…you can substitute roasted peanuts and skip the oven step.
I am using medium small dried anchovies. They are roughly twice the length of a peanut and probably the biggest anchovy I would use without gutting them. I found these at a Korean grocery store in the freezer section.
You can use white sugar instead of brown.
Process:
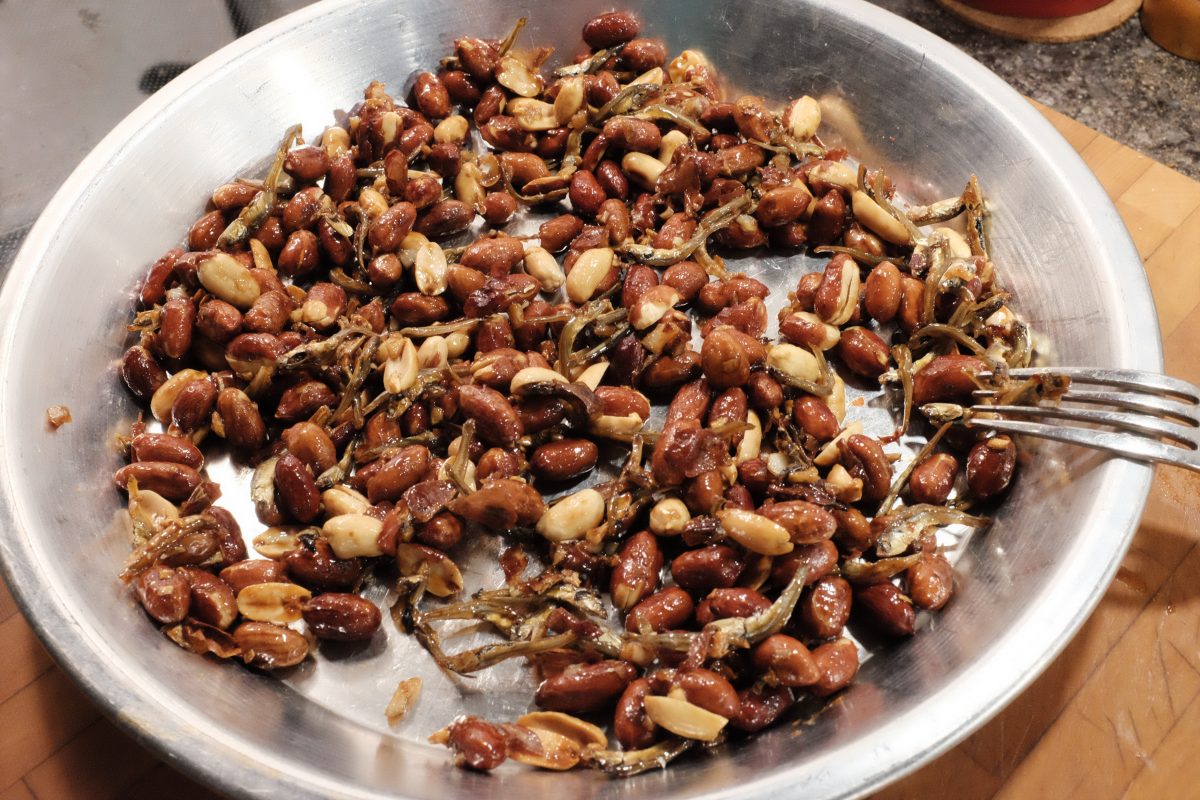
How to eat them
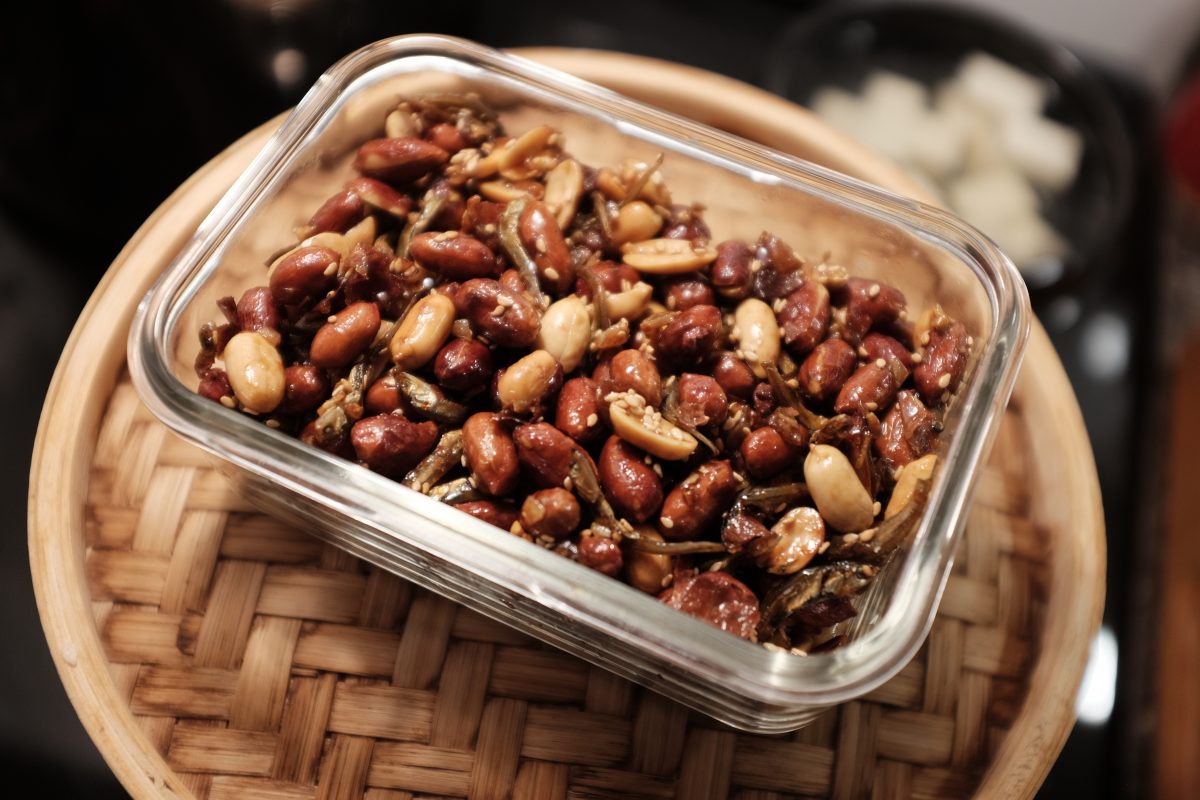
These are delicious to eat straight out of the container with a beer, like a bar snack while you watch a movie. You can, of course, serve them as a side dish to any food. Probably my favourite way to eat these is to use them as a crunchy topping on fresh salad. The deep savoury and nutty sweetness can really make a pretty plain salad extraordinary.
If you have any questions, comments or suggestions, please leave them below. If you enjoy the content and would like to contribute towards website maintenance and development, you can make a donation here. Look forward to hearing from you and thank you for reading TigerSalad!
Kimchi Jjigae with Tuna
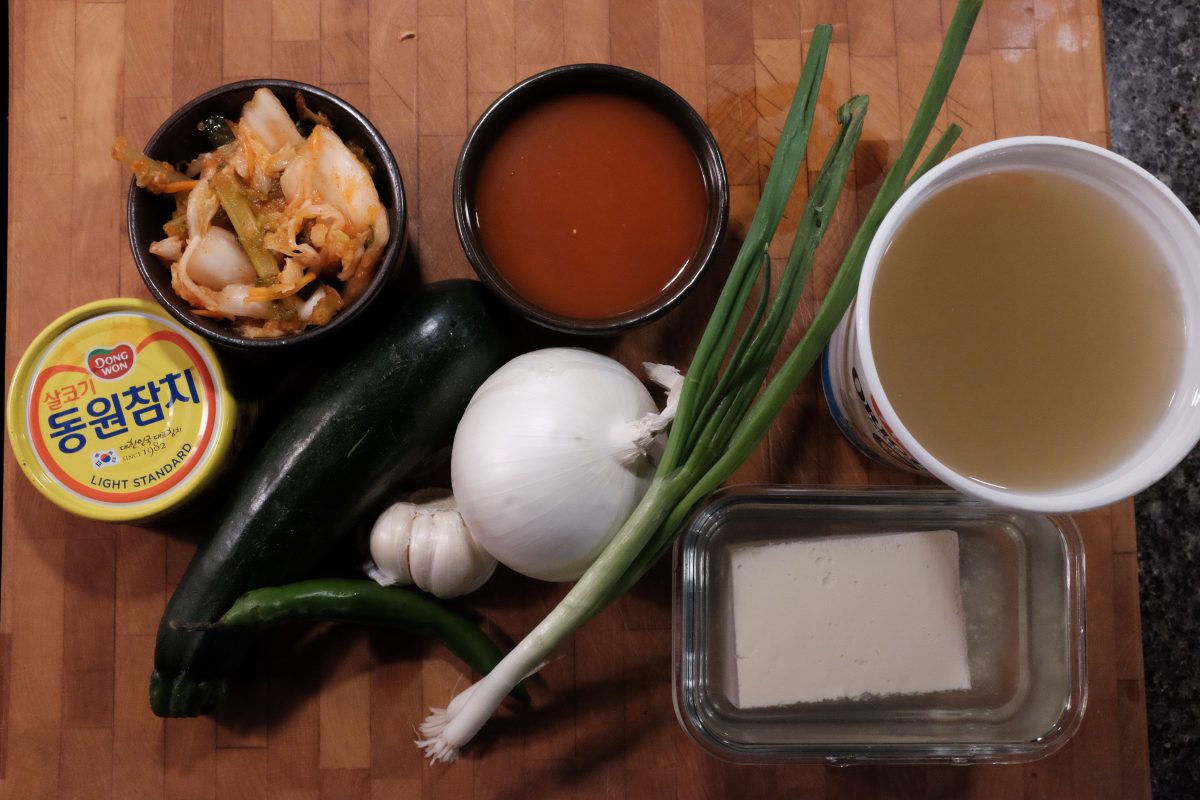
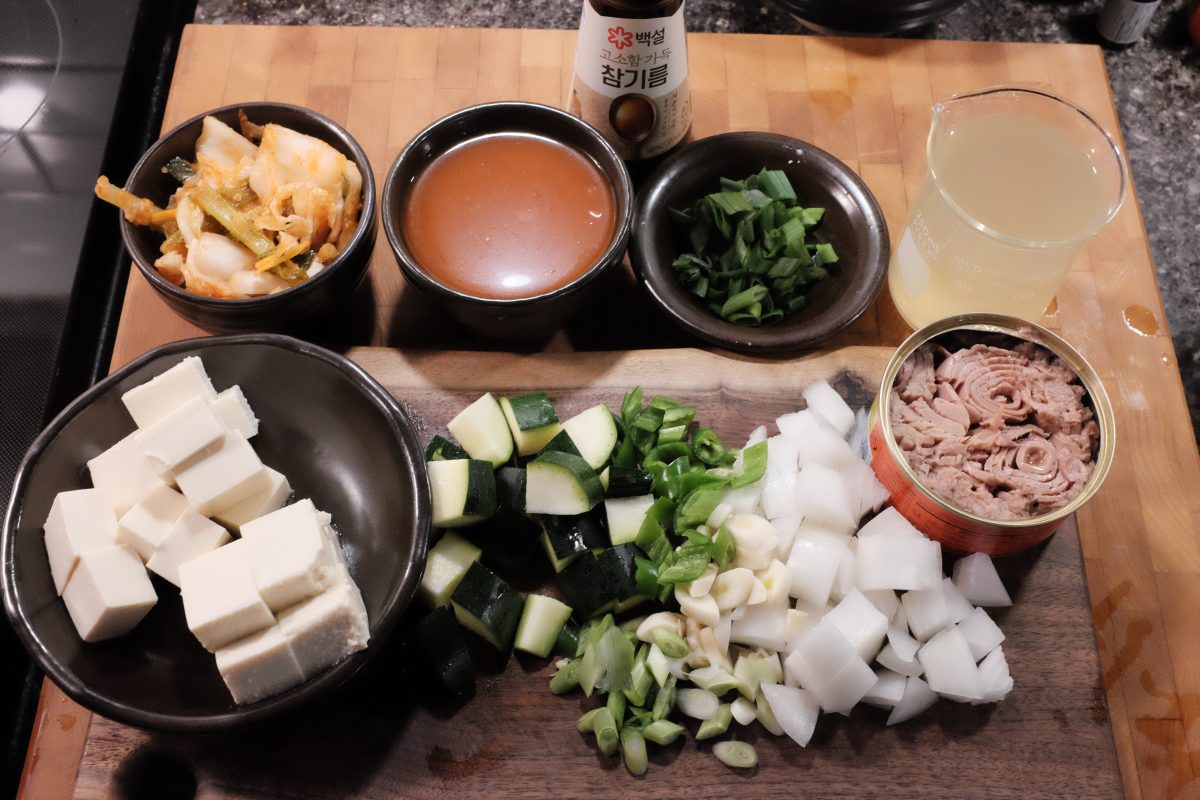
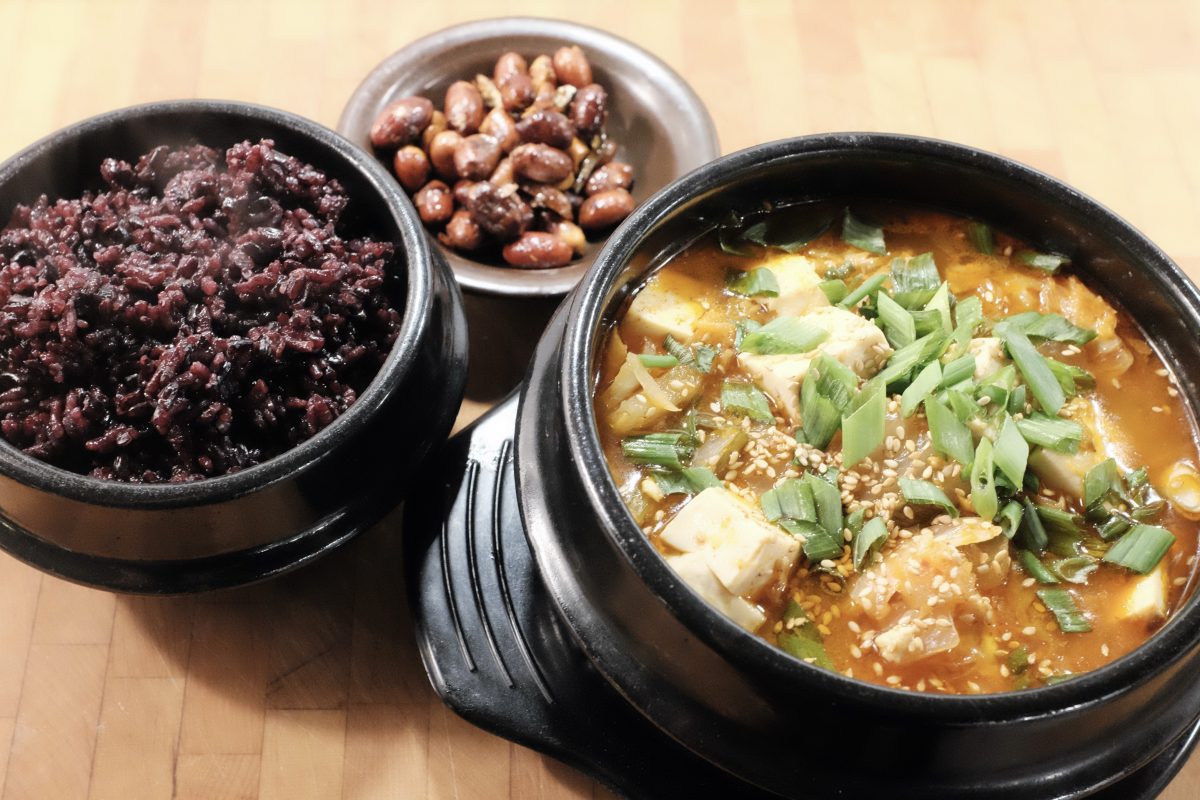
Kimchi jjigae with tuna (참치김치찌개) is a hot and satisfying dish that you can put together in a few minutes with as little as two or three ingredients. Below is a list of ingredients that I like to use but really, almost anything goes. Feel free to add different vegetables or leave out anything you don’t like. This recipe will make two smaller portions or one very large portion.
Ingredients:
- 1 can of tuna in oil
- 1 cup sour kimchi
- 1/2 cup kimchi juice
- 1 cup anchovy broth (or water)
- 1/2 zucchini
- 1 korean green chili pepper
- 1 cup diced tofu
- 1/2 onion
- 3 cloves garlic
- 2 green onions
- sesame oil
- salt
- sugar
The ingredients in bold are essential. Everything else is optional. I am using veggies I have in the fridge. You can add or subtract anything you like. As long as you have some fermented kimchi and a can of tuna, you can make this. I like it with extra veggies and especially with tofu.
Use canned not fresh tuna. It is not the same. I am using Korean tuna in oil but any canned tuna is fine.
There is a link in the ingredients to a recipe for anchovy broth. You don’t need it but, it adds a lot of depth to dishes like these if you use it in place of water.
Process
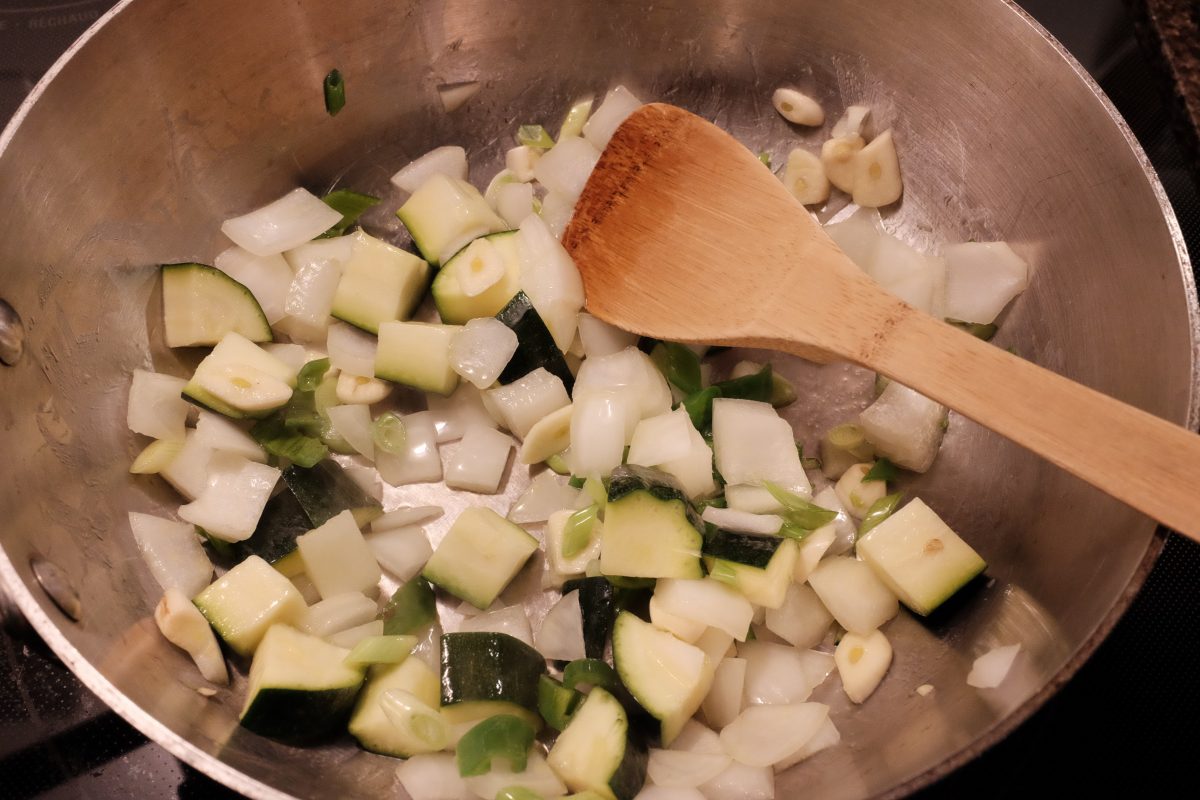
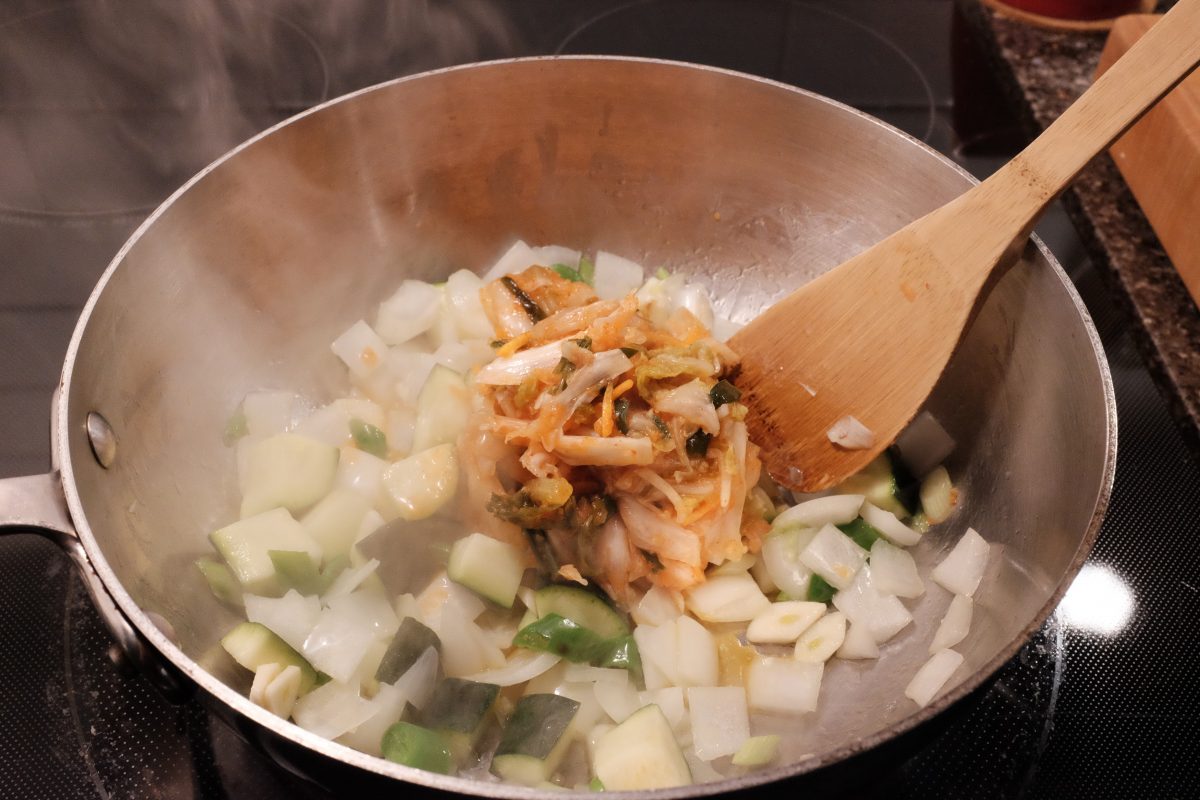
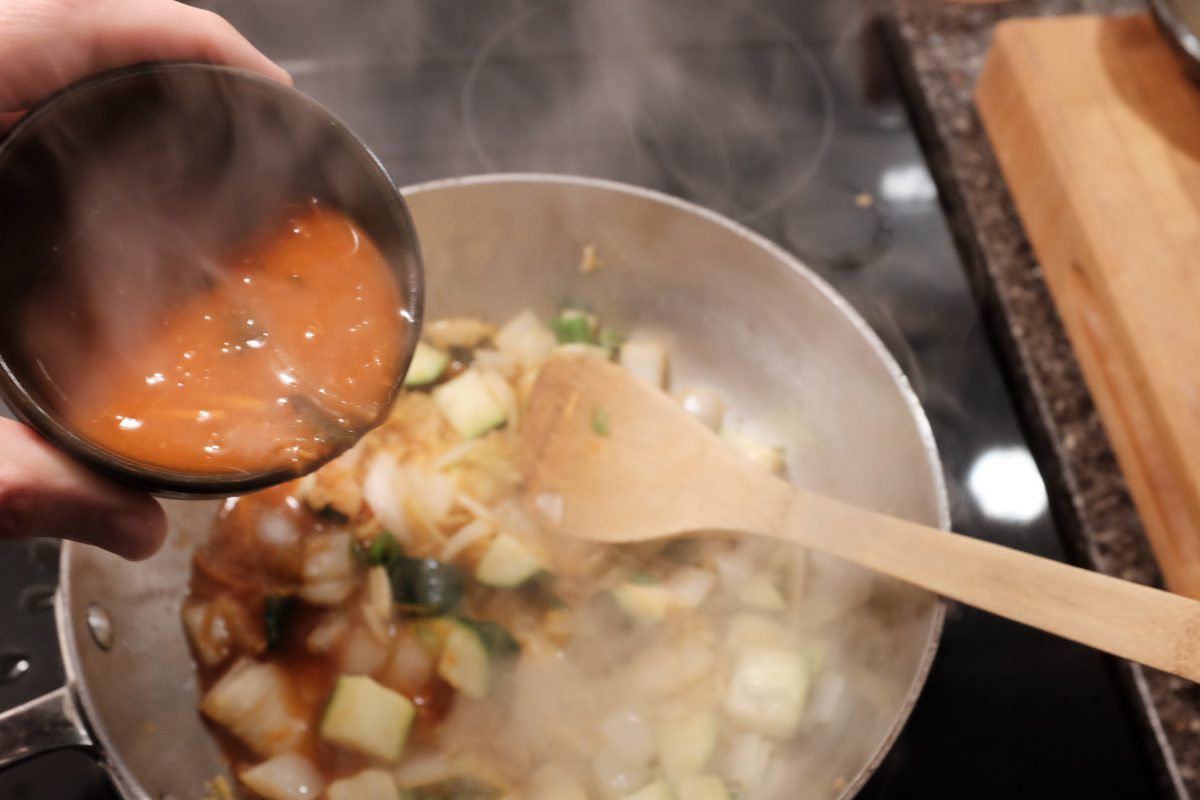
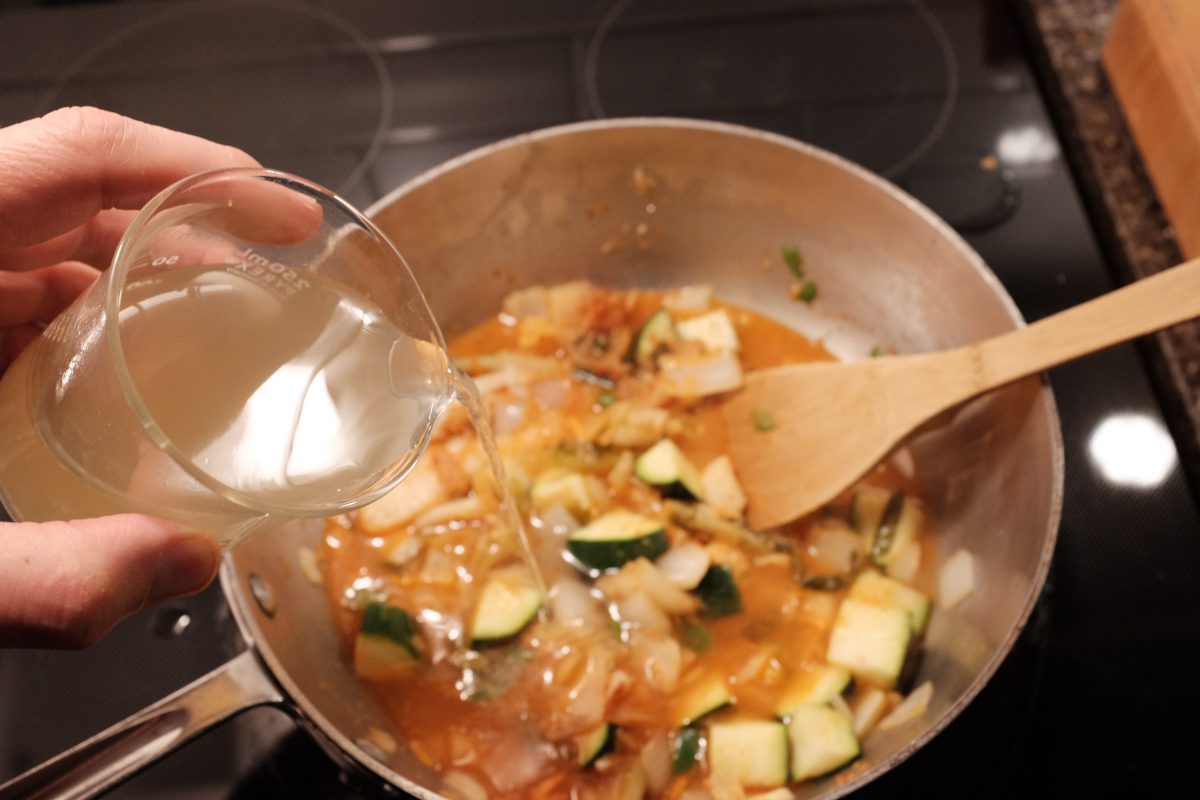
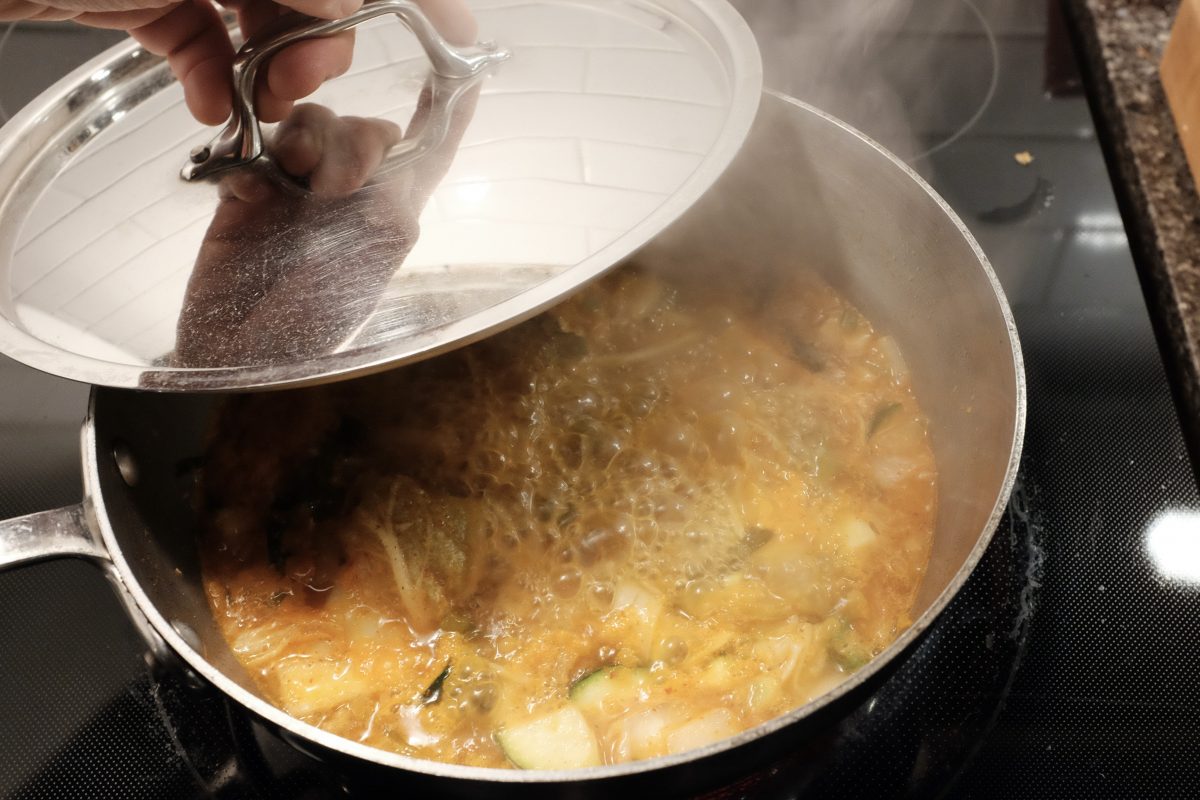
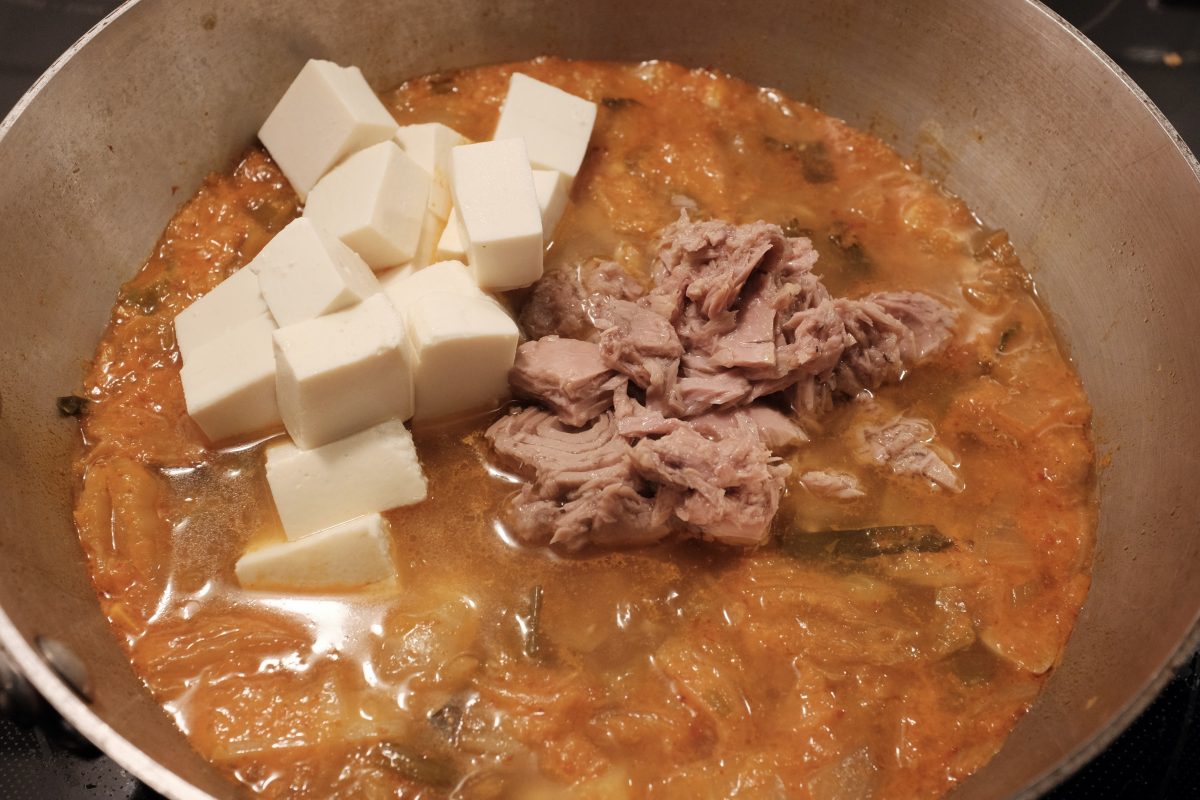
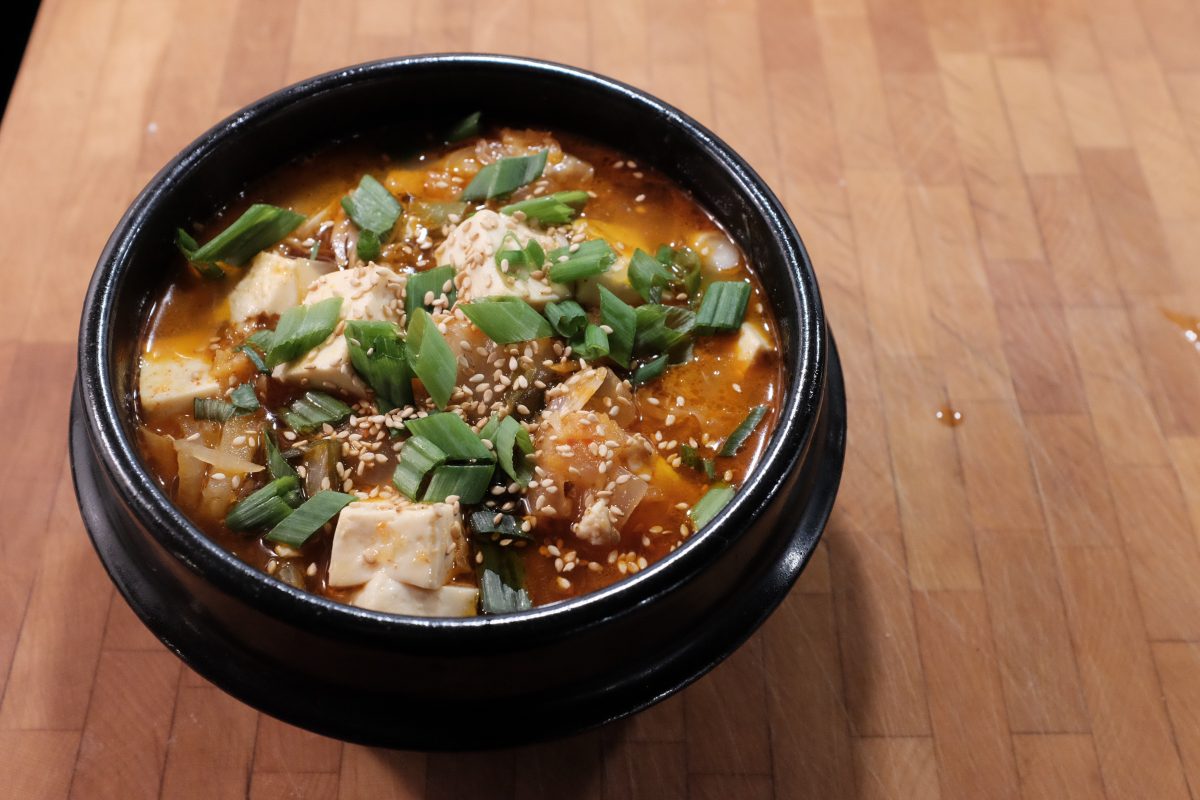
Variations
As I mentioned at the start, you can put just about anything you want into this dish. There is no definitive recipe for kimchi jjigae. Aged sour kimchi and a can of tuna are the only must haves. Experiment with all kinds of veggies. I also love smoky bacon in this dish. Fry it up with your veggies at the start.
If you are using water instead of kimchi juice, you can stir in a little gochujang for extra colour, flavour and spice if you like.
If you do not have anchovy broth but you do have anchovies and kelp on hand: take a square of kelp and a few dry anchovies and tie them in a little sack of cheesecloth. Add them to the simmering jjigae at the start. This will give you a similar flavour to anchovy broth. Just pull them out and discard after 15-20 minutes.
For a good recipe for homemade kimchi have a look HERE.
If you have any questions or comments or suggestions, please leave them below. I always look forward to hearing from you. If you enjoy the content and would like to contribute towards website maintenance and development, you can make a donation here. Thank you for reading TigerSalad!
Anchovy Broth
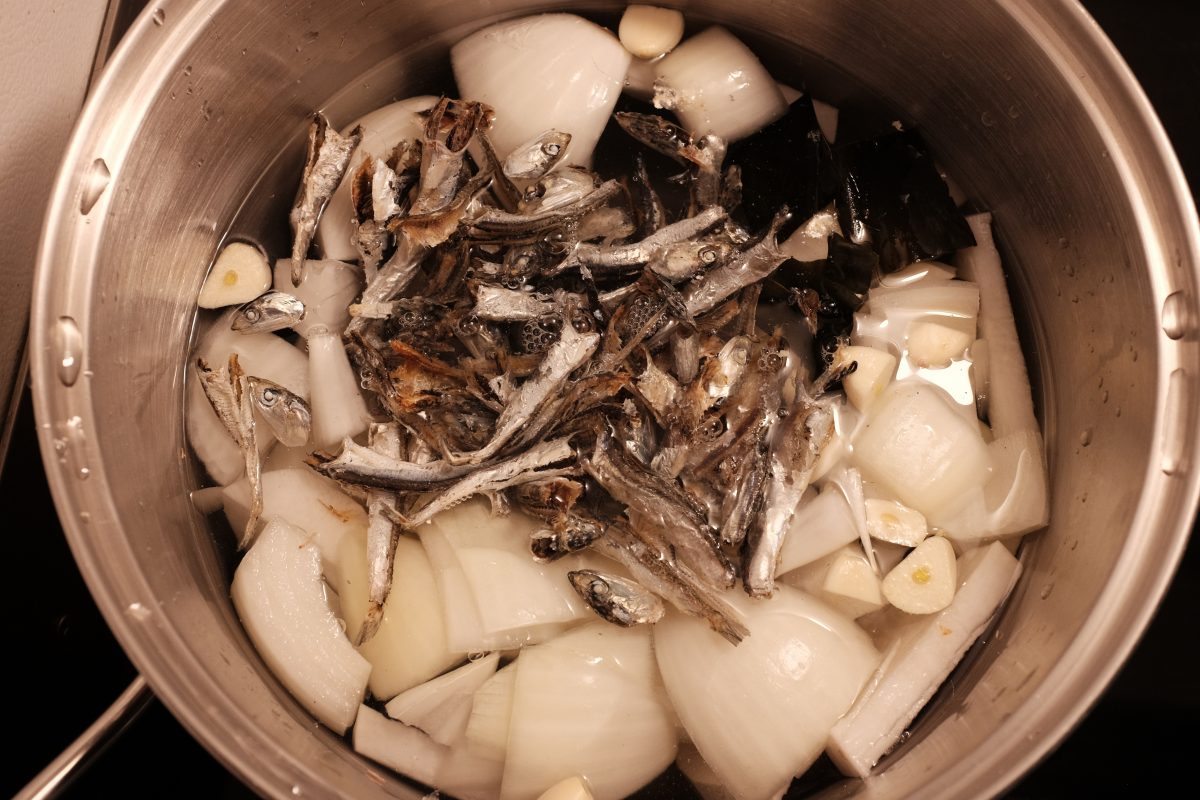
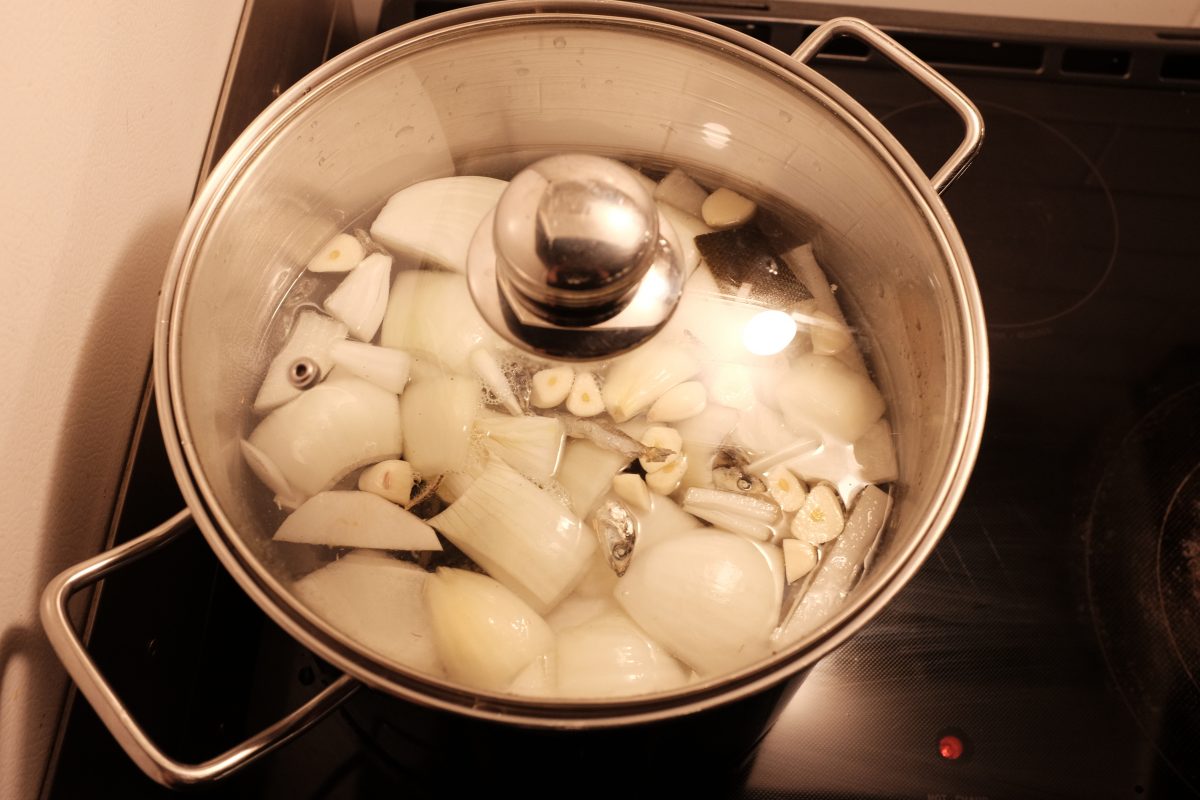
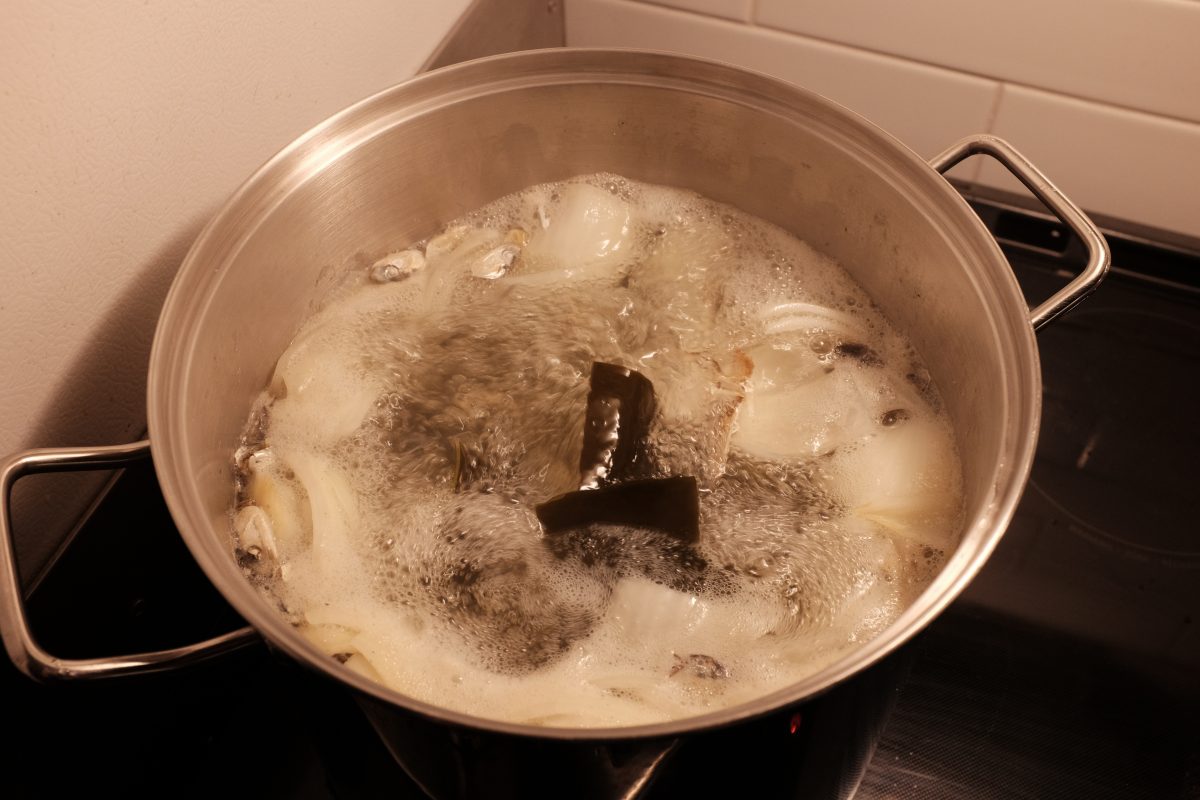
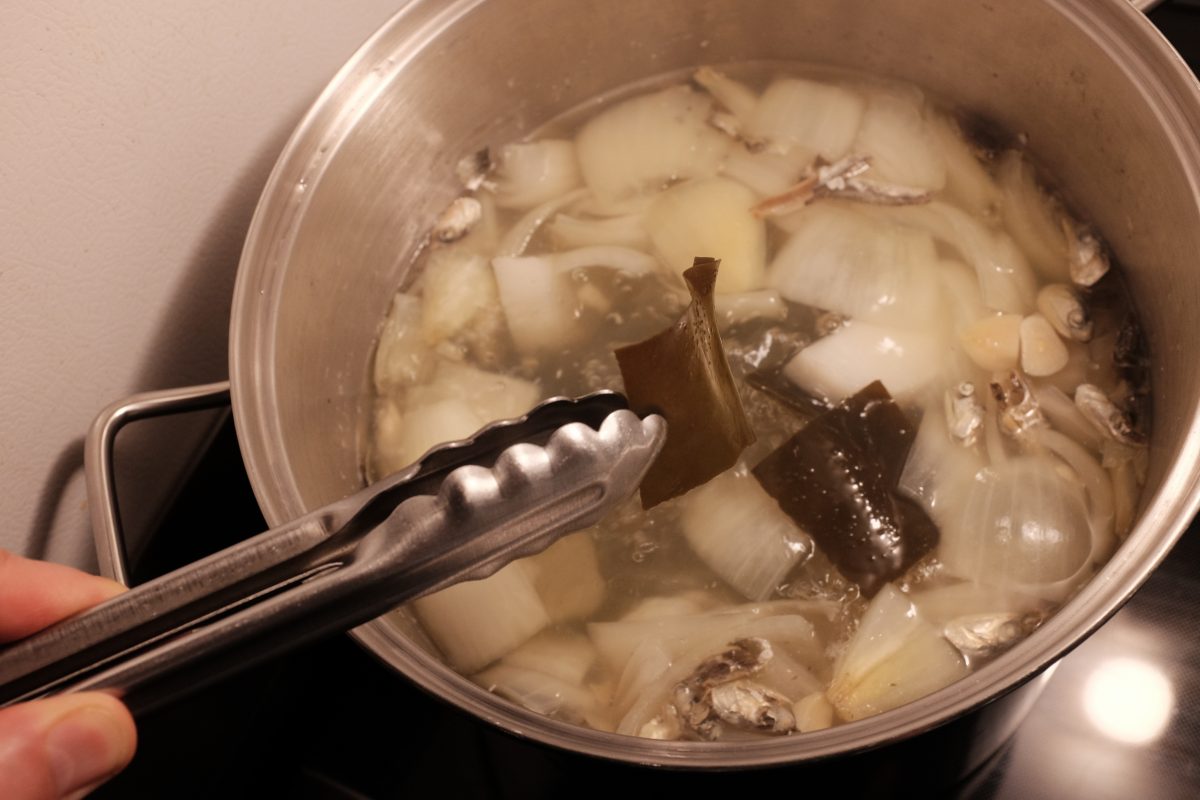
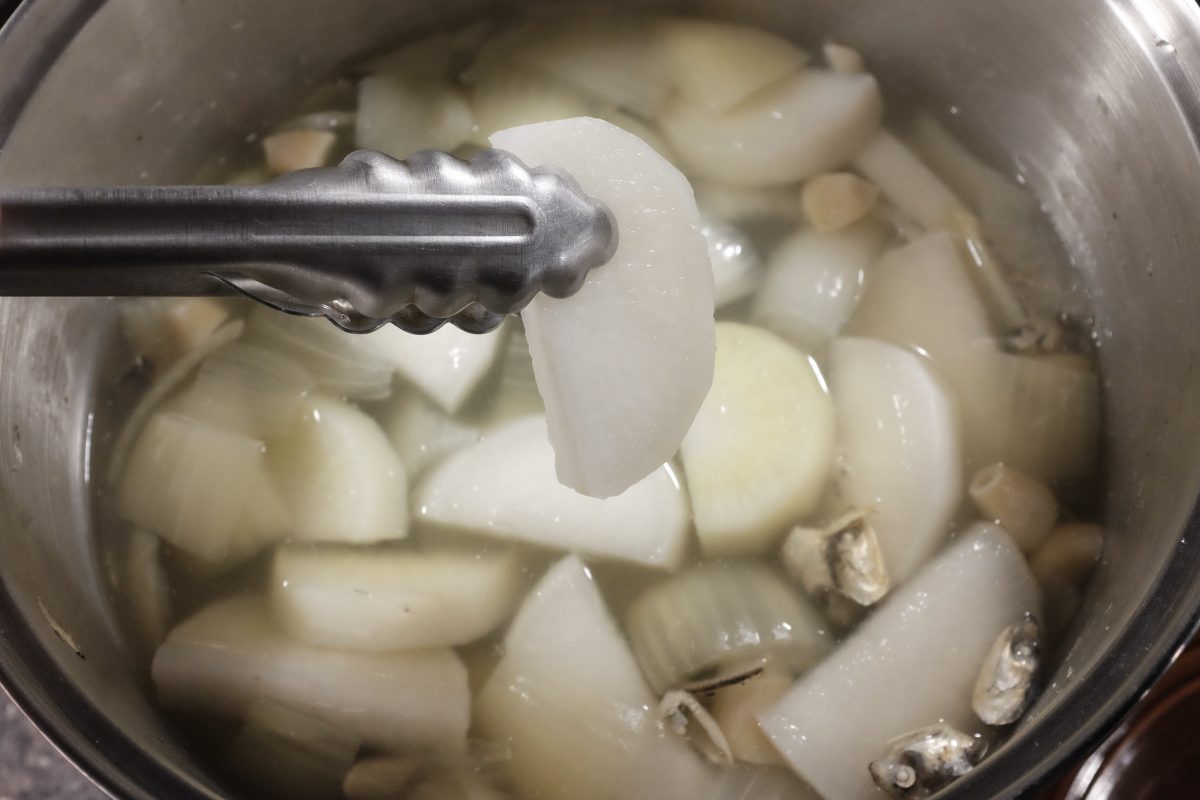
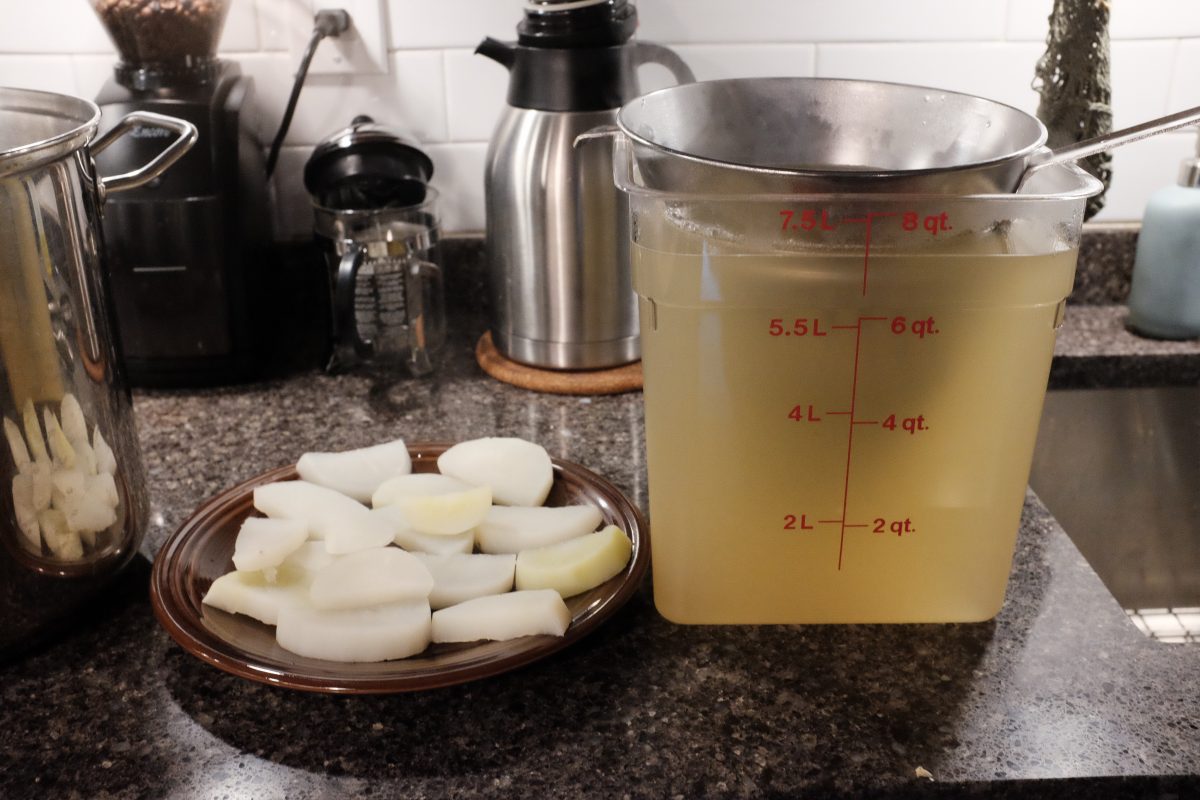
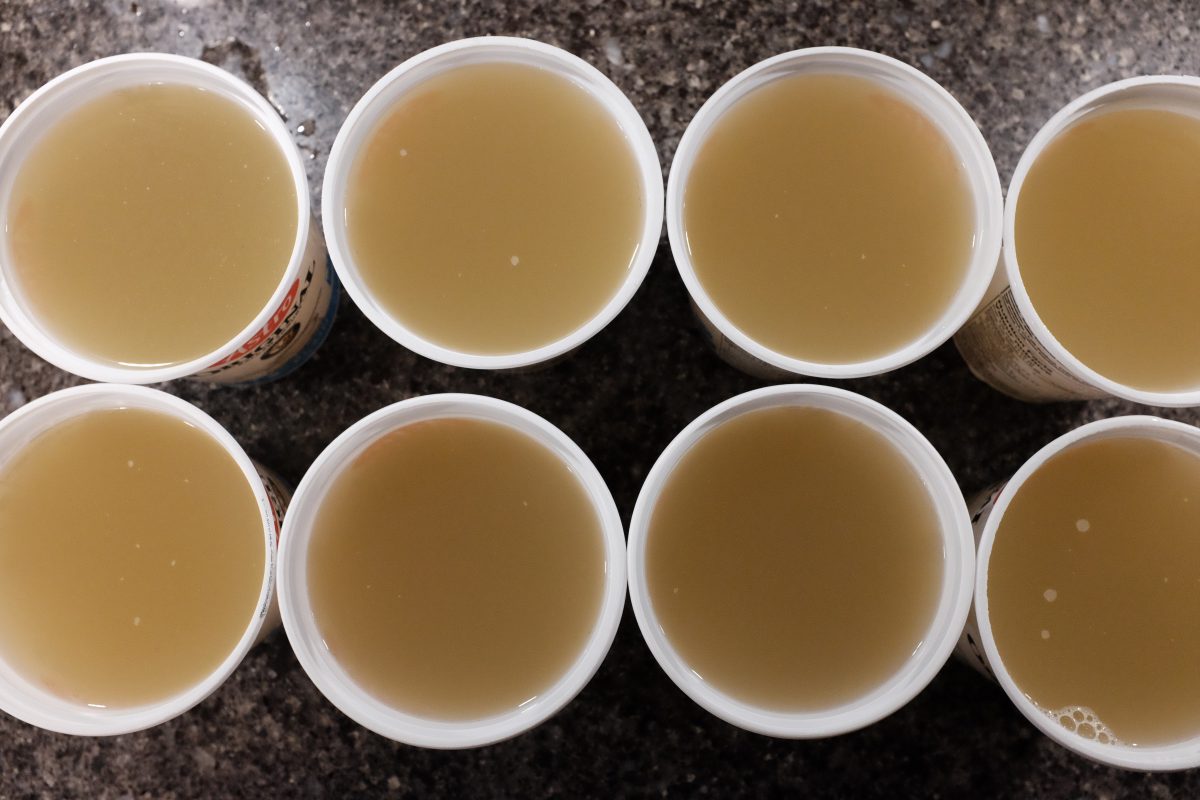
Anchovy broth or myeolchi yuksu (멸치육수) is a basic fish stock. It is an essential base for many Korean dishes. It is very easy to make, has endless uses and large batches can be frozen in single use containers to use later on. The recipe can be as simple as just anchovies and water or it can incorporate a number of aromatic vegetables or even seaweed and dried mushrooms. The recipe below uses anchovy, kelp and just a few other ingredients to make a delicious stock. This recipe gives you about 8 litres / 2 gallons of stock. If this seems too big, just half or quarter all of the ingredients.
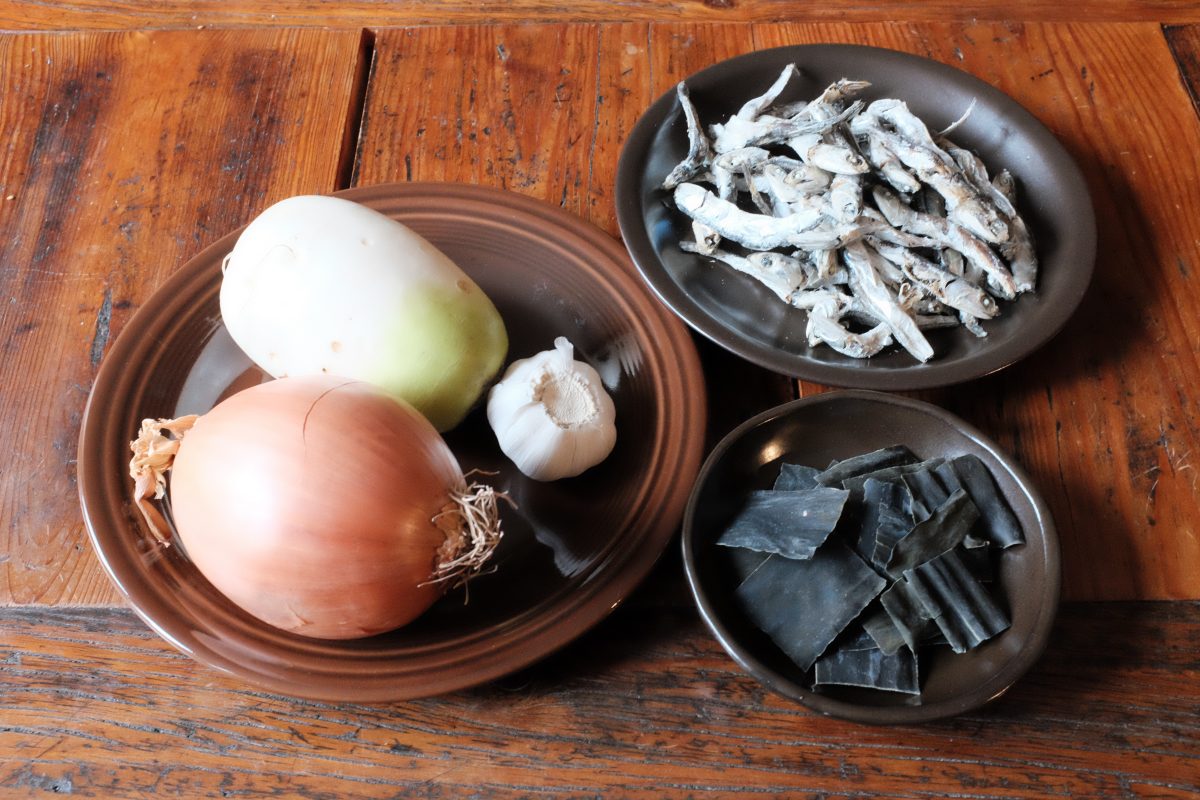
Ingredients:
- 8 litres / 2 gallons of water
- 40-50 medium large dried anchovies (around 100 grams)
- 8-10 small squares of dashima seaweed aka kombu (around 10-15 grams)
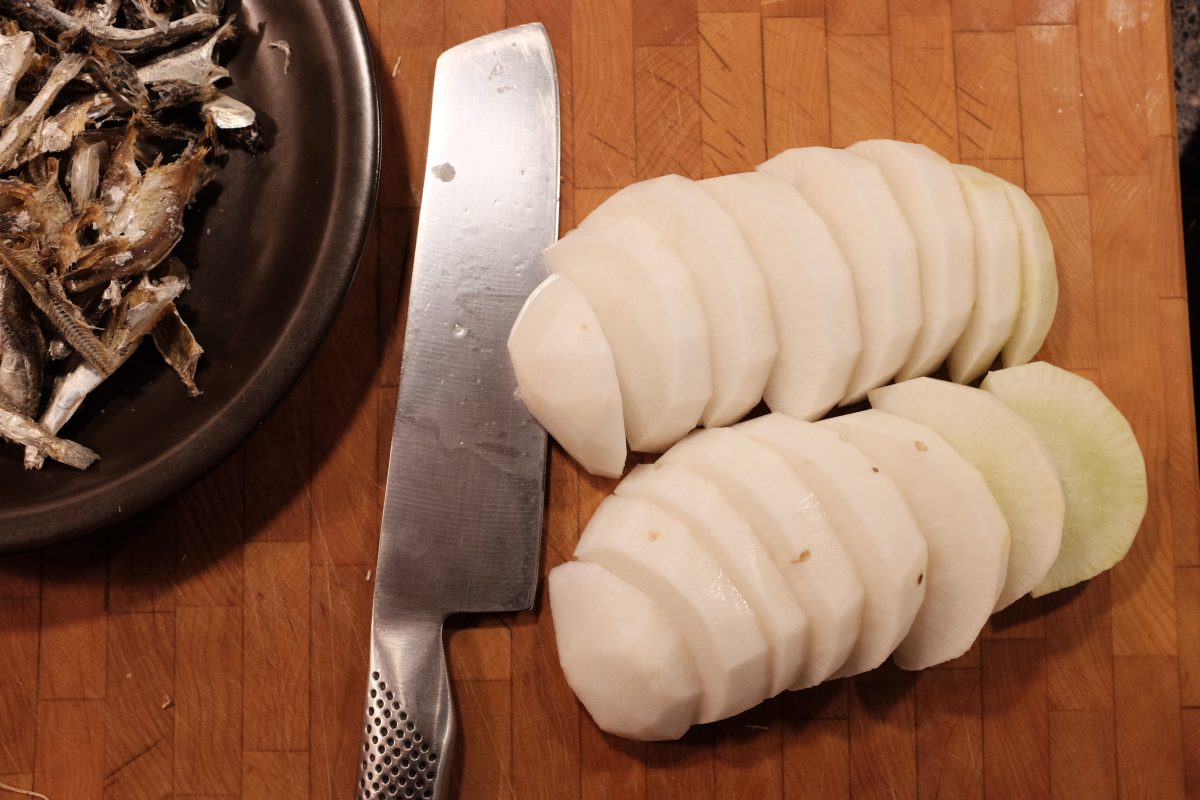
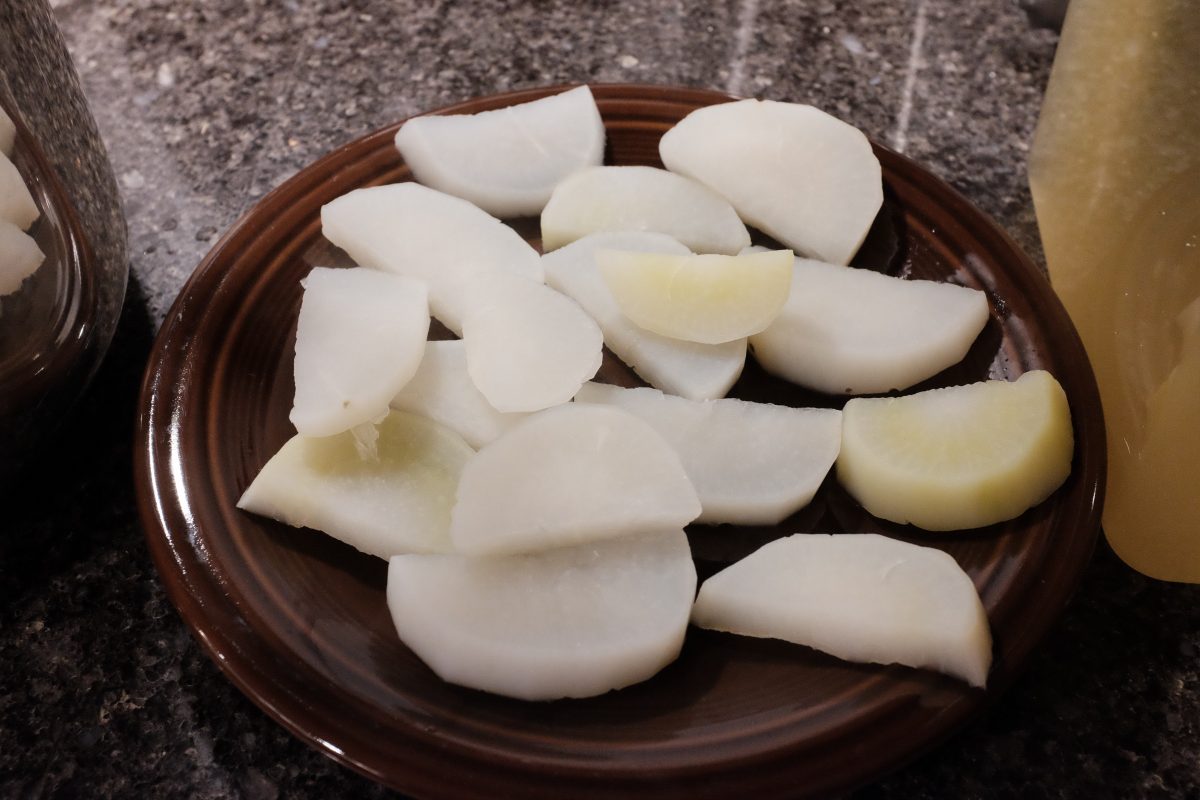
- 500 grams Korean radish
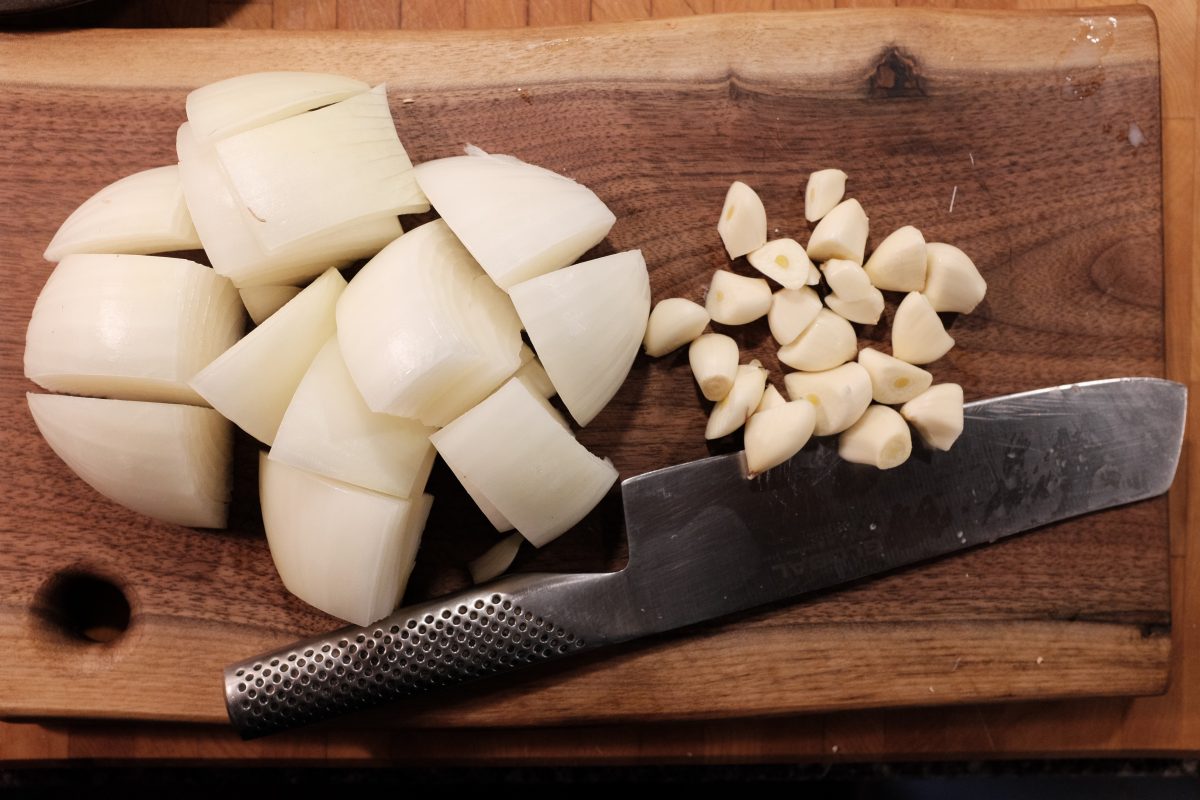
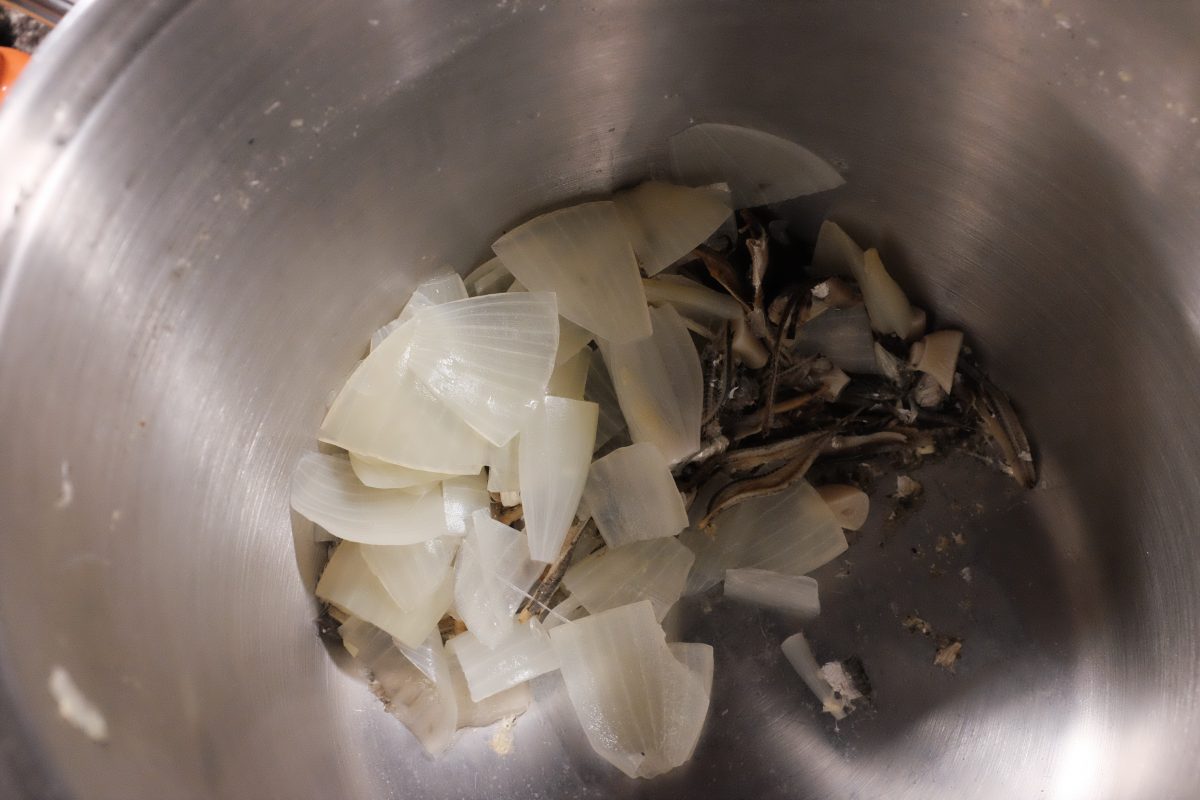
- 1 large onion
- 12 cloves of garlic
Dried anchovies can be found at Asian grocery stores. They come in a few different sizes from very tiny (1 cm) to fairly large (about the length of a finger). The ones I am using are on the larger side.
Dashima is thick, rigid and sometimes powdery looking dark green seaweed. You can find it in the dry goods section of Asian grocery stores in big long strips or a smaller bag of pre-cut squares. Either work fine. I prefer the little squares just because they are easier to work with in smaller recipes. There are lots of different dry seaweeds on the shelf. The one we are using here will say Dashima / 다시마 or Kombu if it is from Japan.
Process:
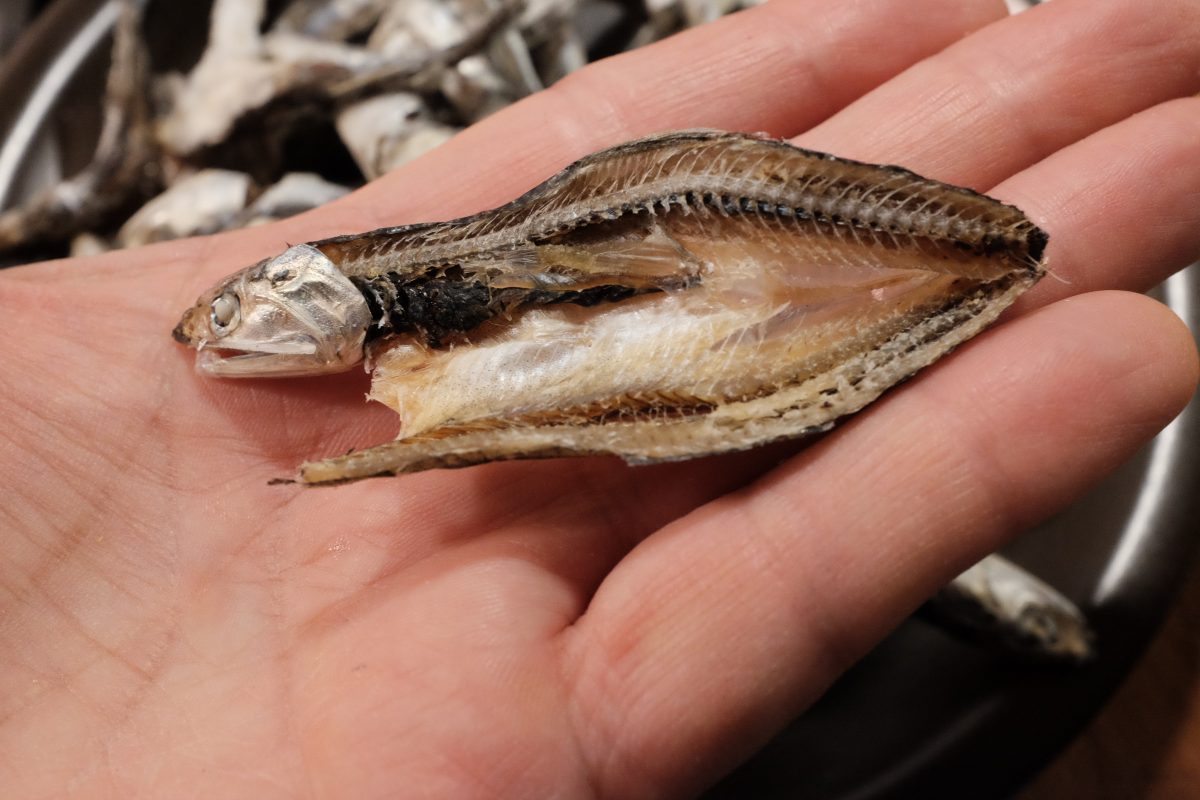
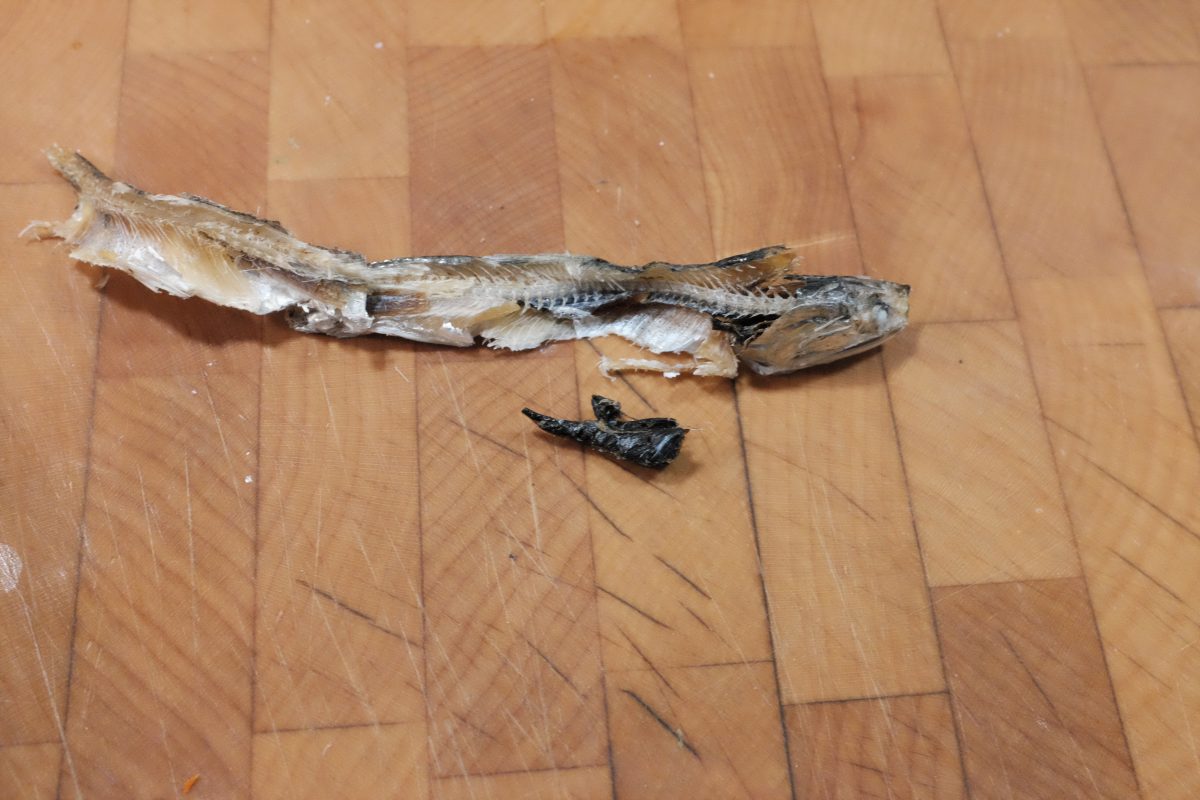
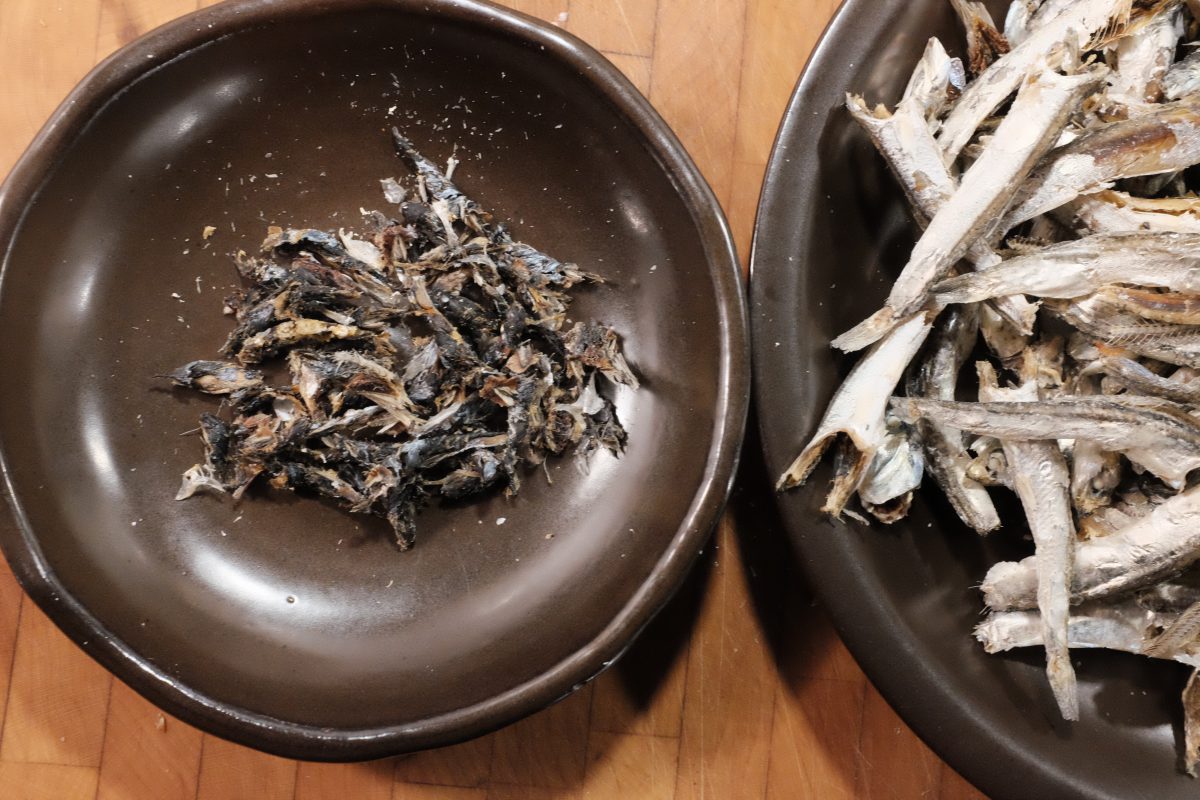
Remove the guts from the anchovies.
Uses:
This stock is the base for many Korean dishes including sundubu jiggae, kimchi jiggae, noodle soups, etc. In almost any savoury recipe that calls for water, substitute with this stock to make it extra delicious. Dishes like Tteokbokki reach new heights of tastiness when made with a good strong anchovy stock.
In the heat of summer, I will even drink this stock ice cold as is. It is that delicious and refreshing!
If you have any questions, comments or suggestions, please leave them below. I am always happy to hear from you. If you enjoy the content and would like to contribute towards website maintenance and development, you can make a donation here. Thank you for reading TigerSalad : )