If you throw a bunch of sweet fruit into a container, natural yeasts already present on the skins will eventually consume the sugar in the fruit and produce alcohol. This alcohol will then get consumed by acetic acid bacteria in the environment and produce vinegar. Nature does all the work.
The problem with letting natural yeast go wild is that it is hard to know what flavours will result (good or bad), how much time it will take, and how much alcohol will result. Because the final acidity of the vinegar depends on the alcohol content, it is worthwhile to use a yeast with a known strength and flavour profile.
As for conversion of the alcohol into acetic acid, we could just leave a jar of fermented fruit juice covered with a cloth and allow naturally occurring acetic acid bacteria in the environment do the work. The problem here is that it takes a long time…several months at least. To shorten this time, we can inoculate our alcoholic fruit juice with a splash of live culture vinegar to get it started and provide it with a steady supply of oxygen via an air pump.
Making pear vinegar at home
In this recipe we will take ripe bosc pears and, over a month or so, ferment them into pear vinegar. I am mostly following a recipe from this excellent book by Rene Redzepi and David Zilber:
Ingredients:
4 kilograms ripe pears
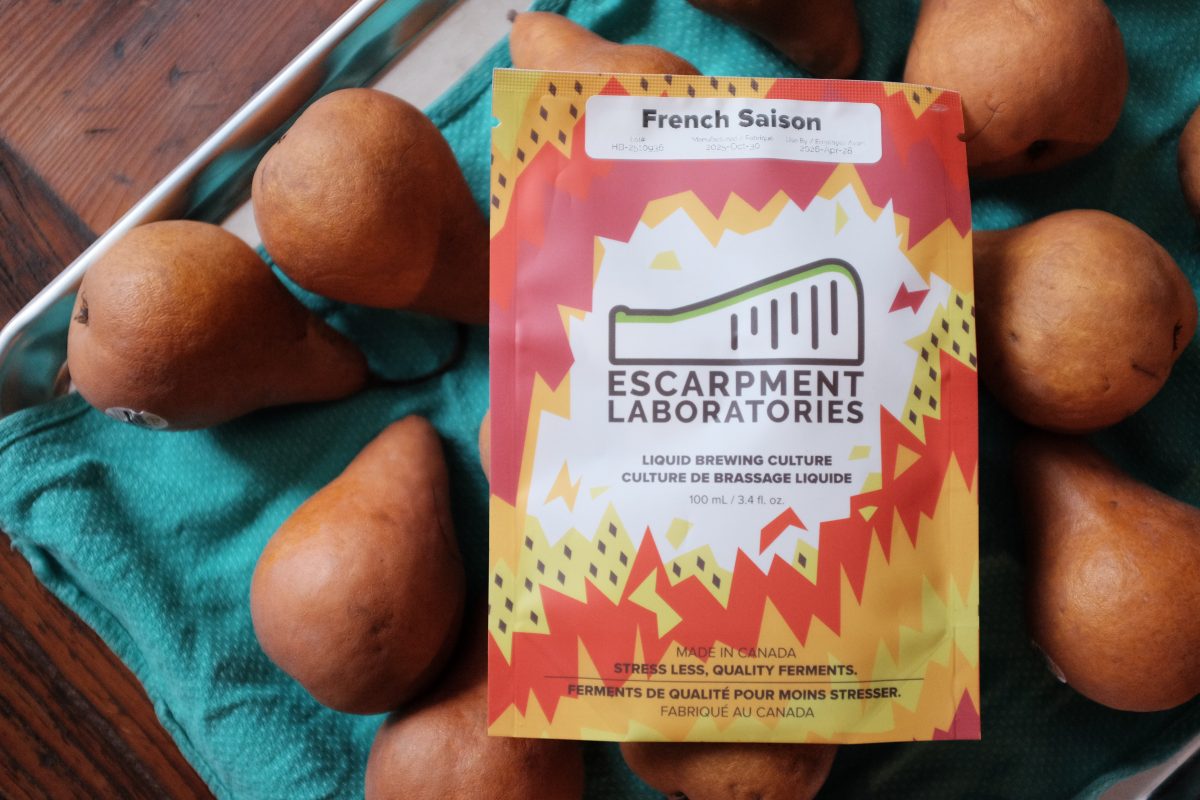
35 millilitres liquid saison yeast (or another brewers yeast)
live culture (“contains the mother”) pear or apple cider vinegar for inoculation
Equipment:
A container large enough to hold your pears and leave at least 25% extra space. For this recipe I will be using two separate 4 litre / 1 gallon glass jars with lids and airlocks.
A tight lid and a brewers airlock (more on this below) for each container.
a strainer or fruit/cider press
a small aquarium air pump, hose and air stone (any pet shop will have these)
a blender or food processor is helpful but not necessary
Sanitizing Equipment:
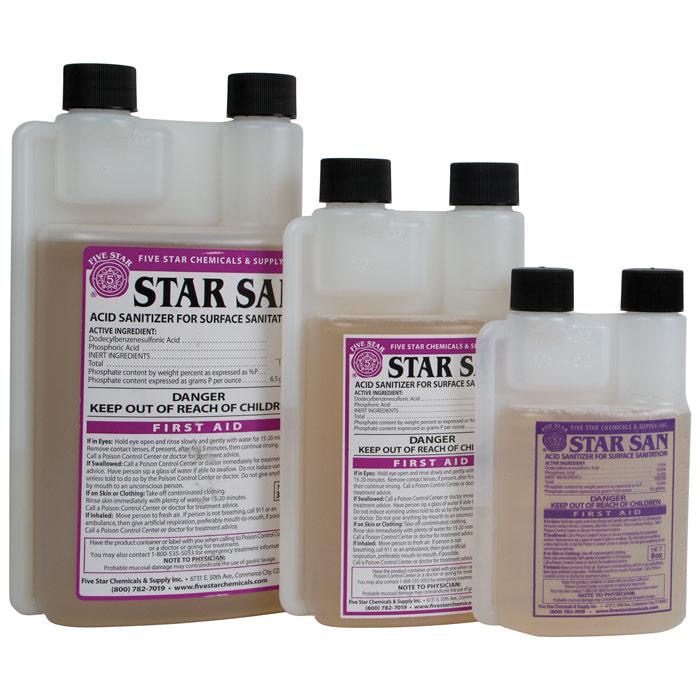
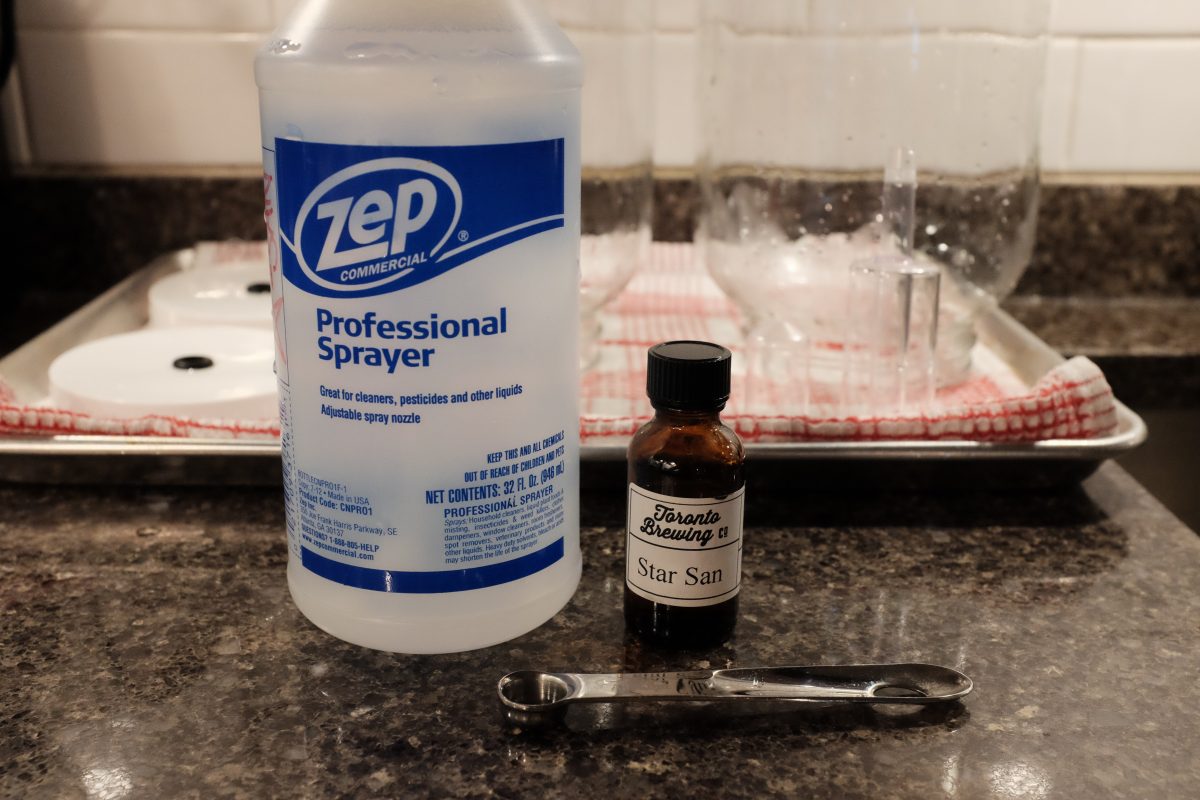
Everything that comes in contact with this brew should be sanitized. Wash everything with soap and hot water, then sanitize whichever way you find convenient. Boiling, steaming and weak bleach solutions will work, but for convenience, I use a sanitizer called Star San.
Star San is available at home brew shops or online. You can mix a tiny amount with fresh water in a spray bottle for very effective and easy sanitizing. My local home brew supplier sells tiny bottles. Unless you are brewing huge amounts with massive equipment, a small bottle will last forever. I dilute it at about 2.5 millilitres per litre of water…that’s around 1/4 teaspoon per spray bottle…a tiny amount. This makes more than enough sanitizer for this whole process. It comes in a few different sizes and looks like this:
Process:
This recipe is divided into 2 parts. In part 1, we make alcohol. In part 2, we make vinegar.
Part 1: making alcohol
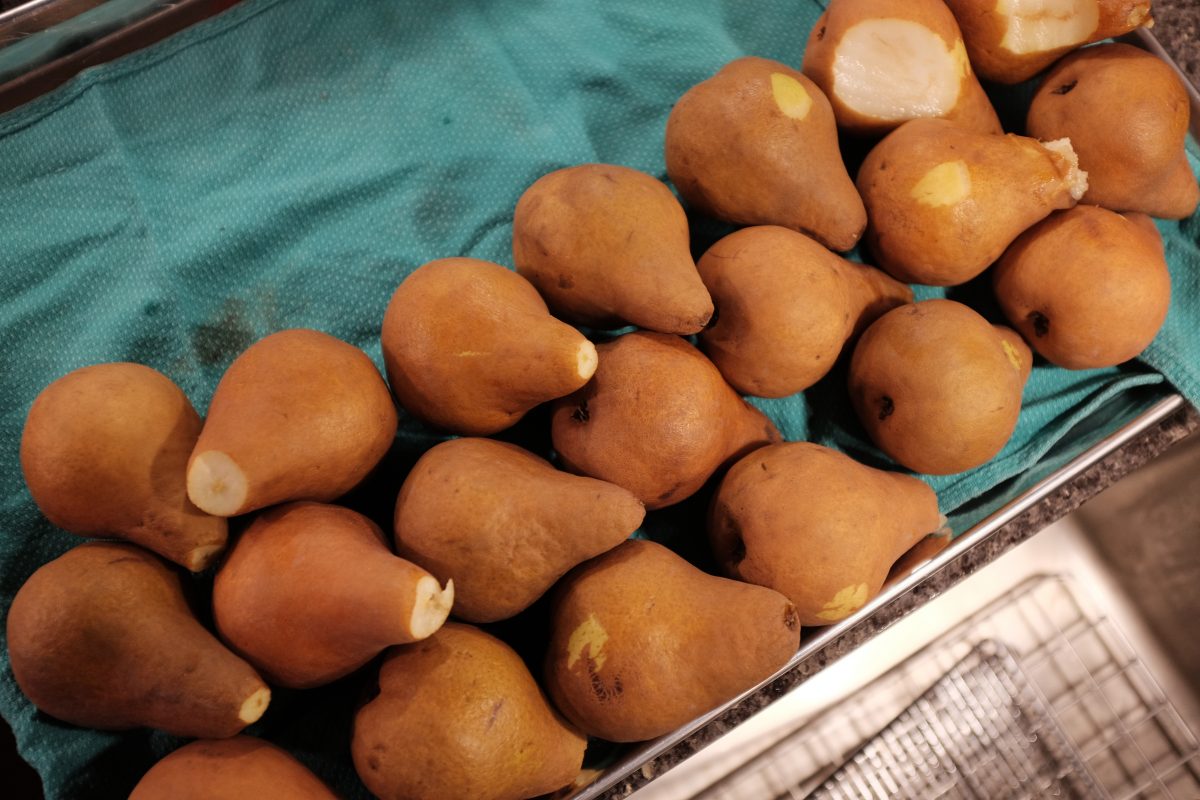
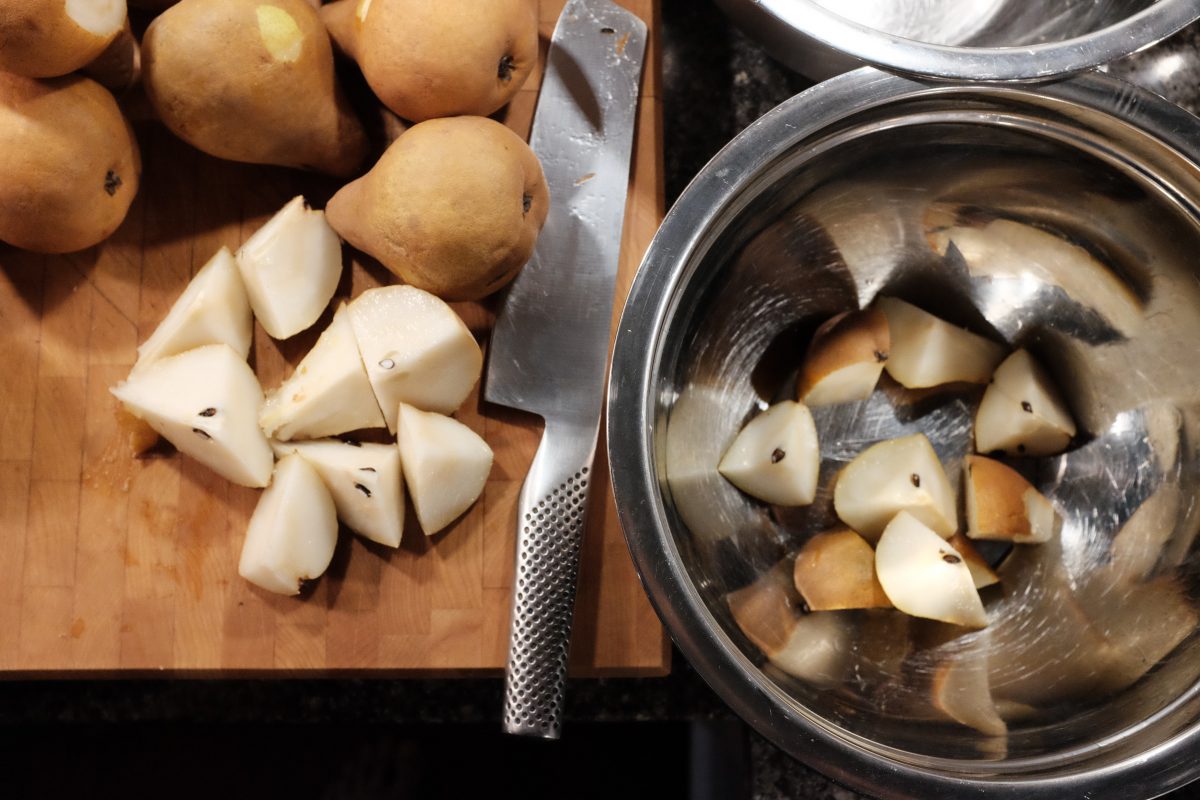
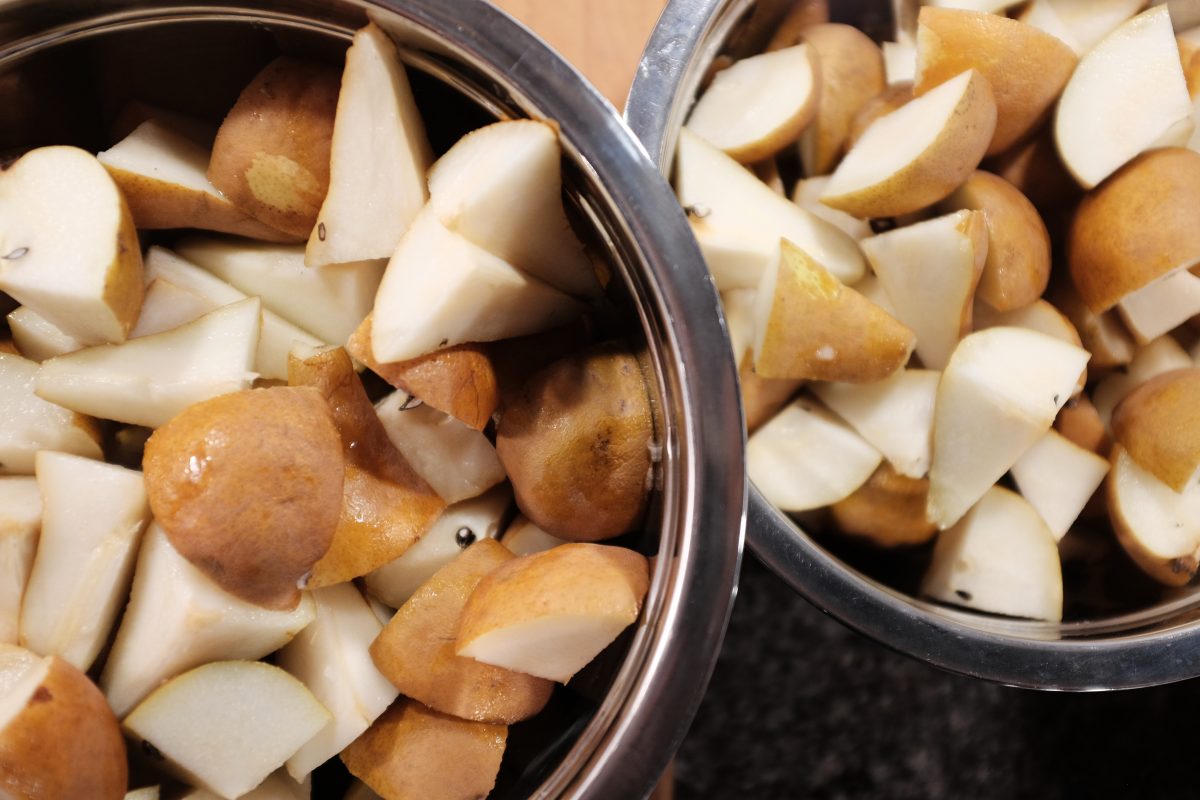
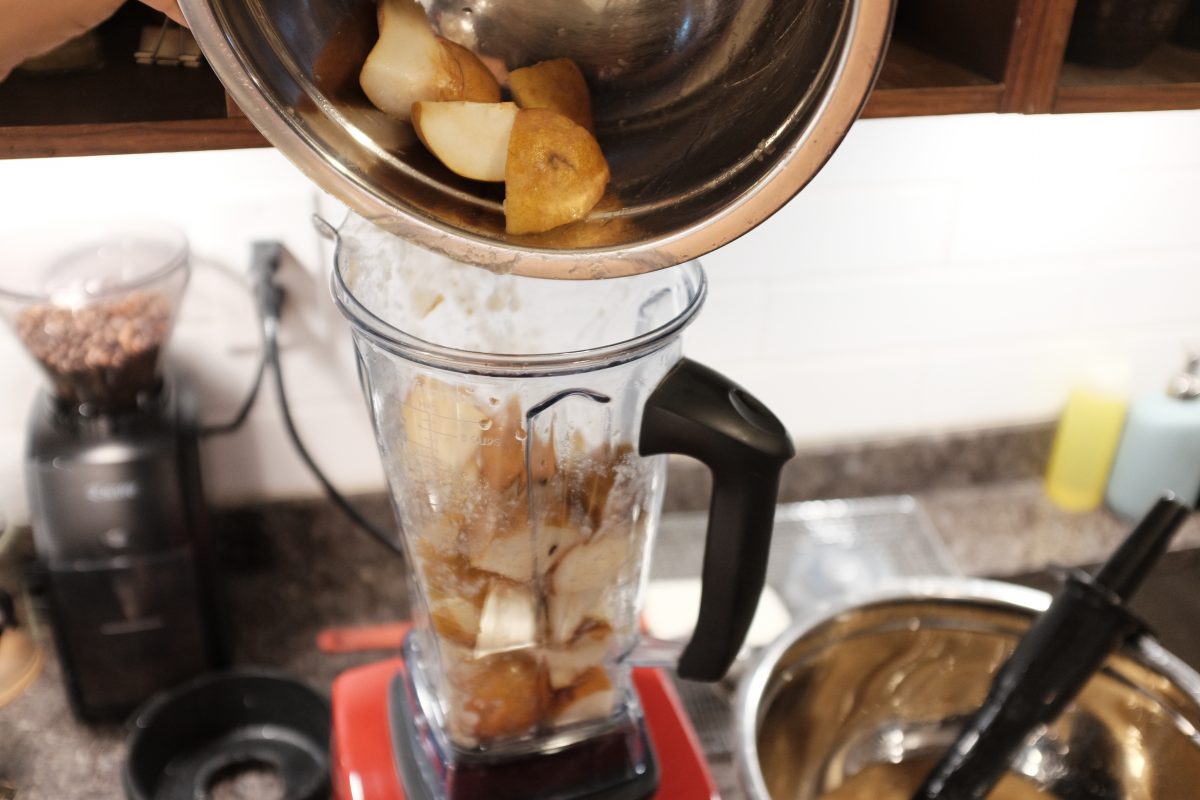
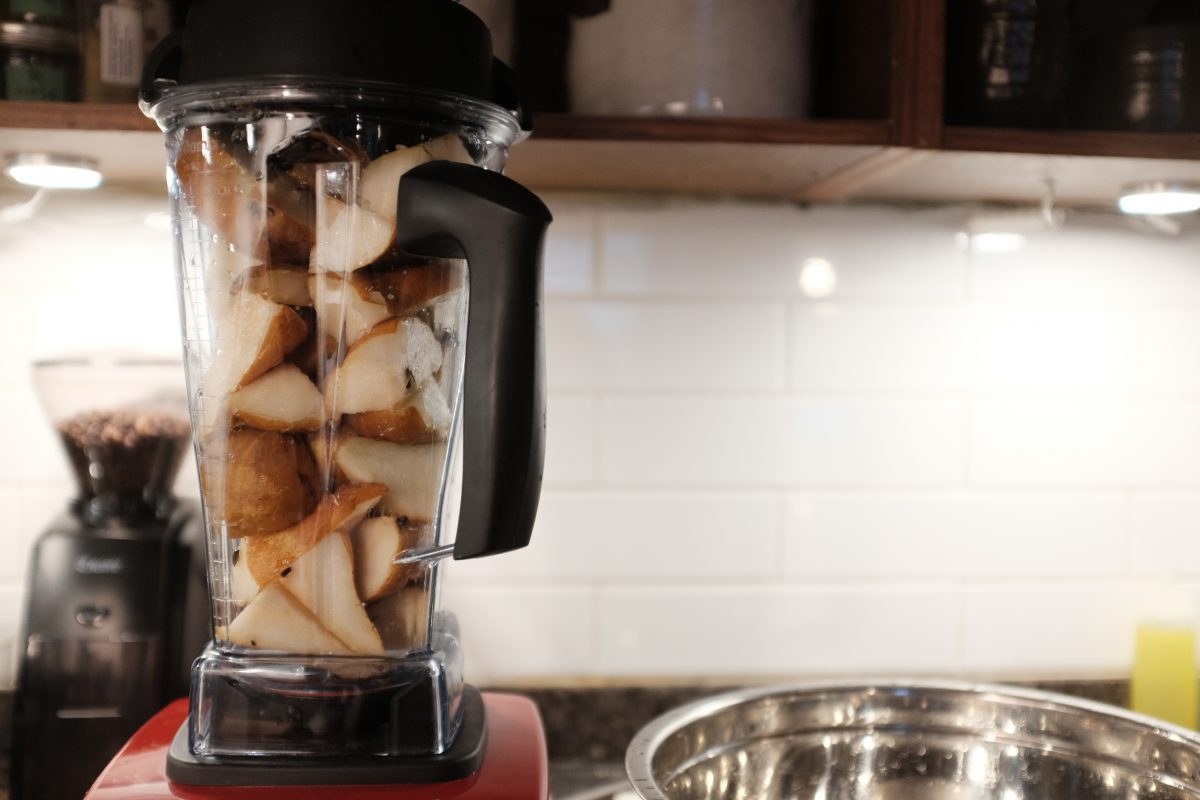
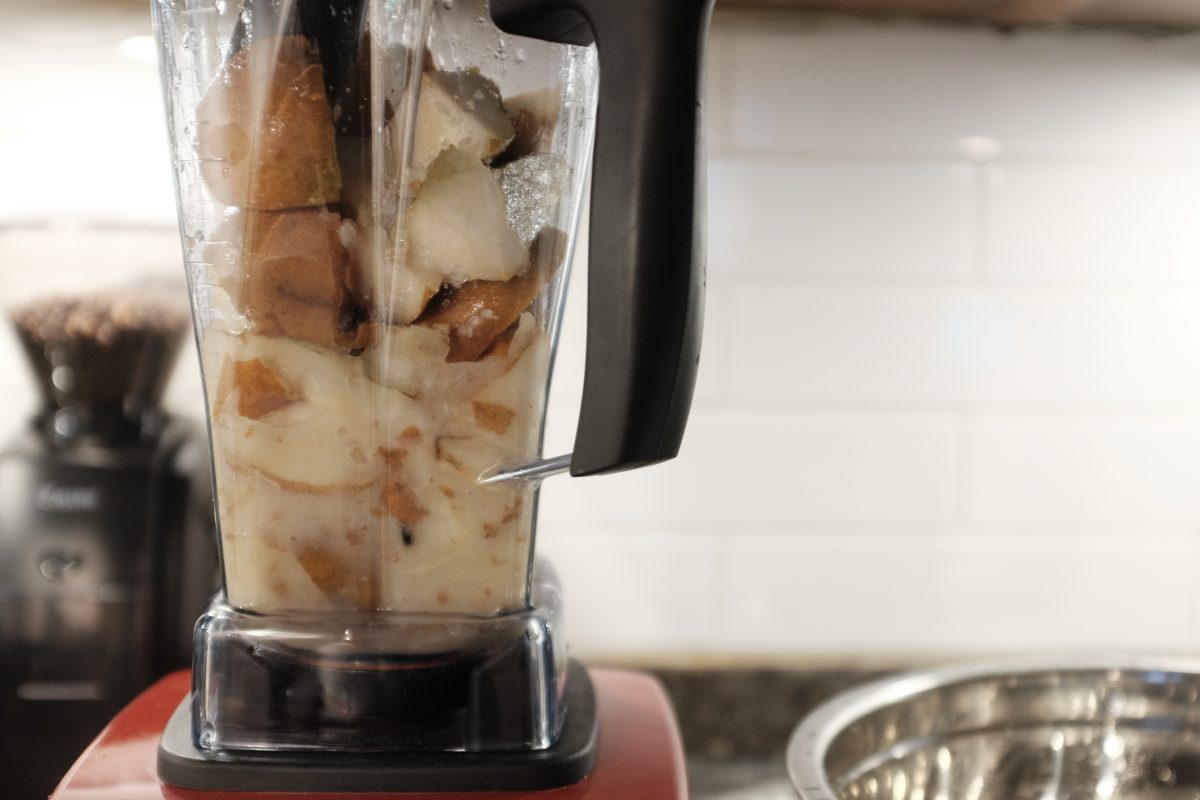
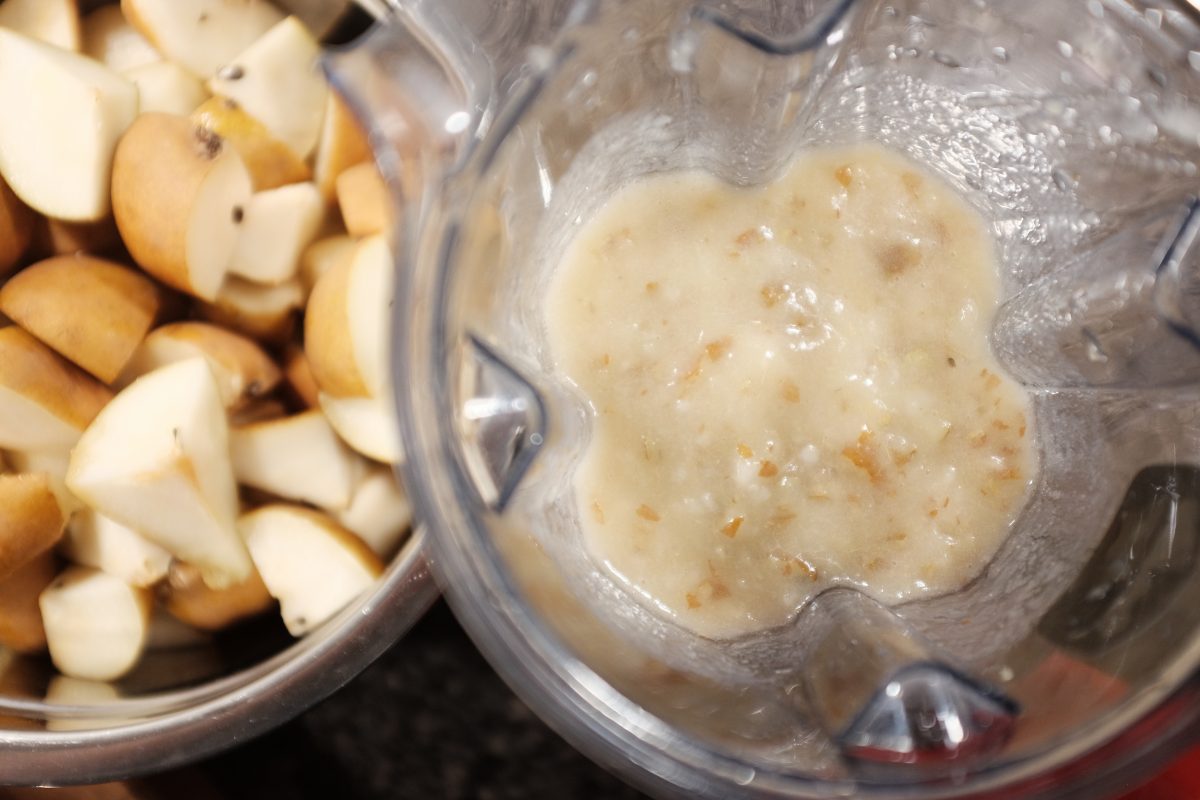
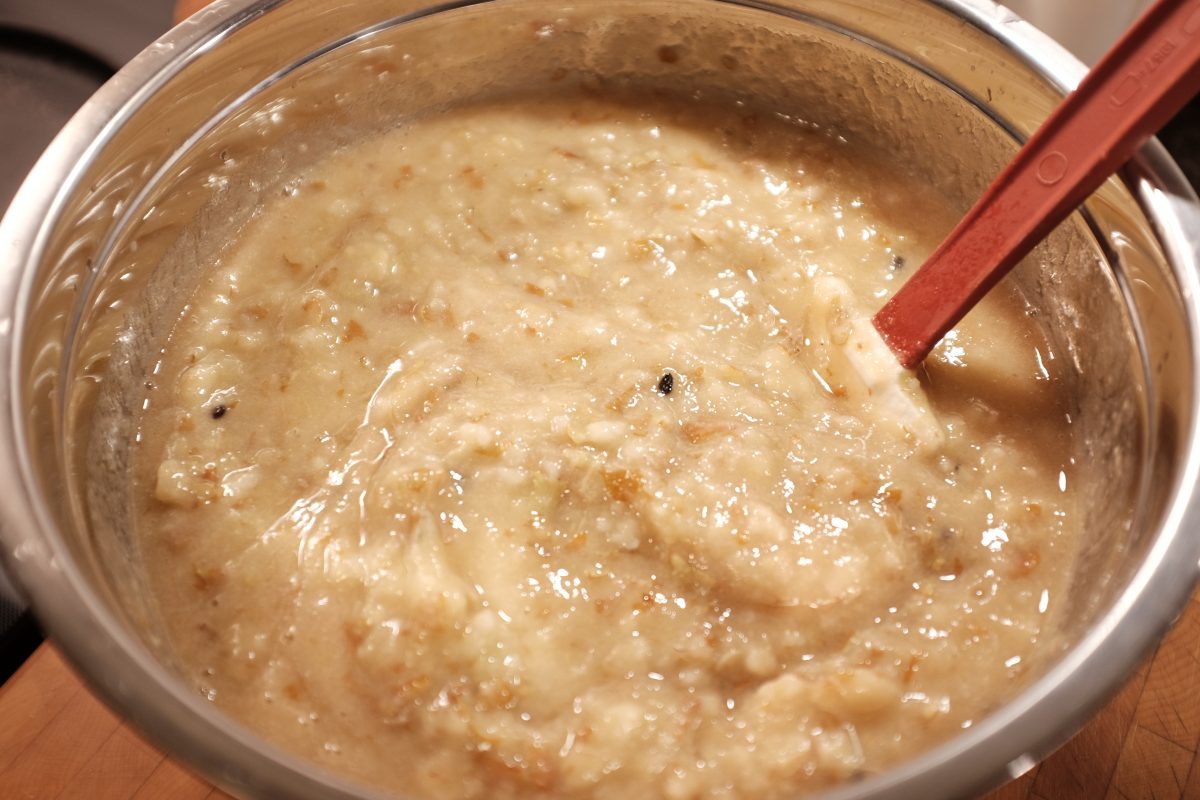
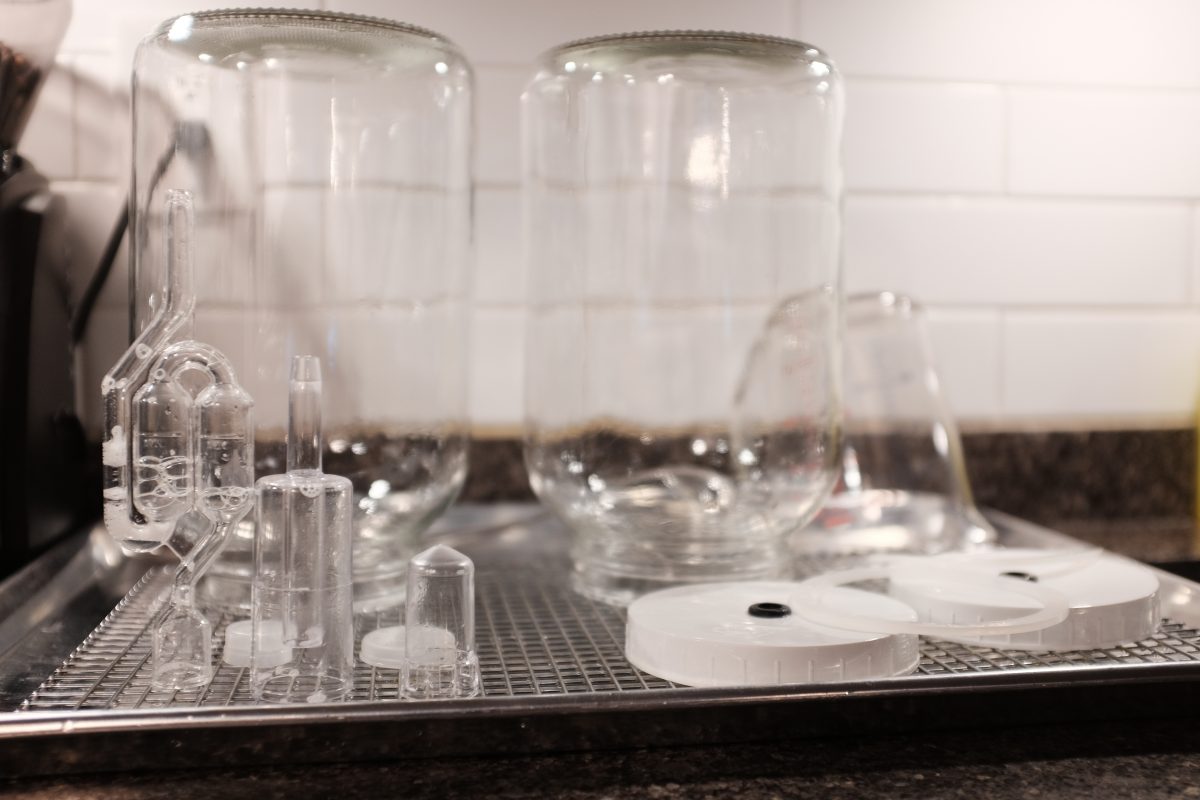
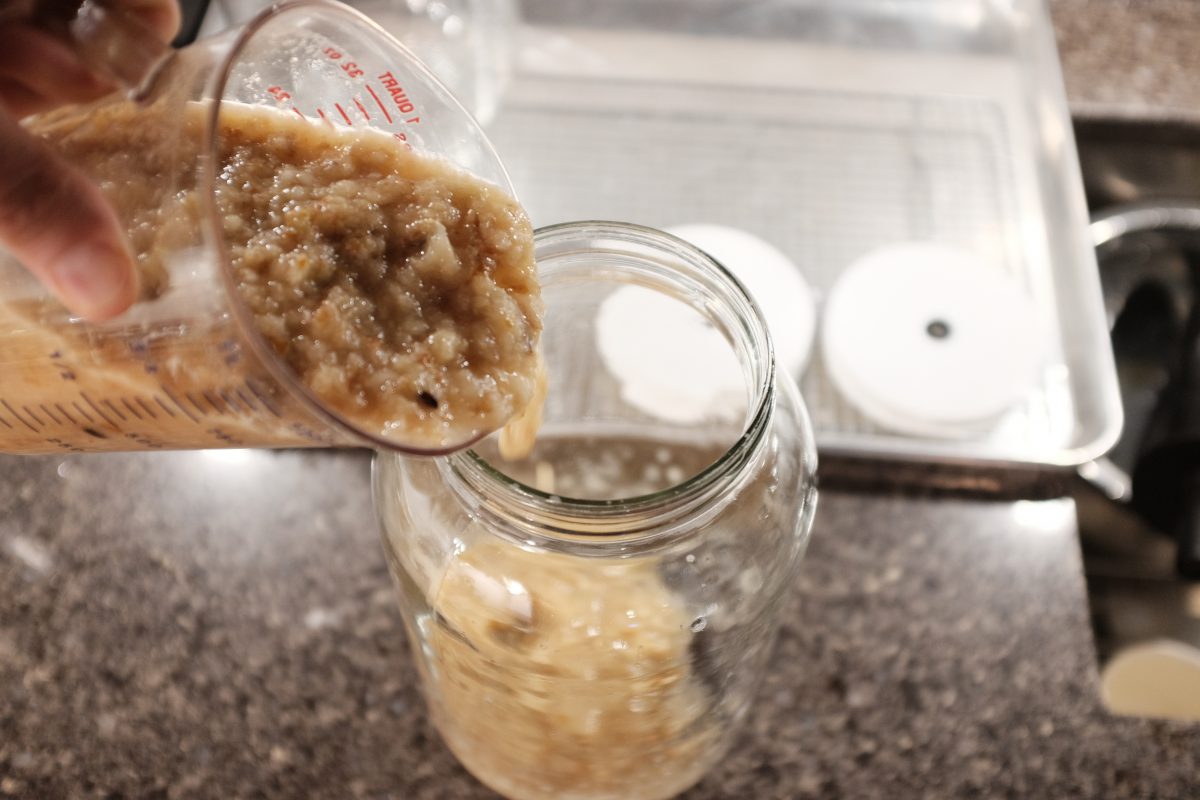
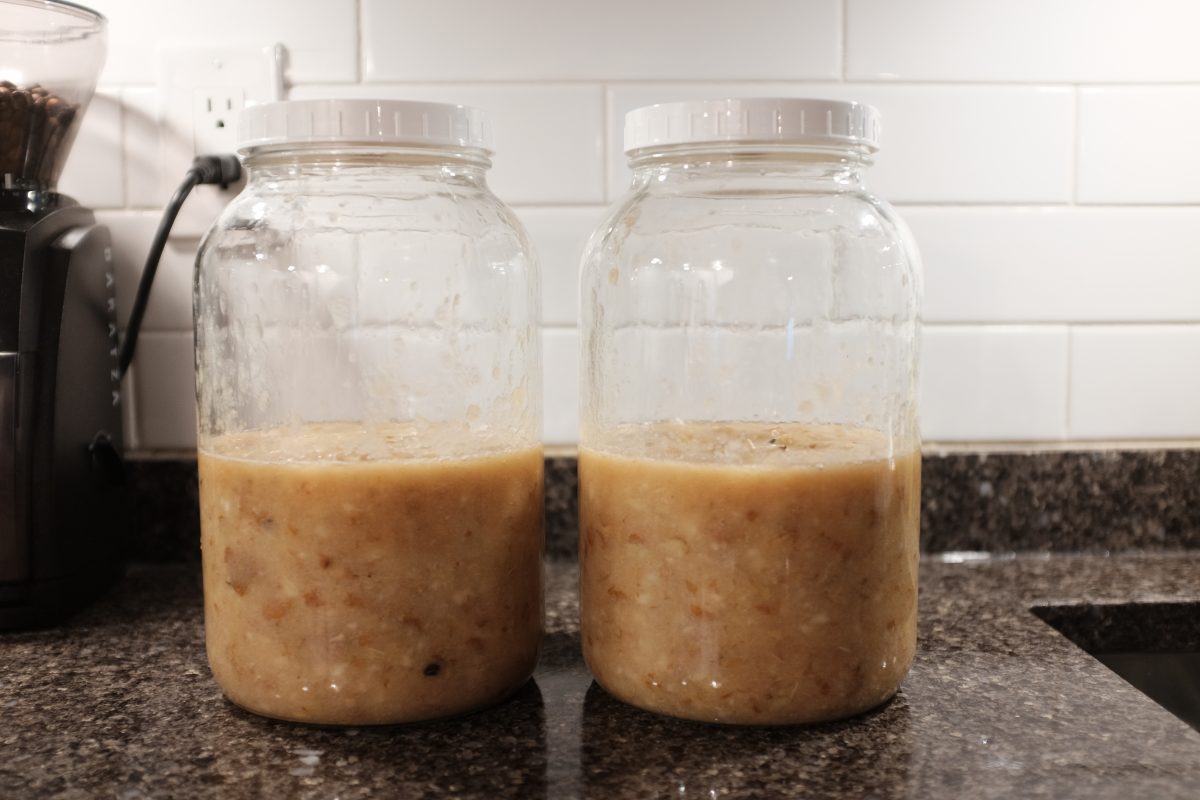
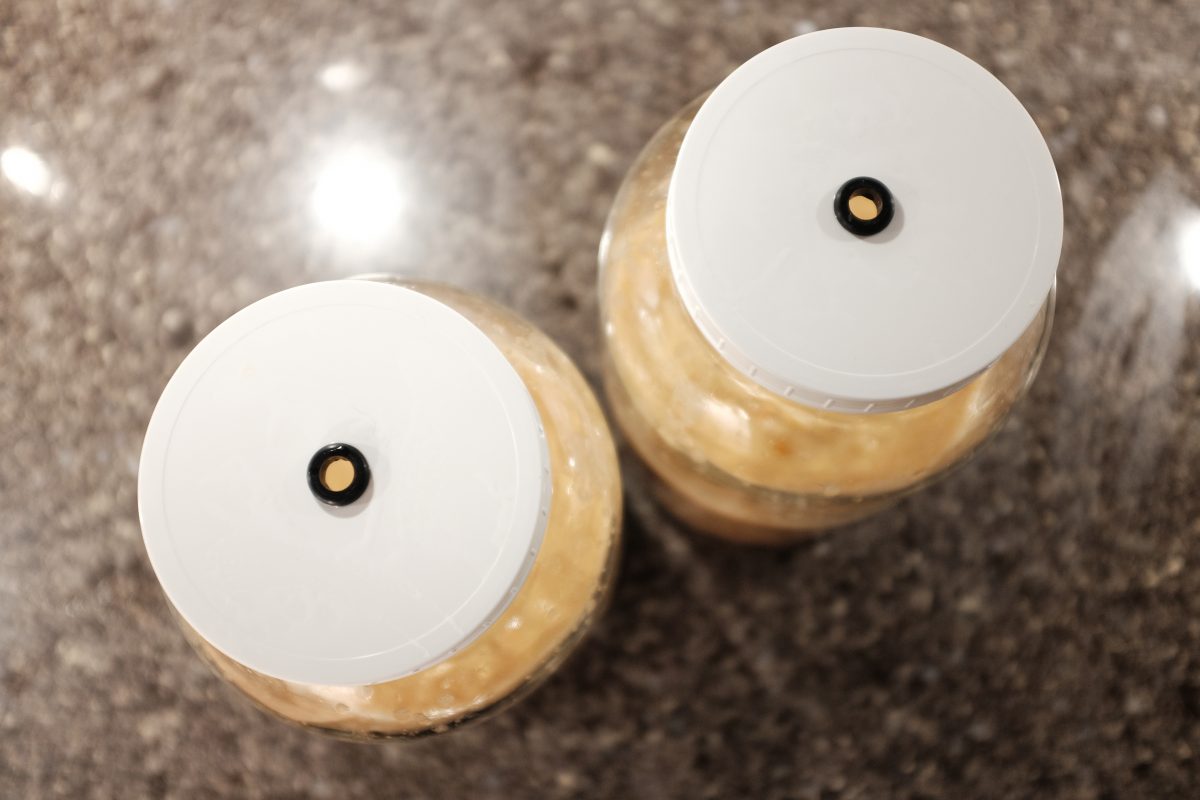
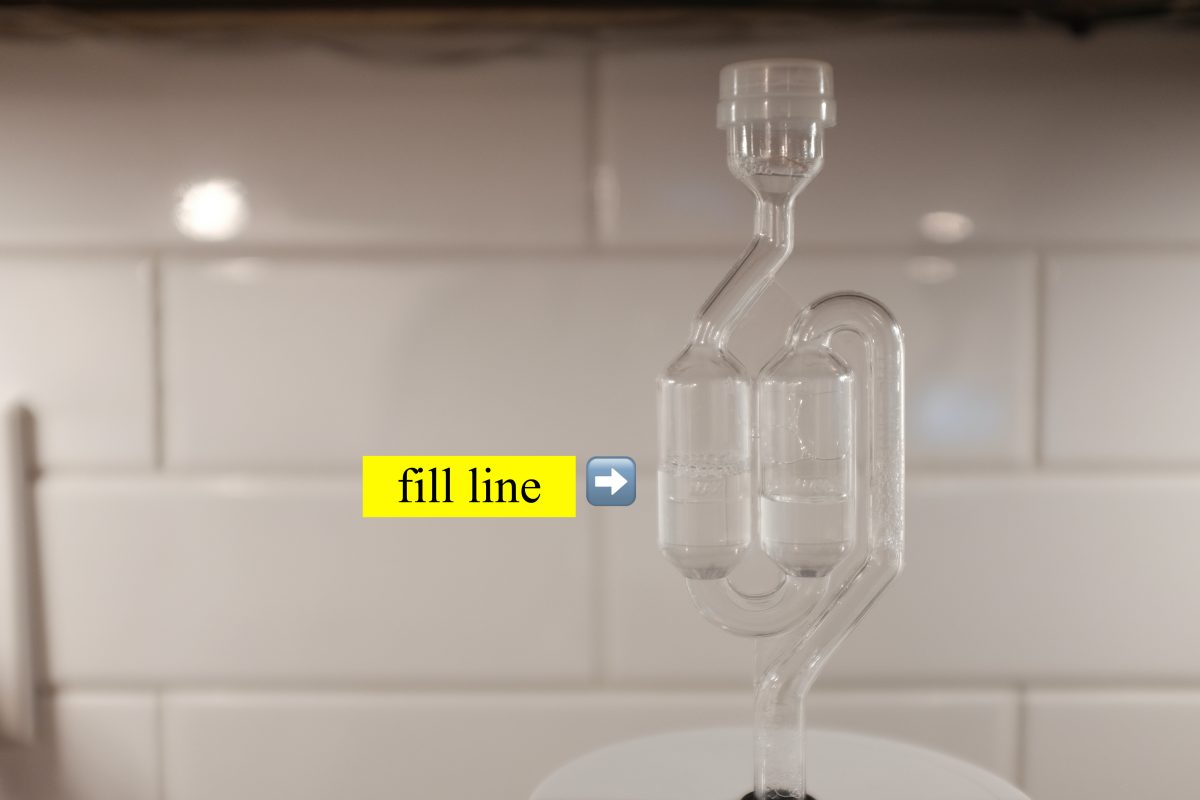
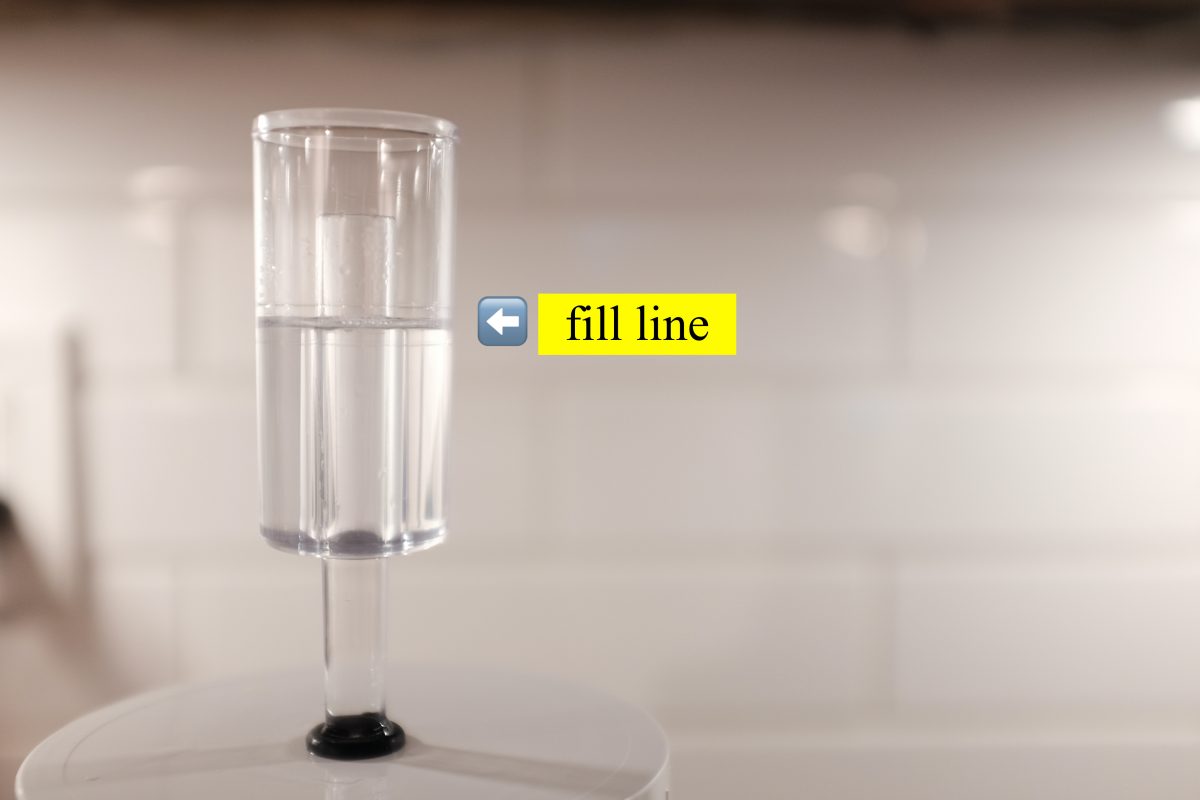
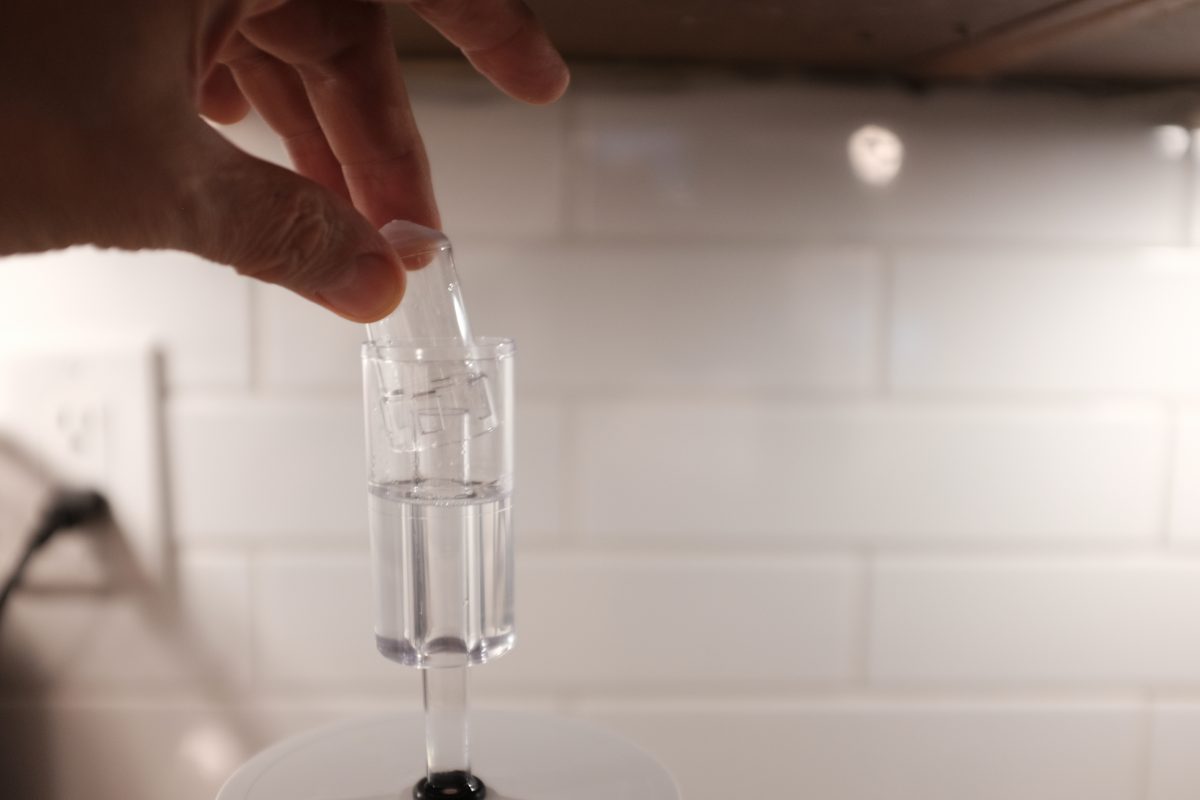
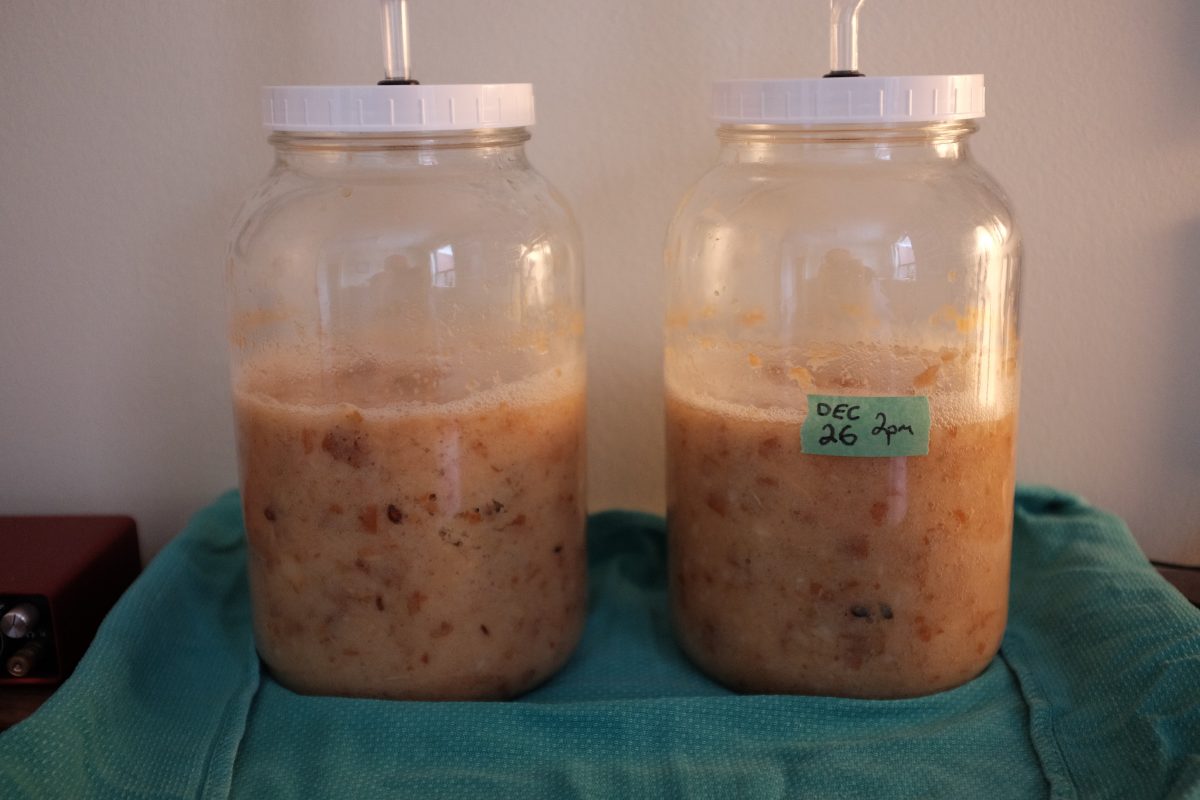
Choose a sweet variety of pear and leave them at room temperature to ripen until the fruit yields to light pressure. I bought these hard unripe bosc pears and it took almost a week at home for them to ripen up. If your pears happen to have stickers on them, just leave them on until they are ripe. I have tried removing stickers from unripe pears in the past and it often pulls up the skin leading to bruising or rot.I bought this yeast from a local home-brew supply store. You can also buy it online. I am using “saison” yeast as suggested by the Noma Guide to Fermentation but I think you could probably use another beer yeast if you can’t find a saison.This is a tiny bottle of Star San and a 1 litre spray bottle. That 1/4 teaspoon is enough Star San to make a full spray bottle worth of sanitizer, probably enough to do this recipe 2 or 3 times.Sanitize all your equipment before starting. Bowls, blender, spoons, ladles…whatever will touch the fruit.Once the pears are ripe and soft, cut or pull away the stems and remove any stickers. If there are any signs of rot or mold, cut these out and discard.If you are using a blender or a food processor, cut the pears into chunks. Don’t forget to sanitize the knife.Chopped up into big chunks. Seeds, cores and skins stay in.Pear chunks go into blender or food processor.Full house…Blend on slow speed and push the pears into the blades with a plunger.We want rough chunky mash not a smooth puree.This looks (and smells) good. If you don’t have a blender, you can chop your pears by hand or even run them over a sanitized grater. It can be a little chunkier than what you see above. Do it over a tray so you don’t lose any juice.Pour 35ml of brewers yeast into pear mash. Stir very well to ensure even yeast distribution.Sanitize your container(s), lids and airlocks.Pour the mash into sanitized container(s).These are the glass jars I am using. I like them because they are easy to clean, it is easy to see what is going on inside and I can also use them for Part 2 of the recipe. Whatever container you use, you need to leave some space at the top. When the mash ferments, it will expand a surprising amount. The first time I did this, I figured that all the mash would fit into one jar (which it just did). But…when it started actively fermenting and expanding, it blew out of the top of the jar through the airlock and made a huge sticky mess. Leave space…at least 20% of the container.These lids have a rubber gasket underneath to seal the jars and holes with rubber seals in the centre to accommodate an airlock. An airlock is a one-way valve that allows fermenting gasses to escape without allowing fresh air (and microbes) into the jar. These jars, lids and airlocks are available at home brew suppliers or online. There are a couple of different kinds of airlocks. Since I am using 2 jars, I will demonstrate both.This is an S-type bubble airlock. Water halfway up the chambers allows bubbles to escape as pressure builds up inside the fermenting container. Advantages: Simple, fun to watch, makes a gurgling sound, water doesn’t usually need to be monitored or refilled. Disadvantage: difficult to clean, especially if you happen to have an overflow as I have had. To use it, simply fill it from the top with sanitizer liquid until both chambers are at the fill line then put on the little perforated lid.This is what I call a bucket airlock (some will call it a 3 piece). An inverted little bucket pops up and allows pressurized gas to escape while keeping outside air from entering. Advantages: Very easy to clean thoroughly. Disadvantages: visuals and sounds are less entertaining, a little more complicated to assemble (not really), water may evaporate and need a top up (but not often). To use this one, fill with sanitizer solution until it is in between the 2 fill lines. Then….…insert the little perforated bucket upside down, on top of the centre shaft, then……put on the perforated lid. Done.
Once the jars are filled, the lids are on tight, and the airlocks are assembled…move them to a spot that is not in bright light and is at a cool room temperature. Around 20 Celsius or even a little cooler is ideal. Sometimes a basement works, or a garage. I have one or two poorly insulated outside walls which stay at a perfect 18-20 degrees in the winter so that is where I do my fermenting.
First Signs of Life
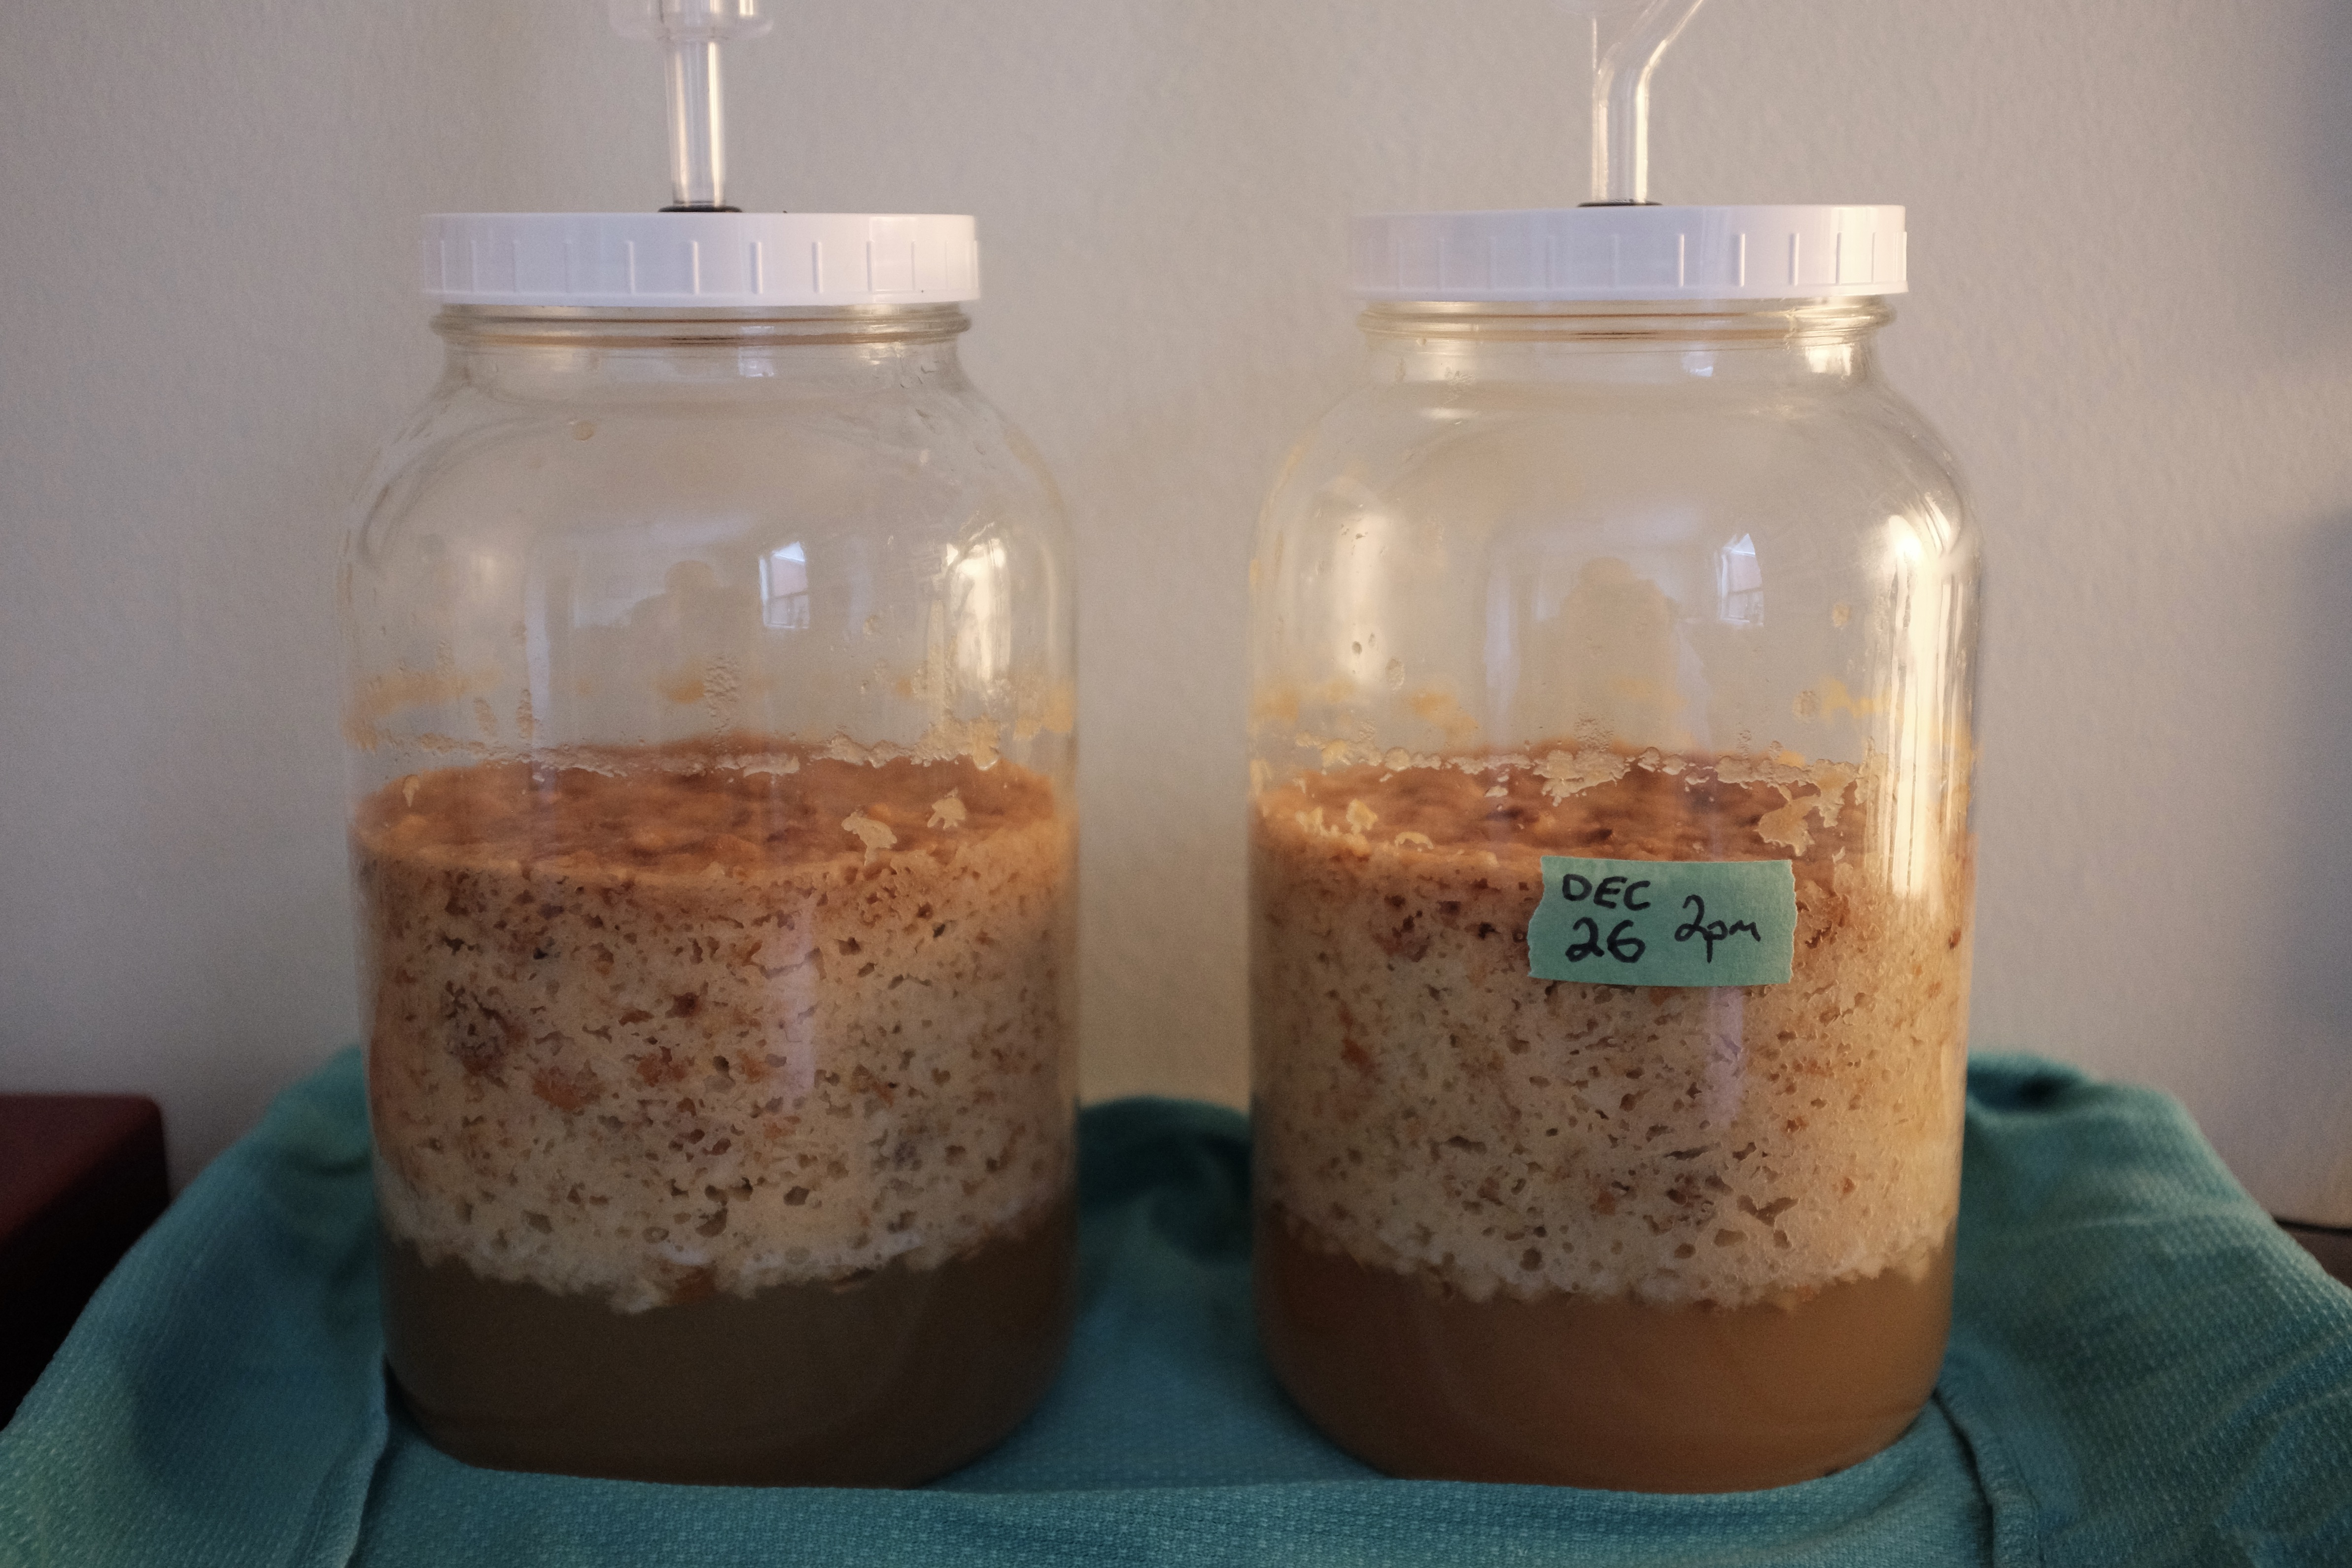
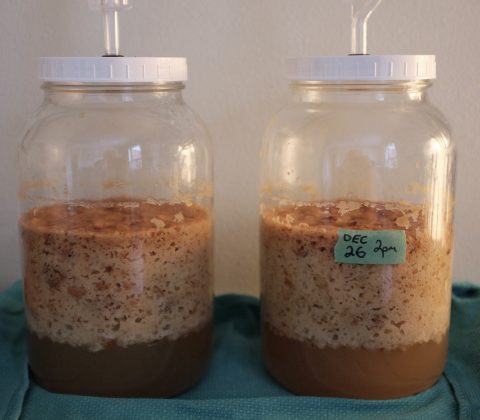
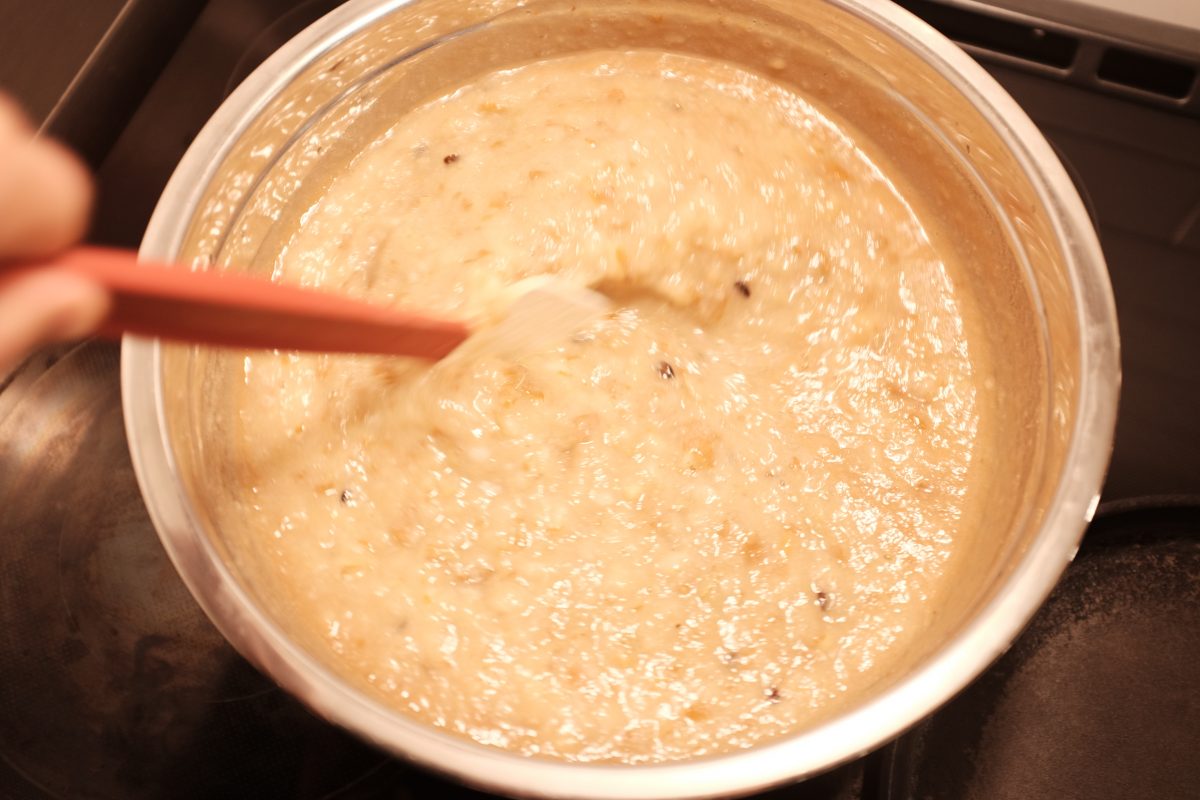
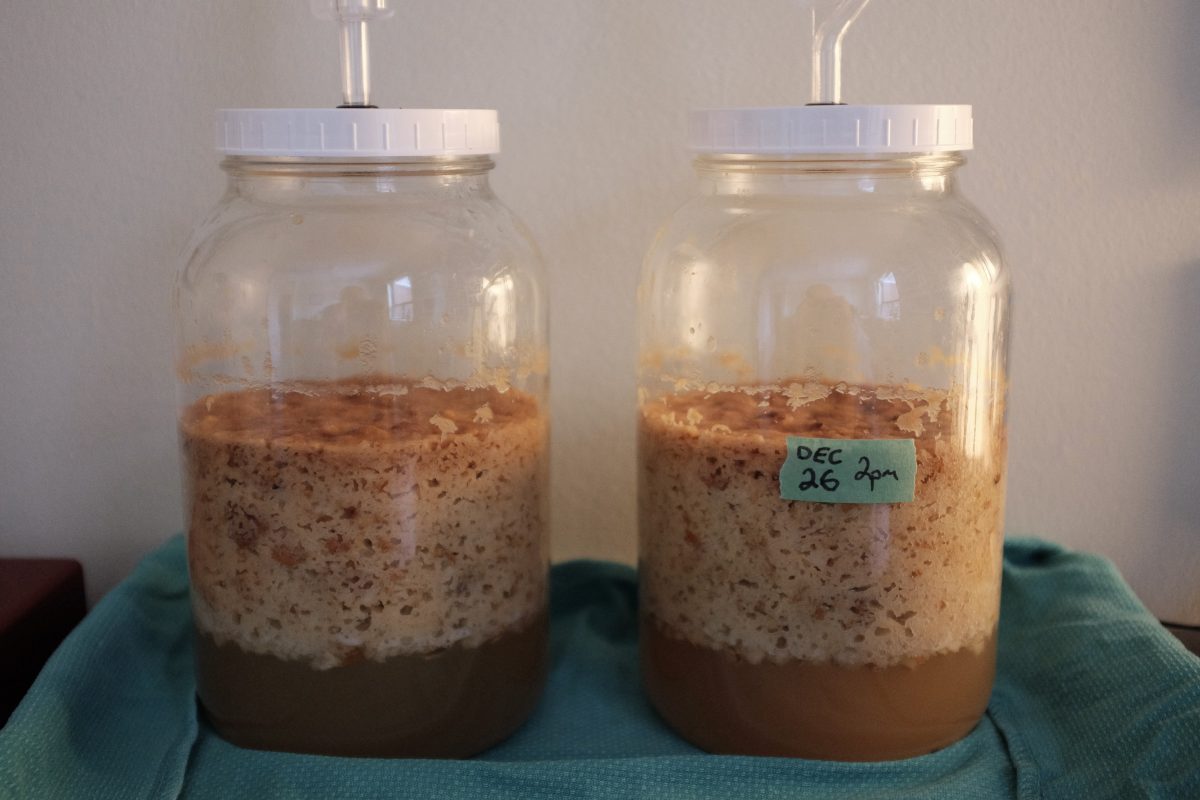
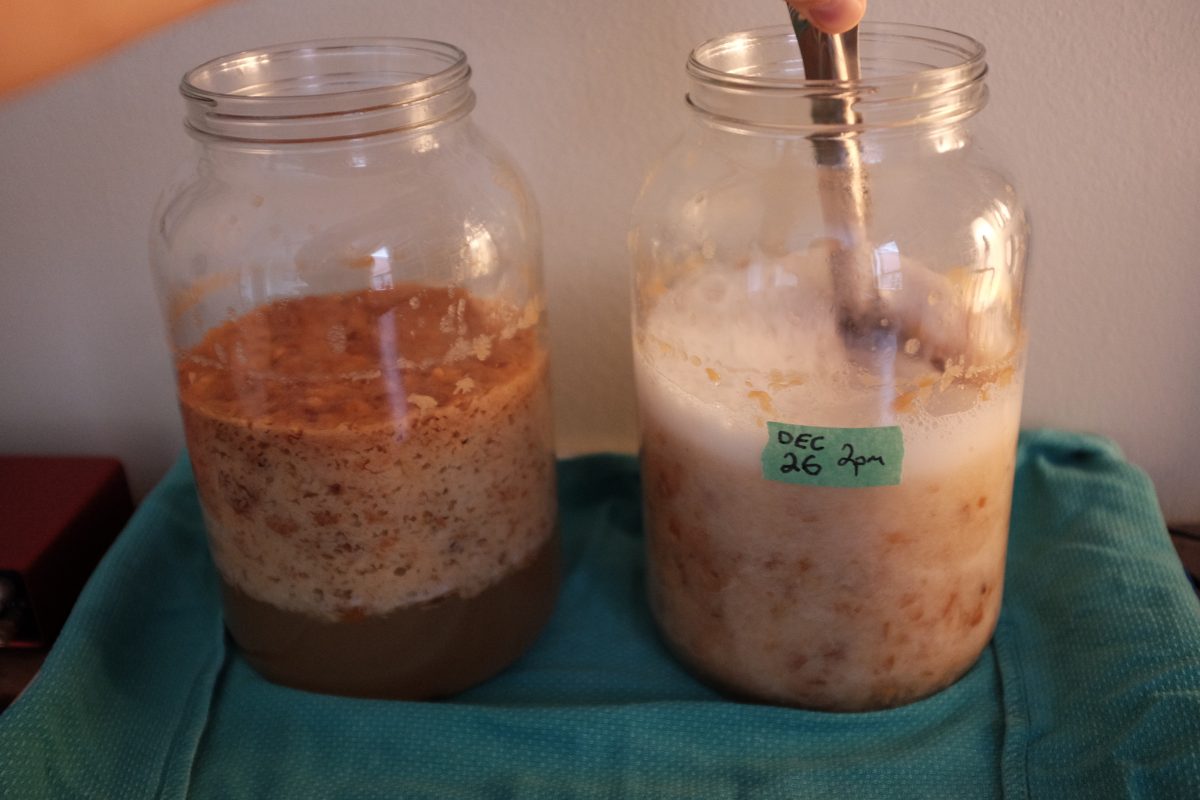
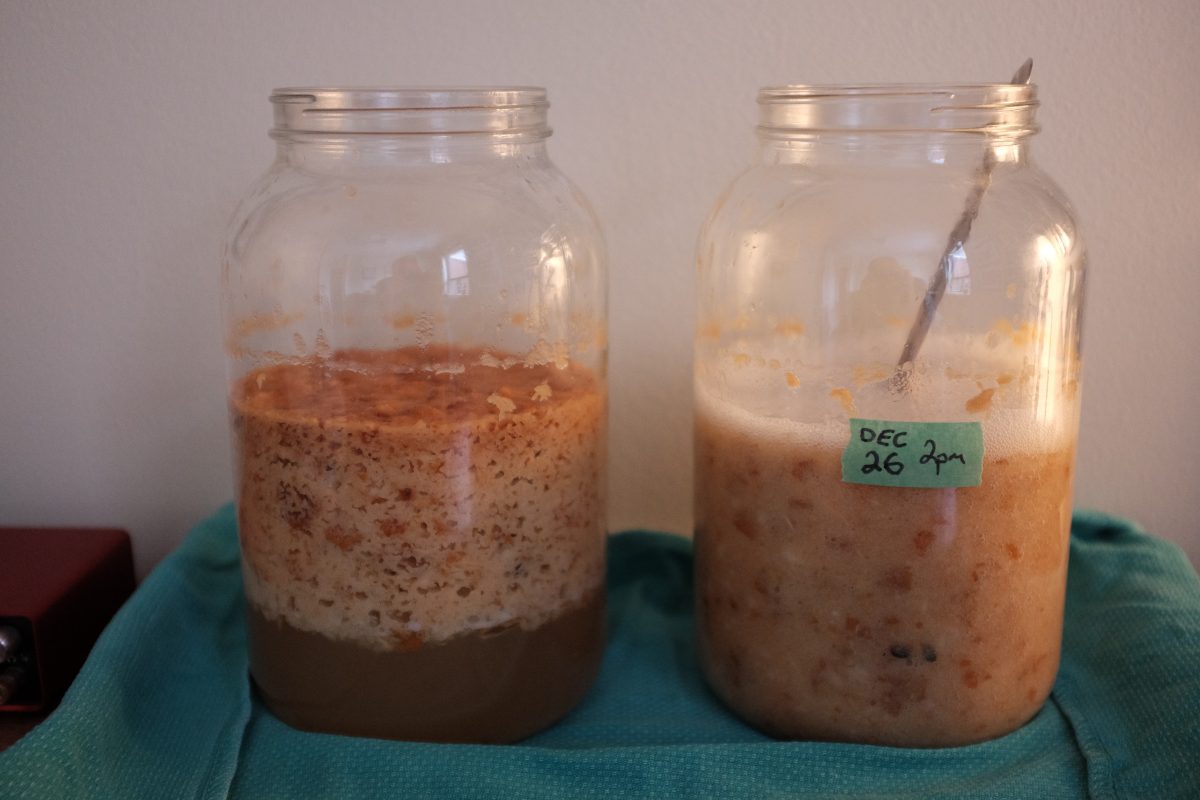
After one day, the mash has separated into layers and there is very active bubbling happening.This is a time lapse to demonstrate how the two different airlocks work. This is obviously sped up but they are producing a good bubble every few seconds at real life speed. Below is a sound recording..The ticking sound is from the bucket air-lock and the deeper gurgling sound is the S air-lock. I think the S lock is more fun to watch and listen to…but they each do the job : )Once a day, open the lids and give the mash a good stirring with a sanitized spoon. There is a tremendous amount of foaming and fizzing going on in the first two days. It is very active.Undisturbed on the left. On the right…after a thorough stirring.When you are done stirring, replace the lids. Give the spoon a taste every time you mix it. Eventually you will notice the sweetness decreasing and the hotness (alcohol) increasing. Stir and taste and smell everyday until the bubbling slows and the mash has an obvious alcohol taste while still retaining some of the residual sweetness and “pear flavour” of the fruit. This will probably take 7 to 10 days.
Fermentation slows down…
For the first 2 days, fermentation was very active with both airlocks bubbling constantly. Towards the end of the second day the fermentation has slowed noticeably. The airlocks will bubble up a couple of times a minute at most. There is less fizzing when stirring and there is a slight taste and smell of alcohol on the spoon. By day 3, fermentation was very slow. Apparently, this very active initial fermentation followed by a very slow and steady period is characteristic of “saison” yeast. If you are using a different brewers yeast, the fermentation may be more consistent over time.
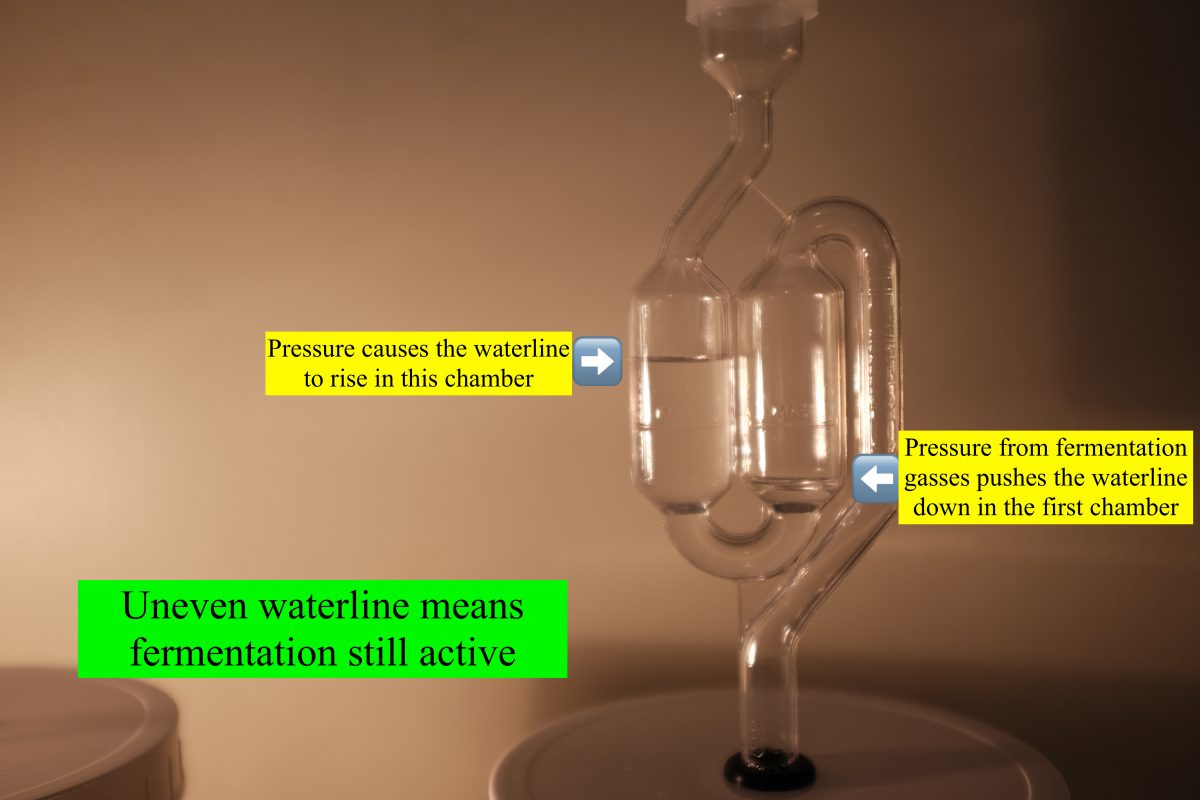
The S airlock, with it’s 2 chambered design, clearly shows that there is pressure from fermentation gasses even if it is not bubbling constantly. This is an easy visual cue and another advantage of the S airlock. On the other hand, the bucket airlock needs a lot less pressure to force a bubble so, given the same activity, it will bubble a lot more often. One device you can see easily, one device you can hear easily. I kind of like having both going.
Keep stirring once a day, tasting for sugar and alcohol balance. Monitor activity at the airlocks.
Day 7:
By the 7th day, there is little to no detectable fermentation happening…no bubbling, no sounds, and the pressure in the S-airlock is equalized with both chambers showing the same water level. The mash tastes and smells of alcohol but the sweetness and perfume of pears is still there. This is perfect. It is time to strain the mash and move on to vinegar fermentation.
Straining the Mash
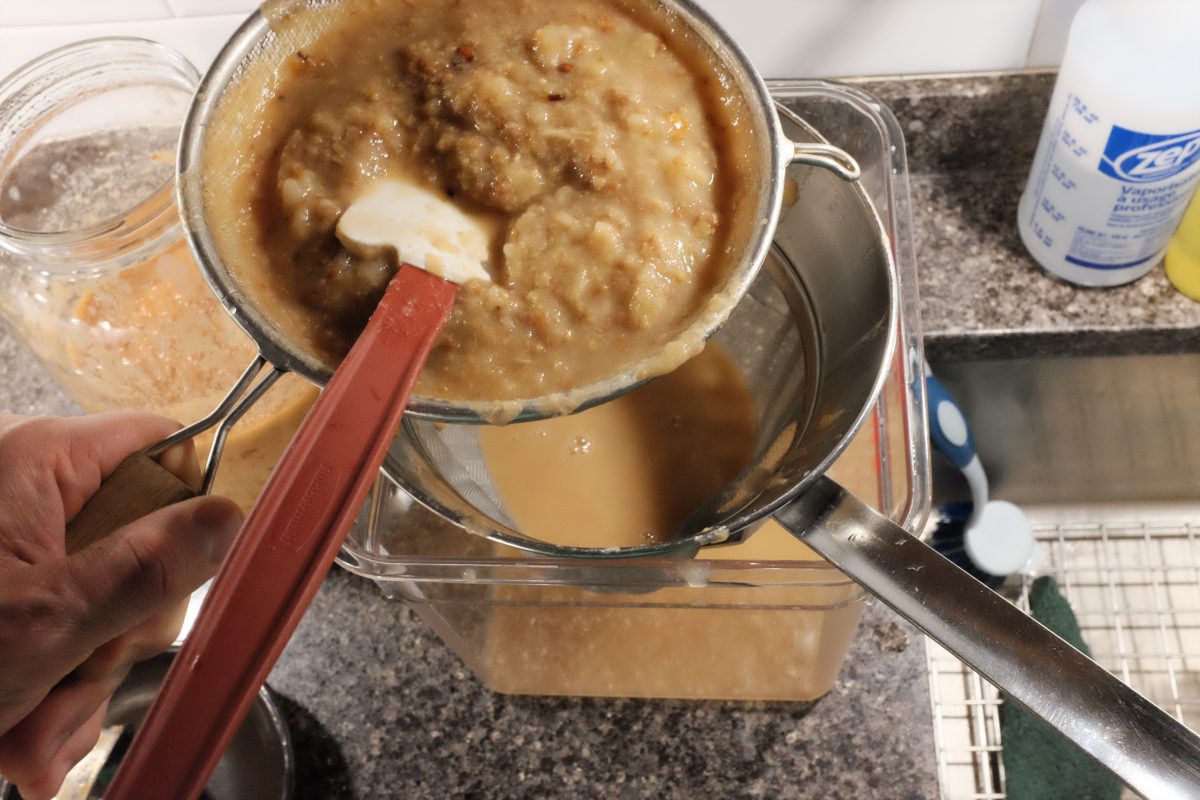
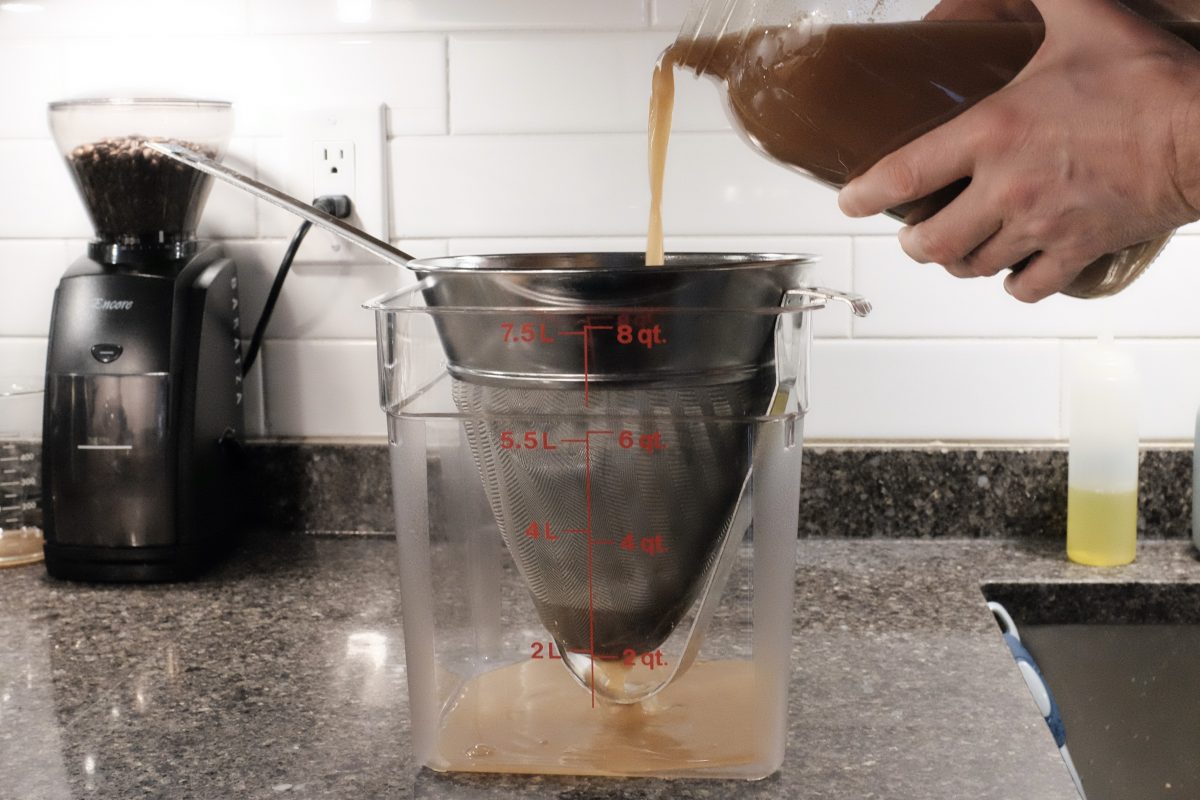
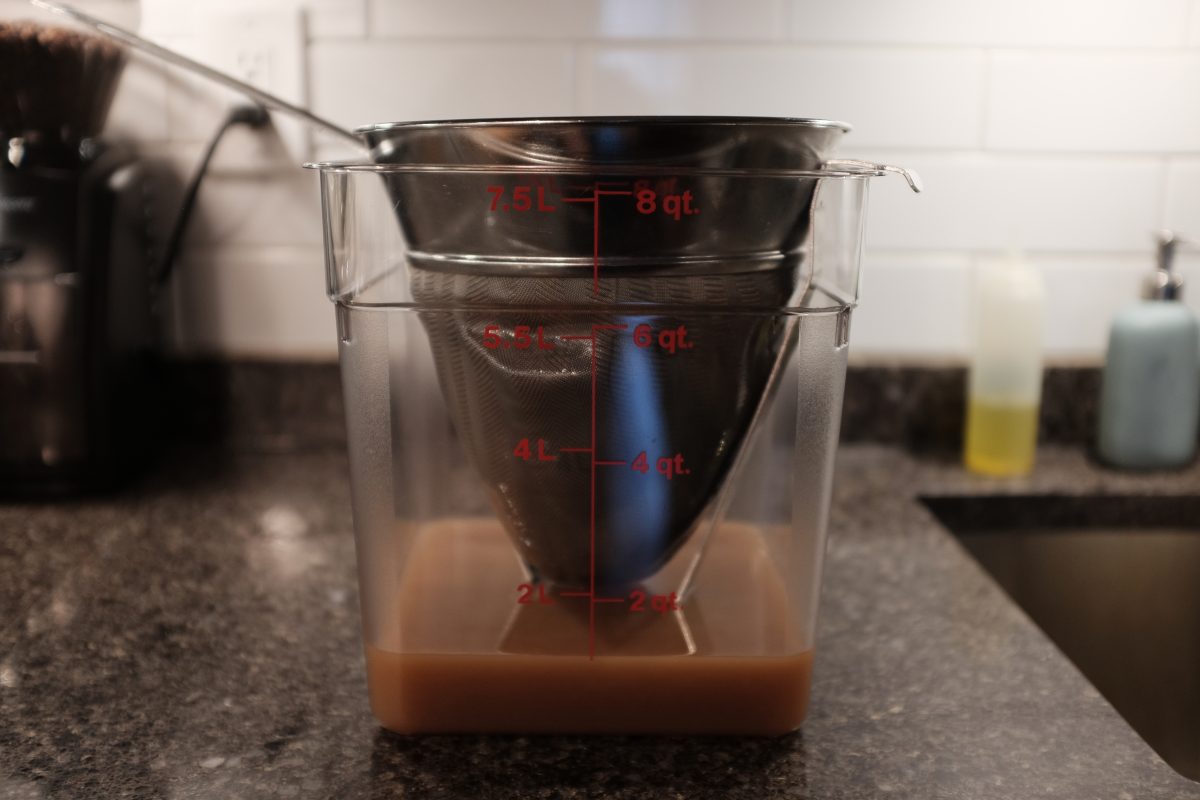
This is probably the most difficult part of this whole process. After doing this a few times, what you see below is the method I prefer but, it is not the only way. The goal is to separate the fibrous parts of the mash from the liquid so as long as you accomplish this, any method is fine.
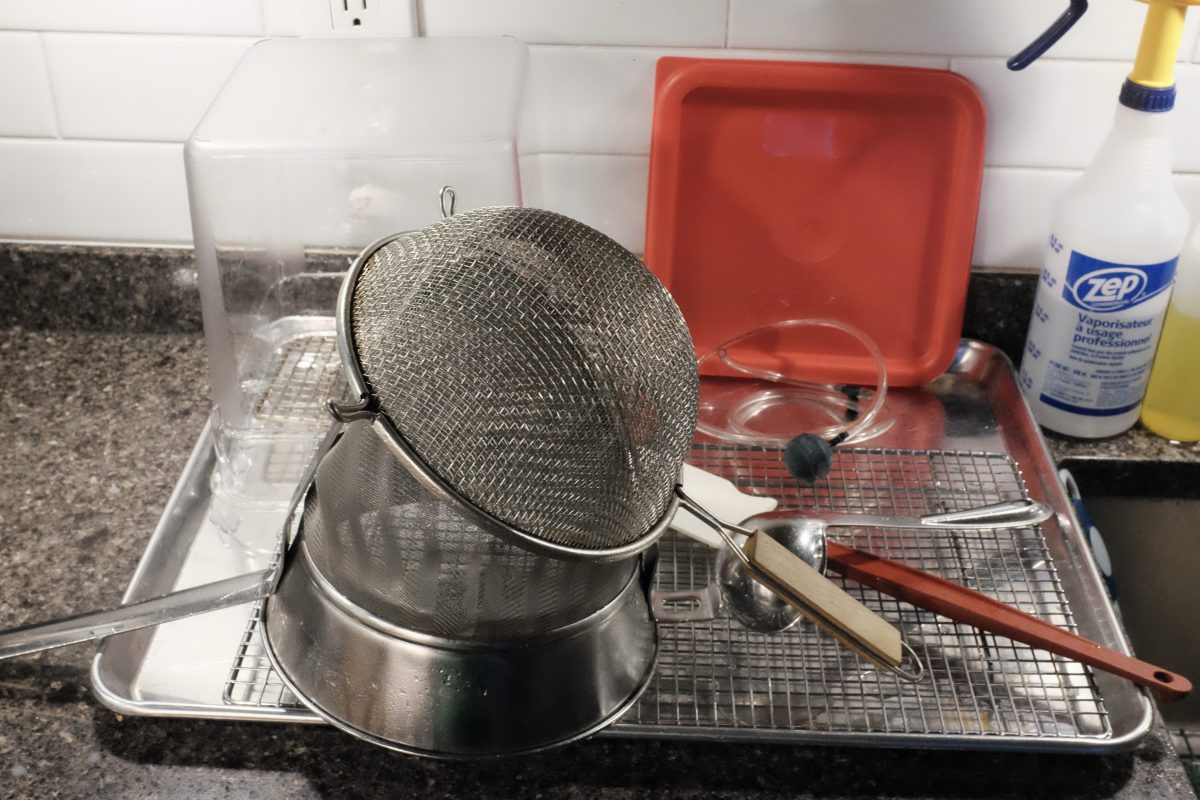
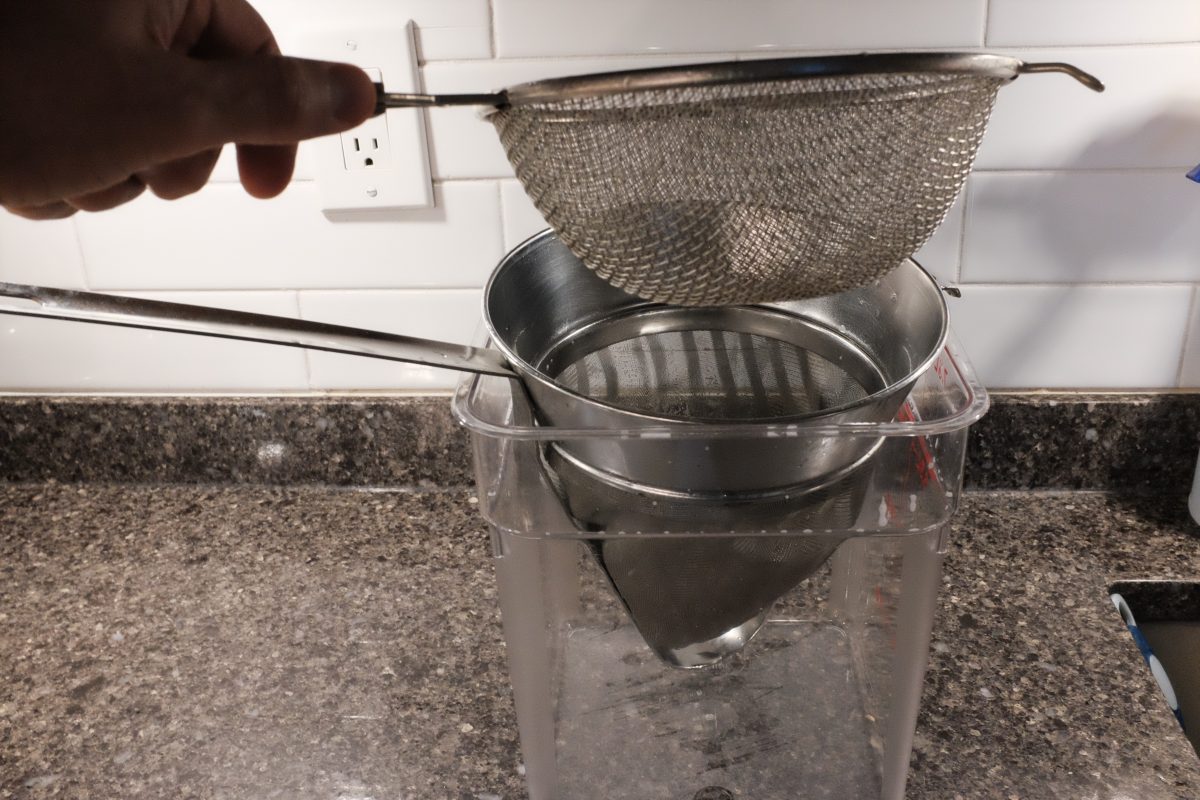
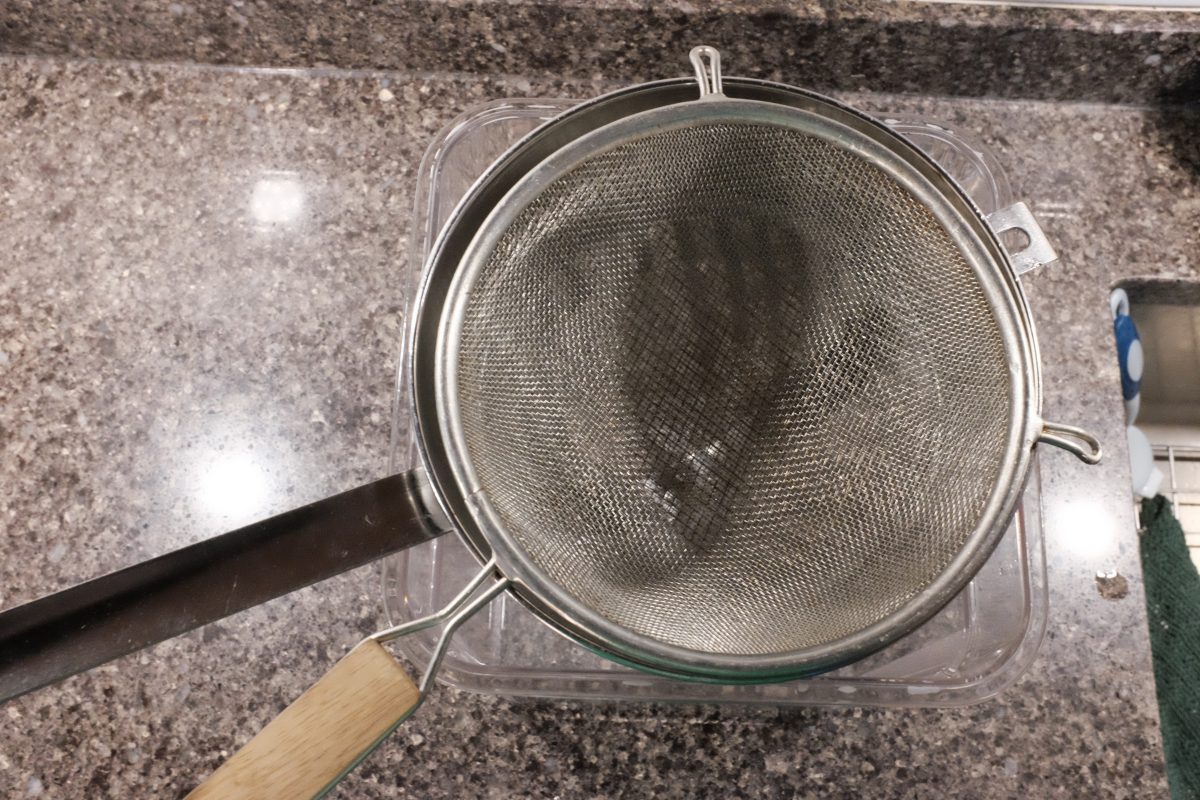
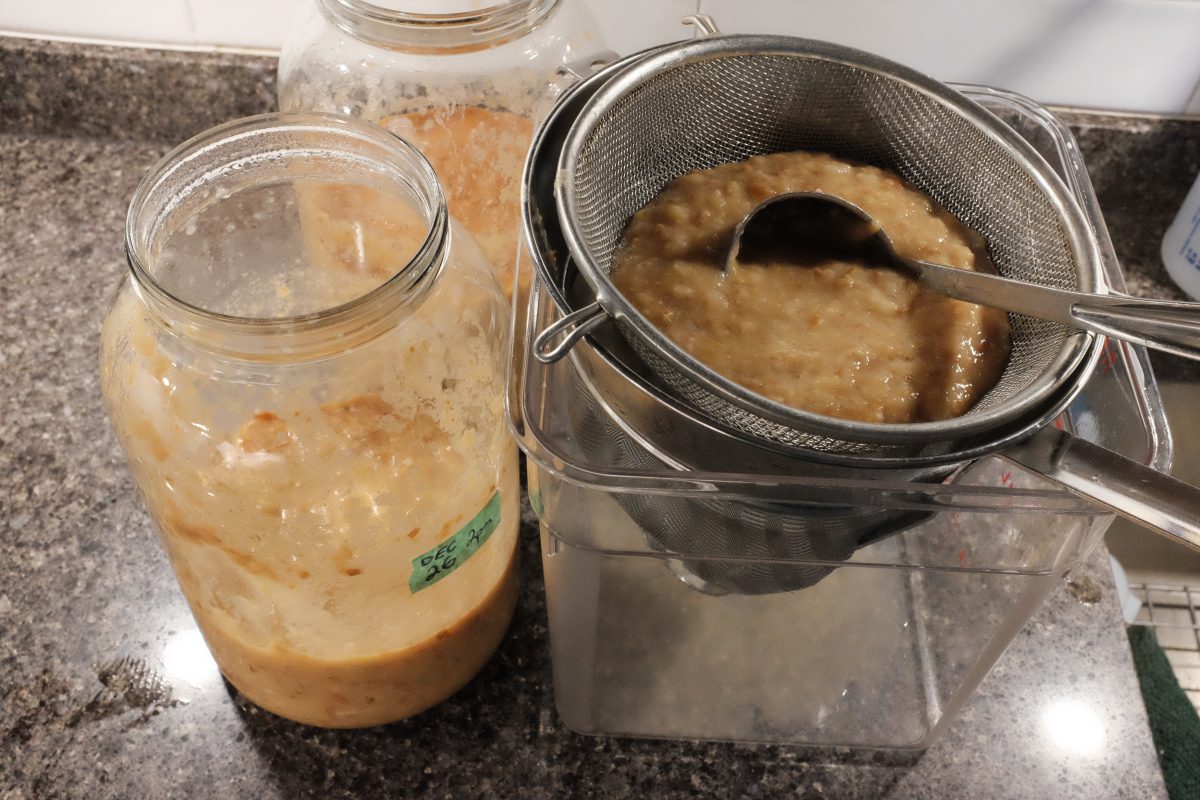
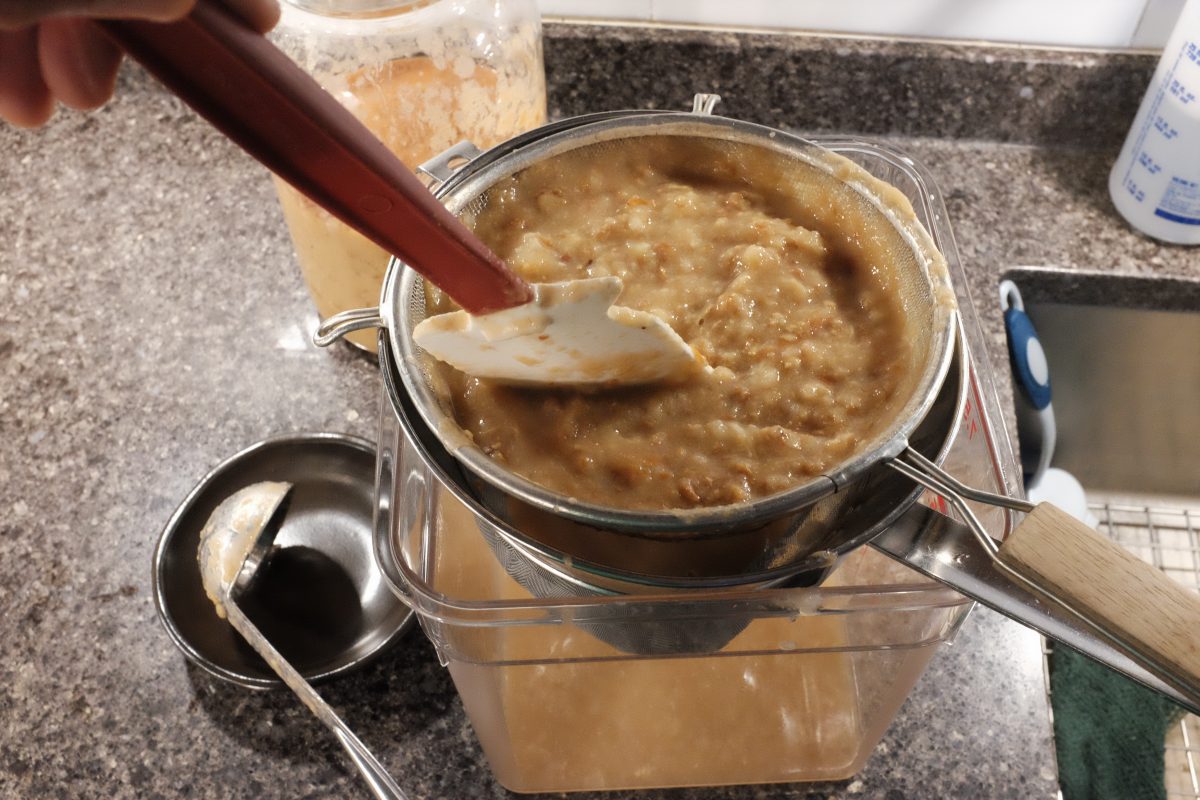
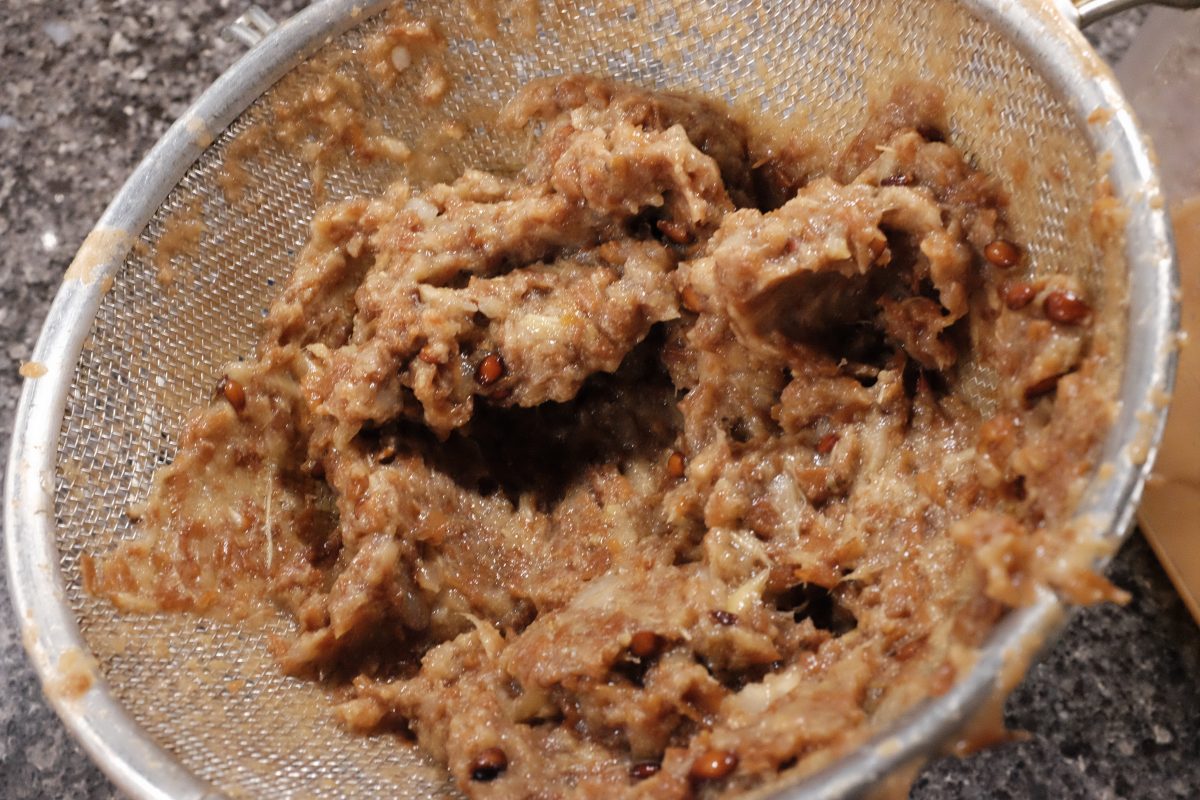
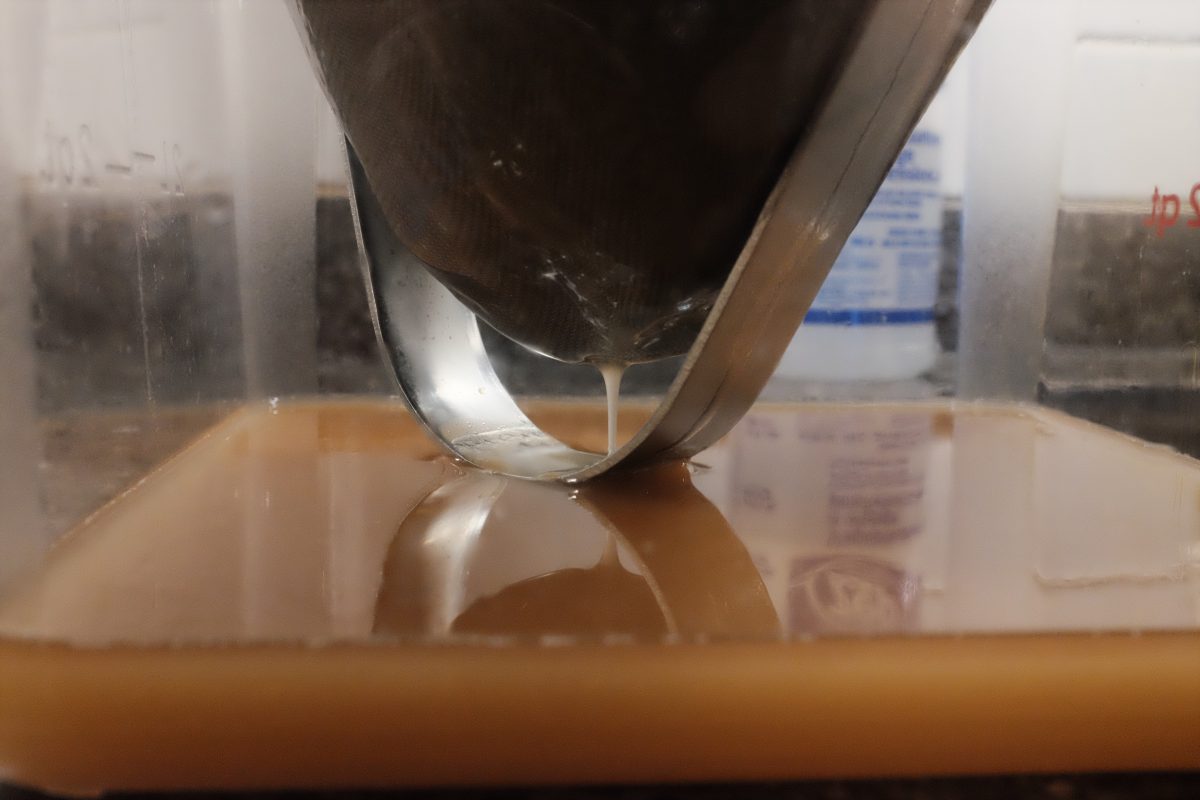
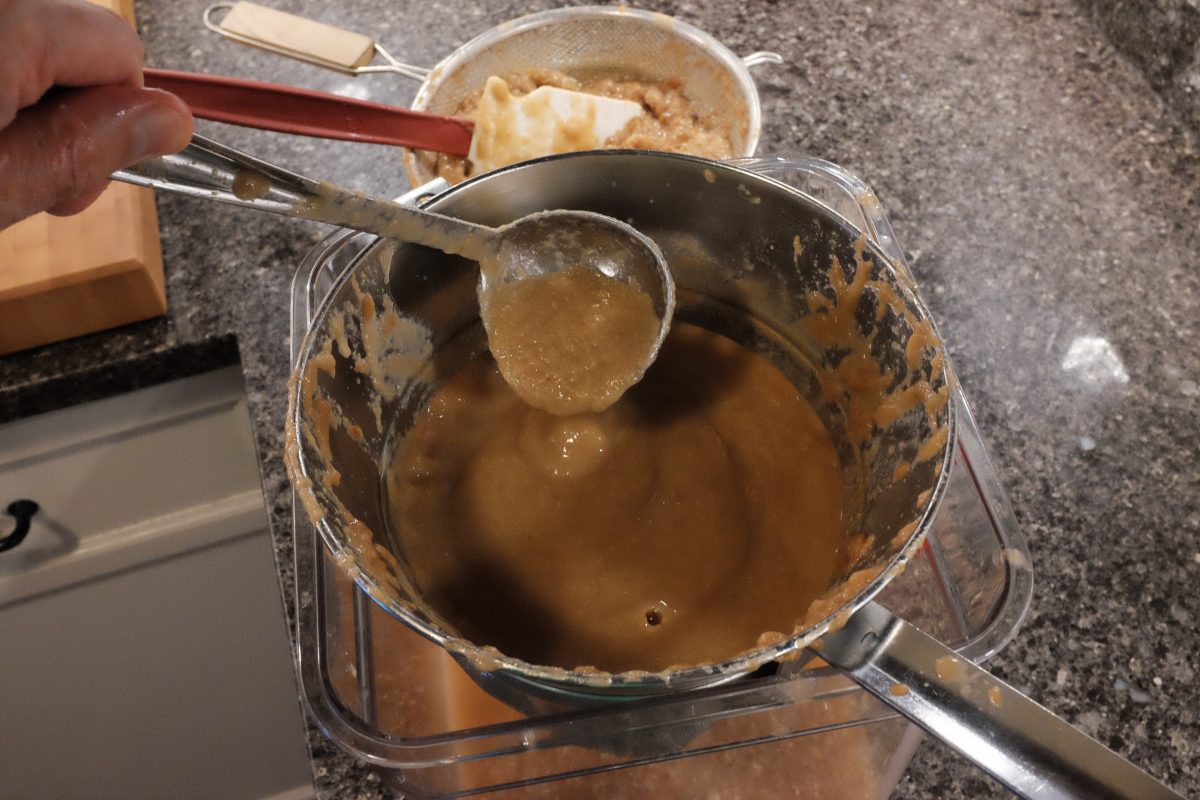
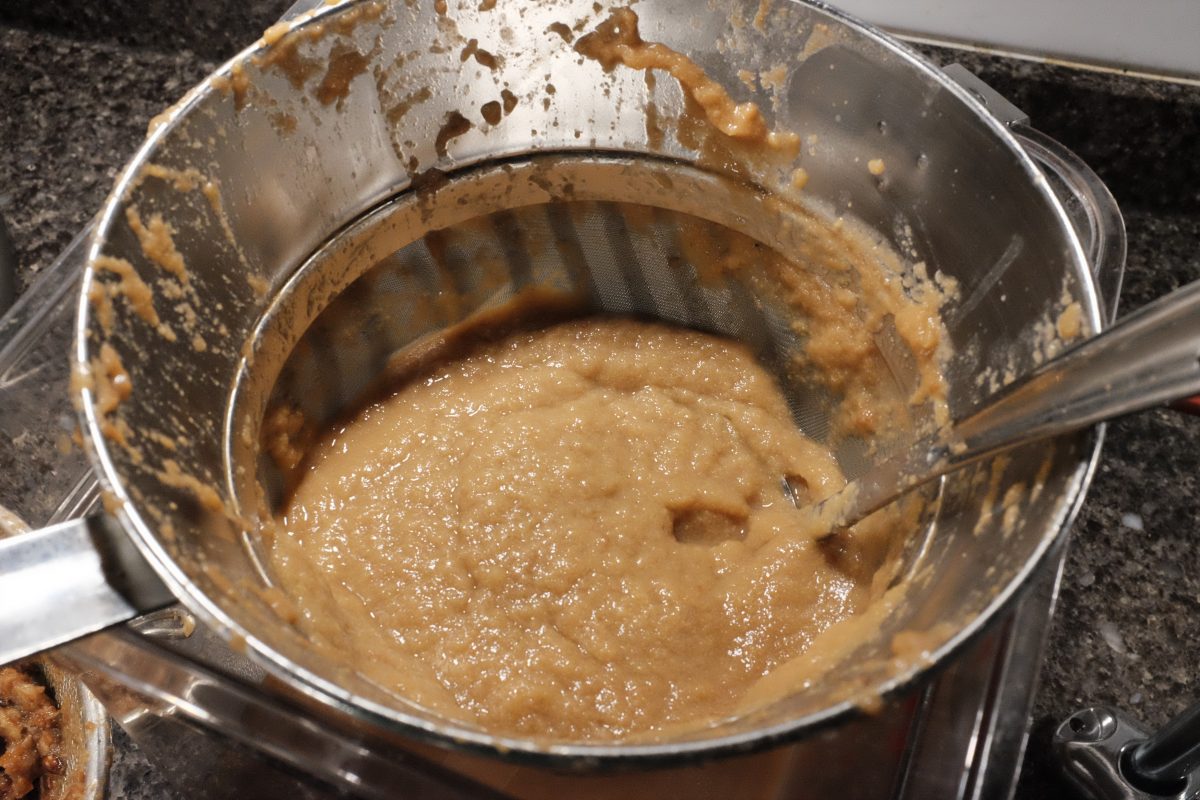
Here is the pear mash on its last day of fermenting into alcohol.Before starting, sanitize all equipment. For now, I will be using a coarse mesh strainer, a fine mesh strainer, a ladle, rubber spatula and a clear container to catch the juice. All of this was spray sanitized with Star San in a spray bottle.Set the fine mesh strainer over the bucket and the coarse mesh strainer inside the fine one. I find it is best to strain in stages where the first strainer will catch all the big stuff like seeds and peels and core fibres and the fine strainer will filter out anything smaller than that.Here they are nested together.Ladle the mash into the coarse strainer leaving enough space to push and stir without making a mess.Stir and press the mash against the strainer to force all the liquid and smooth puree through. This is a lot of work. It takes time.Only a very smooth puree gets through the bottom of the coarse strainer. Keep pushing and stirring until there is only seed, skin and rough fibre in the top strainer.The remains. Put this fibrous stuff aside for now.While working the mash up top, liquid will slowly seep through the fine strainer below.The pulp in the fine mesh strainer will also need some stirring and pushing to get it through to the bucket underneath.When you have pushed most of the liquid through the fine mesh strainer, you will end up with a coarse puree. Put this aside too.
The Fruit Press
If you don’t have a fruit press, don’t worry. Take your strained juice and skip down to “Neutralizing the Brewers Yeast”. If you have a fruit press or if you are interested in how one works , please read on…
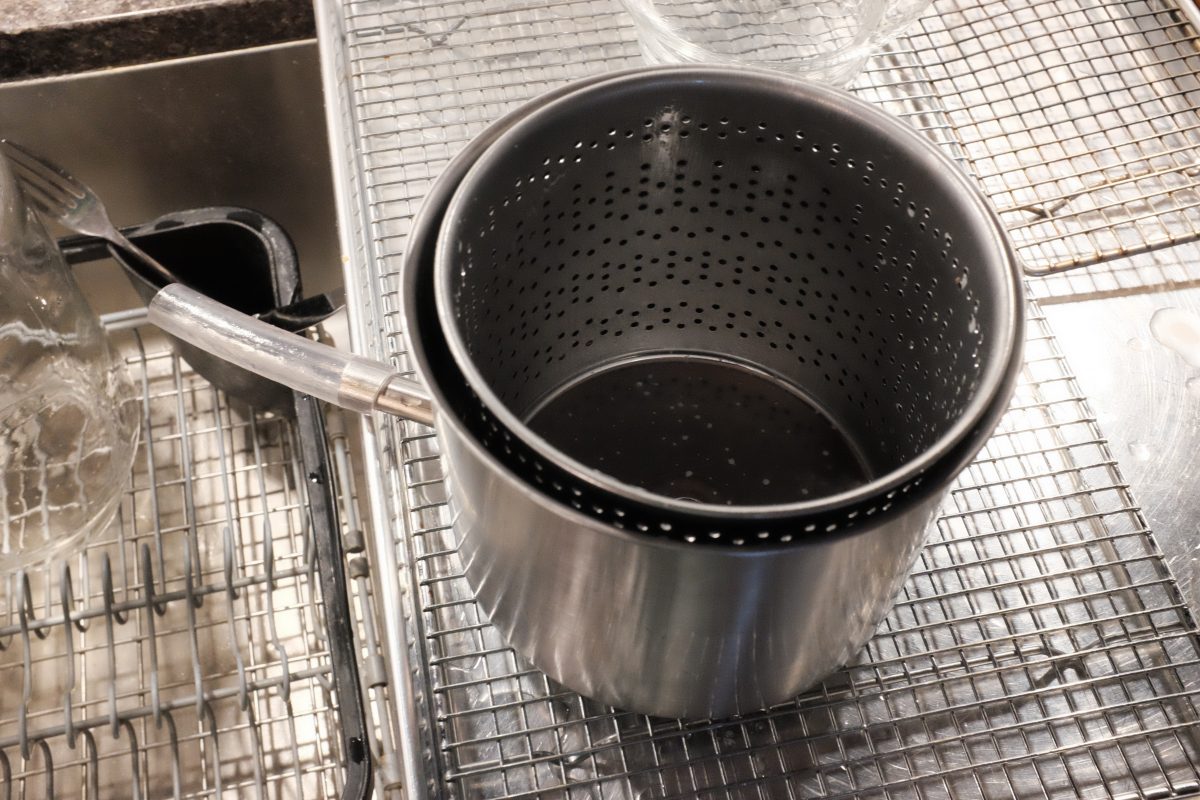
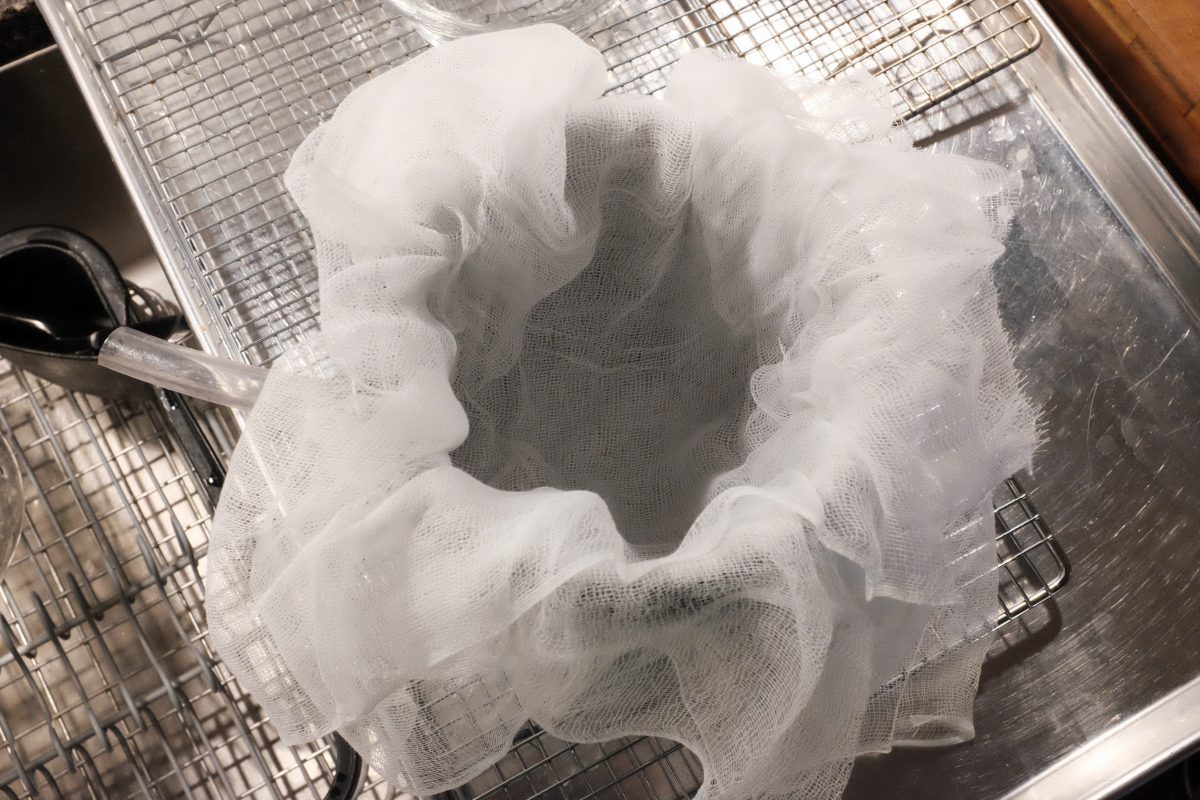
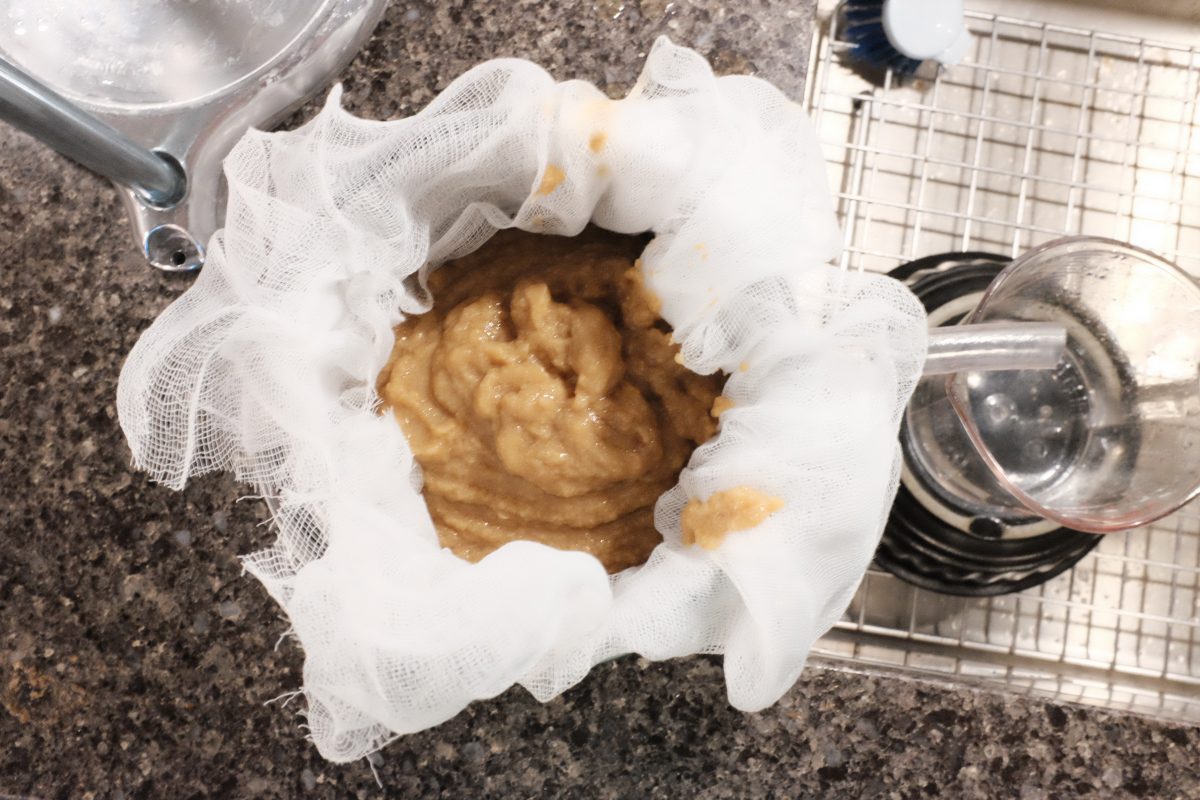
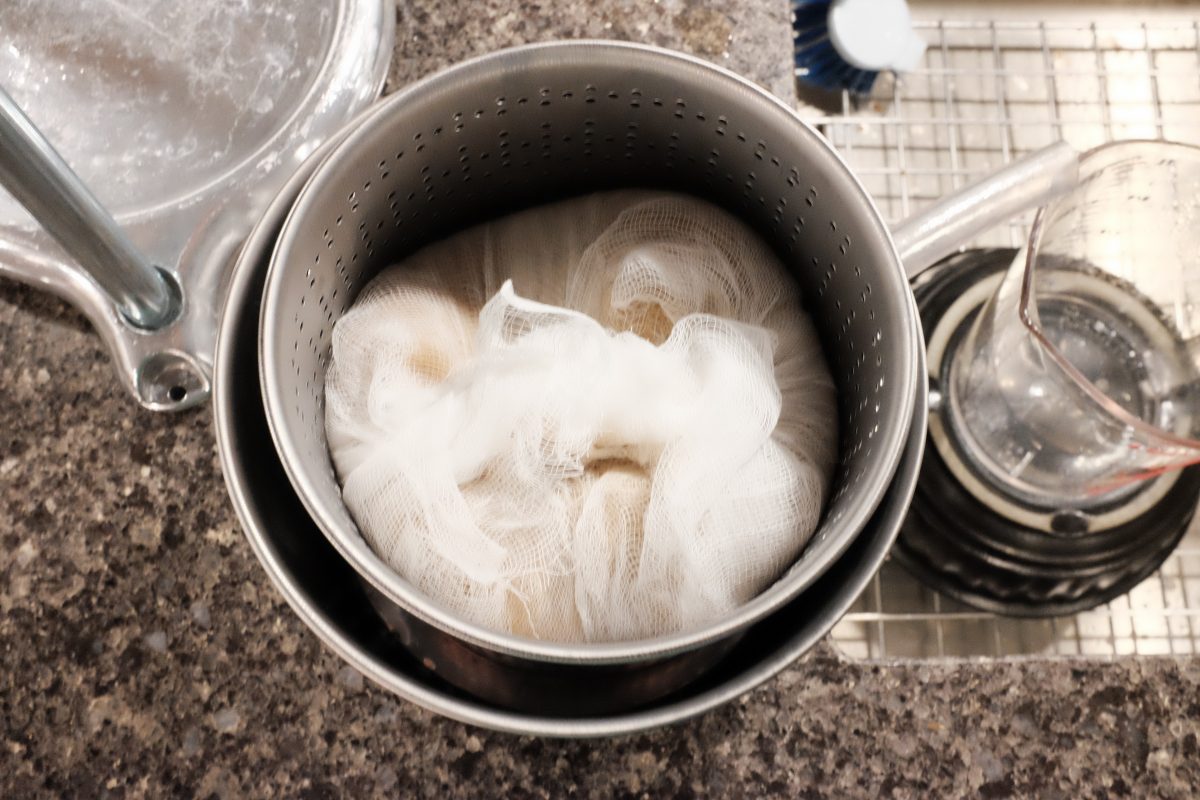
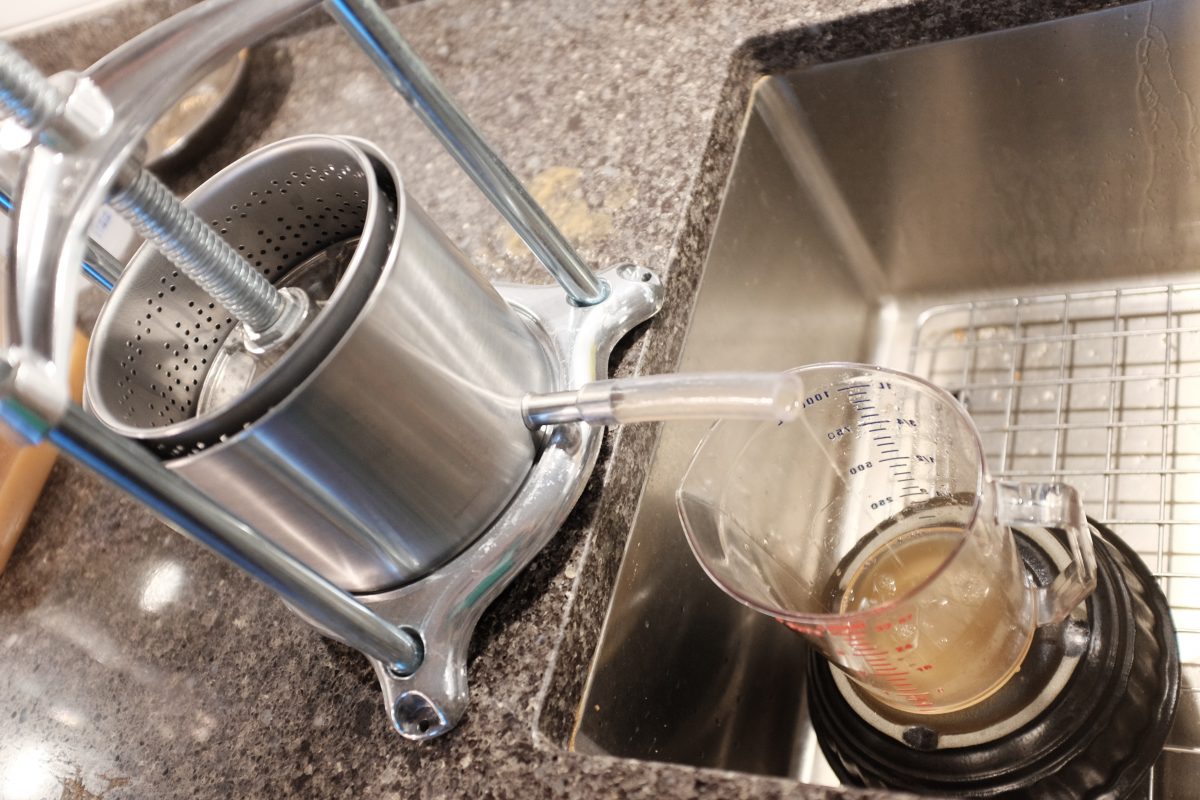
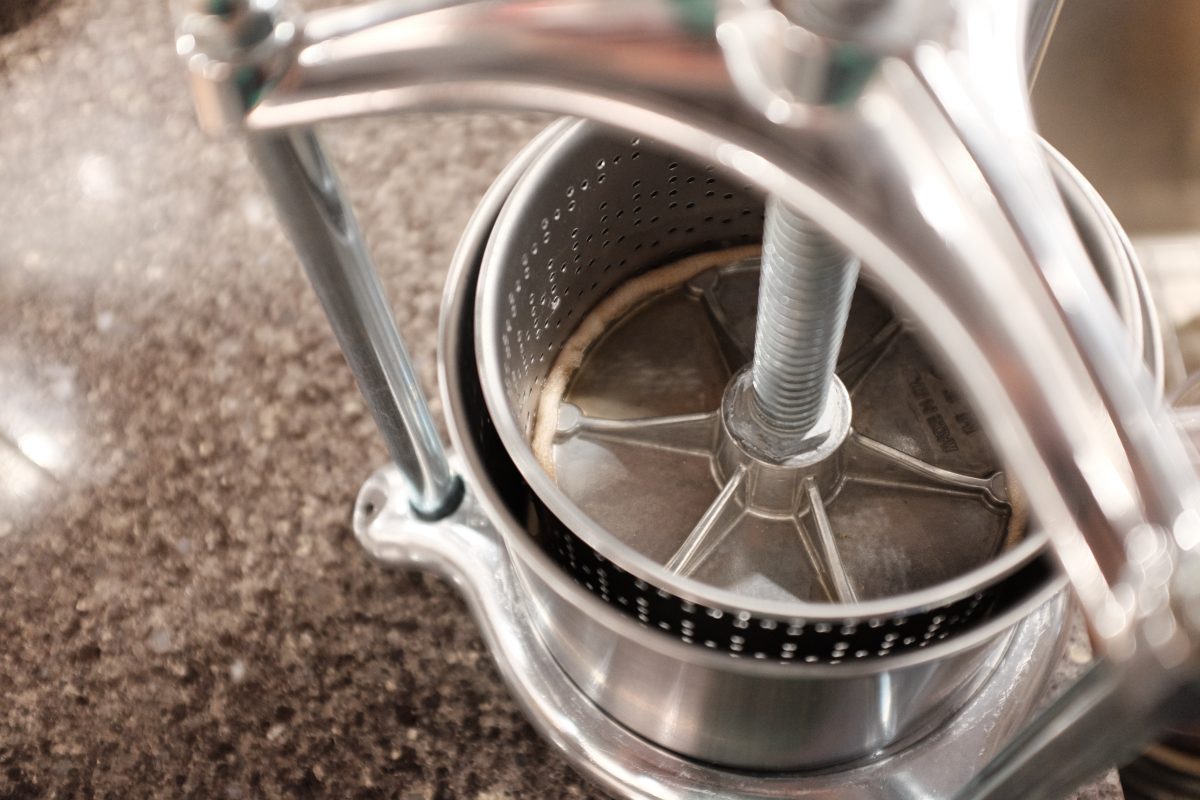
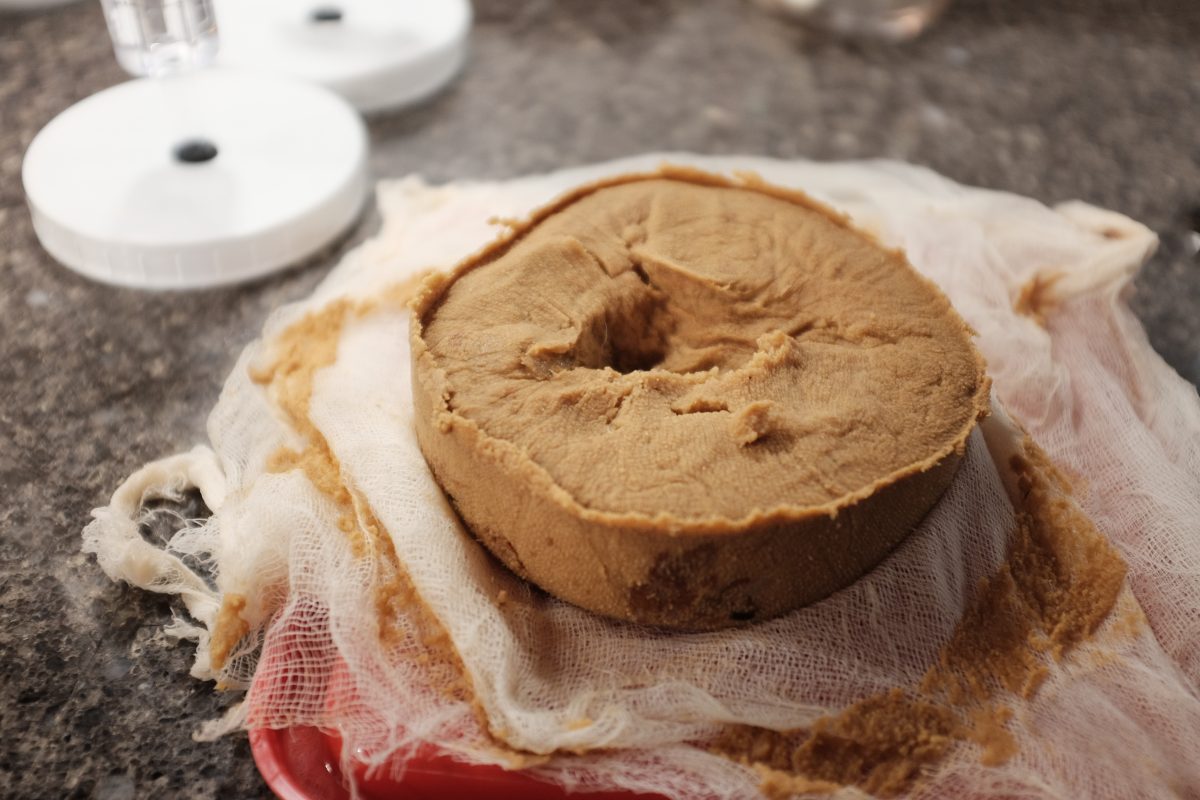
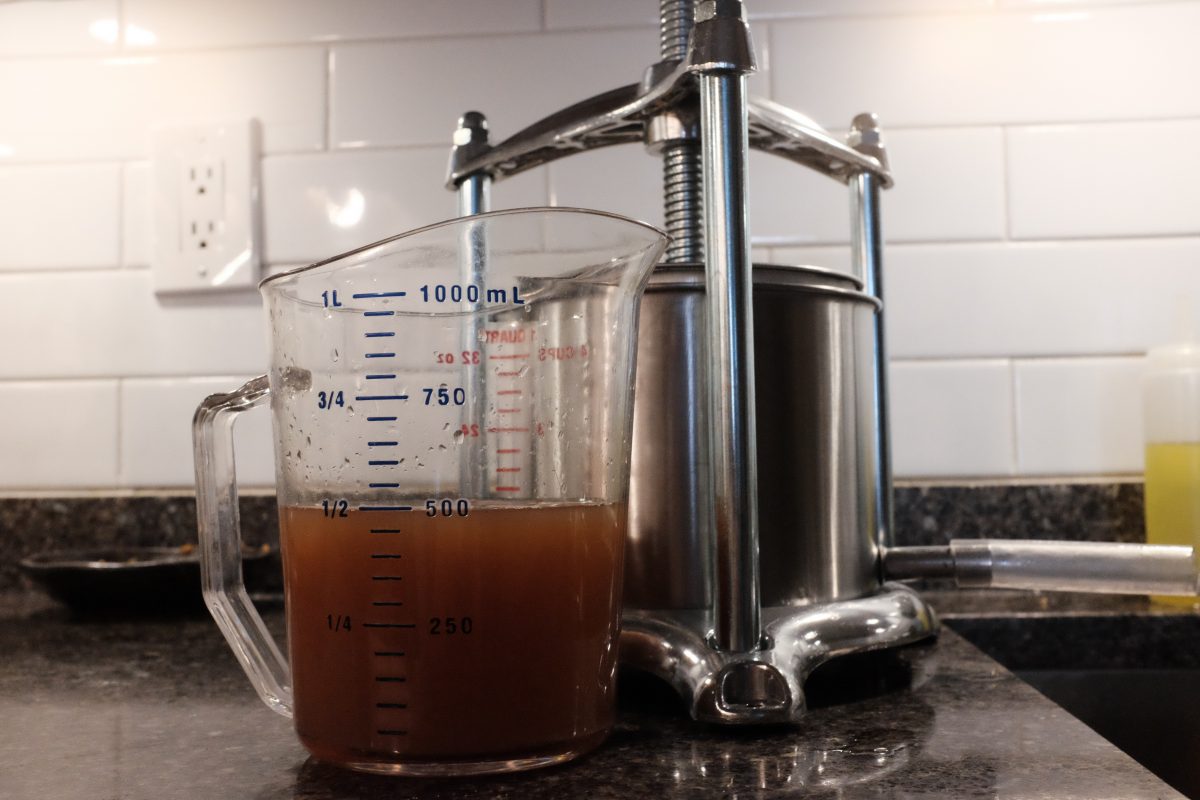
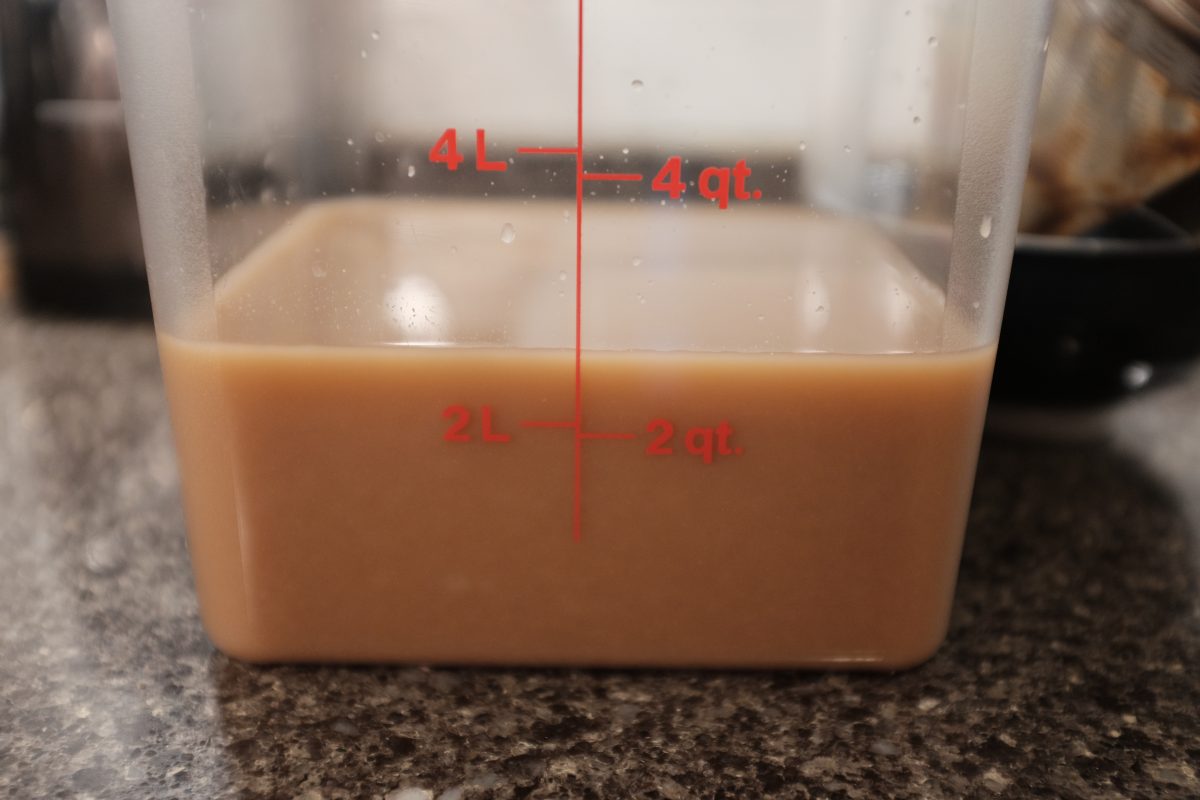
This is a fruit press (this one is made in Italy and called a torchietto). I am going to use this to press out the last drops of liquid from the remains in the strainers. If you have a large enough fruit press, you can put all the mash through press right from the start and skip the strainers. I have tried that with this press and, it just isn’t big enough to process that volume without doing multiple batches and making a huge mess. I find that using the strainer method and then extracting one batch of juice from the already drained mash is much easier and yields more liquid in the end.The press has a perforated basket sitting inside a bucket with a spout at the bottom.Line the basket with a few layers of cheesecloth.Layer in your fibrous mash from the coarse strainer and your pulp from the fine strainer.Fold over the top of the cheesecloth.Here, the basket is inserted into the press. The hand-screw pushes a metal plate down onto the mash, pressing with great force. The juice slowly trickles through the cheesecloth, through the perforated bucket, out the spout and into a waiting container.When you can no longer crank the handle with a reasonable amount of force, you are done.When you remove the mash, you are left with a damp cake of pulp and fibre,By using the press, 500ml more juice was extracted.Added to the liquid from the strainers, there is somewhere around 2.5 litres of viscous juice. It is quite thick.
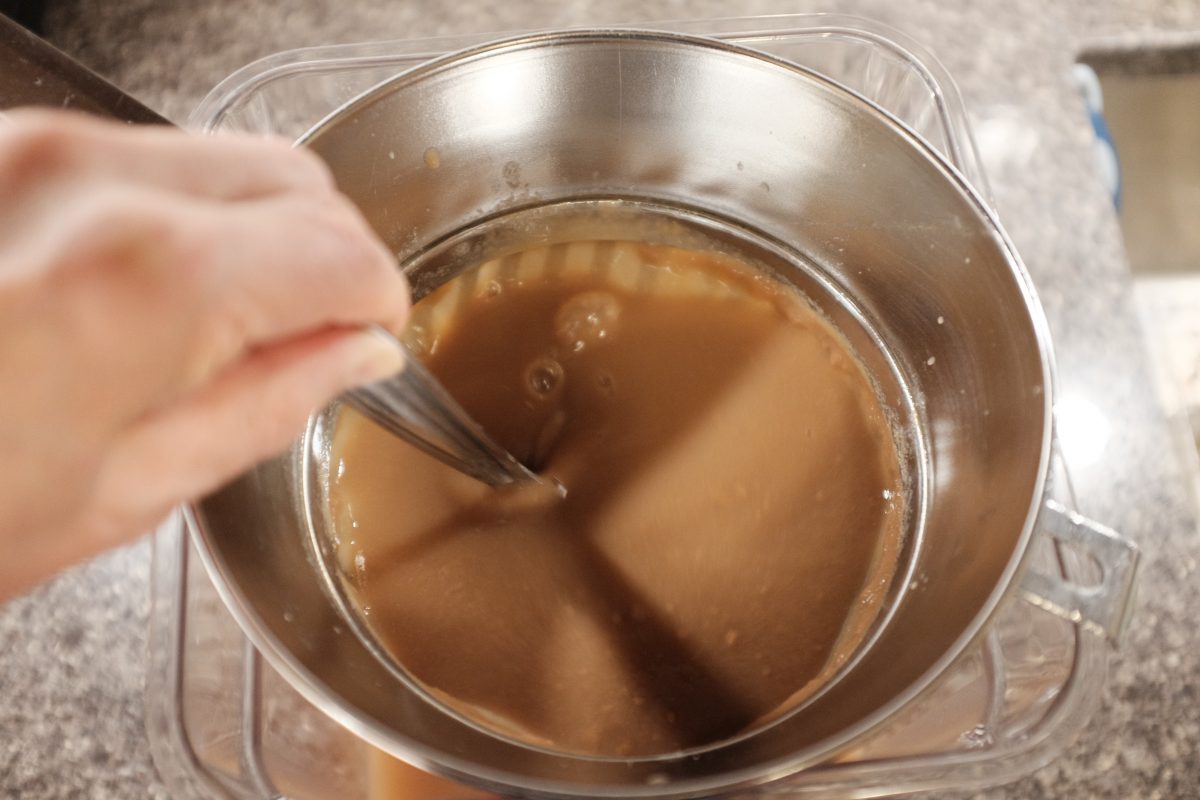
Neutralizing the brewers yeast
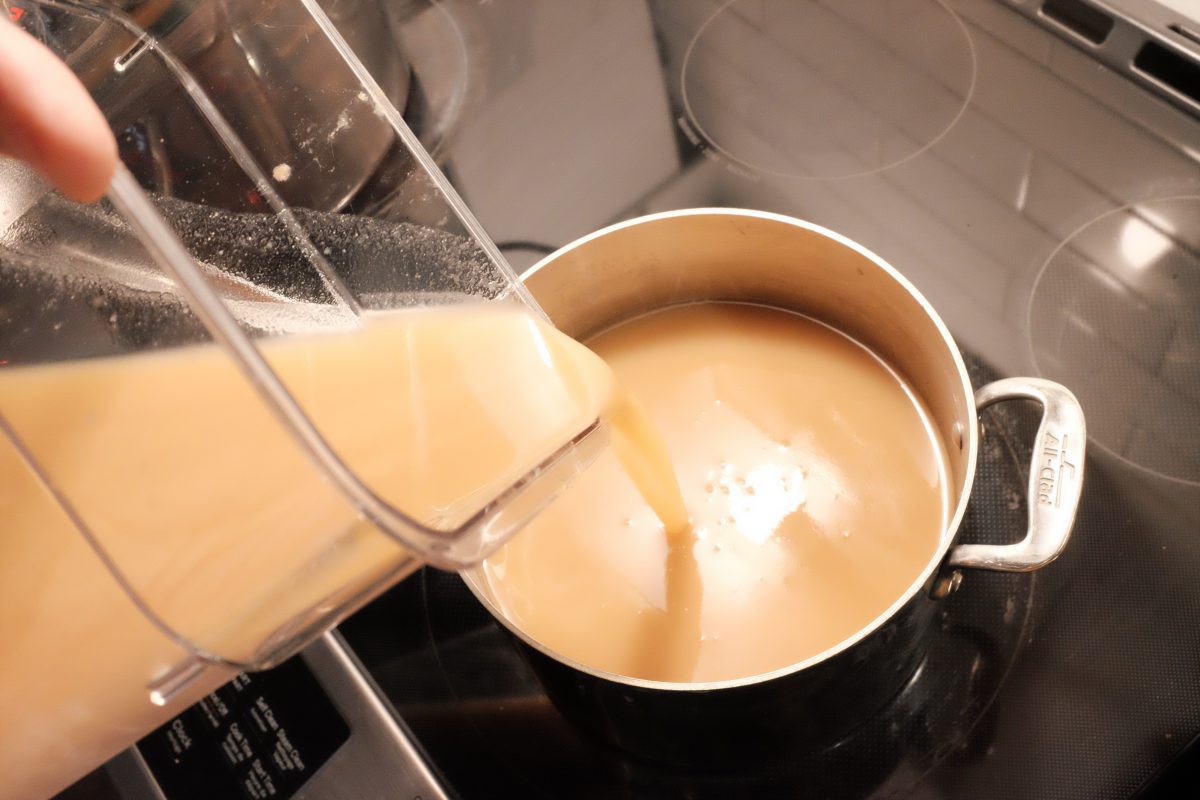
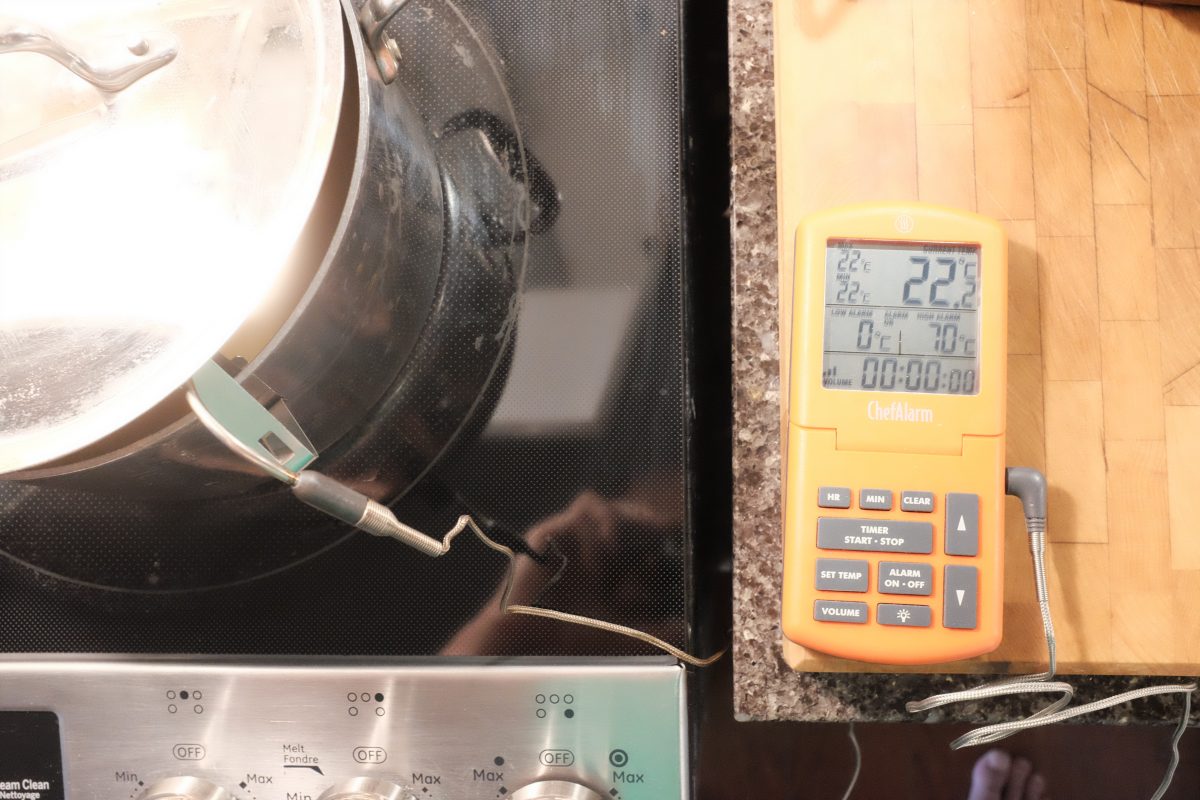
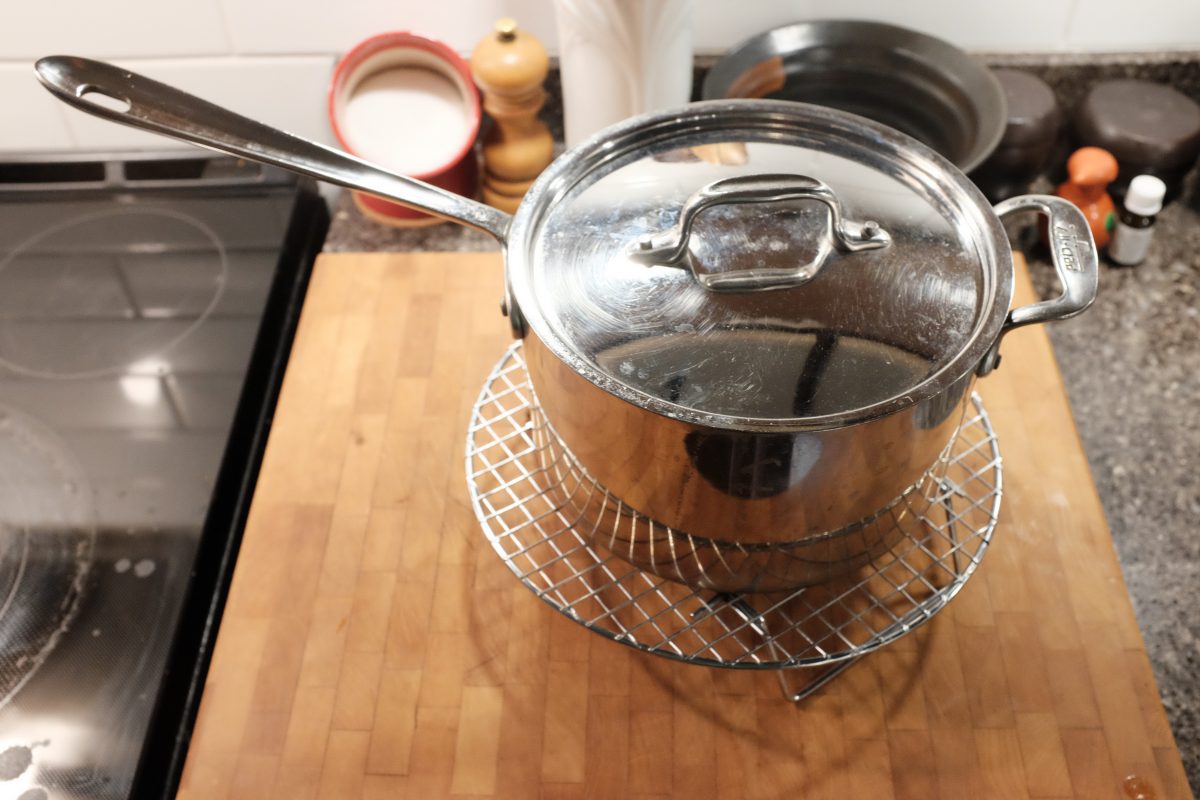
The alcoholic juice may still contain live brewers yeast which we do not want in the next fermentation. By heating the juice to 70 celsius for 15 minutes, any remaining yeast will be killed off.I am using a probe thermometer here to measure the temperature. If you don’t have one, bring the liquid up to the point where it is steaming gently but not hotter. No boiling. Once up to temperature, cover the pot and leave it for 15 minutes.Afterwards, cool to room temperature.
Part 2: Making Vinegar
In this second part of the recipe, the pear alcohol will ferment into vinegar with the help of acetic acid bacteria (AAB). We will kick start the fermentation with some live culture vinegar and then aerate it with a pump and air stone until it reaches a pleasant level of acidity.
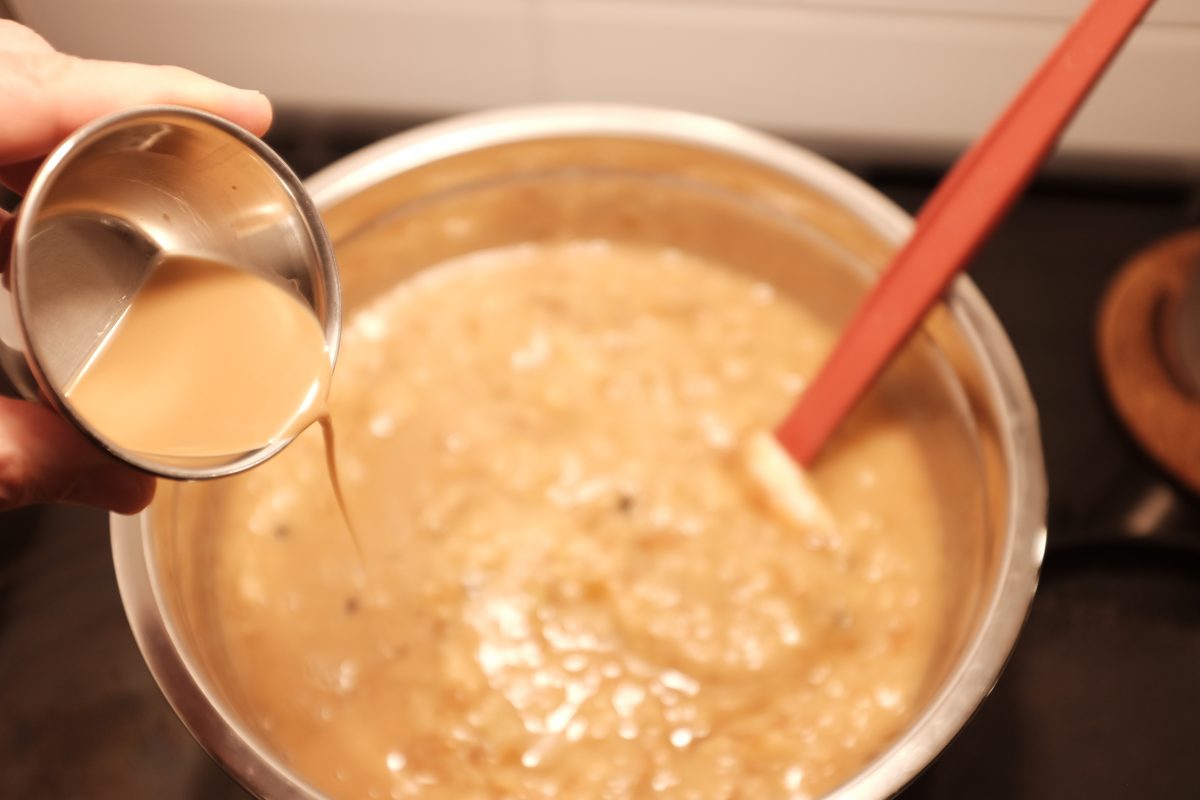
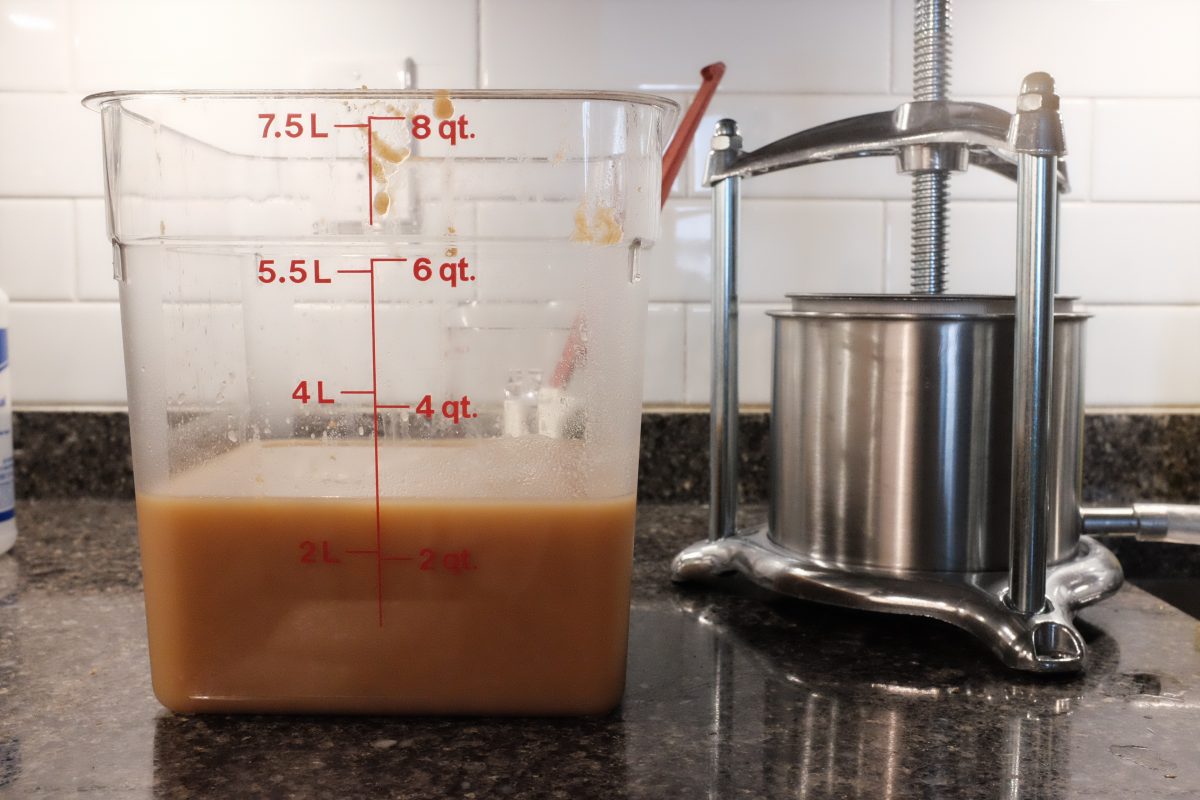
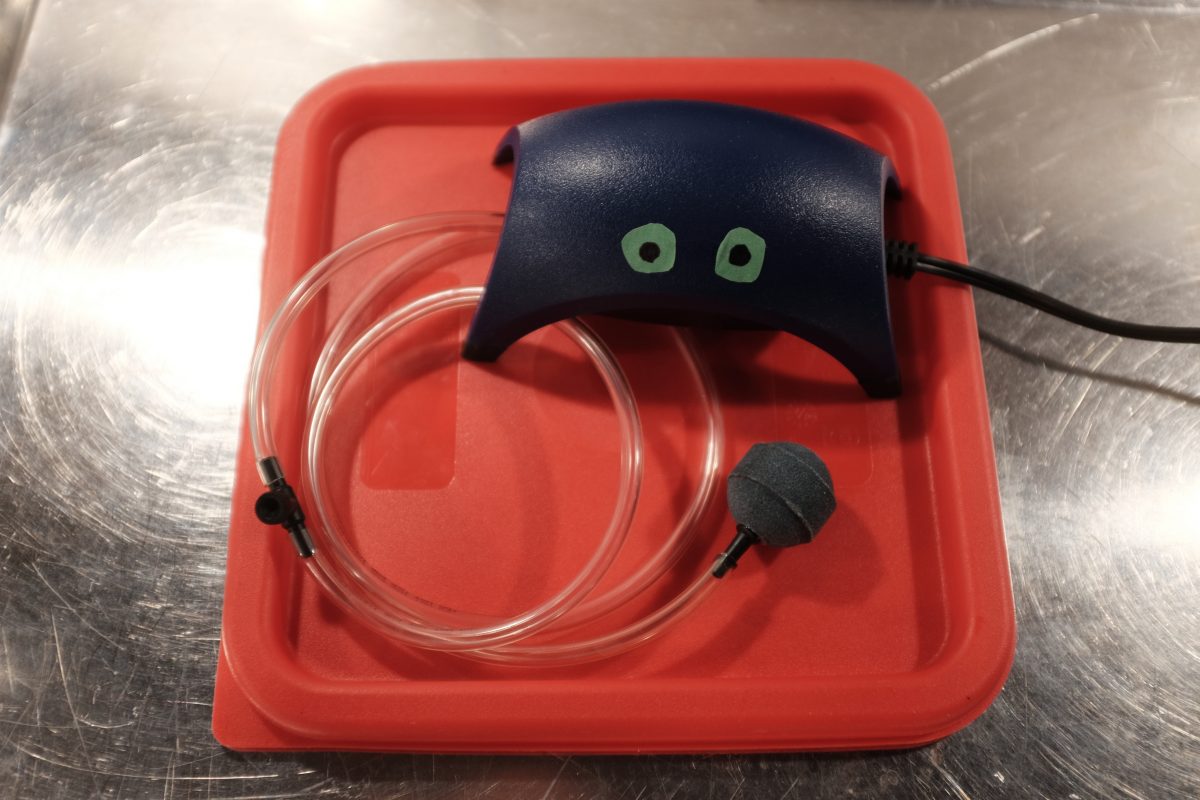
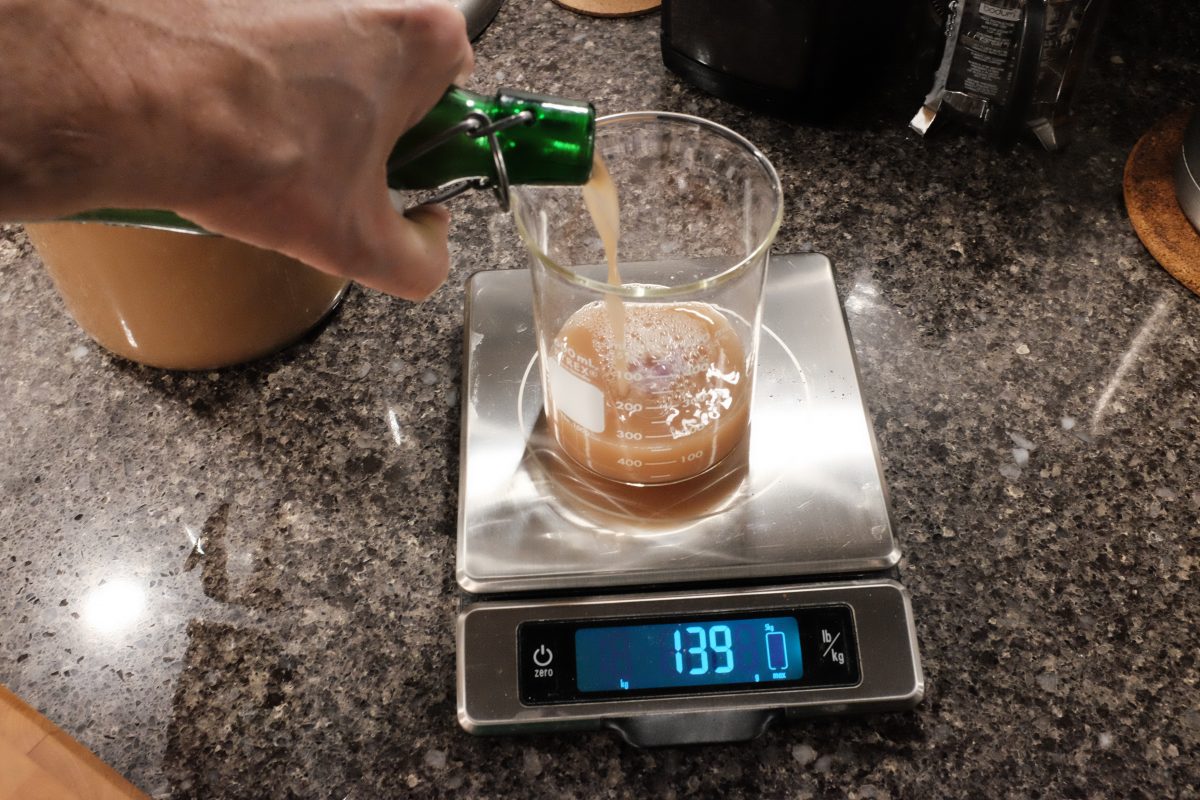
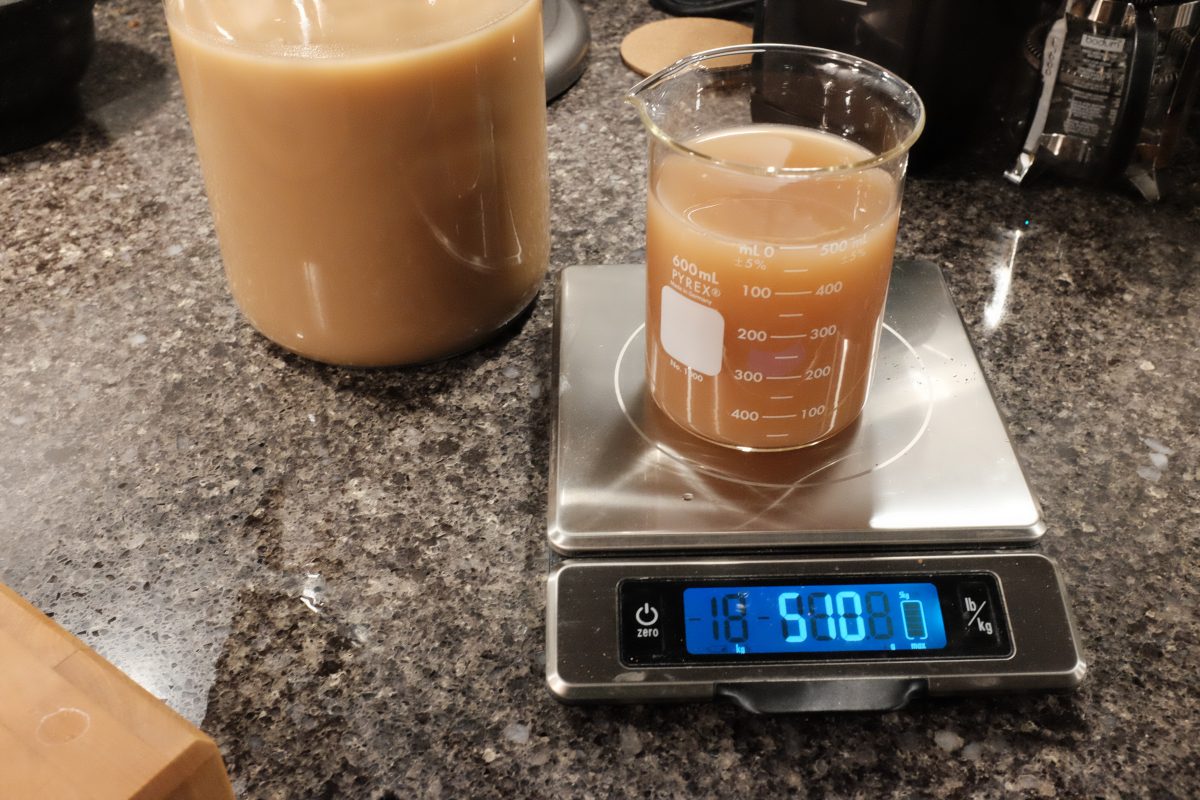
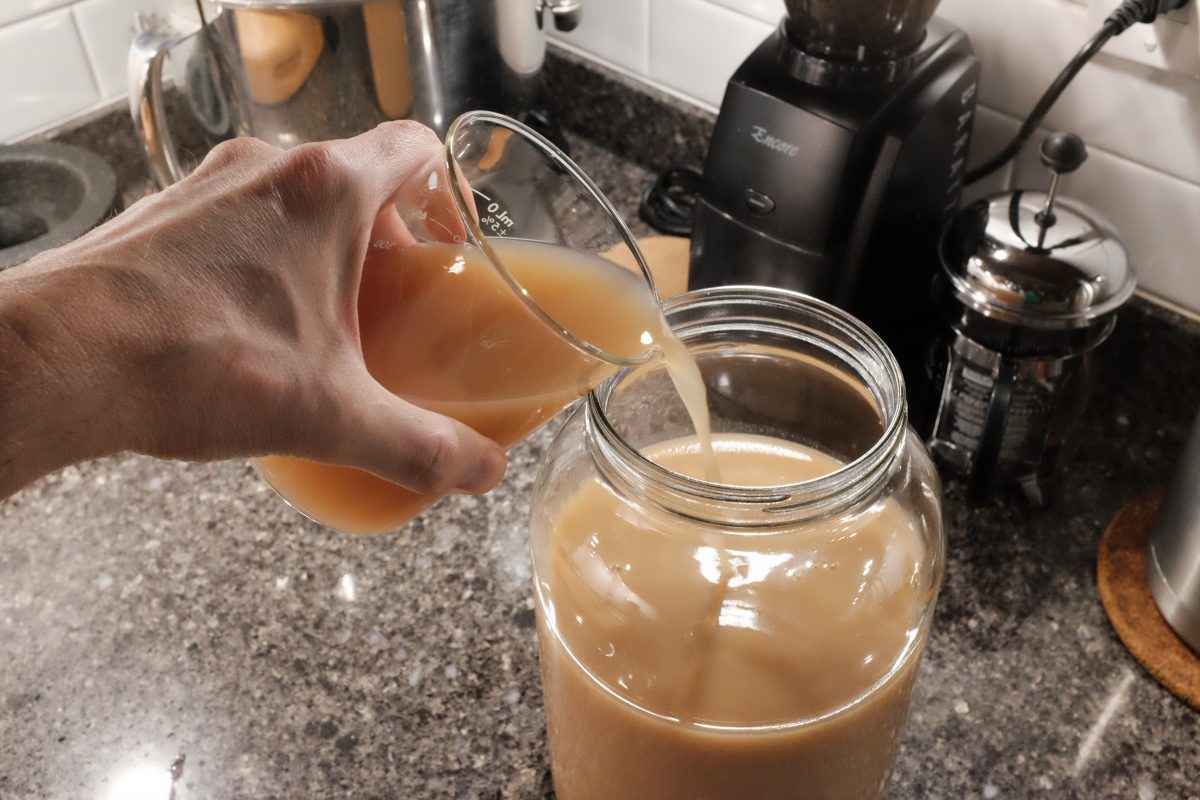
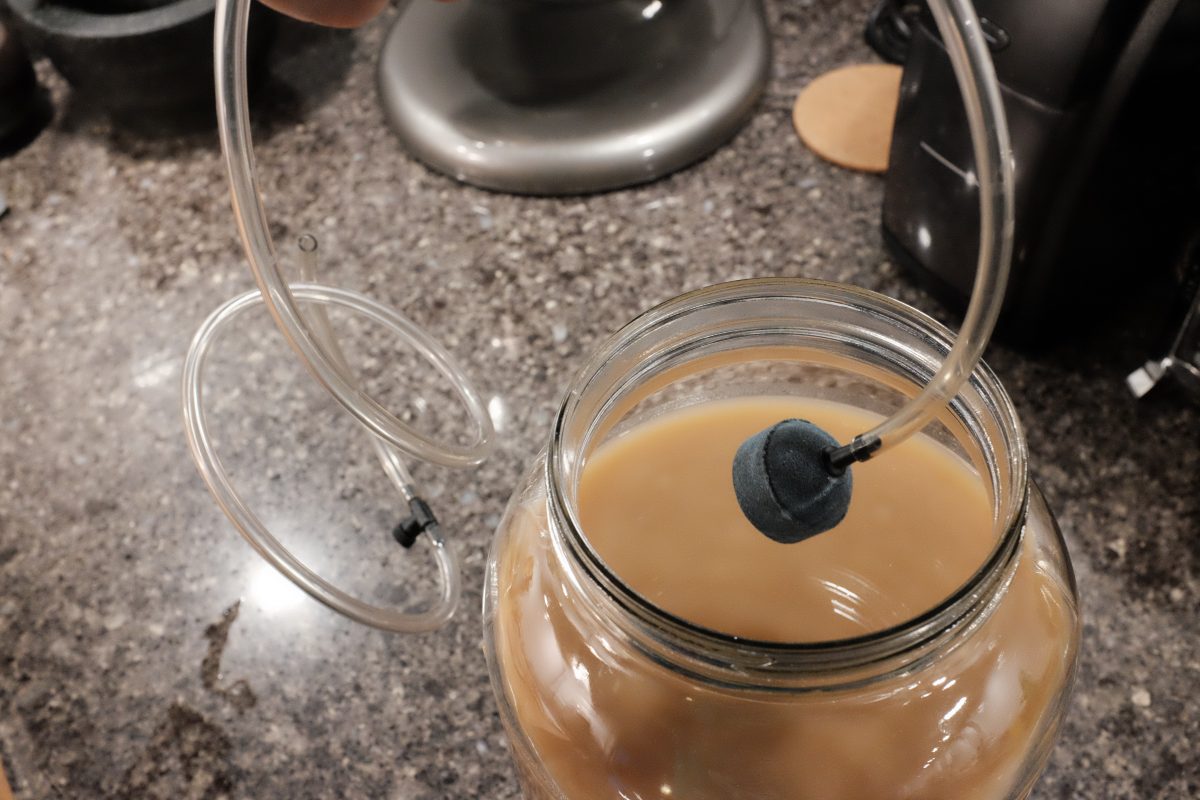
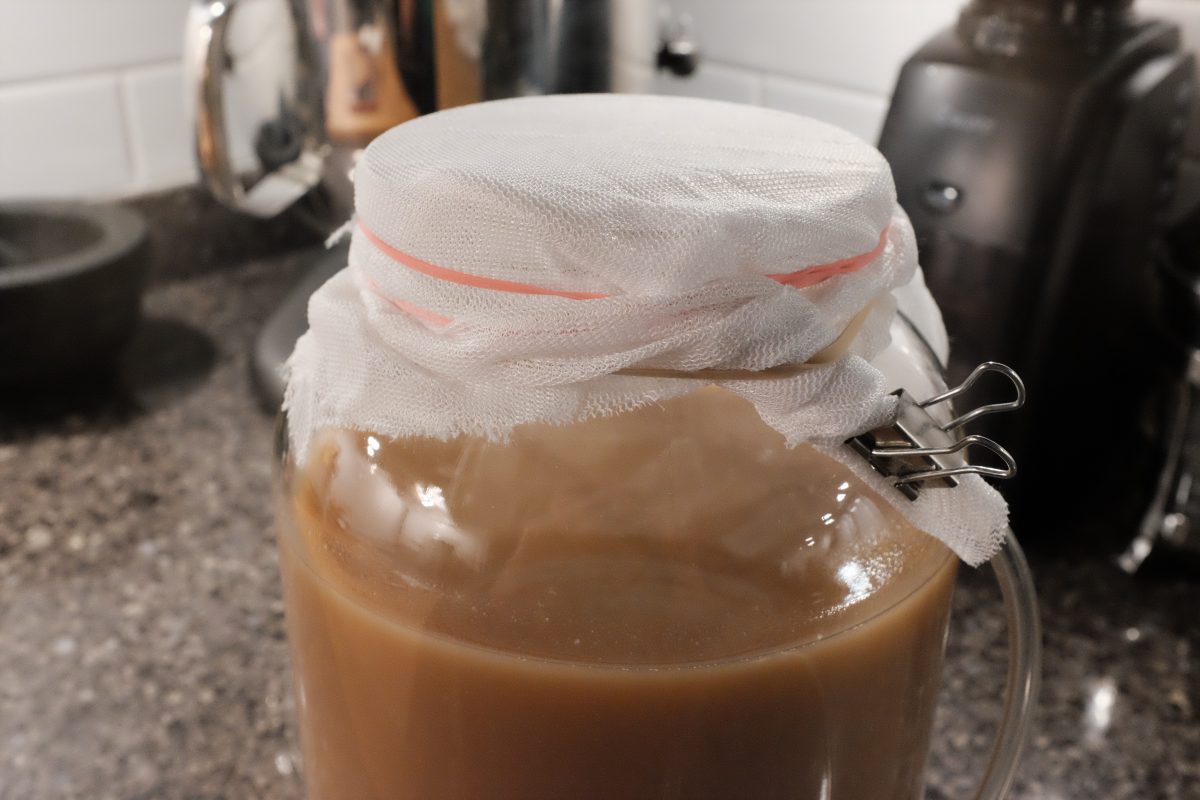
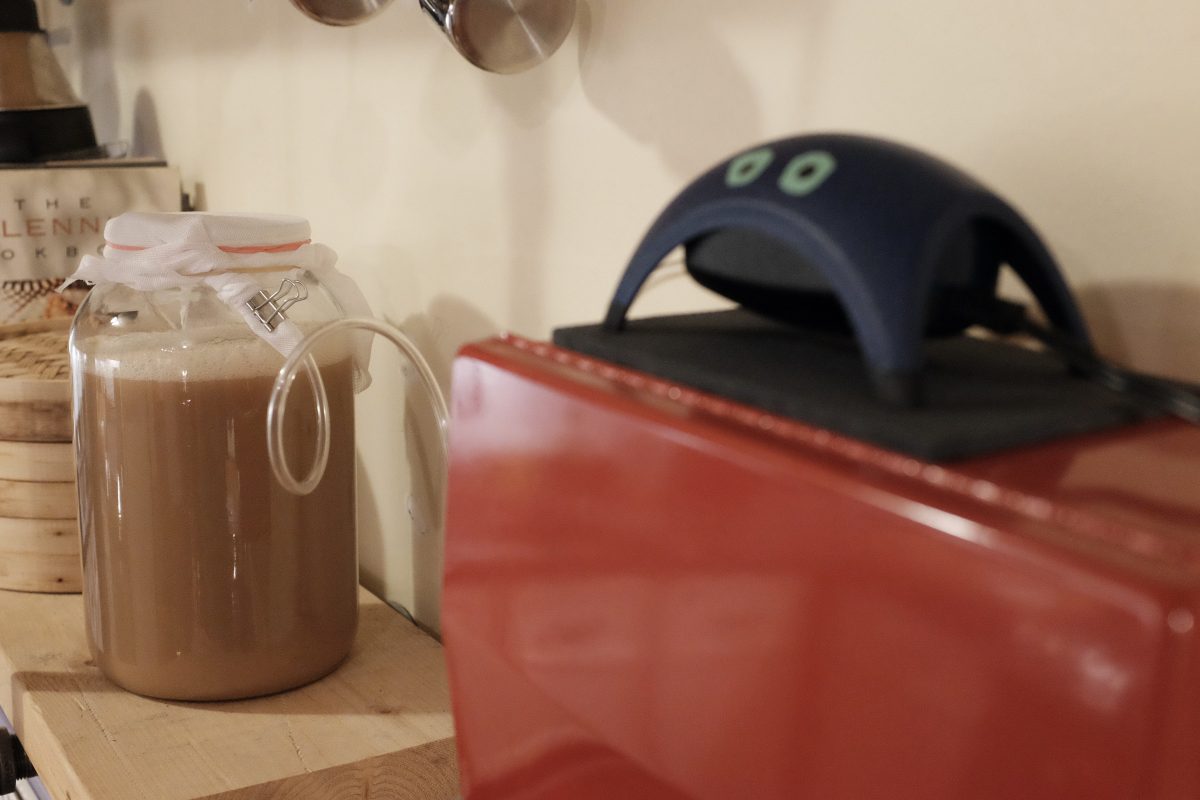
This is a regular air pump, air stone and vinyl tubing from the aquarium section of a pet store. The tube and stone have been sanitized with Star San spray.Weigh the finished liquid. In this case, the original 4kg of bosc pears has produced 2549 grams of alcoholic juice. This is one of the original glass jars from Part 1, washed and sanitized.To kick-start the ferment (aka “back-slopping”), add 20% of the juice weight in live culture vinegar. In this case, my juice weighs around 2550 grams, so 20% would be 510 grams of live culture vinegar. I am using some pear vinegar that I made last year for this. You can usually find live culture apple cider vinegar in many grocery stores or health food stores. Just look on the label for something that says “with the mother” or “contains the mother”. This works perfectly too.510 grams of last years pear vinegar to “back-slop” this new batch.Pour the live culture vinegar into the pear alcohol.Drop in the sanitized air stone, making sure it rests on the bottom.To keep flies out (especially fruit flies) you need to seal the top of the jar with mesh and elastics while still allowing the air hose to exit. This is tricky to get right. I am using some fine plastic mesh, elastic bands and an office clip to keep everything as tight as possible. Tape can also help seal gaps. Eventually you will need to be able to get in here and taste it and then put it all back together so keep that in mind when you are assembling this.The jar sits over on a shelf with the air pump close beside.The aeration setup.
The alcohol should turn to vinegar within 2 weeks. I will leave this bubbling away for a full week before I taste it. In the meantime, I will give it a good sniff everyday to see how the acidity is developing. Once it begins to smell like mild vinegar, I will open it up once a day for a taste.
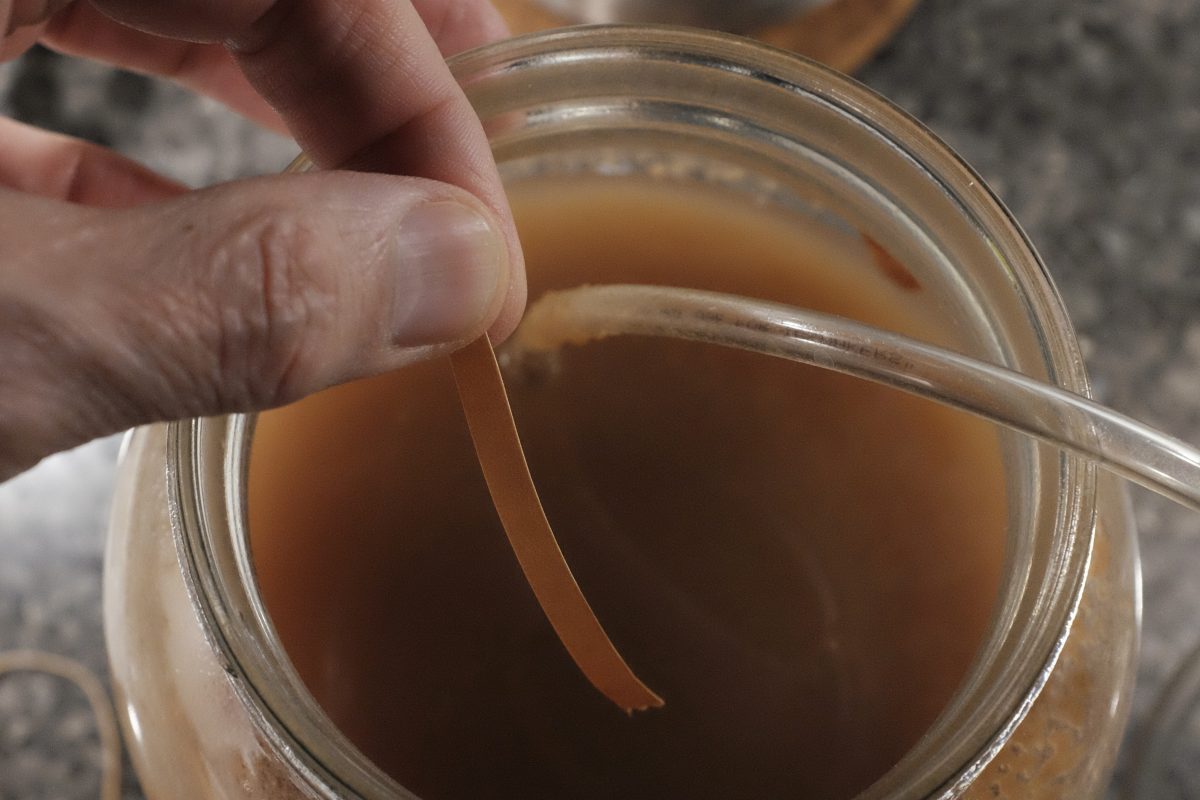
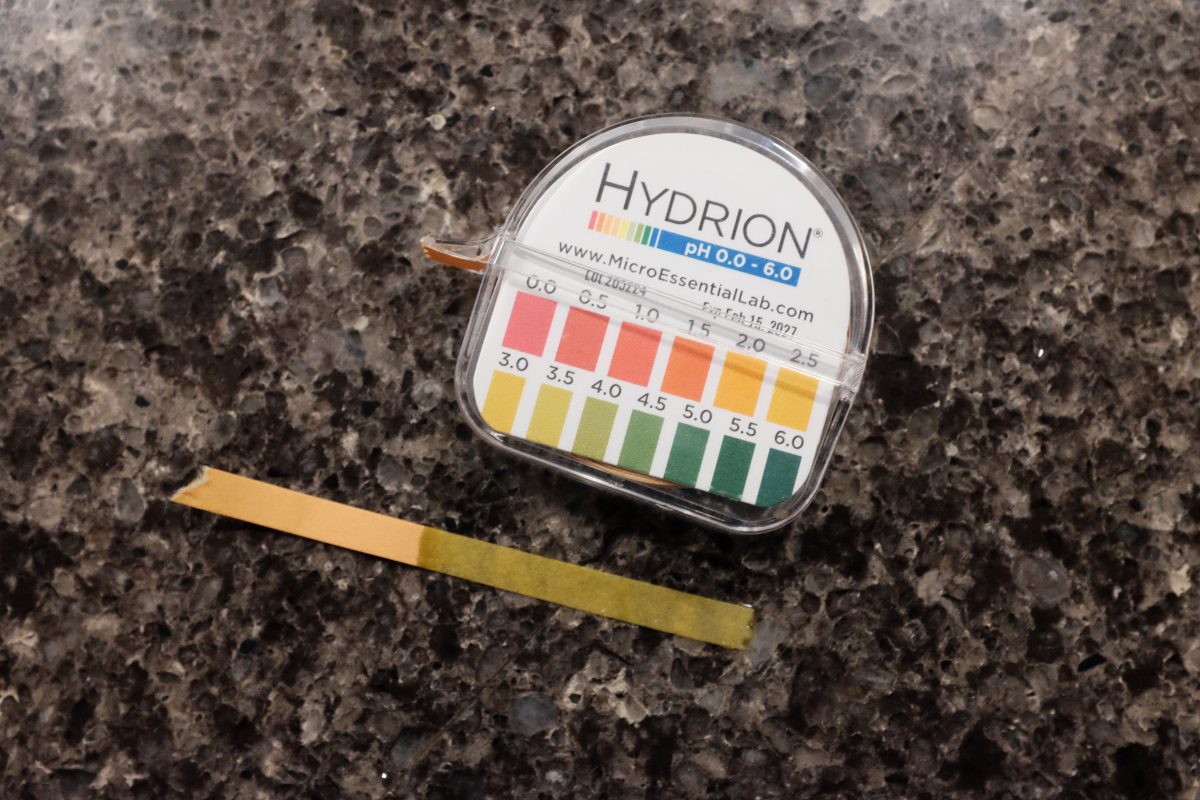
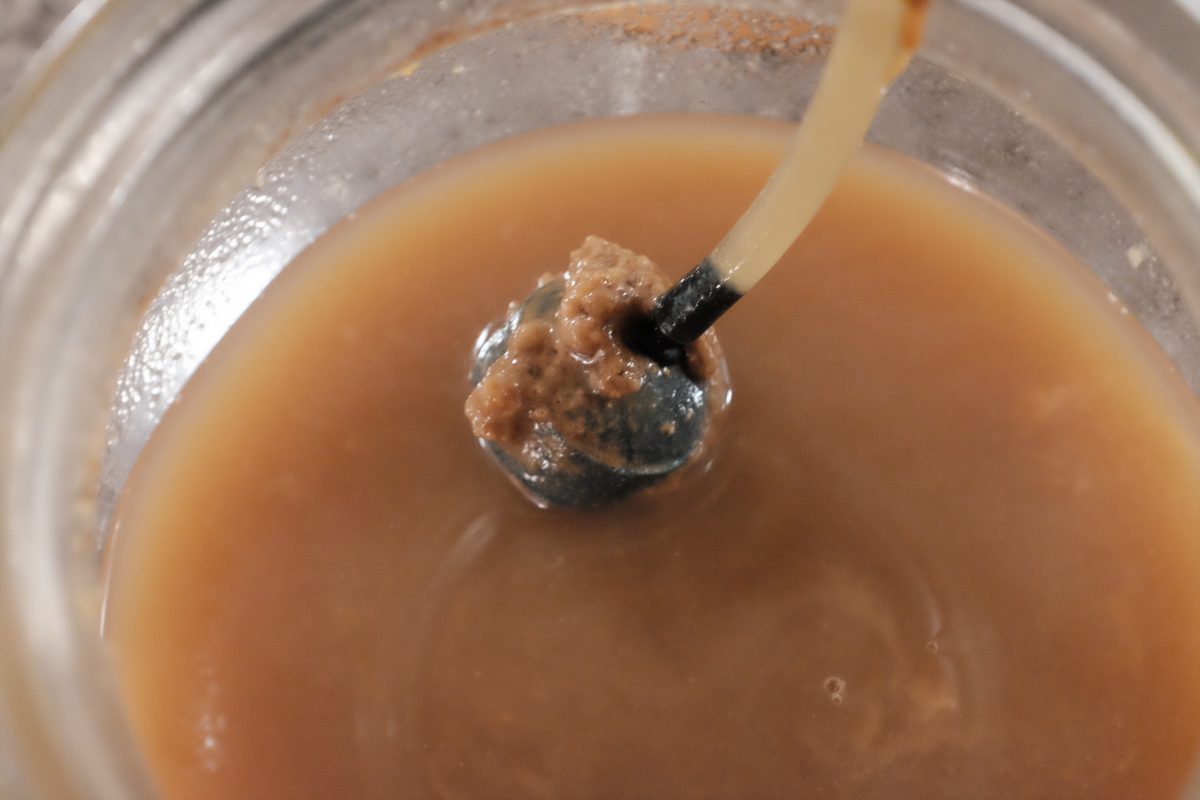
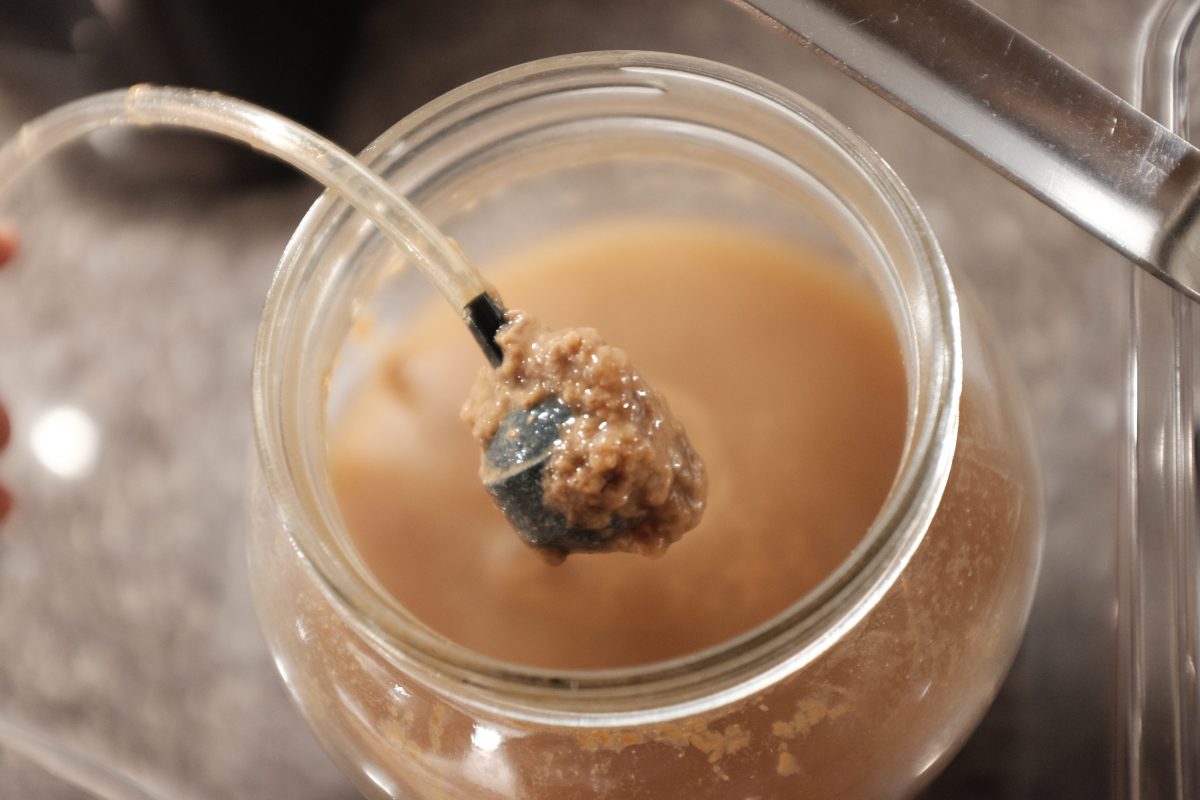
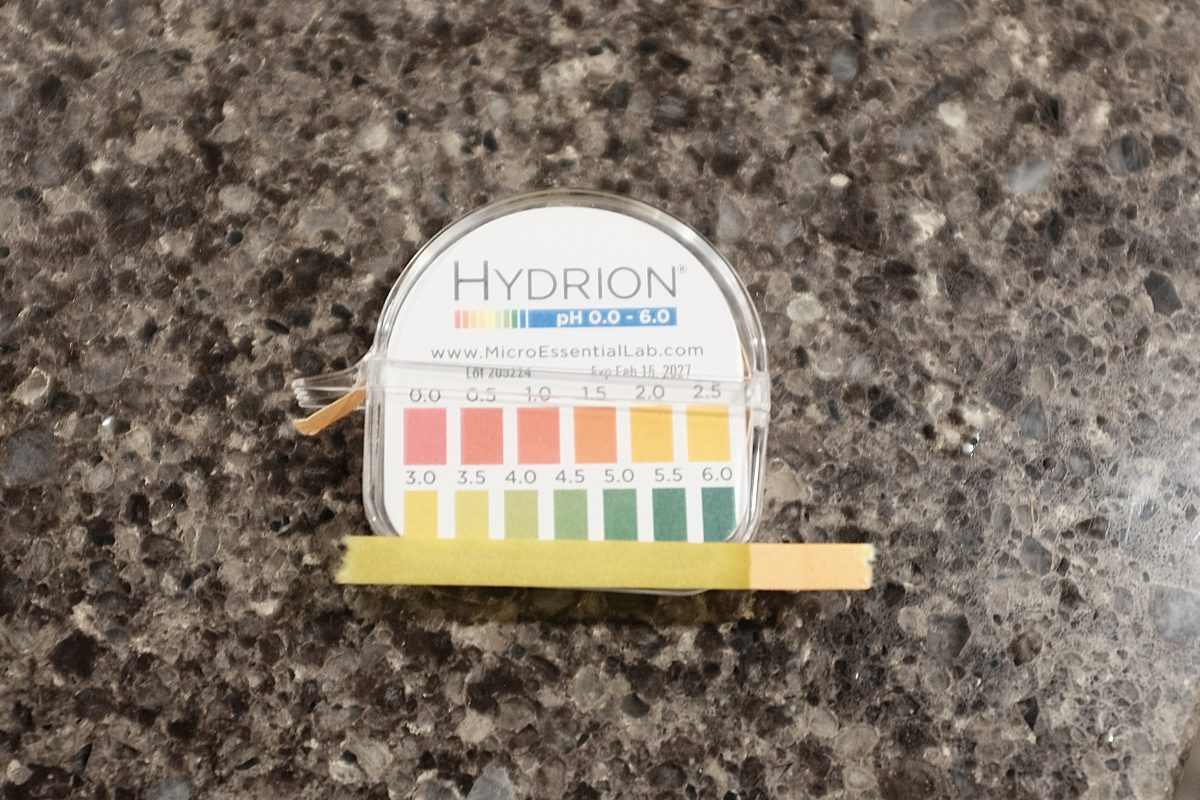
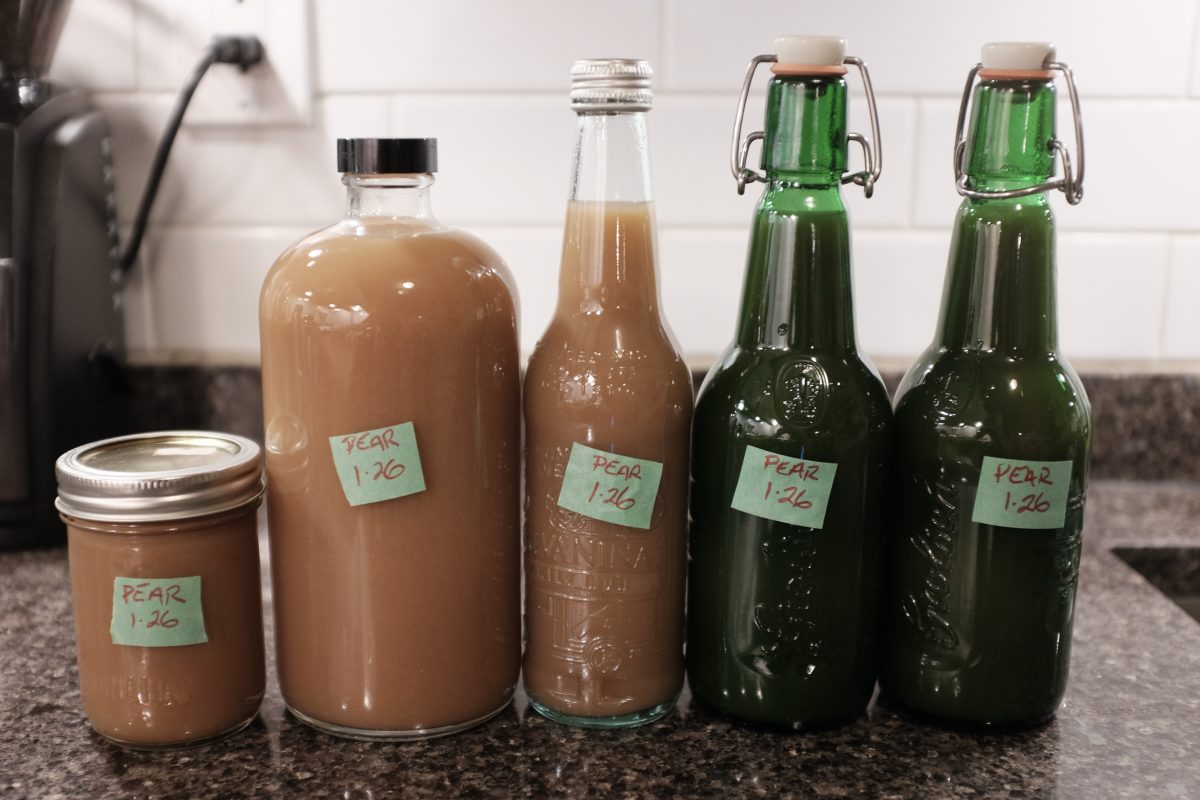
After a few days, there is a layer of sediment at the bottom of the jar, shaped by the current from the air stone. Once the vinegar is done fermenting, this sediment layer can either be stirred back for a thicker, more viscous vinegar or it can be filtered out for a more watery, light mouthfeel. After 7 days, it is starting to smell sour. It tastes great. Good acidity but still fruity and sweet. I have pH test strips around so I tested just to see…The pH reads right around 4. This is in the right range of 3.5 to 4. I want it to taste a little stronger, a little more acidic, so I will leave it another day or two.When I pulled up the air stone to have a look, there are little blobs of vinegar mother (acetic acid bacteria and cellulose) forming on the stone…where the greatest concentration of oxygen is.After 9 days of fermenting, the vinegar tastes perfect to me. It is a little more sour than a couple of days ago but still with a fruity aroma and flavour.The air stone has grown a slightly bigger colony of AAB bacteria and cellulose as well.One last strain will catch any heavier sediment.The colour, taste and smell are perfect.Just like before, this will need a stir to keep it moving and to keep the fine mesh from clogging up.Total yield from 4kg of pears is somewhere around 2.5 litres.Just for fun, I dipped a test strip and it came out around 3.5pH, which is indeed a little more acidic than a couple of days ago and right in the perfect range for vinegar.Bottled and labeled, i will store these in the fridge to keep the flavours as fresh as possible.
Now what?
Compared to most store bought vinegars, homemade vinegar is surprisingly delicious. Use it on salads, spritz it over cooked veggies, use it in sauces…it will brighten up almost any dish. You can even drink it straight up or put a few splashes into soda water for a refreshing and healthy drink.
This is a truly fun and fairly easy fermentation project. There is a small initial investment for a little bit of specialized gear but once you have it, it can be used over and over. Just about any sweet fruit can be made into vinegar using this process. In the past I have made vinegar out of ripe persimmons and it was also delicious. I think I will try plum vinegar next, berries in the summer.
If you have any questions, comments or suggestions please leave them below. I am always happy to hear from you. If you enjoy the content and would like to contribute towards website maintenance and development, you can make a donation here. Thanks for reading TigerSalad!