This is a tested recipe for anyone who does not eat meat, anyone with shrimp allergies or anyone who does not like the fishy taste of fish sauce. Once this recipe ferments, you will have a tasty vegan kimchi that you can use just like any other kimchi. It is a variation on a cut kimchi recipe that I posted previously. If you are interested in making a kimchi with all the seafood included or if you are interested in more information about kimchi in general, you can find that by clicking here.
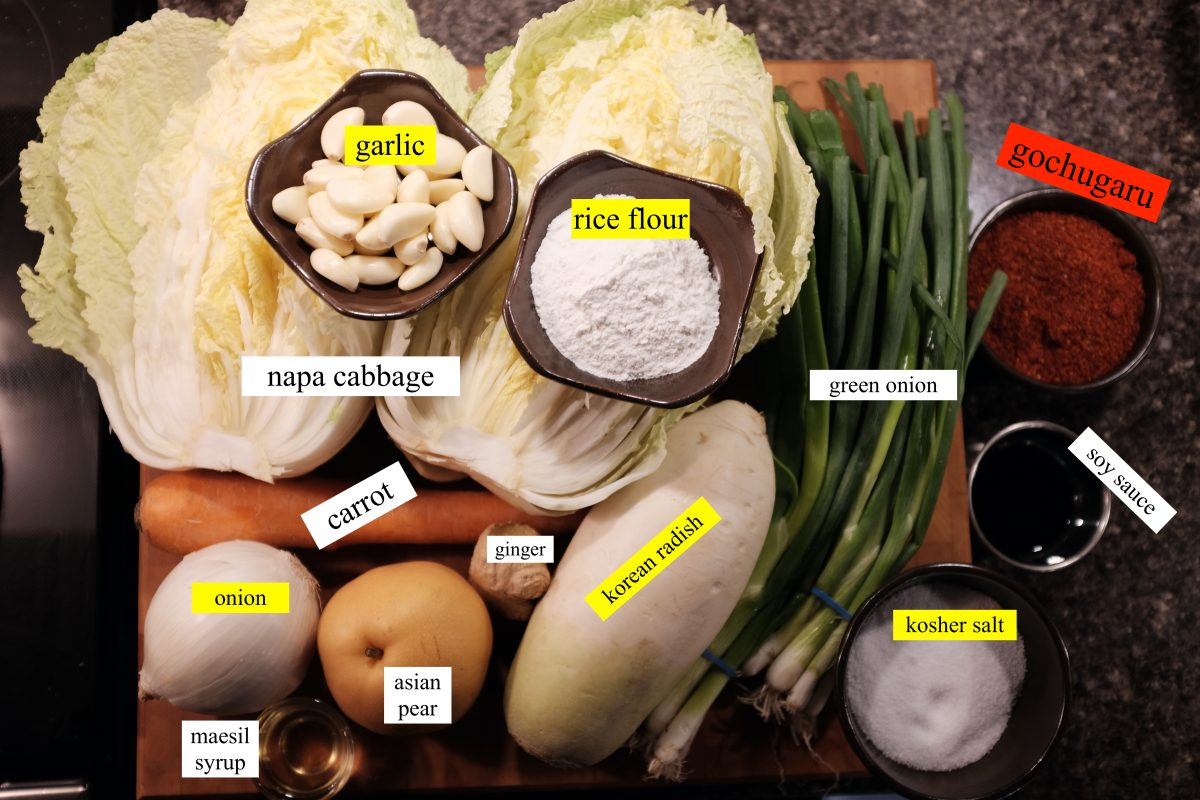
Ingredients
1 large (2kg) Napa Cabbage
80 grams/3oz (around 1/2 cup) Diamond Kosher Crystal salt for brining
up to 2 Tablespoons kosher salt for seasoning (not for brining…save this for later)
1 tablespoon soy sauce
275ml (1 1/2 cups) water
1/4 cup rice flour
1 tablespoon white sugar or maesil plum syrup
1/2 cup peeled garlic cloves (around 20)
1 tablespoon ginger peeled and sliced
1 white onion peeled and chopped
1 asian pear or apple peeled and chopped
1/4 up to 1 cup (30-120 grams) korean chili flakes (gochugaru)
2 bunches (12 or so) green onions sliced
1 cup carrot matchsticks
1 cup korean radish matchsticks
Try to weigh your salt rather than measuring by cups. Diamond Kosher is a popular salt in my area. If you live in the US, you may be using Morton’s. This salt is much saltier by the cup. Same goes for sea salt if this is what you are using. Whichever salt you use, it is better to weigh it. Avoid using table salt.
Rice flour/rice powder is just finely ground sweet rice. Mochiko is a popular brand but any brand will work.
Korean chili flakes are all very different from batch to batch. Some are mild and fruity and some are sharp and very spicy. It is better to start with less, taste, and then add more if you want it spicier.
Process
Cabbage preparation
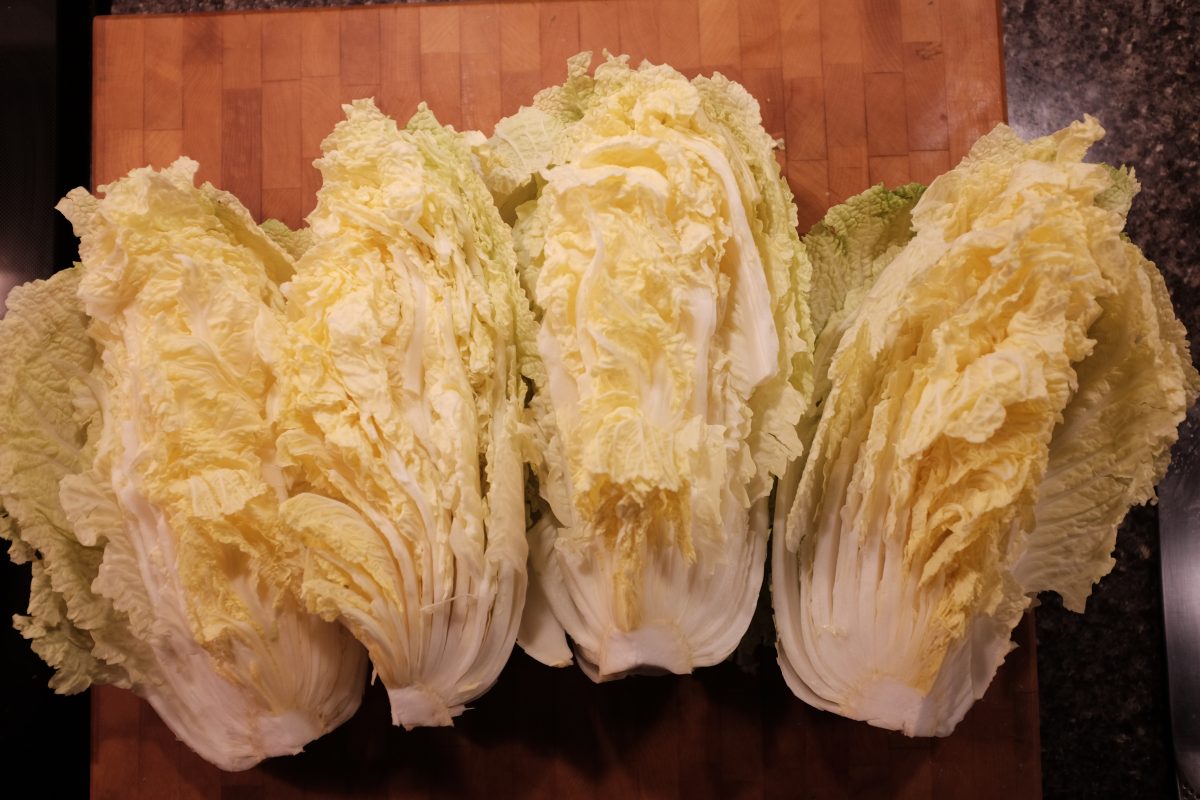
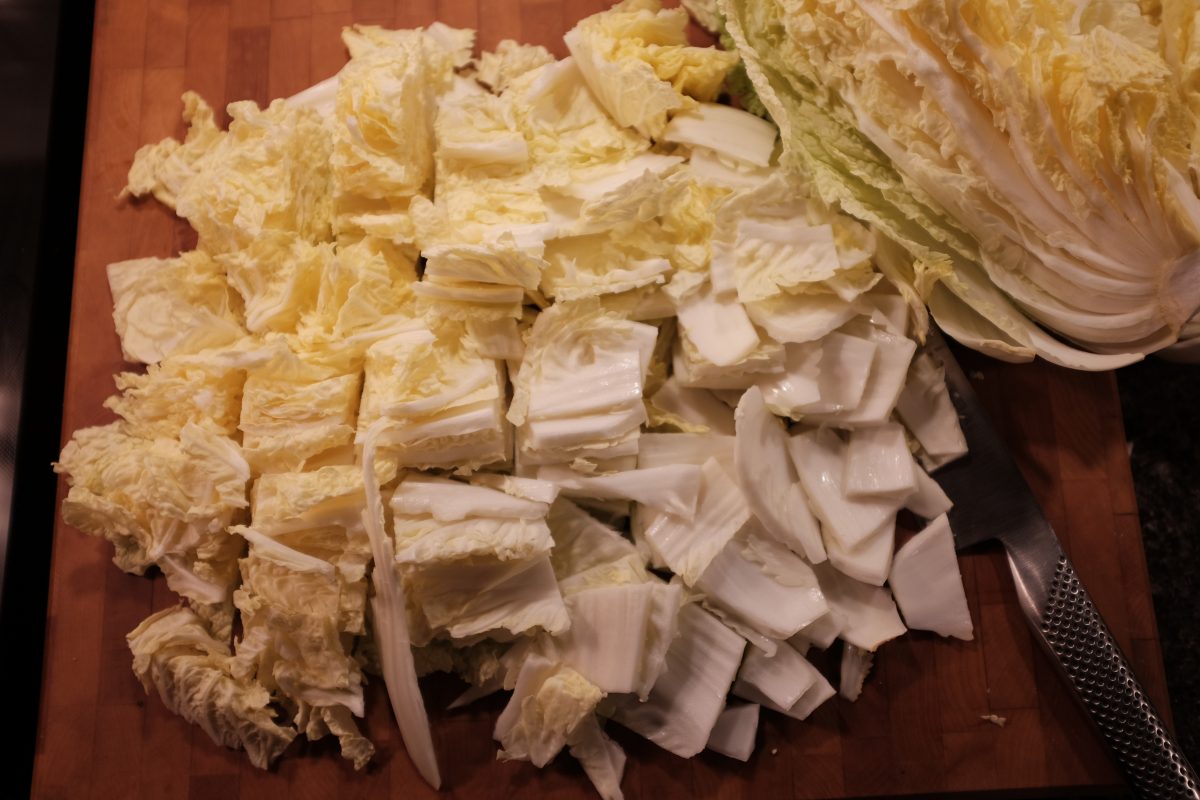
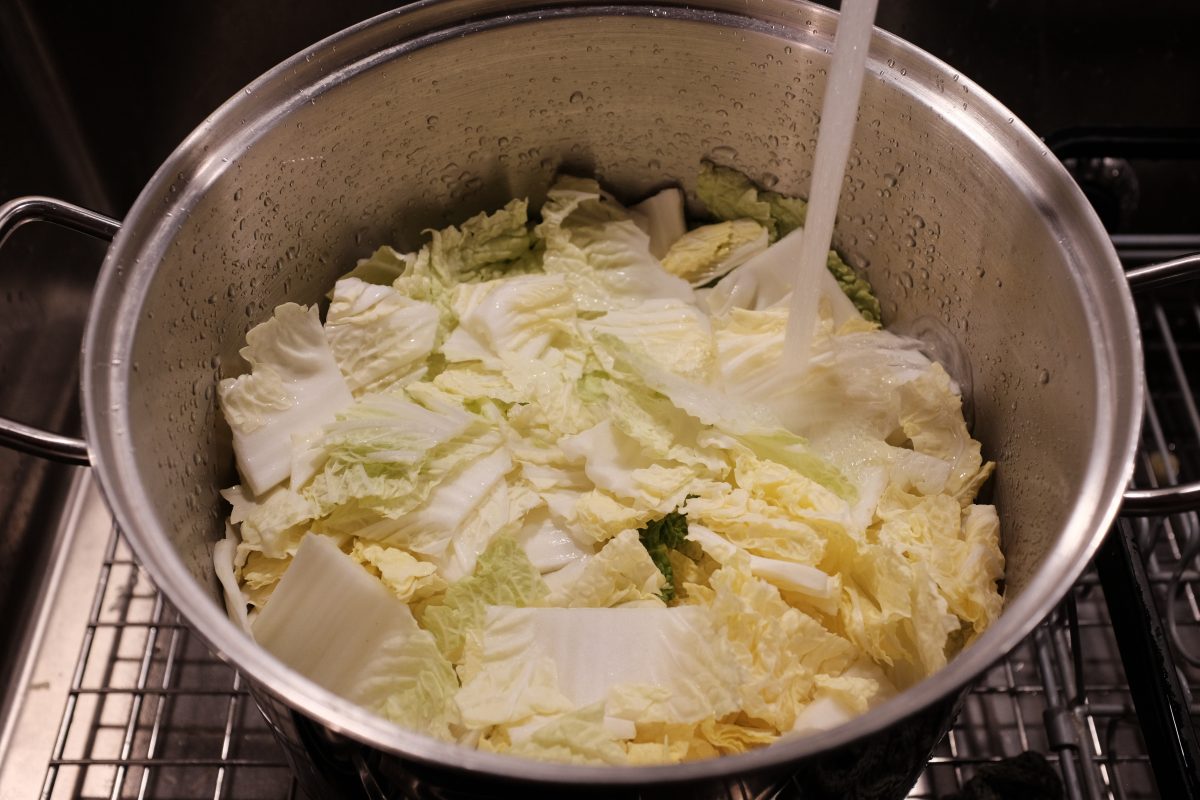
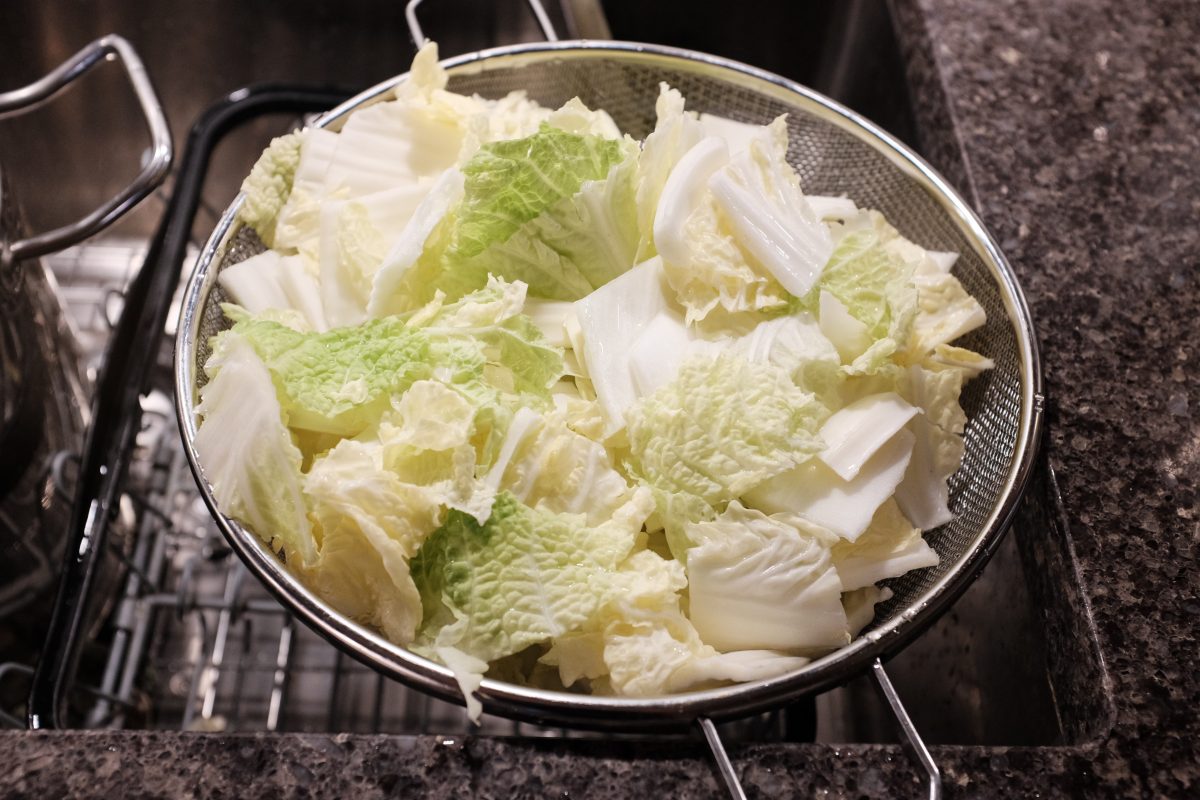
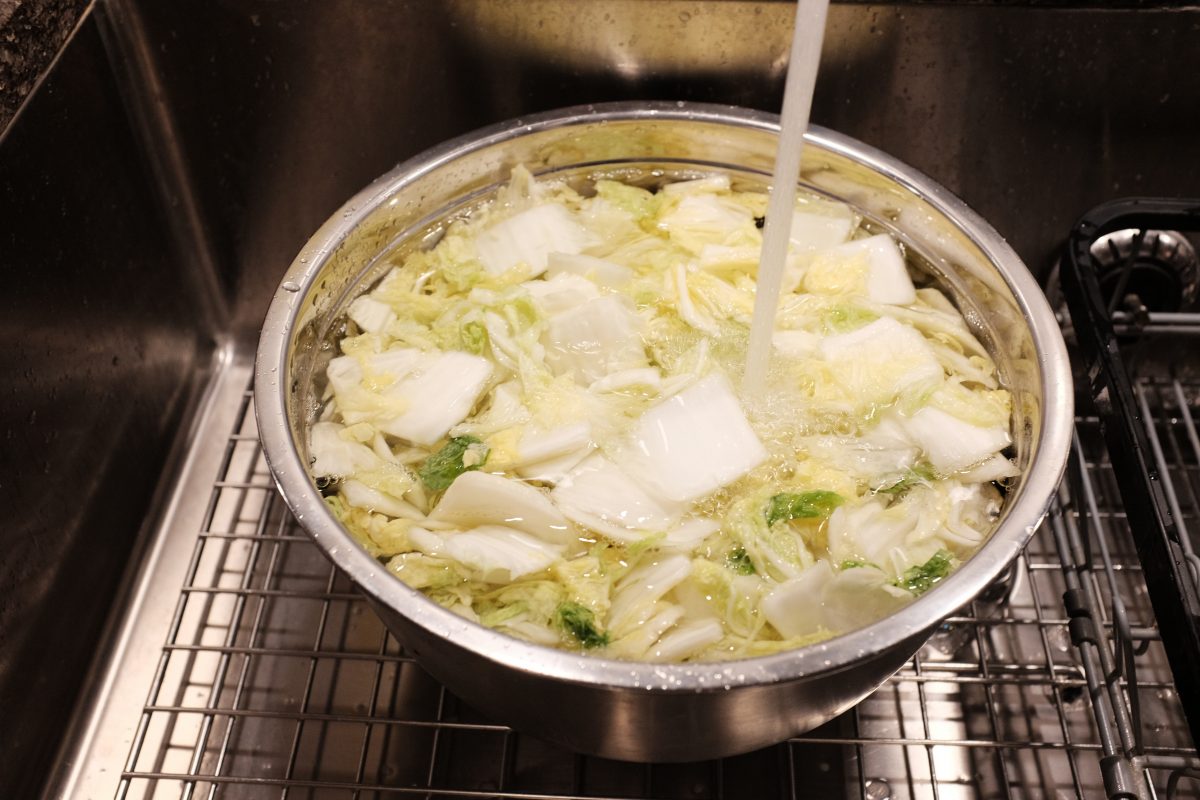
Quarter the cabbage and chop off the stalks.Slice into big-bite-sized pieces.In a large container, rinse the cut cabbage in fresh cold water.Drain it for a few minutes before salting.
Brining
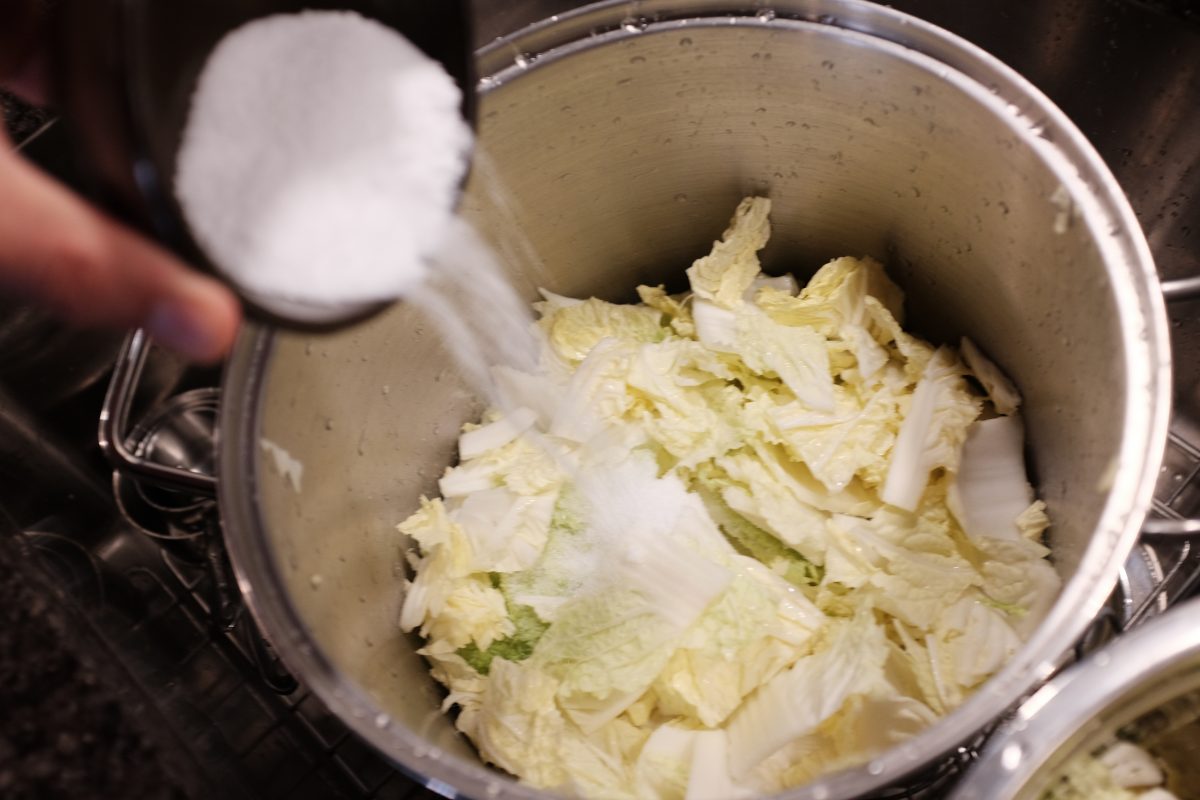
In a container large enough to hold all the cabbage, salt the cabbage in layers and mix it up well by hand. Use all 80 grams of kosher salt for brining but hold back the extra 2 tablespoons for seasoning until later. This is the brining stage. This will take about two hours. Mix the cabbage by hand every 30 minutes or so. Try to move the leaves from the bottom to the top. The cabbage will wilt and produce a good amount of water.
Making the kimchi paste
While the cabbage is brining, make the kimchi paste:
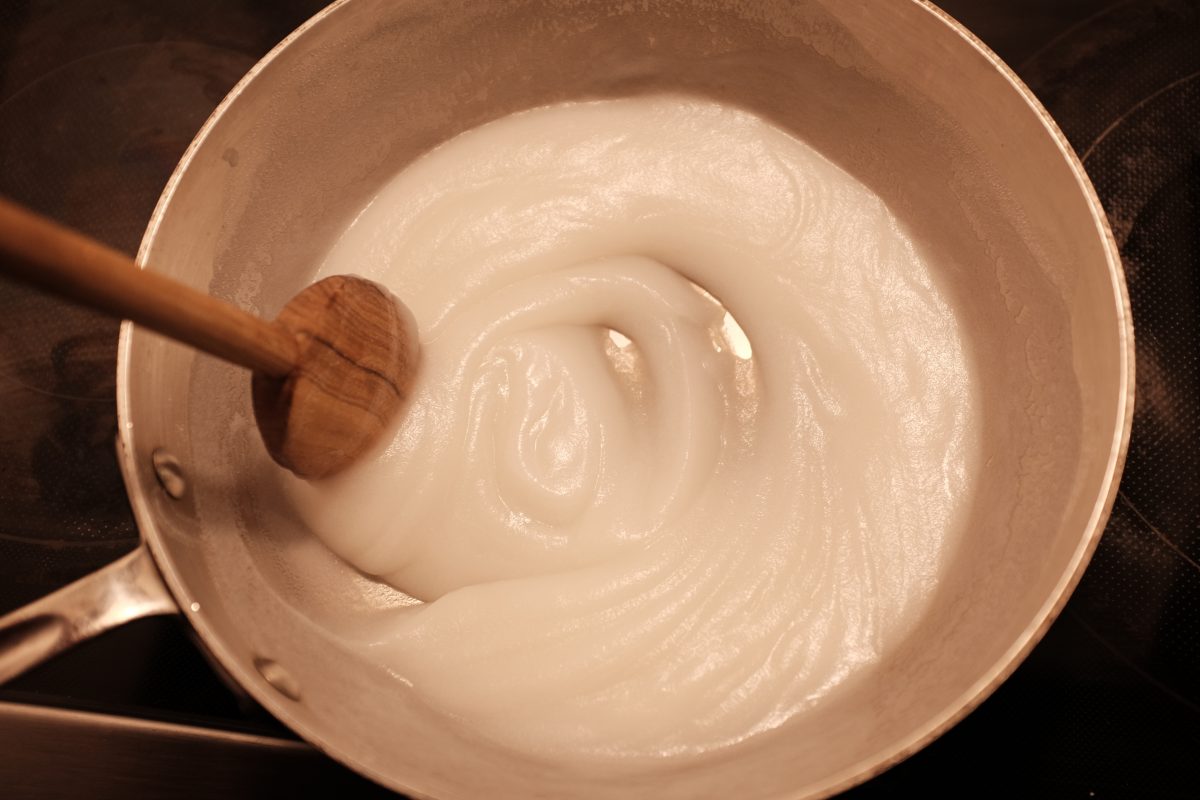
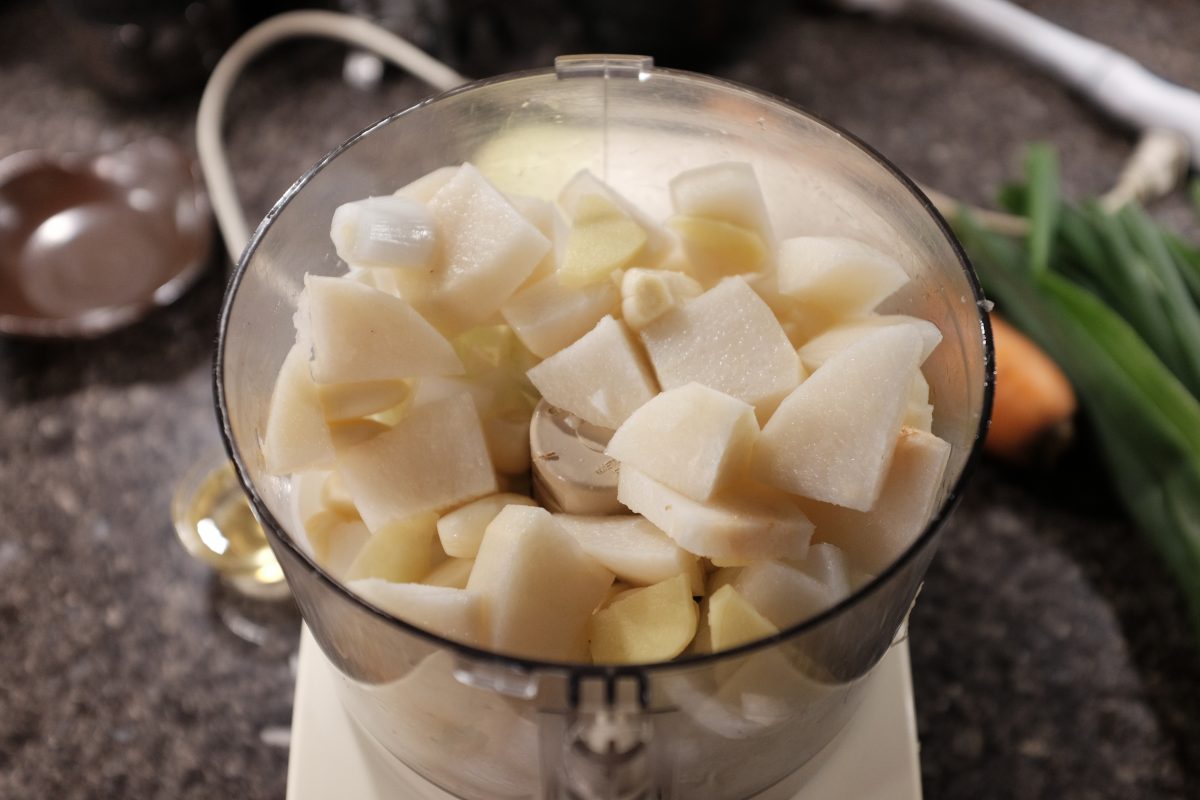
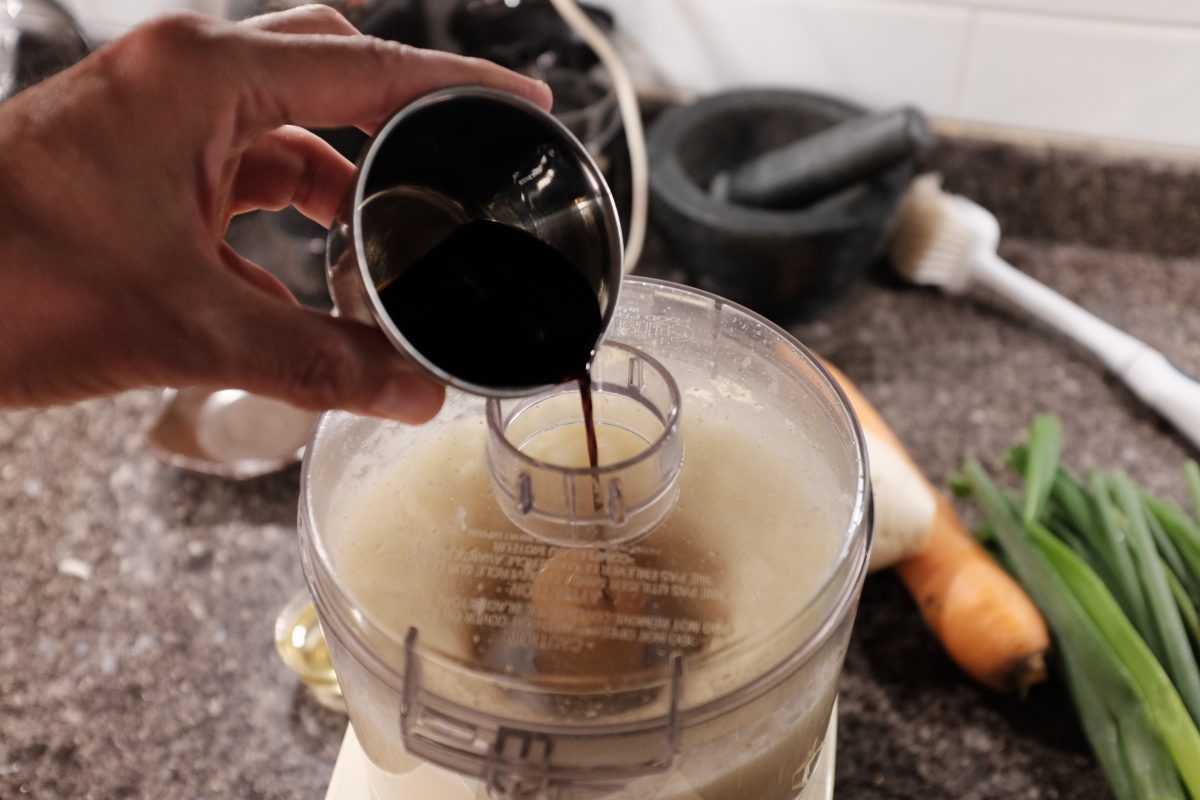
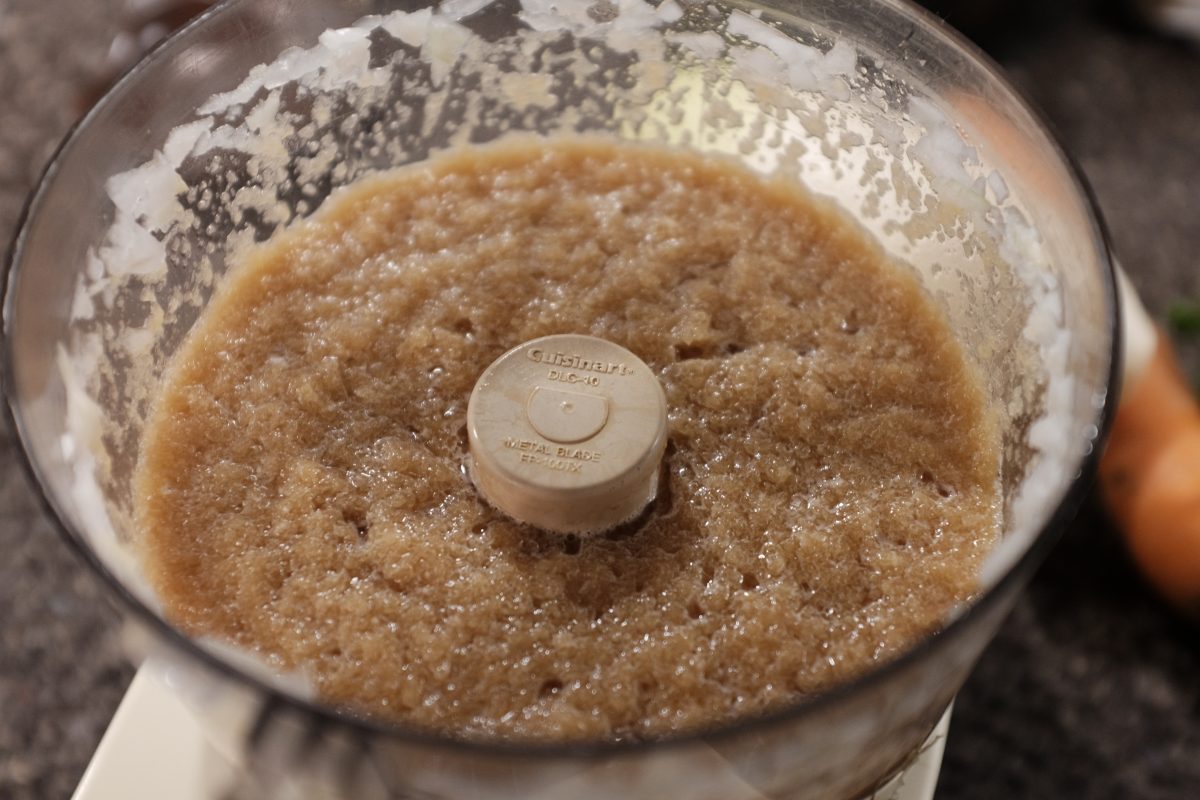
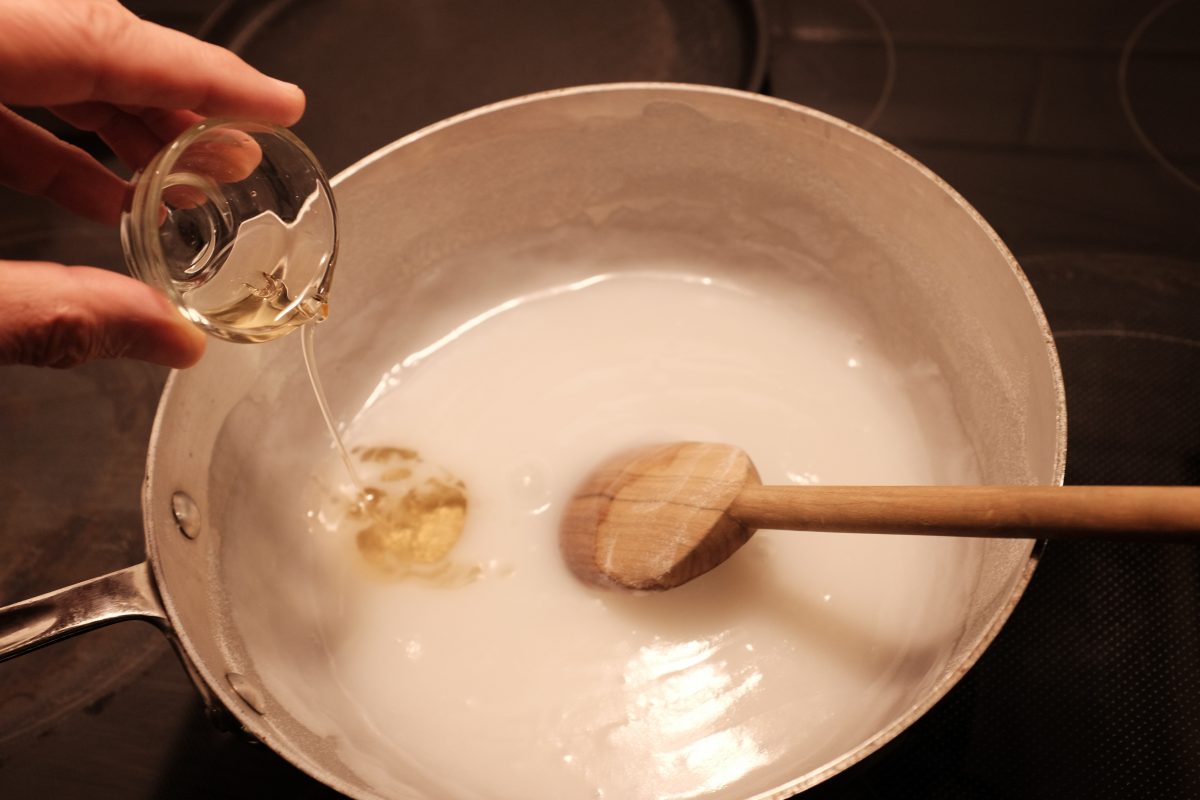
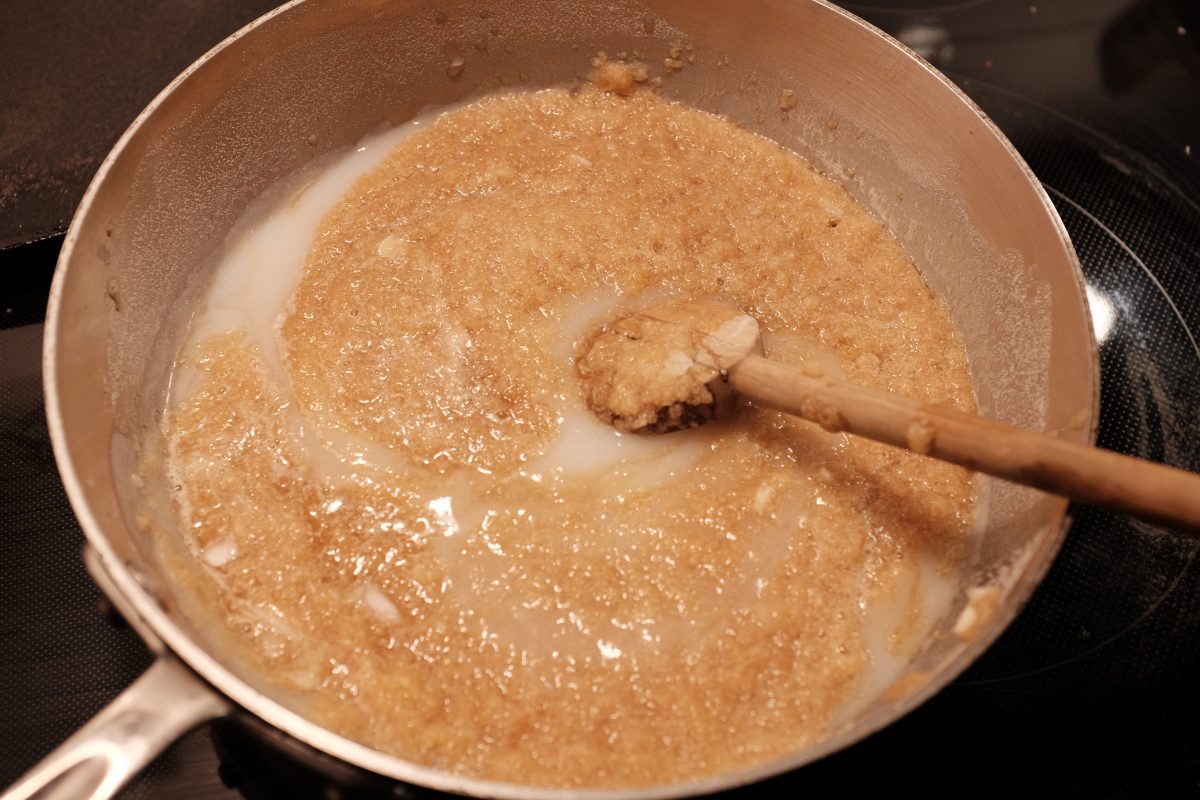
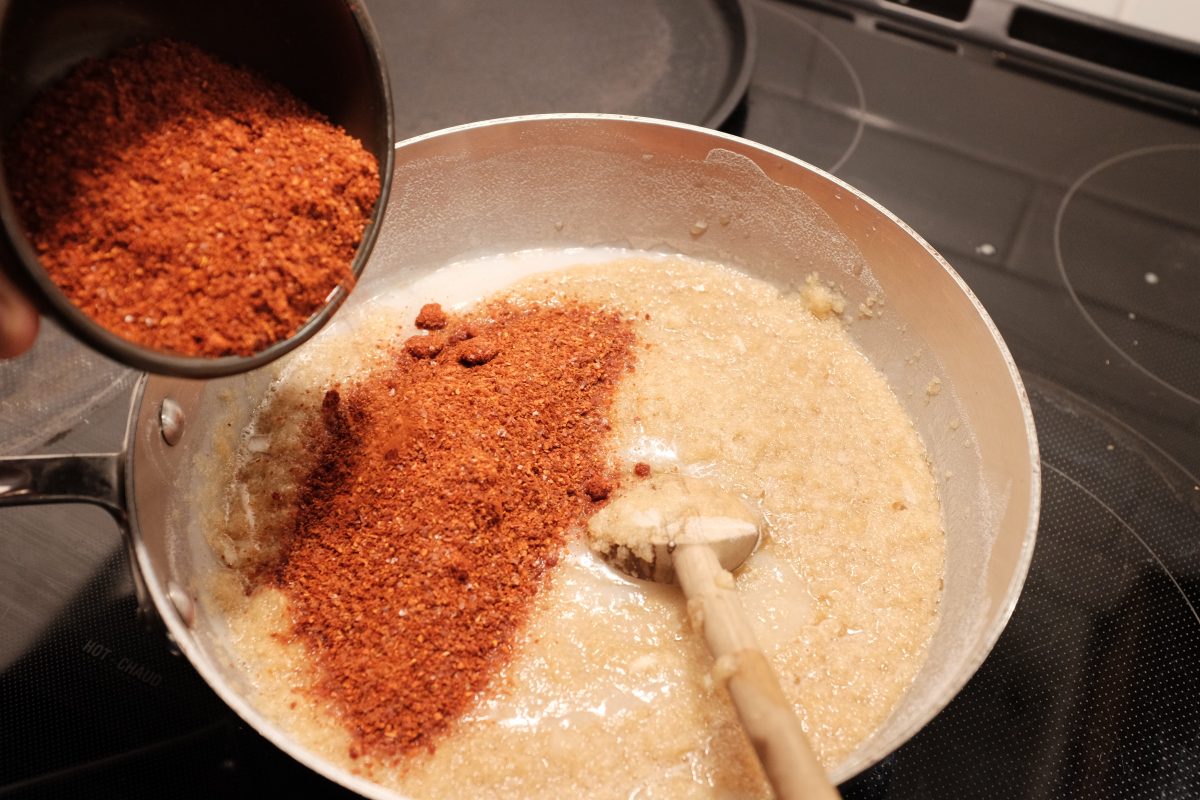
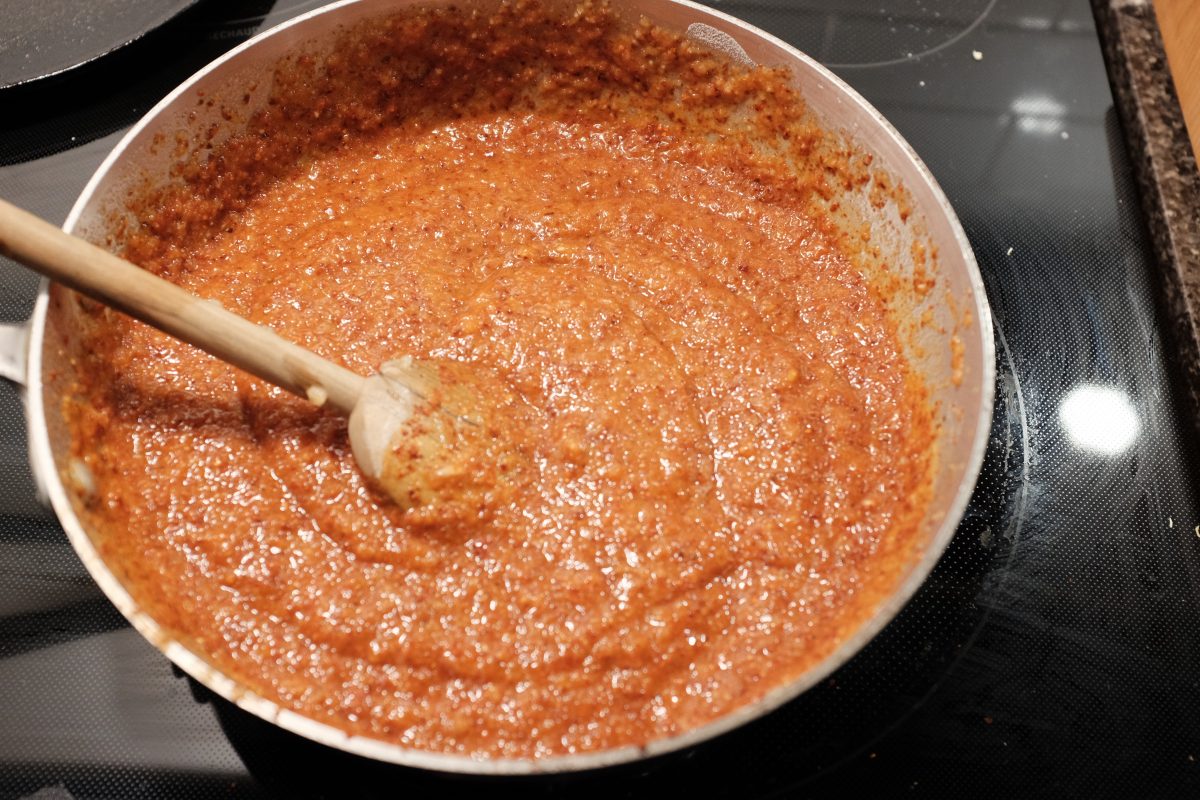
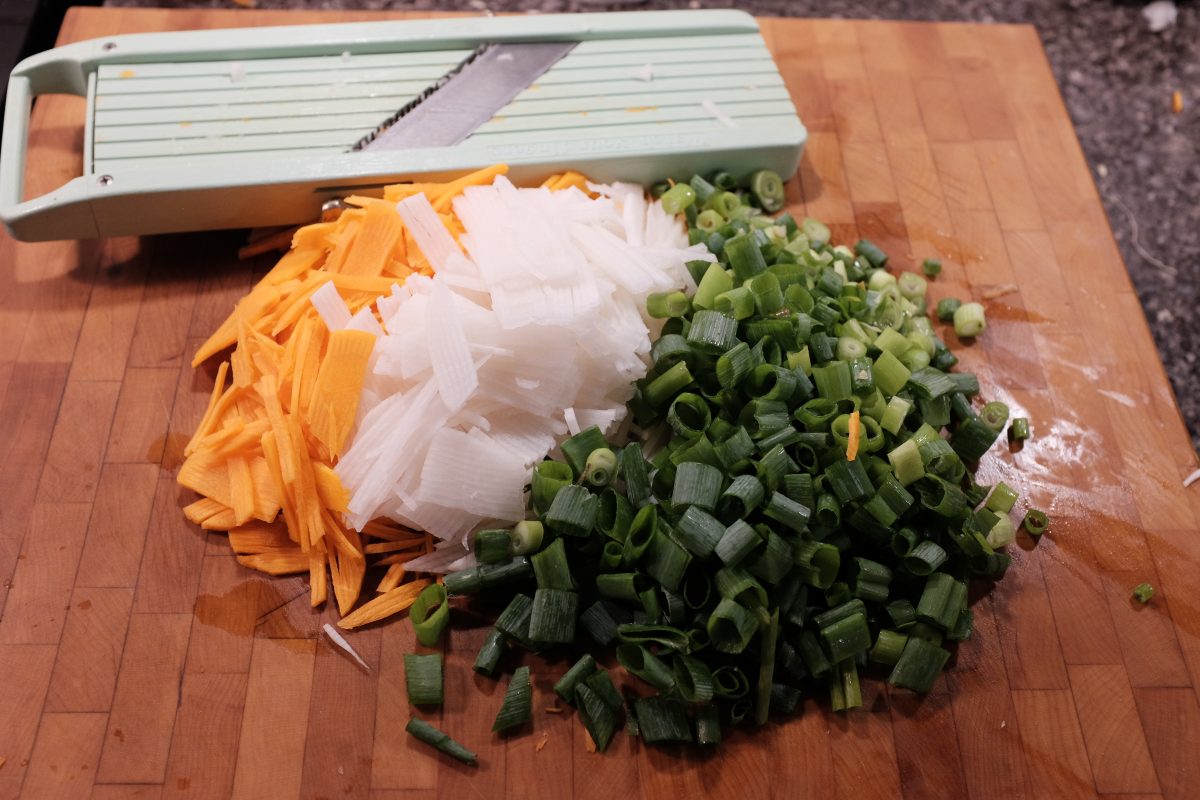
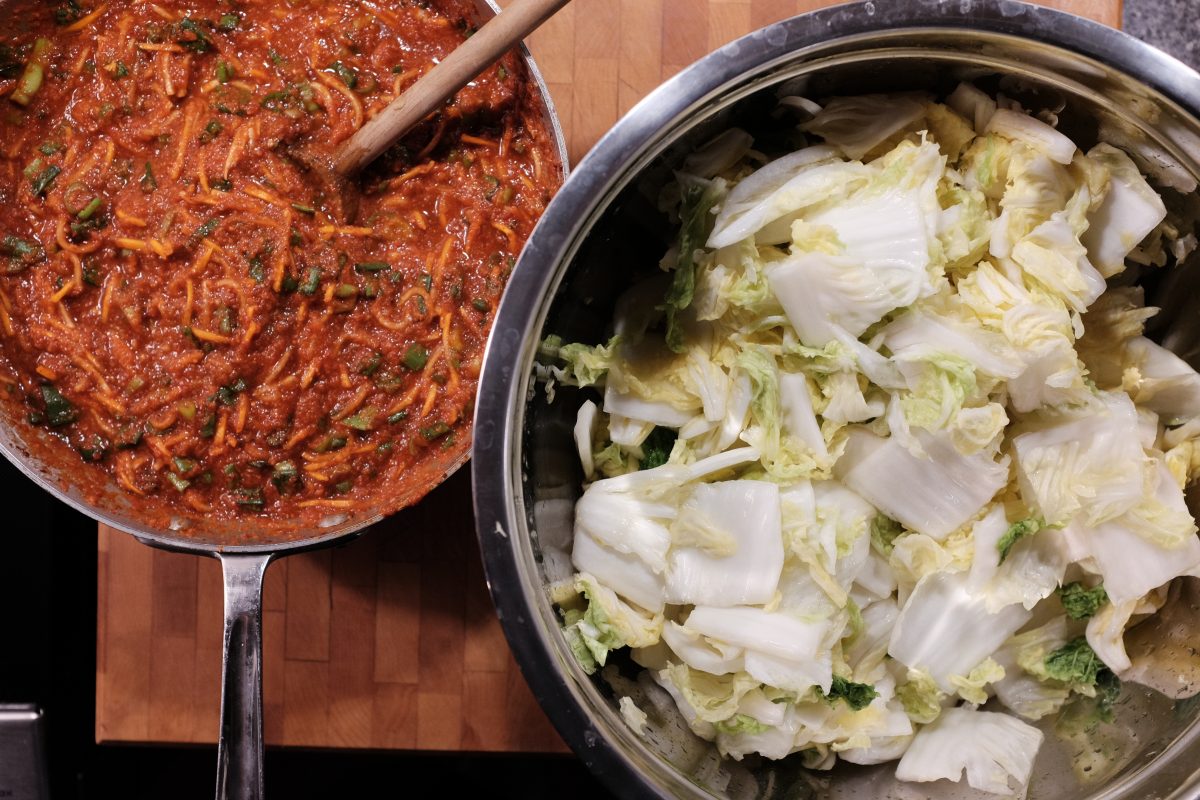
Combine the water and rice flour in a pot over medium high heat. Stir constantly until the slurry get very thick and starts bubbling a little. Afterwards, set it aside until it cools to room temperature.Peel and chop ginger, asian pear (or apple), onion and garlic. Place them in a food processor and mix into a uniform sauce.While it is running, add the soy sauce. It should look something like this when it is done. If you don’t want to use a food processor or blender, you can also chop these ingredients by hand. It does not have to be this smooth.Add maesil plum syrup or white sugar to your cooled rice flour slurry. I am using maesil plum syrup because I have it on hand but white sugar works just as well.Mix in the sauce from the food processor.Add in the chili flakes. Start with a small amount, taste it and then add more if you want more spice. You can taste and add more now or later in the process. Chili flakes can be mild or very spicy so it’s hard to give a fixed amount to use. Depends on your preferences and the chilis you have. As long as you like the flavour, you have done it right.Mix well and give it a taste to judge the heat levels.Cut the carrot and the Korean radish into matchsticks. I used this Japanese Benriner brand veggie slicer but you can use a knife instead. They don’t need to be perfectly uniform. Slice the green parts of the green onions into 1-2cm pieces.Combine the veggies and paste.Mix well, let it sit for a few minutes, and taste it again. This is a good time to adjust the spice level AND the salt level. If you think that the paste is a little bland, season with small amounts of salt until you like the flavour. In a regular kimchi recipe, brined baby shrimp and fish sauce add a large amount of salt. Because we have left them out, we have to bring up the salt level a little in other ways. The soy sauce will do some of the work, but you will probably need to add a little salt here as well. I ended up using around 2 tablespoons but you do not have to use this much. It better to put less now and add some later on, even days later. Once it is too salty, it is nearly impossible to fix.The kimchi paste is done. Once the cabbage has finished it’s 2 hour brine, these will get combined.
Put it all together
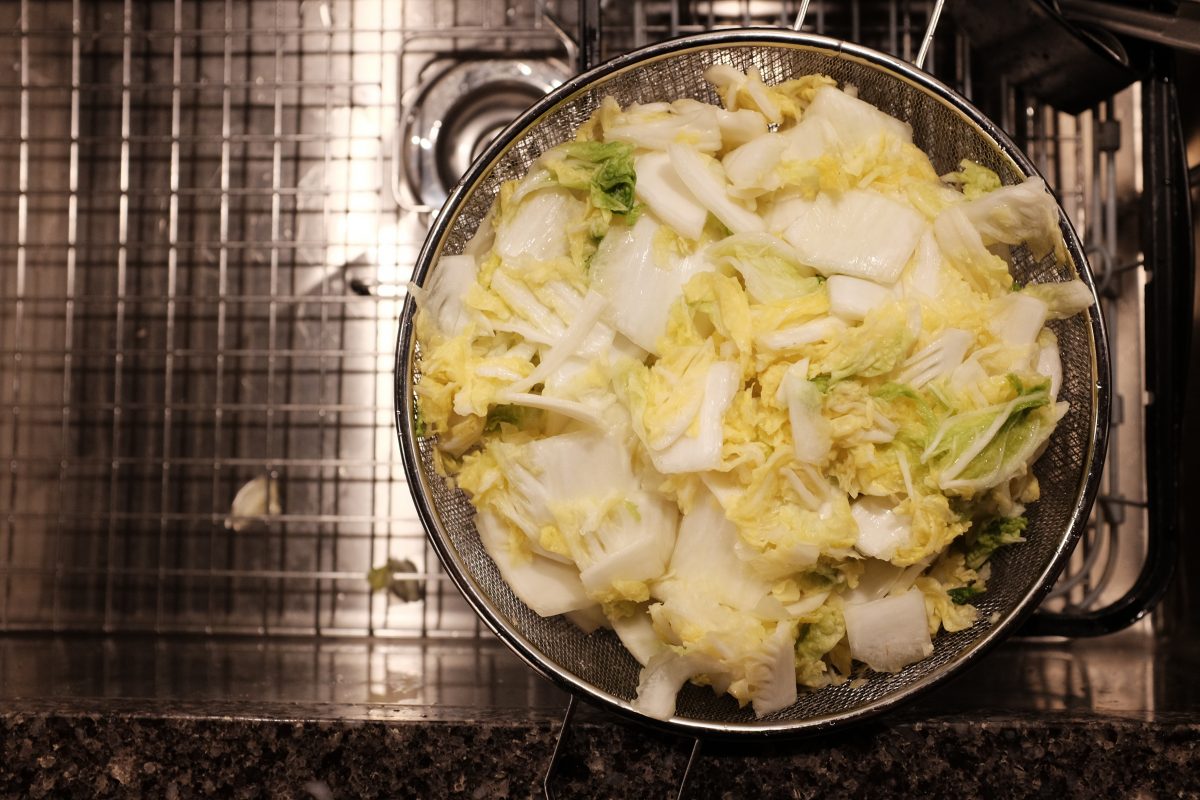
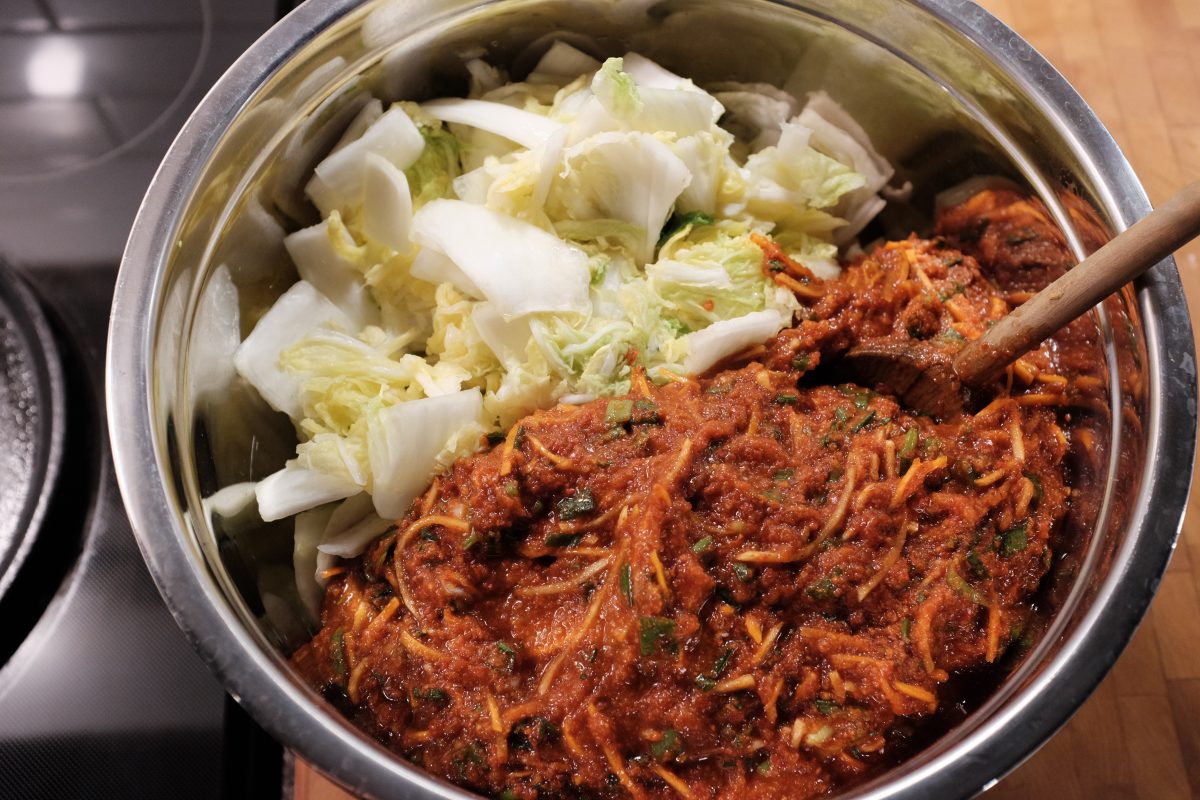
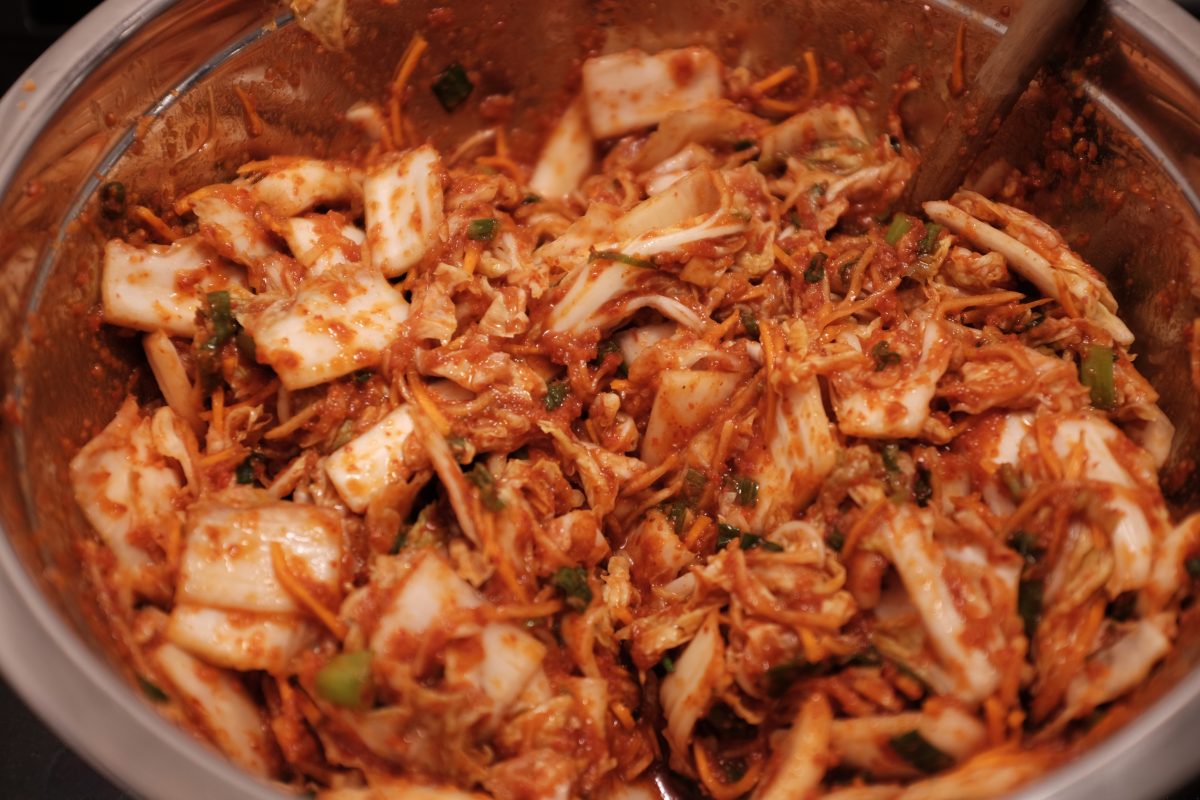
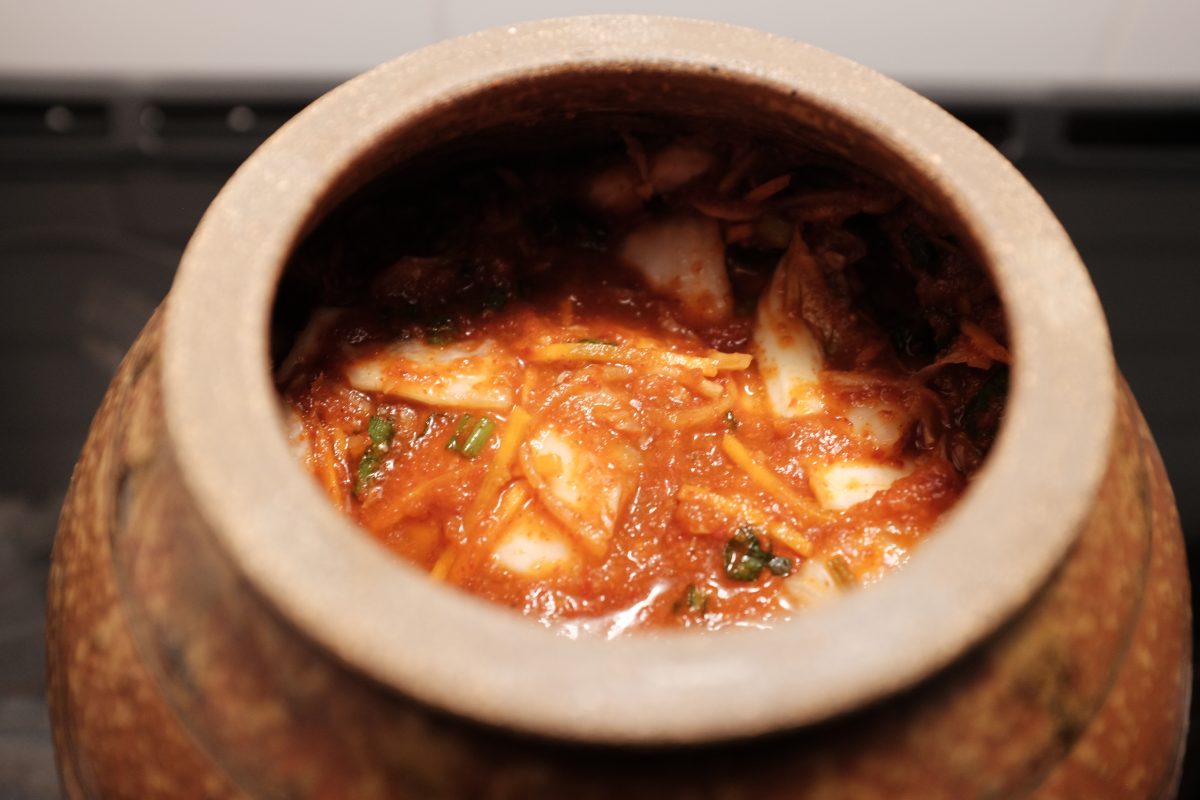
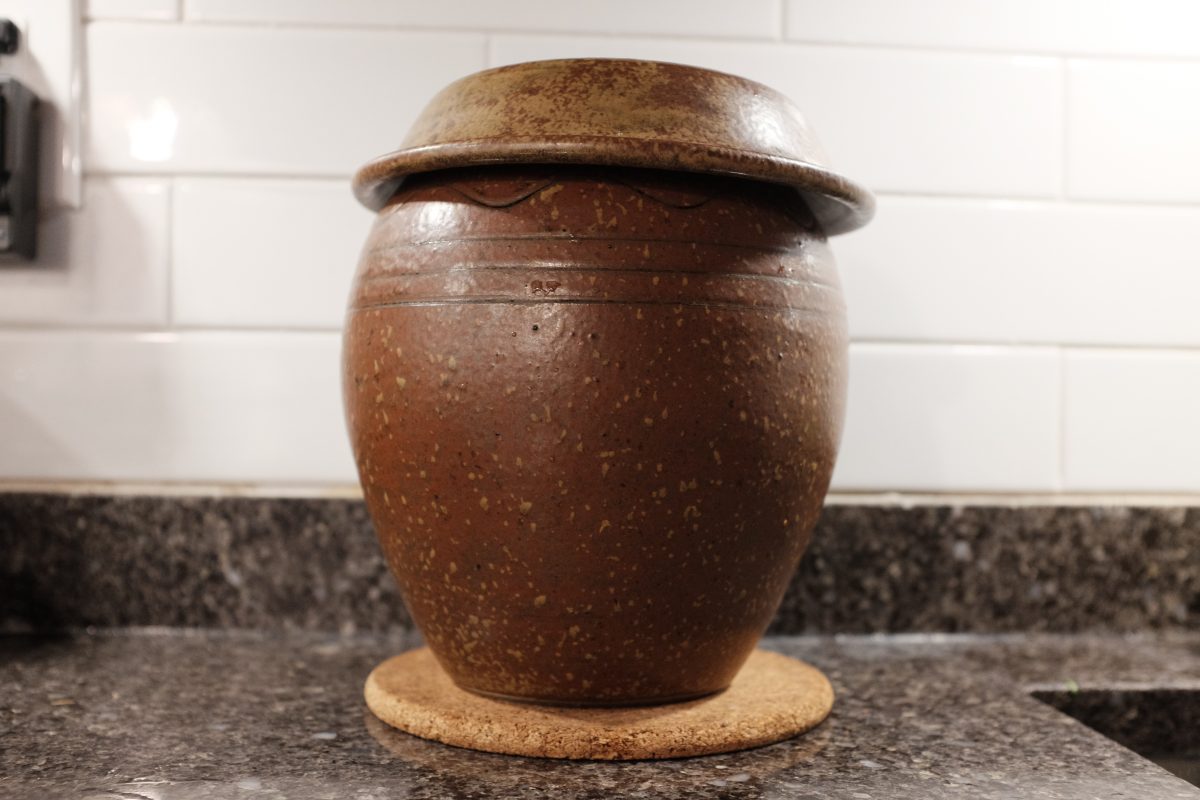
Once the 2 hour salting time is up, wash the cabbage 2 or 3 times in fresh cold water.Put it into a strainer and allow it to drain completely. This can take 10-15 minutes. Wait until no more water is running out of the bottom of the strainer.Cabbage and paste can meet.Mix them together and taste it again. Adjust salt and chili if you think it is necessary. If it tastes ok, you are done!I am using a stoneware onggi jar to ferment this batch of kimchi. I have them around the house so this is what I usually use. Mason jars or a glass storage container can work just as well. You can also use plastic containers but keep in mind that they will probably always smell like kimchi after you have used them. Whichever container you choose, make sure to leave the lids loose so that fermentation gasses can escape.Leave your container at room temperature until the kimchi is fermented to your liking. This could be as little as overnight or as long as several days depending on the temperature of the room. Taste it a couple of times per day. When the kimchi is nearly as sour as you like, store it in the fridge to slow down the fermentation. If you prefer fresh crisp kimchi, you can refrigerate it right away.