Posts By Martin
Makgeolli
What is Makgeolli / 막걸리 ?
Makgeolli is a Korean alcohol (or sool 술) made by fermenting rice with a natural starter called nuruk (누룩, sounds like noo-rook). I have heard it called “rice wine”, “rice beer” and “Korean sake” but it has very little in common with any of those. Makgeolli is its own thing. A few good ingredients and a complex, multi-layered, simultaneous fermentation by a large variety of bacteria and yeasts make this a uniquely Korean sool. It has its own distinct flavours, textures and history. It is unlike any other rice ferment.
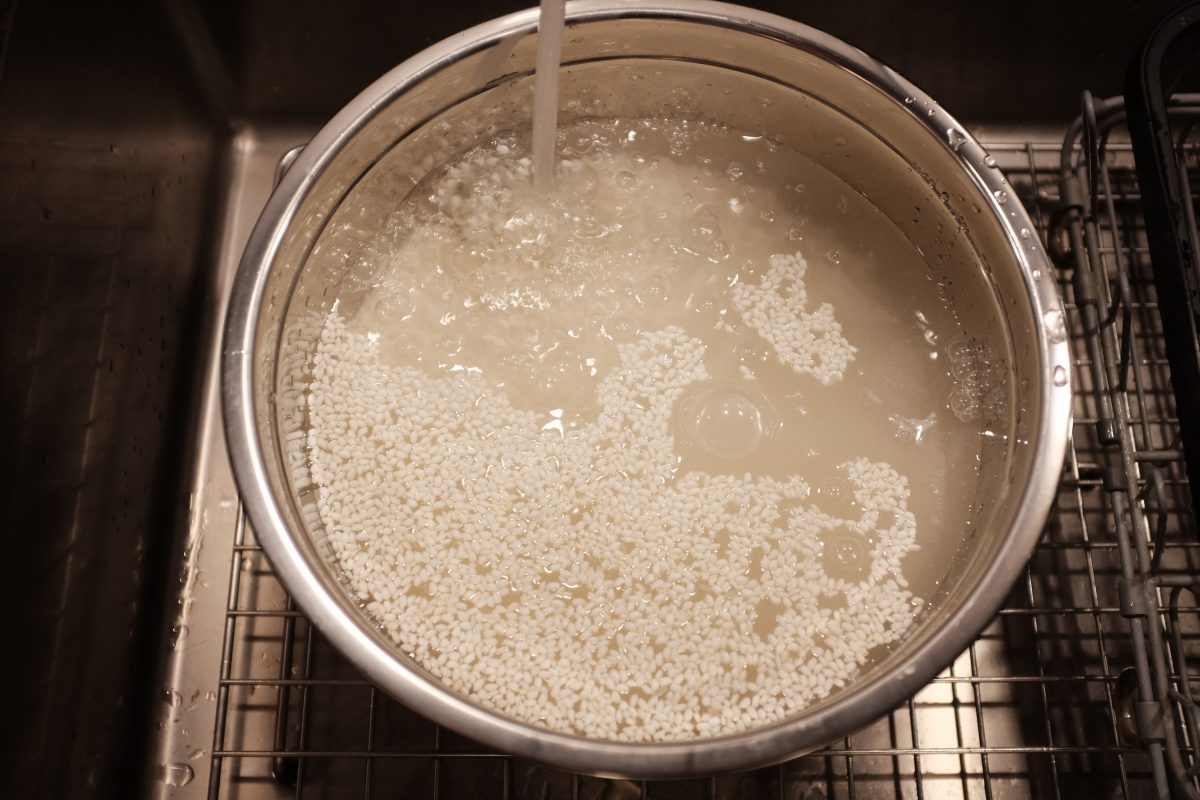
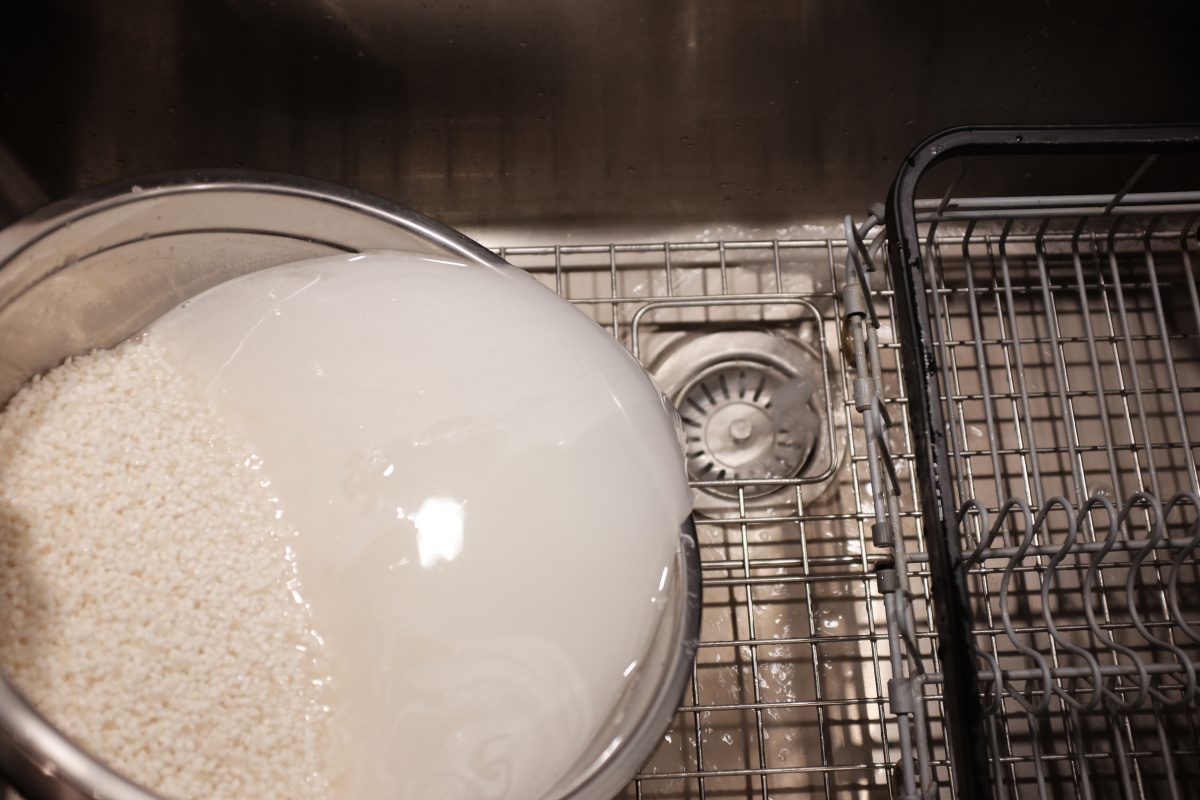
The recipe below is not the most simple but the preparation and process are fairly straightforward. My goal was to make the recipe easy to follow so I have included lots of pictures and even some sounds.
Important considerations before you start
There are 2 stages to this recipe and, from start to finish, this brew can take anywhere from 3 weeks to a month. In Stage 1, during the first three days or so you will need to stir it up a few times. In Stage 2, you will need to stir it again for a few days after which it is mostly just waiting and tasting occasionally.
Each stage of this recipe takes several hours to prepare. In Stage 2, you will spend 5 hours just washing, soaking and steaming rice. It’s best to plan ahead so you have enough time to get through the process in one shot.
Temperature is important. You will need to find a spot that is room temperature or a bit cooler for fermenting this brew (20-25C). Higher temperatures can cause your brew to ferment too quickly and may cause some off-flavours. Cooler is always better.
Equipment
You will need a glass or pottery container to hold your brew. 8-10 litres is a good size.
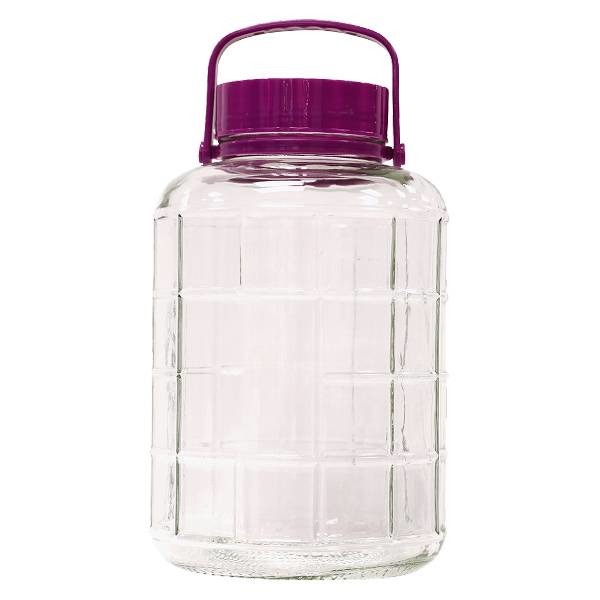
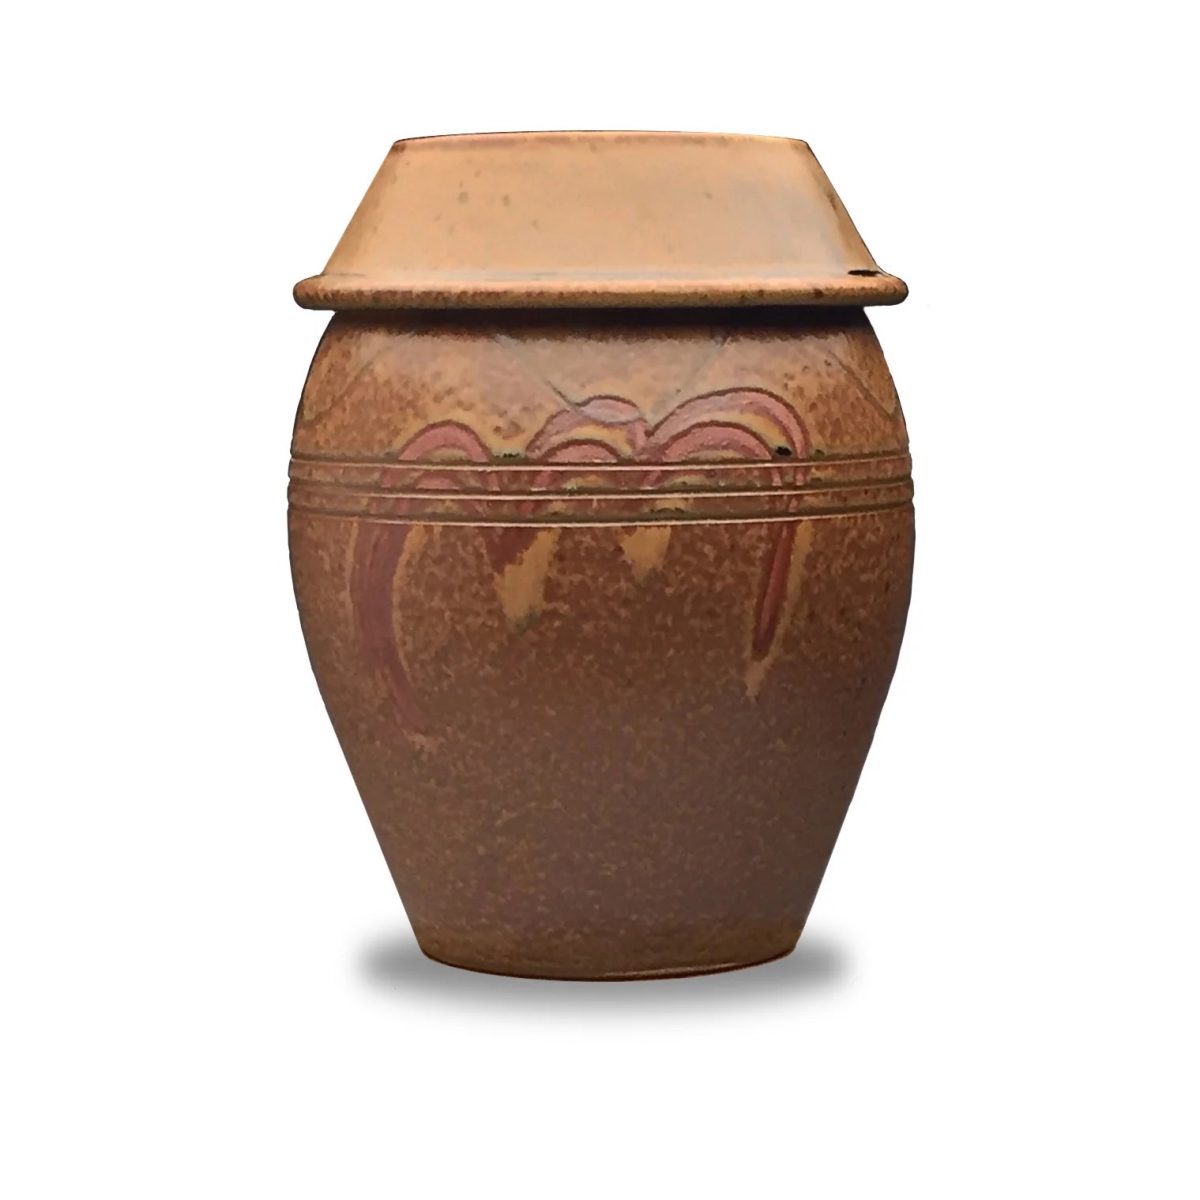
I think most people use glass. I have ceramic onggi jars around the house so that is what you will see in the pictures but either will get the job done. You will also need a piece of fabric or cheesecloth and an elastic band to cover the top of your jar. This ferment needs to breathe and will release a lot of gas. A fabric cover will let it vent and keep insects and dust out.
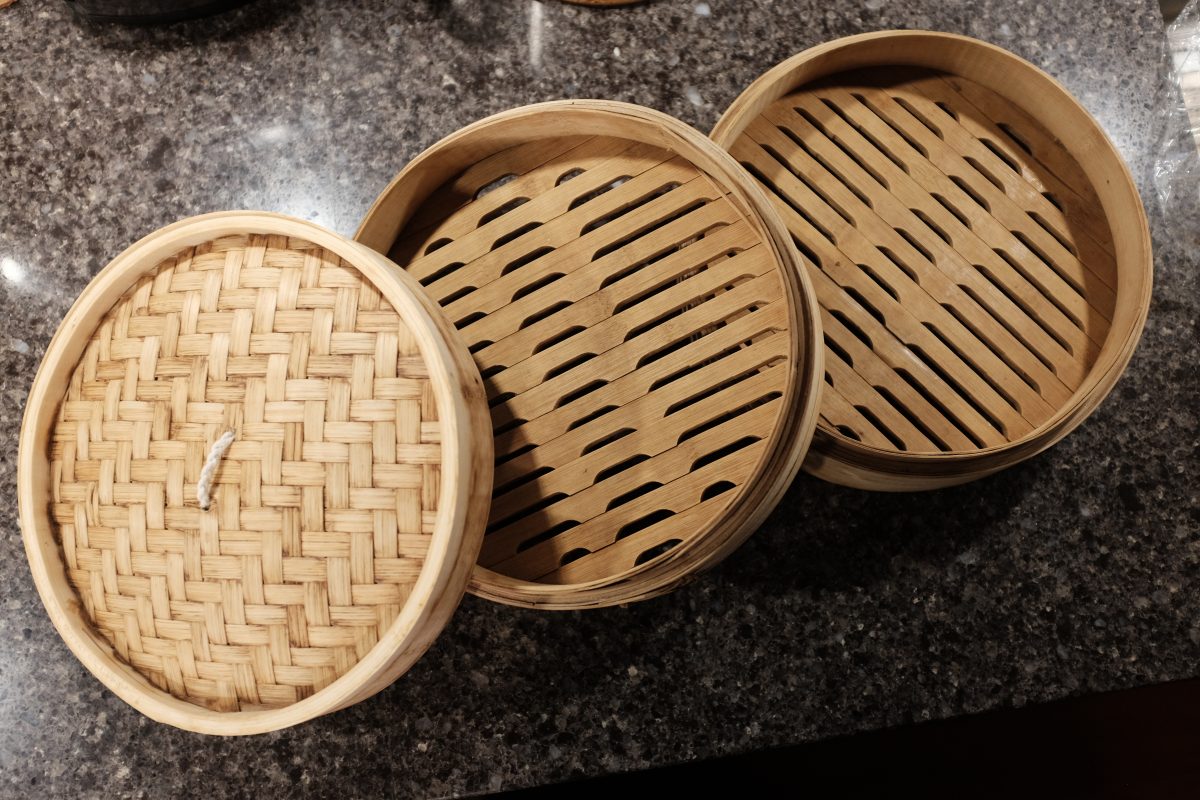
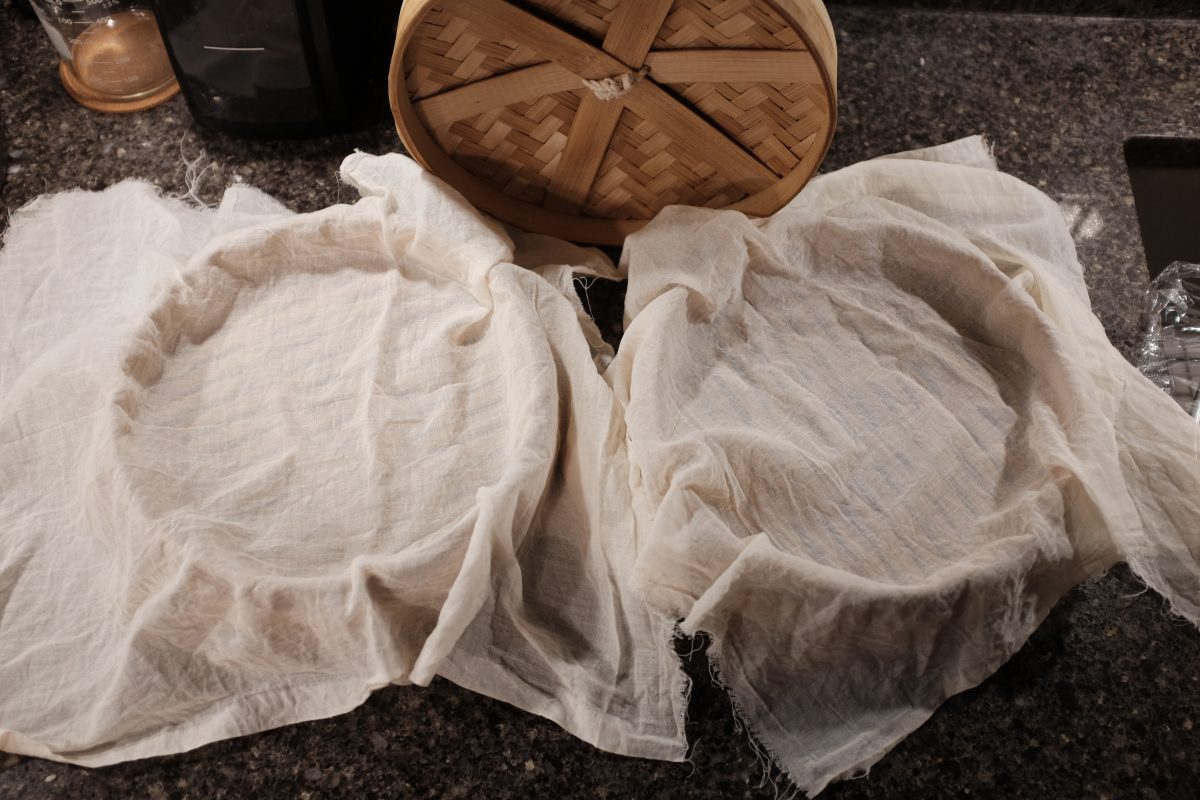
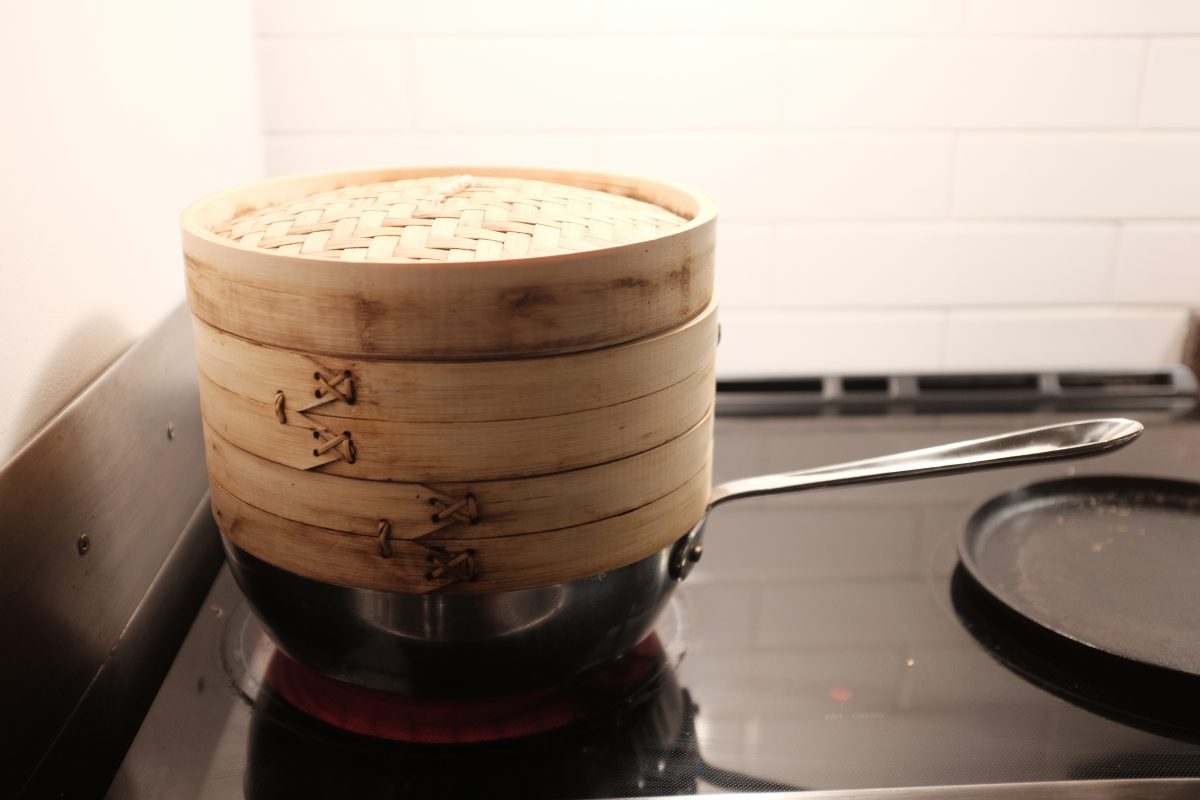
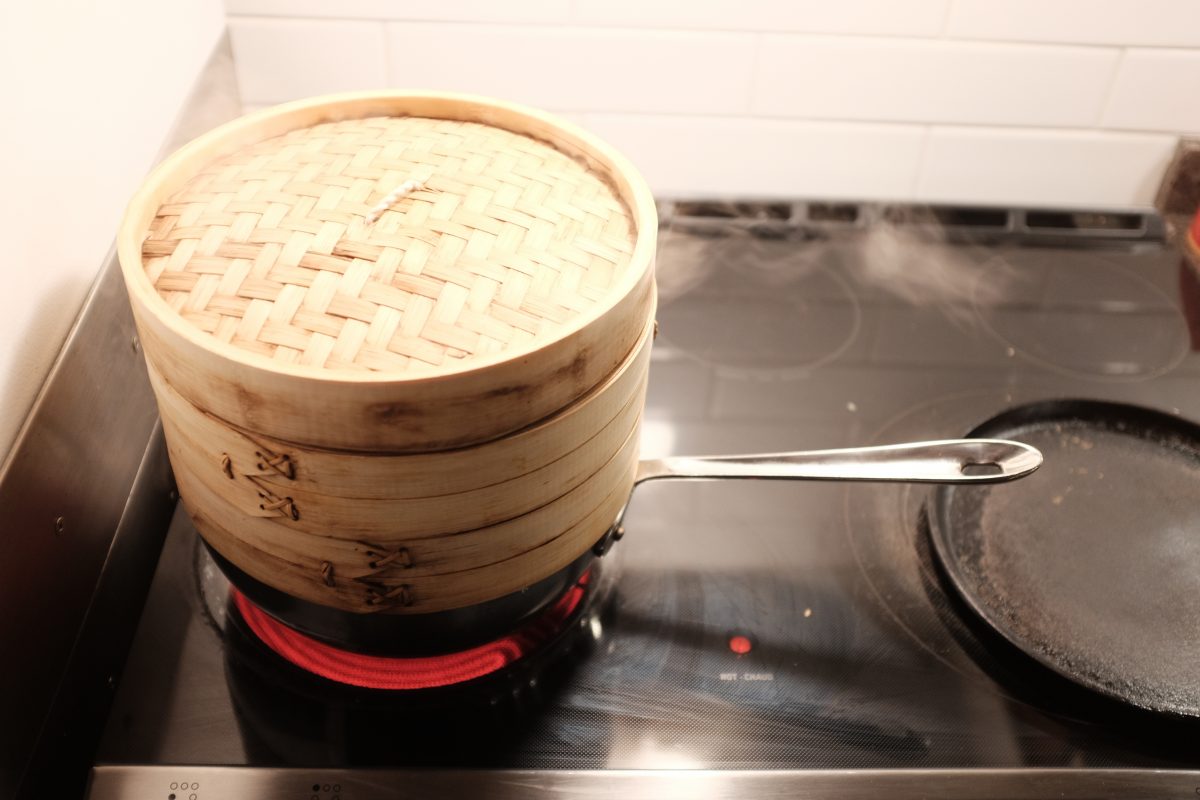
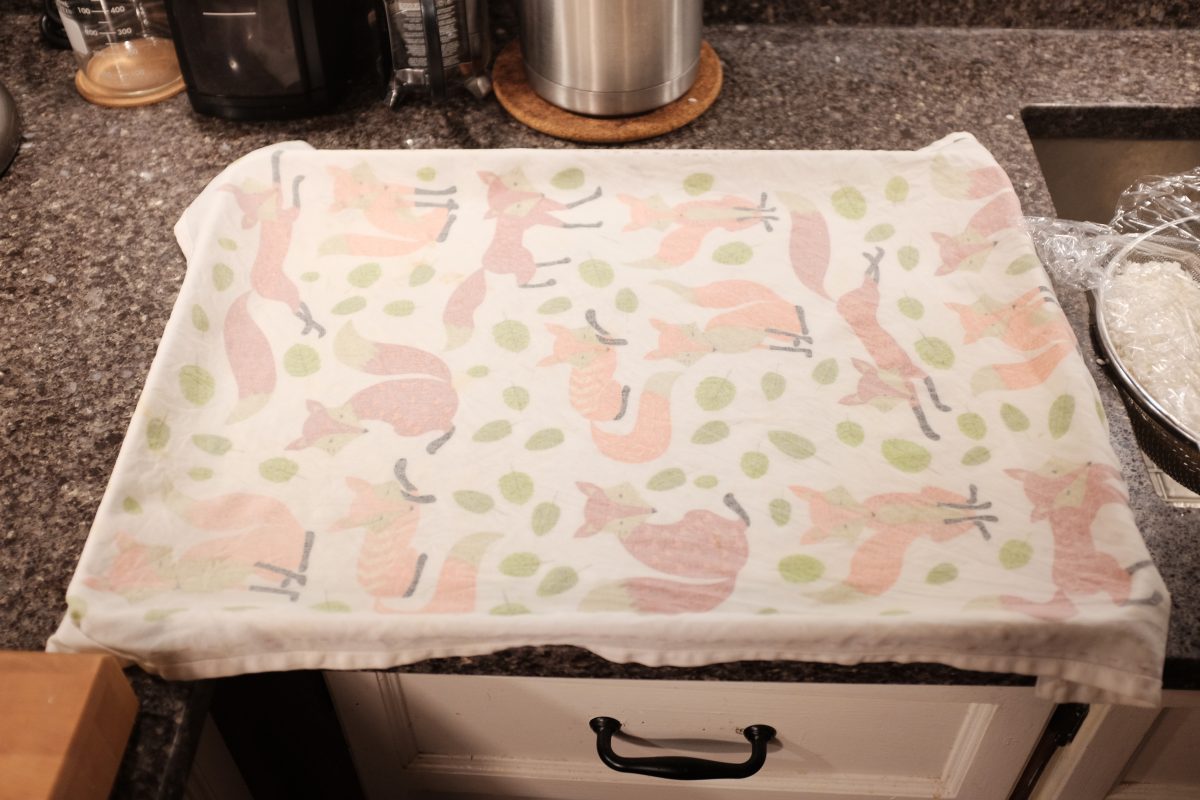
You will need a steamer of some kind. Bamboo steamers are cheap and very useful. I have a medium size one with two decks that I will use to steam rice for this recipe. If you have a pot with a stainless steel steamer insert, that will also work. Lastly, you will need a piece of cheesecloth or other fabric big enough to wrap the rice in the steamer.
Ingredients:
There are only 3 ingredients here: rice, water and nuruk.
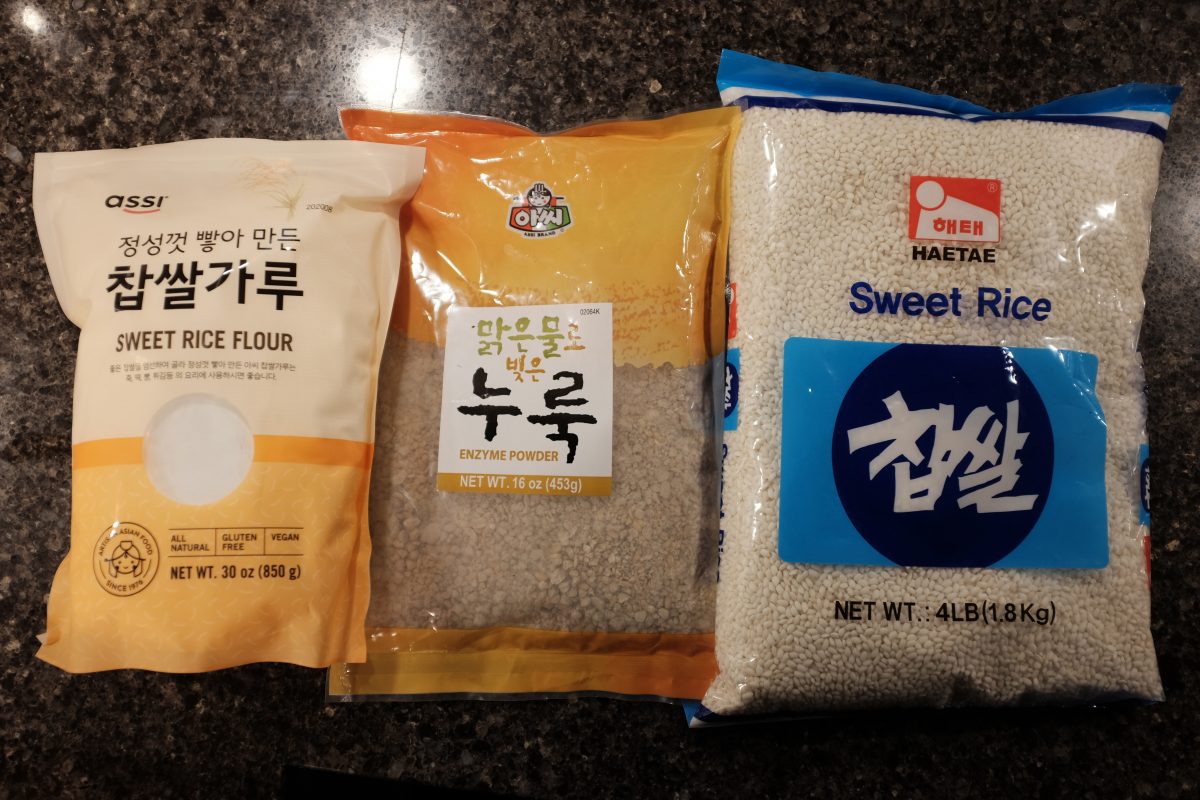
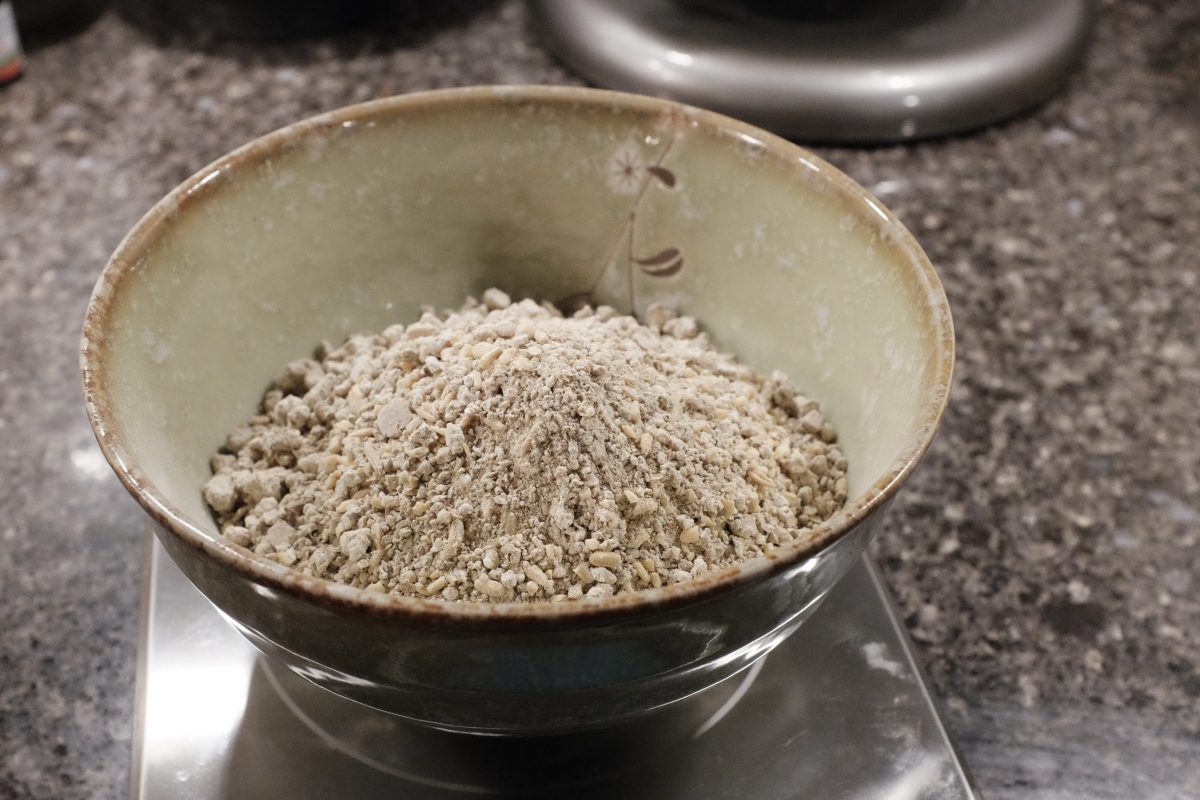
Nuruk is made by forming moist cakes of grain (usually some combination of wheat and barley and rice) and hanging them in open air to attract wild yeasts, bacteria and mold as they dry. These are then pounded into rough granules to use as a fermenting starter. Bags of this powder can be found at Korean grocers under the english name “Enzyme powder” or just look for the Korean name “누룩” on the bag. There is a picture of a bag of nuruk in the ingredients below.
You can make makgeolli with many different kinds of rice. For this recipe I am using a short grain sweet rice called chapssal (찹쌀). I think that this rice is most likely to make a successful and easy drinking first brew.
Here is what we need:
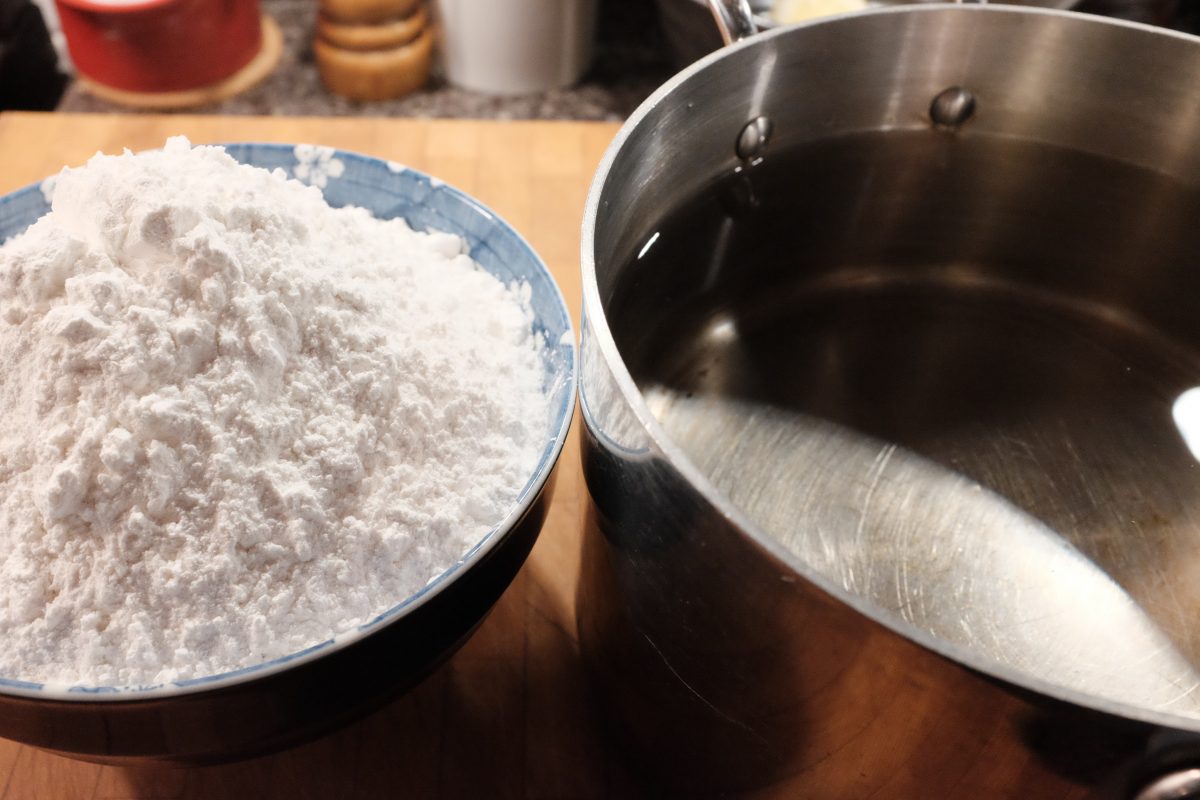
- 500 grams sweet rice flour (this is just rice milled into a fine powder)
- 2 kg sweet rice (chappsal)
- 2.5 litres filtered or spring water
- 250 grams nuruk plus another 250ml filtered or spring water to hydrate it
Process:
The recipe is broken into 2 parts. In Stage 1, we will ferment the rice flour for a number of days (around 3). In Stage 2, we will add steamed sweet rice and finish the ferment over the next few weeks. A two stage recipe like this is called “Iyangju”.
Stage 1
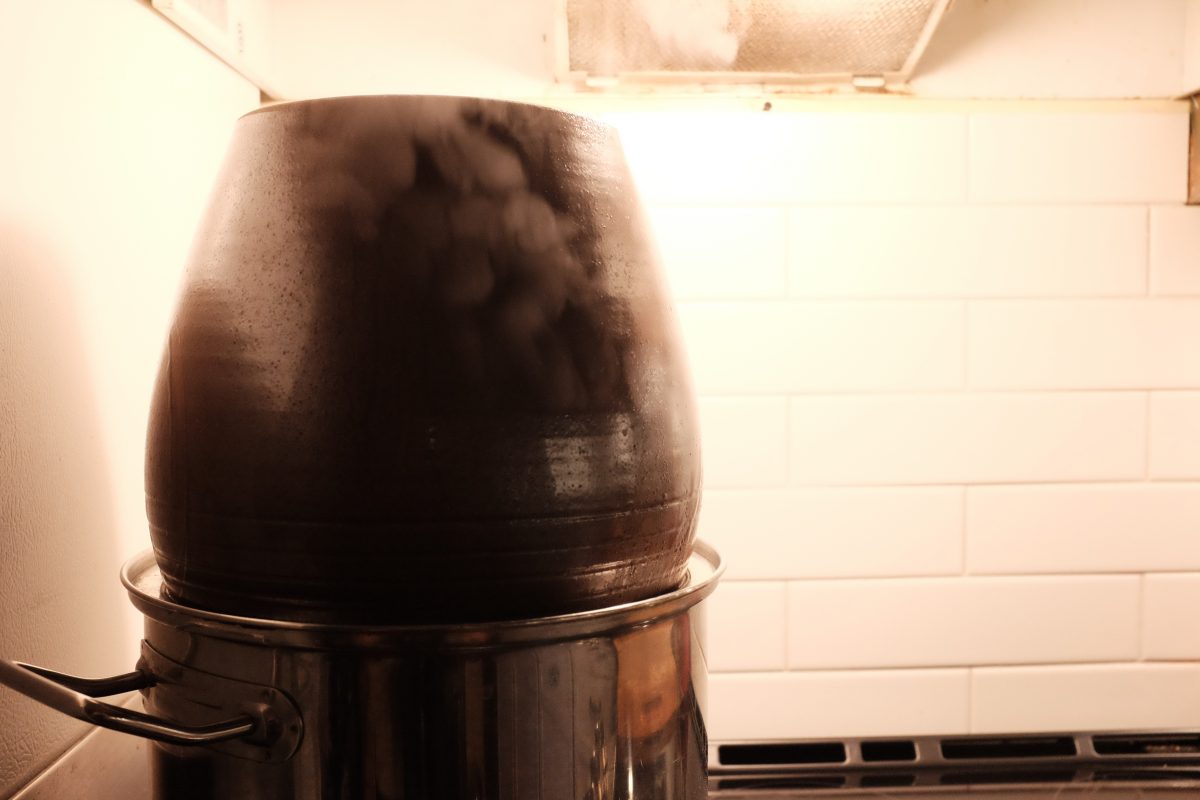
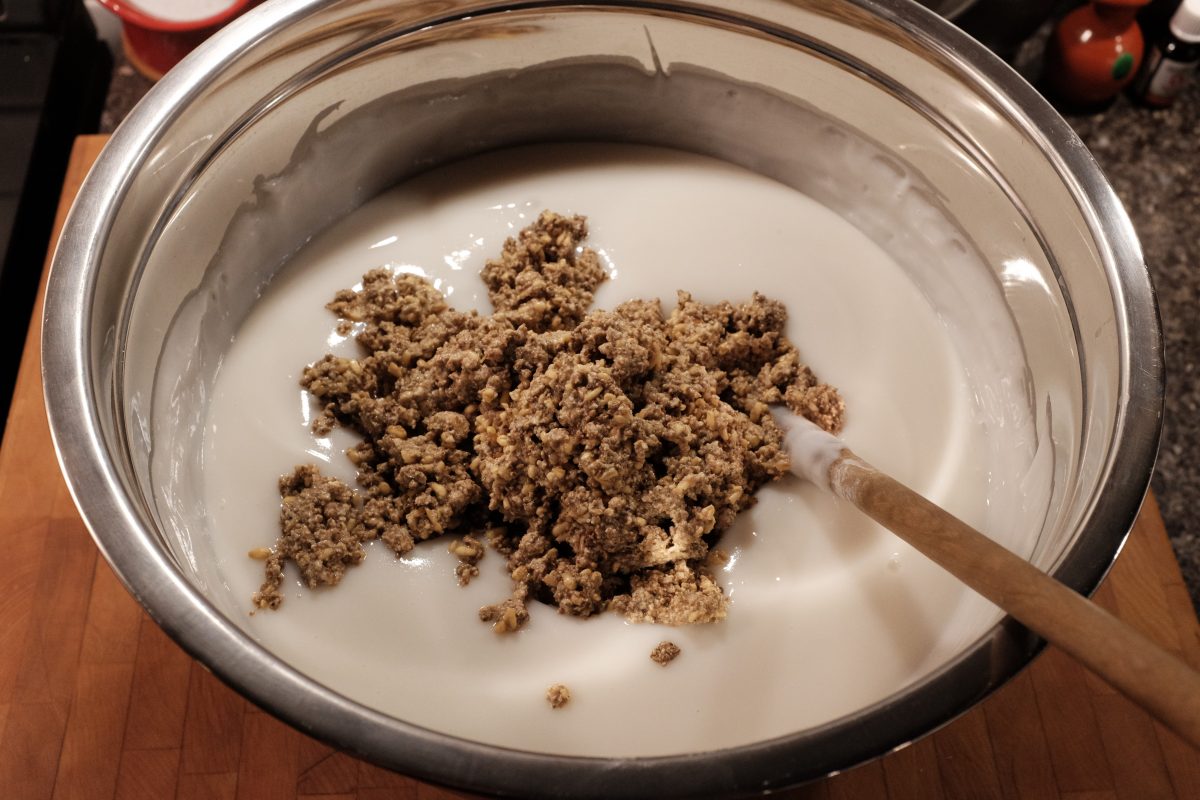
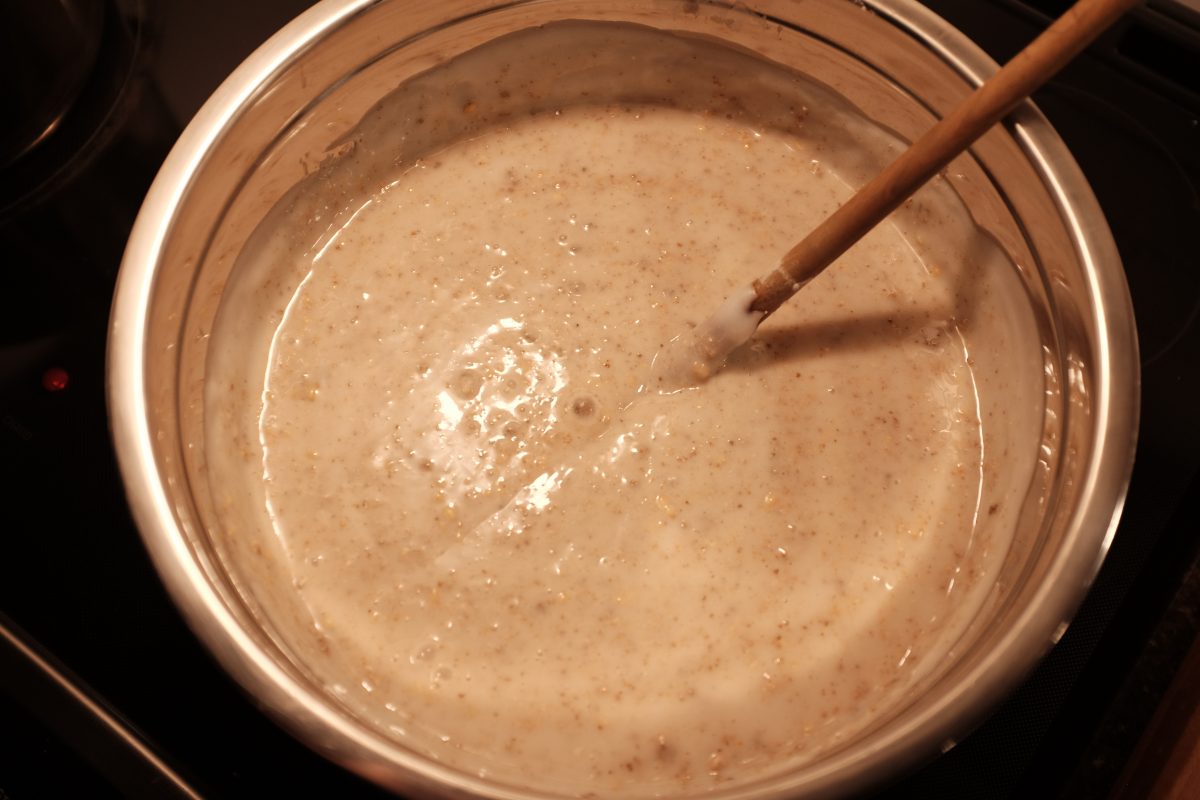
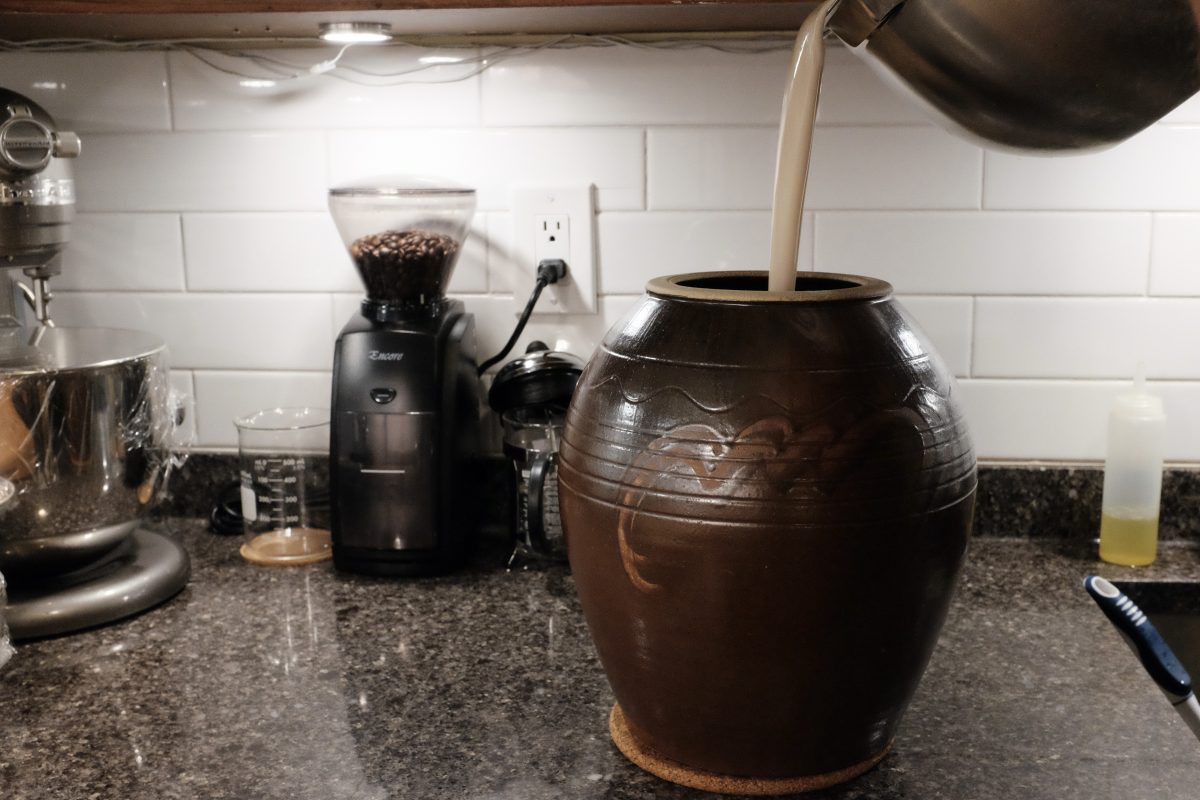
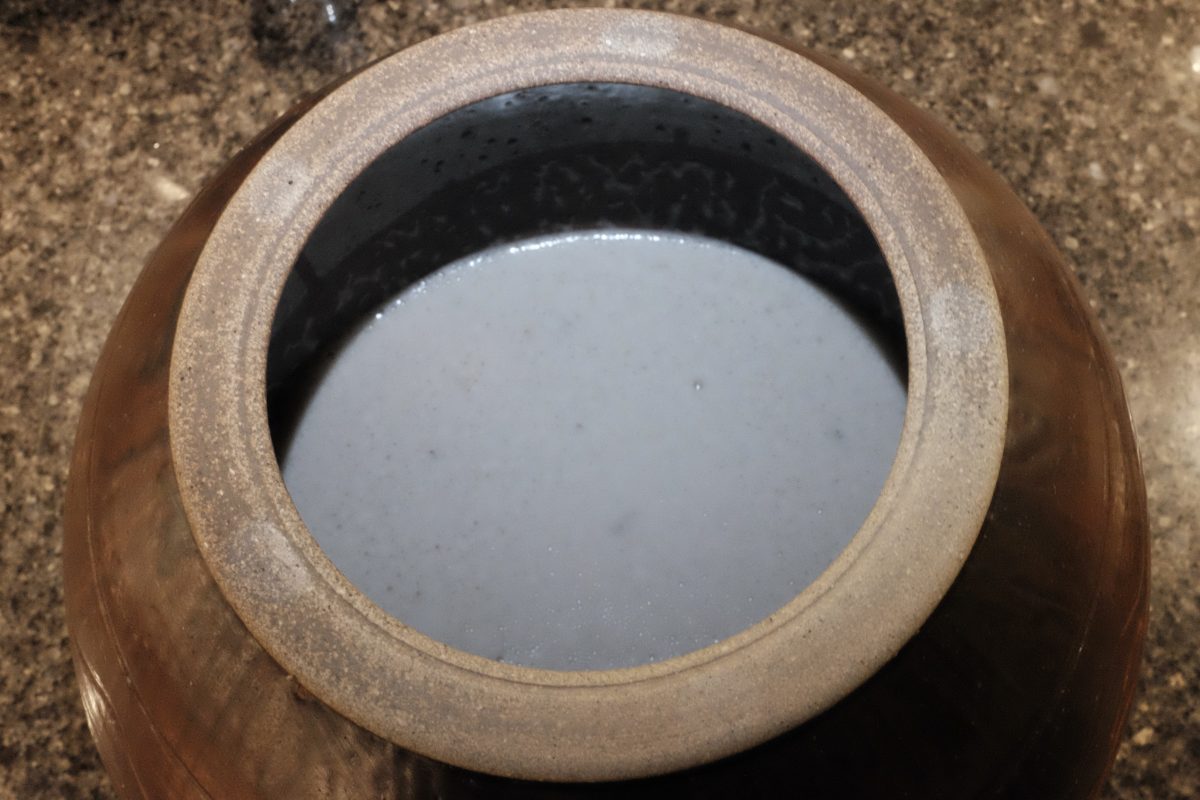
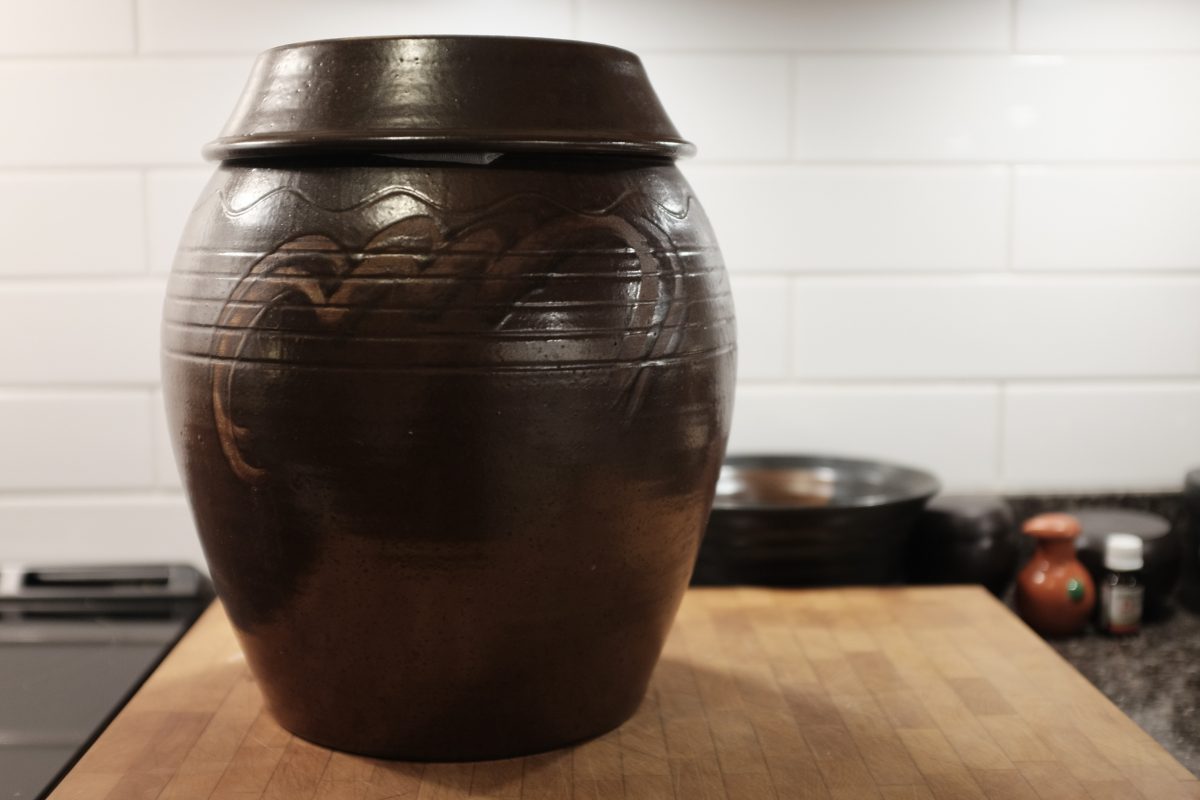
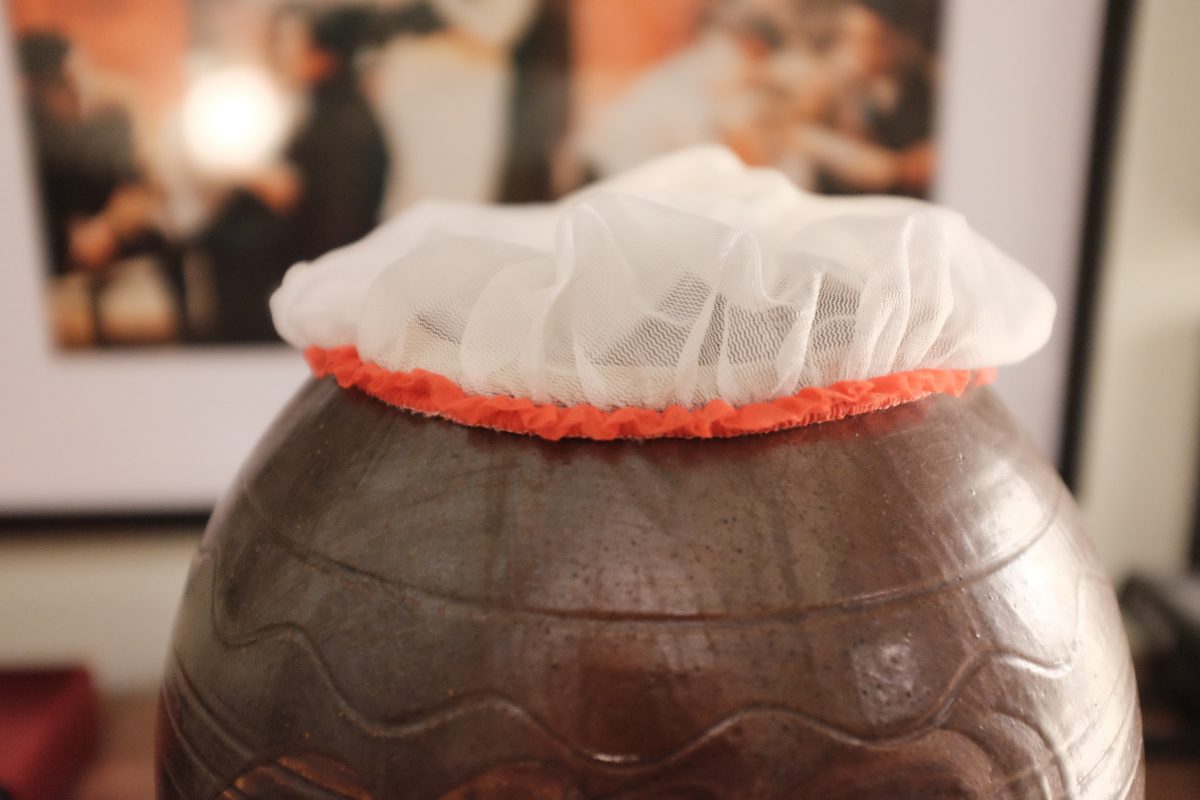
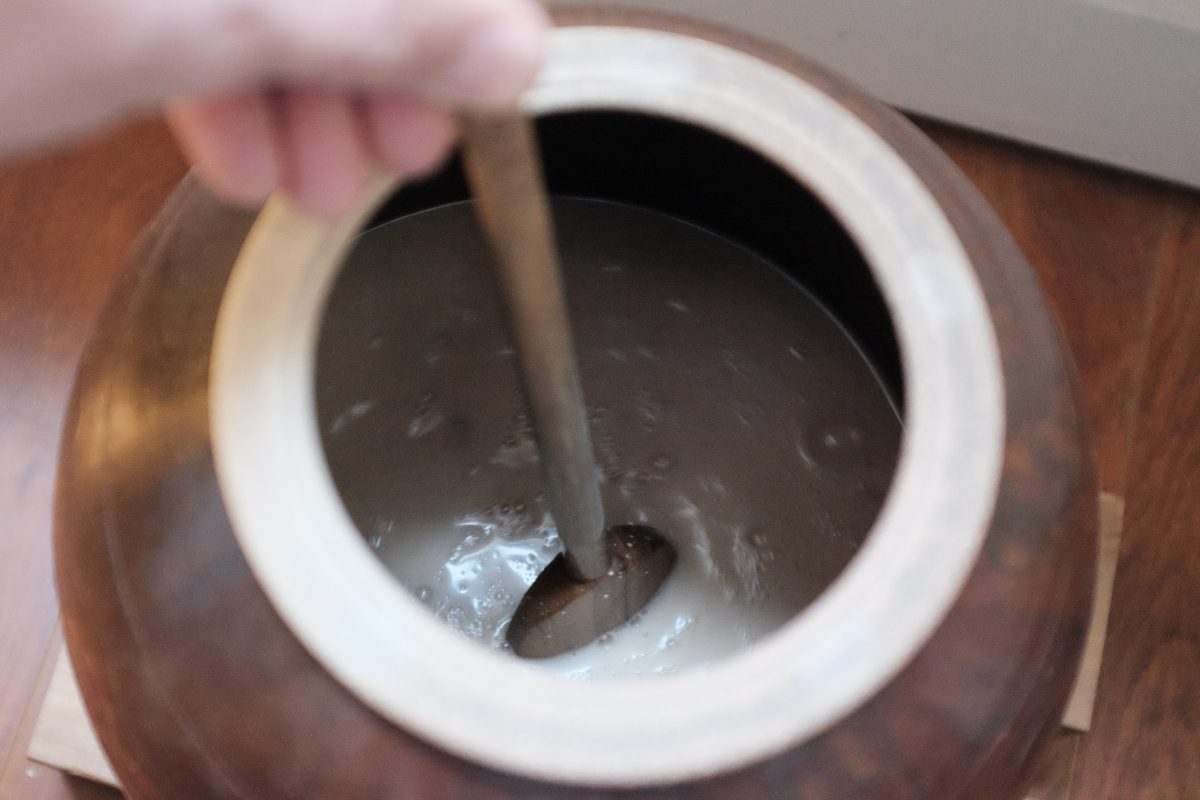
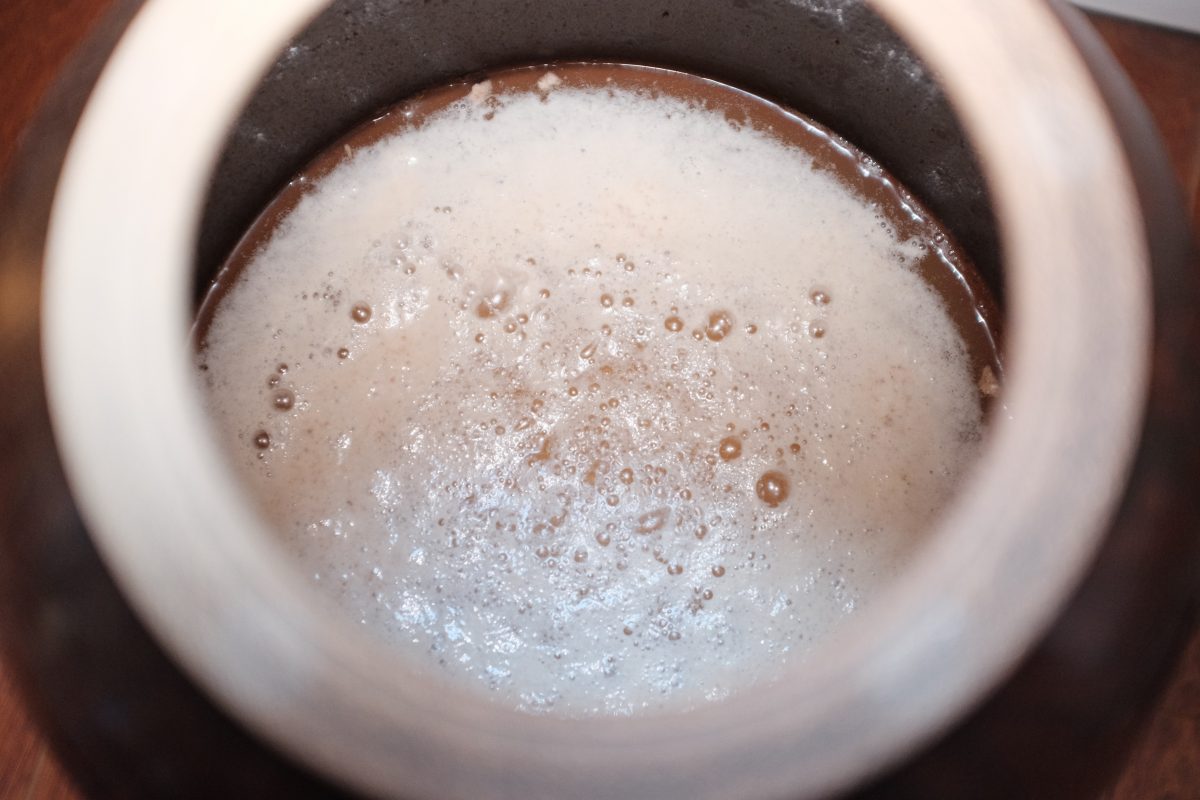
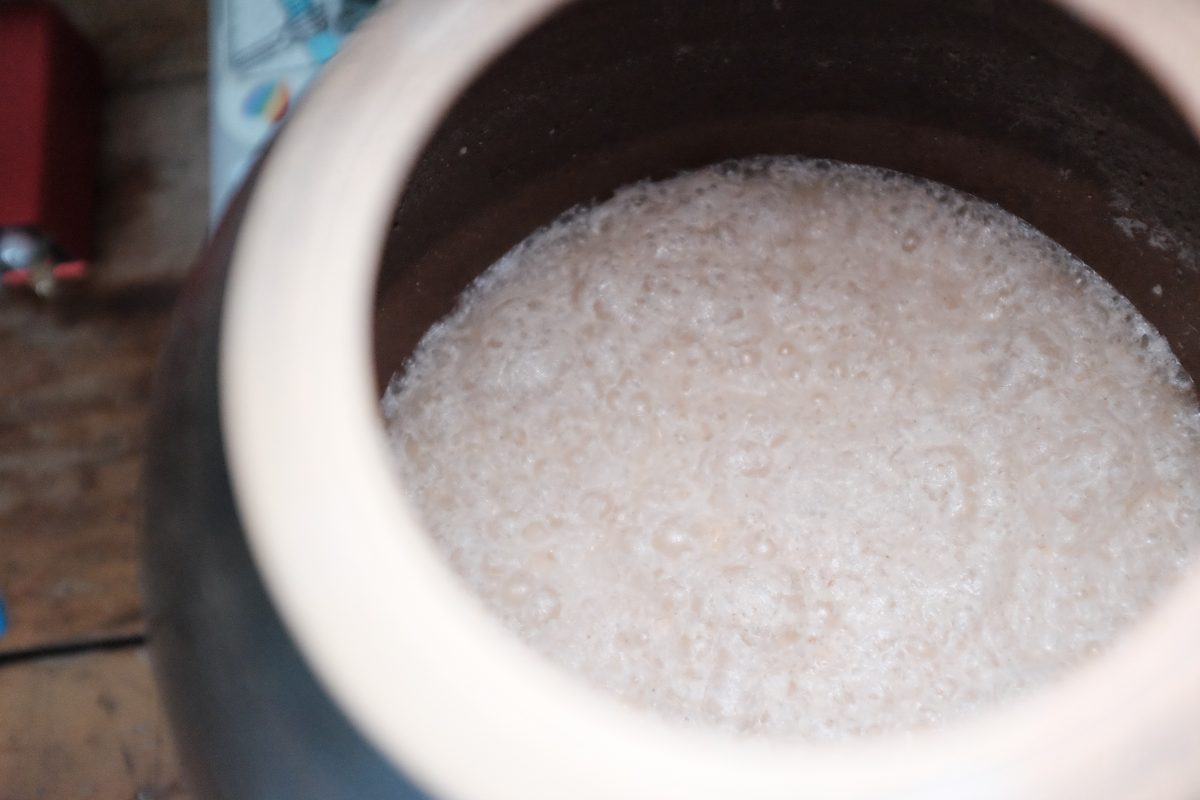
Stage 2:
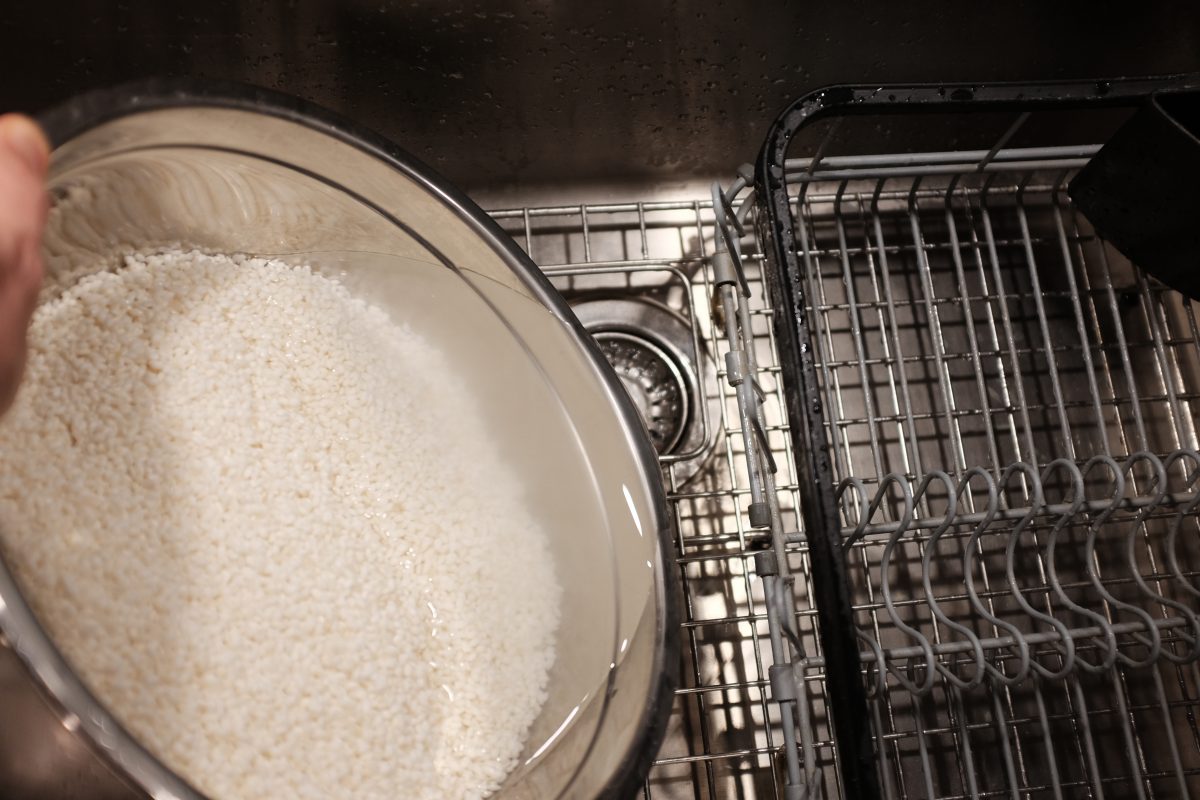
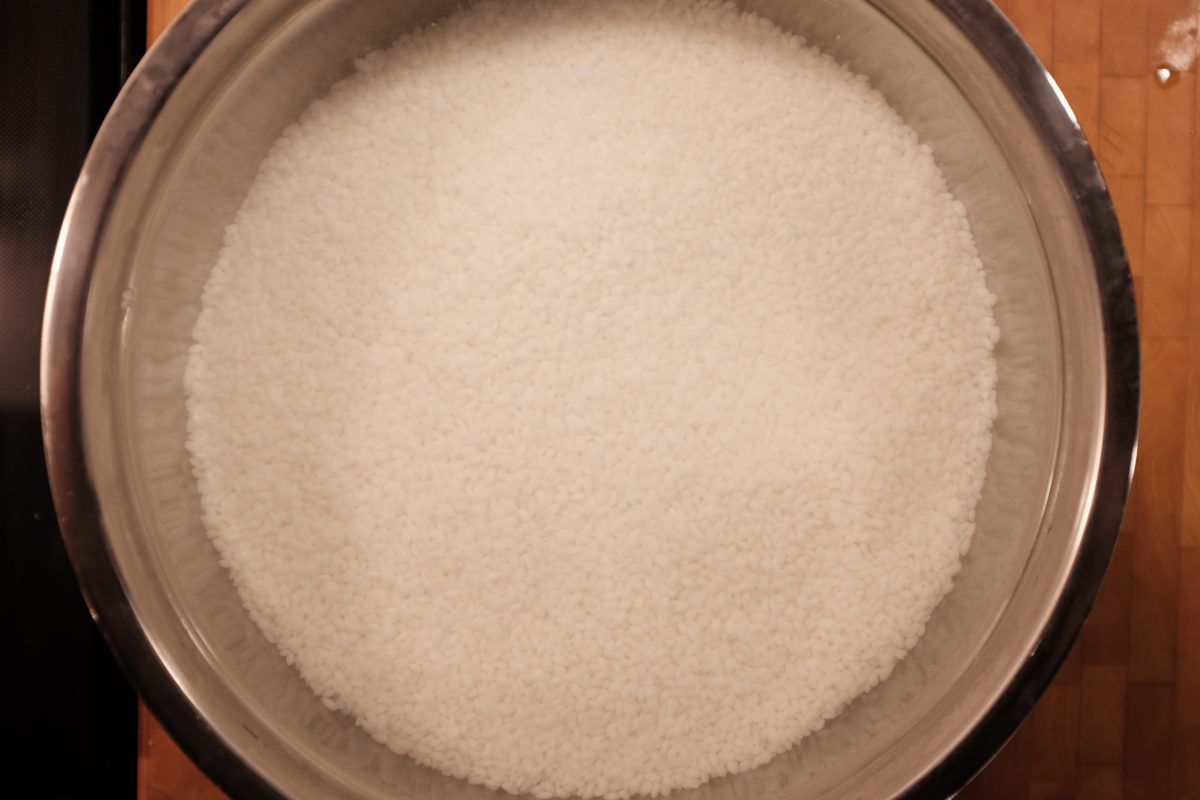
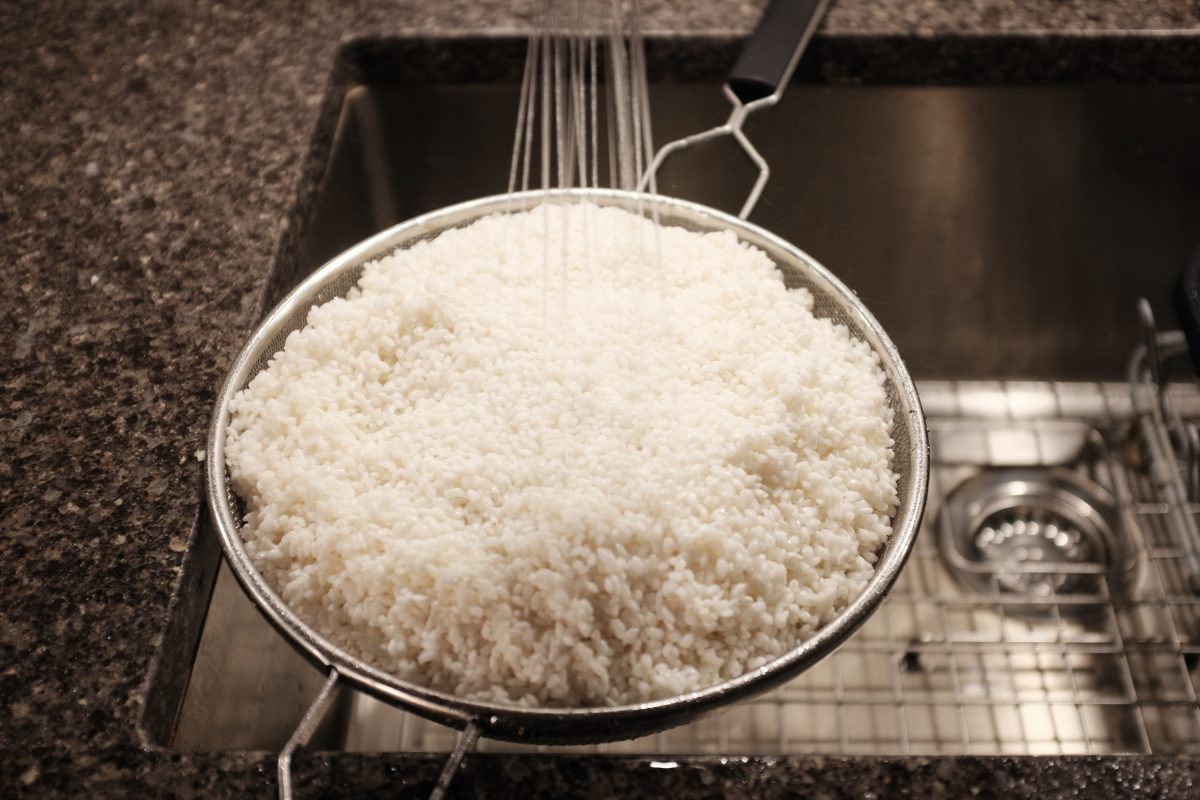
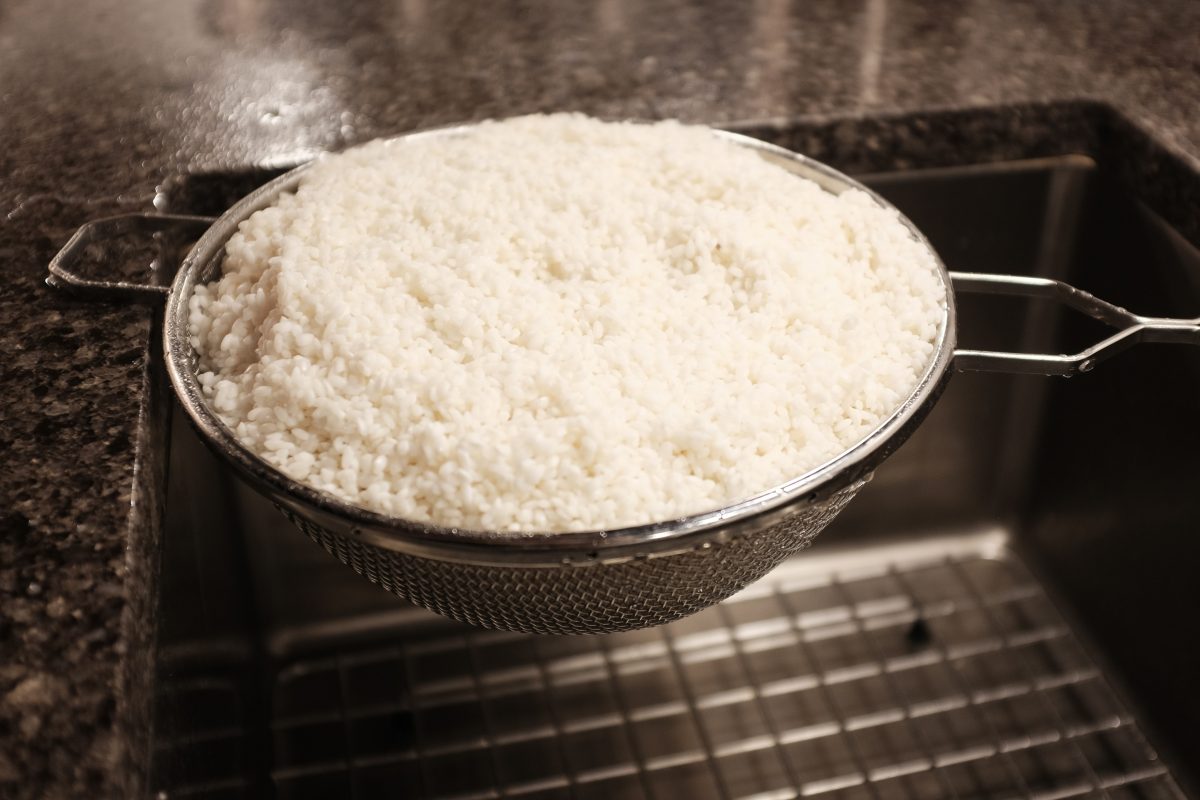
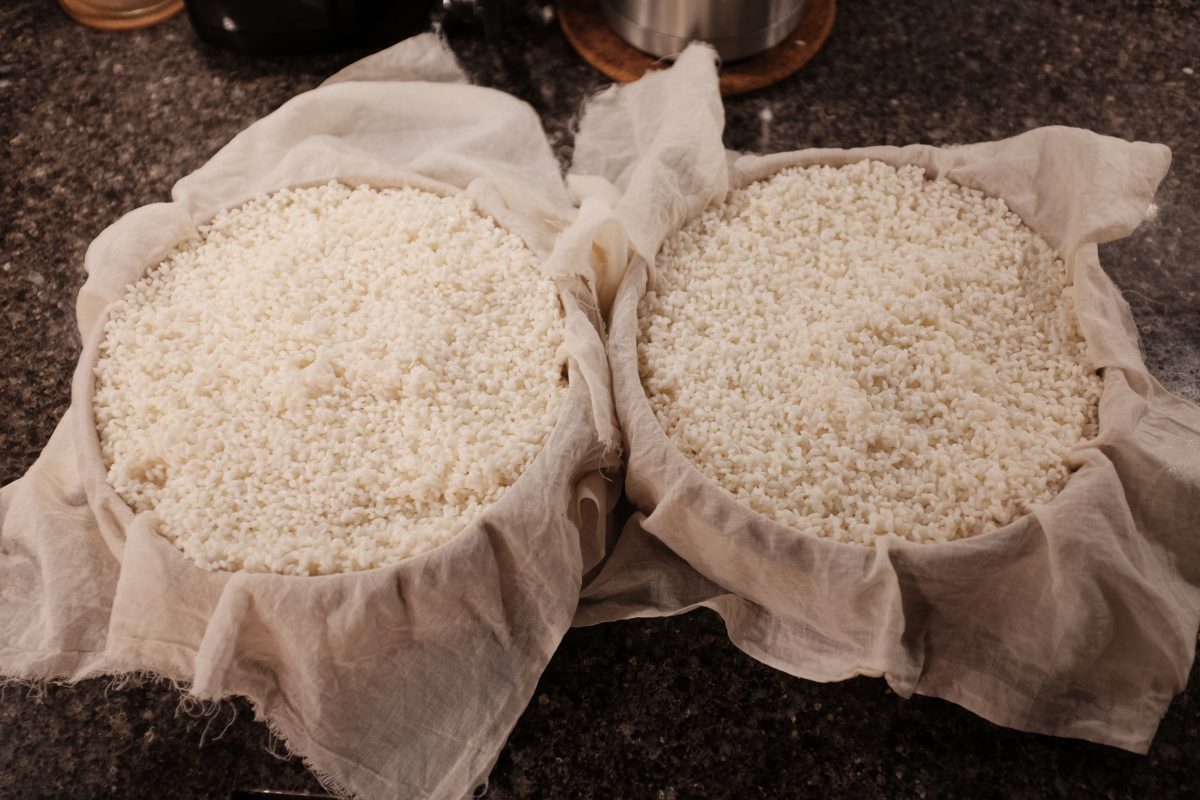
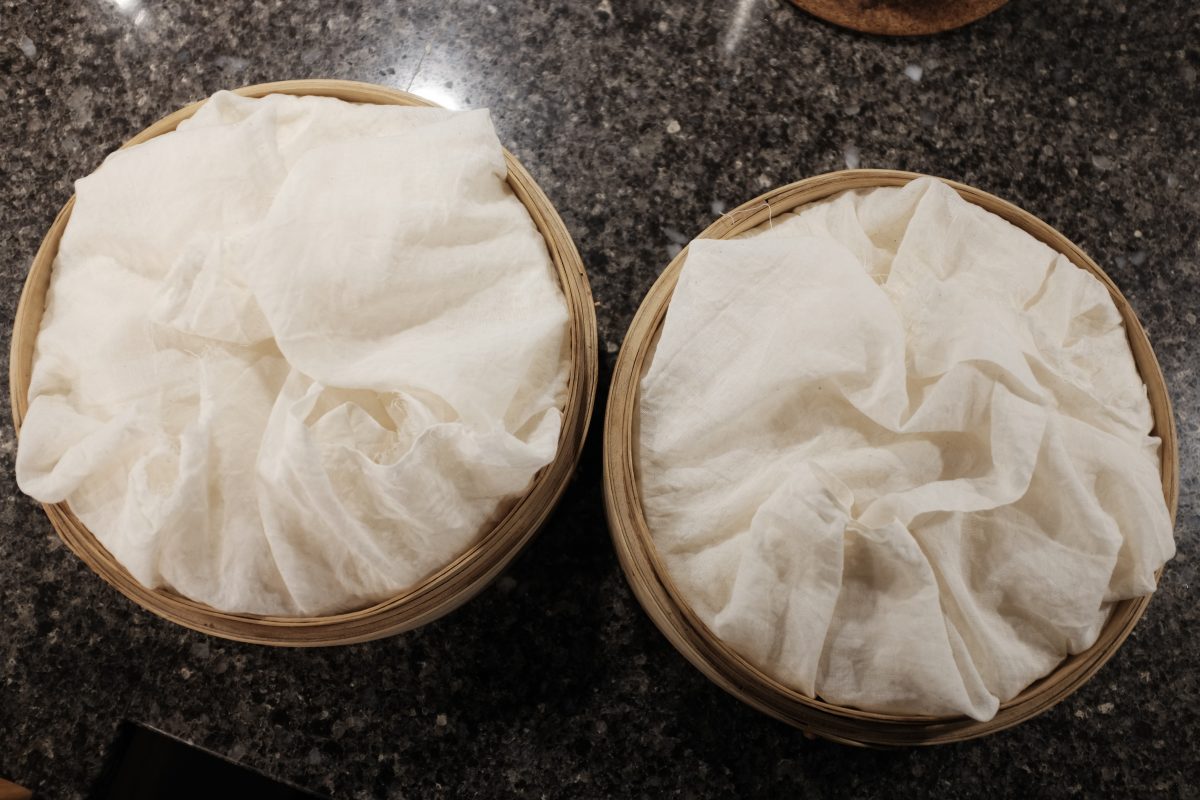
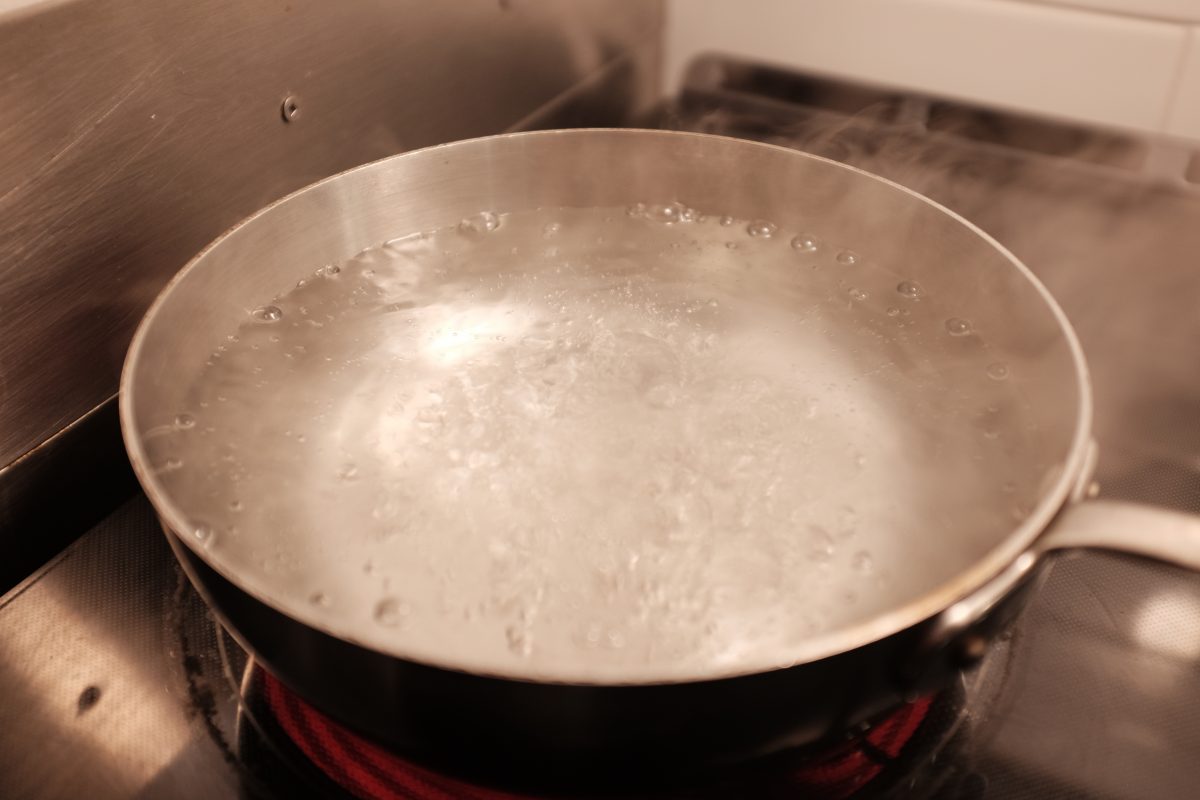
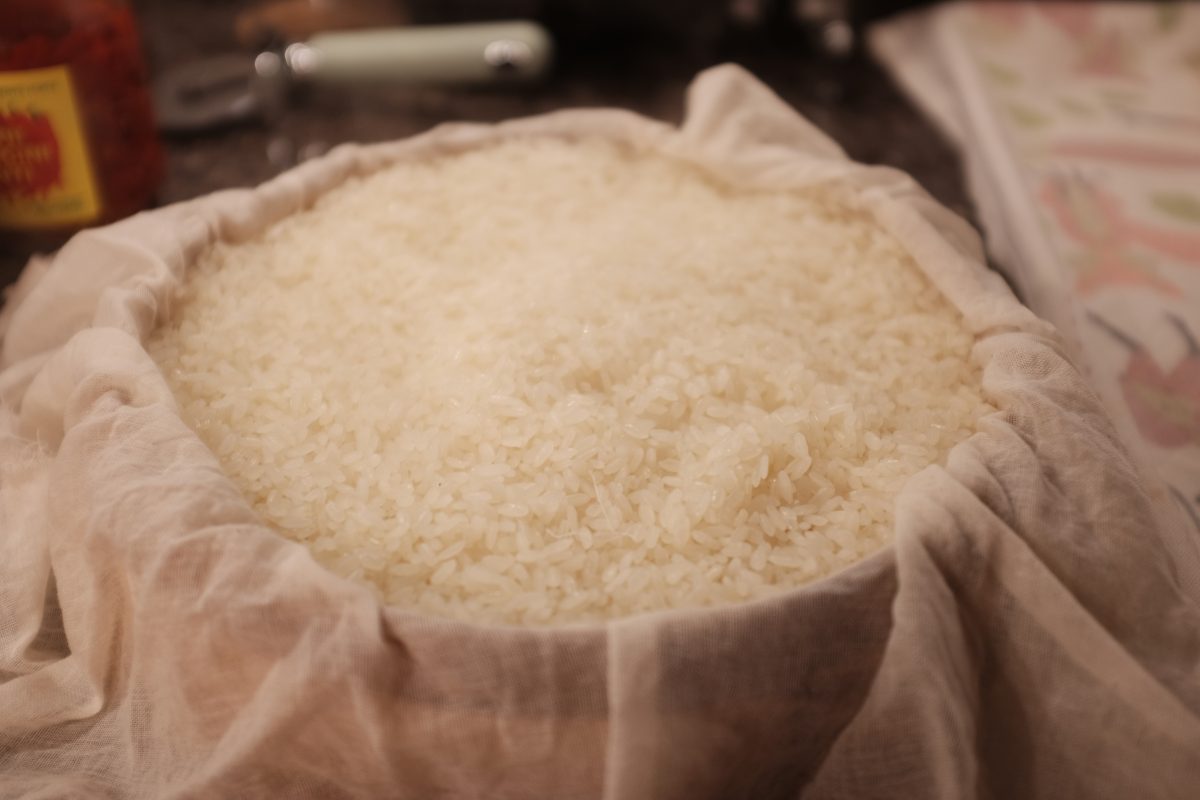
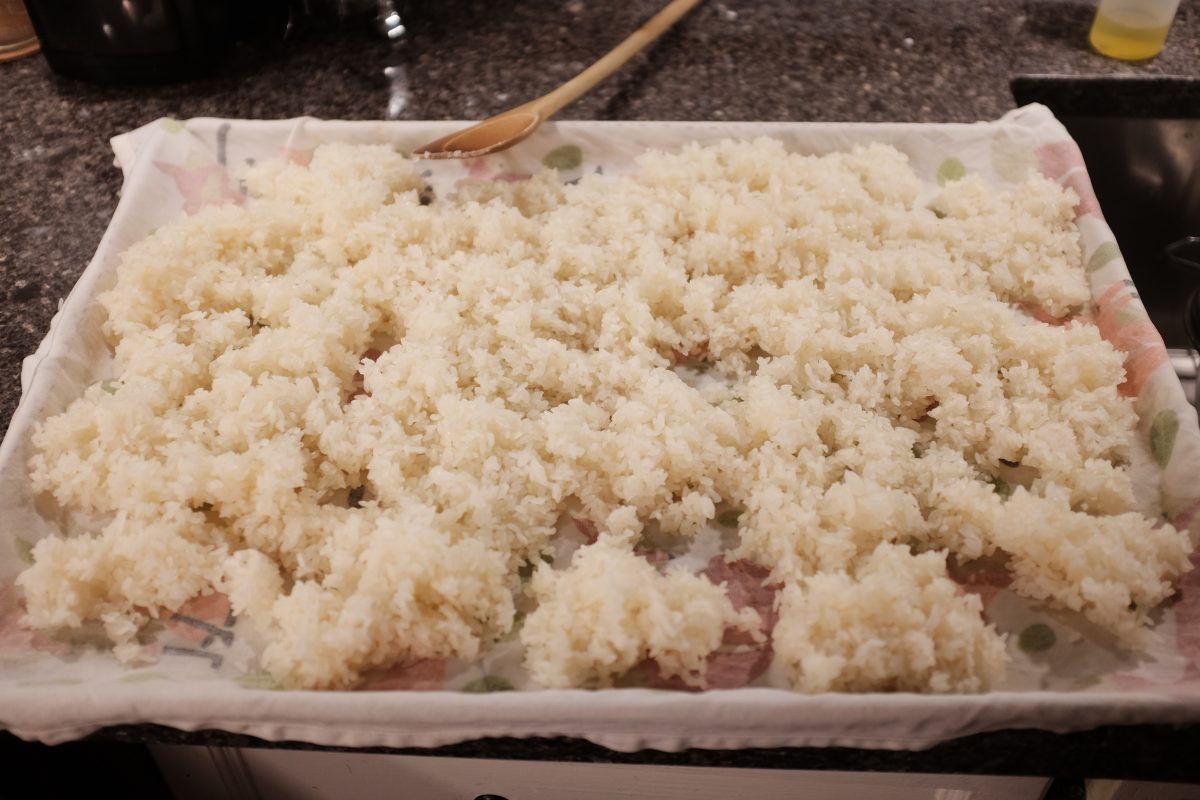
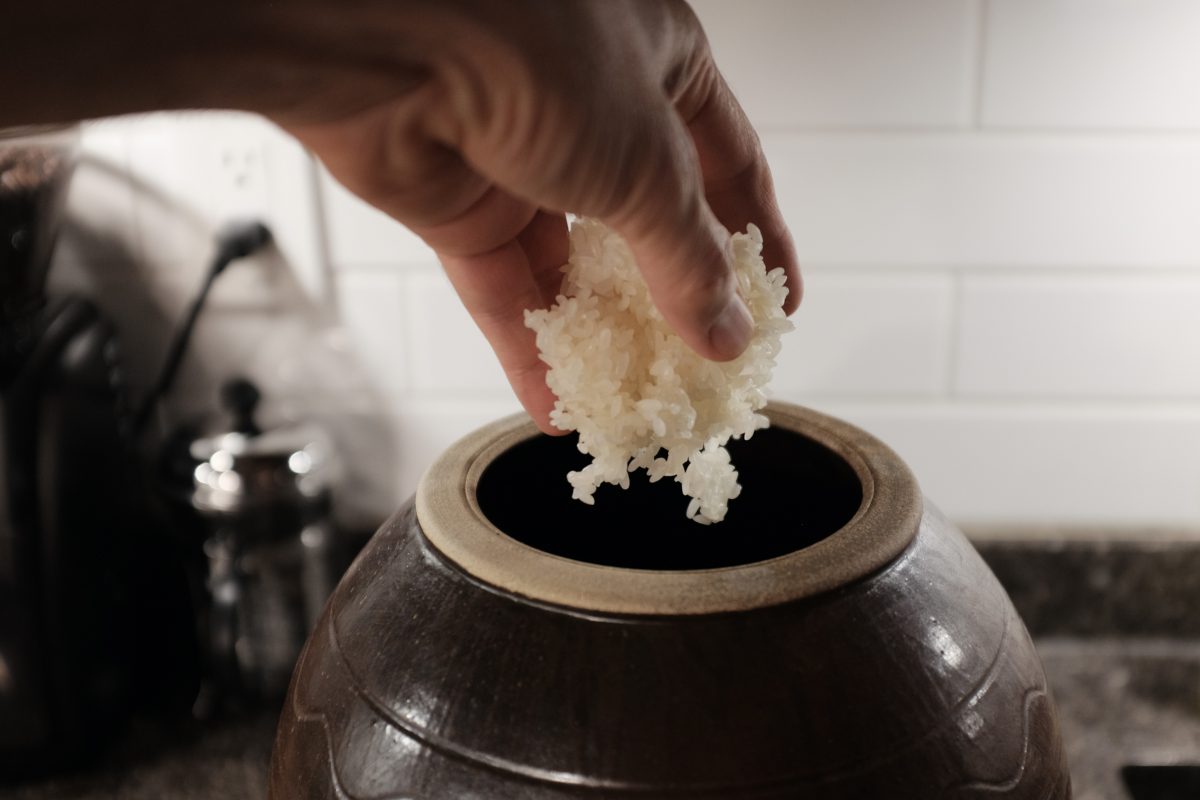
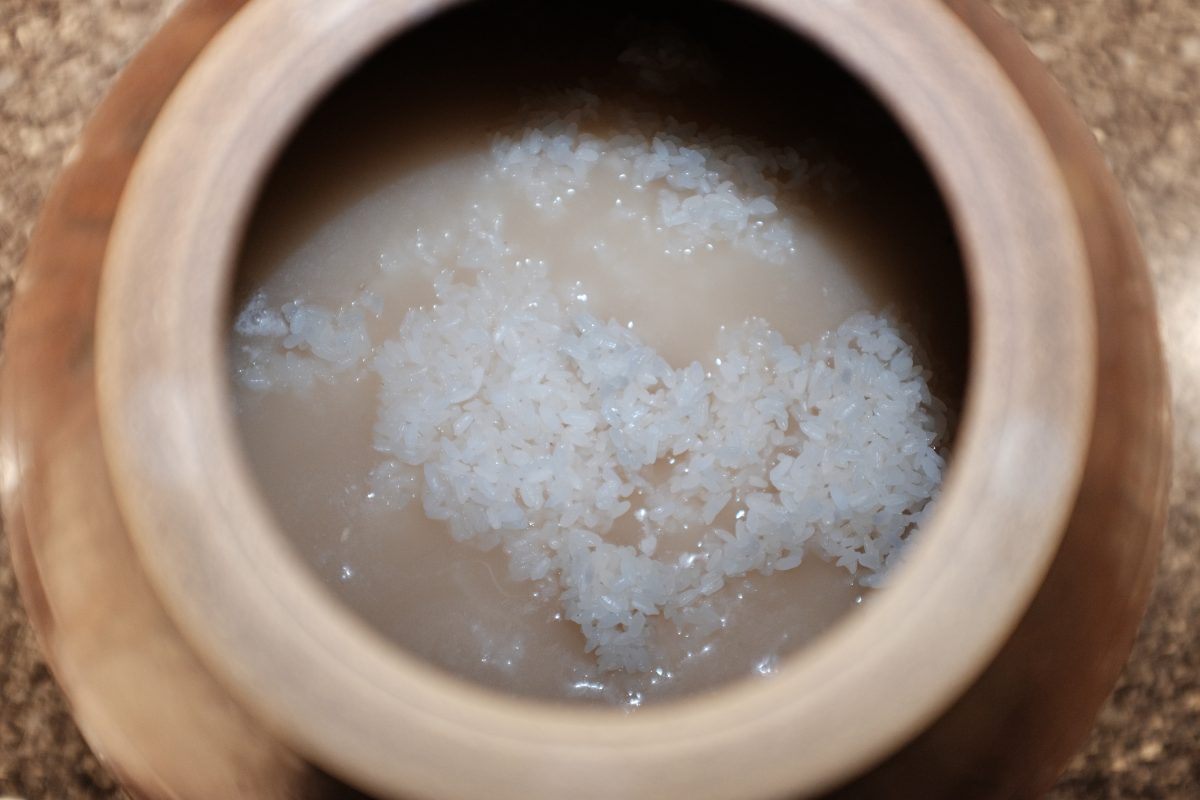
In this stage we will wash, soak, drain, steam and cool our 2kg of sweet rice. And, afterwards, we will add it to our fermenting container.
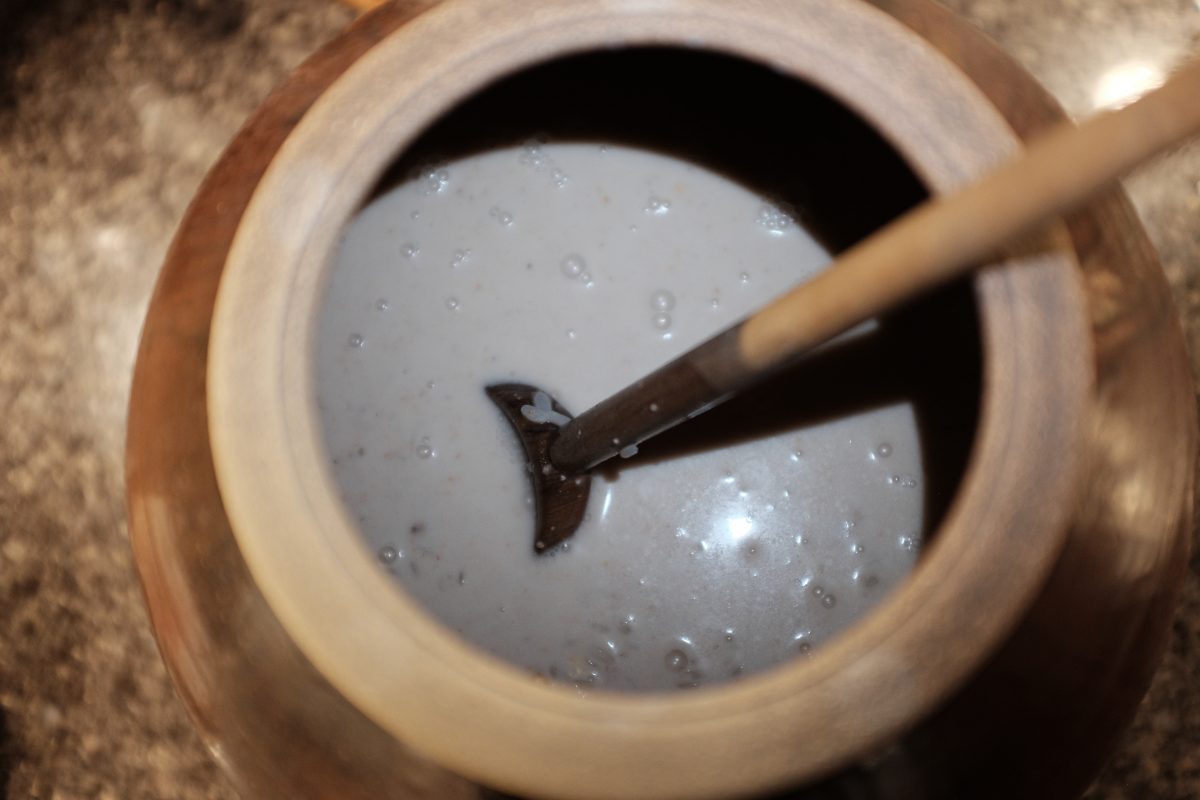
Stage 2, Day 1
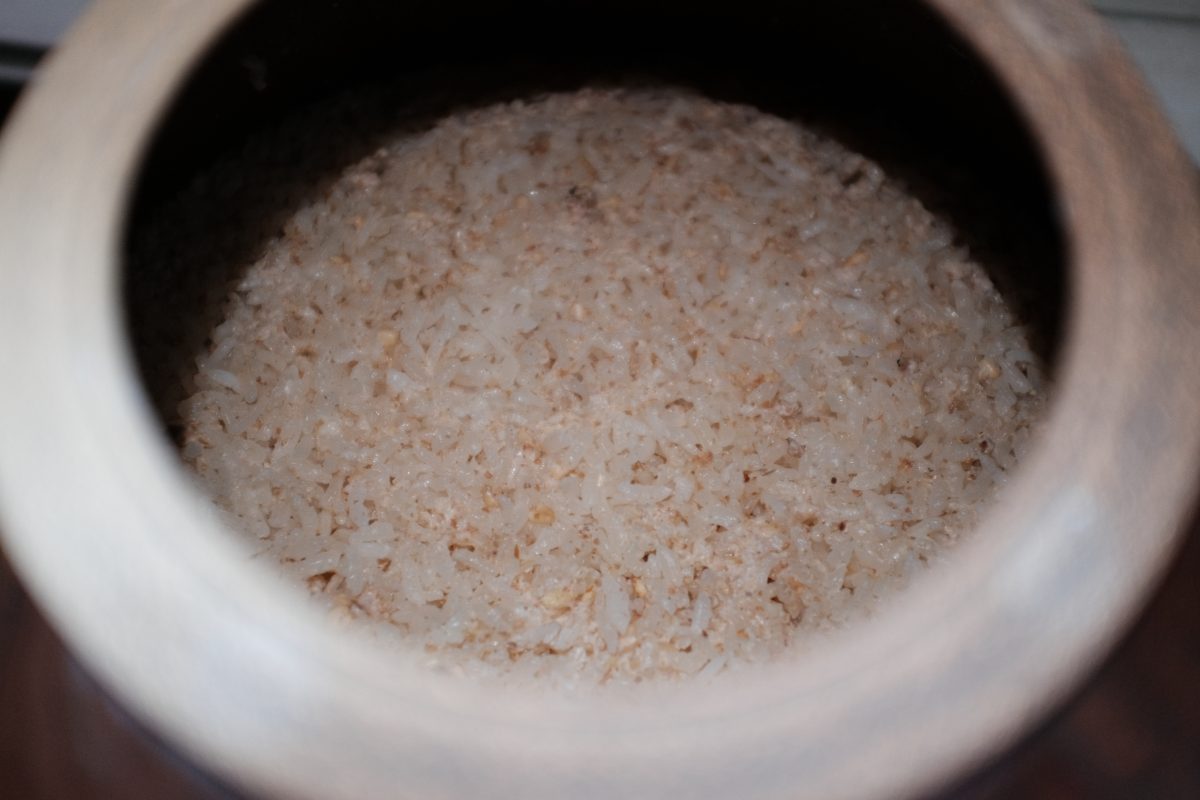
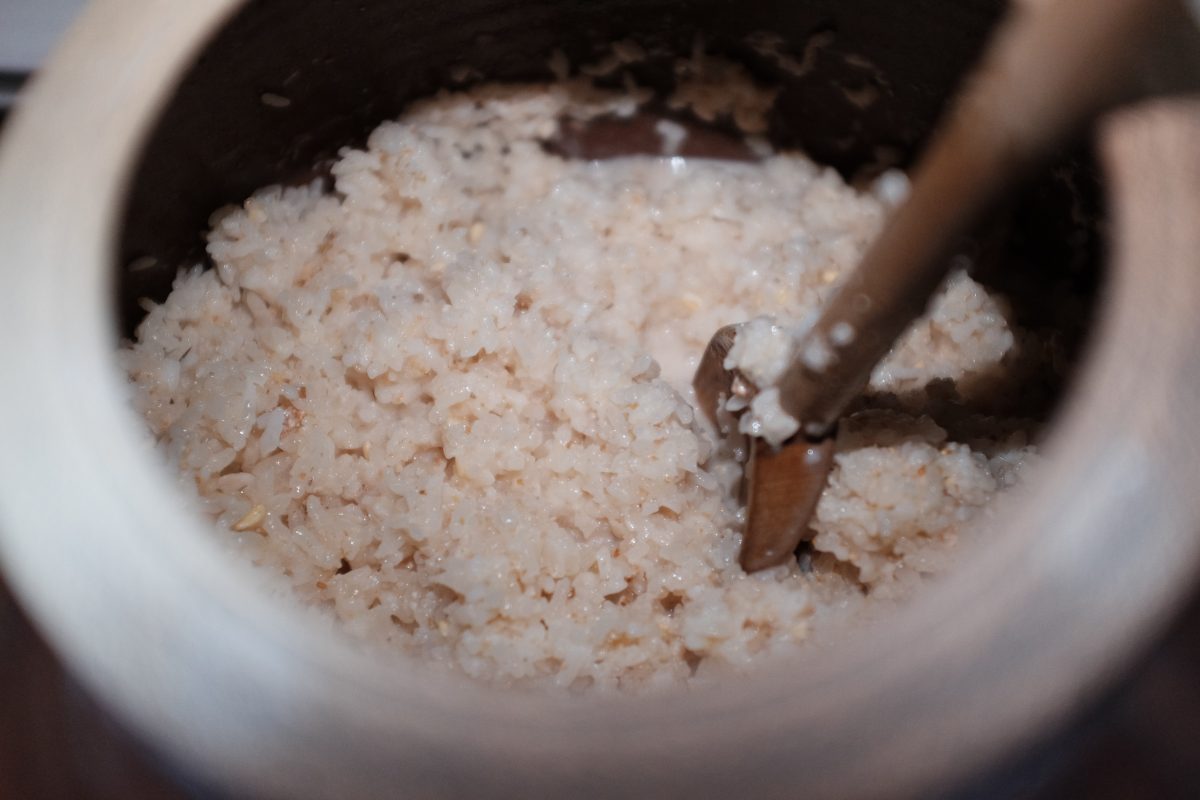
Stage 2, Day 2
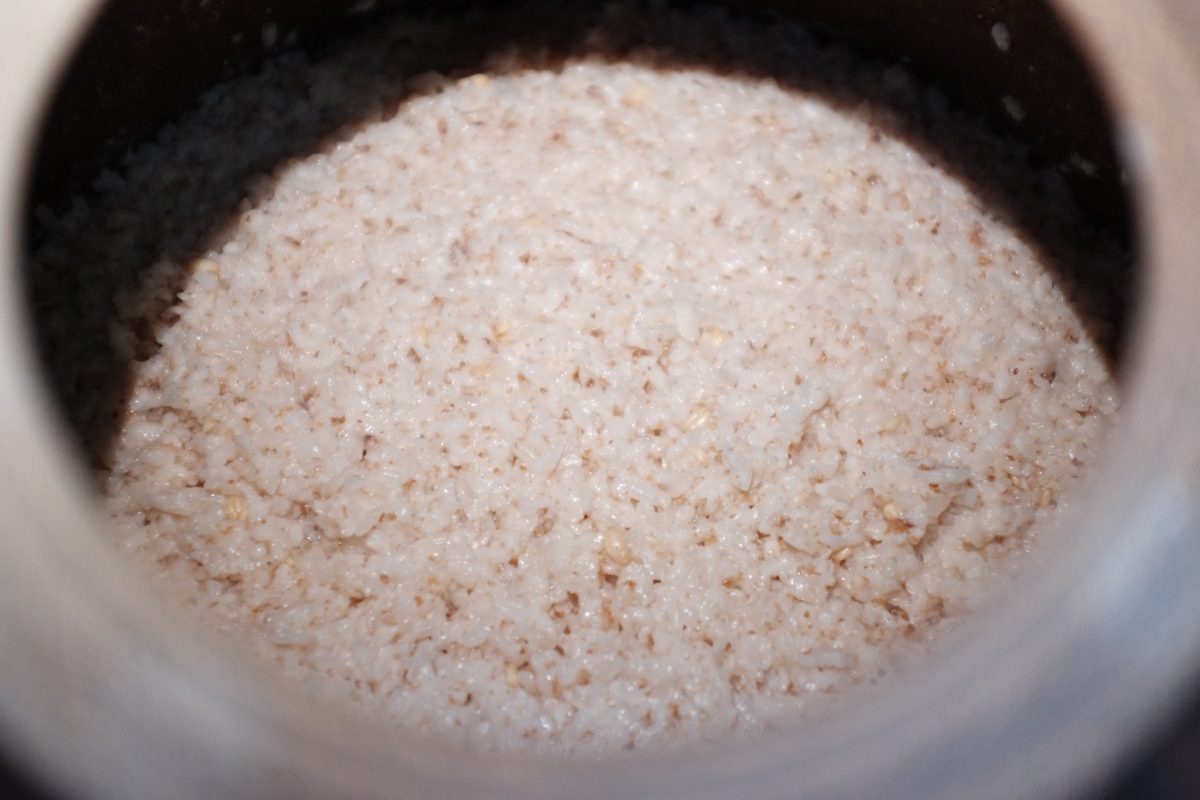
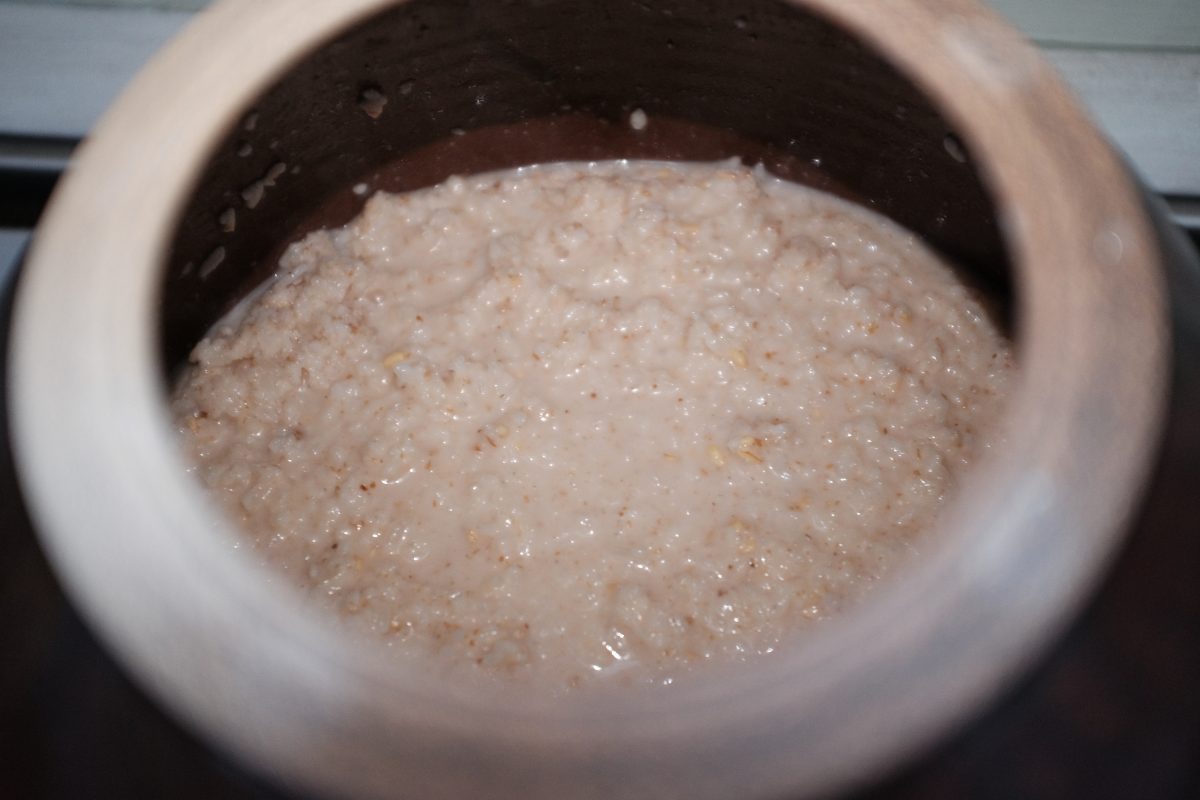
Stage 2, Day 3
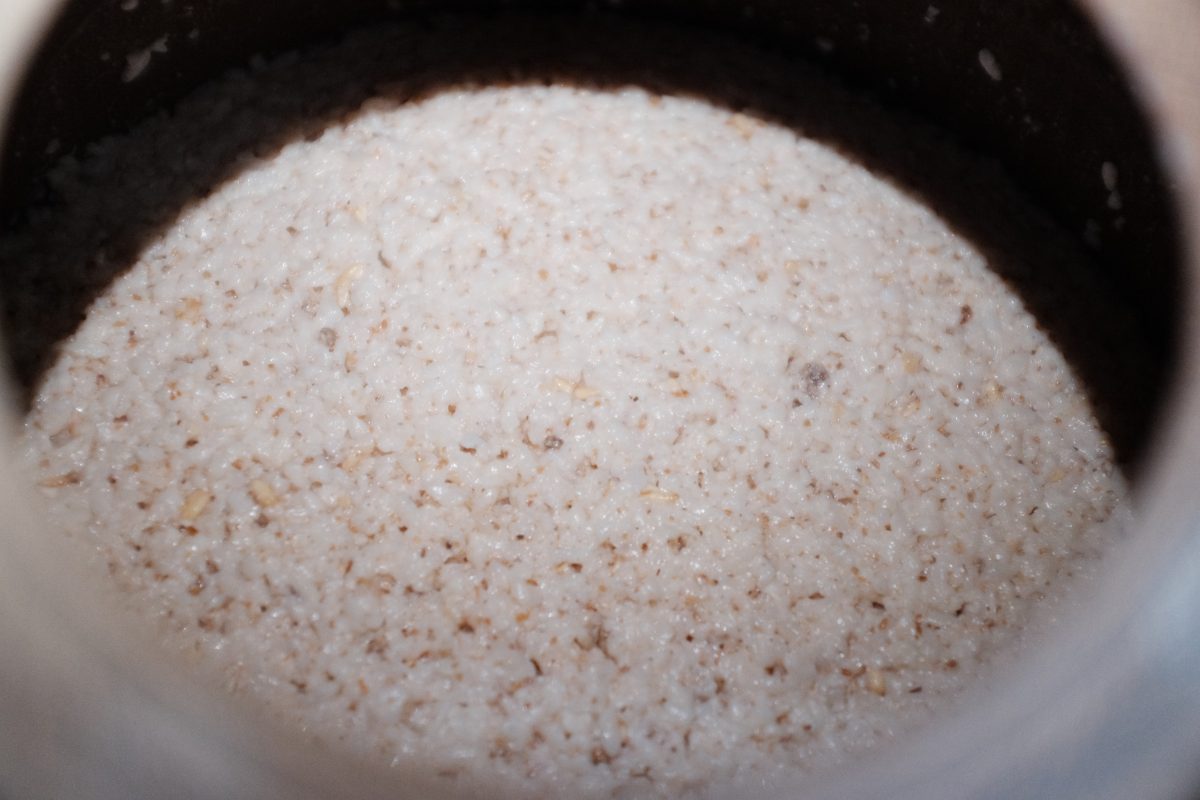
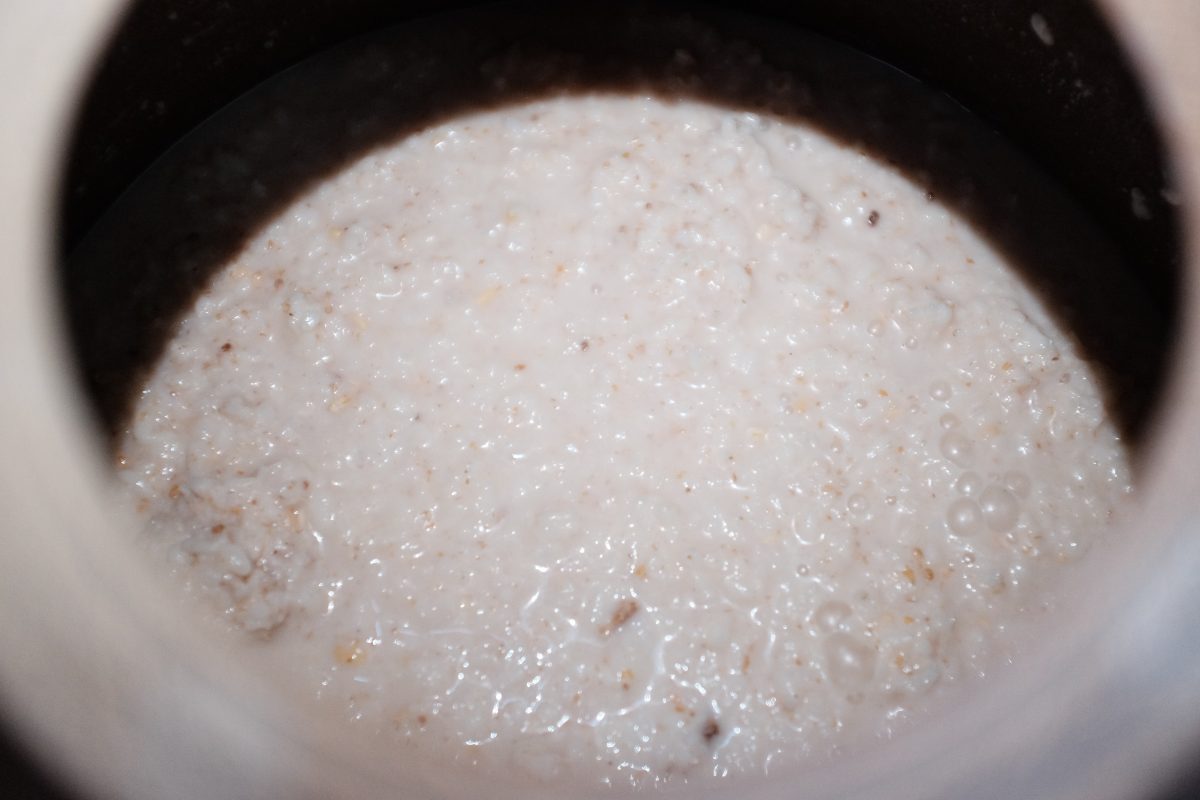
Now we wait
For the next 2 to 3 weeks or so, open up the jar every few days and listen for activity and monitor any changes on the surface. Smell it and taste it for alcohol strength by sticking a spoon or chopstick into the mix.
The Match Test
By lowering a lit match into your container, you can get a visual cue for how much fermentation is going on. An actively fermenting brew will give off carbon dioxide. This will snuff a match quickly. The brew below is around 10 days into Stage 2. The match test shows that it is still actively producing CO2. The match goes out as soon as it gets past the rim of the jar. Eventually, as fermentation slows, you should be able to lower a match right to the surface without it going out.
This is just a fun measure of how active the fermentation is.
Stage 2: 2 weeks after adding rice
The brew is starting to have a nice boozy sweet smell. There is a thin shiny layer of liquid forming on top of the rice mash.
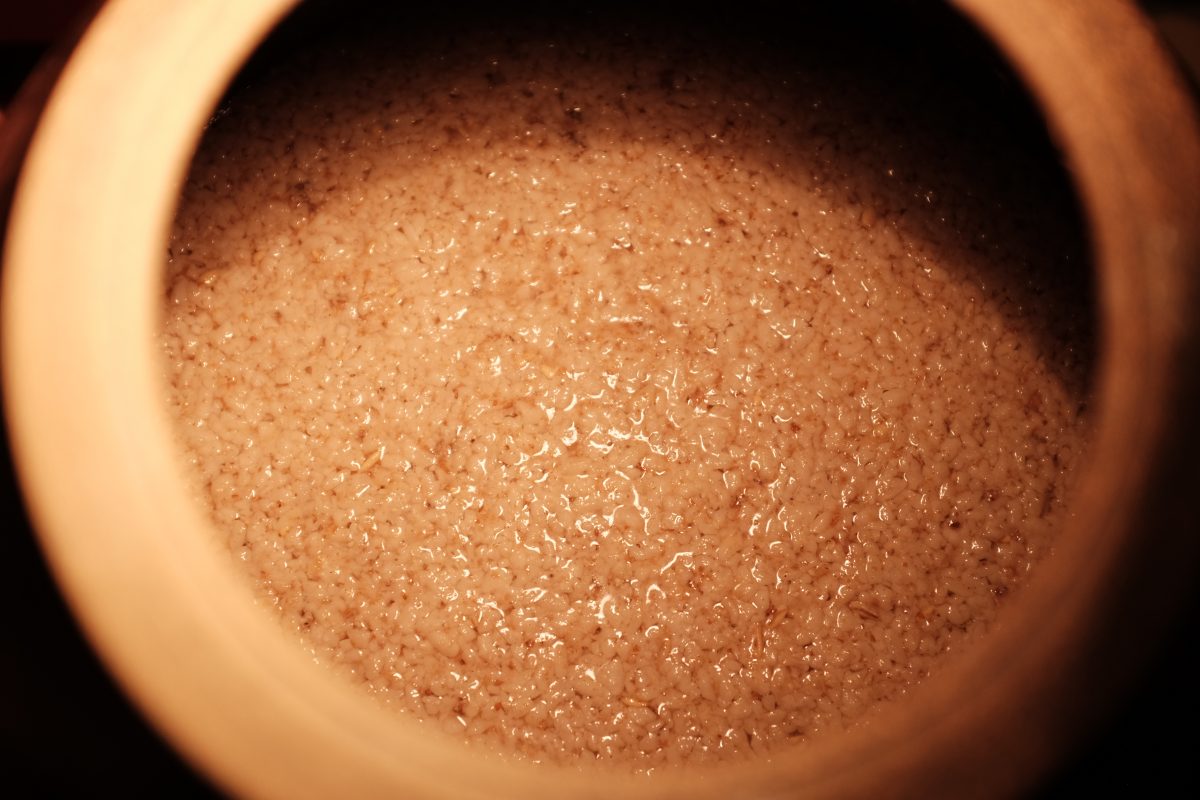
Brew is showing signs of being done
We are now 18 days into Stage 2 (3 weeks total fermentation time measured from the start of Stage 1). The bubbling has practically stopped with very little activity (not enough to even get one bubble during a 10 second sound recording). The brew smells and tastes of alcohol. Compared to a few days ago, there is now a very clear layer of liquid on top.
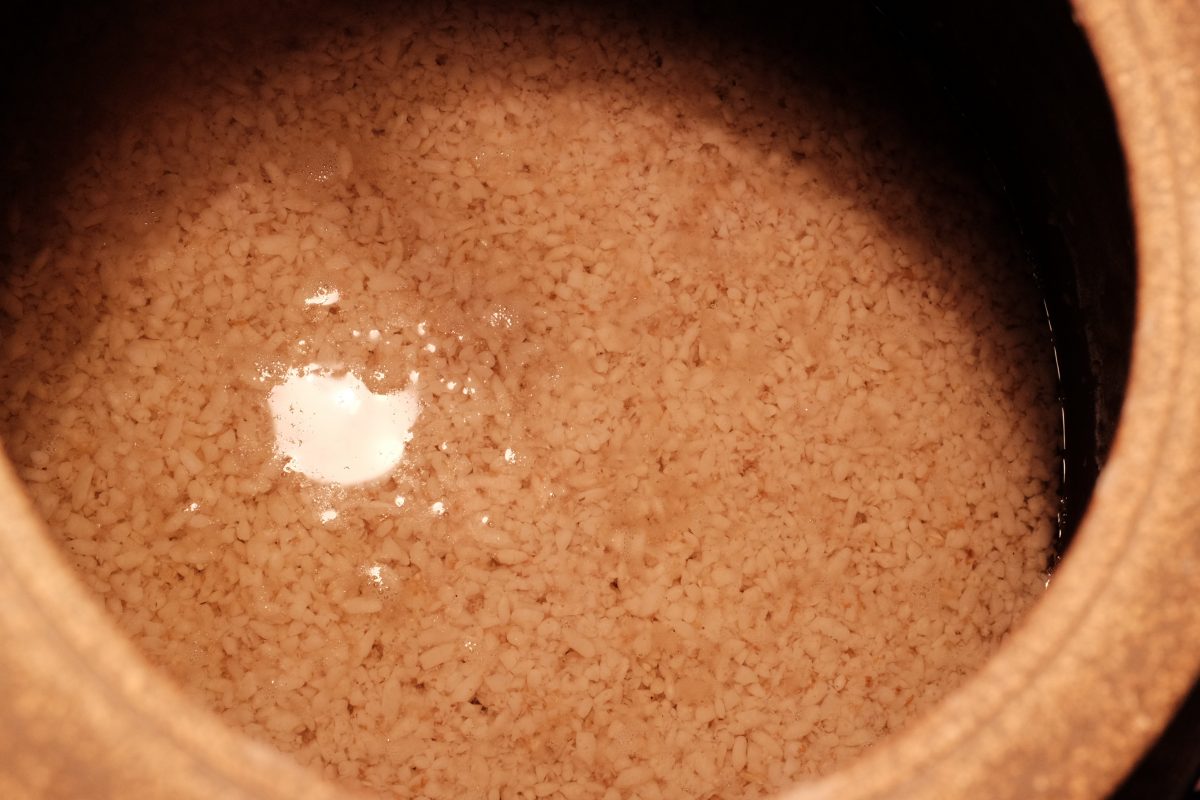
The Match Test Take 2
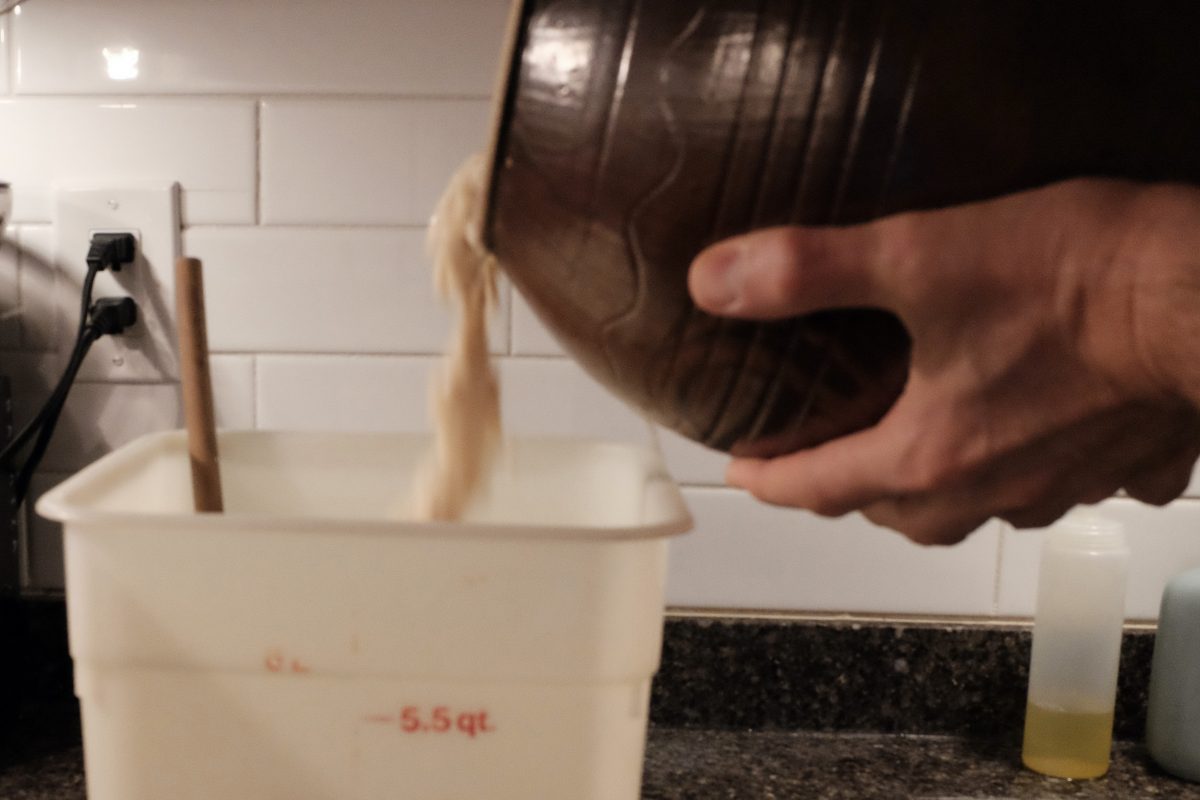
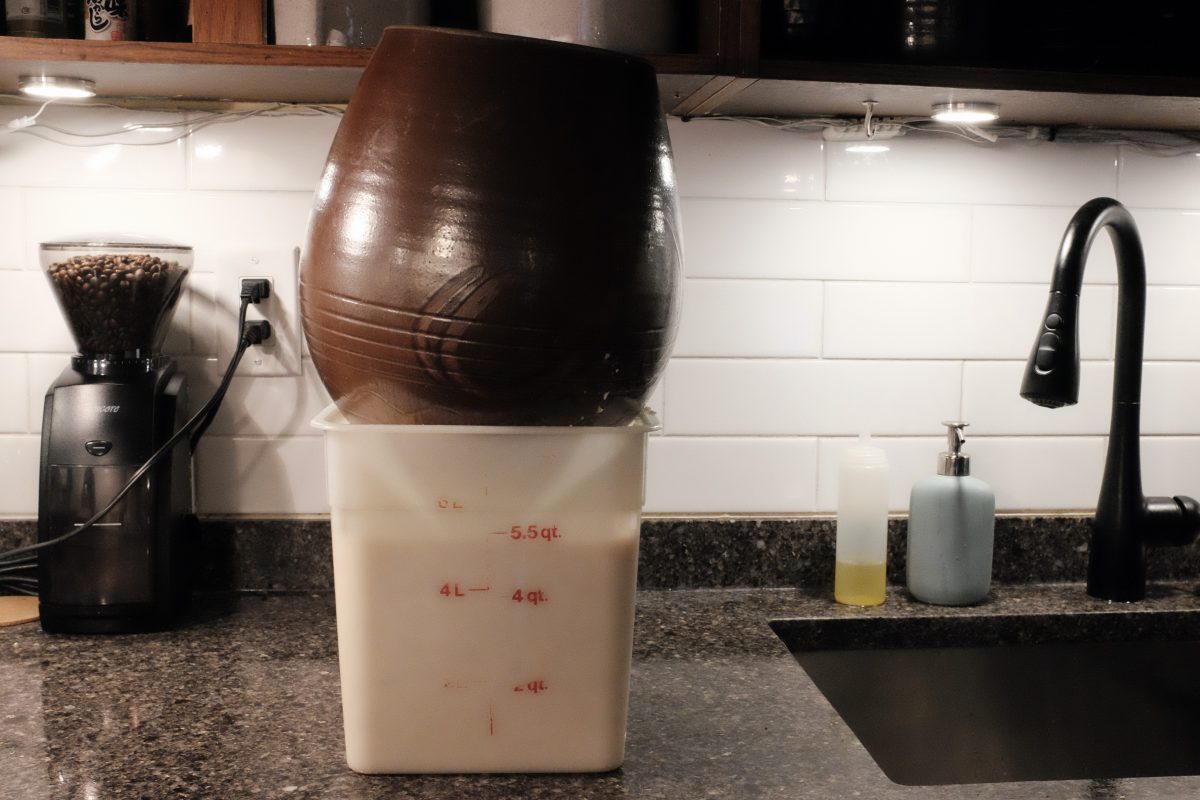
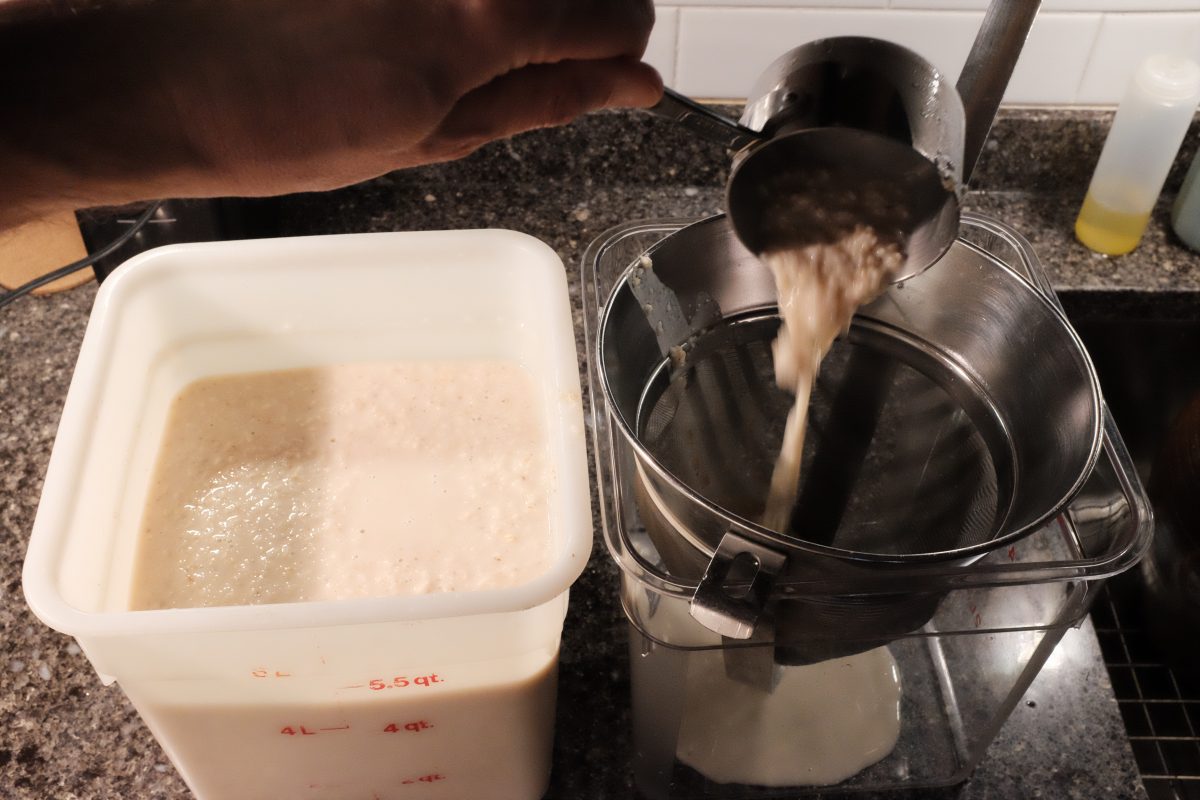
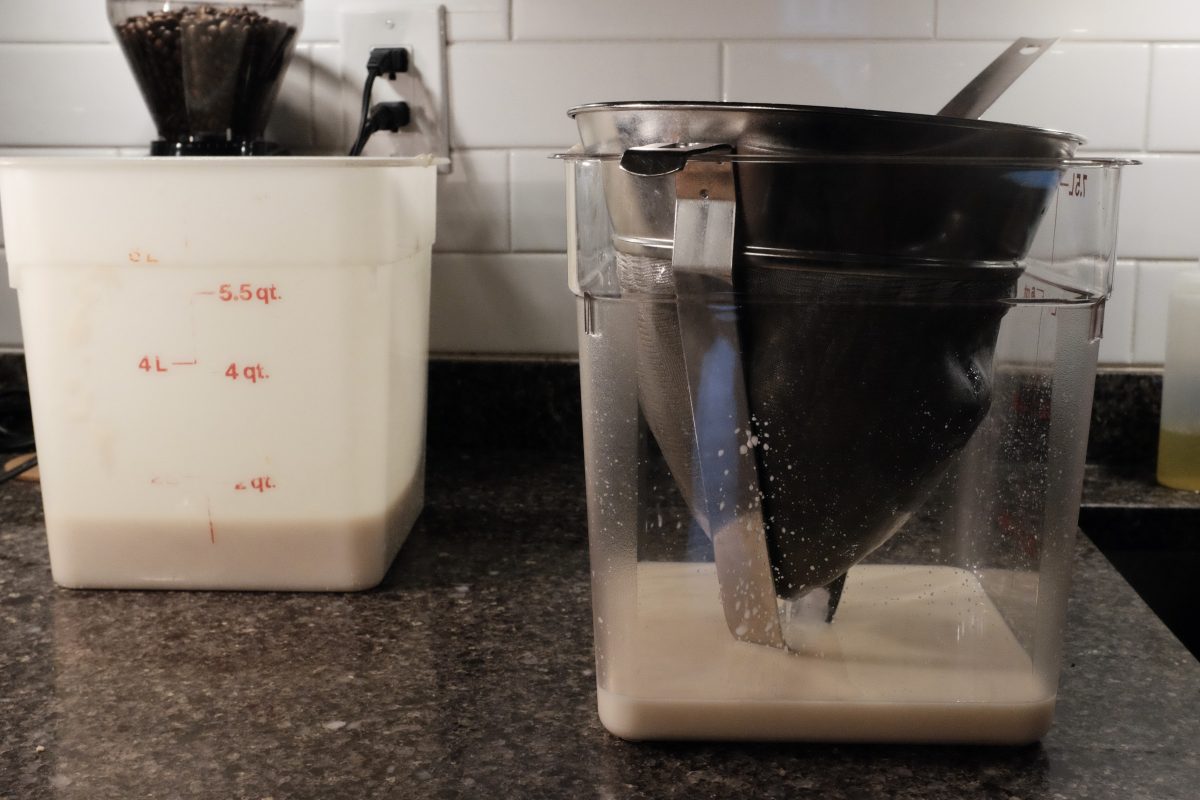
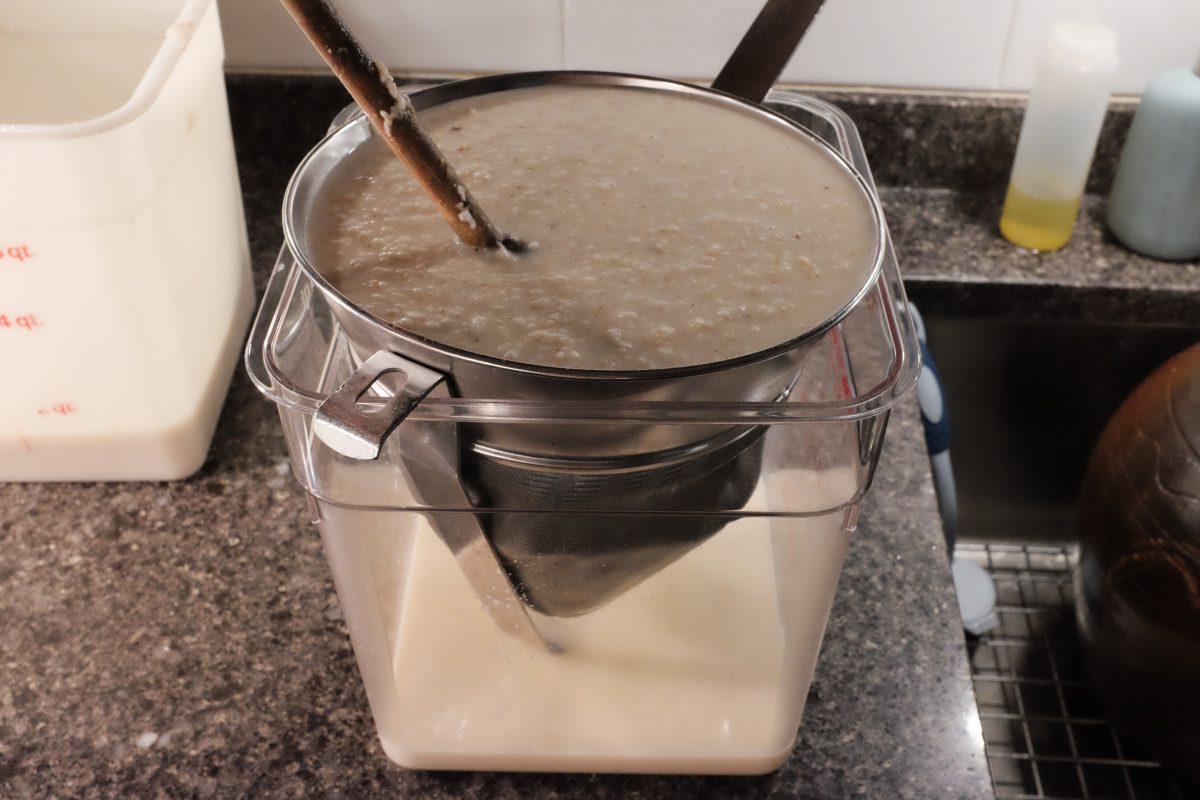
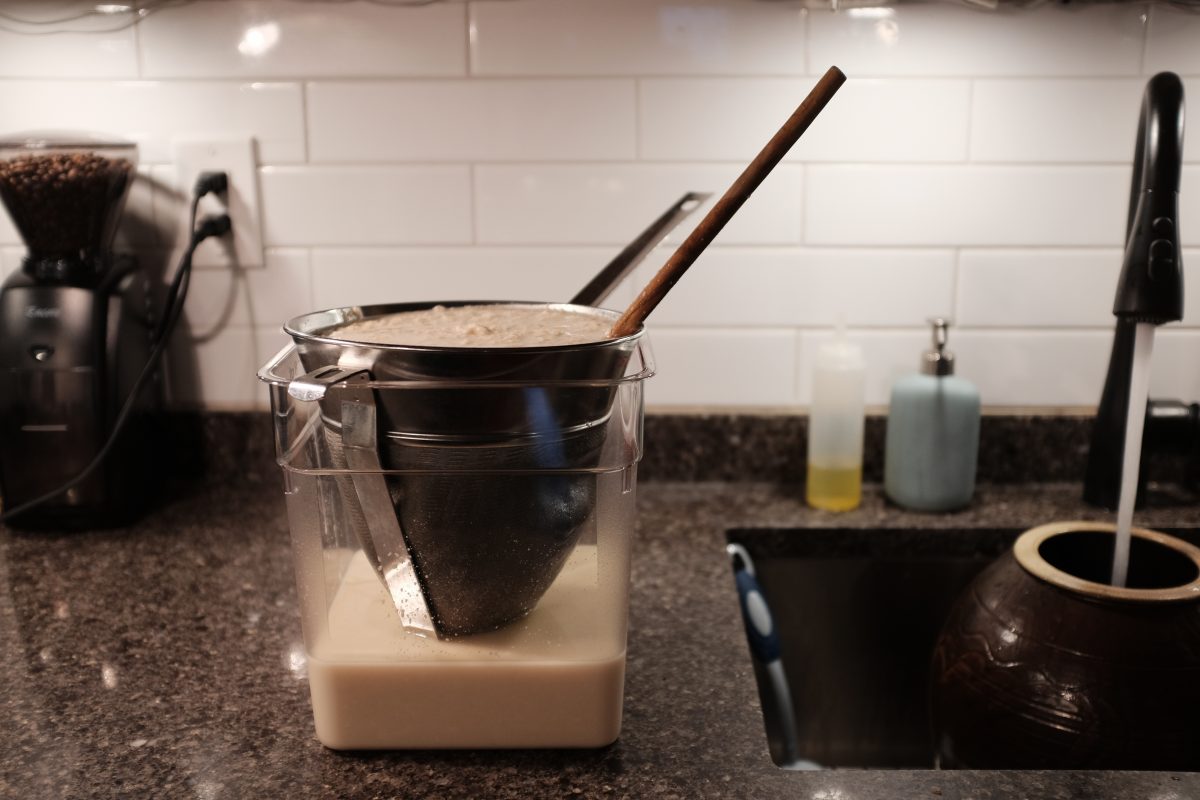
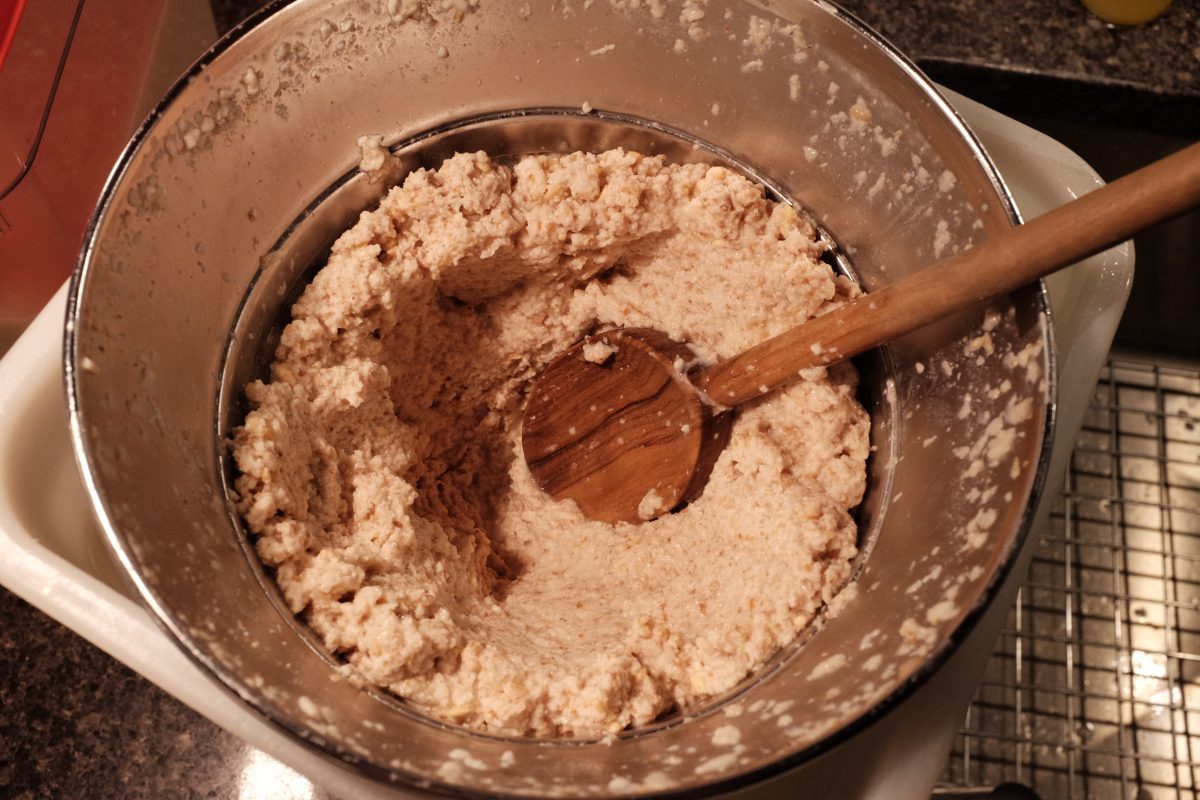
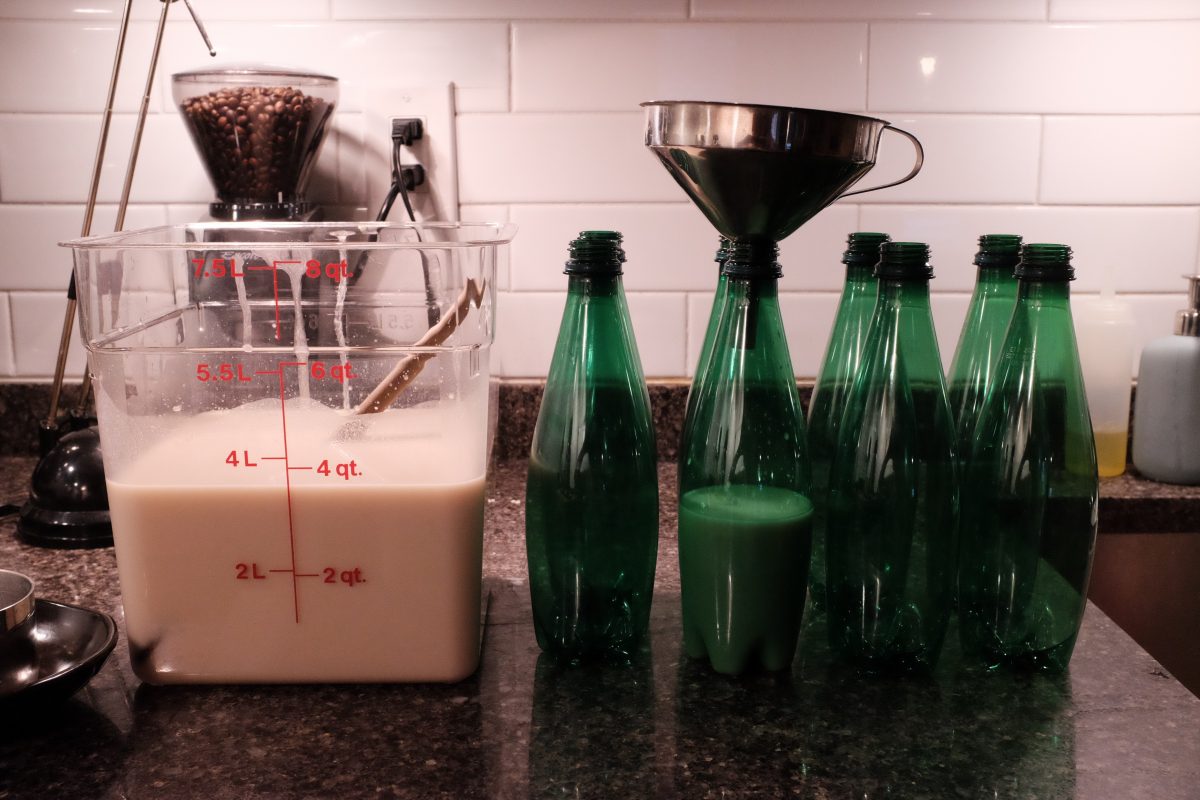
Filtering the brew
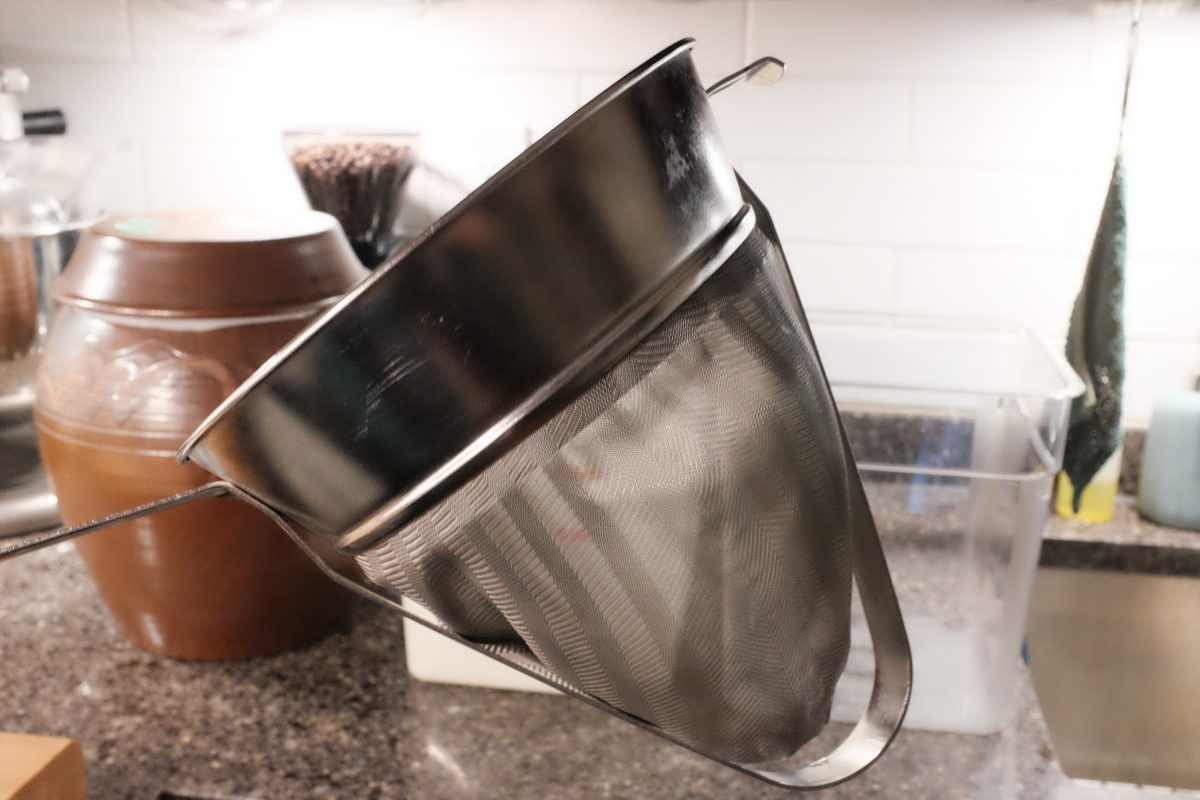
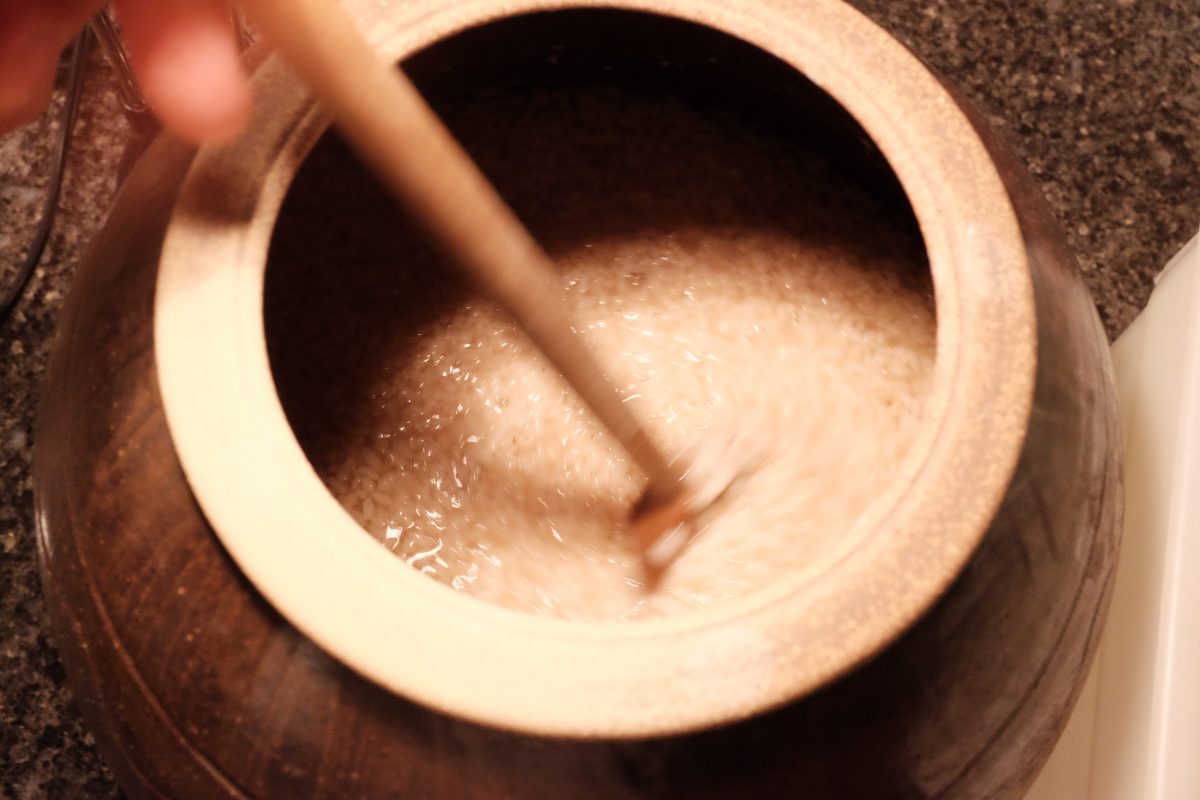
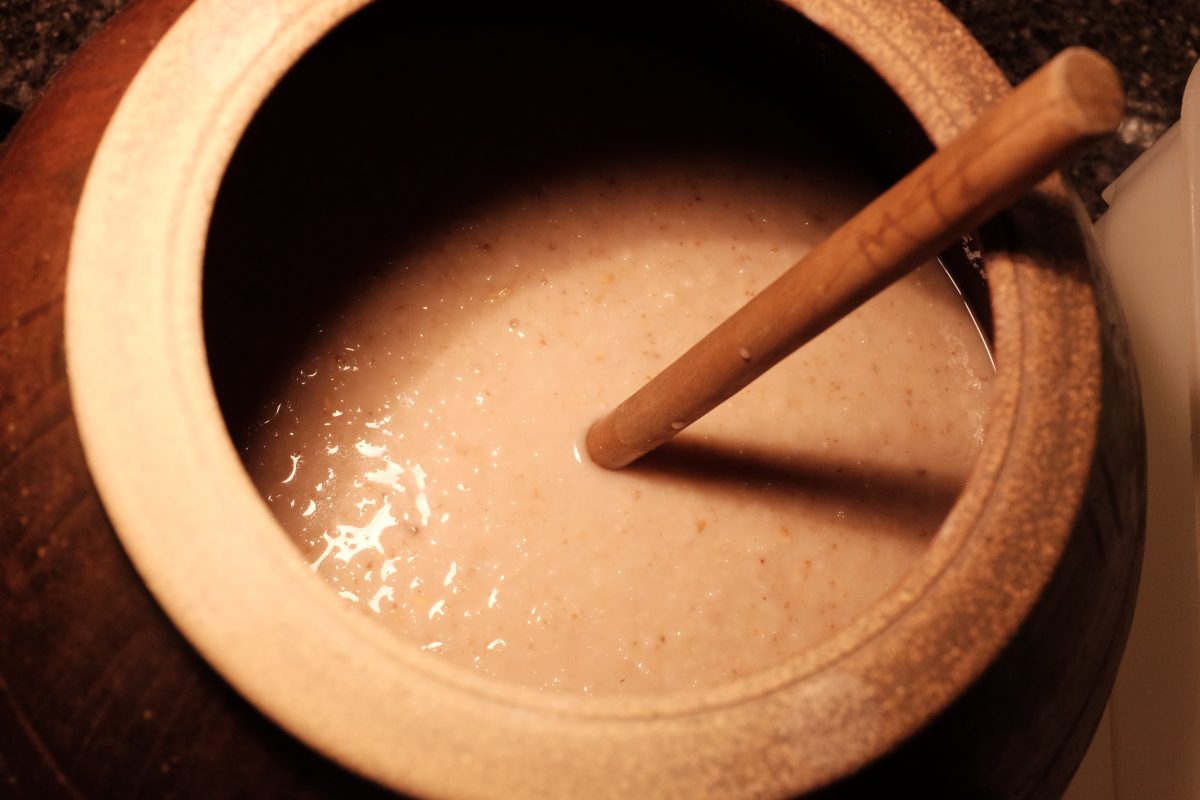
Terminology around nuruk-fermented rice alcohol and how to enjoy your brew:
Depending on a few different factors, there a few different categories of rice alcohol. Without going into a lot of detail, here is a basic list:
- Makgeolli: sedimented brew with less than 10% alcohol
- Takju: sedimented brew with more than 10% alcohol
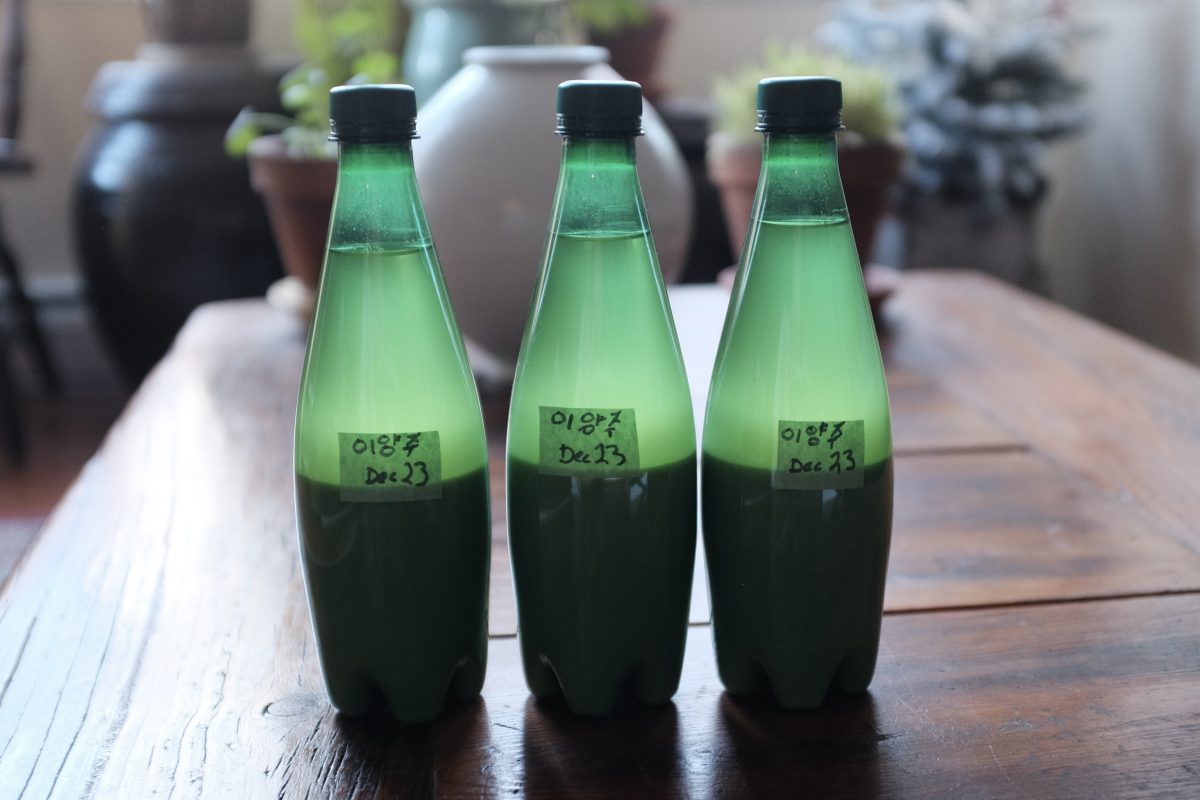
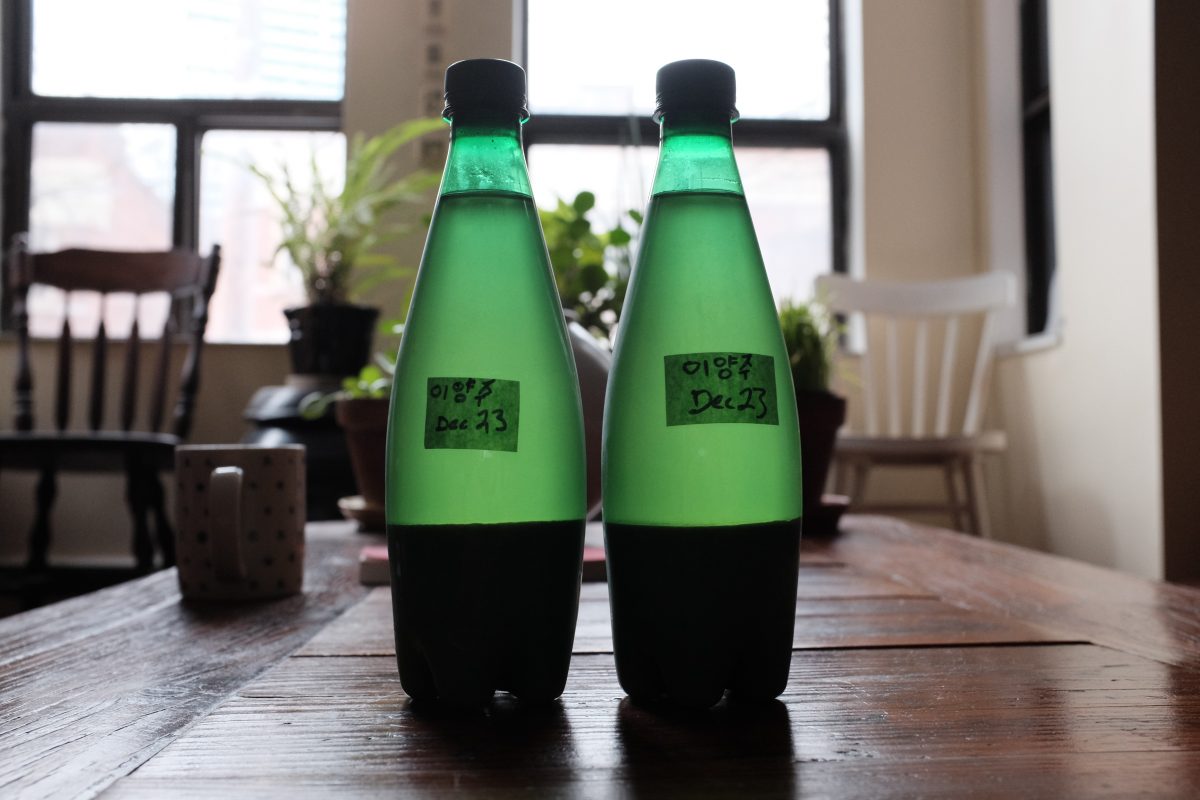
- Yakju: clarified rice brew (the clear top layer in the above picture)
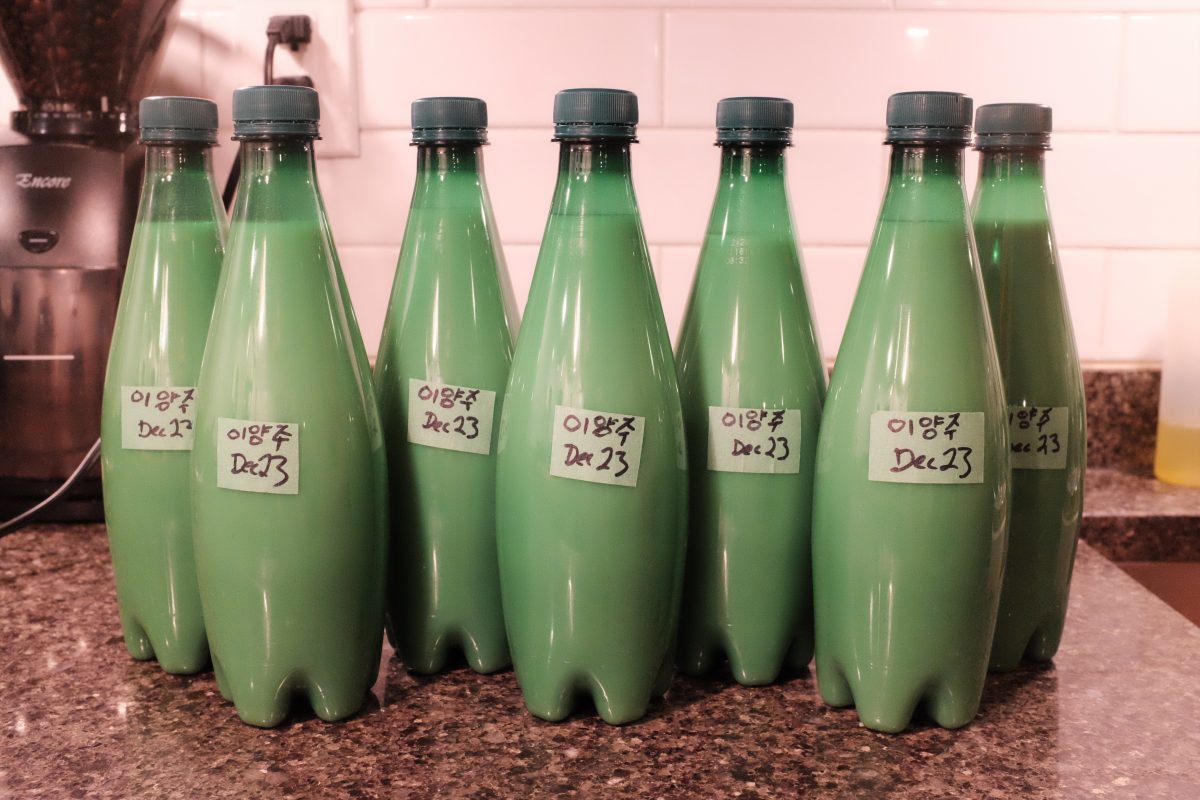
Our two-stage brew, long-fermented in a cool environment will almost certainly have more than 10% alcohol by volume. This means that it is a “Takju” and I think it is best to drink it as is. Gently turn the bottle over a few times to distribute the sediment and enjoy.
If you leave the bottles to rest, after a week or so, all of the sediment will settle to the bottom and there will be a very clear sediment-free layer on top. This is “Yakju”. You can pour it off slowly so as not to disturb the sediment and enjoy just the clear alcohol on it’s own. You can also pour it off, rebottle only the clear layer and age it indefinitely. It will change and develop new flavours over time.
If you pour off the Yakju, and dilute the sediment with fresh water, you will end up with a weaker drink in the under 10% alcohol range: this is Makgeolli. OR..you can also dilute your Takju with water to lighten it up and bring the alcohol concentration down…this would also be Makgeolli.
If I want something really refreshing and thirst quenching to drink with spicy food, I will often dilute my Takju with sparkling water. The brew is lighter and slightly fizzy and the flavours open up in a little different way…similar to the way an ice cube or a little water affects Scotch whiskey.
Commercial Makgeolli:
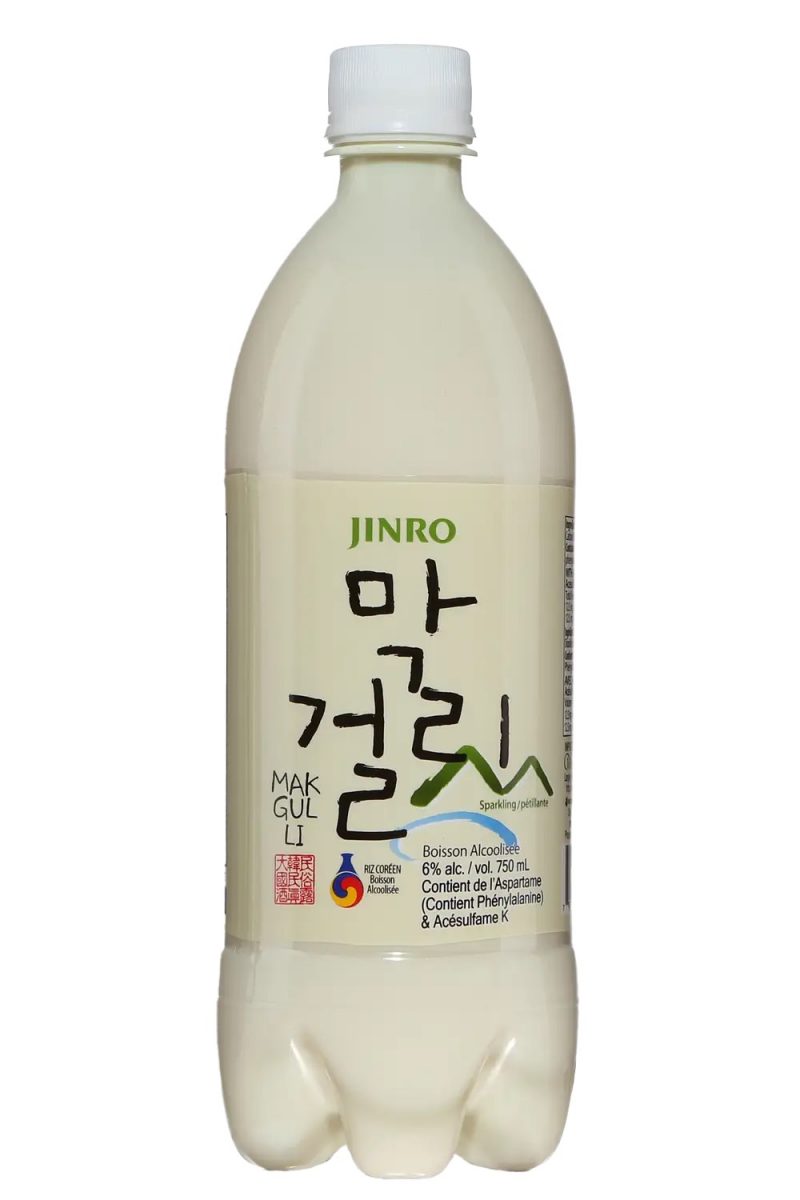
You have probably seen plastic bottles of commercial makgeolli at your local liquor store or in convenience stores in Korea. This cheap and tasty drink has it’s own charm but it does not have that much in common with a traditionally fermented brew like we have made. This commercial Makgeolli is usually fizzy, watery, has very low alcohol content and it surprisingly sweet, almost like a soda. It is sweetened with aspartame to make it more palatable and to prevent further fermentation in the bottle (and pressure related accidents while it is transported).
In contrast, our home brew has little to no fizz, a much higher alcohol content and is not especially sweet. In fact, it will lean closer to the dry and tart side with complex rice-y, boozy flavours and a thick creamy mouthfeel. You will taste and feel the alcohol very quickly. It is delicious! And, it is unlike anything else. Korean rice alcohol is entirely it’s own thing and it is next to impossible to compare it to any other brew.
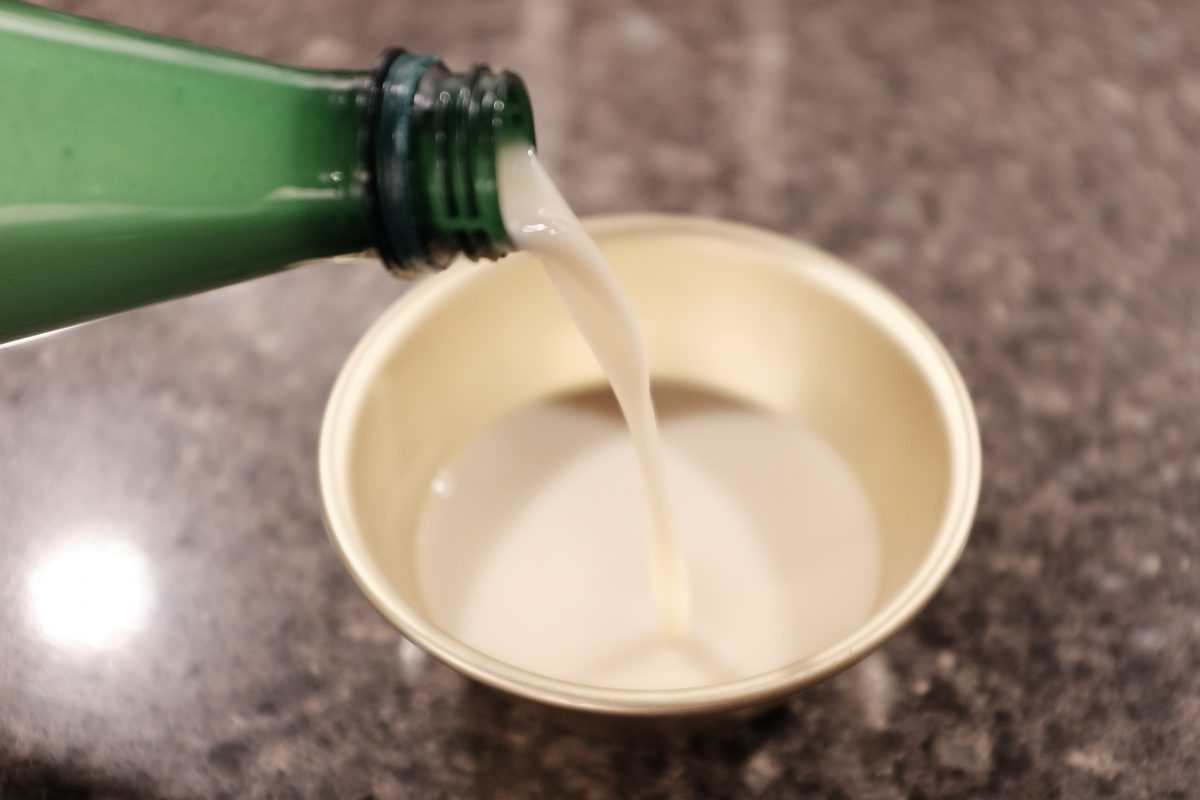
Commercial brewers making traditional Korean sool
Over the last 5 years or so, some commercial brewers of traditional Korean sool have emerged. The first in the US was Hana Makgeolli, founded by Alice Jun. Alice and her team have produced a range of small-batch rice brews ranging from traditional Takju to, most recently, a potent full-strength Soju 60. I have linked a video below of Alice explaining the range of traditional Korean sools as well as Hana Makgeolli’s current offerings.
It was probably close to 10 years ago that I had the pleasure of meeting Alice in New York City when she was still developing recipes in her Brooklyn apartment. I got to sample an early brew “under the table” over Poke-bowls at a Manhattan SunriseMart. To this day, it is still one of my best New York experiences! Alice is one of the loveliest and most generous people I have met and she has a deep understanding of Korean rice alcohol, learning first-hand as a child helping her dad with traditional home brews. I highly recommend having a look at the above video for a comprehensive Sool School and if you are lucky enough to be able to try Alice’s brews in person, don’t hesitate to visit her shop and brewery.
As always, if you have any questions, comments or suggestions, please leave them below. If you try this recipe and like the results, please let me know. I hope you enjoy making your own rice brew as much as I do. Cheers! : )
If you enjoy the content and would like to contribute towards website maintenance and development, you can make a donation here.
Winter Solstice
The shortest day
December 21st is the shortest day of the year. Daylight shrinks to barely 9 hours with sunrise just before 8 am and sunset just before 5 pm. I know I am not the only one who feels the weight of this time of year. Many people I know seem to enter some kind of seasonal depression, sometimes (but not always) tempered by Christmas festivities.
Toronto is a lovely city for the three warmer seasons but not so much in winter. From now until spring the sun rarely shines and the occasional bright morning inevitably turns to gloom by the afternoon. Most years, there is not much snow in the city and winter temperatures tend to fluctuate above and below the freezing point. Snow quickly melts into salty, grimy pools that later freeze into sheer ice. Sometime in the new year, Toronto enters a deep freeze that lasts anywhere from a few weeks to a couple of months. These cold days can bring sunlight but it doesn’t last for long and the city soon sinks back into murky grey.
When traveling, sometimes people ask me what Toronto winter is like. I am sure they are imagining crisp cold air and bright blue skies meeting a sparkling white horizon. I am always a little sad to tell them that, at least where I live, it is mostly salt crusted dirty streets, grey days and long dark nights.
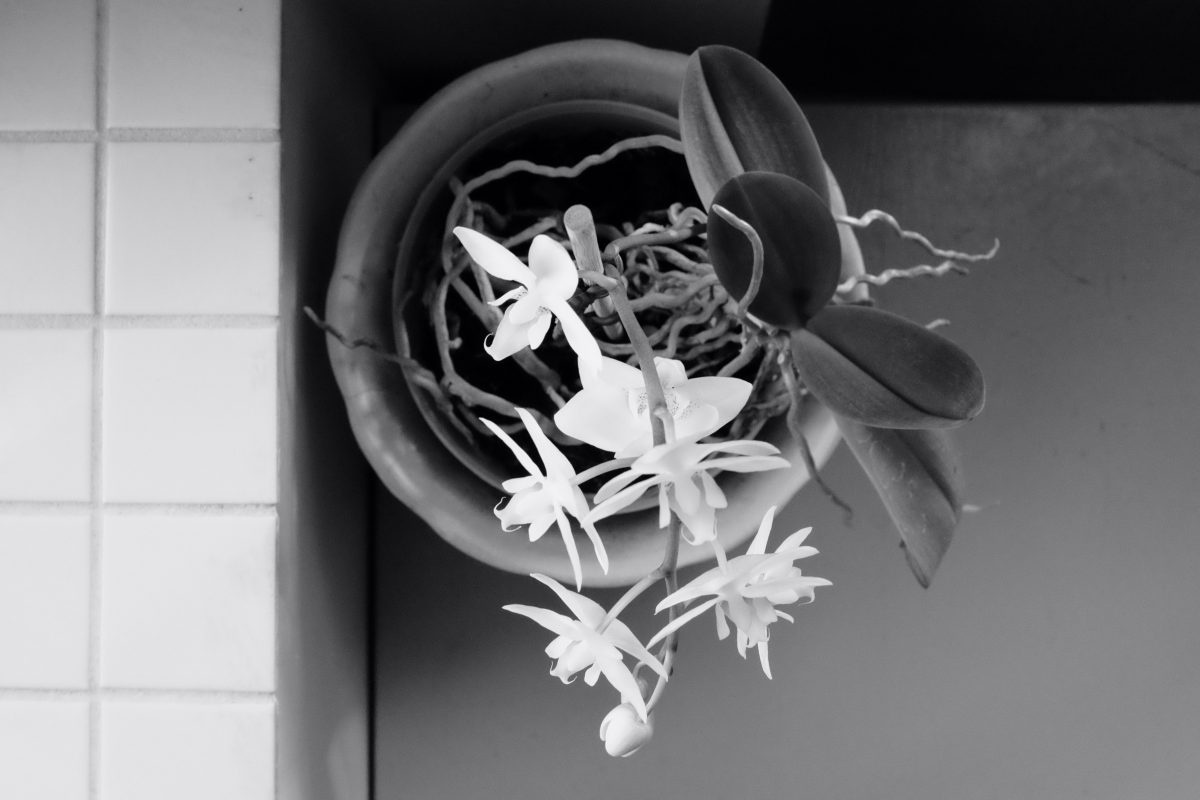

Winter Blues (except when it snows)
Even though I live in this colourless city, I can still enjoy winter. The cold doesn’t bother me, and of all the natural phenomenon in the world, I am always deeply moved by the magic of a big snowfall. Every time. I love the way it mutes the city noise and how it transforms the urban landscape into something soft and beautiful. I can’t think of too many things that make me happier. Unfortunately, it doesn’t usually last very long before the next melt cycle.
Deep in the typical gloom of Toronto winter, I have a hard time seeing anything that I want to photograph and writing becomes a lot more difficult. Creativity shrinks back. I tend to retreat into reading books, watching films, listening to and learning music and language studies. A lot of input, not much output.
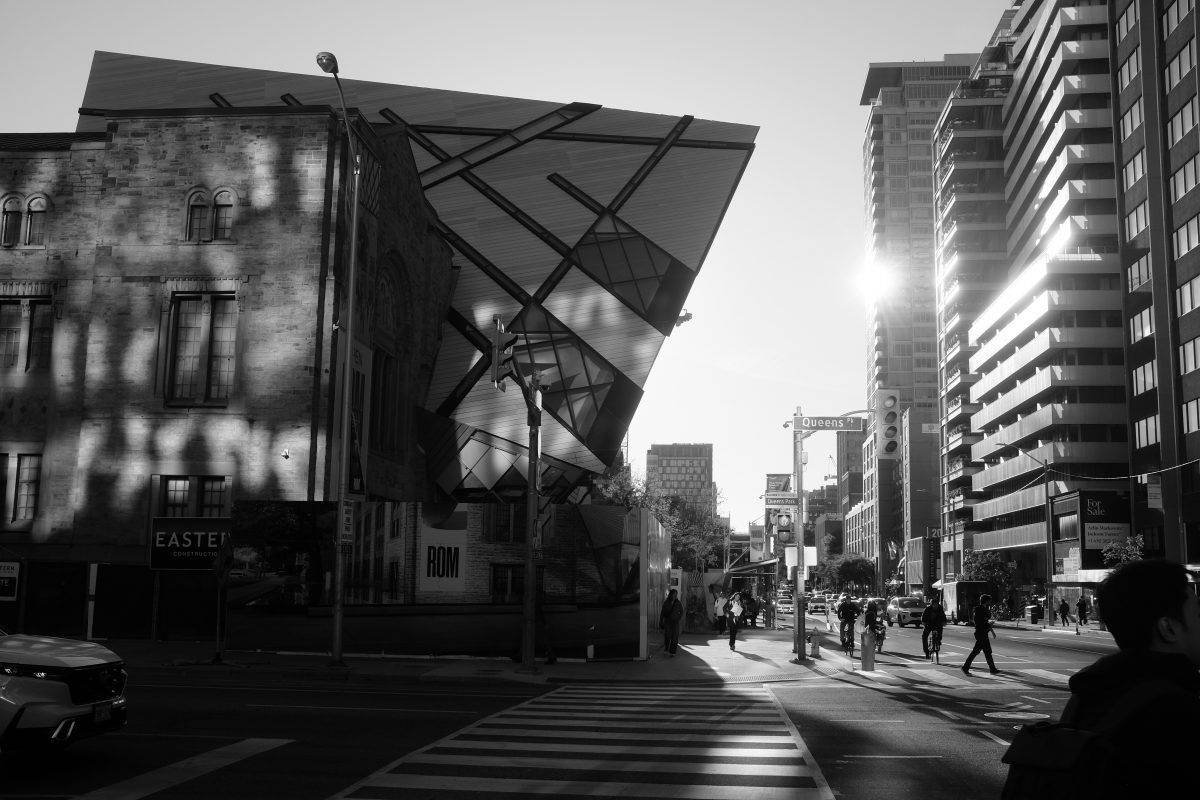
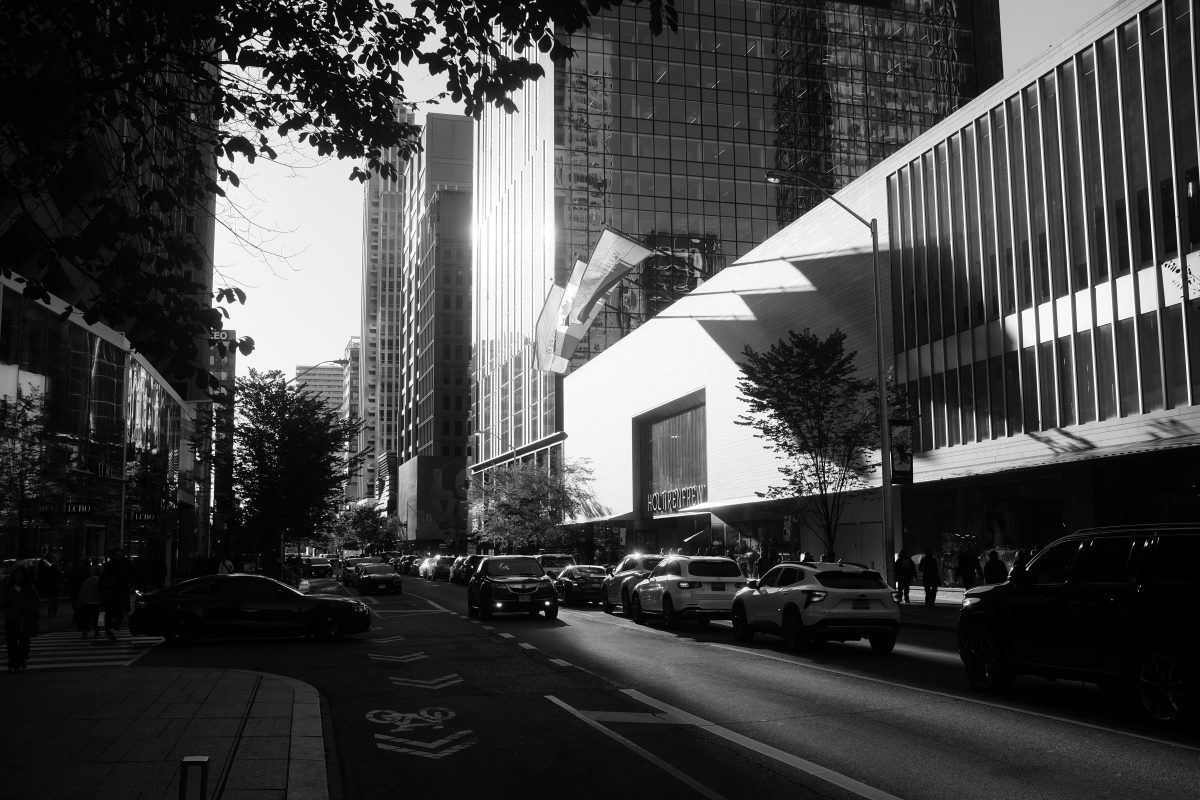
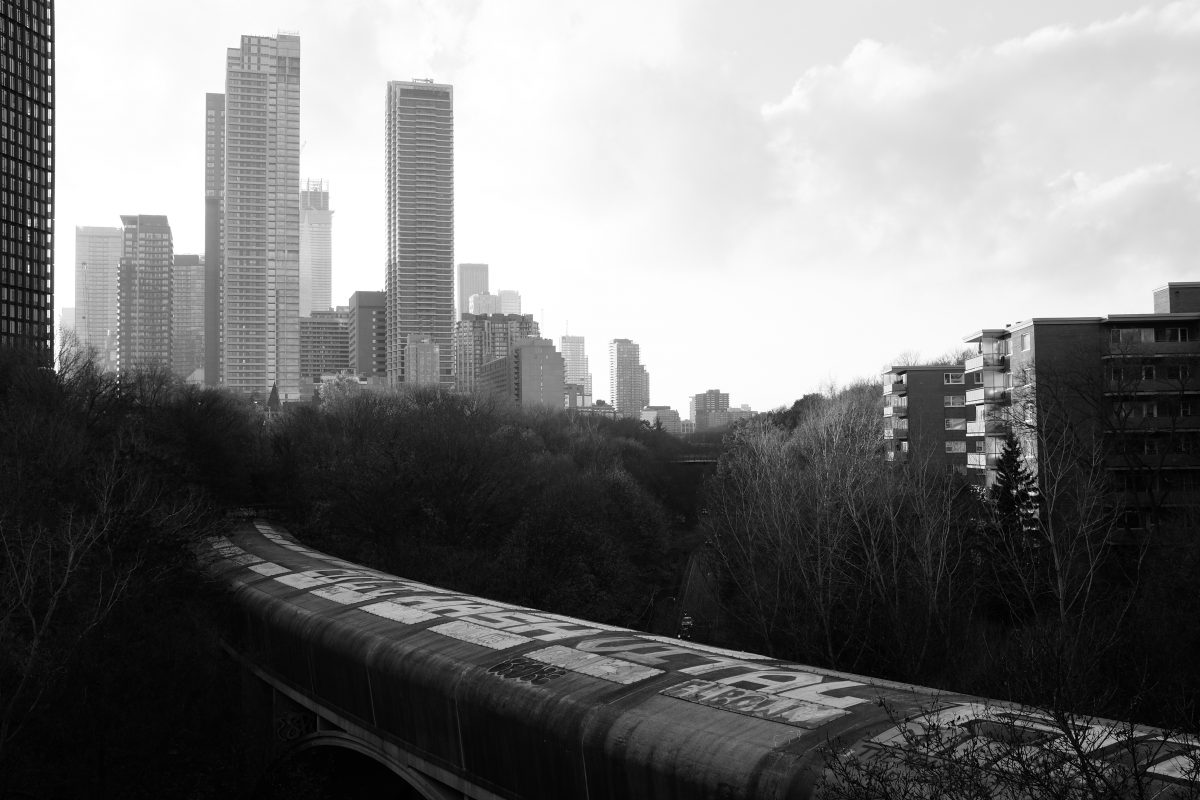
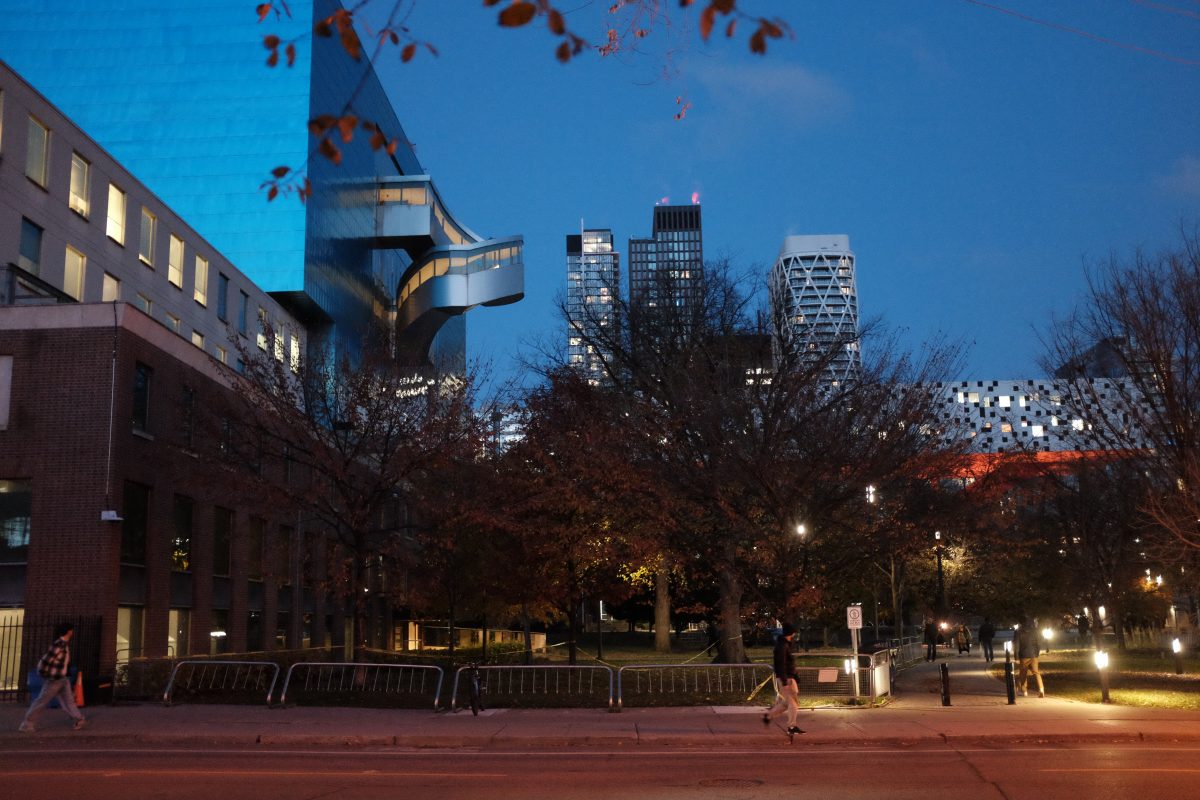
From spring to fall I was writing on here at least once every two weeks and I had so many pictures that I sometimes had trouble organizing them. Lately I have been doing less creative writing. And I have not wanted to pick up my camera as much but, I have taken a few pictures that I like. I will post them up here with no other purpose than sharing a few good, mostly unrelated, shots.
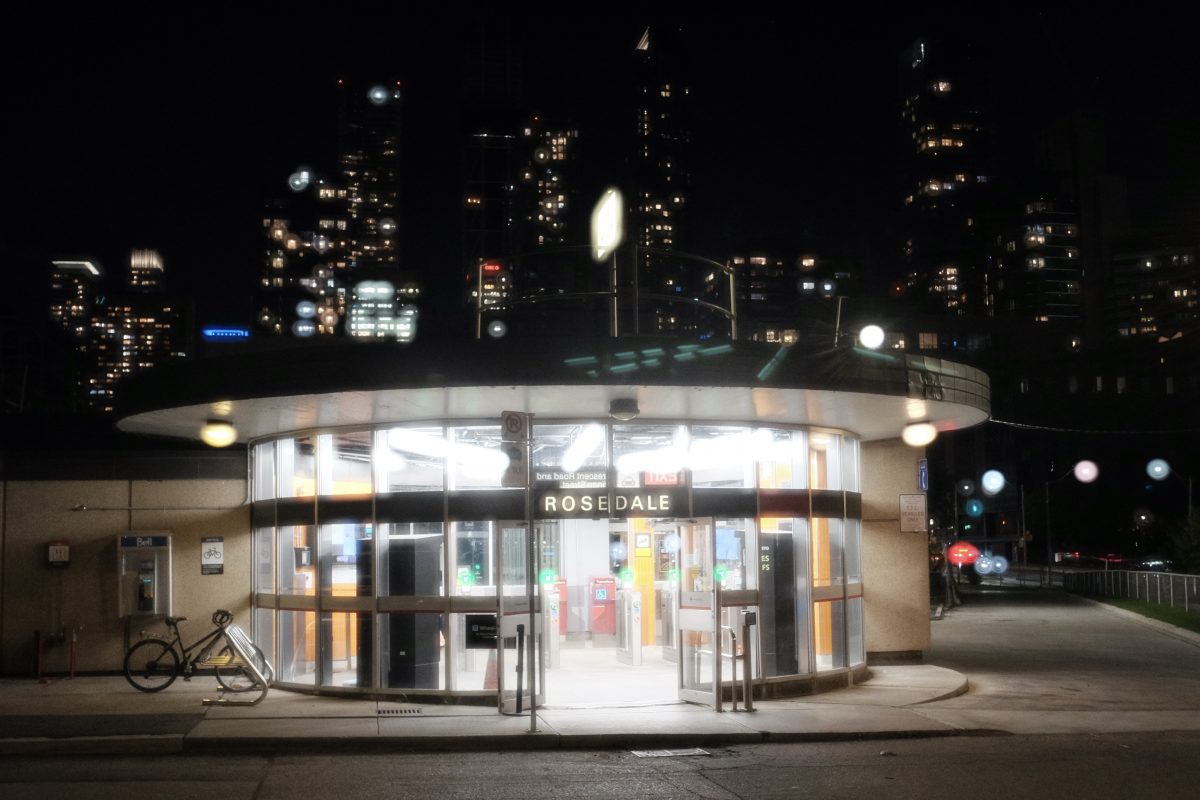

2025 in review
For a long time, I had planned to take a year off from work and 2025 was it. Originally I thought I would get right into planning my next career move but, instead, I was flooded by the desire to create and to learn. Not in any organized way…just to follow threads as they appeared and to accept and act on ideas and inspiration without any resistance and with the least amount of judgement possible. The result was a ton of writing.
This website started as a travel diary for an early spring trip to Japan and Korea that I took with my daughter. Sick of all the trash and advertising on social media, I thought this would be a fun alternative. In the end, it became something I loved doing and something I am quite proud of. I still revisit the trip quite often. The photos are good and the articles are fun and pretty well written.
When I got back, I wanted to keep writing and TigerSalad became a place for me to document photo projects, recipes, articles, ideas and sounds…all things I used to dump (in some compromised way) onto social media. On here, I rarely involve my phone and I can write as much or as little as I like. To date, I have written over 70 articles.
Surprisingly, TigerSalad has done ok. I get a decent amount of traffic and I know that the people who are visiting are interested in what I am doing rather than getting directed here by some stupid algorithm . I don’t link ads or pop-ups and so, I make zero income from it. Fine with me! Instead, I have a discreet donation link where people can send me some dollars which I put into website maintenance if they enjoy the articles. Even though I had zero expectations, a few generous amounts came through in the first few days. Thank you!!
On top of those 70 or so website entries, I have been doing other writing on the side. I have started some long form fiction (in other words, a book). Whether or not it ever gets finished or sees the light of day is not so important to me. I just enjoy writing it and learning about the inner lives of my characters as they unfold. I like the people in the story. They make me laugh and I care about them and I want to know what happens next. That is enough for now.
In the last few months, I have also picked up a few paid jobs doing copy writing: captions for social media projects and website copy. I really enjoy this work. I will labour for hours choosing the sharpest word, the most effective sentence, the most concise and economical phrase where necessary. To me it is like solving a puzzle. I love it. And, I do it all facing my big windows with a hot coffee and a sleeping cat on my desk. It is like a dream and I wish I could keep doing it. Let’s see what happens…

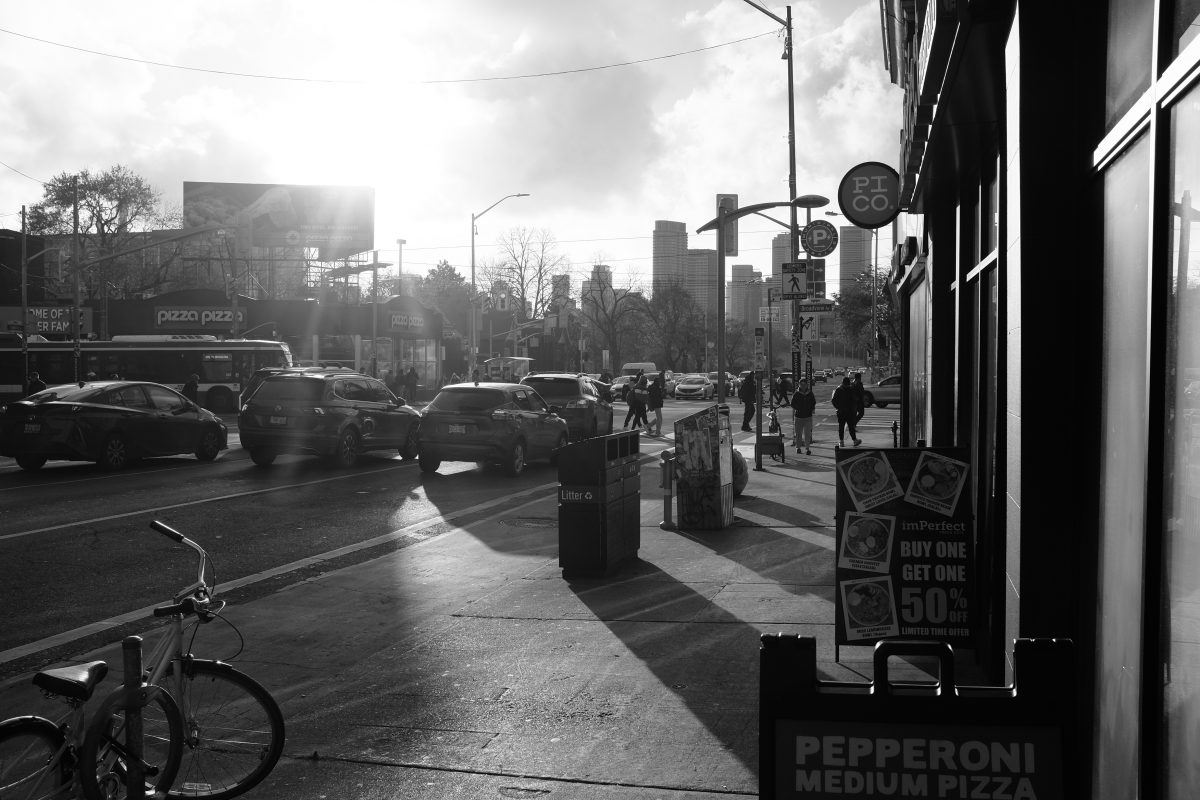
Christmas is coming…
I have a few close friends who are sincere Christians with a strong connection to their church and community. Christmas has a deep spiritual meaning for them. It is a time for celebration. The effort and joy that they put into this season is awe inspiring. It is fun to witness and some of their energy definitely rubs off on me.
As for me, I was mostly raised without any religion. Czechs, along with Japanese and Chinese are among the worlds least religious people. My family never went to church and religion was never a topic of conversation. Christmas was important but it centered entirely around family.
When I was very young, my parents (barely 20 years old) were new immigrants to Canada with no family here at all. I don’t remember too much of those days. I think our Christmases were probably more like house parties with lots of music, drinking and smoking with me sleeping in a pile of fur coats on a bed somewhere. But, over the next few years, my family began to grow as my parents began sponsoring their brothers and sisters to move to Canada.
At some point in my early adolescence, our family was suddenly huge. Aunts, uncles, cousins, friends, everyone gathered at our house for the Christmas season. For around a week between Christmas and New Years Day, our house was packed with aunties cooking and baking and uncles smoking and drinking and talking non stop. Food was everywhere. People slept over and stayed for days. One meal would blend into the next. Endless packs of cigarettes would burn to ash over hours and hours of card playing and laughter. To me, it was heaven. I can’t remember a time when I felt more warmth and happiness.
Of course, as years pass, time takes its toll and my once huge family Christmas has all but disappeared. Death, disease, divorce and relocation for work have all played a part in chipping away at the giant celebration of the past. These days, Christmas is always coloured with a little sadness. I miss that huge family made up of the people I have loved the most. I especially miss my uncles who have died, the ones who worked awful jobs and had nothing, but would still manage to tuck a few hundred dollar bills into my pocket every Christmas. XOXOXOXO.
These days, my family is very small. Still… we have our Christmas rituals, we eat our turkey dinner, exchange a few gifts and enjoy the love and warmth of the season. We are lucky to be able to do so. Although Christmas arrives with a little sadness and a little loneliness, I still look forward to it and feel fortunate to spend the hours with people that I love. Merry Christmas!
Best Christmas Song: “The Christmas Song” Nat King Cole (chestnuts roasting on an open fire..)
Best Christmas Food: Turkey (brined)! Stuffing (must have bacon or sausage)! Cranberries!
Best Christmas Movie: “2046” Wong Kar Wai. Not exactly a Christmas movie but a lot of its key moments happen at Christmas. It is really my favourite movie. I watch it once a year at night on the 25th.
Upcoming Projects
Although I haven’t posted up anything lately, I have been busy photographing and documenting a few fermentation projects. My apartment is cool in winter so it is a perfect time for long ferments. I have a batch of 2 stage makgeolli (Korean rice alcohol) that is almost done. A detailed recipe with tons of pictures and sounds will go up soon. I will also be fermenting pears, first into alcohol and then into vinegar. This will take well over a month but it is in the works.
TigerSalad has a fair amount of recipes and I use them all the time. Originally, I had recipes scribbled down all over the place on loose paper and the backs of receipts etc… I started putting the recipes on here because I wanted to make an online cookbook for myself so I can have everything in one place. I really dislike cooking from videos, and most online recipes have too much filler and way too many ads and pop ups. My recipes are designed to be clear and logical, with lots of photos to make even complicated things doable. Try them…they work.
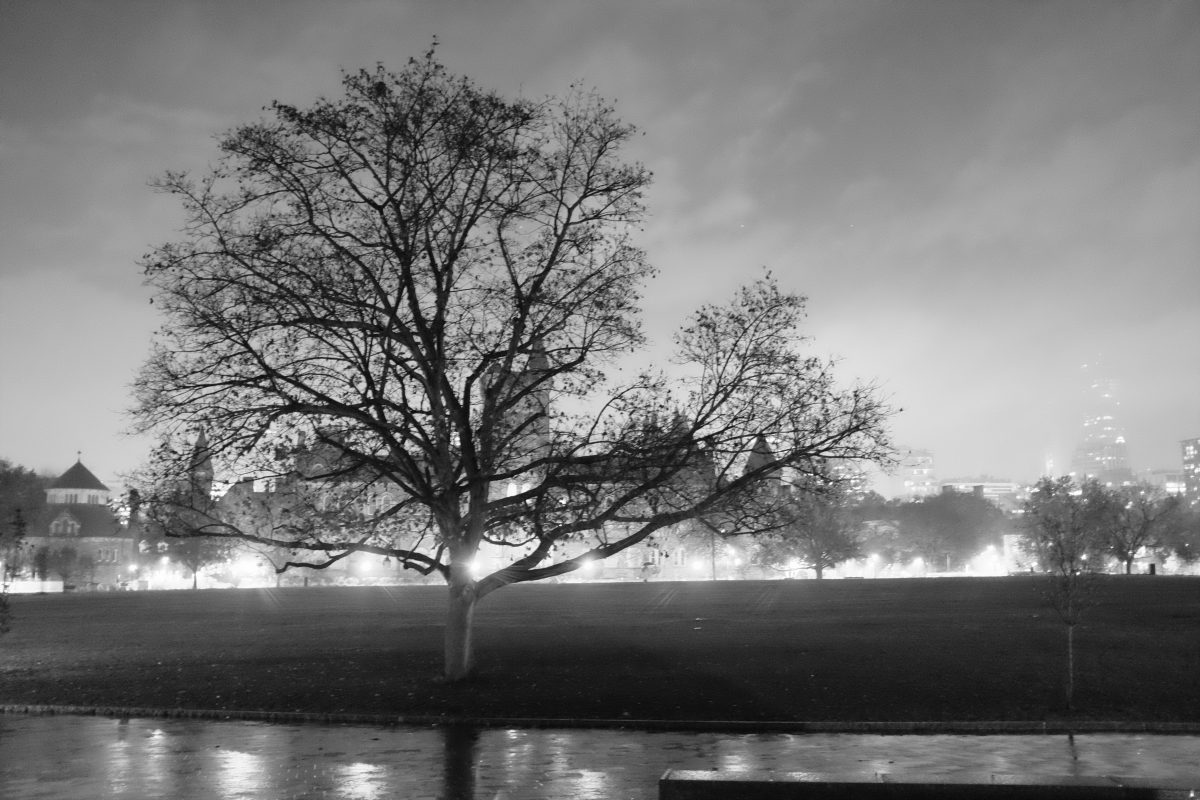
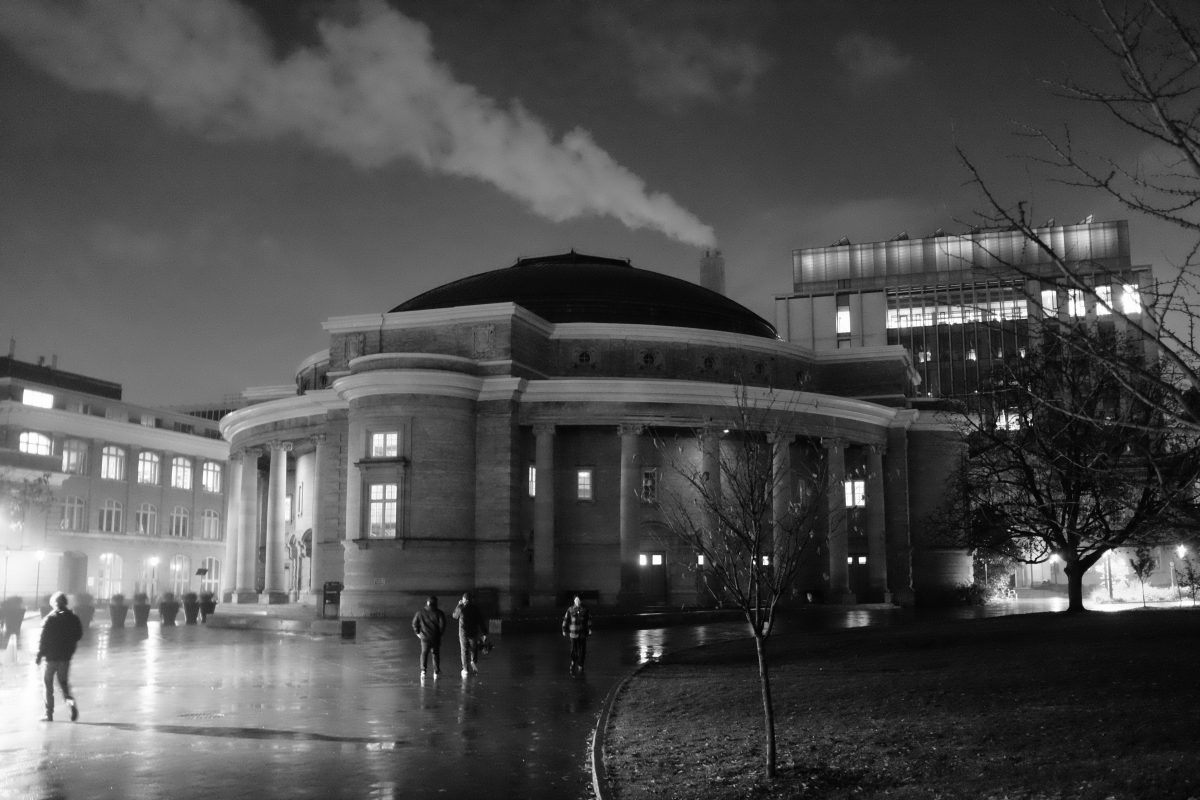
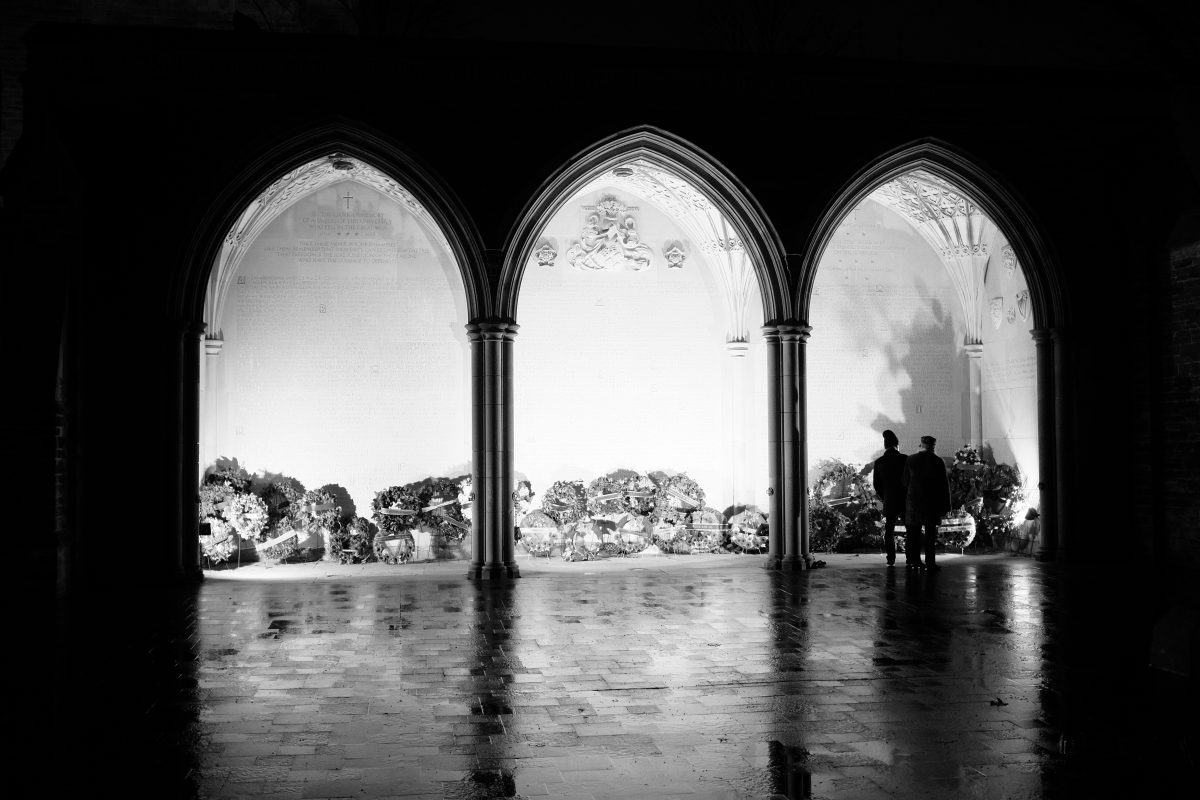
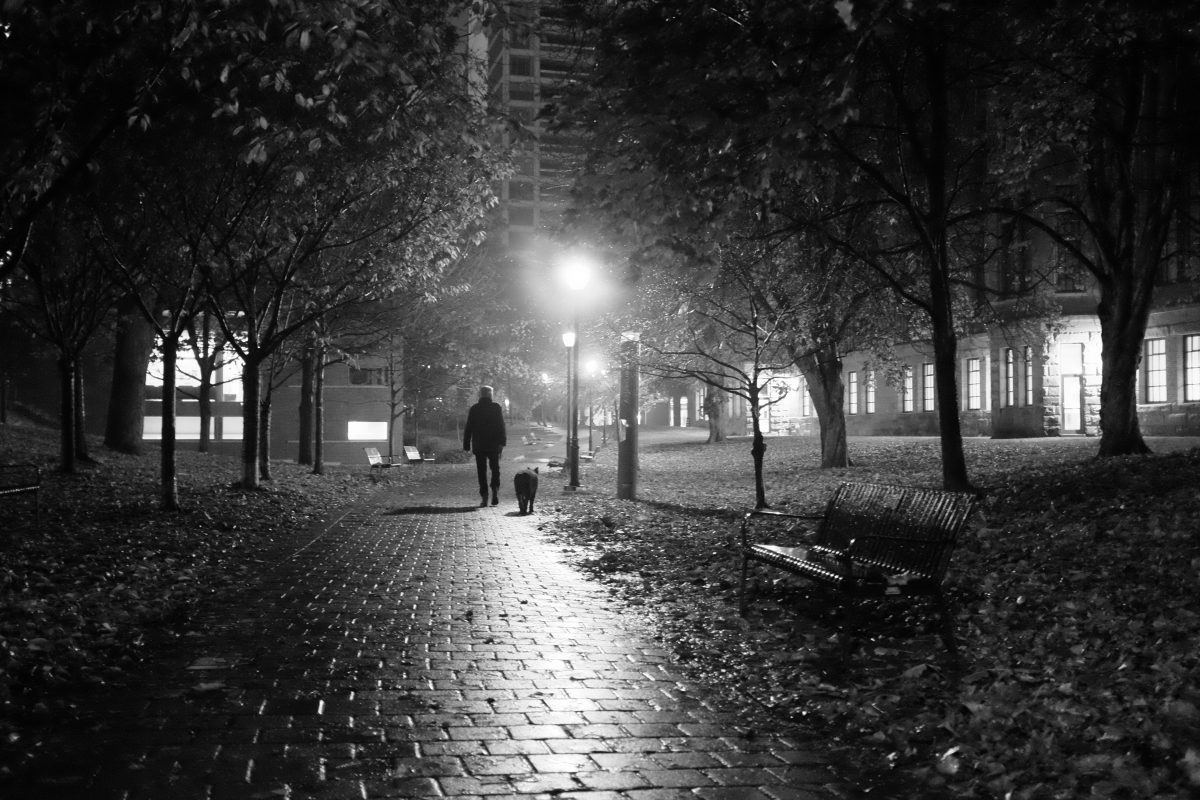
Winter Photos
I hope it snows soon. Big snow. Lots of it. I am looking forward to getting out in the city with my camera and capturing Toronto in some of its handsome winter moments. Like this one in St James Town last year:

Big City Winter Survival Tips:
1-Go outside! It’s not as cold as you think and the more you go out the more you will get used to it. There is lots of oxygen and less pollution in heavy cold winter air. It is energizing.
2-Don’t try to look cool or fashionable in winter. Just dress up in warm layers of clothes. Unless you are very wealthy, it is hard to be warm and look cool at the same time. Just give up!
Happy holidays from TigerSalad! See you soon with a home made booze recipe just in time for New Years!
If you have any comments, questions or suggestions please leave them below. I look forward to hearing from you. It is the only way I know you have been here…other than vague stats from Google : )
If you enjoy the content and would like to contribute towards website maintenance and development, you can make a donation here.
Samgyetang
What is samgyetang?
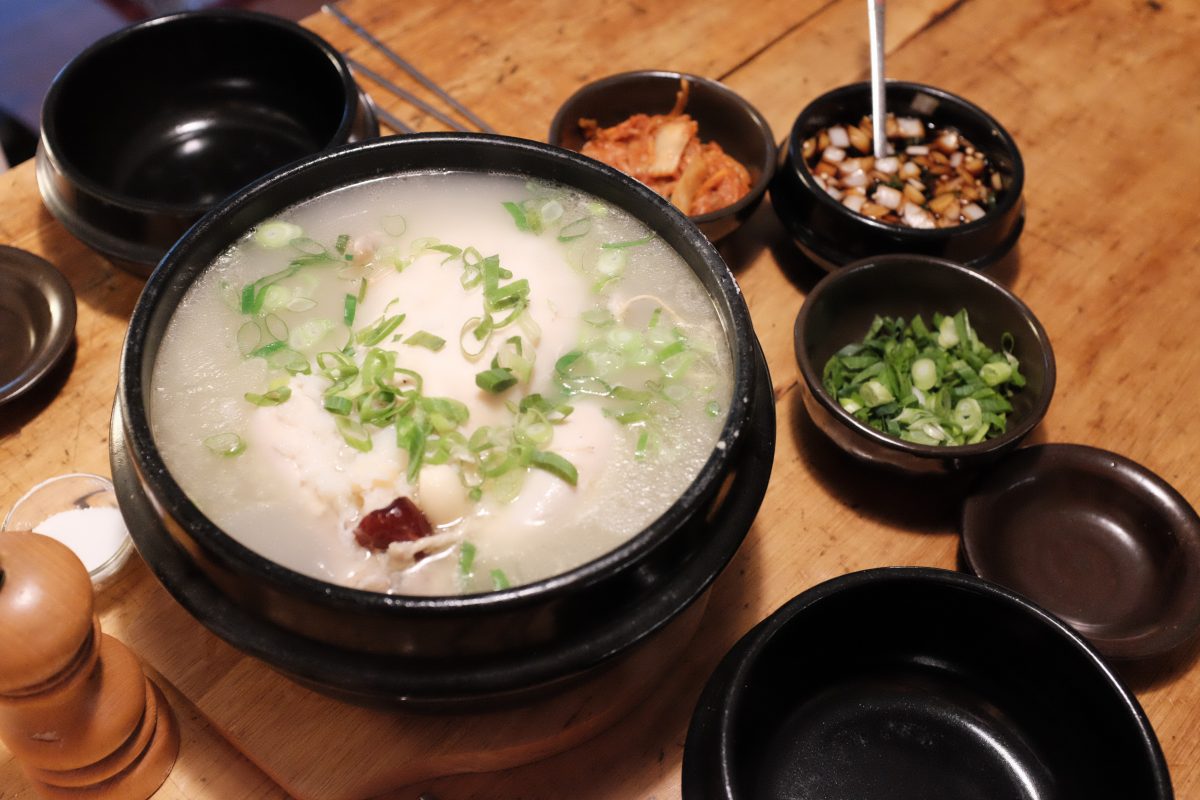
Samgyetang is ginseng chicken soup. “Sam” for insam (인삼), the Korean word for ginseng; “gye” refers to chicken; “tang”(탕) is a soup. It is a hearty and delicious soup that tastes great during chilly months. It is also surprisingly popular during the hottest days of the year in Korea where eating steaming hot food is believed to have a cooling effect on the body.
My first time…
The first time I ate this soup was on a chilly afternoon in Seogwipo City on Jeju Island. Hungry and cold, I was wandering around an area known for restaurants. It was the off-season so many restaurants were closed and most others were serving Jeju black pig samgyeopsal, something that is difficult to eat on your own. Feeling defeated, I decided to go to a nearby convenience store to at least buy some kimbap. On my way I spotted a small house with a sign that simply said “삼계탕” (samgyetang) but this little house didn’t look like a restaurant at all.
When I cracked the door open to peek inside, I was surprised to see an older woman sitting on the floor in front of her sofa, watching TV. I quickly apologized and tried to leave, but she got up and gestured for me to come inside. Hardly knowing any Korean, I simply said “samgyetang”? She nodded and gestured for me to sit on the sofa. She unfolded a small square table in front of me and then disappeared. I sat alone in this room, watching TV and silently wondering if I had made some kind of a mistake. But, a few minutes later, she came back smiling and put 2 or 3 dishes of simple banchan on the table in front of me. And, a little after that, she came back with a steaming black earthenware bowl containing a single small chicken in a bubbling broth.
I ate this delicious steaming meal as fast as I could without burning my mouth. The woman seemed pleased when she saw all the empty plates. I gestured to pay, she accepted my money with a nod and a smile and I was on my way.
That meal seems like a mystery to me to this day. Was it really a restaurant? Was it a dream? It seemed like some kind of a magical chapter in a book. Someday I will return to investigate. These are the best kinds of travel experiences. There is something deeply lonely about traveling by yourself, but I think that it also opens many doors that may not have otherwise materialized at all. Like the door to this little house where I first ate samgyetang on a chilly afternoon on Jeju Island, perched on the edge of a sofa watching TV.
Ingredients
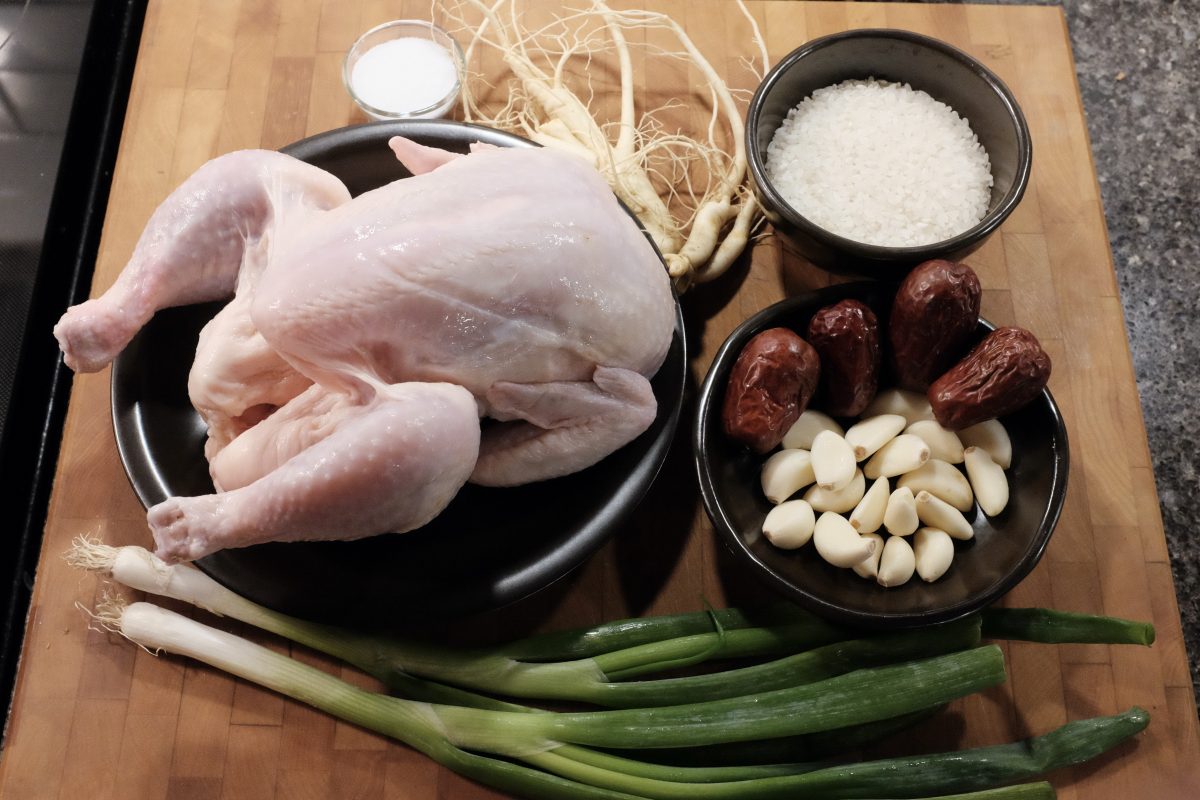
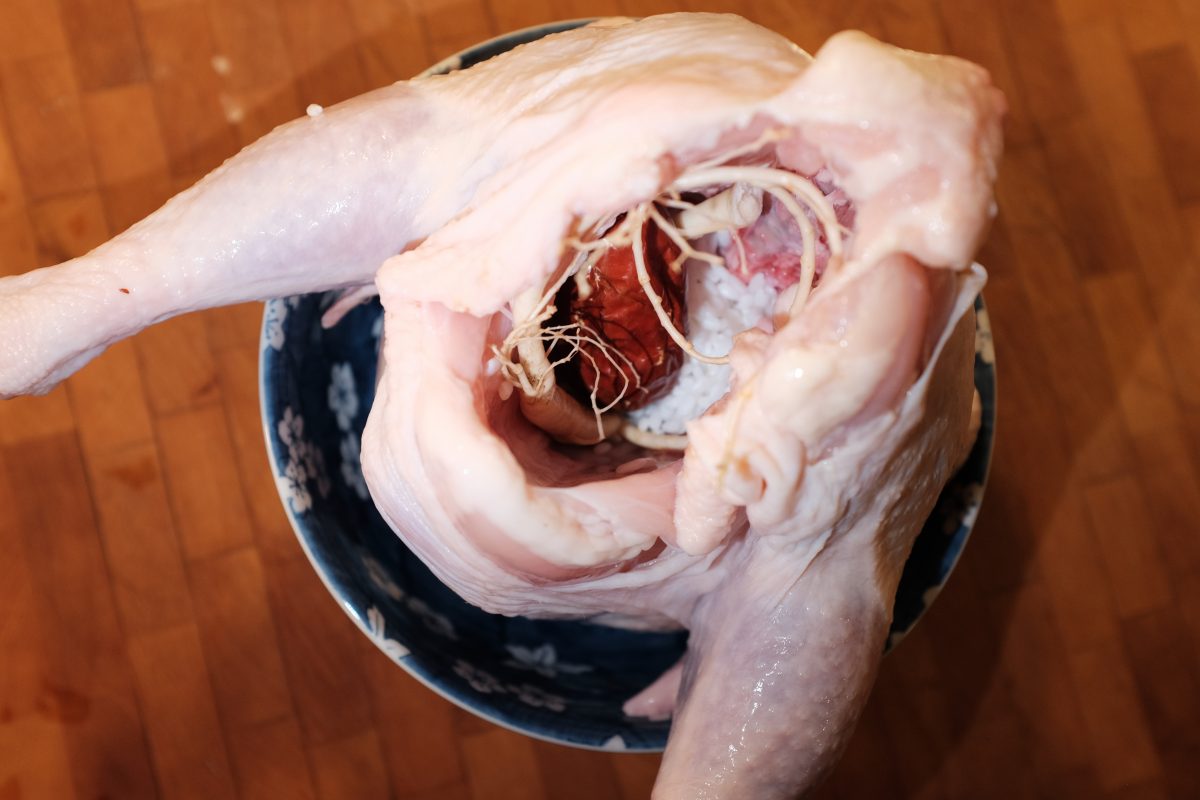
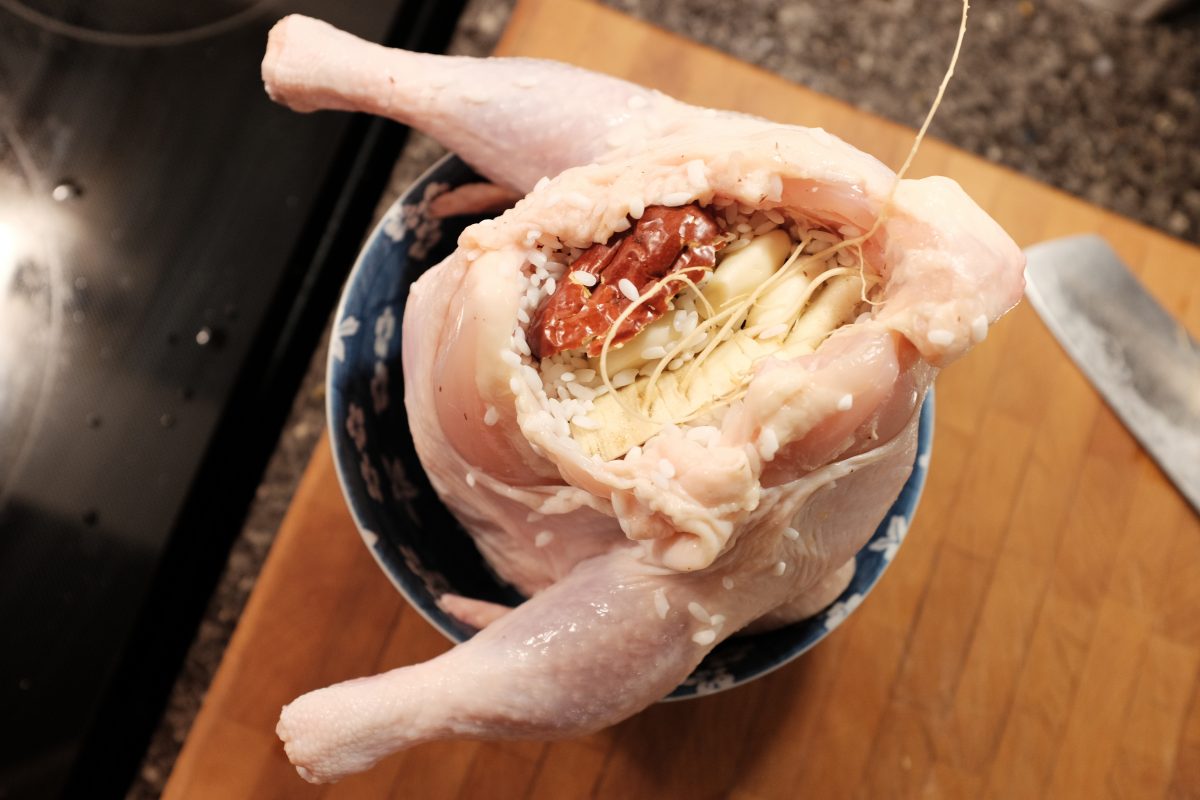
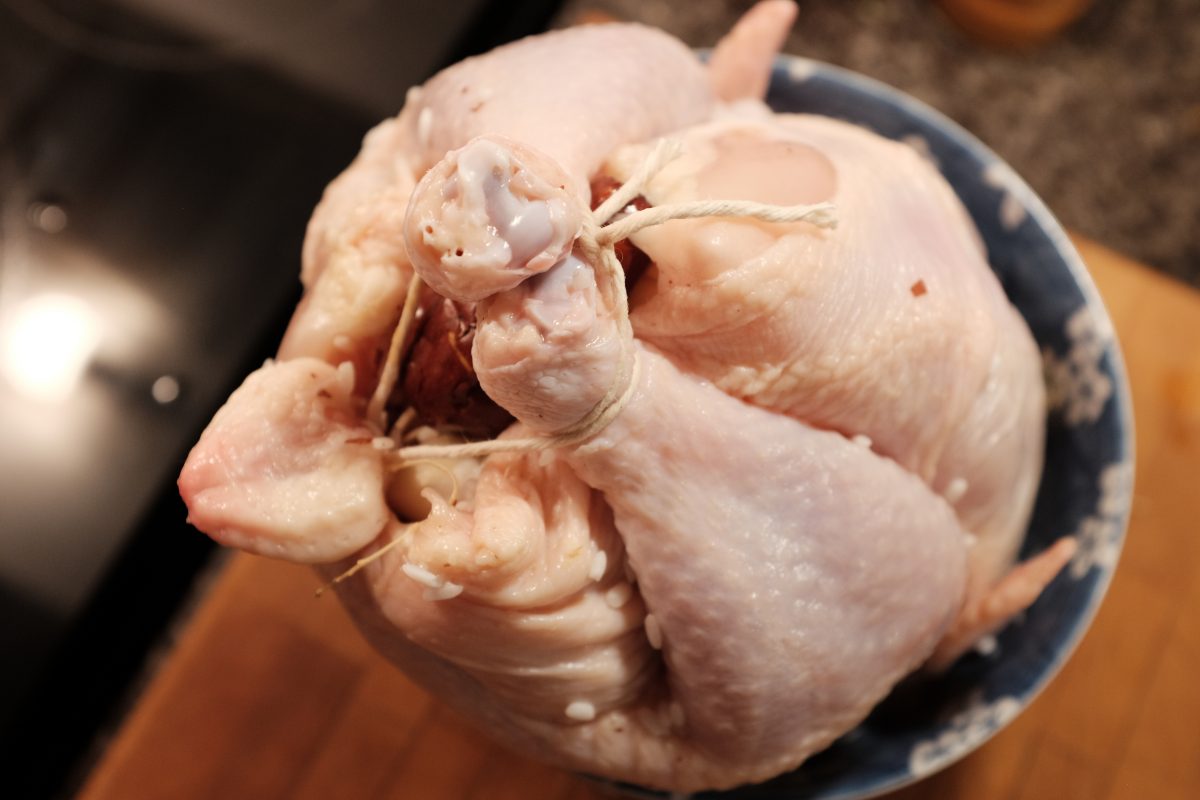
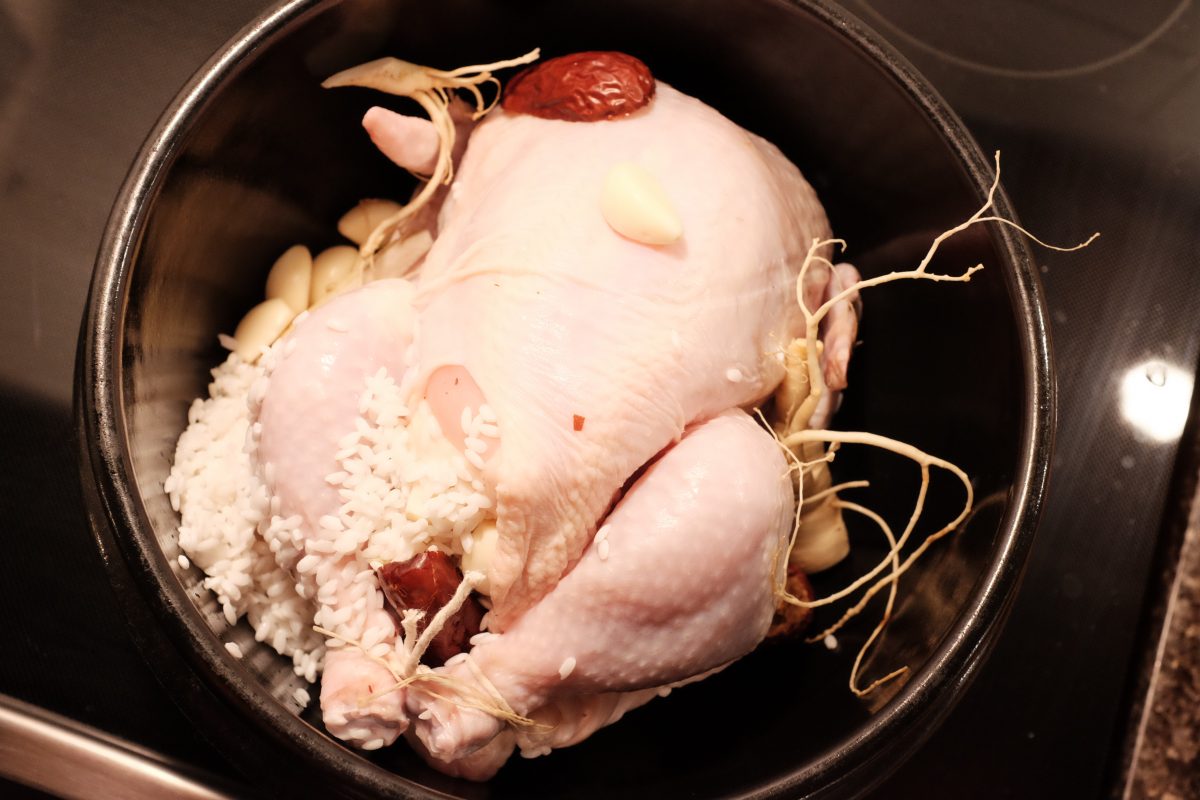
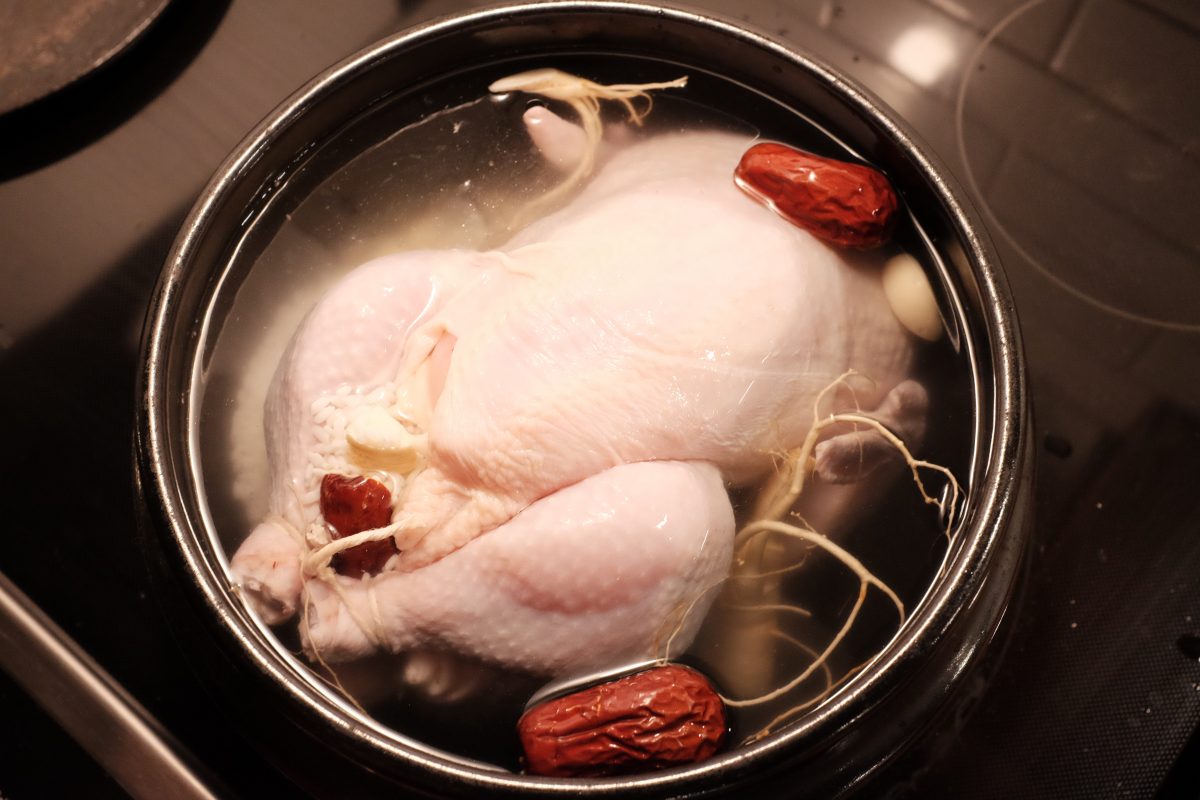
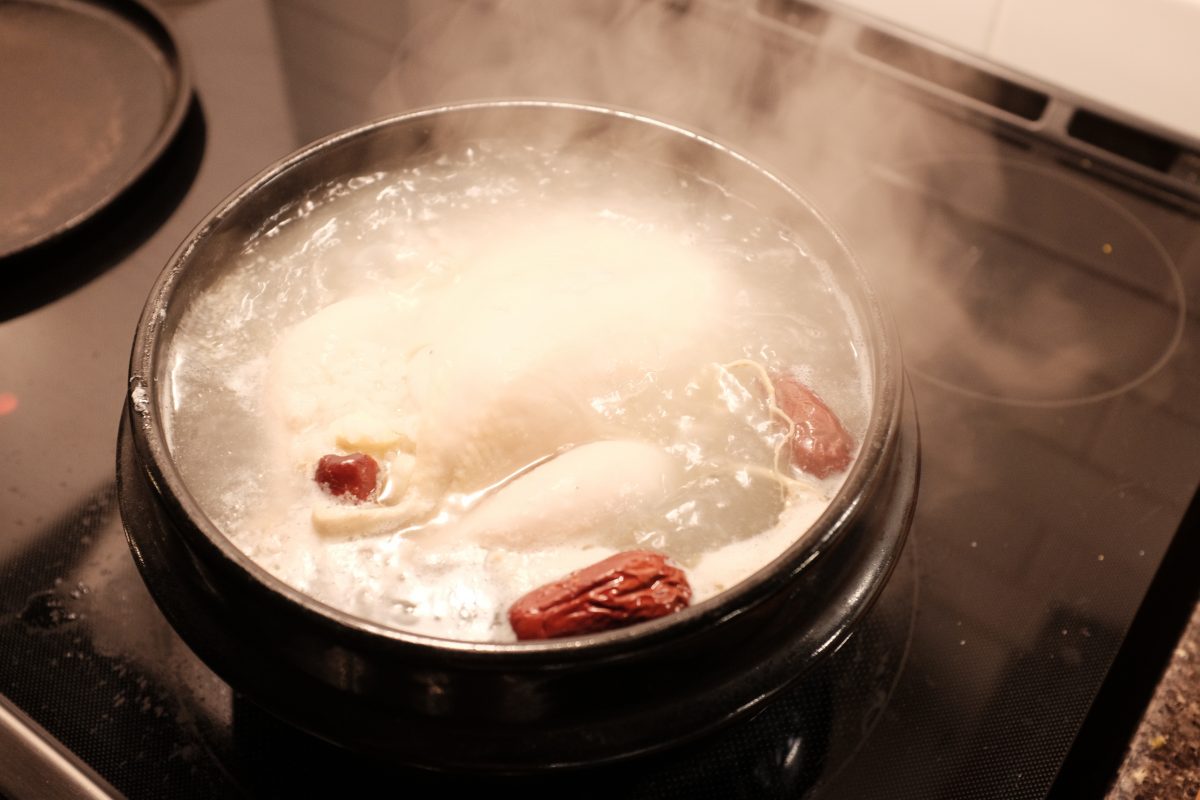
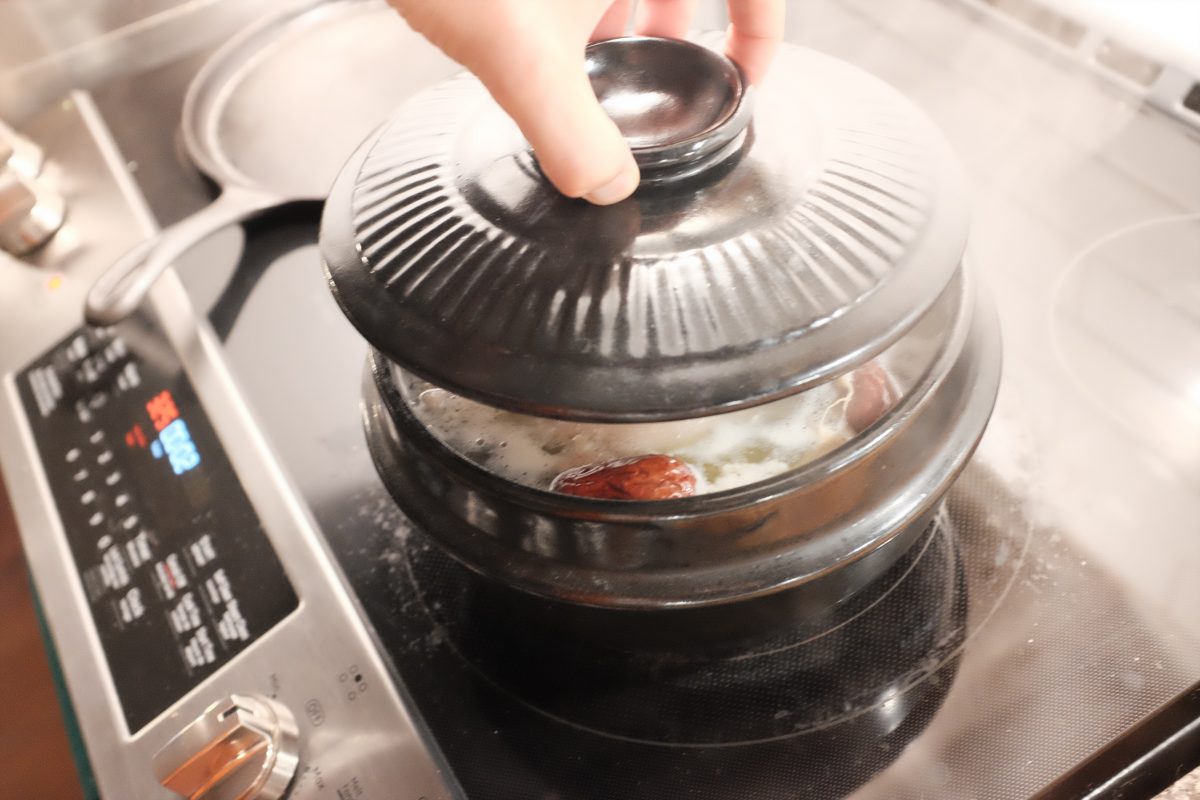
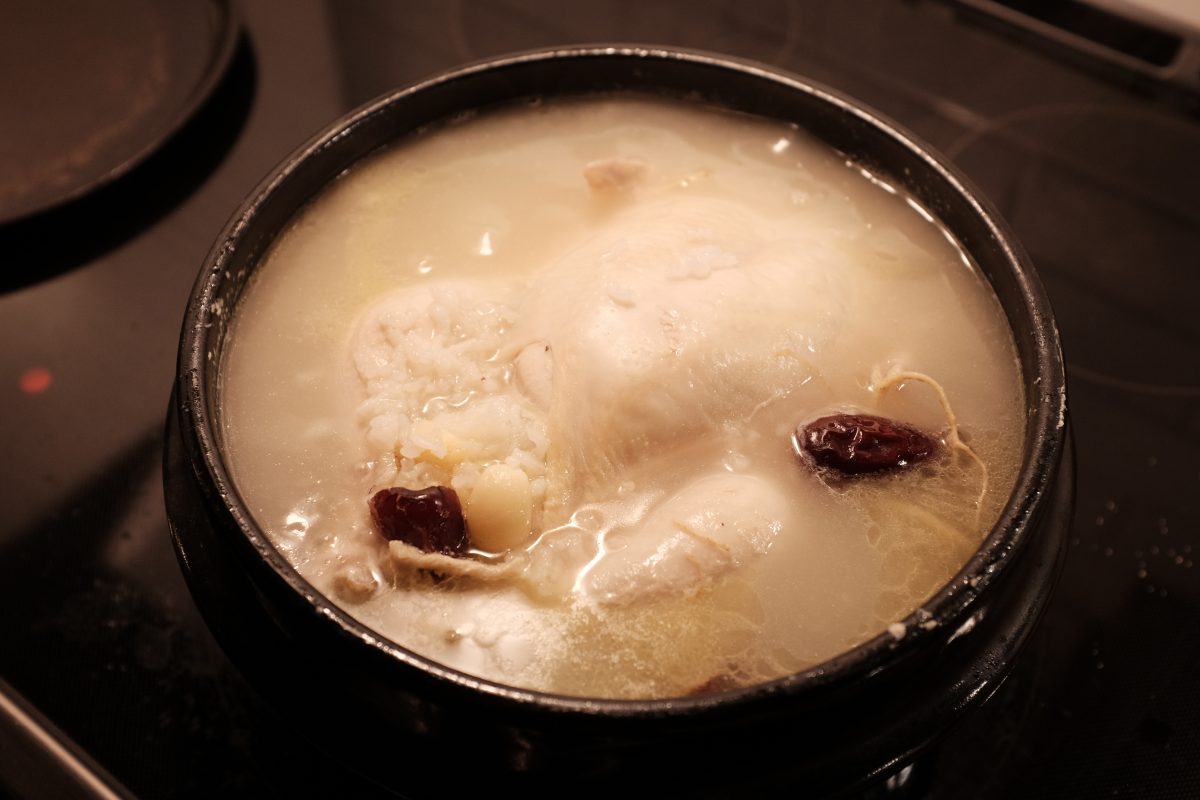
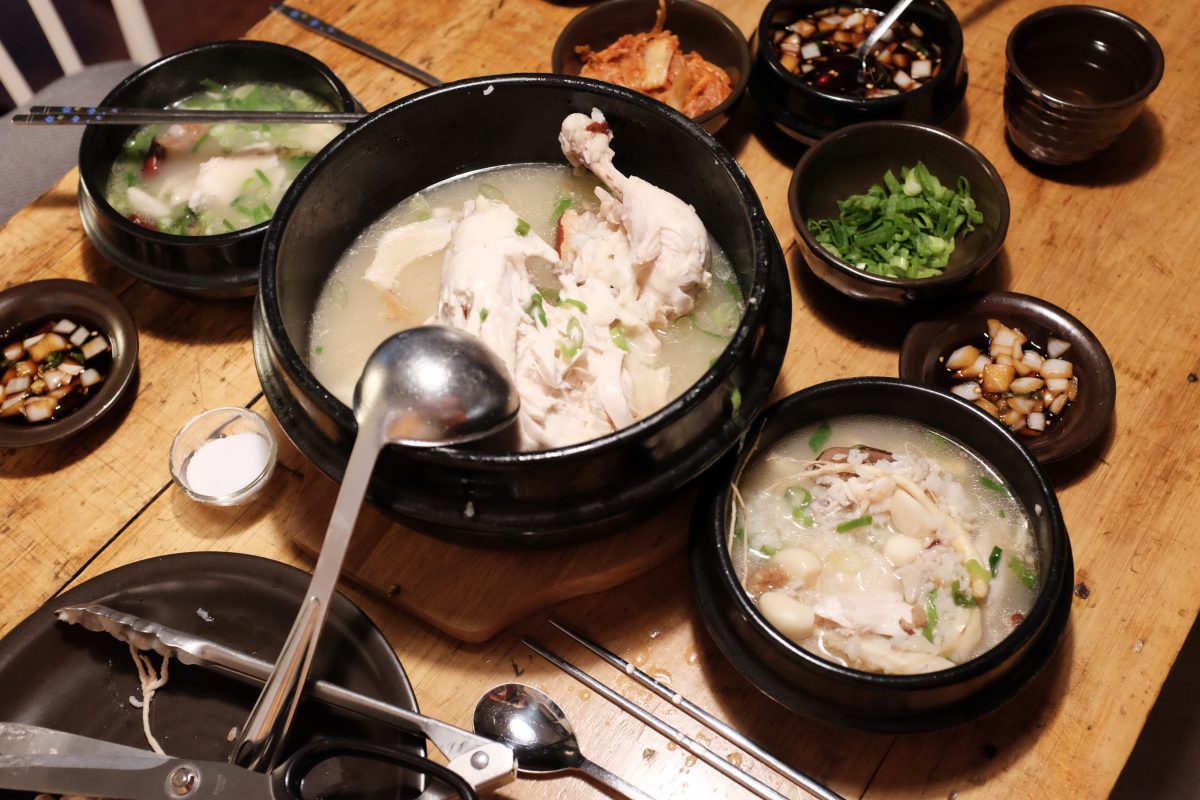
I made this recipe in a single large pot with a small whole chicken to eat family style. If you prefer, you can also make 2 separate portions out of this using the same amount of ingredients and 2 Cornish hens instead. It looks prettier when you serve each person their own whole bird and it is a lot less messy. Chickens are quite a bit less expensive and easier to find than Cornish hens so this is what I usually use.
- 1 small to medium chicken (or 2 cornish hens)
- 15-20 whole cloves of garlic
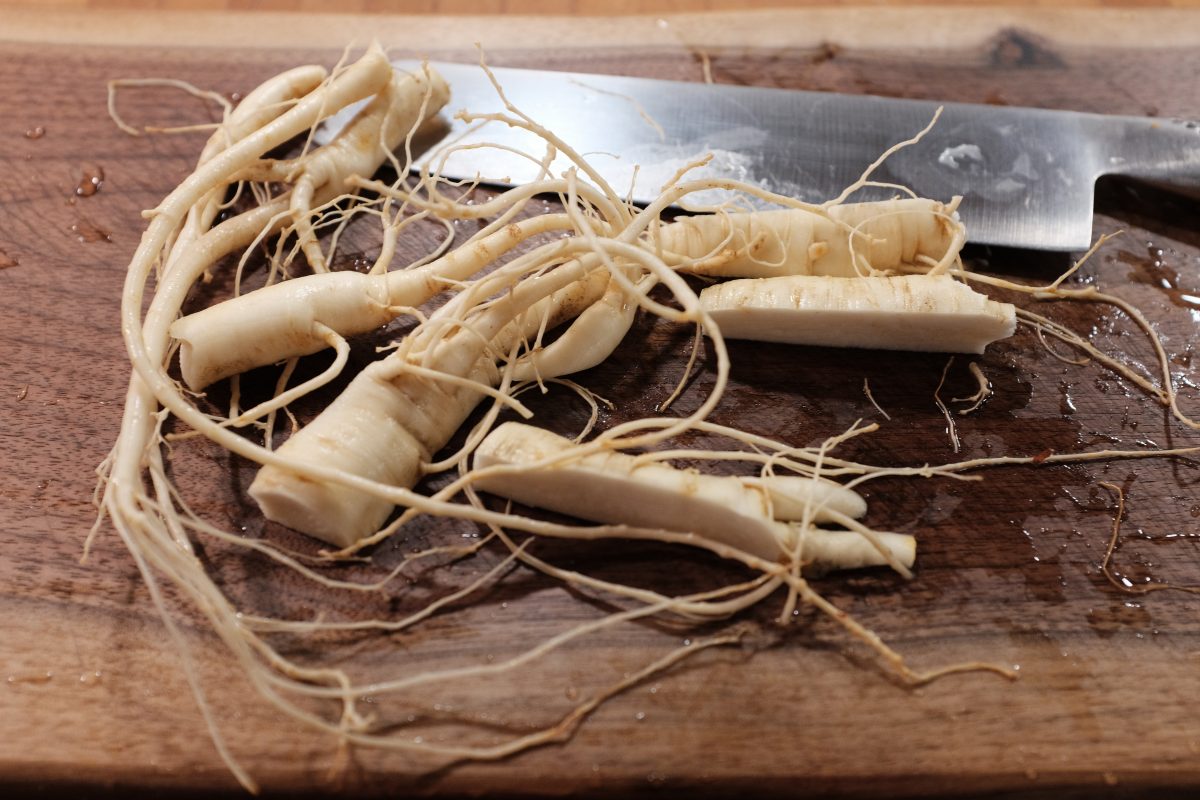
- 2 fresh ginseng roots
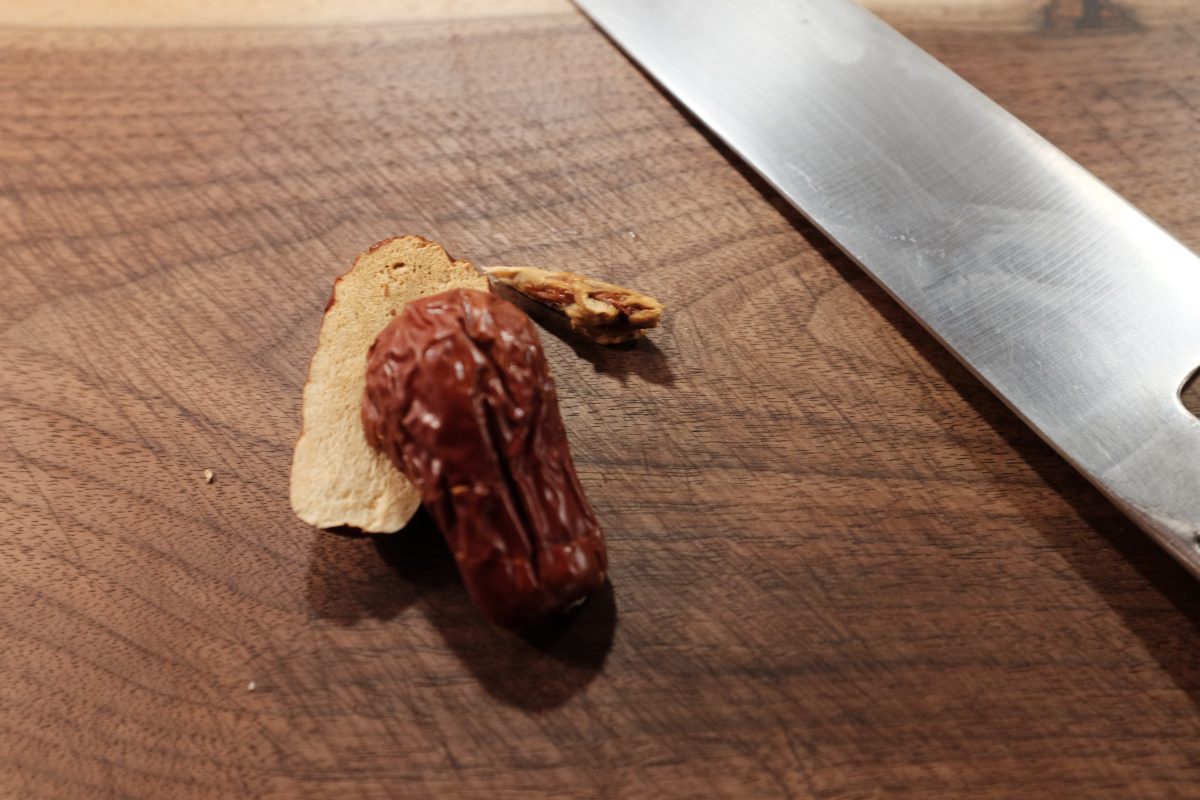
- 4 dried red dates (jujubes/daechu)
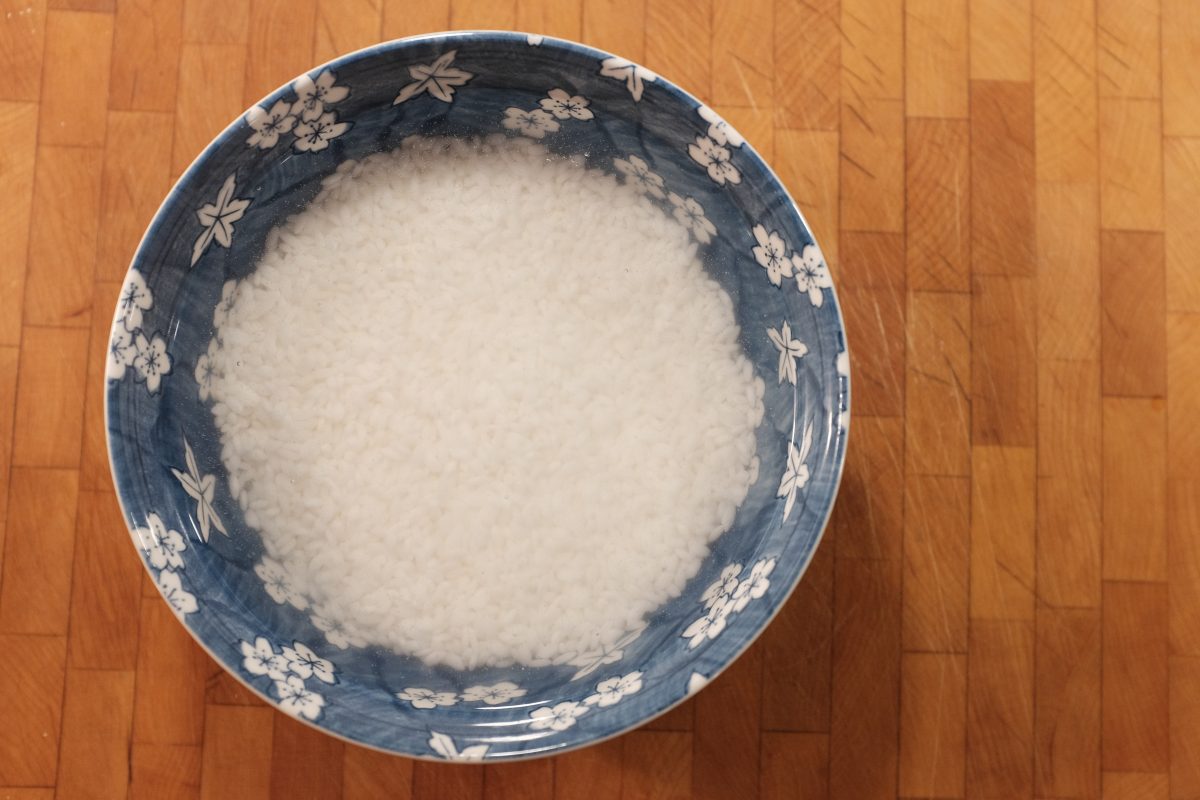
- 1 cup short grain rice (you can substitute with glutinous rice/chapssal)
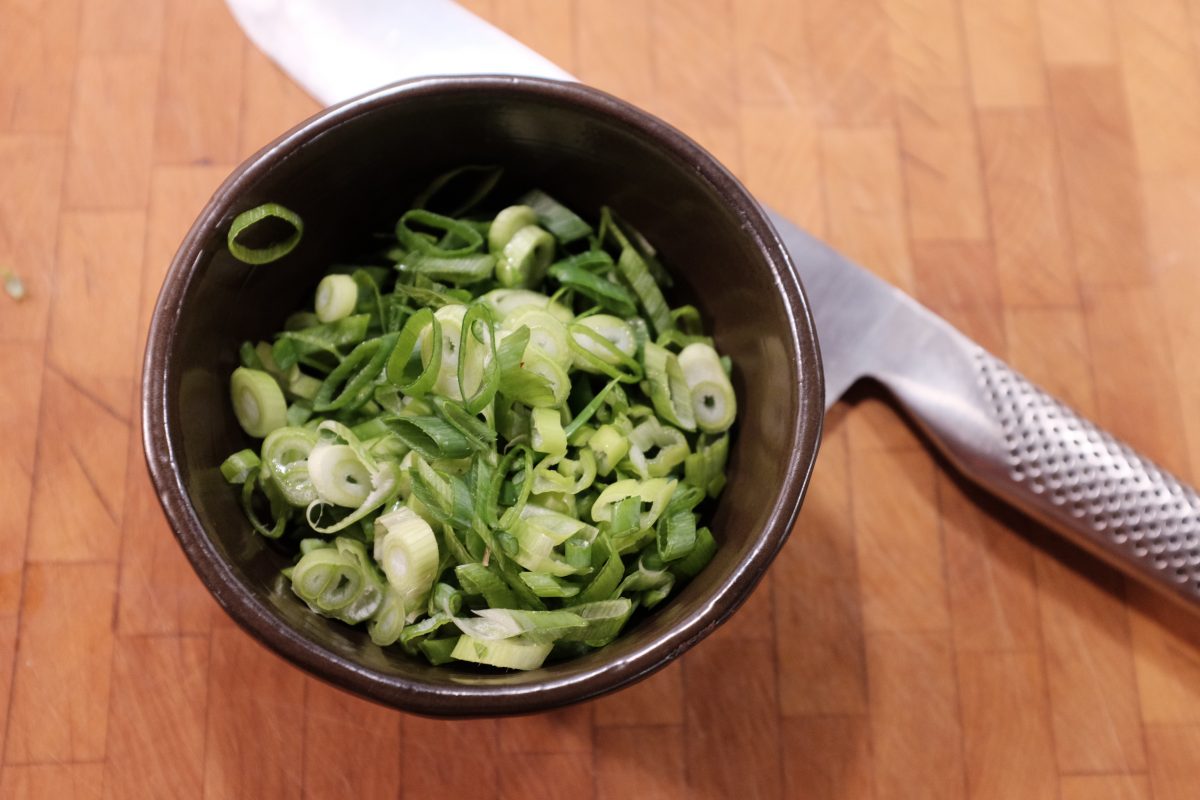
- 2 green onions
- salt and pepper
I am always able to find fresh ginseng at Asian grocers. Same goes for red dates: you may see these called Chinese red dates, jujubes or daechu (대추).
***At the end of the soup recipe there is a recipe for dipping sauce to go with it. Scroll to the bottom for that one. You can make it while your chicken is cooking.
Process
Serving
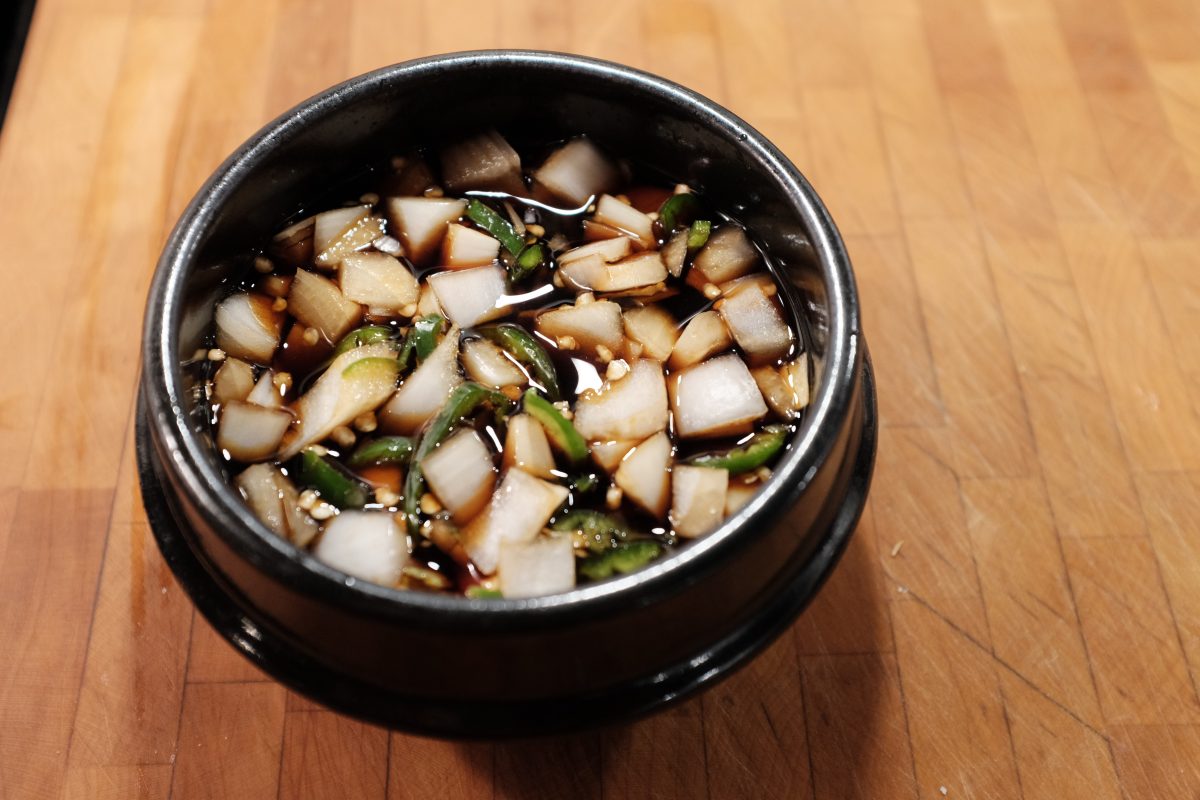
Soy and vinegar dipping sauce
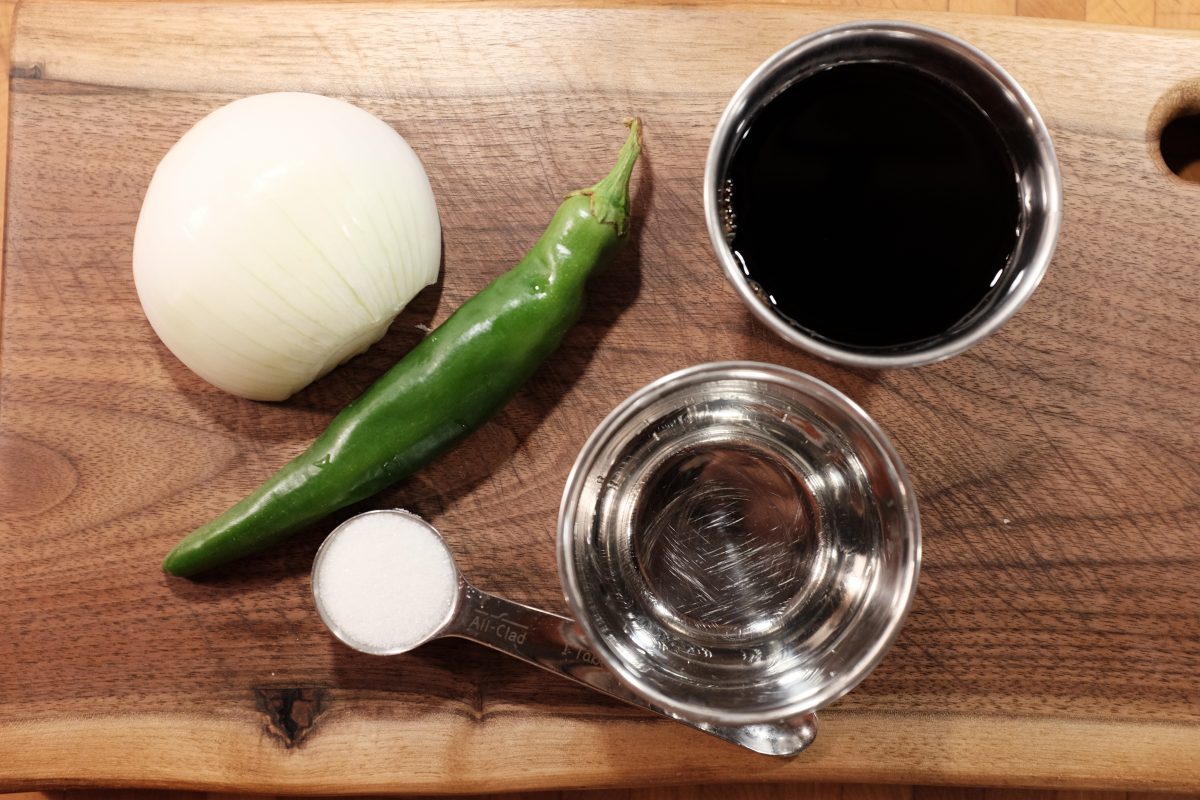
Ingredients
- 100ml (around 6 tablespoons) brewed soy sauce
- 50ml (around 3 tablespoons) white vinegar
- 12-13gr (1 tablespoon) white sugar
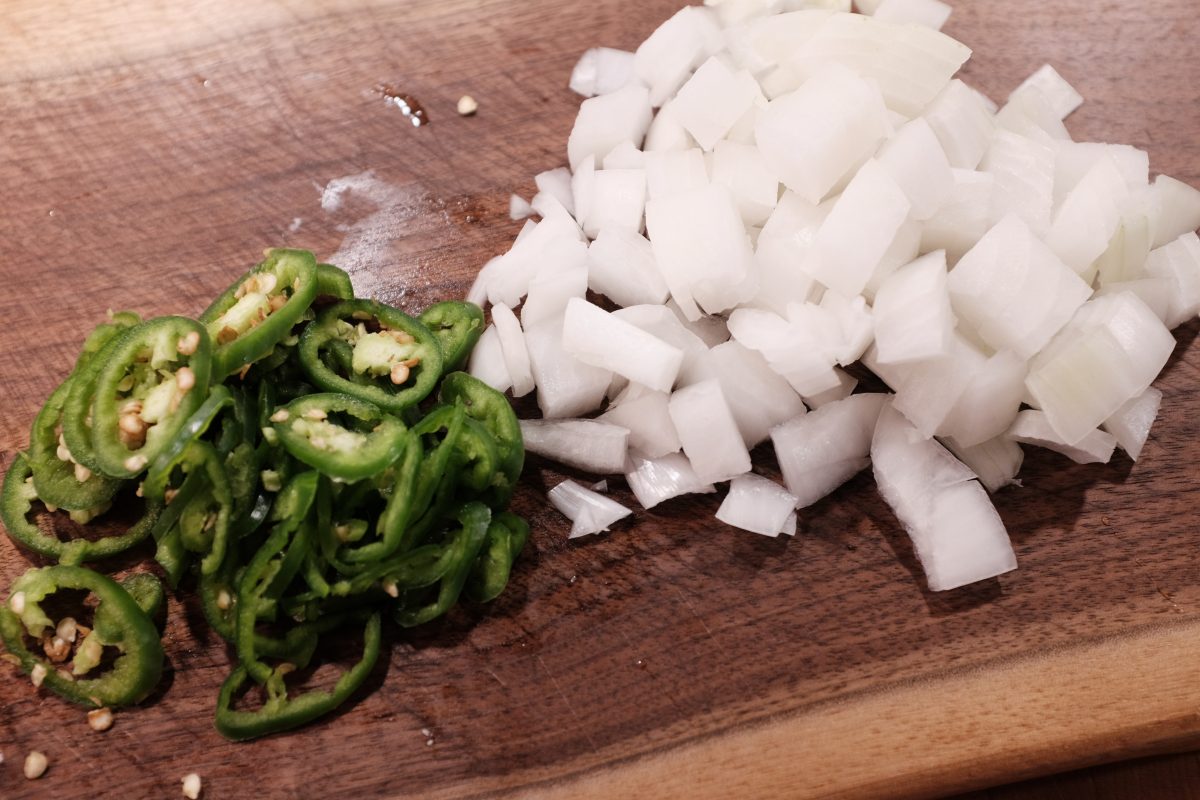
- 1/2 medium white onion
- 1 green long chile or jalapeño
I like regular harsh white vinegar for this recipe. You can substitute rice vinegar or apple cider vinegar but I would avoid using wine vinegars. Use regular brewed (Japanese style) soy sauce, not Korean soup soy sauce. Use an equal amount of honey if you prefer it over white sugar. You can leave out the chili altogether but, I would recommend just taking the seeds out if you don’t want any spice. The “greenness” of the chili adds alot of flavour here.
Process
This is one of my favourite soups. Hot and satisfying, it is especially good when you are feeling a little sick or run down. It is one of those meals that seems to instantly fortify the body much like my other favourite seolleongtang.
If you need a homemade kimchi recipe to go with any of your Korean cooking, click here.
If you have any comments or questions, please leave them below. Thanks for reading.
If you enjoy the content and would like to contribute towards website maintenance and development, you can make a donation here.