Say Sue Me: One Week
In the beginning
This morning, I made a quick (and mostly impulsive) list of my favourite Say Sue Me songs. I was planning to take a long walk and I thought it would be fun to compile the tunes into a playlist to keep me company: a kind of “Greatest Hits” according to me. While I was doing this, I wondered: “Which song was it that first made me want to hear more from this band?”
The answer came quickly: “One Week”.
I first heard this relatively unknown band from Busan, Korea sometime in 2017/2018. At that time, the only thing available to me was a compilation of their first 2 Korean releases “We’ve Sobered Up” and “Big Summer Night” co-released by Damnably in the UK and Electric muse in Korea.
This one:


On first listen, I knew that I had never heard anything quite like it but, at the same time, it was warm and familiar. It felt like meeting an old friend unexpectedly. I was immediately hooked.
At that time, the song that I liked the most was “One Week”. I have listened to this recording hundreds of times and I have heard the band play it many times live. I still love it as much as when I first heard it. The energy never fades for me. While I was listening to it today, I thought: what it is that I like so much about this song? The answer was…everything. I think this song is pretty much perfect. I wondered if it might be fun to look at the song piece by piece and write a little essay about it.
So here we are:
Lyrics
Most Say Sue Me songs have English lyrics, this one included. Singer Sumi Choi 취수미, tells the cute and funny story of a presumably bratty younger sister who, for some unknown reason, decides to be good to her big sister, much to her older siblings surprise. She can only manage to keep this up for “just that one week“…as she wavers back and forth between “evil jealousy and pure love again”.
It is such a relatable and charming story told in the most straightforward manner. The little sister is just stating the facts without explanation in the inimitable way that only a child can. If you listen to Say Sue Me over their long career, you will notice that Sumi is capable of poetic and deeply moving lyrics. But this is something else. It is the voice of a child from the past, written perfectly without any affectation.
Music
This compilation album has a do-it-yourself, live-from-our-basement lo-fi sound. It did get professionally remastered some years later and I have both versions. They are not so different but if I had to choose, I might pick the original version.
The base layer rhythm guitar is scratchy and distorted and sounds like it is coming out of a tiny transistor radio speaker, ragged and compressed. Underneath, Jaeyoung Ha 하재영 plots a simple bass line that just sticks to the root notes, no flourishes. I think there is power in this approach to bass playing especially in a song like this. The Ramones did this for their whole career.
Original drummer Semin Kang’s 강세민 steady rhythm and fills are deceptively simple and perfect here. If you listen closely you can hear spaces where he is just so slightly behind the beat that it gives the whole song a cool slack character. You feel like you are already a couple of beers in while listening. He sounds relaxed and it is contagious.
Then there is guitarist Byungkyu Kim 김병규. I would argue that Byungkyu is one of the most underrated guitar players working today. Yes, his technique is flawless. But with the caliber of musicianship in todays’ indie scene, this is not so unusual. Where Byungkyu shines is in his ability to create tension and release, his ability to deliver raw emotion in solo passages and his sense of melody and phrasing. He can dissolve a solo into a whirlwind of dark noise and then ride back out again on the most heart-wrenching crescendo of notes. In general, I don’t often enjoy guitar solos. But Byungkyu is a different story. Whenever I have seen the band live, there are a couple of his solos that always move me to tears. Every time.
With these early songs, he is not quite there yet, but his playing still forms the core of the Say Sue Me sound. Heavy, wet sounding spring reverb on single note themes run throughout this record. The verses of “One Week” have a simple line on the low strings sometimes mirroring Sumi’s vocals and sometimes knitting the bars together. Then the chorus ramps up with bouncing energetic 2 note chords higher up the neck from Byungkyu, with Sumi raking muted strings through a big wall of reverb underneath. It vibrates with fun energy. The noise underneath makes it sound like you are desperately trying to tune in the scratchy song on a shortwave radio as it comes over the airwaves from the opposite side of the world.
The best part is…
…the bridge: the music and the recording as well. The guitars rock back and forth on 2 chords and tons of reverb noise under Sumi chanting “I’m changing every week” opening up to a round of “evil jealousy, pure love again” as the volume goes up, the cymbals get hammered and the vocals get doubled and layered with harmonies. The last chord of the last round of “pure love agaaaaaaaaaain”! is a BIG FAT F-major that sounds like four hands are hammering it down on a gigantic church organ. A perfect stuttering drum fill brings it back to a volume-up chorus and then the final chord ringing out. This is one of those songs that you can’t possibly play loud enough.
It is a brilliant song from beginning to end that instantly cemented my love for this bands music.
What came after…
“One Week” is not necessarily my favourite Say Sue Me song but it is the one that got me hooked on their music. Since that time, the band has released many singles, EPs and albums and a few band members have come and gone. The core sound of these early recordings is still there but the song writing and musicianship keeps getting better with each release. Listen to the song “The Last Thing Left” from the album of the same name to get an idea of how far this band has come since the early days of “One Week”.
If you want to hear more Say Sue Me, you can stream them on all the usual platforms. For merch and physical copies of music, check out their Bandcamp. If you want to see what’s up day-to-day or check out the current tour, here is their Instagram .
What was the song that first got you hooked on Say Sue Me? Please leave a comment below.
If you enjoy the content and would like to contribute towards website maintenance and development, you can make a donation here.
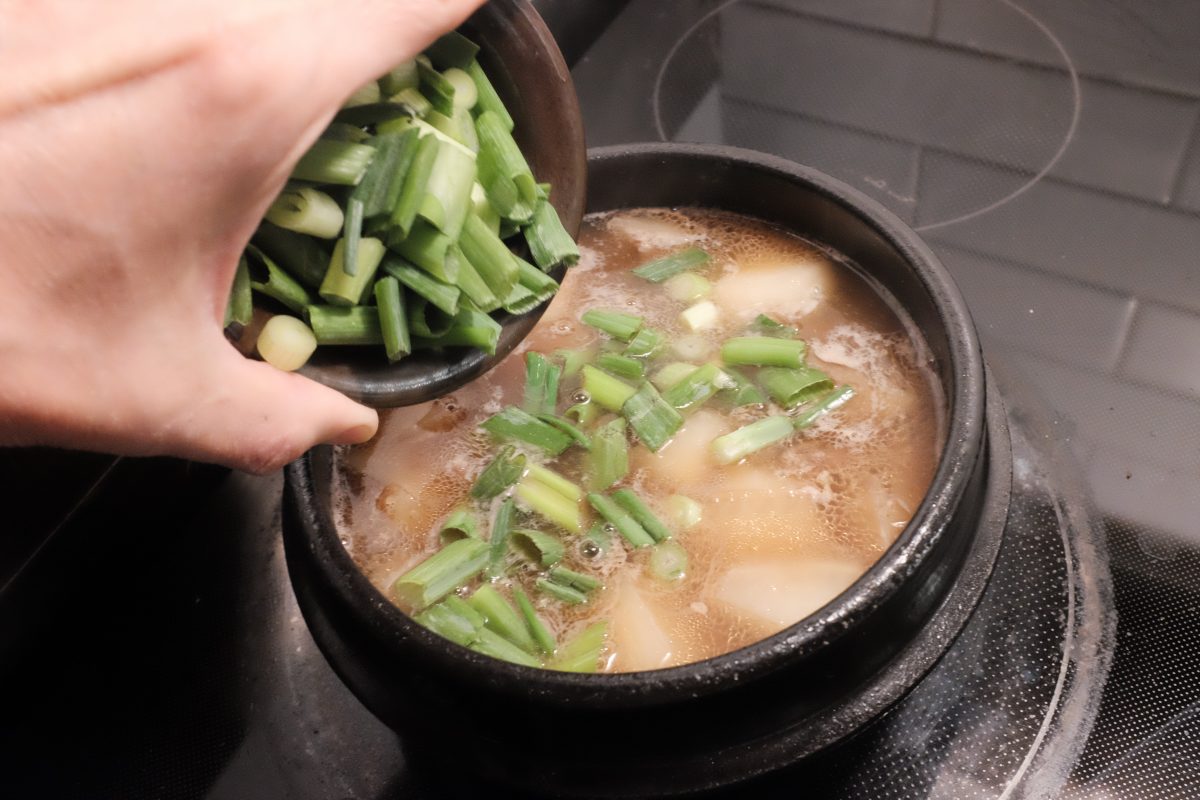
Beef and Radish Soup: Muguk
Korean beef and radish soup, or sogogi muguk, is a flavourful and nutritious soup which is easy to make quickly. There are only a handful of ingredients and everything is cooked in one pot.
Ingredients
- 150gr (5-6oz) beef brisket point sliced thinly against the grain
- 250gr (8oz) Korean radish
- 15ml (1 tablespoon) sesame oil
- 5 or 6 cloves garlic sliced thin or minced
- 15ml (1 tablespoon) Korean soup soy sauce (gukgangjang)
- 2 or 3 green onions (scallions)
- 750ml (3cups) water approximately
- salt and pepper
I used beef brisket in this recipe because I can get it easily and I like that it is lean and tender at the same time. If you can’t get brisket, you can use almost any other good cut of beef. Lean cuts from the round will be a little chewier but still delicious: cut them thin. If you want to put premium steak cuts in here, go right ahead. I have even made this with ground beef in a pinch.
Don’t use regular soy sauce. Korean gukganjang or soup soy sauce can be found at any Korean grocer. Regular soy sauce is a poor substitute. If you can’t find soup soy sauce, substitute with a good quality fish sauce.
The meat to radish proportion can vary. This one I am making has a pretty generous amount of meat. Feel free to use a little less or, even more if you want to load up on protein.
Process


I like to eat this with a bowl of rice and a couple of sides. Today I am having home made kimchi and a cucumber salad. I made kkakdugi yesterday but it is not quite ready yet. Otherwise I would eat it with this dish : )
This recipe will make enough for two medium portions or one very large portion.
If you have any questions or comments, please leave them below. I love to hear from you.
If you enjoy the content and would like to contribute towards website maintenance and development, you can make a donation here.
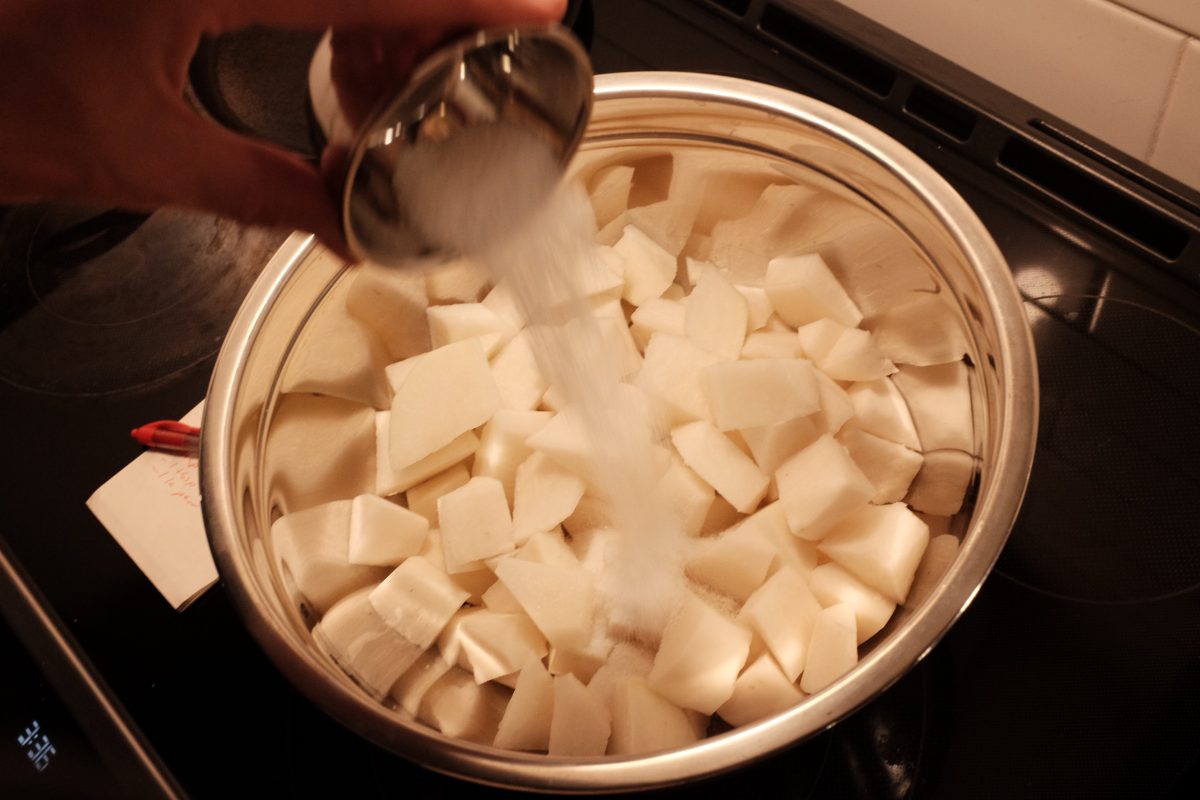
Kkakdugi or Korean Radish Kimchi
Kkakdugi, or Korean Radish Kimchi, is one of the fastest and simplest kimchis to make. There are relatively few steps and just a handful of ingredients. The recipe you will see here is a little different from others you may find.
Last time I travelled through Korea, I noticed 2 distinct kinds of kkakdugi. One was the classic little cubes served as a side in many restaurants. The other is a much larger and chunkier radish kimchi. This second one accompanies clear and mild beef broth dishes like seolleongtang or doganitang. The pieces of radish tend to be bigger and less uniform and there is much more liquid in the kimchi. The kimchi is on the table in a big container from which you can eat the radish but you can also use the kimchi-juice to season your soup. This is what I am attempting to make here. You can also just eat it as a side the same as you would any kkakdugi.
Ingredients
As a chef, I always preferred to cook by weight rather than volume. I grew up using the metric system and I like it very much. So, as much as possible from now on, I will include metric equivalents. Keep in mind that other than salt and radish, you can vary ingredients as you like to suit your tastes.
- 3.5-4lb (1.5-2kg) Korean radish (the one i am using is 1700gr)
- 2 tablespoons (25gr) Diamond Crystal Kosher Salt
- 1/4cup (30gr) korean chilli flakes / gochugaru
- 1 tablespoon (20gr) salted baby shrimp / saeujeot
- 10 cloves (35gr) garlic minced
- 1 teaspoon (10gr) ginger minced
- 1 tablespoon sugar (75gr)/syrup
- 1 asian pear peeled and chopped
- 1 cup of chopped green onion/scallion or asian chive/buchu
Korean radish is similar to white daikon in some ways but the flavour of Korean radish is usually more sweet and vegetal and less hot and bitter. But, if you really can’t find Korean radish, daikon is a reasonable substitute.
I am using Diamond Kosher salt. You can substitute 30 grams of any good salt, but avoid using table salt.
I just happen to have a homemade maesil plum syrup on hand which I am using instead of sugar. If you want to try it, you can find maesil syrup in any Korean grocer.
Feel free to vary the amount of chilli flakes to make this as spicy or as mild as you like.
Korean pears are not available at this time of year so I am using a whole regular asian pear which is roughly half the size of the Korean variety. You can also substitute an apple or regular pear or leave it out altogether.
Process


Allow the kimchi to ferment on the counter for a day or two. Taste it a couple times a day and when you are happy with the flavour, refrigerate it. You can eat the radish kimchi as is as a side to any dish or use the kimchi liquid to season mild soups.
Just like any kimchi, kkakdugi will continue to ferment and sour over time. If it gets too sour to eat as is have a look here for ideas on how to use well aged kimchi. Radish kimchi will work just as well as cabbage kimchi in hot dishes. I especially like it in kimchi fried rice.
If you are also looking for a good cabbage kimchi recipe, you can find mine here.
Lastly, if you are interested in what Seolleongtang looks like in Seoul, Korea, have a look here or here. Maybe in the future I will put up a recipe for Seolleongtang although it is a long long process that is challenging to make at home. Here is a good recipe from Korean Bapsang. This kimchi would be a perfect accompaniment!
If you have any questions or comments, please leave them below. I love to hear from you.
If you enjoy the content and would like to contribute towards website maintenance and development, you can make a donation here.