Posts in Category: Cooking
Beef Bone Broth Version 1: Low and Slow
Broth vs Stock
I am calling this a “Beef Bone Broth” only because it seems to be the name that everyone is using these days. It makes a perfect base liquid for any number of soup or sauce recipes although it also has many other uses.
In professional cooking, a “broth” is a usually a lighter, thinner, and often salted liquid made by boiling vegetables and/or meat for a relatively short time. A “stock”, in contrast, is made from bones and their connective tissue, simmered for a very long time, sometimes with vegetables and aromatics, usually without salt. A broth is a thin and flavourful liquid while a stock is a thick, gelatinous and relatively flavourless liquid (until it is seasoned).
So..as you will see, what we are making here is nothing like a broth. It is a very simple beef stock.
Long, Low and Slow vs Hard and Fast
This recipe is for a long, low and slow method that cooks until the bones have nothing left to give. The end result is a mostly clear, slightly brown stock. It is thick and gelatinous, even slightly sticky. If you added mirepoix (say onions, celery, carrot) to this later in the process, you would end up with something like a Western white veal/beef stock.
The second one (click here for other version) is a hard boil and relatively fast stock (for beef bones). It will still take several hours but, it will result in a milky white broth with a nutty flavour and slightly thinner consistency. This is what you will often see in Seolleongtang or Mandu Guk (dumpling soup) in Korean restaurants.
Ingredients
You can make this as large or small as you like. I have made a recipe that fits into my biggest stock pot which holds around 12 litres / 3 gallons. Just make sure that the pot is big enough to keep bones submerged plus a little water on top.
- 4 kg / 8lb cut beef hip bones (this is usually a mix of marrow bones and knuckle bones)
- 1.5 kg / 3lb cut cow foot
- fresh cold water to cover them
My local Korean grocer keeps bags of cut beef bones in the freezer section all the time. And, there is a butcher near me that usually has frozen whole cow feet as well. Any butcher shop should be able to get you beef hip bones for stock. The cow foot is optional but it is made of of mostly connective tissue and this will add body and richness to your finished stock. If you can’t get cow foot, just omit or replace with regular hip bones.
Process
Wash and Soak


Initial Boil (blanching)


Simmering the stock


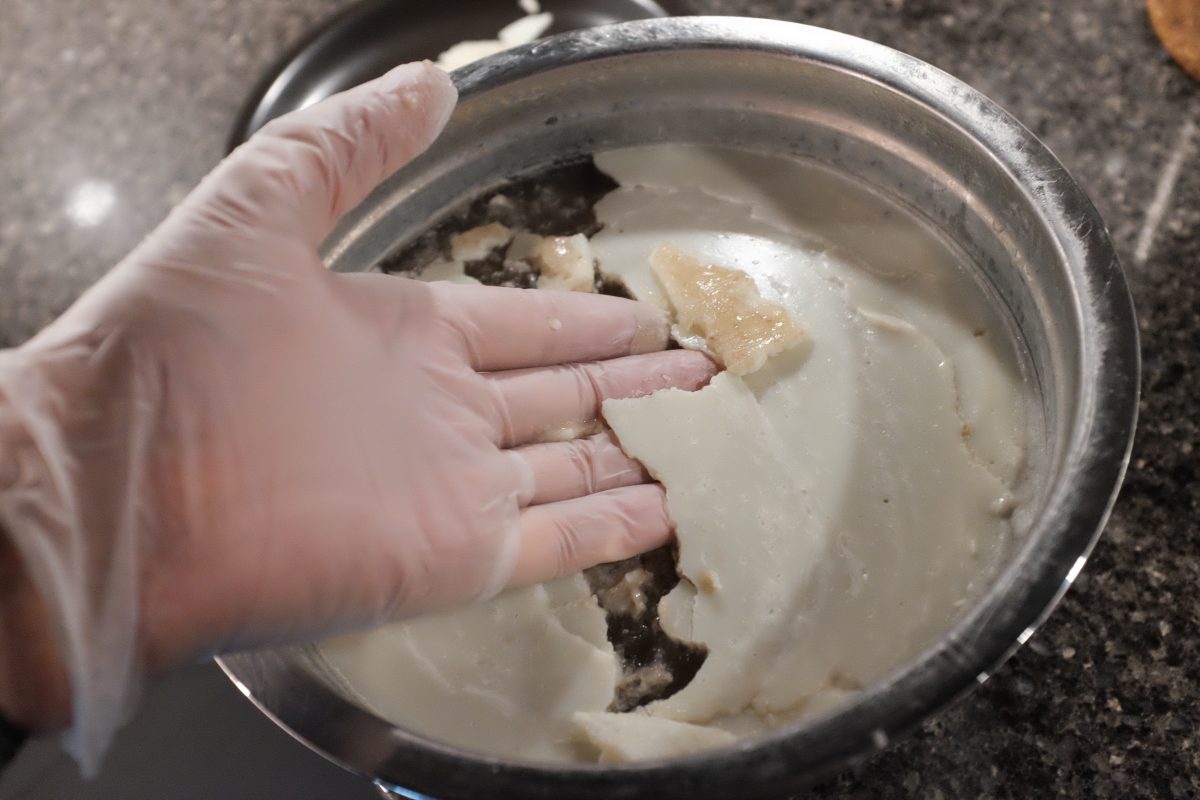
32 hours later….


Cooling and Storage


How to use your Beef Bone Broth
Simmer any combination of meat/vegetables/mushrooms in it for a delicious soup. Add your favourite noodles to it. Or, you can simply warm it up and add rice and seasoning. You can even drink it as is for a deeply nutritious and filling liquid snack.
This beef bone broth (stock) is a liquid rich in body and texture that is mostly neutral in flavour…a base for almost anything you can imagine. Soup, stew, sauce, smoothie…anything goes. If you have any recipe that has water as an ingredient, replace it with this stock to improve the flavour and the nutritional value. As I cook with this new stock, I will post up ideas as I make them.
If you enjoy the content and would like to contribute towards website maintenance and development, you can make a donation here.
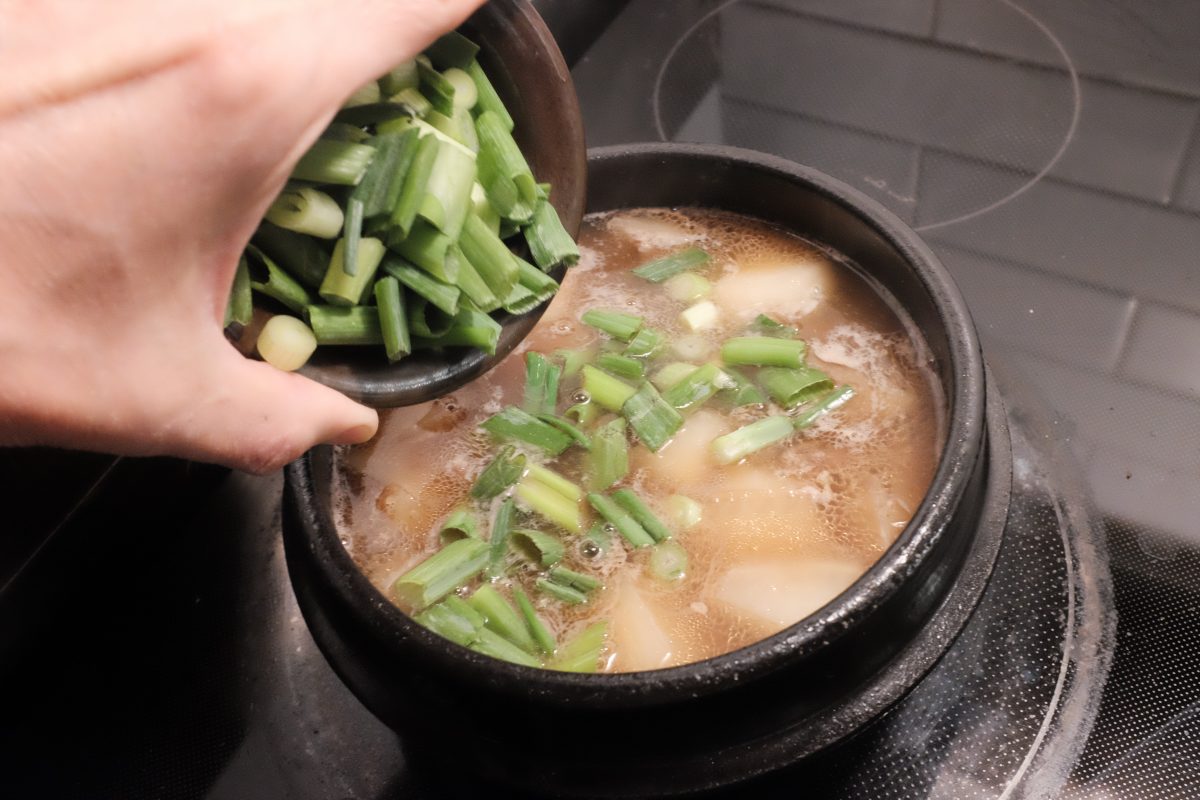
Beef and Radish Soup: Muguk
Korean beef and radish soup, or sogogi muguk, is a flavourful and nutritious soup which is easy to make quickly. There are only a handful of ingredients and everything is cooked in one pot.
Ingredients
- 150gr (5-6oz) beef brisket point sliced thinly against the grain
- 250gr (8oz) Korean radish
- 15ml (1 tablespoon) sesame oil
- 5 or 6 cloves garlic sliced thin or minced
- 15ml (1 tablespoon) Korean soup soy sauce (gukgangjang)
- 2 or 3 green onions (scallions)
- 750ml (3cups) water approximately
- salt and pepper
I used beef brisket in this recipe because I can get it easily and I like that it is lean and tender at the same time. If you can’t get brisket, you can use almost any other good cut of beef. Lean cuts from the round will be a little chewier but still delicious: cut them thin. If you want to put premium steak cuts in here, go right ahead. I have even made this with ground beef in a pinch.
Don’t use regular soy sauce. Korean gukganjang or soup soy sauce can be found at any Korean grocer. Regular soy sauce is a poor substitute. If you can’t find soup soy sauce, substitute with a good quality fish sauce.
The meat to radish proportion can vary. This one I am making has a pretty generous amount of meat. Feel free to use a little less or, even more if you want to load up on protein.
Process


I like to eat this with a bowl of rice and a couple of sides. Today I am having home made kimchi and a cucumber salad. I made kkakdugi yesterday but it is not quite ready yet. Otherwise I would eat it with this dish : )
This recipe will make enough for two medium portions or one very large portion.
If you have any questions or comments, please leave them below. I love to hear from you.
If you enjoy the content and would like to contribute towards website maintenance and development, you can make a donation here.
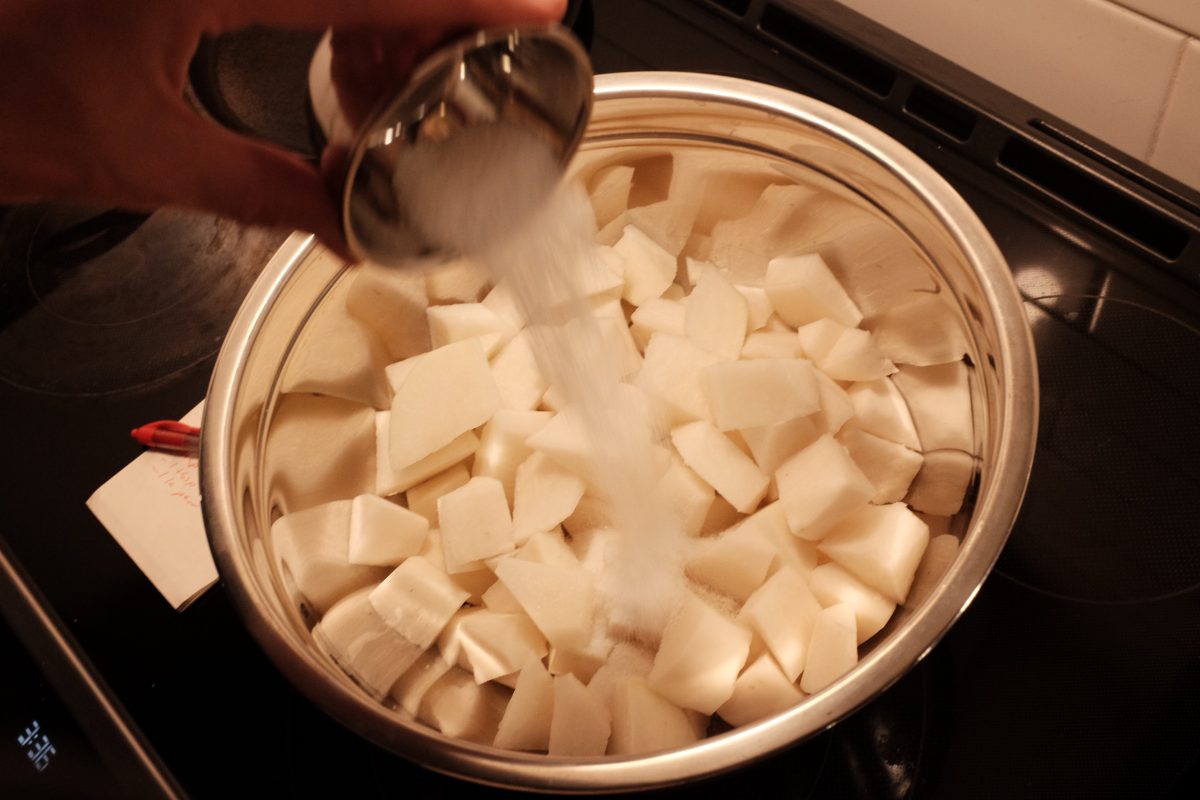
Kkakdugi or Korean Radish Kimchi
Kkakdugi, or Korean Radish Kimchi, is one of the fastest and simplest kimchis to make. There are relatively few steps and just a handful of ingredients. The recipe you will see here is a little different from others you may find.
Last time I travelled through Korea, I noticed 2 distinct kinds of kkakdugi. One was the classic little cubes served as a side in many restaurants. The other is a much larger and chunkier radish kimchi. This second one accompanies clear and mild beef broth dishes like seolleongtang or doganitang. The pieces of radish tend to be bigger and less uniform and there is much more liquid in the kimchi. The kimchi is on the table in a big container from which you can eat the radish but you can also use the kimchi-juice to season your soup. This is what I am attempting to make here. You can also just eat it as a side the same as you would any kkakdugi.
Ingredients
As a chef, I always preferred to cook by weight rather than volume. I grew up using the metric system and I like it very much. So, as much as possible from now on, I will include metric equivalents. Keep in mind that other than salt and radish, you can vary ingredients as you like to suit your tastes.
- 3.5-4lb (1.5-2kg) Korean radish (the one i am using is 1700gr)
- 2 tablespoons (25gr) Diamond Crystal Kosher Salt
- 1/4cup (30gr) korean chilli flakes / gochugaru
- 1 tablespoon (20gr) salted baby shrimp / saeujeot
- 10 cloves (35gr) garlic minced
- 1 teaspoon (10gr) ginger minced
- 1 tablespoon sugar (75gr)/syrup
- 1 asian pear peeled and chopped
- 1 cup of chopped green onion/scallion or asian chive/buchu
Korean radish is similar to white daikon in some ways but the flavour of Korean radish is usually more sweet and vegetal and less hot and bitter. But, if you really can’t find Korean radish, daikon is a reasonable substitute.
I am using Diamond Kosher salt. You can substitute 30 grams of any good salt, but avoid using table salt.
I just happen to have a homemade maesil plum syrup on hand which I am using instead of sugar. If you want to try it, you can find maesil syrup in any Korean grocer.
Feel free to vary the amount of chilli flakes to make this as spicy or as mild as you like.
Korean pears are not available at this time of year so I am using a whole regular asian pear which is roughly half the size of the Korean variety. You can also substitute an apple or regular pear or leave it out altogether.
Process


Allow the kimchi to ferment on the counter for a day or two. Taste it a couple times a day and when you are happy with the flavour, refrigerate it. You can eat the radish kimchi as is as a side to any dish or use the kimchi liquid to season mild soups.
Just like any kimchi, kkakdugi will continue to ferment and sour over time. If it gets too sour to eat as is have a look here for ideas on how to use well aged kimchi. Radish kimchi will work just as well as cabbage kimchi in hot dishes. I especially like it in kimchi fried rice.
If you are also looking for a good cabbage kimchi recipe, you can find mine here.
Lastly, if you are interested in what Seolleongtang looks like in Seoul, Korea, have a look here or here. Maybe in the future I will put up a recipe for Seolleongtang although it is a long long process that is challenging to make at home. Here is a good recipe from Korean Bapsang. This kimchi would be a perfect accompaniment!
If you have any questions or comments, please leave them below. I love to hear from you.
If you enjoy the content and would like to contribute towards website maintenance and development, you can make a donation here.