Three Things Unrelated: Jazz, Aging and Snakes
First: Little kids and jazz
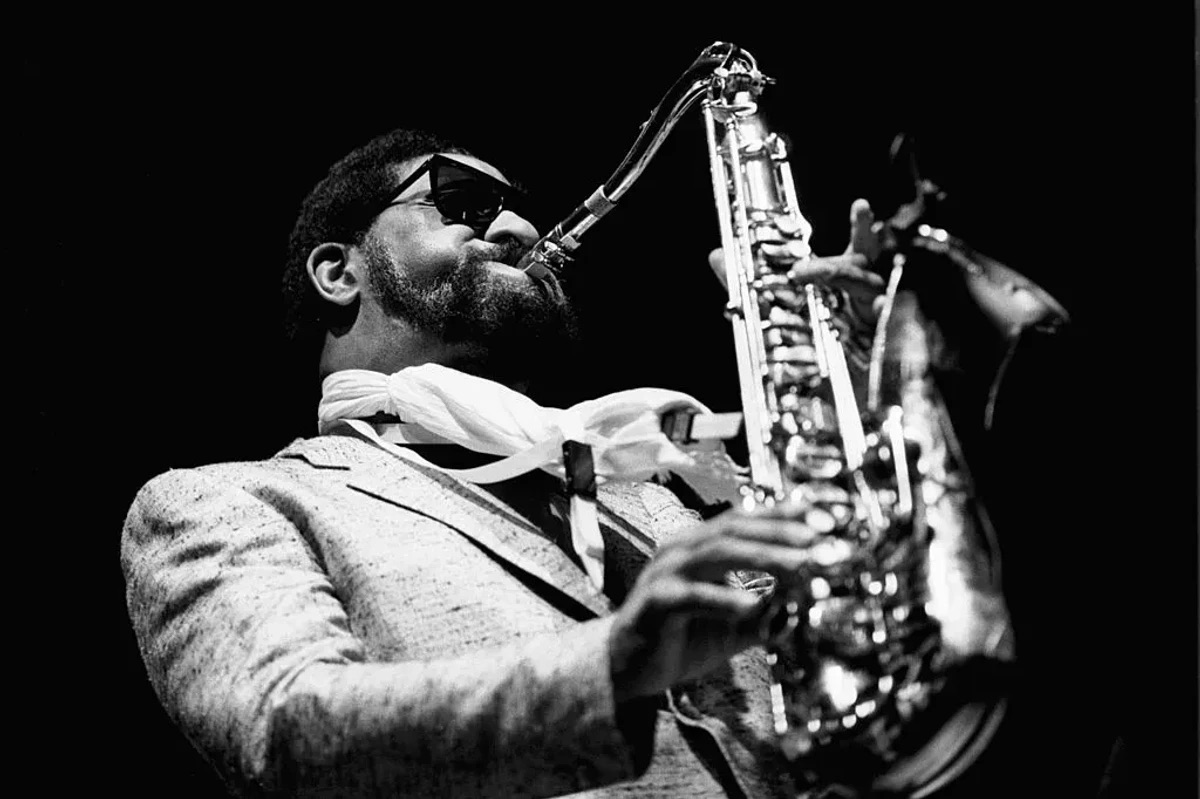
Sonny Rollins was 95 when he died on May 25th of this year. Coming up during the golden age of jazz, he had a lifelong career as a world class horn player. He was my favourite jazz musician and I spent a lot of time listening to his recordings over the last couple of decades. I was sad when I heard that he was gone.
When my daughter was very little, we used to lay on my bed every evening and listen to records. We listened to all kinds of music, including jazz from the 50s and 60s. Sonny Rollins was on frequent rotation and I think my daughter could probably still recognize many of his tunes.
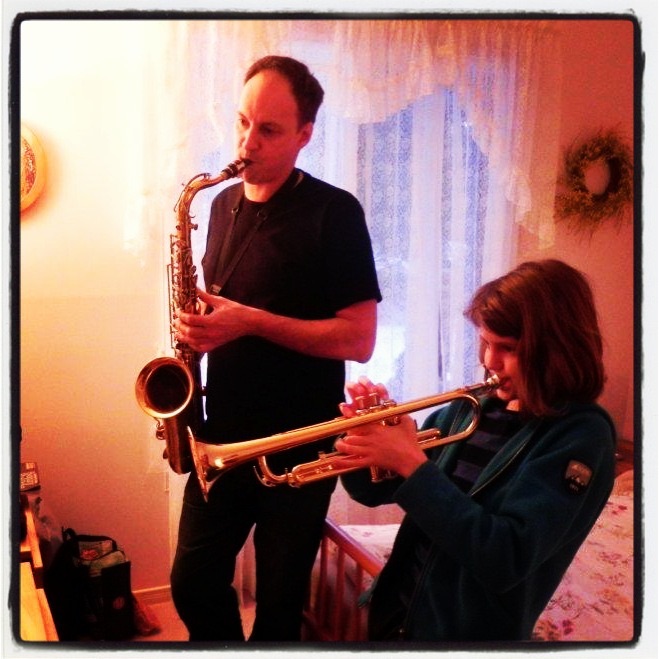
Later on, my daughter got interested in playing the trumpet (we listened to Clifford Brown and Miles Davis too). And, at the same time, I picked up the tenor saxophone. For the time that we lived in our own house, where we could make all the noise we wanted, we both practised hard and made some good progress. I learned to play some of my favourite Sonny Rollins tunes and she became the one man horn section in a string of school rock bands. We could even play some simple jazz standards together.
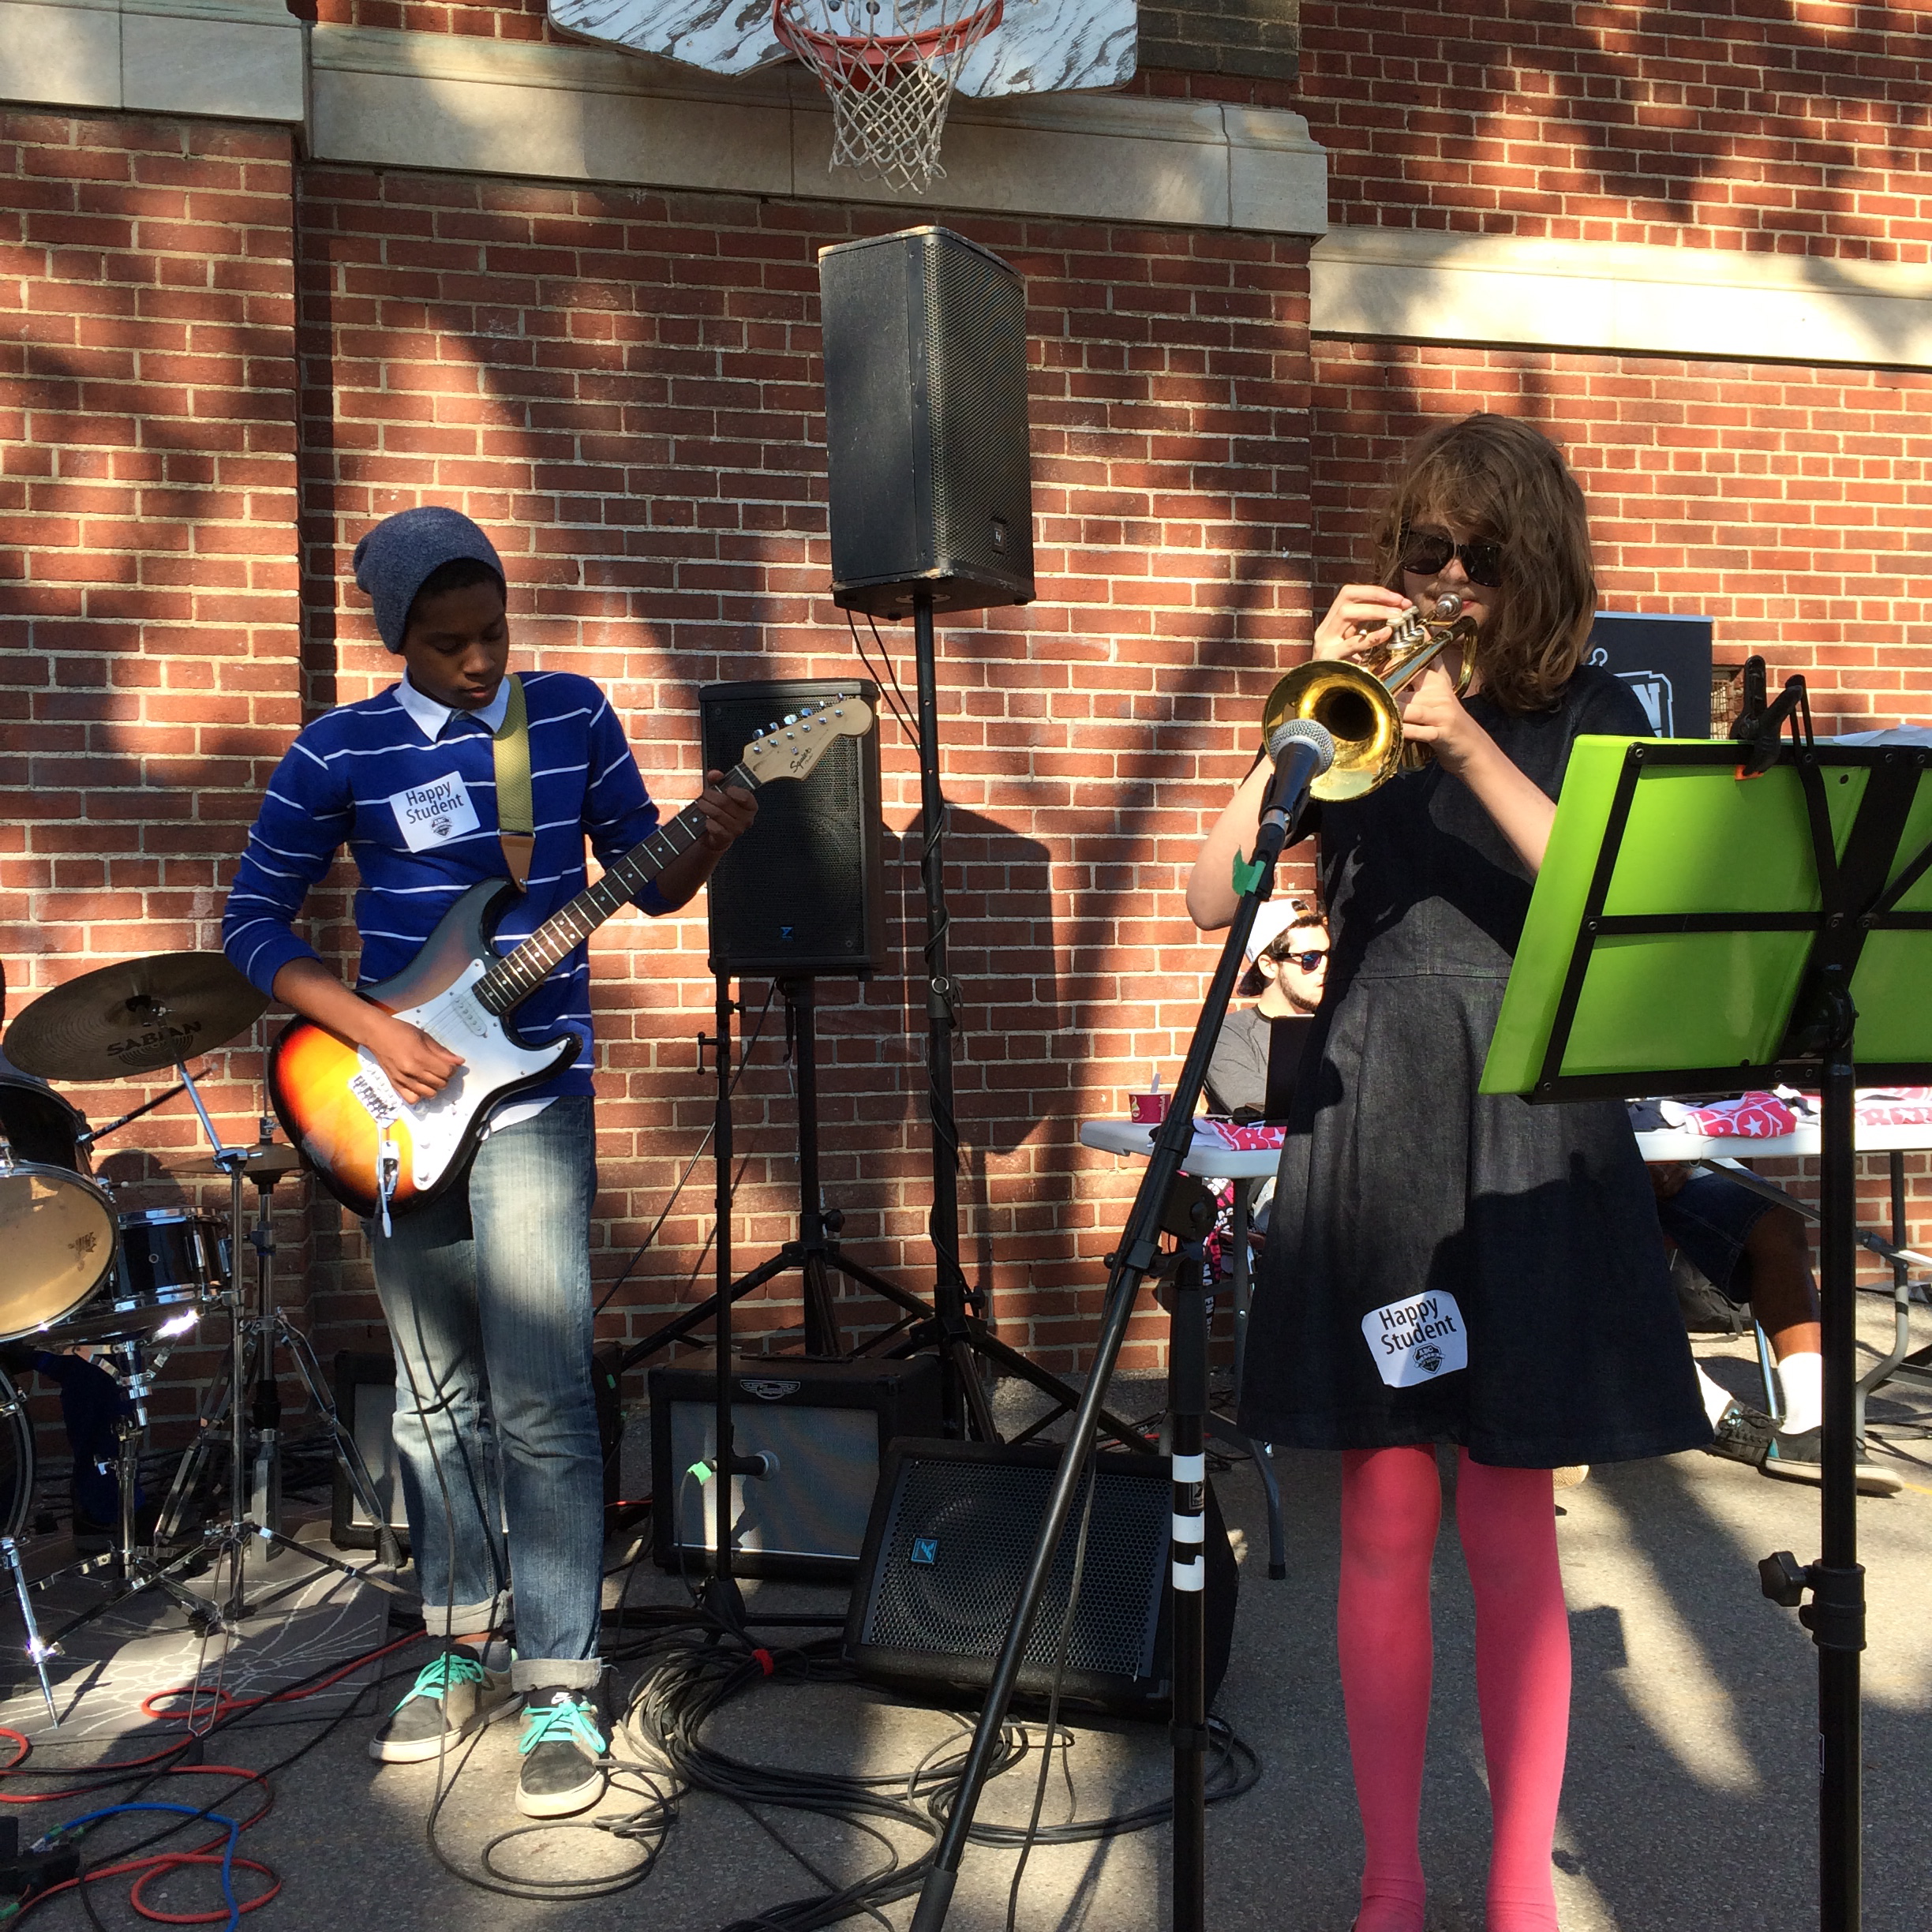
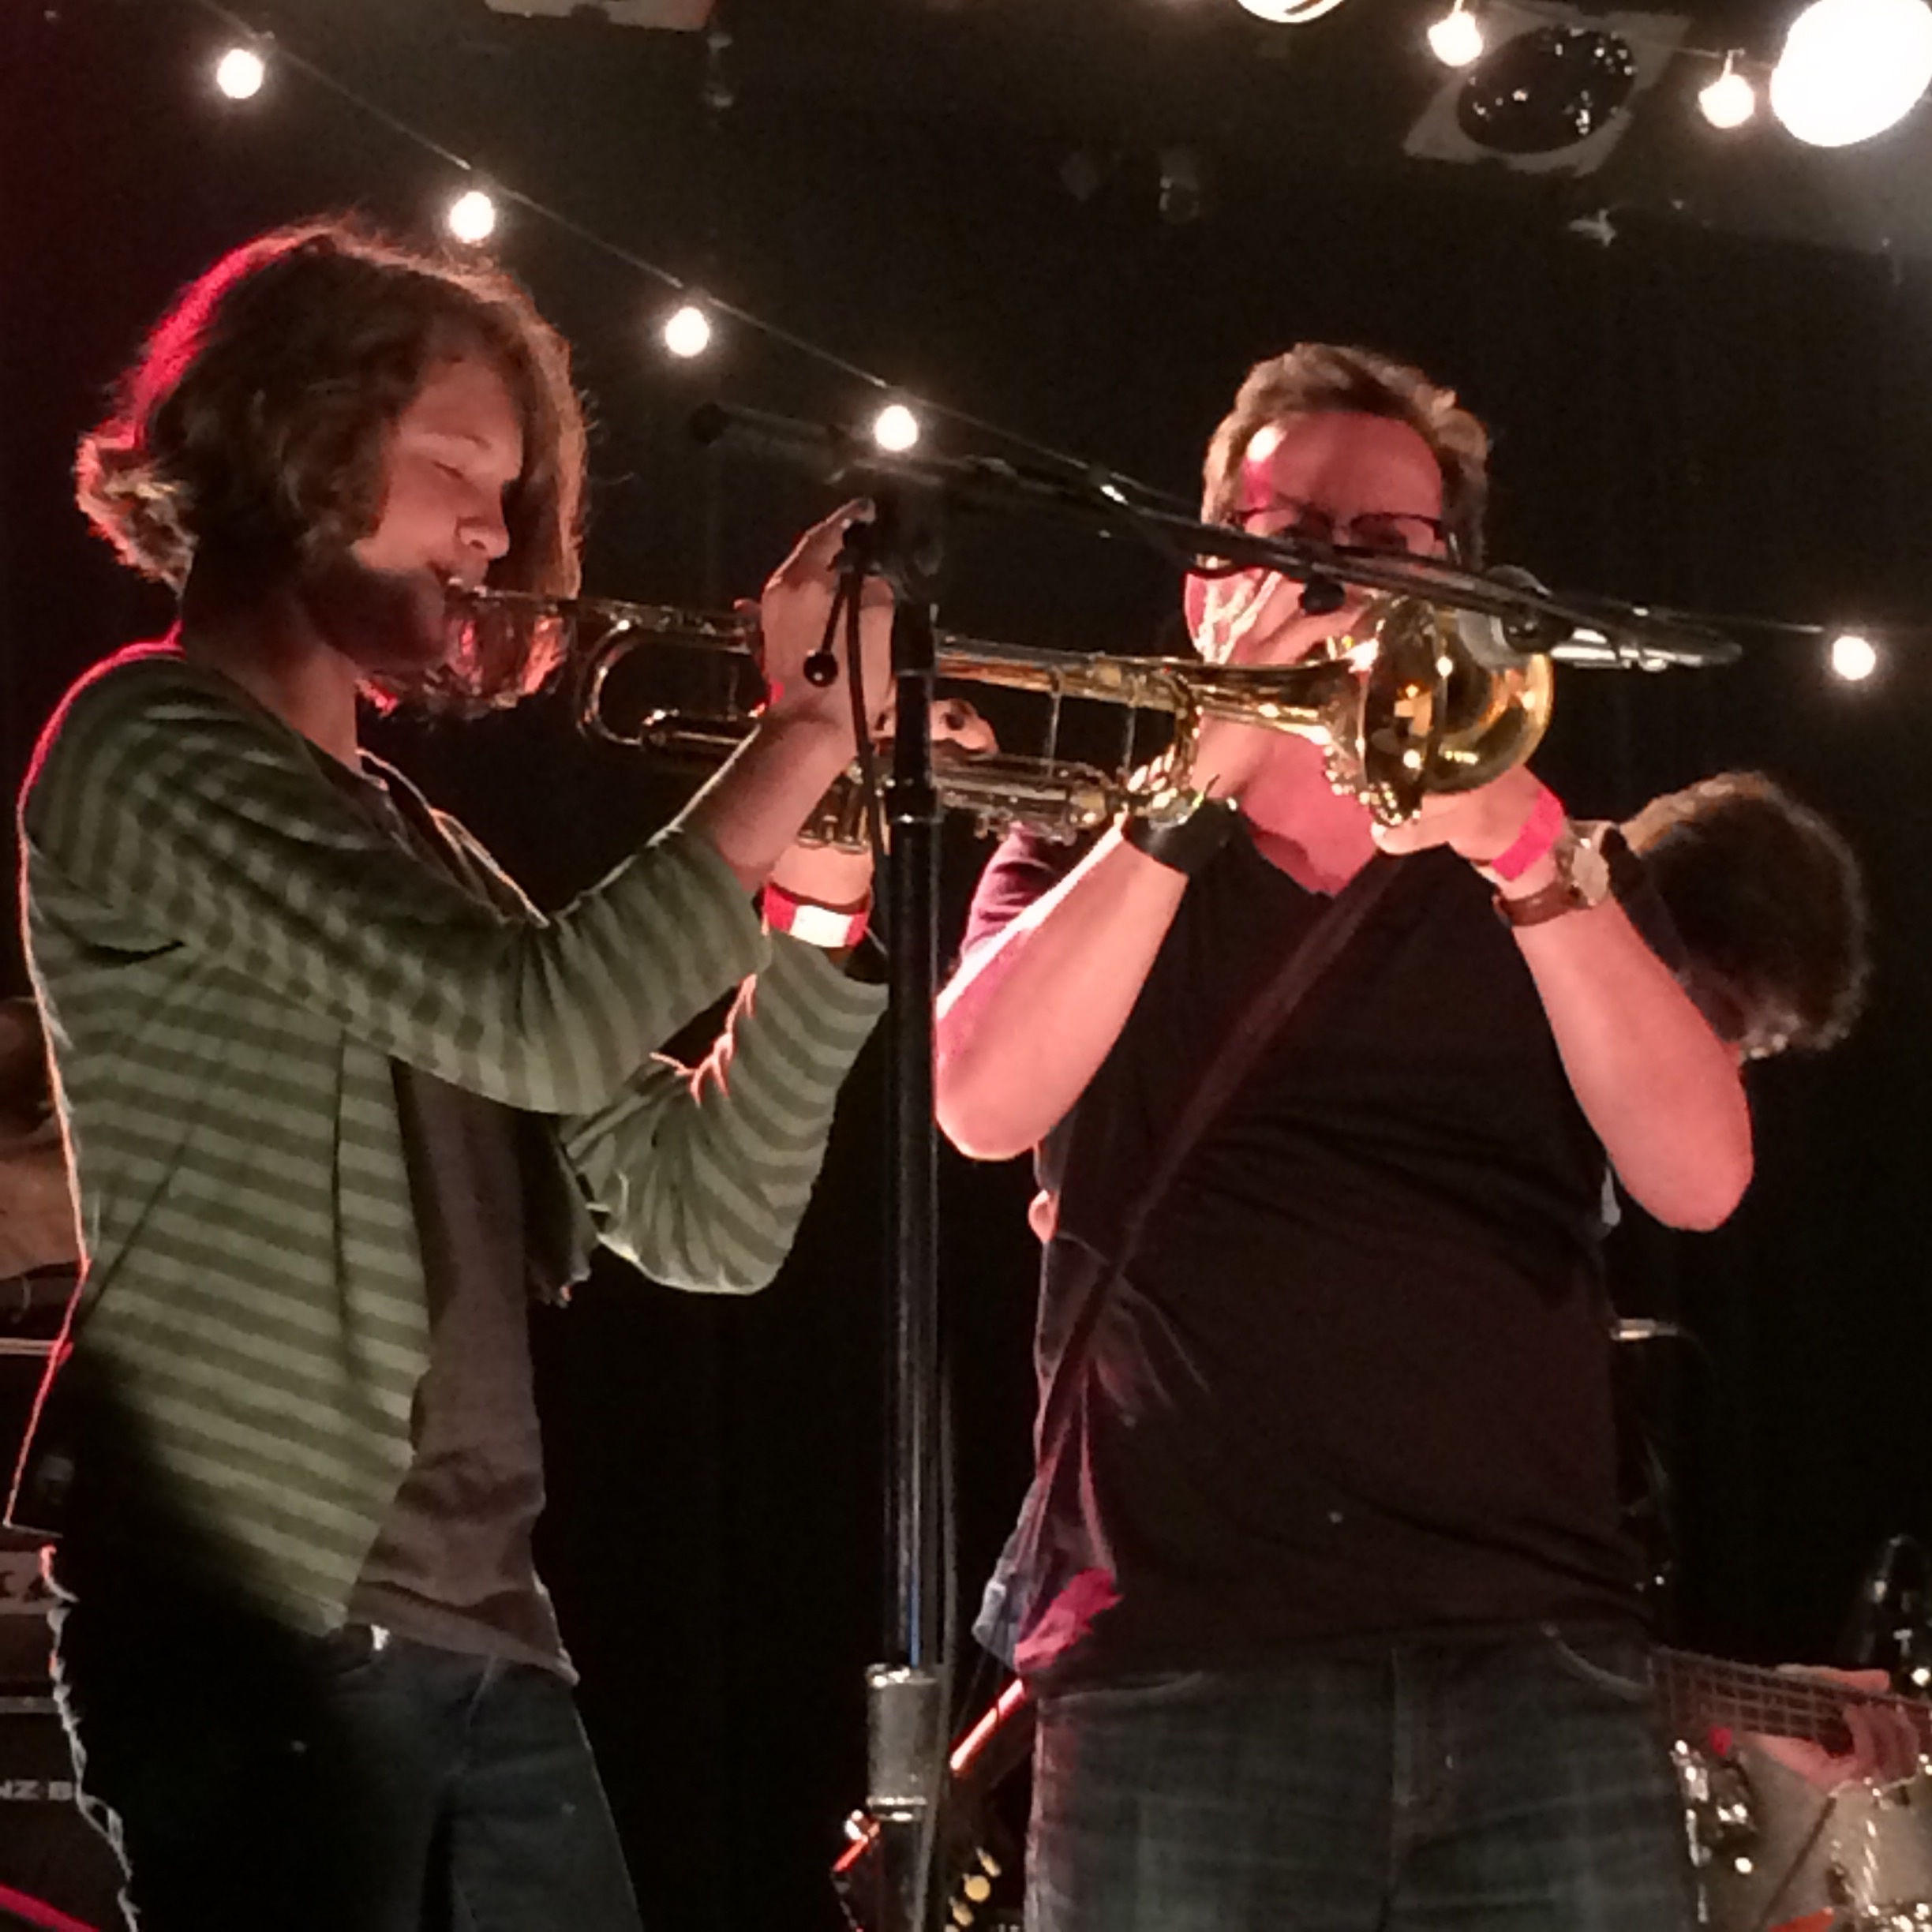
In 2015, at only 14 years old, she played trumpet backing a band at Lee’s Palace for the NXNE festival. It’s wild to think of how many bands we have seen on that stage since then. It was a very proud moment as a parent!
After Sonny died, I spent some time thinking about how my daughter came to absorb this music as a little kid. As an adult, I don’t think she puts on too many 60s jazz records but, I do know that she likes the music. And that she “gets it”.
The problem with jazz / the problem with adults
Jazz is a polarizing genre. People seem to love it or hate it. Most of the adults I know don’t listen to much jazz music at all. I am not talking about Louis Armstrong and Ella Fitzgerald here…more like bebop and hard bop…Miles Davis, John Coltrane, Charles Mingus, Charlie Parker, Sonny Rollins etc…
I think to enjoy this kind of jazz you have to just accept it and let it flow into you without any biases or expectations. This music is emotional, even spiritual, and trying to “understand” it is not that helpful. Trying to force it into some familiar musical context is not that helpful either. You just have to passively let it in.
This kind of passive listening is difficult for most of us. Adults apply their biases and filters to quickly judge and label new experiences. As we grow up, our brains are trained to be more efficient (and less patient). Somewhere along the line, as we “mature”, we seem to lose the ability to passively take in the world around us without quantifying and calculating and cross referencing everything. Kids just run around and have fun while adults consult the health apps on their smartphones to judge whether they have accomplished any worthwhile goals. “Hey, what’s your step count?”
I think adults tend to apply the same kind of quick judgments and calculations to evaluate unfamiliar music. In the first 5 minutes of an impatient listen to something like John Coltrane’s “A Love Supreme”, you might think: “harsh”, “noisy”, “chaotic”, “irritating”. But if you stop trying to find the beat or a recognizable melody, if you just relax and let it in, you will experience something very different. What I mean is: put your phone in another room, lay down on the floor, close your eyes and just listen to the whole record uninterrupted. Then see how you feel.
How many adults would be willing to spend 45 minutes trying something like that? Not too many I am sure. Please let me know if you try!
What children will always do better…
Passively experiencing the world is natural and easy for children. Kids spend at least the first 8-10 years of their lives wide open to absorbing new information and experiences. This is their job as little humans learning how to survive. Because of this natural tendency to soak everything up without too much thought, I think early childhood is the best time to show kids “difficult” music like jazz or even classical. Don’t ask them if they like it. Just put it on and let them experience it in their unfiltered kid way.
“Kids” music is not the only music kids are capable of listening to. And, a lot of music made specifically for kids is trash. I think the goal is to keep the kids occupied and out of their parents hair. What’s worse is that AI will soon be writing most kid music (according to what seizes their attention and keeps them paralyzed in front of the screen). No fun, no learning, no real emotion. They need to hear something else, like a nutritional supplement for the ears: jazz or classical or klezmer music…all of it!
I would feel guilty if I didn’t admit that there is actually some wonderful kids music out there. But, I think it is very rare. A golden example from my daughters childhood is “Dora’s Pirate Adventure”. It has some of the most fun and addictive songs, written and played by talented session musicians on real instruments. The bass lines in particular are some of the best. No joke..I still listen to it from time to time. Check it out:
One of the most important jobs as a parent is to show the world to our kids. As much as possible. All the time. And from as many different angles as we can. I love music of all kinds and I wanted my daughter to share that. I wanted her to see beyond what’s popular and trendy and make up her own mind about what moves her.
Something I know as a parent…
Your kids are NEVER going to like everything that you like. And they will probably end up liking a lot of things that you can’t stand. Accept this fact from day one and just show them everything you can. If you let them discover what they like instead of trying to push them in one direction or another…you will both end up learning from each other. With music, I have learned as much from my kid as I have ever taught to her. And although our tastes are different in many ways, we still find enough common ground to enjoy going out to live shows often and just soaking it all in. Given the gap in our ages, I know exactly how precious this is.
Second: Aging as a process of loss
A couple of days ago, I spoke to my mom on the phone and she told me that her best friend had died. She had been sick for some time and the end had finally come for her. After we hung up, I felt a heavy sadness for a few days. The person who died was one of the kindest and sweetest people I remembered from childhood. She made the most delicious Polish food and always had a big cake from a fancy euro-bakery to eat after dinner. When I think of her I feel warm…the unfettered affection of a little boy in a safe place surrounded by love. She was really like a second mom to me.
This was a person that I spent a lot of time with as a young child. Their house was a gathering place. On weekends, my parents would drink and play cards with their friends until the sun came up and I would routinely fall asleep underneath a coffee table or in a big pile of coats. As a child of new immigrants, my family was somewhere far away. I had never met most of them. So, my parents’ young friends took their place. Czech, Slovak, Polish, Hungarian….we all mixed together to become our own kind of family. My parents were very young (20ish) so I was the only kid in the mix. And, I got nothing but love from all these perfumed ladies in sparkling dresses and giant moustached men…big warm hugs and tobacco smoke kisses. I loved them all deeply in the way that only a child can when they feel safe and truly cared for. They were my family. Nothing less.
Have you ever watched a Hirokazu Kore-eda film? I think “Shoplifters” is probably his most well-known movie in the west. Most of his films explore the idea of family and what it means to be part of one. All of the families in his films are unconventional in some way and sometimes they are even made up of completely unrelated people. But, by the end of the film, you come to realize that they are no less than a “real” family. And maybe they are even closer. He is one of my favourite directors and I think his stories feel so compelling to me because of the way I grew up.
After the news from my mom, I started thinking about all of the people who surrounded me back then. Not just acquaintances or people whose faces I knew but people who I truly loved as a child. It seemed to me that a lot of them had disappeared.
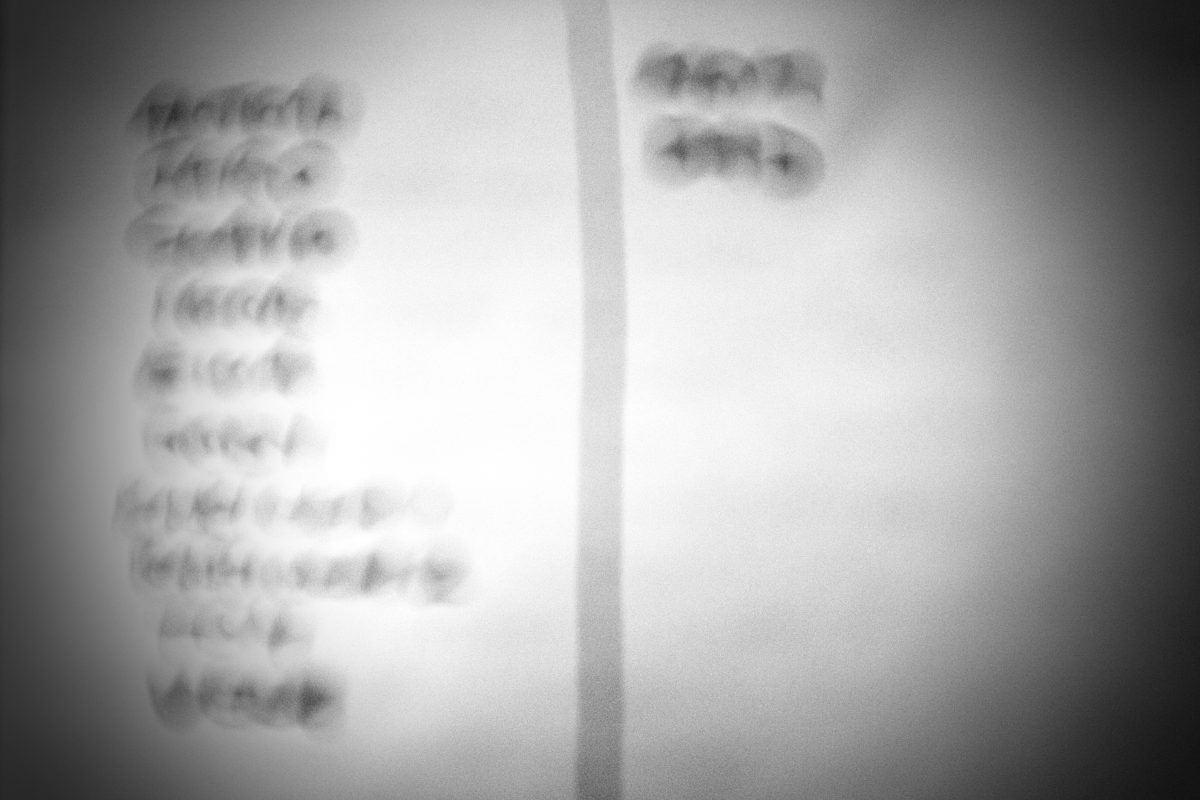
I decided to make a list of all the people in my childhood family. On the left side, I put the names of people who had died and on the right side, I put the names of people who were still alive. Of the twelve people I listed, only two are still here: my mom and dad. Writing down the names like that, summing up the living vs the dead came as kind of a shock. It was nothing I didn’t already know in some way… I guess. But to see it plotted out on paper was still surprising.
I like to read Haruki Murakami’s books. A common theme in his novels, and one that always sticks in my mind, is the idea of aging as a process of loss and the loneliness that grows as people disappear around you. I was feeling so much of this when I finished writing my list. All of these people that I could never replace. The kings and queens of my childhood.
Third: What I learned from snakes in my neighbourhood
Where are all the snakes?
There is a park nearby that is a good place to relax and get away from the noise of the city. It has a series of ponds and trails through woods and grasslands. I have seen many animals here over the years: turtles, frogs, birds, bats, beavers, muskrats, squirrels, raccoons, big insects, deer, coyotes, fish and giant toads. The one thing that I never saw for years was a snake. I really wanted to see a snake. I tried hard looking around all the places I thought a snake would be. But, for years on end, I never saw a single one.
Eventually I gave up looking for them. I just assumed that there were no snakes at the park. Then one year, on one of the first warm days of spring, I got a surprise. While squatting down beside a pond, a few feet away I saw the most beautiful Eastern Garter Snake. I think it had just come out of hibernation and it was moving around the shallow water at the pond’s edge. This one:
After this first sighting, I started to see snakes all the time. On a single day, I saw over twelve snakes! And now, when I go to the ponds, I see a snake almost every time. I know that the snakes have always been there but why couldn’t I see them? I looked for years but never saw one. Then when I stopped looking, they suddenly appeared.
Technological Tunnel-vision
I realized that what I was really looking for was a picture of a snake: evidence. As in pictures for social media. I was looking for a snake through the technological tunnel vision of my smartphone…what it would look like in a picture. And that narrow perspective was part of what was keeping them hidden. I don’t mean that I was actually looking for them through my phone camera. Just that the picture being the goal changed the way I experienced the environment.
Smartphones tighten our focus and distract us from everything else. You miss a lot when you are looking at the world through that little screen. It makes me think of fans who go to live concerts only to watch most of it through their phone screens while recording everything (to watch later?!). I saw Blackpink in a clip practically begging fans to put down their phones and participate in the show. It must be so frustrating for performers.
The way people experience travel these days is similar. It used to be the case that when people travelled, they would have to interact with local people to do or find anything. And, it was through these interactions with local people that they had some of their most impactful experiences. Nowadays, our smartphones are stuffed with translators, online reviews, Michelin stars, hotel booking apps and digital maps to take care of all of this for us. You can even ask AI to make a travel itinerary for you. You don’t really have to interact with anyone. Sometimes I think travel has become more like a scavenger hunt where visitors seek out all the “must have” food and photos they have seen on social media while trampling everything in their path to do so. It is a shallow way to travel and I think the best experiences never even get a chance to happen.
This is technological tunnel vision at work. At concerts, at tourist destinations and while looking for snakes too.
Seeing the bigger picture
The other reason I couldn’t find my snakes was because I was trying too hard. I just couldn’t see them even though they were probably right in front of me. When I stopped looking for them and spent more time just enjoying the space, the trees and the sunshine, suddenly there they were. I could only spot them when I softened my eyes and took a step back to take everything in. It felt kind of like those stereograms where you have to unfocus and cross your eyes a little and look through the image to see what’s really there. If you don’t know what a stereogram is, have a look here. They are lots of fun.
My local snakes taught me that sometimes you have to be patient and relax your expectations to see what has always been right in front of you. Put your phone in your pocket, soften your focus, pull back wide and take in the bigger picture. All the world’s beauty will show itself to you on it’s own time.
If you have any questions or comments, please leave them in the space below. I am always happy to hear from you.
If you enjoy the content and would like to contribute towards website maintenance and development, you can make a donation here. Thank you for reading TigerSalad.
Alone Together
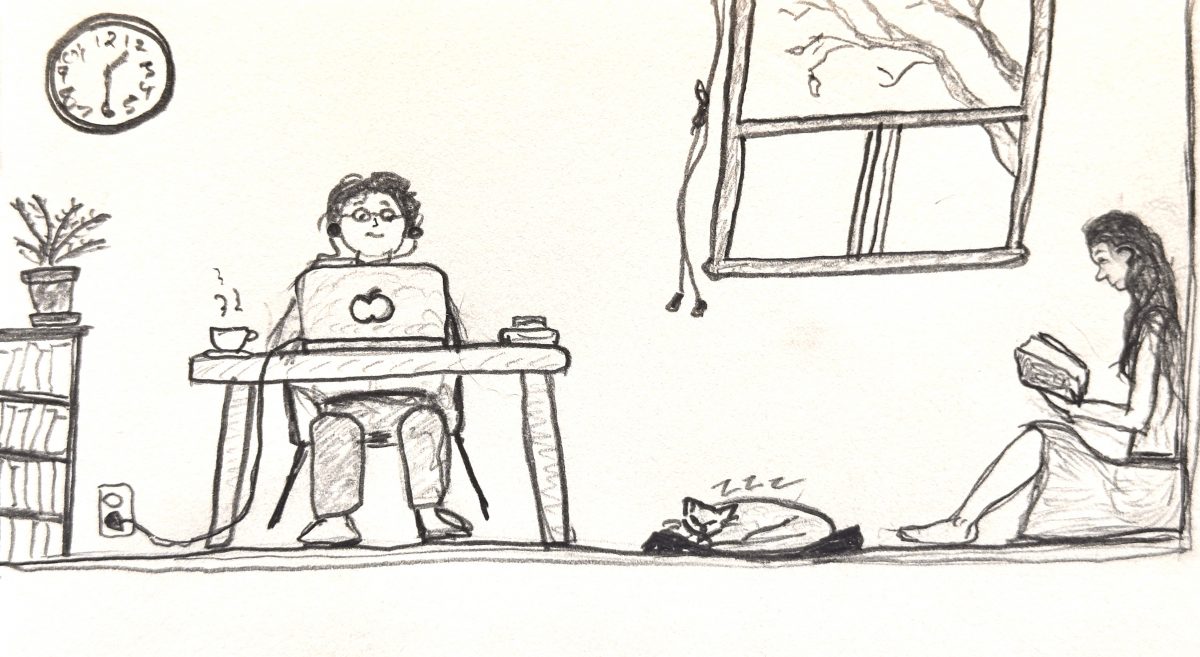
I read a short story in which a woman goes to write in the hotel lobby where her sister works the front desk. Her sister is not allowed to have visitors at work but she tells the woman about the one sofa in the corner that is just out of view of the CCTV cameras. The woman sits there and writes at night while her sister works. They don’t speak or interact at all. They are just there together. And their presence is enough to fight off the loneliness and boredom that they would feel if they were apart. This made me think of people in my life that I have done this with and what kind of relationship we had.
You can only do this with another person who makes no demands on you and has no expectations. And you must be the same way with them. You both know and trust each other deeply enough to be completely at ease in each other’s presence, without any awkwardness or pressure to interact. Knowing that the other person is there is enough to make you feel safe and cared for. Just their silent presence can do all of that. This is especially potent when you are feeling worried or upset. Maybe you don’t want to talk about it and maybe you want to be alone…but with someone.
This is not the same as two strangers sitting in a coffee shop. Or two people working quietly in an office. In a situation like that, the two people just happen to be in the same place. Or, in the worst case, they are tolerating each other. Instead, you want to be with the other person….not to get anything from them….but just to feel safe in their warm presence.
This is a rare and precious relationship. Who could this be for you? I guess family members could qualify, although definitely not all of them would. Couples in a long relationship? I hope so but not necessarily. Old friends, especially from childhood…that’s a possibility. Whatever the relationship, I think it depends on the personalities of the two people and their ability to meet in perfect balance and unconditional acceptance. At least in that moment.
Maybe this ability in itself is a good measure of a healthy and mature relationship.
And a perfect antidote to all the world’s noise.
Alone together.
If you enjoy the content and would like to contribute towards website maintenance and development, you can make a donation here. As always, thank you for reading TigerSalad.
Late Winter / Early Spring in Toronto
***your phone will crush these photos-this will look much better on a laptop***
It’s been a long time….
…since I have put up any pictures. I have been taking pictures but very few seem worth sharing.
Day to day, I walk the same familiar paths and see the same things over and over. I pass by the same trees, the same houses and the same streets with the same stores. Walks through nature become routine as well, especially during winter when almost nothing changes. When you experience the same things over and over, they lose their impact and you kind of stop seeing them altogether.
This makes me think of my last trip to Tokyo where everything was new and everything that I saw was interesting and beautiful in some way. It was so easy to take pictures and the pictures themselves were so absorbing. When it came time to post up the days’ travel diary, I had a hard time choosing between the photos.
The Tokyo natives must have thought i was insane, photographing every vending machine and bicycle and sewer cover! But, I think the same thing when I see tourists in Toronto taking pictures of black squirrels and pigeons and geese. Why are they taking pictures of such ordinary things?
The normal Tokyo things were interesting to me because they were unexpected. And so, they sparked that wonder and excitement that only new things can. Like hearing a new song or meeting a new love.
I haven’t travelled in well over a year and I think that partially explains my lack of inspiration. I have been too lazy to put in the effort to look at my own environment from a new perspective. Just like relationships with people, your relationship to your home environment takes effort and imagination to keep it fresh and engaging. Comfort and familiarity are important but almost never inspire creativity and passion. You need to find a balance by looking at your familiar home with fresh eyes and an open mind, experience it in some new way. This article is an exploration of that idea.
Photographer as witness…
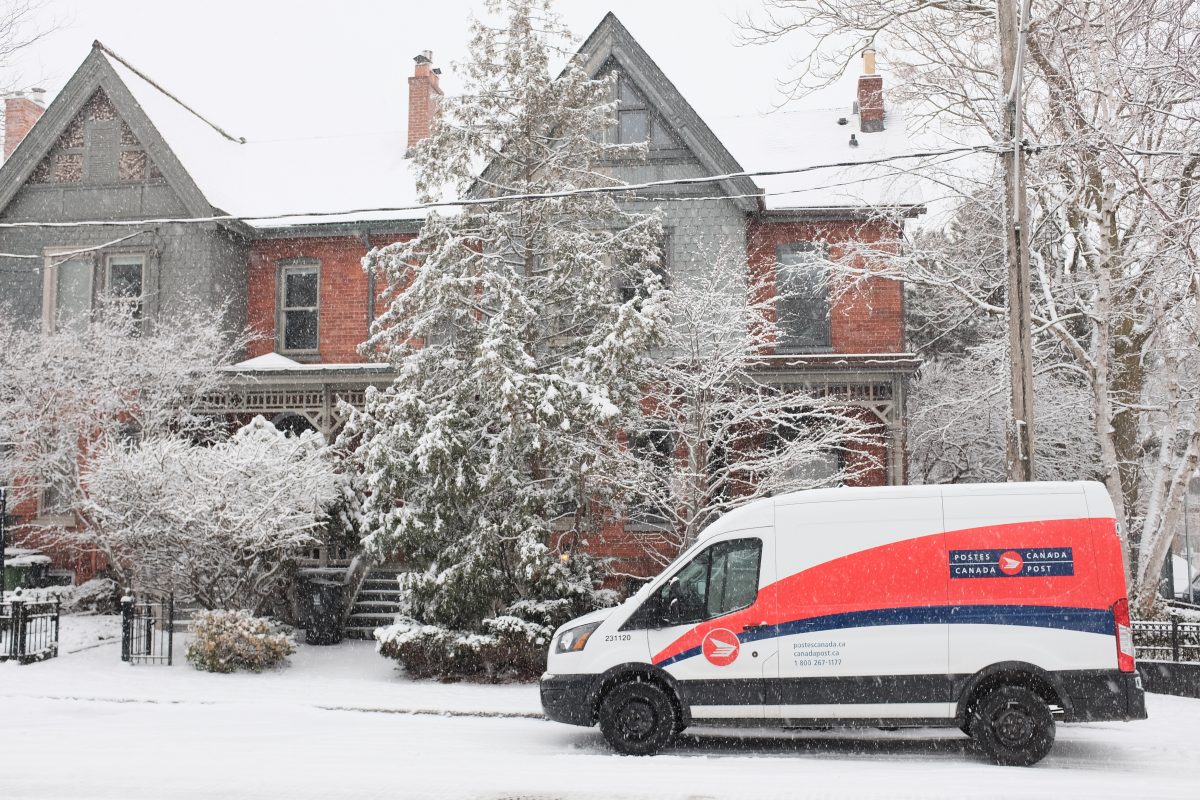
Sometimes things just happen in the environment and they are so unusual and striking that no effort is needed to get a good image. This winter, some weird weather made for good pictures. I was happy that, for a change, we had a little more snow than usual and a couple of really powerful snowstorms. The first one was such a white-out that I didn’t even take my camera with me when I went out in it.
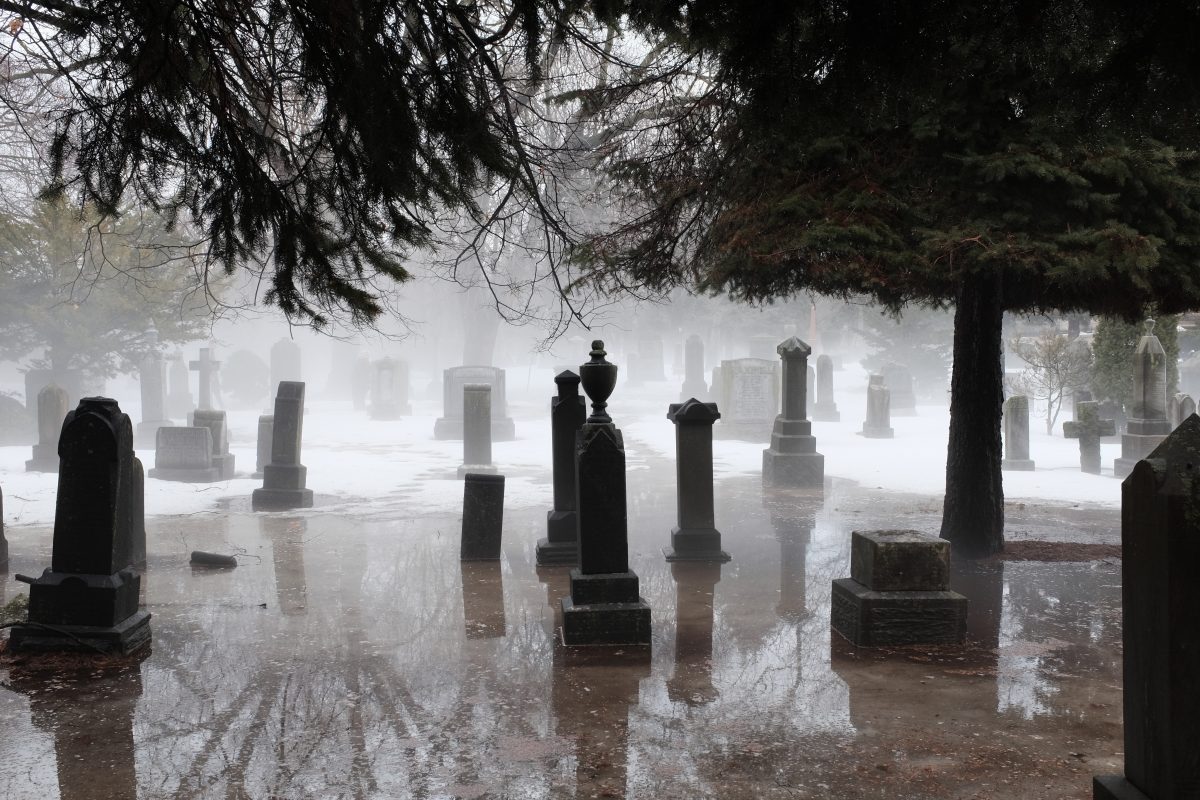
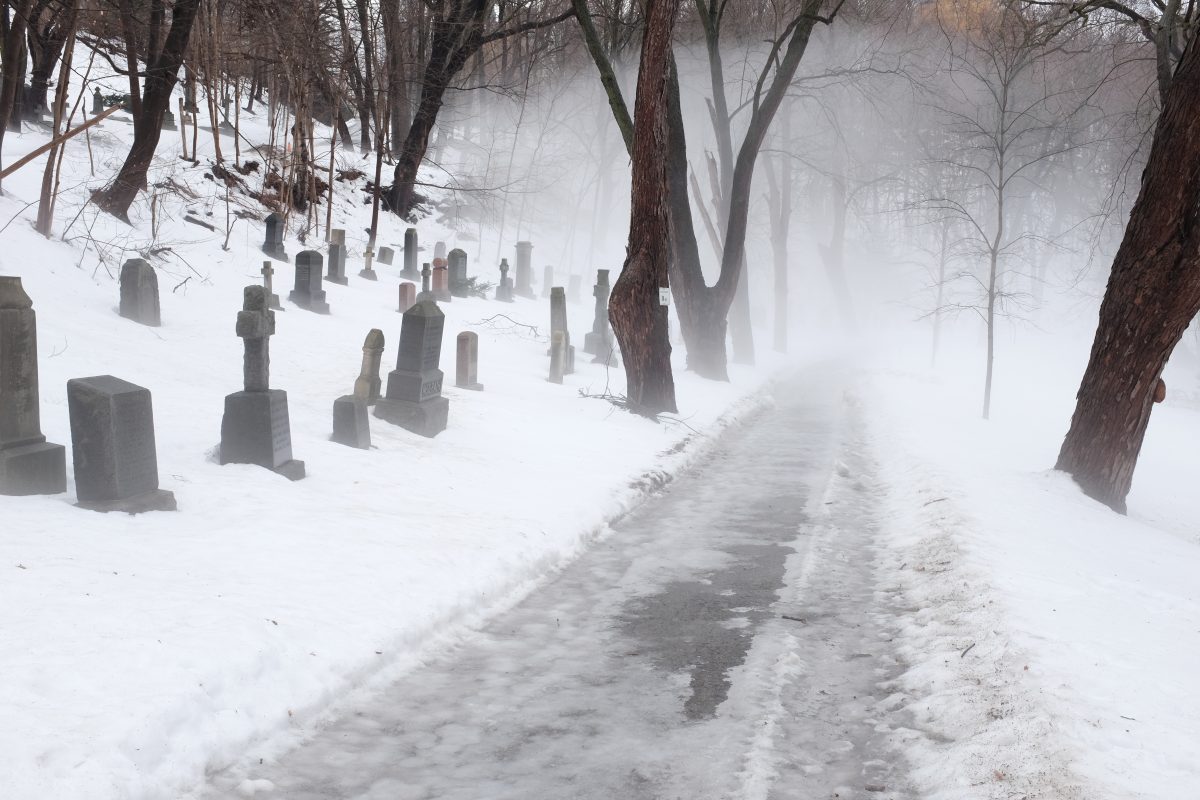
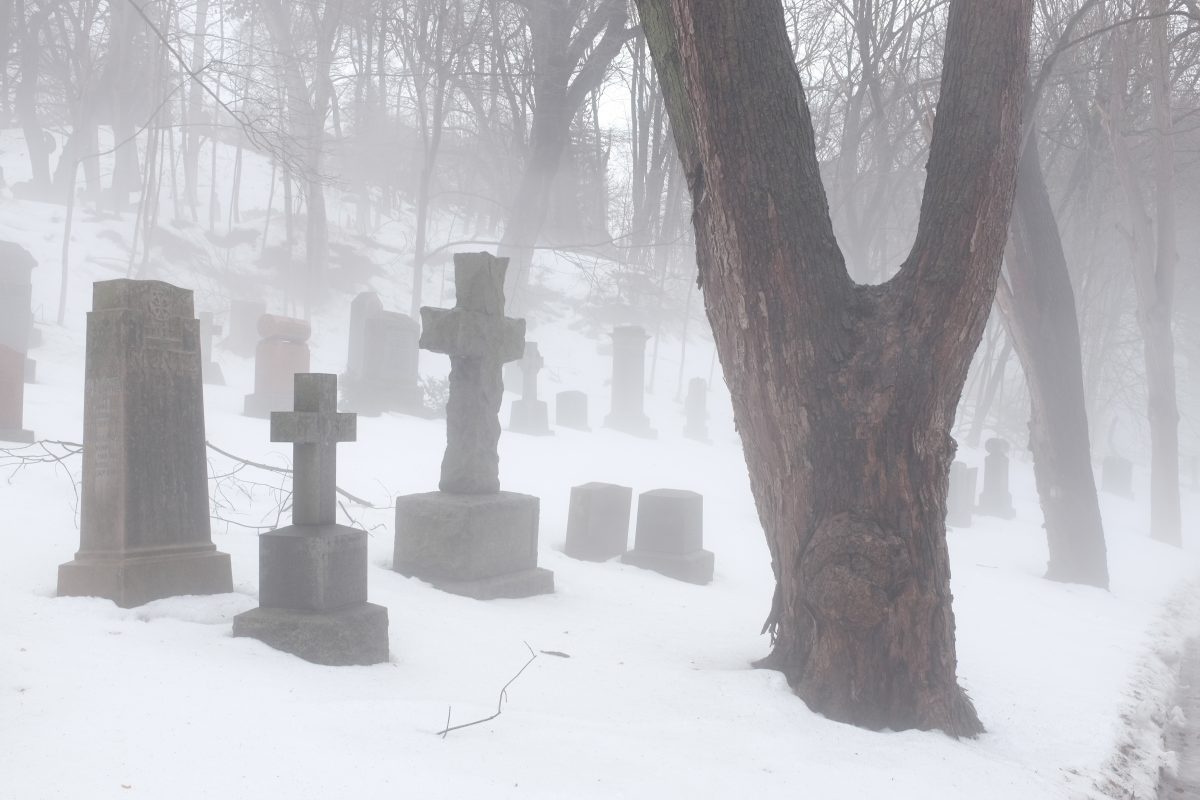
Sometime towards the end of winter, there was one unusually hot day. Suddenly, the temperature was close to 20c while there was still deep snow everywhere. This hot, wet air crept over the cold snow and set a thick layer of fog low to the ground. In the cemetery, where the snow never gets cleared, the fog was especially thick and eerie.
The last big snow…
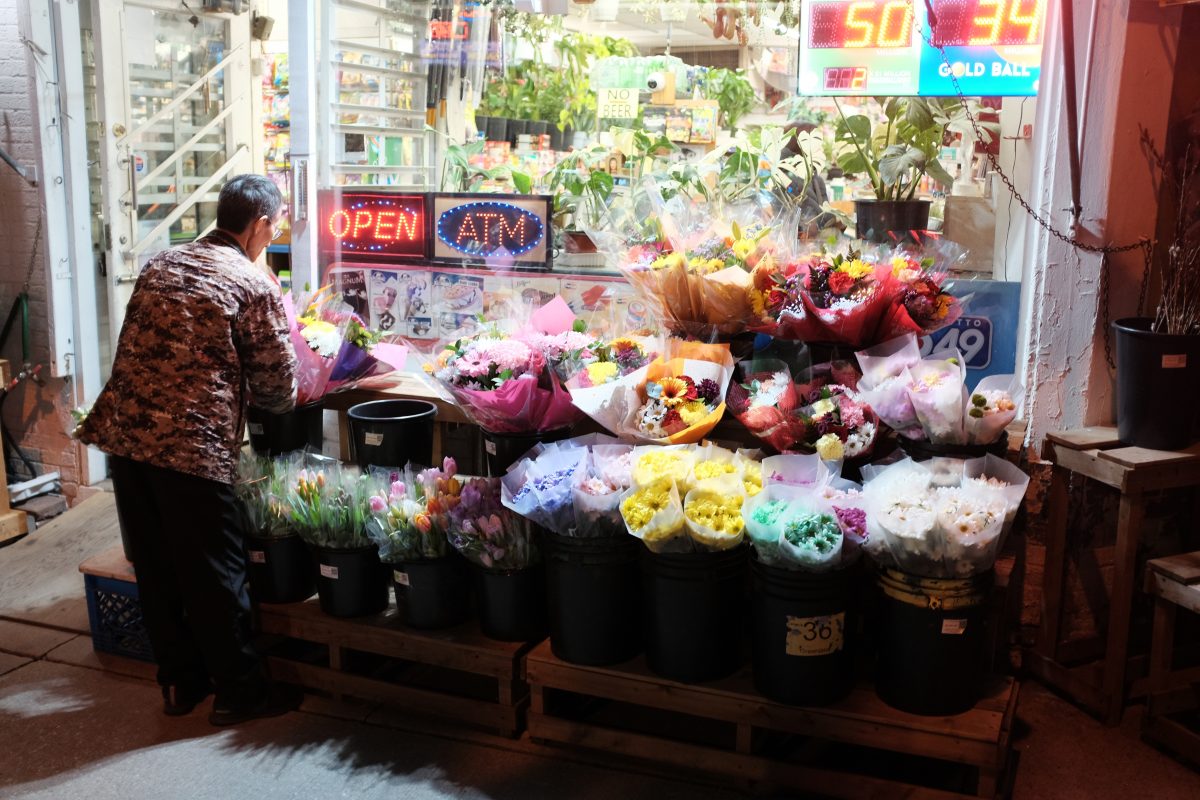
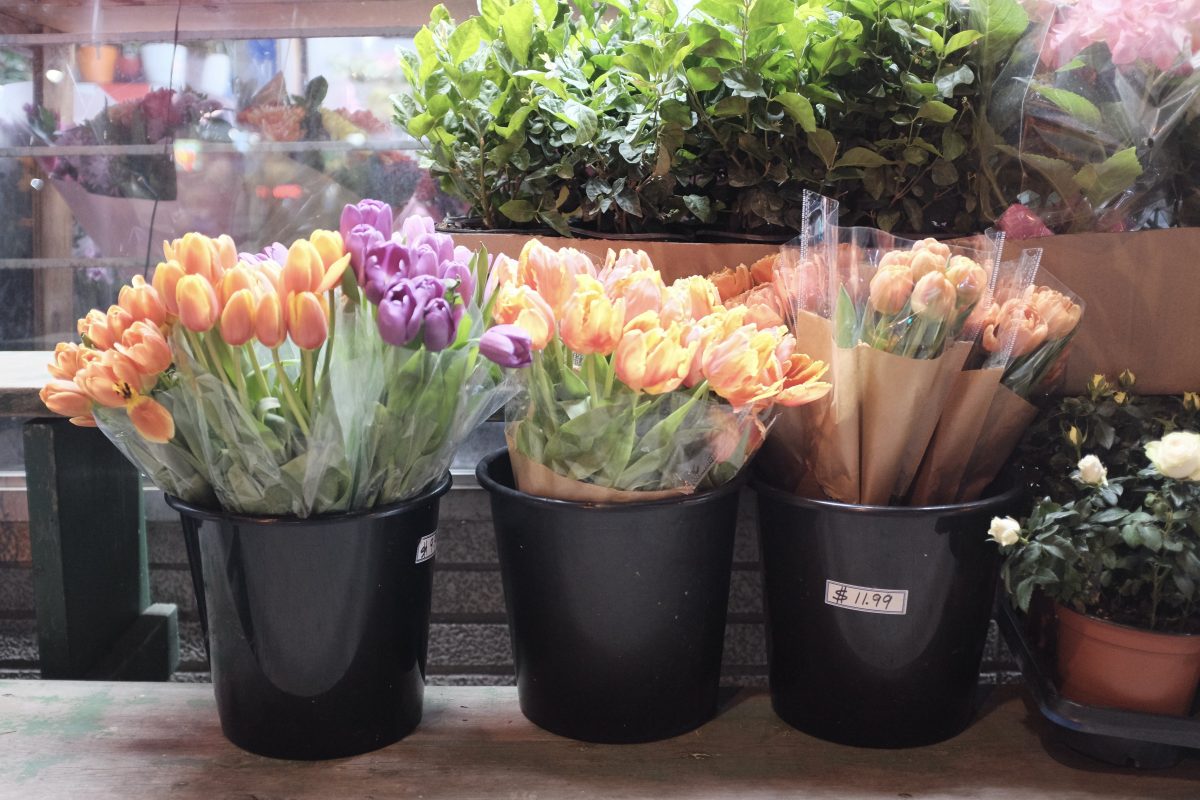
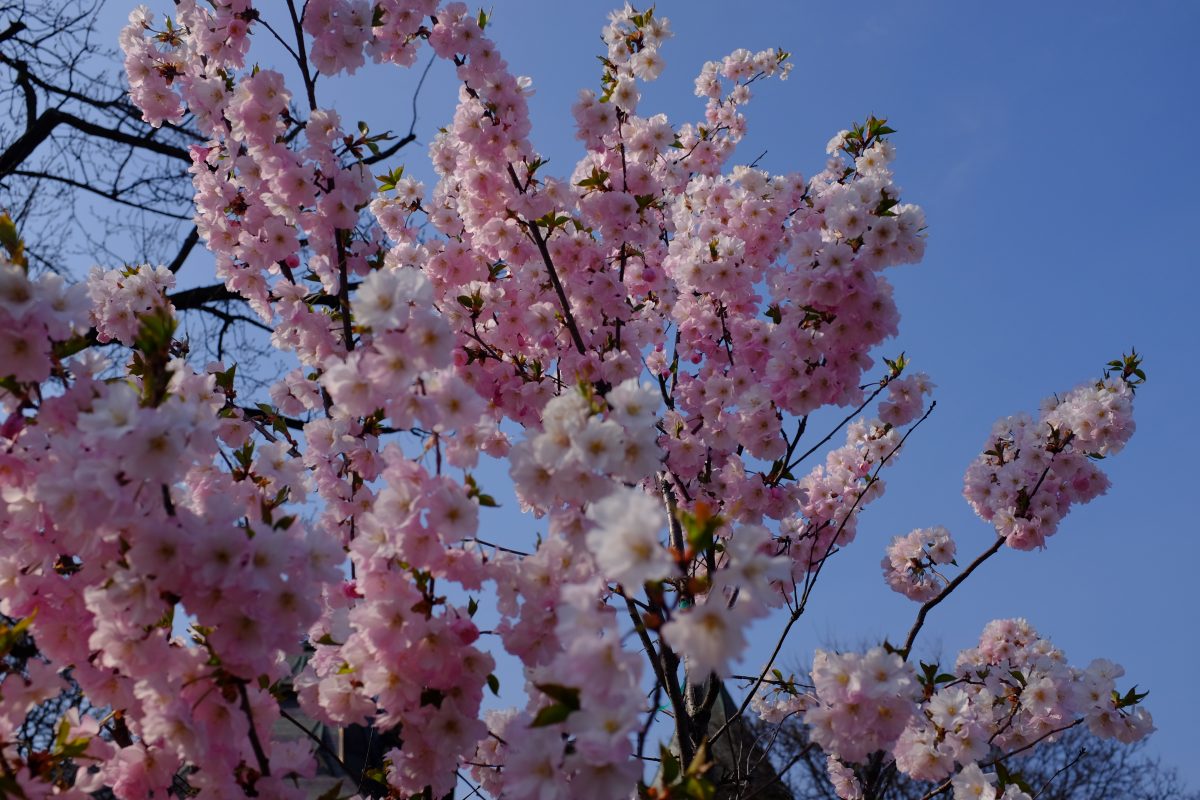
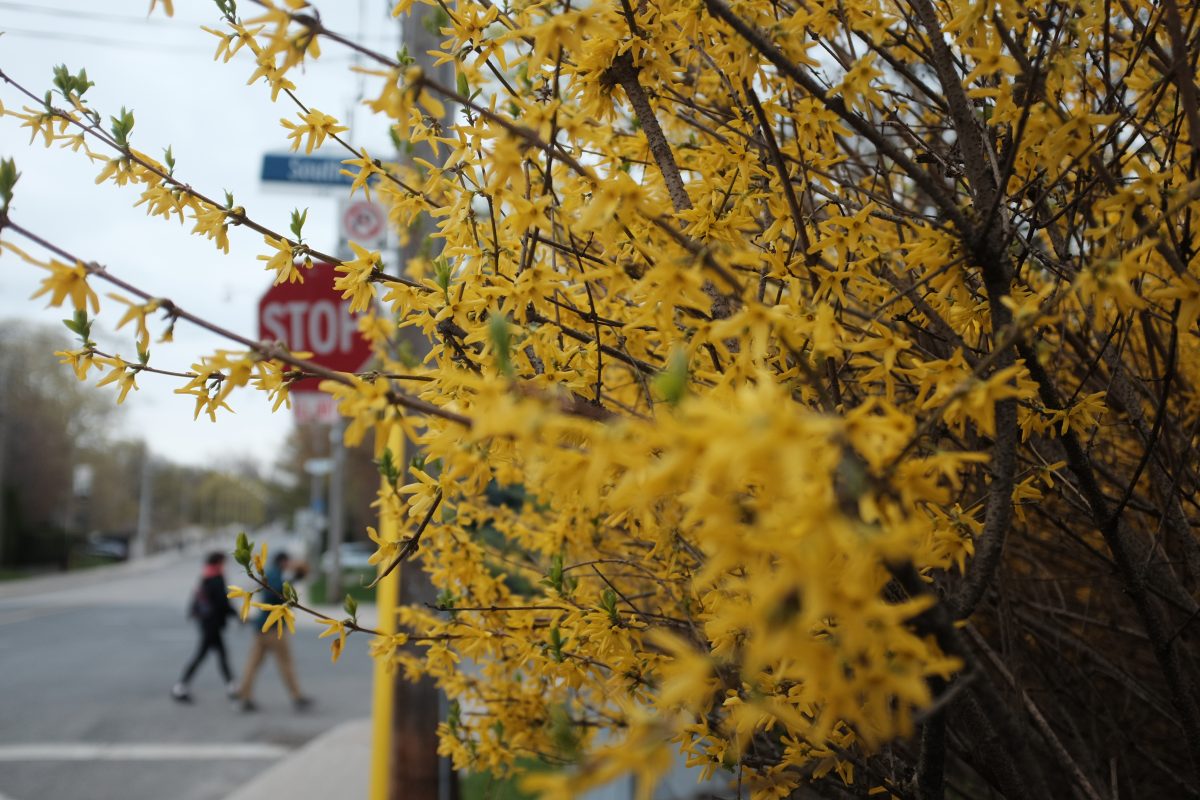
Spring arrives in full colour….
This spring has been mostly cool and wet with a few big blue sky sunny days. Toronto is a city that can go from winter to summer in a very short time: one week you are shovelling snow and the next week you are sweating buckets while stuffing the air conditioner back into the window. So it has been nice to see a cold and snowy winter followed by the slow and steady warm-up of spring.
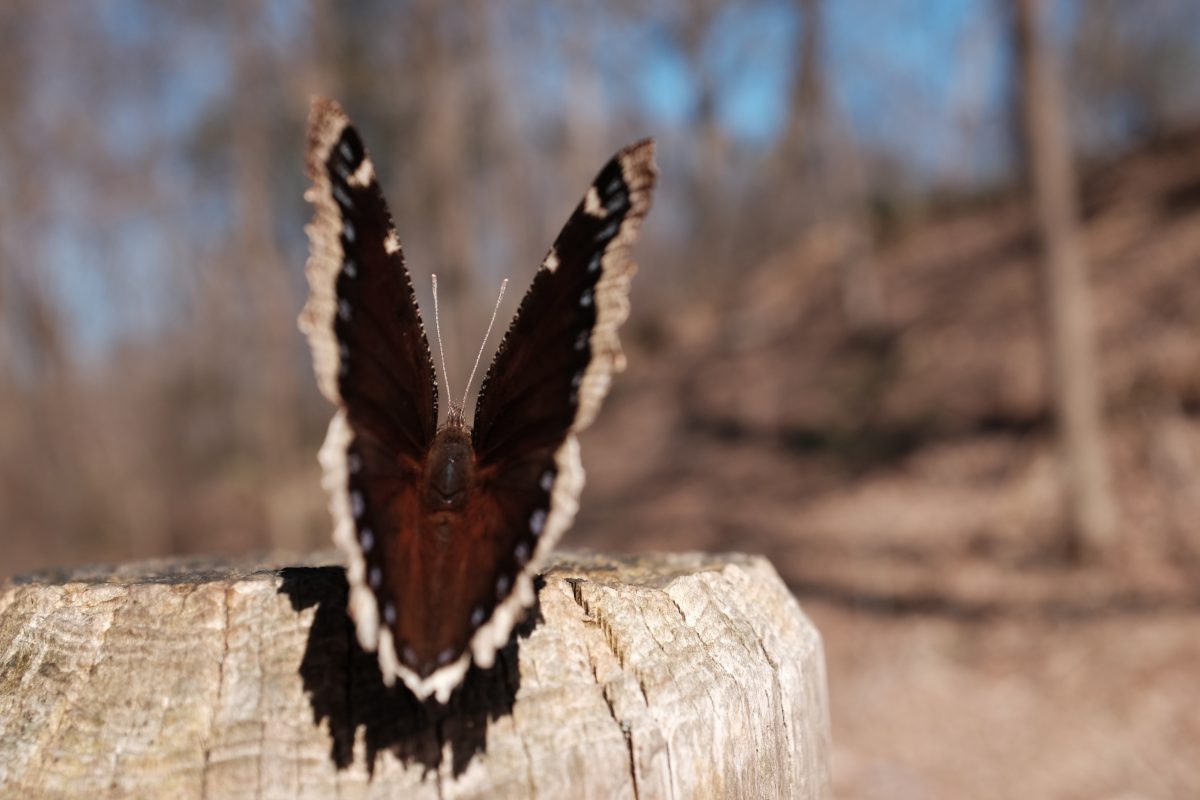

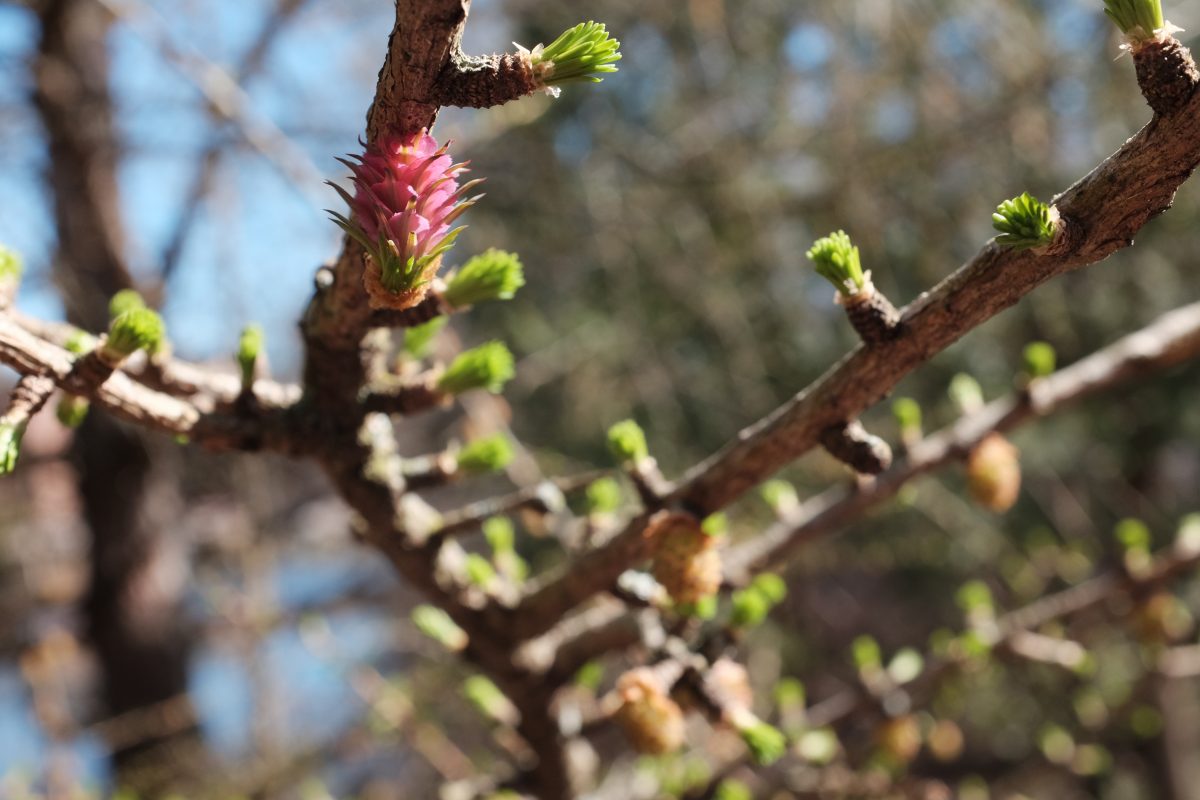
Spring trip to Leslie Spit
Tommy Thompson Park on the Leslie Spit is a natural wonder of Toronto and an urban wildlife sanctuary. It is made entirely of rubble, cement, brick, tile, metal rebar and other construction/destruction detritus from Toronto’s development. Nature has gradually taken over and thrived along this area of the lakeshore. I won’t go into it too deeply here but, if you are interested in reading more about this area, I wrote about it in this article last year.
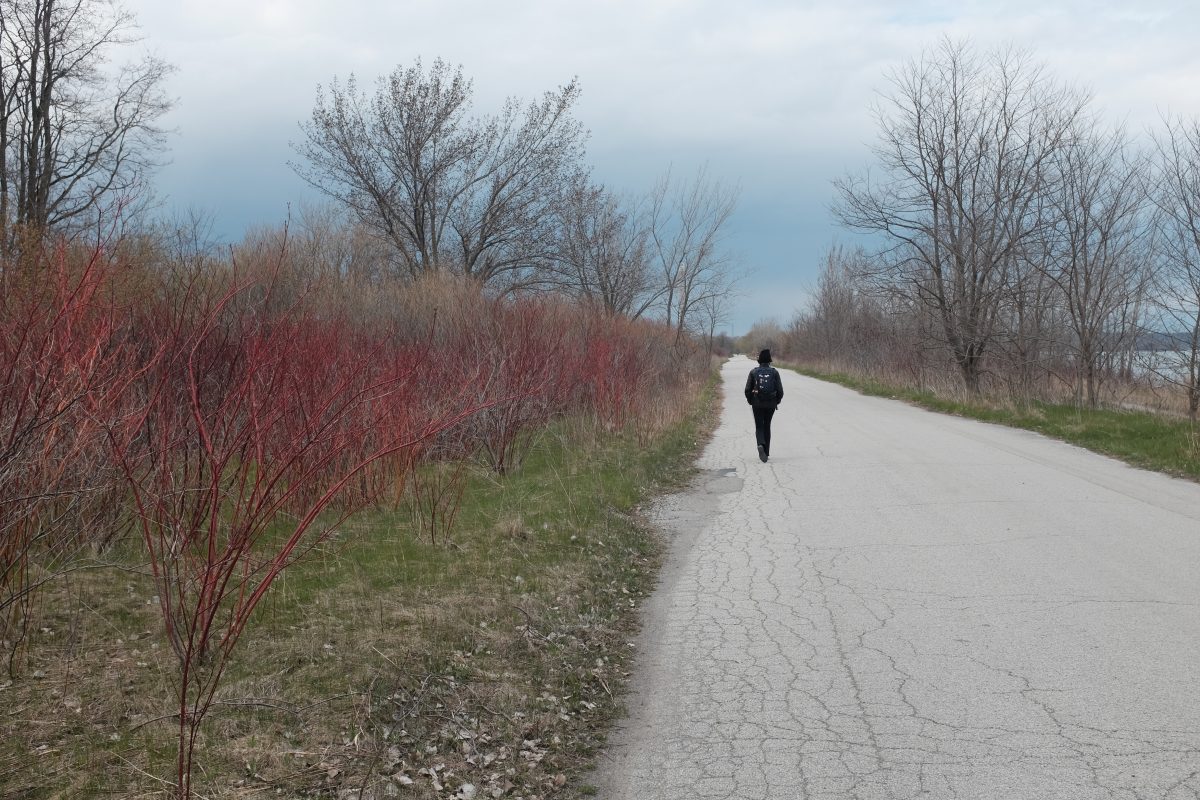
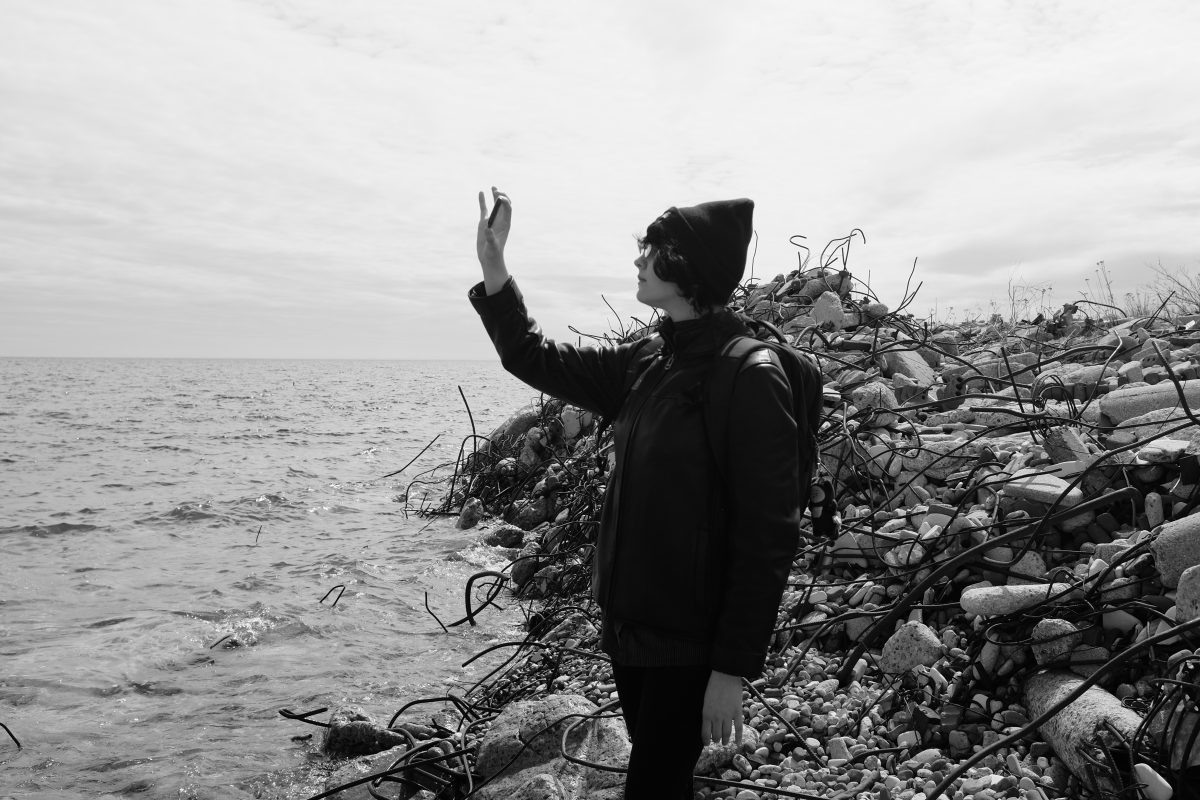
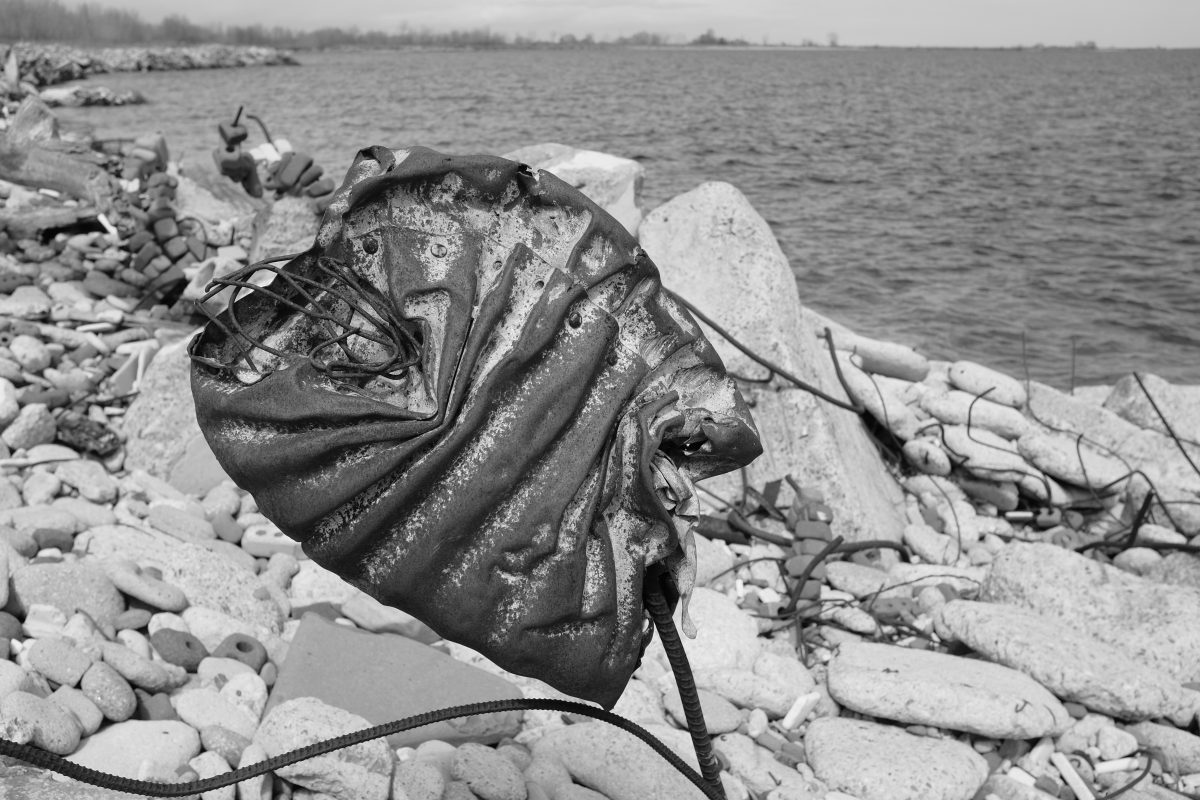
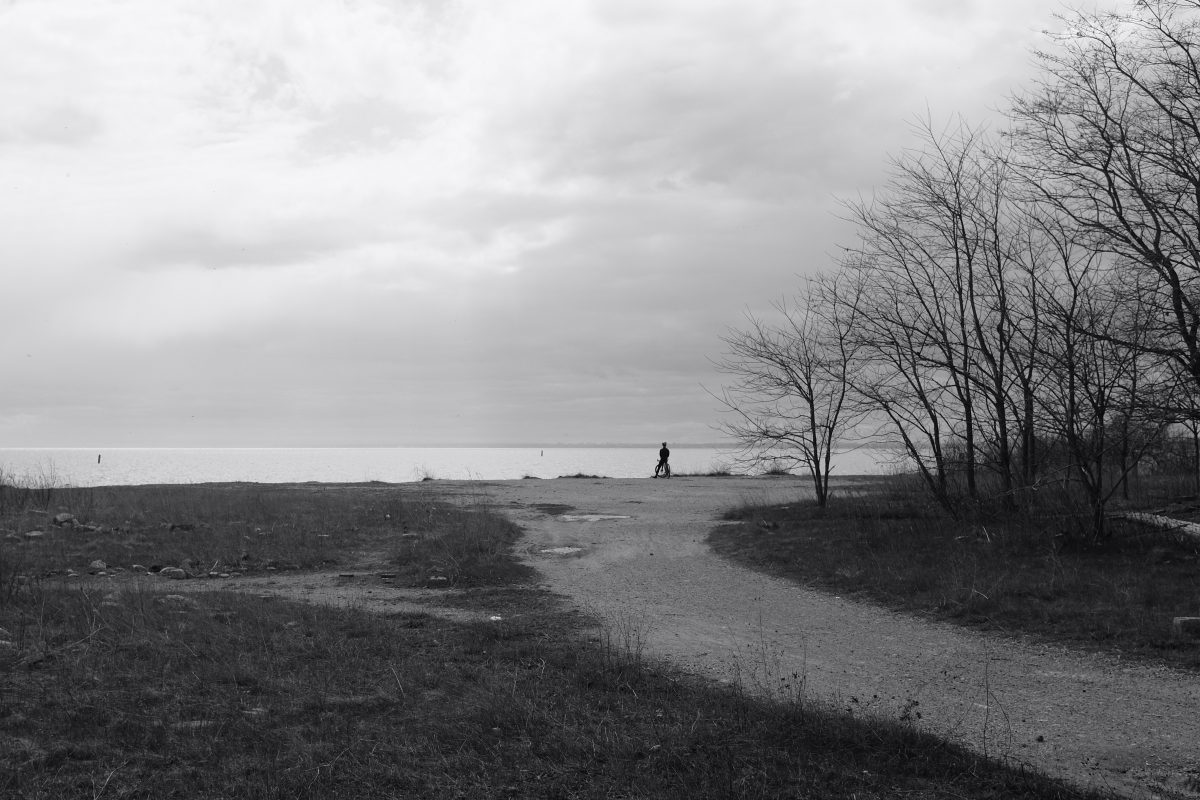
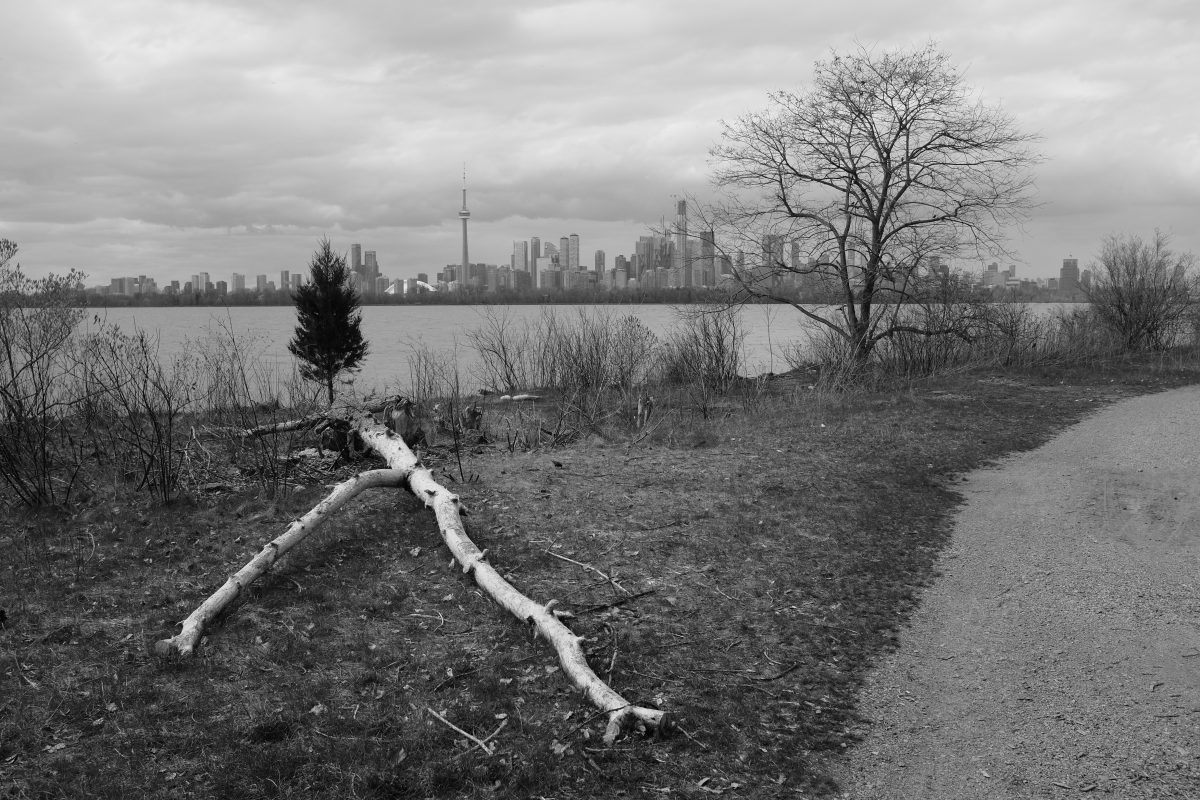
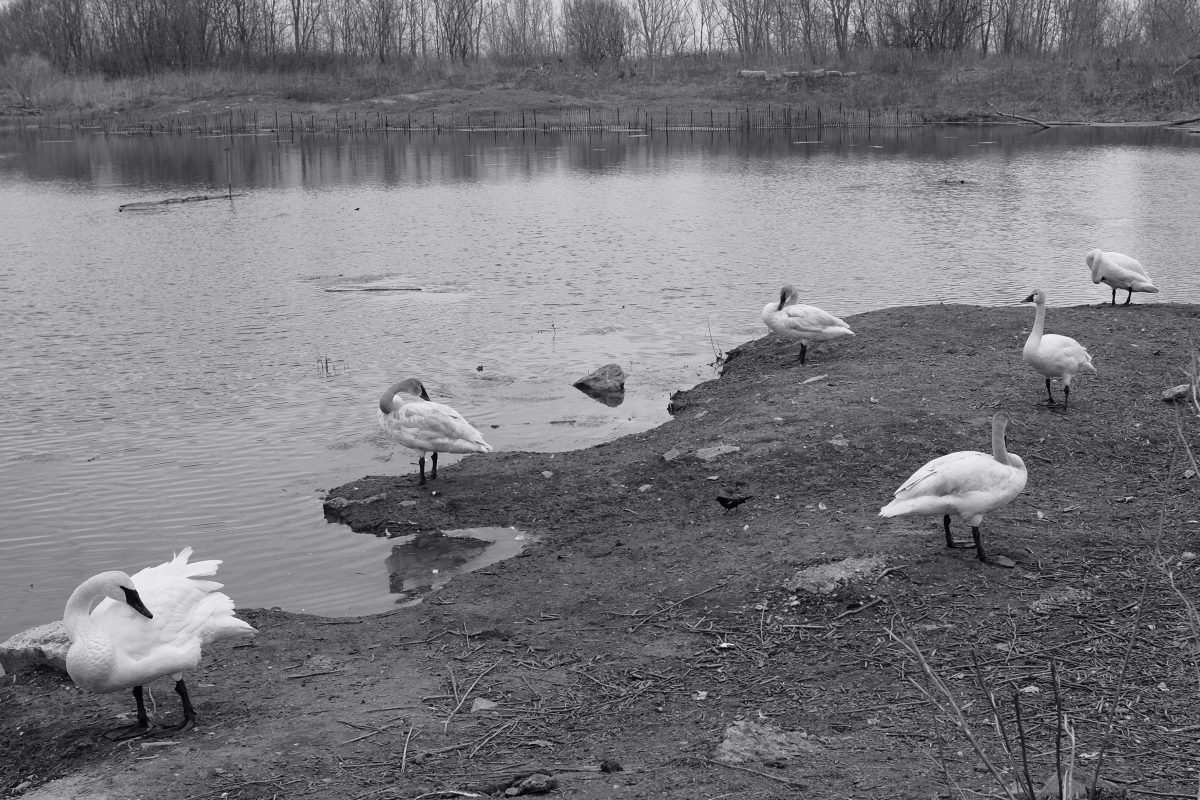
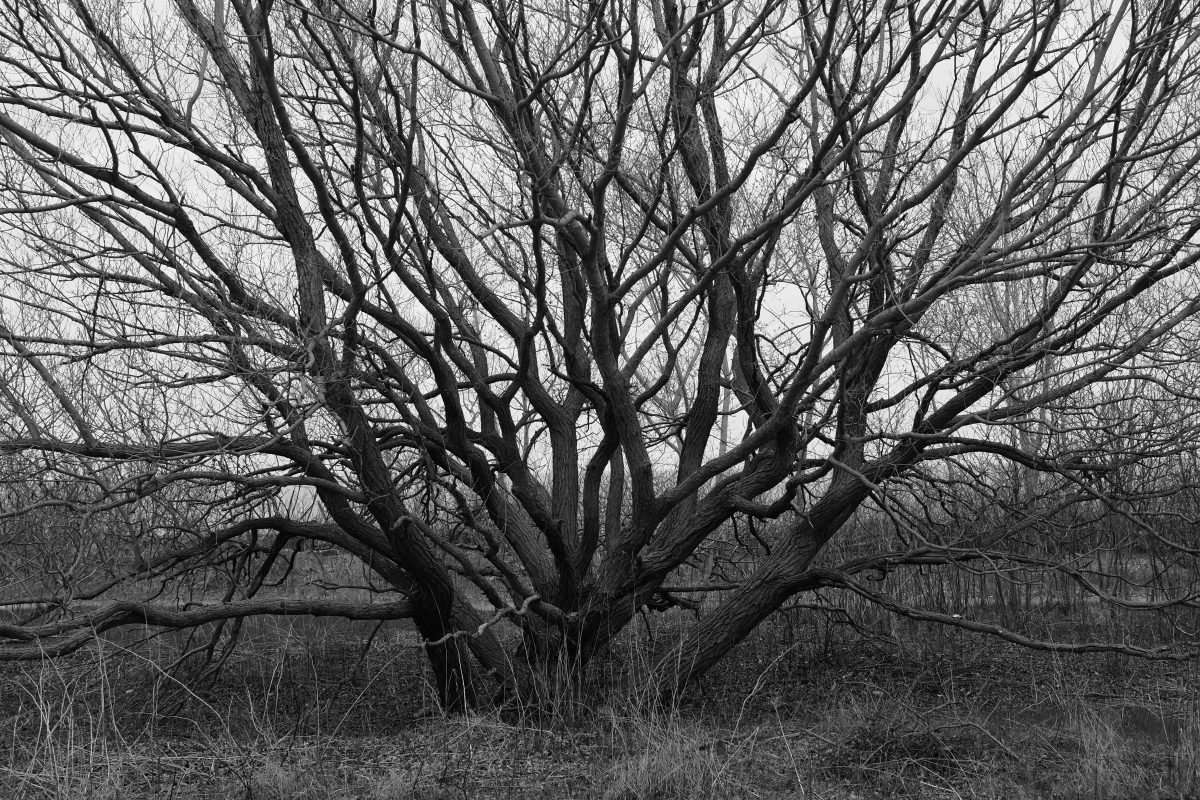
About looking at familiar things from a different perspective…
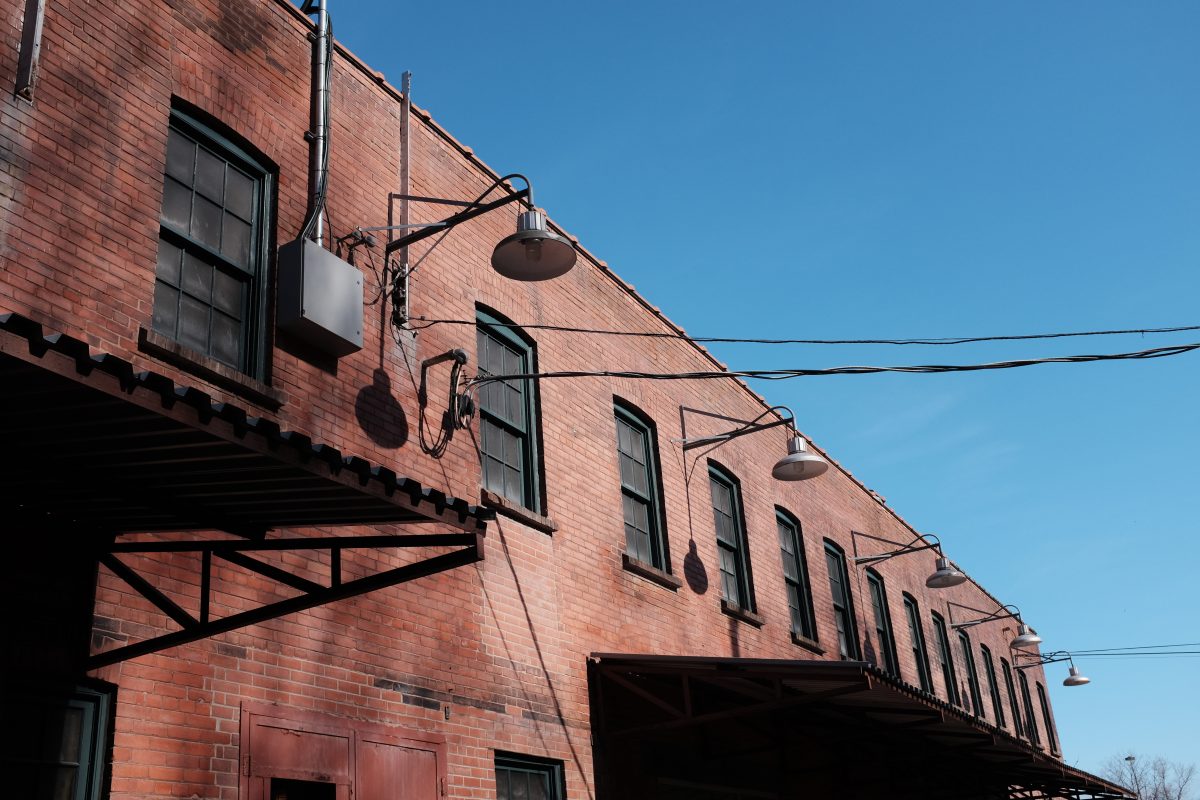
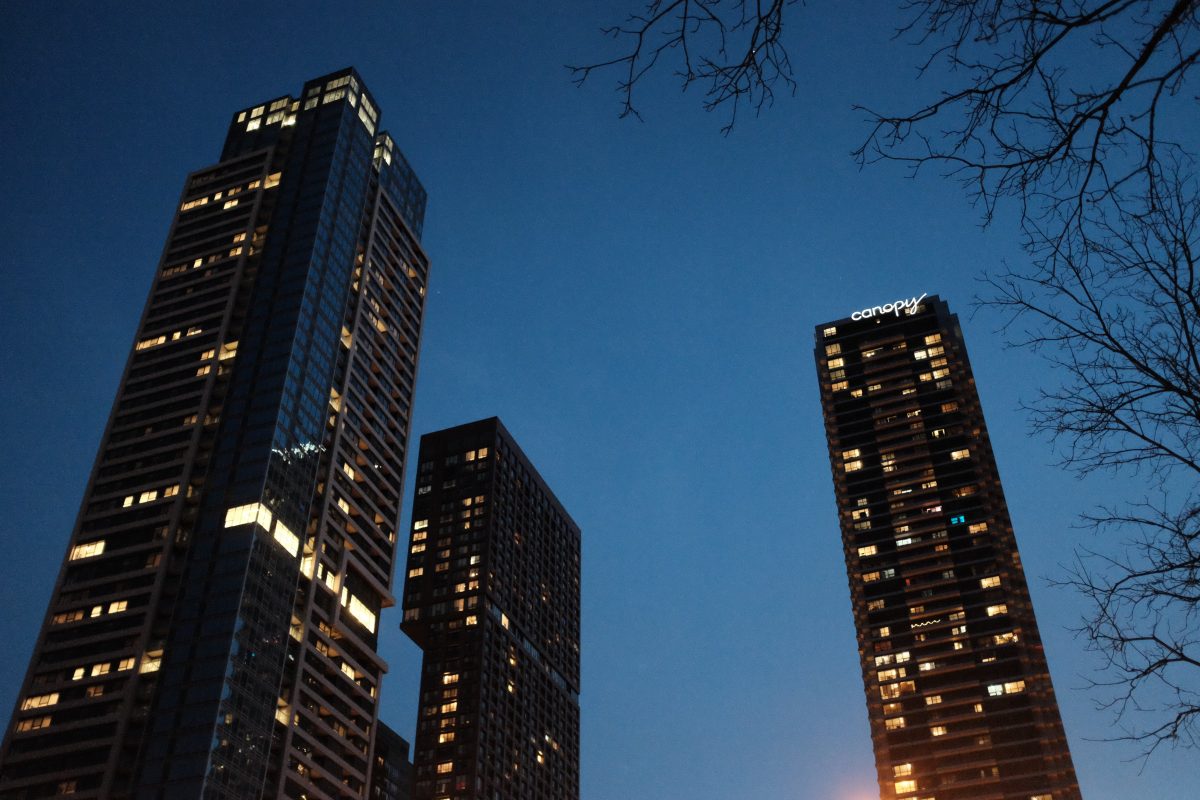
Yesterday was a grey, cloudy and cool day. I set my mind to going out and making some spring photos around Evergreen Brickworks park, a place that I have walked around and photographed hundreds of times. Everyone thinks of spring as a time of renewed colour with trees and bushes flowering out and halo of bright green in the forest canopy. After seeing the above pictures, I thought it would be an interesting challenge to try to capture spring in black and white.
I love going to Brickworks often but I really felt like I had photographed everything I wanted to. So…I knew that this would be difficult and I would have to try hard to look at things with a fresh perspective. Here is what I got…
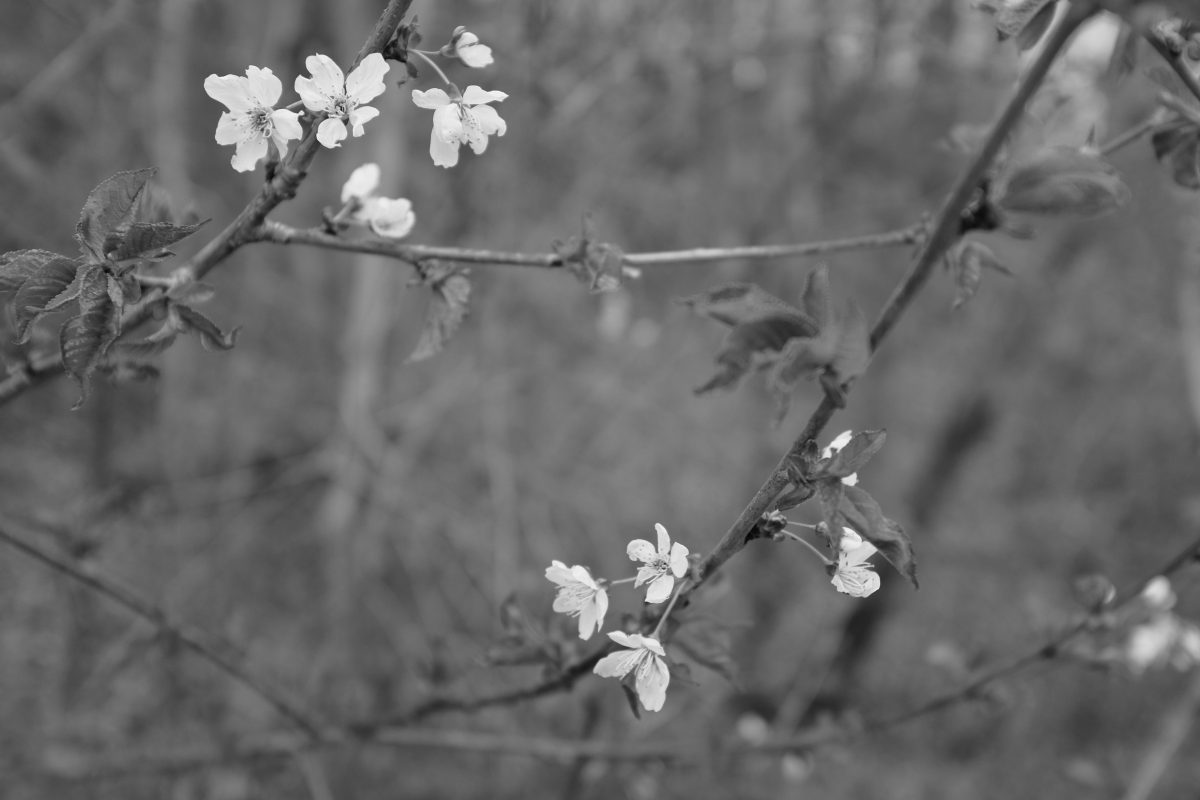
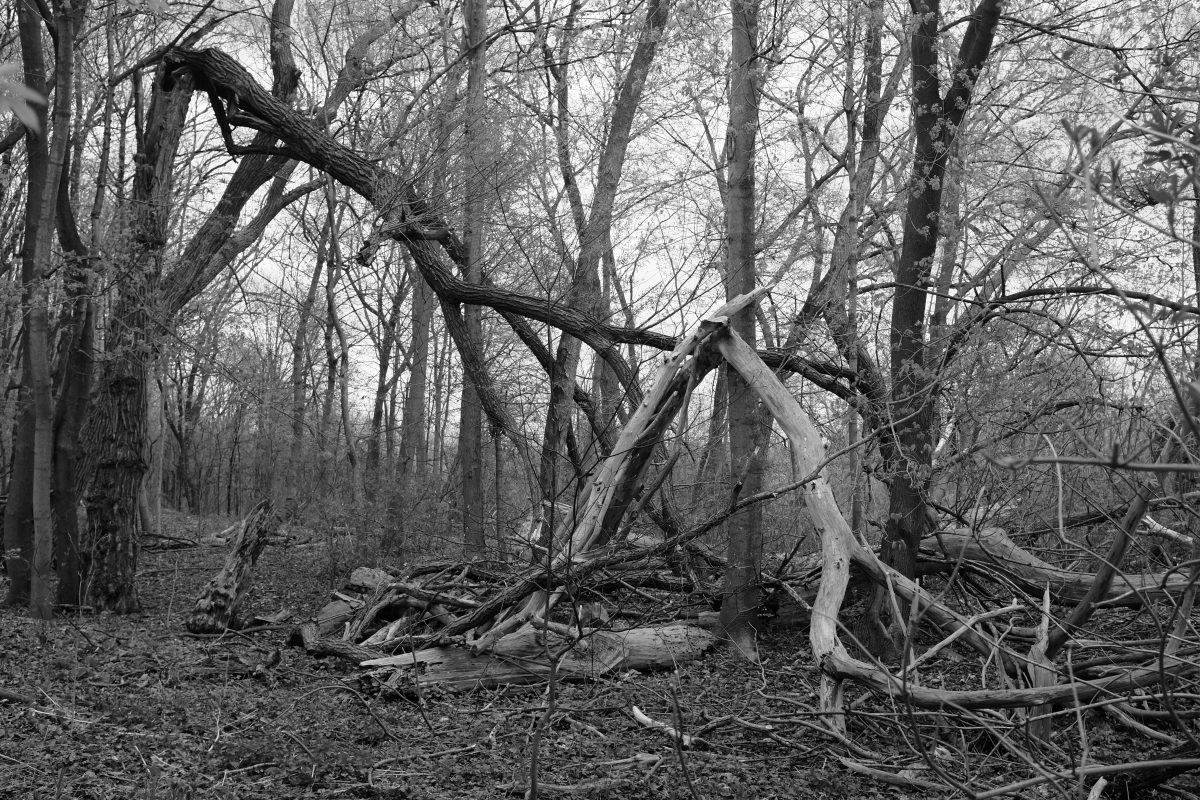
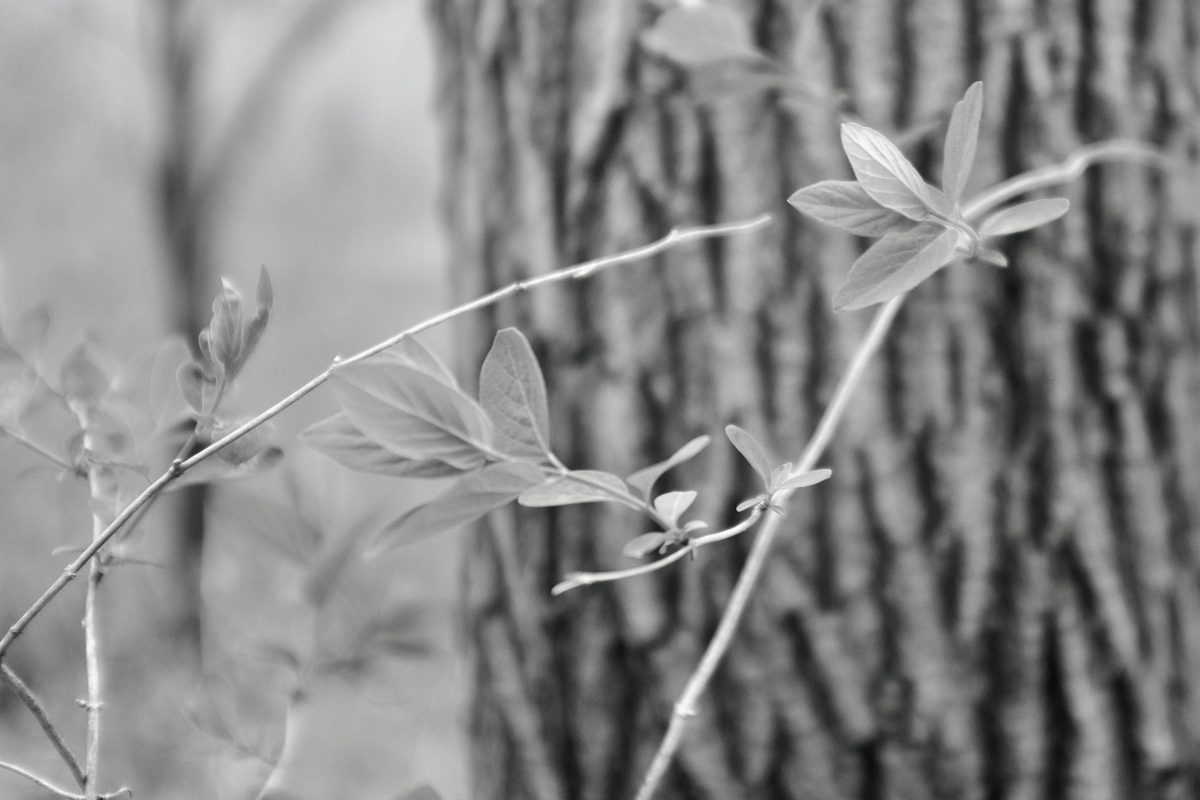
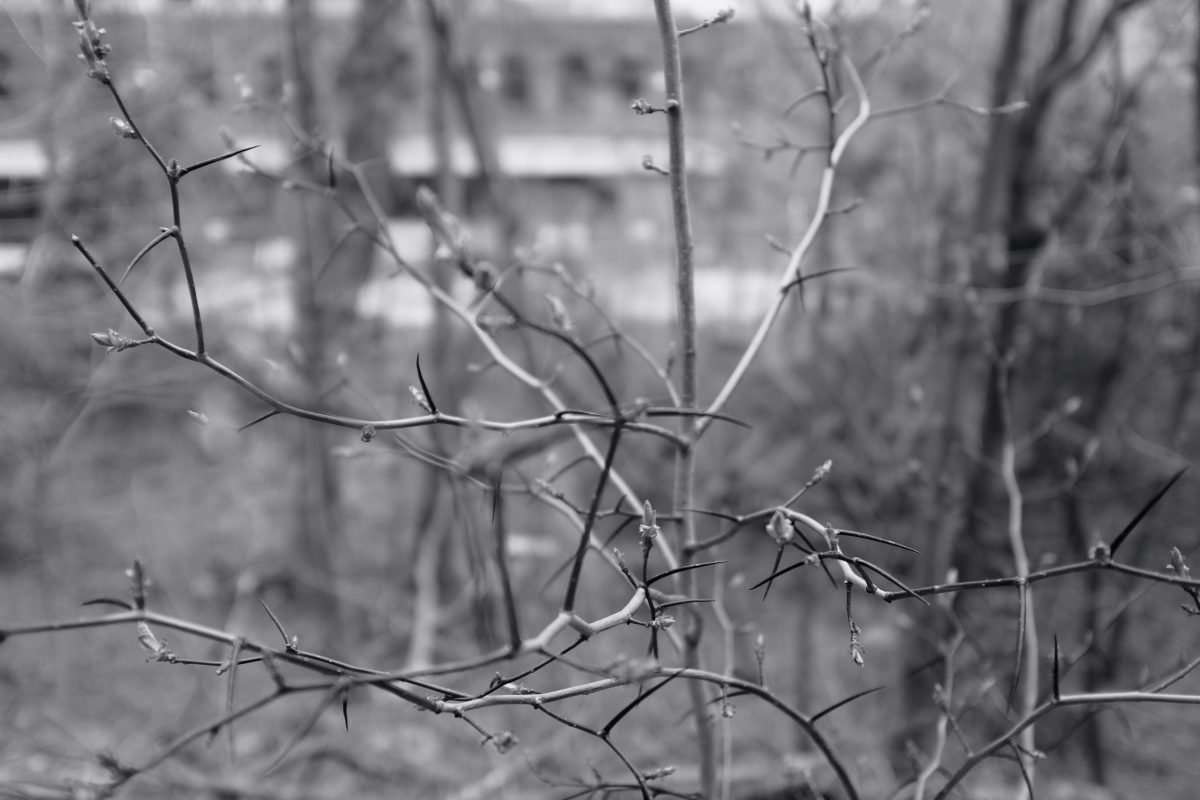
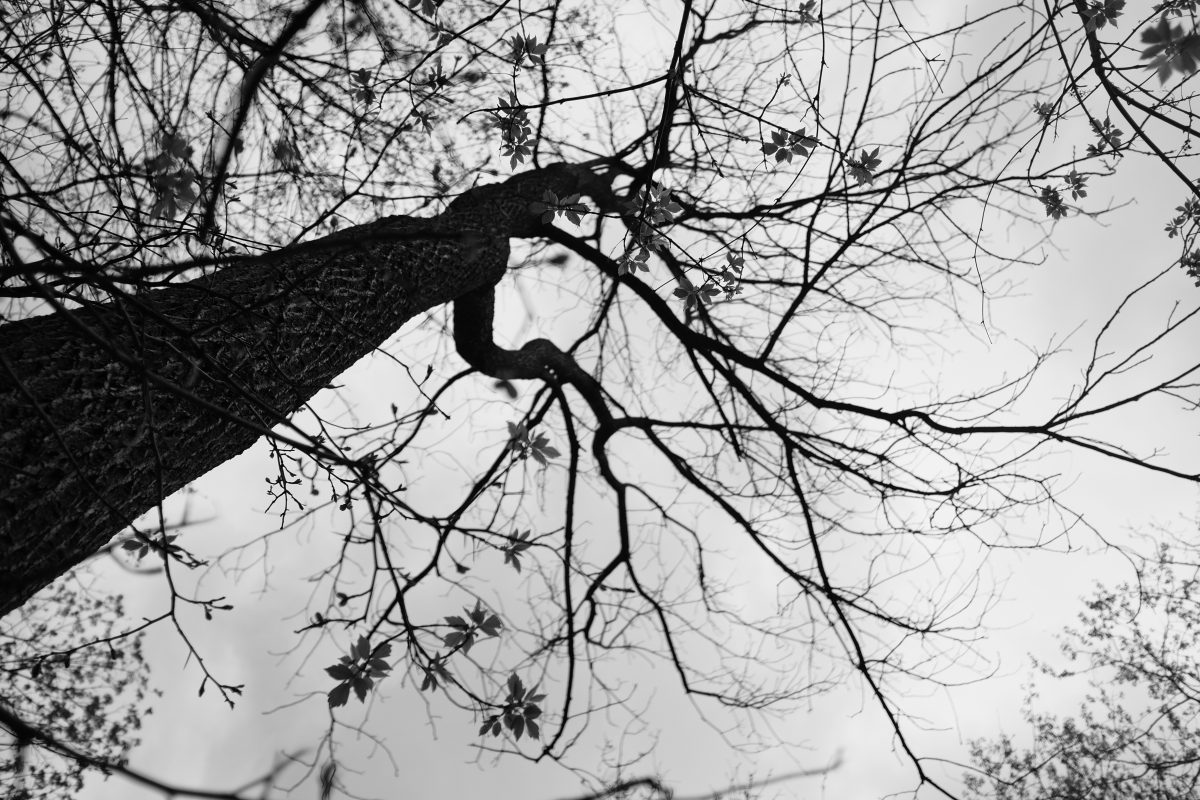
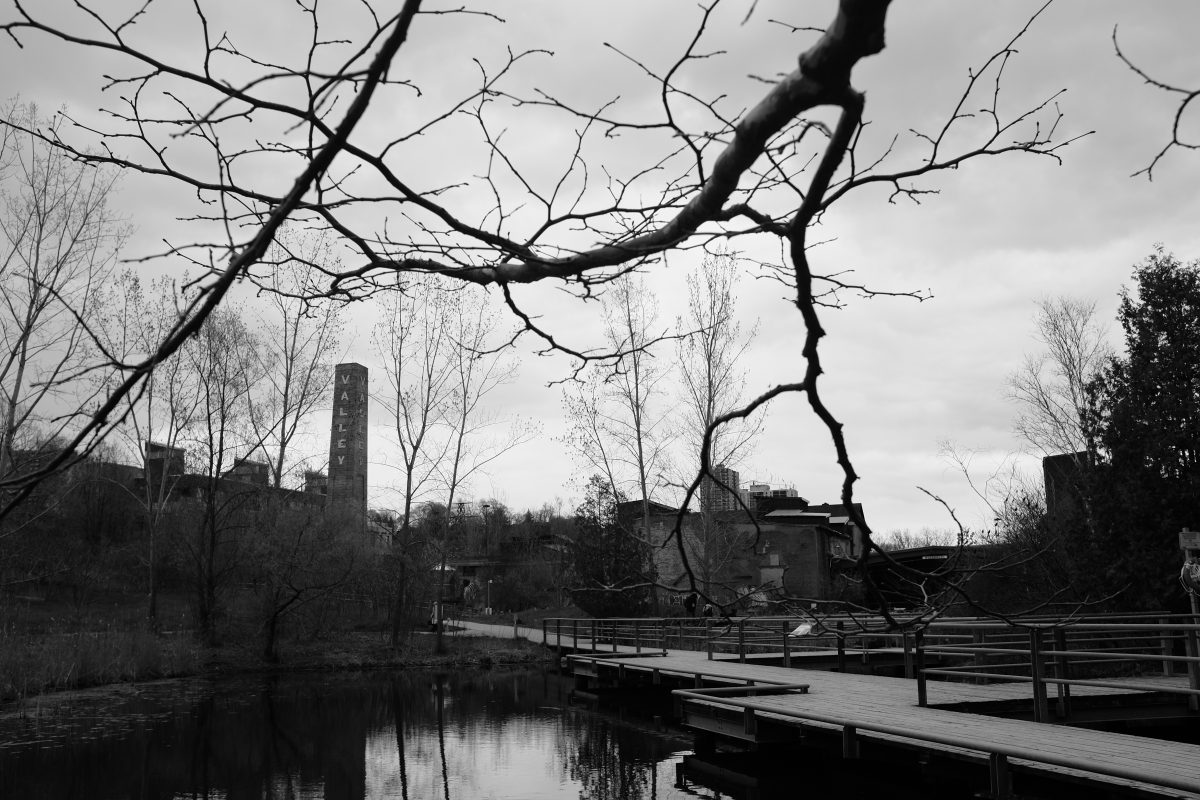
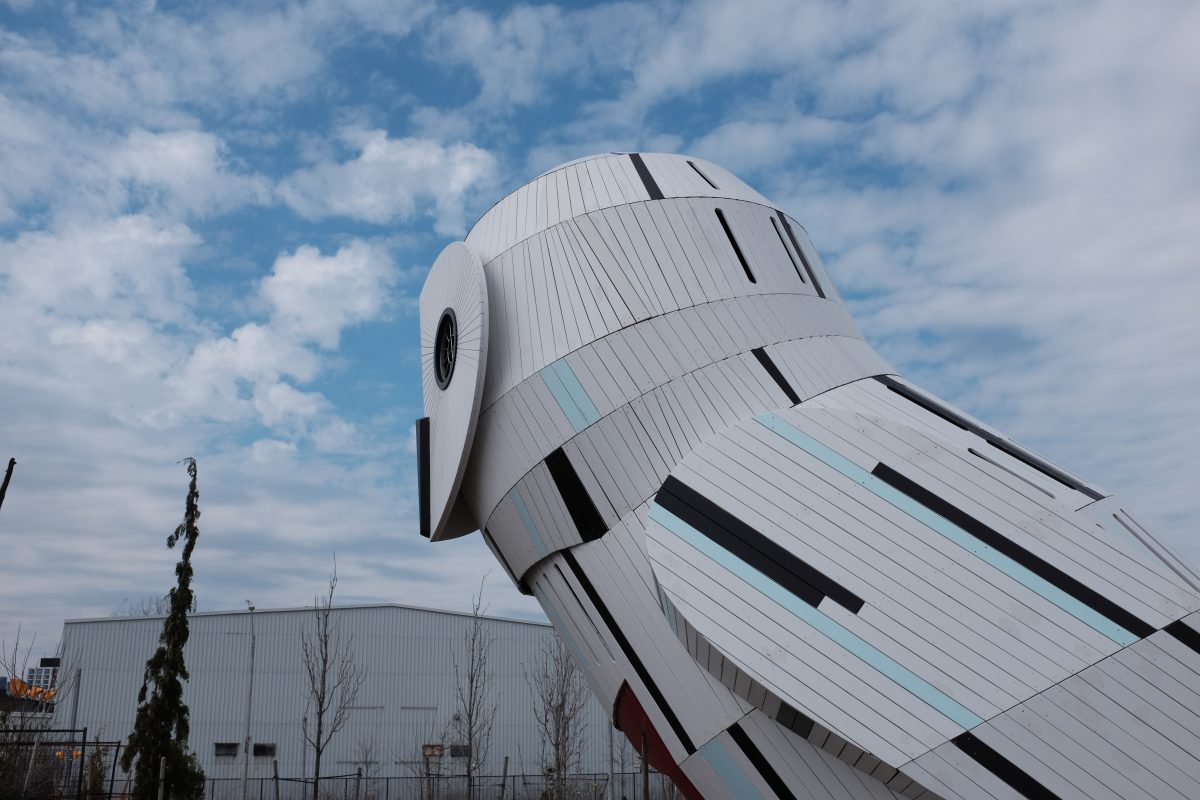
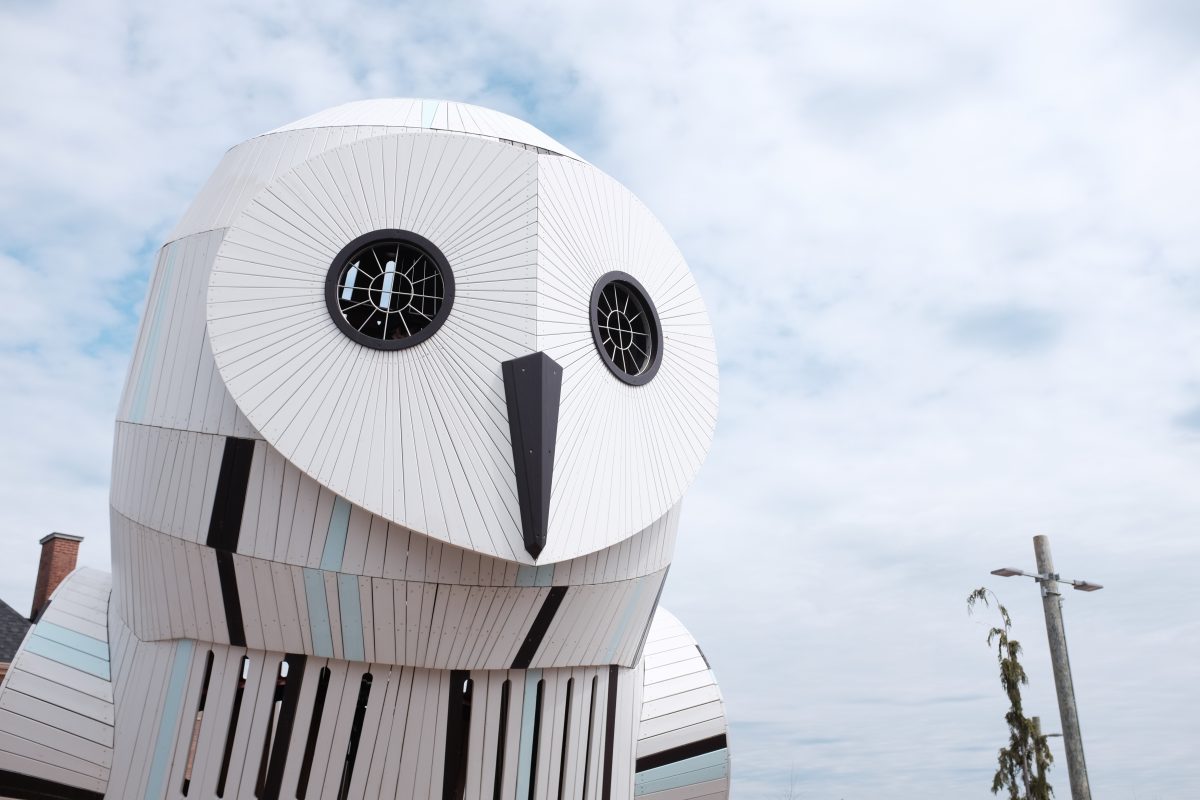
The idea for the next photos came to me in the moment and they are a perfect example of trying to see ordinary and familiar things from a new perspective:
I am not going to say anything about them other than they are some of the best photos I have taken recently.
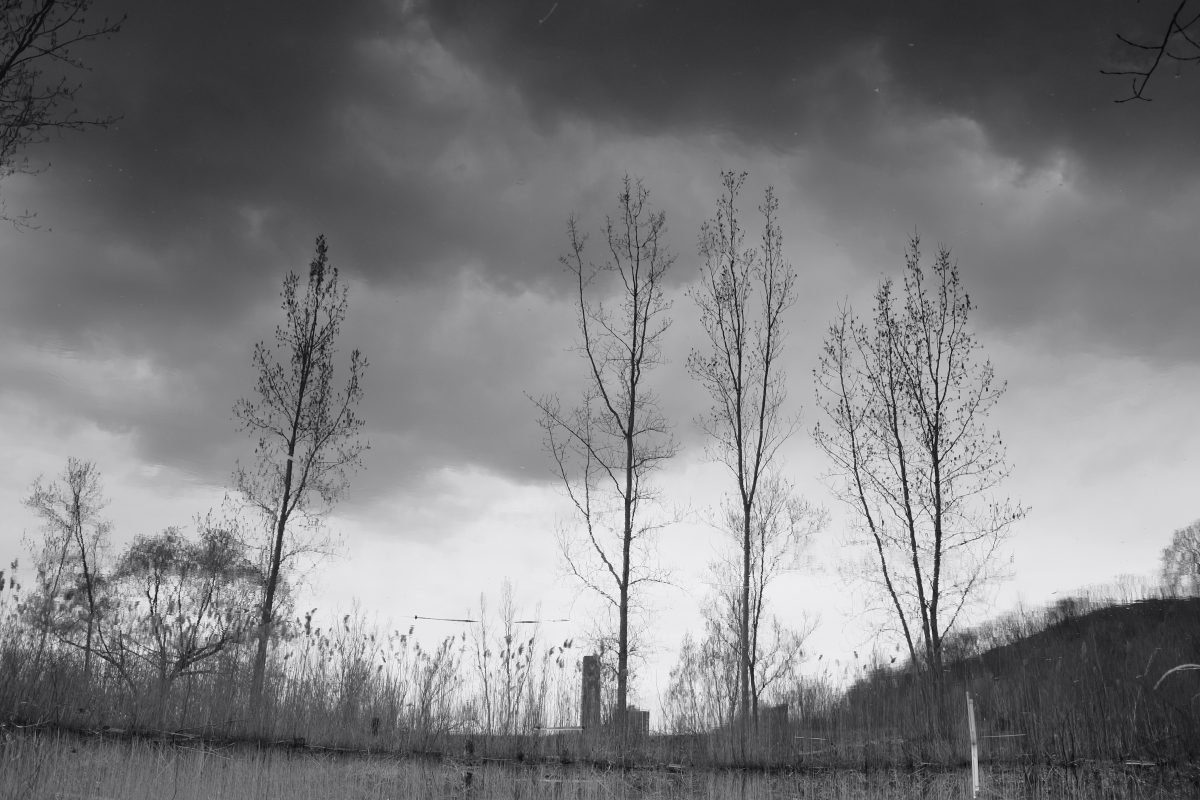
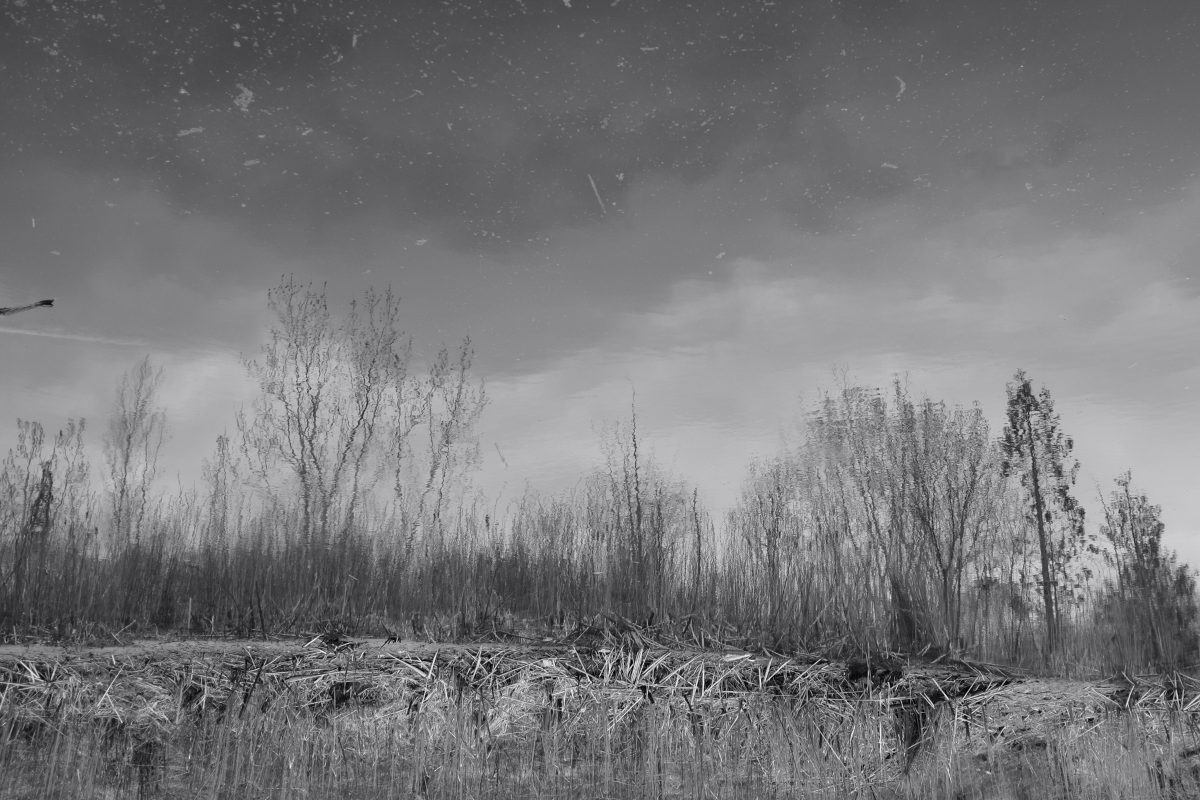
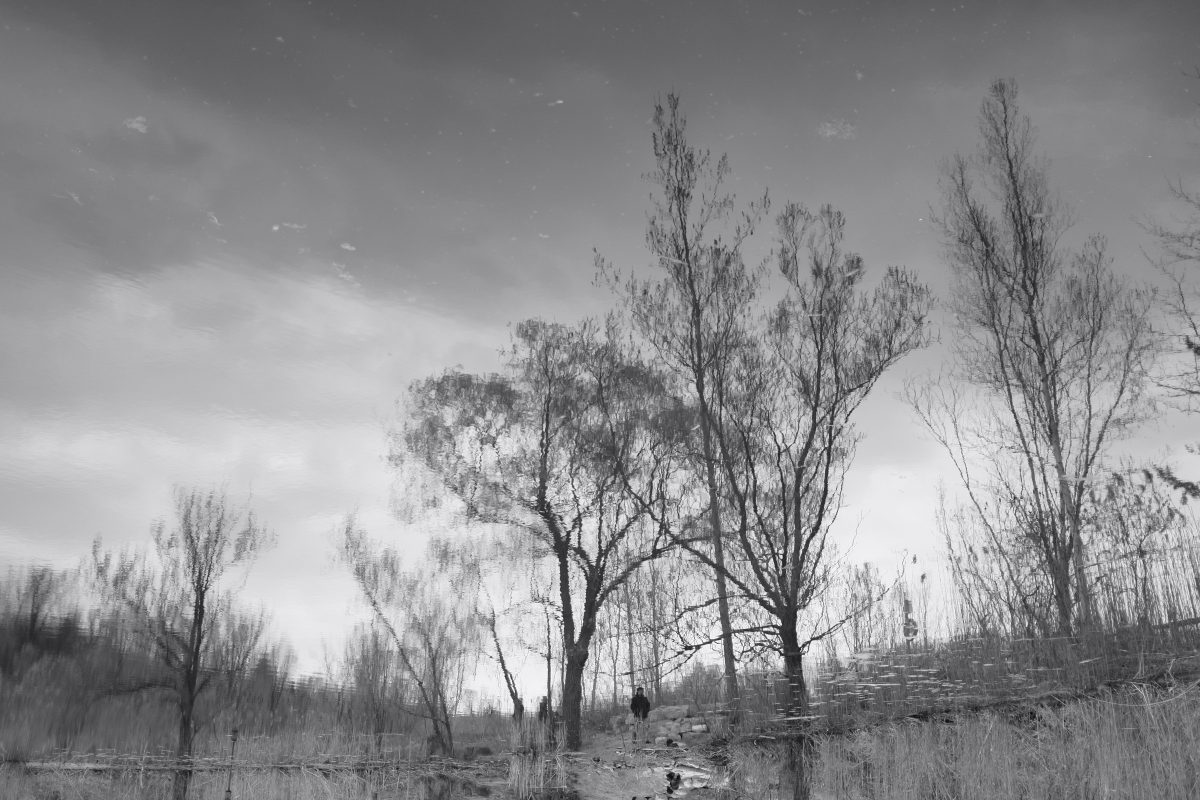
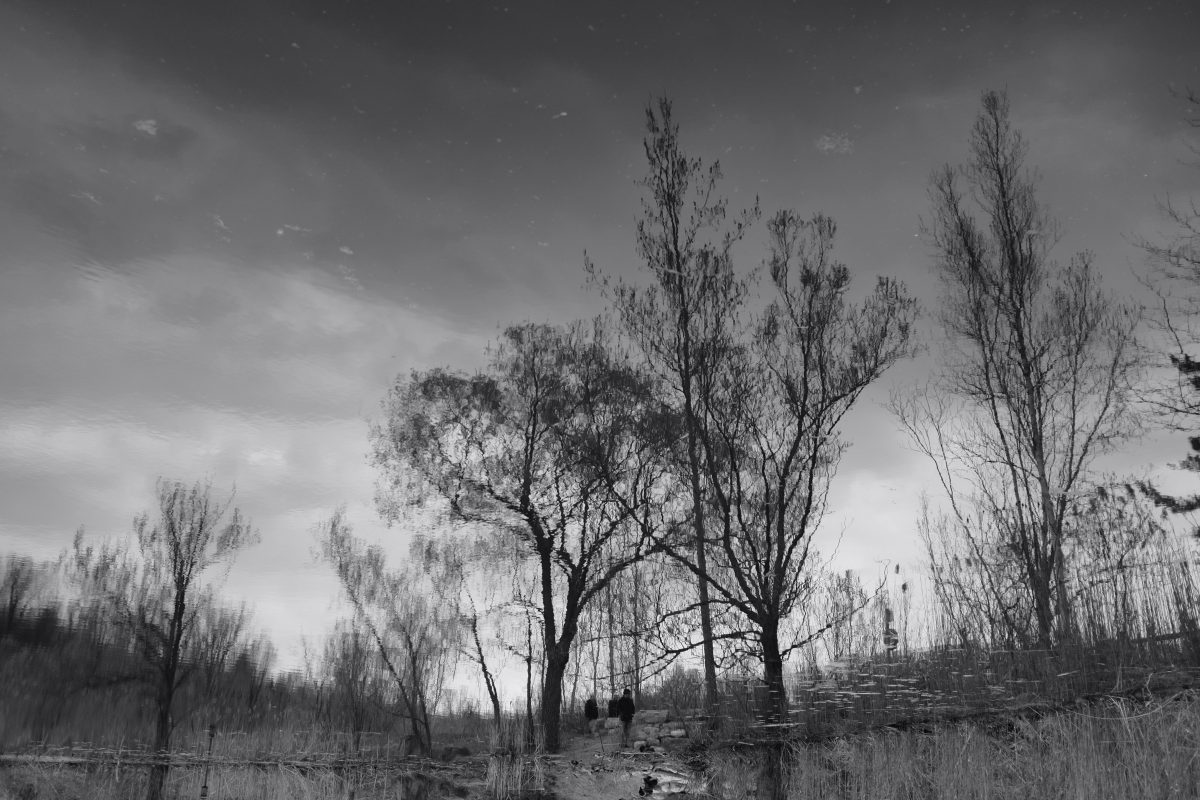
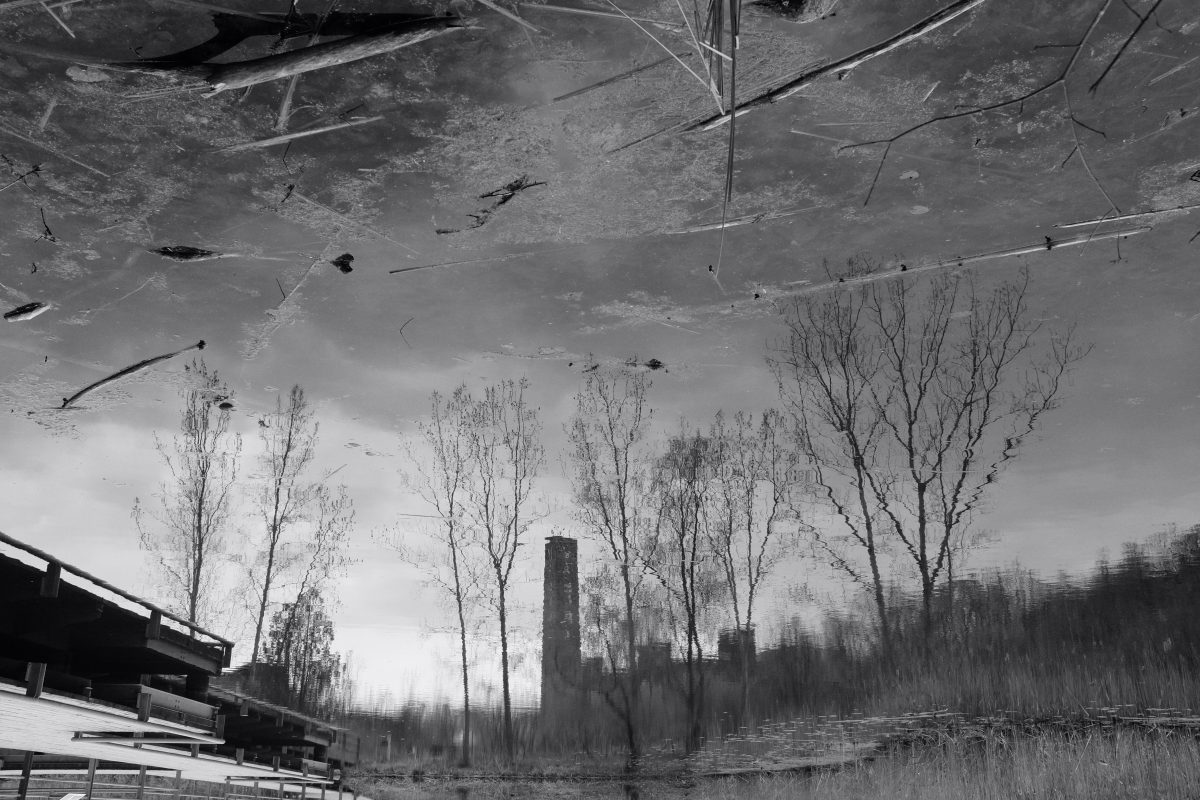
When I got home to look at these, I wasn’t sure what I would find. So often, I go out and capture what I think will be good images only to be disappointed in the result. Not this time. This last handful of pictures make me really happy. I thought really hard about how to take a dreary day by the water and turn it into some compelling shots.
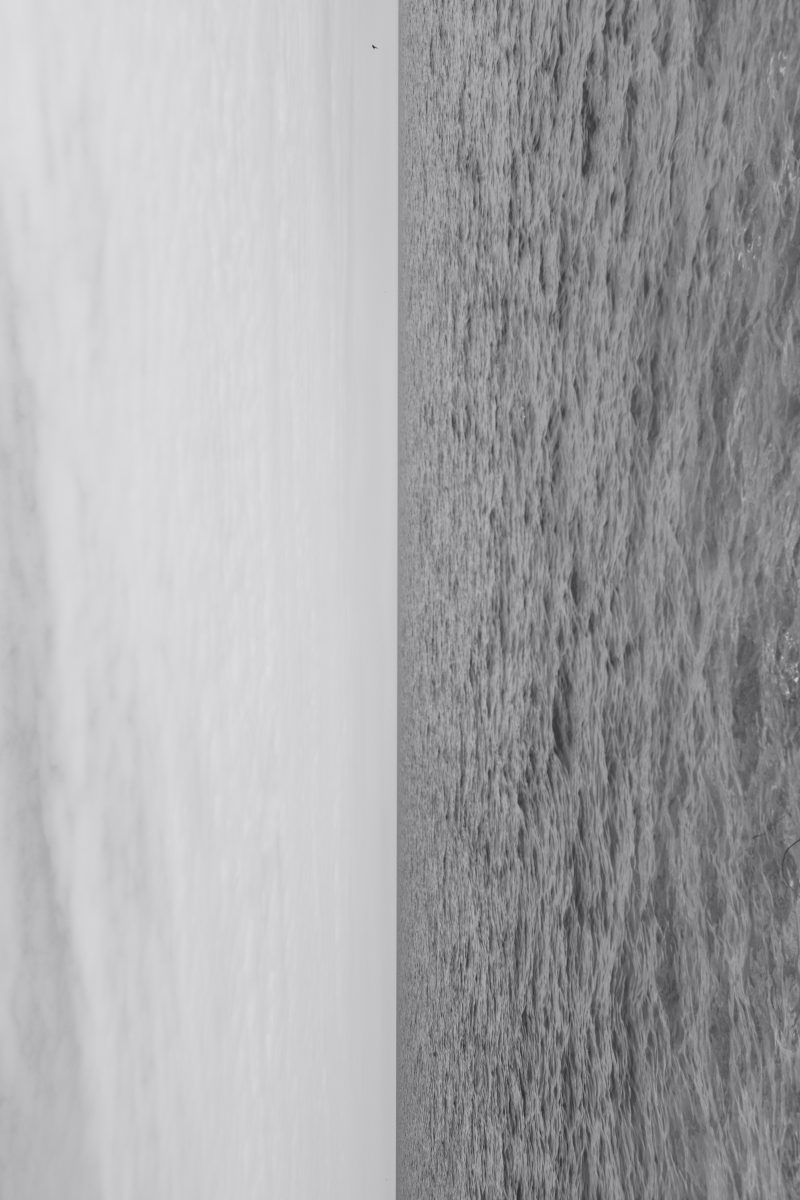
I came to the realization that while sometimes the world just hands over great images to capture, other times, you have to turn the world on it’s head to find them. In these photos, I consciously tried to see things in a different way, photograph things that I would normally pass by and photograph them in a way that I have never done before.
If you think you know how the last group of photos were made, please leave a comment below. There are definitely hints in the photos (and text). If you guess right, I will buy you a Pocari Sweat next time I see you.
If you enjoy the content and would like to contribute towards website maintenance and development, you can make a donation here. As always, thank you for reading TigerSalad.