Samgyetang

What is samgyetang?

Samgyetang is ginseng chicken soup. “Sam” for insam (인삼), the Korean word for ginseng; “gye” refers to chicken; “tang”(탕) is a soup. It is a hearty and delicious soup that tastes great during chilly months. It is also surprisingly popular during the hottest days of the year in Korea where eating steaming hot food is believed to have a cooling effect on the body.

My first time…

The first time I ate this soup was on a chilly afternoon in Seogwipo City on Jeju Island. Hungry and cold, I was wandering around an area known for restaurants. It was the off-season so many restaurants were closed and most others were serving Jeju black pig samgyeopsal, something that is difficult to eat on your own. Feeling defeated, I decided to go to a nearby convenience store to at least buy some kimbap. On my way I spotted a small house with a sign that simply said “삼계탕” (samgyetang) but this little house didn’t look like a restaurant at all.

When I cracked the door open to peek inside, I was surprised to see an older woman sitting on the floor in front of her sofa, watching TV. I quickly apologized and tried to leave, but she got up and gestured for me to come inside. Hardly knowing any Korean, I simply said “samgyetang”? She nodded and gestured for me to sit on the sofa. She unfolded a small square table in front of me and then disappeared. I sat alone in this room, watching TV and silently wondering if I had made some kind of a mistake. But, a few minutes later, she came back smiling and put 2 or 3 dishes of simple banchan on the table in front of me. And, a little after that, she came back with a steaming black earthenware bowl containing a single small chicken in a bubbling broth.

I ate this delicious steaming meal as fast as I could without burning my mouth. The woman seemed pleased when she saw all the empty plates. I gestured to pay, she accepted my money with a nod and a smile and I was on my way.

That meal seems like a mystery to me to this day. Was it really a restaurant? Was it a dream? It seemed like some kind of a magical chapter in a book. Someday I will return to investigate. These are the best kinds of travel experiences. There is something deeply lonely about traveling by yourself, but I think that it also opens many doors that may not have otherwise materialized at all. Like the door to this little house where I first ate samgyetang on a chilly afternoon on Jeju Island, perched on the edge of a sofa watching TV.

Ingredients

I made this recipe in a single large pot with a small whole chicken to eat family style. If you prefer, you can also make 2 separate portions out of this using the same amount of ingredients and 2 Cornish hens instead. It looks prettier when you serve each person their own whole bird and it is a lot less messy. Chickens are quite a bit less expensive and easier to find than Cornish hens so this is what I usually use.

  • 1 small to medium chicken (or 2 cornish hens)
  • 15-20 whole cloves of garlic
  • 2 fresh ginseng roots
  • 4 dried red dates (jujubes/daechu)
  • 1 cup short grain rice (you can substitute with glutinous rice/chapssal)
  • 2 green onions
  • salt and pepper

I am always able to find fresh ginseng at Asian grocers. Same goes for red dates: you may see these called Chinese red dates, jujubes or daechu (대추).

***At the end of the soup recipe there is a recipe for dipping sauce to go with it. Scroll to the bottom for that one. You can make it while your chicken is cooking.

samgyetang ingredients
Raw ingredients.

Process

soaking rice
Wash and then soak rice for an hour or so.
splitting and pitting red dates
Split the red dates and remove the sharp pits.
dividing ginseng roots for samgyetang
Wash and divide ginseng into individual small roots. If they are thick pieces, you can cut them to make them more bite sized. I have seen some people peel ginseng but I never do.
stuffing chicken with rice, ginseng, dates and garlic
I usually prop my chicken up in a bowl so it doesn’t flop over and spill out. Stuff the chicken tightly with rice. Insert garlic cloves, ginseng root and red dates along the way.
Pack the chicken with the rice, roots, dates and garlic until the cavity is completely full.
I like to tie up the legs with butchers twine to keep everything inside but this is optional.
Place the chicken a pot large enough so that it can be covered with water. I am using a stoneware pot but any soup pot will do the job. You will probably have leftover rice and garlic/ginseng/dates. Add these to the pot around the chicken.
ingredients assembled for samgyetang. Chicken goes into pot
Add enough water to cover the chicken. It’s ok if it is peeking out a little.
Bring to a boil and then reduce the heat to a slow simmer. You can add a little salt now if you like. Maybe 2 teaspoons. Afterwards, each person can season to taste with salt and pepper at the table.
Cover the pot and cook for an hour. By this time, the chicken should be cooked through, the rice will be fully cooked and the garlic cloves should be soft.
finished soup
After an hour, this looks perfect.

Serving

Chop your green onions, put some on the soup and serve the rest at the table.
Serving family style samgyetang
Serve with sides of your choice. I am just having the soy vinegar dip and some kimchi. Salt and pepper on the table so everyone can season to taste.
If you are sharing a whole bird, everyone can tear off pieces with tongs and scoop out some rice and broth with spoons as we did here. If you serve a single hen per person, it is a little less savage and messy (and maybe a little less fun).

Soy and vinegar dipping sauce

Ingredients

  • 100ml (around 6 tablespoons) brewed soy sauce
  • 50ml (around 3 tablespoons) white vinegar
  • 12-13gr (1 tablespoon) white sugar
  • 1/2 medium white onion
  • 1 green long chile or jalapeño

I like regular harsh white vinegar for this recipe. You can substitute rice vinegar or apple cider vinegar but I would avoid using wine vinegars. Use regular brewed (Japanese style) soy sauce, not Korean soup soy sauce. Use an equal amount of honey if you prefer it over white sugar. You can leave out the chili altogether but, I would recommend just taking the seeds out if you don’t want any spice. The “greenness” of the chili adds alot of flavour here.

Process

ingredients for soy vinegar dipping sauce for samgyetang chicken
Raw ingredients.
Cut onion into 1cm dice. Slice chili. Remove seeds here if you don’t want any spice.
finished soy vinegar dipping sauce
Mix all ingredients together in a bowl until combined. Let this sit for at least 30 minutes before you use it. Leftover sauce will keep for a long time in the fridge. It is delicious with almost anything including as a topping for plain white rice.

This is one of my favourite soups. Hot and satisfying, it is especially good when you are feeling a little sick or run down. It is one of those meals that seems to instantly fortify the body much like my other favourite seolleongtang.

If you need a homemade kimchi recipe to go with any of your Korean cooking, click here.

If you have any comments or questions, please leave them below. Thanks for reading.

If you enjoy the content and would like to contribute towards website maintenance and development, you can make a donation here.

Vegan Napa Cabbage Kimchi

This is a tested recipe for anyone who does not eat meat, anyone with shrimp allergies or anyone who does not like the fishy taste of fish sauce. Once this recipe ferments, you will have a tasty vegan kimchi that you can use just like any other kimchi. It is a variation on a cut kimchi recipe that I posted previously. If you are interested in making a kimchi with all the seafood included or if you are interested in more information about kimchi in general, you can find that by clicking here.
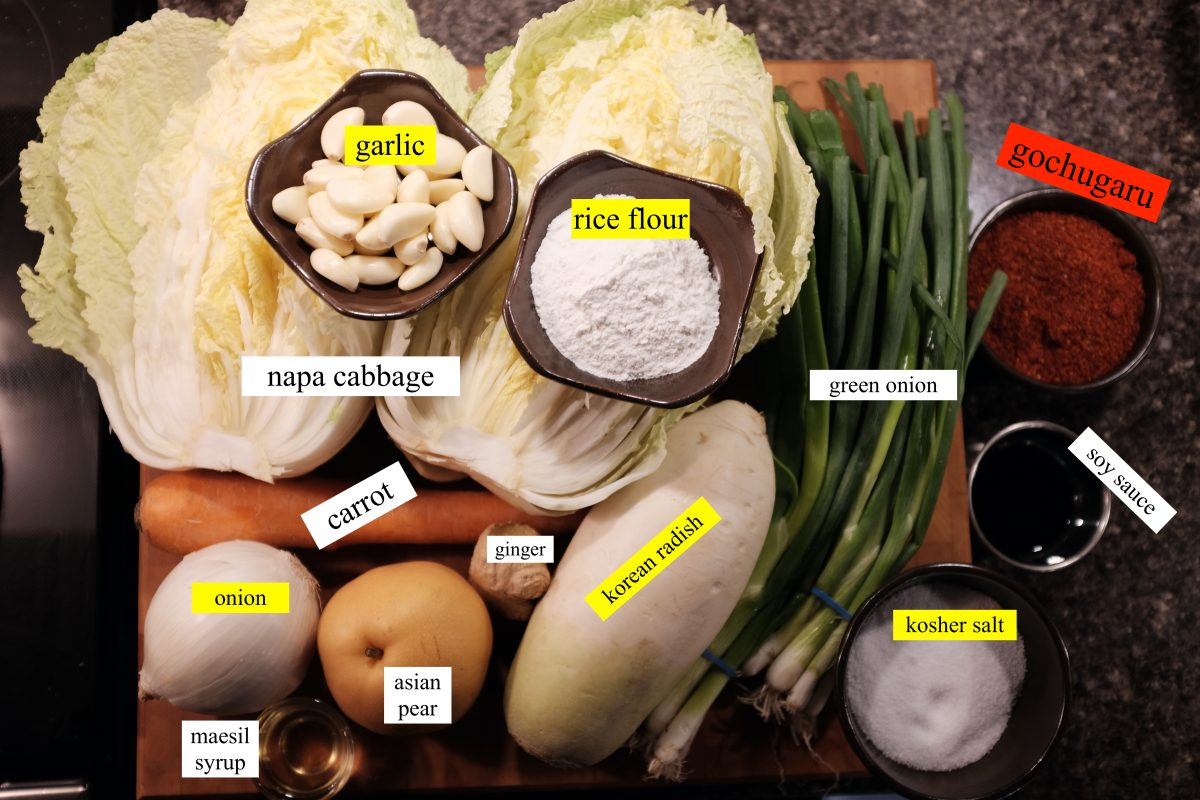
Ingredients

  • 1 large (2kg) Napa Cabbage
  • 80 grams/3oz (around 1/2 cup) Diamond Kosher Crystal salt for brining
  • up to 2 Tablespoons kosher salt for seasoning (not for brining…save this for later)
  • 1 tablespoon soy sauce
  • 275ml (1 1/2 cups) water
  • 1/4 cup rice flour
  • 1 tablespoon white sugar or maesil plum syrup
  • 1/2 cup peeled garlic cloves (around 20)
  • 1 tablespoon ginger peeled and sliced
  • 1 white onion peeled and chopped
  • 1 asian pear or apple peeled and chopped
  • 1/4 up to 1 cup (30-120 grams) korean chili flakes (gochugaru)
  • 2 bunches (12 or so) green onions sliced
  • 1 cup carrot matchsticks
  • 1 cup korean radish matchsticks

Try to weigh your salt rather than measuring by cups. Diamond Kosher is a popular salt in my area. If you live in the US, you may be using Morton’s. This salt is much saltier by the cup. Same goes for sea salt if this is what you are using. Whichever salt you use, it is better to weigh it. Avoid using table salt.

Rice flour/rice powder is just finely ground sweet rice. Mochiko is a popular brand but any brand will work.

Korean chili flakes are all very different from batch to batch. Some are mild and fruity and some are sharp and very spicy. It is better to start with less, taste, and then add more if you want it spicier.

Process

Cabbage preparation
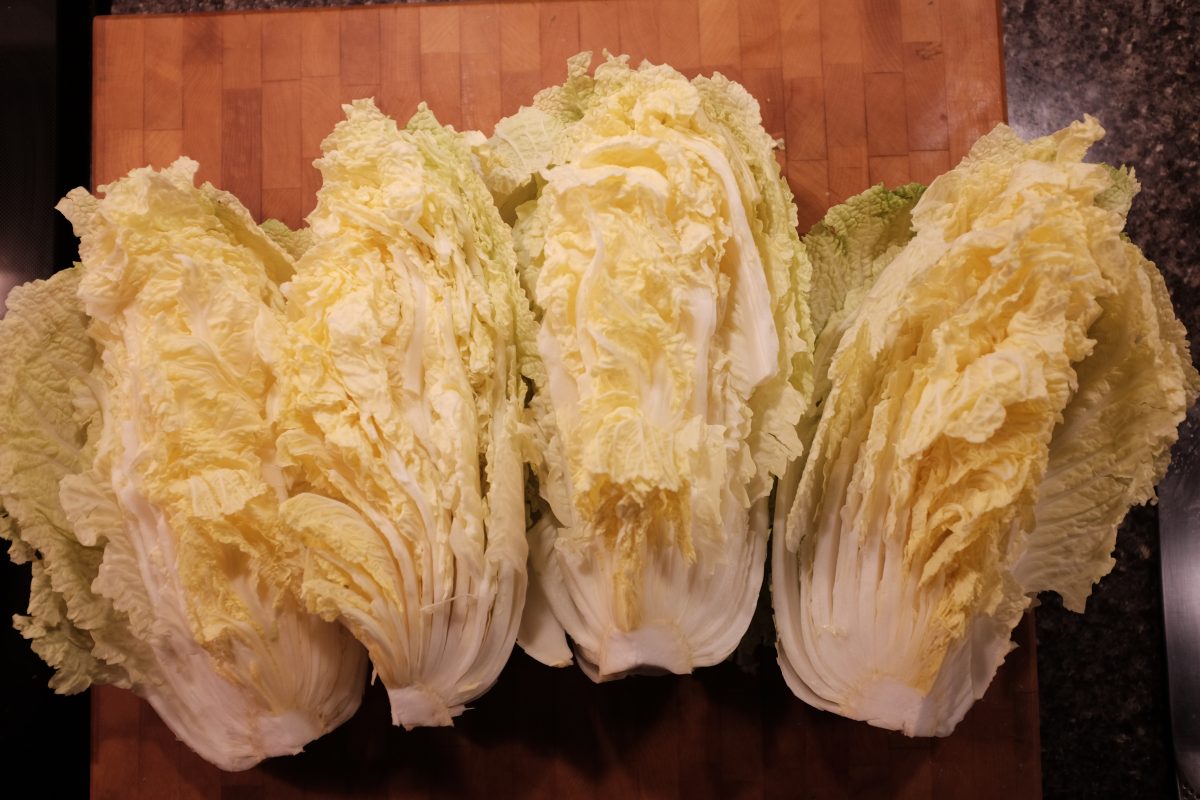
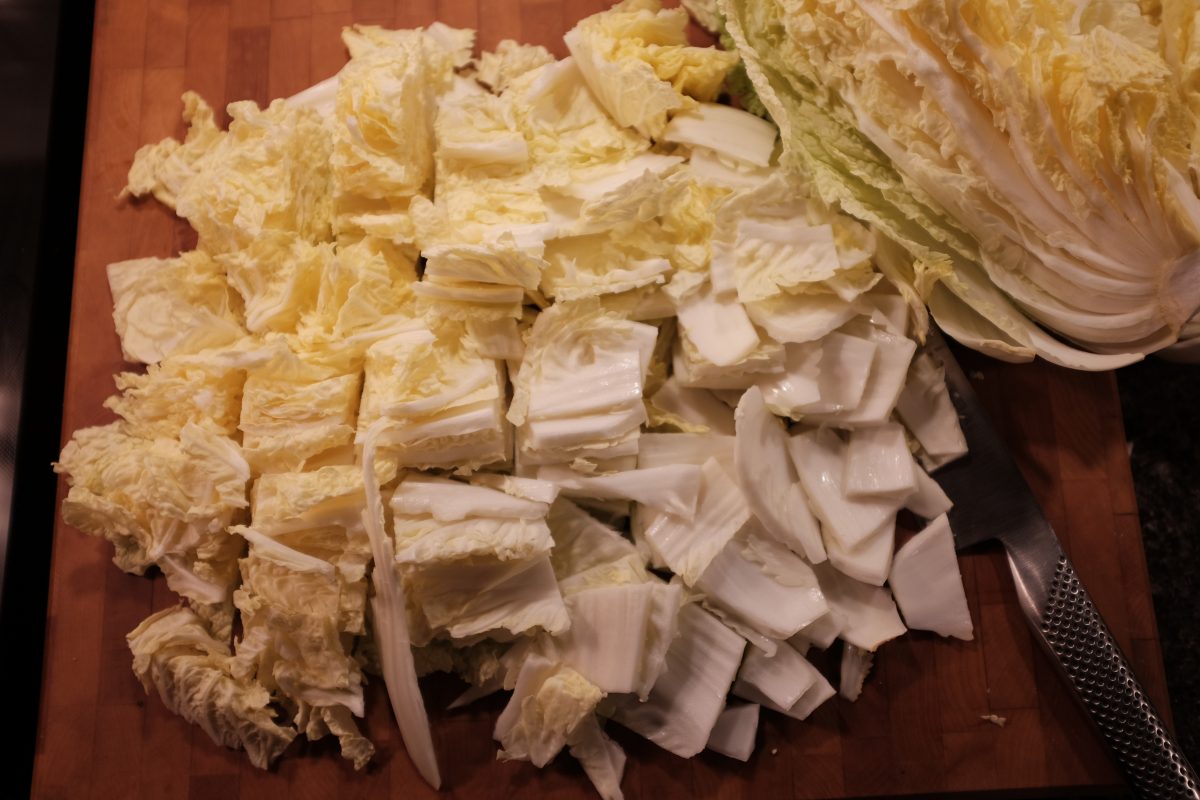
Quarter the cabbage and chop off the stalks.
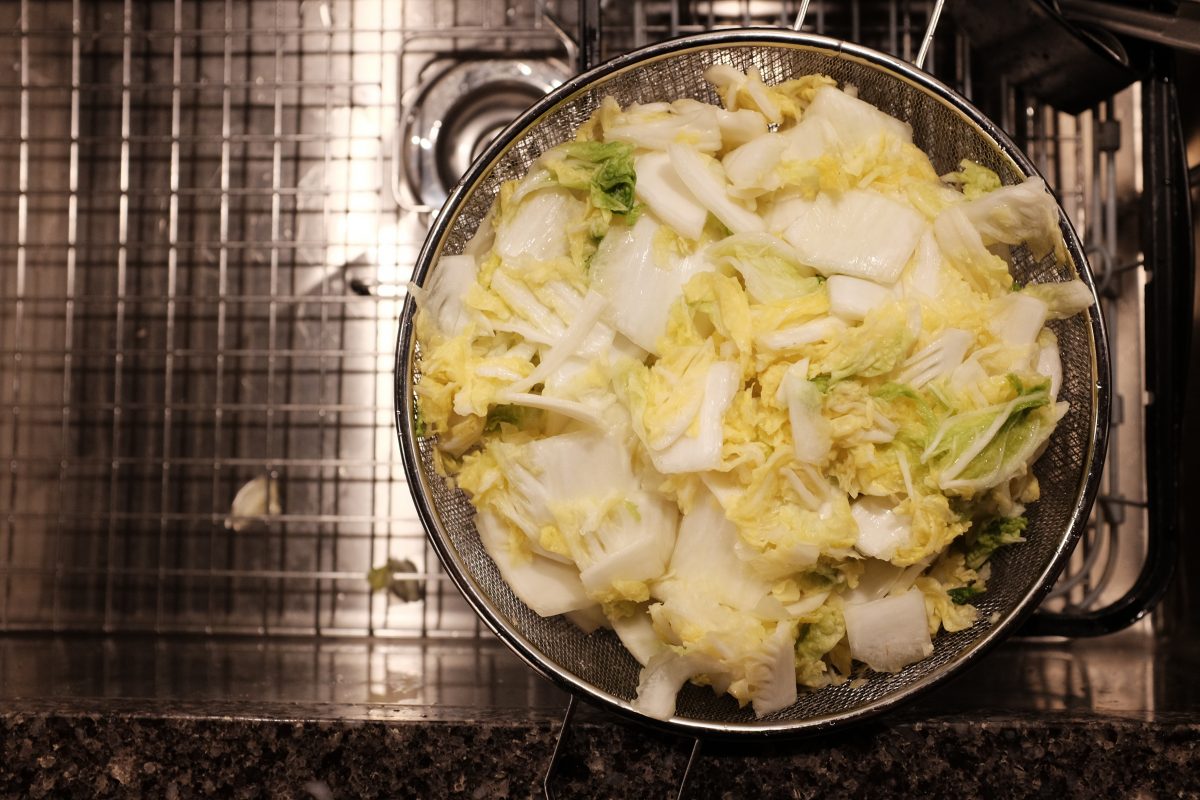
Slice into big-bite-sized pieces.
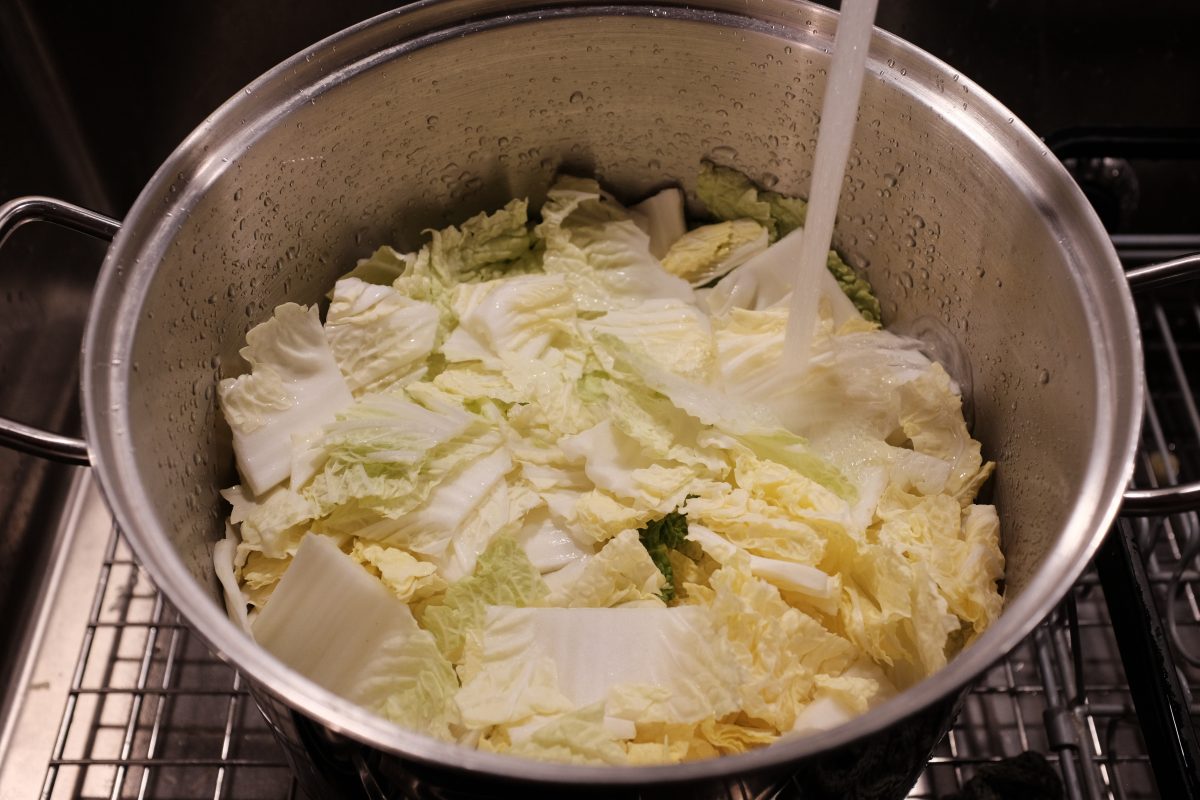
In a large container, rinse the cut cabbage in fresh cold water.
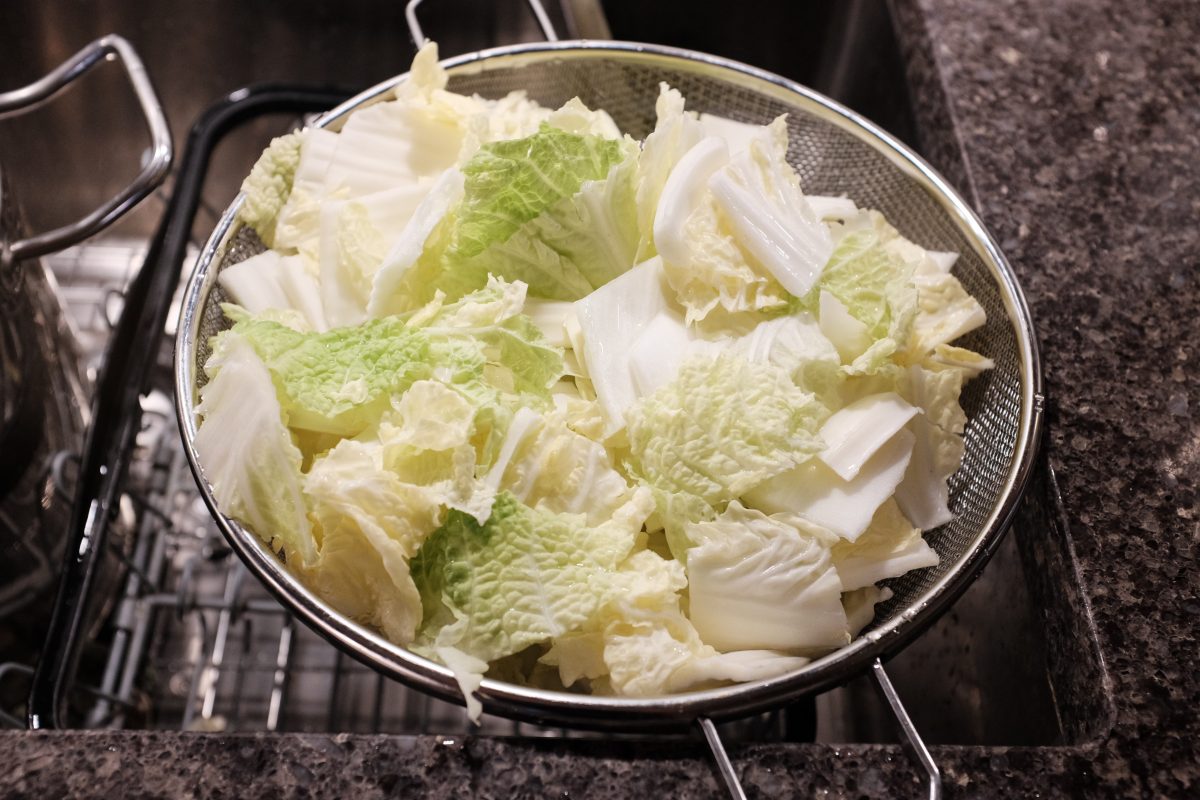
Drain it for a few minutes before salting.

Brining

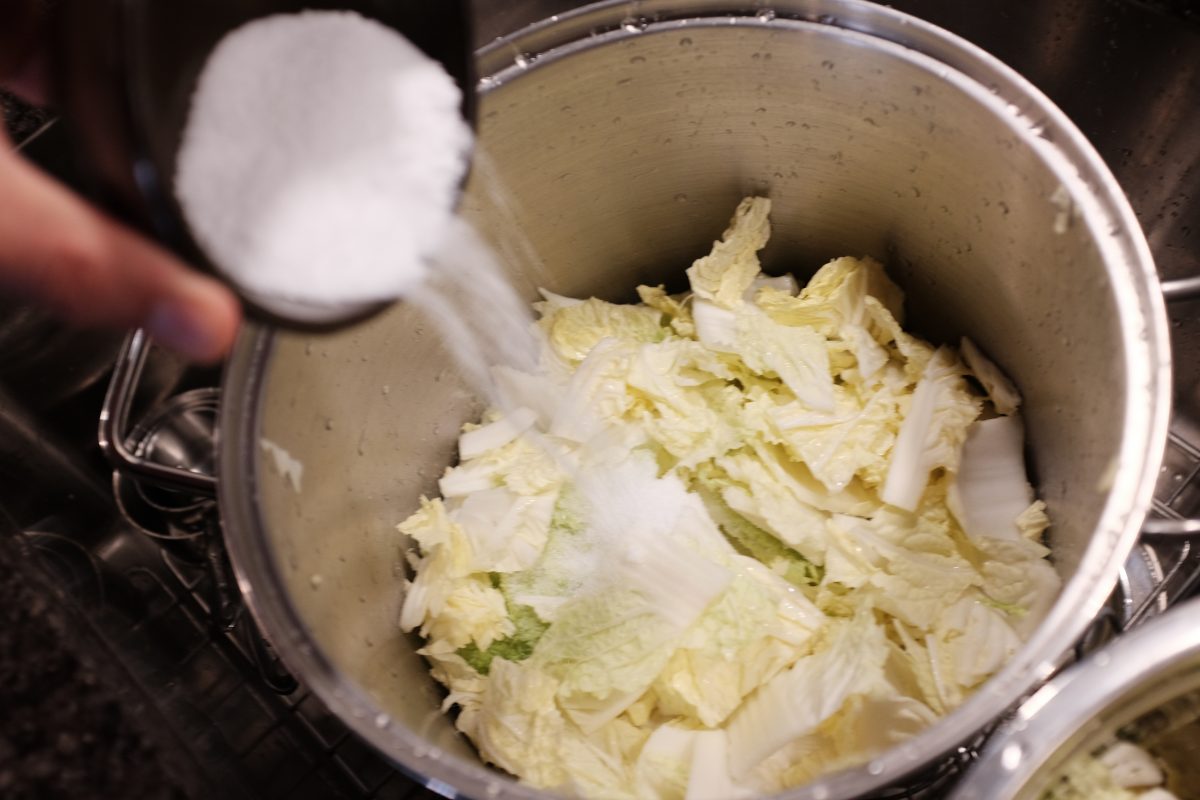
In a container large enough to hold all the cabbage, salt the cabbage in layers and mix it up well by hand. Use all 80 grams of kosher salt for brining but hold back the extra 2 tablespoons for seasoning until later. This is the brining stage. This will take about two hours. Mix the cabbage by hand every 30 minutes or so. Try to move the leaves from the bottom to the top. The cabbage will wilt and produce a good amount of water.

Making the kimchi paste

While the cabbage is brining, make the kimchi paste:
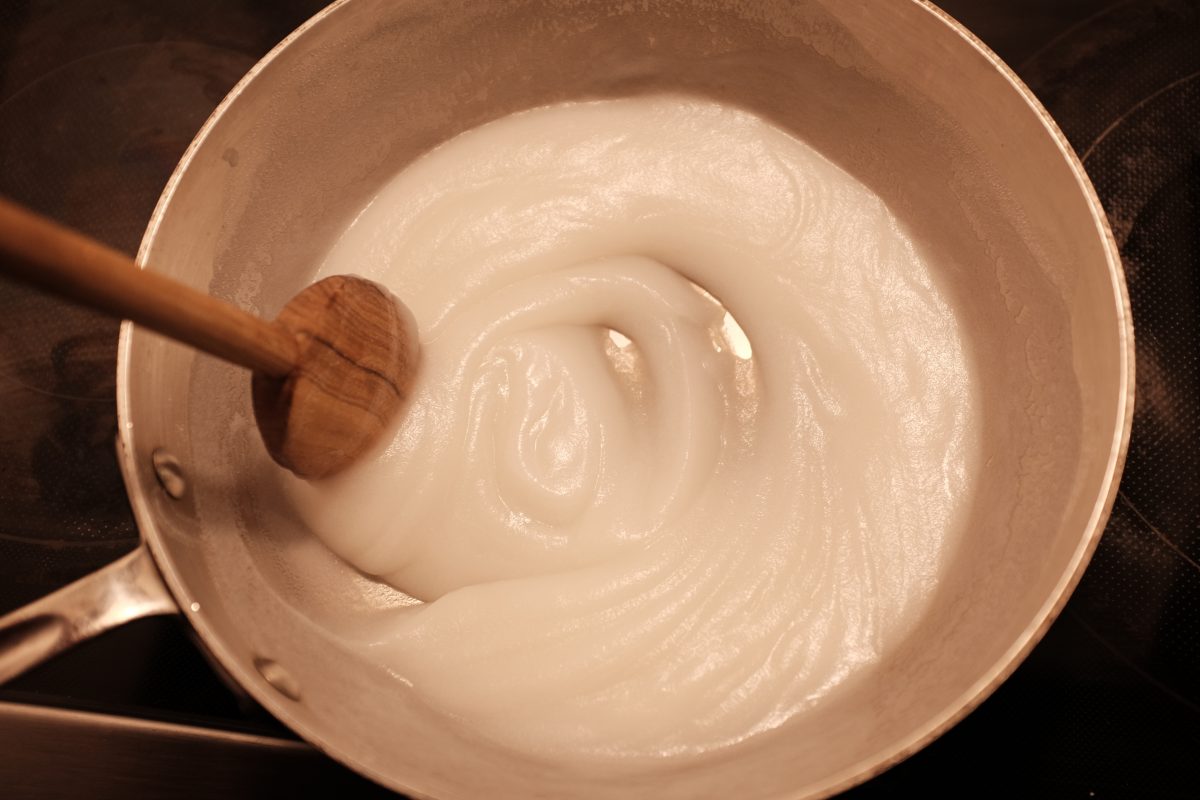
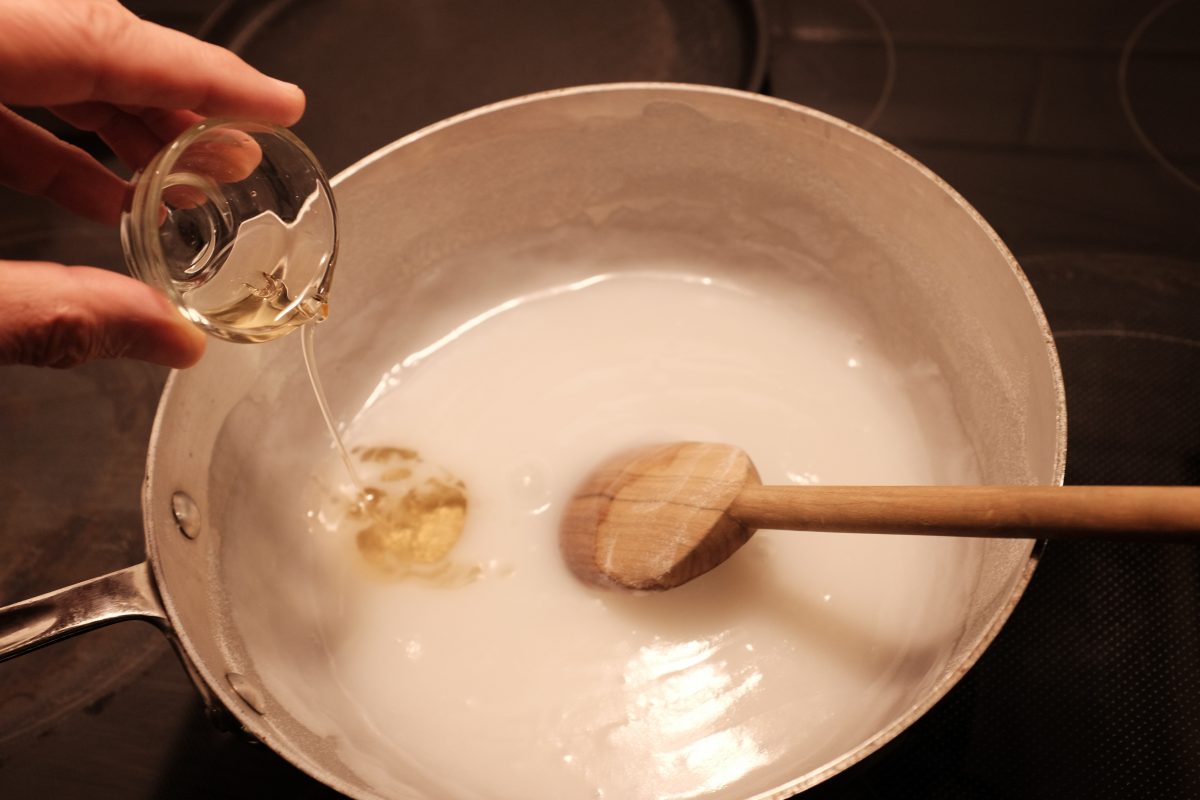
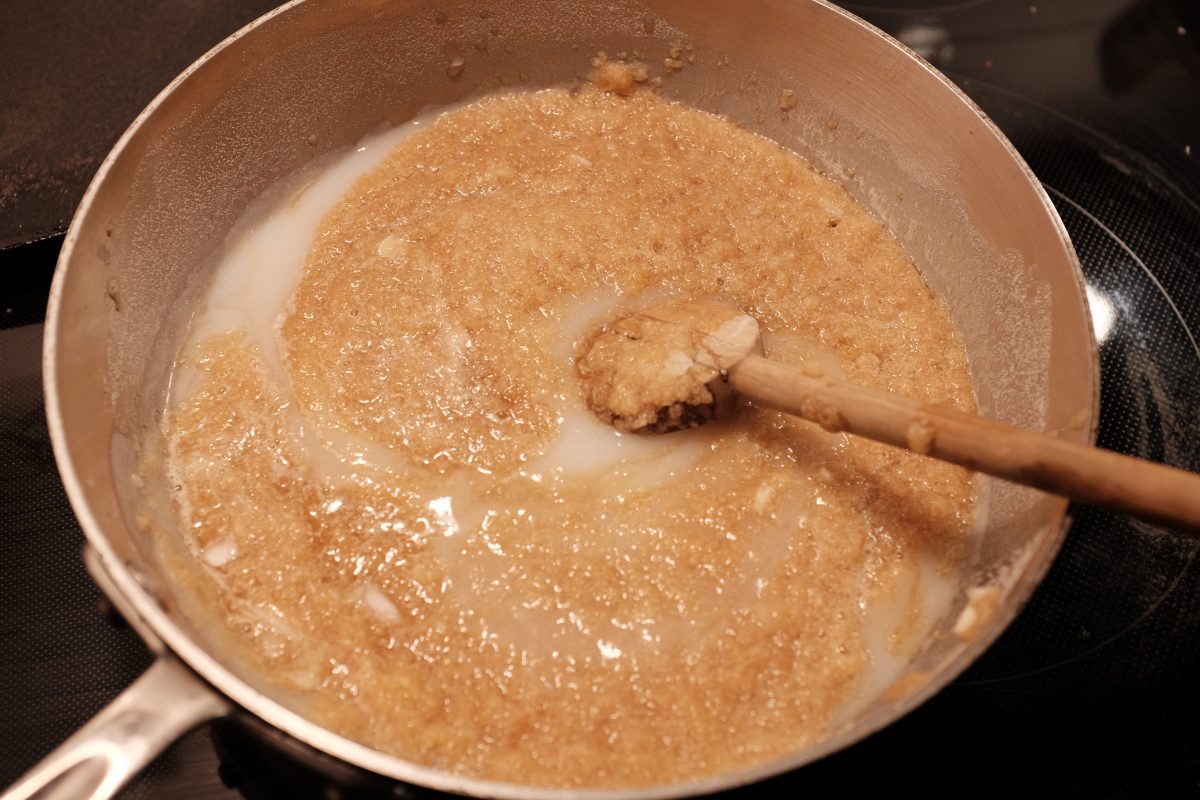
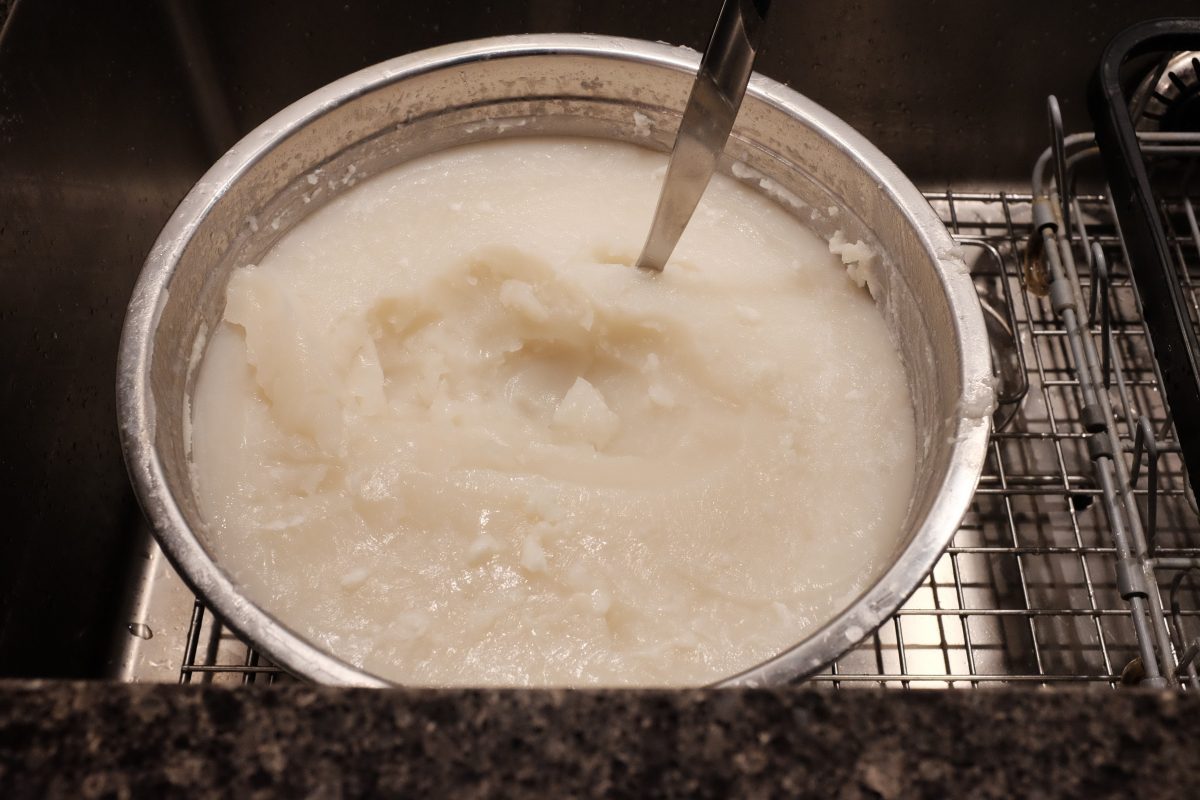
Combine the water and rice flour in a pot over medium high heat. Stir constantly until the slurry get very thick and starts bubbling a little. Afterwards, set it aside until it cools to room temperature.
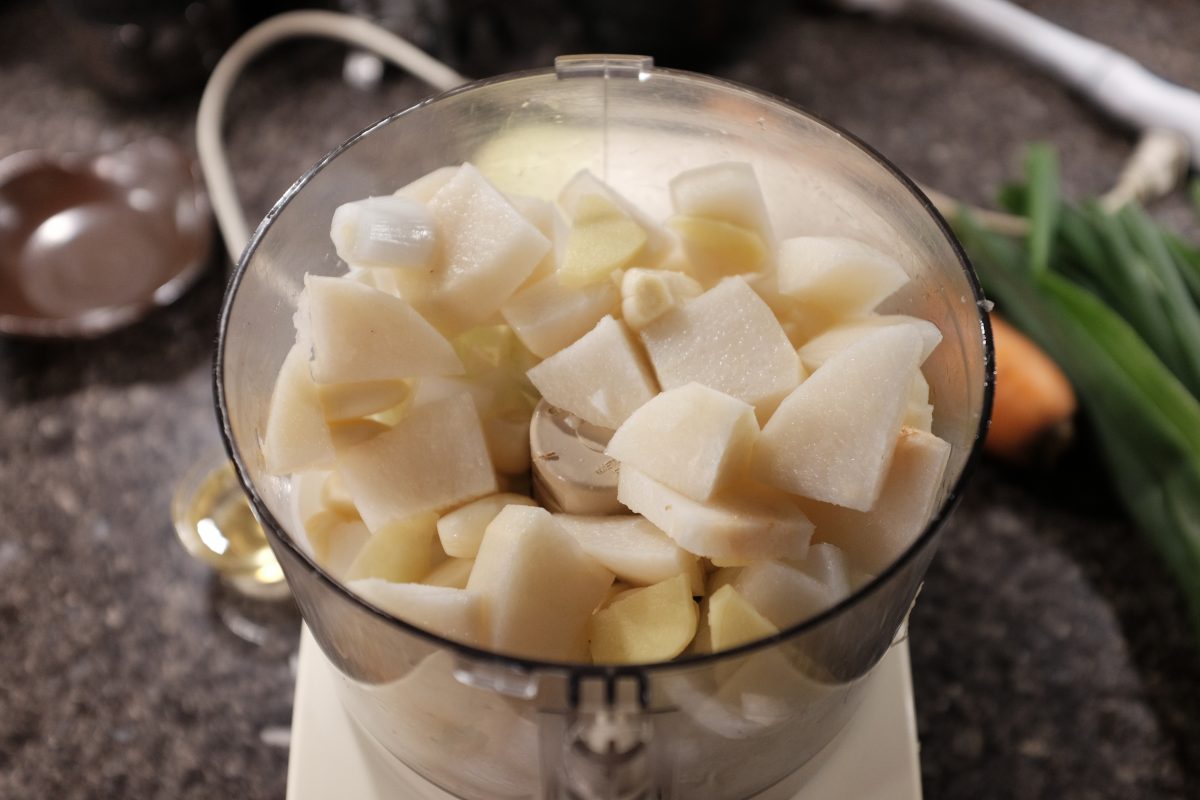
Peel and chop ginger, asian pear (or apple), onion and garlic. Place them in a food processor and mix into a uniform sauce.
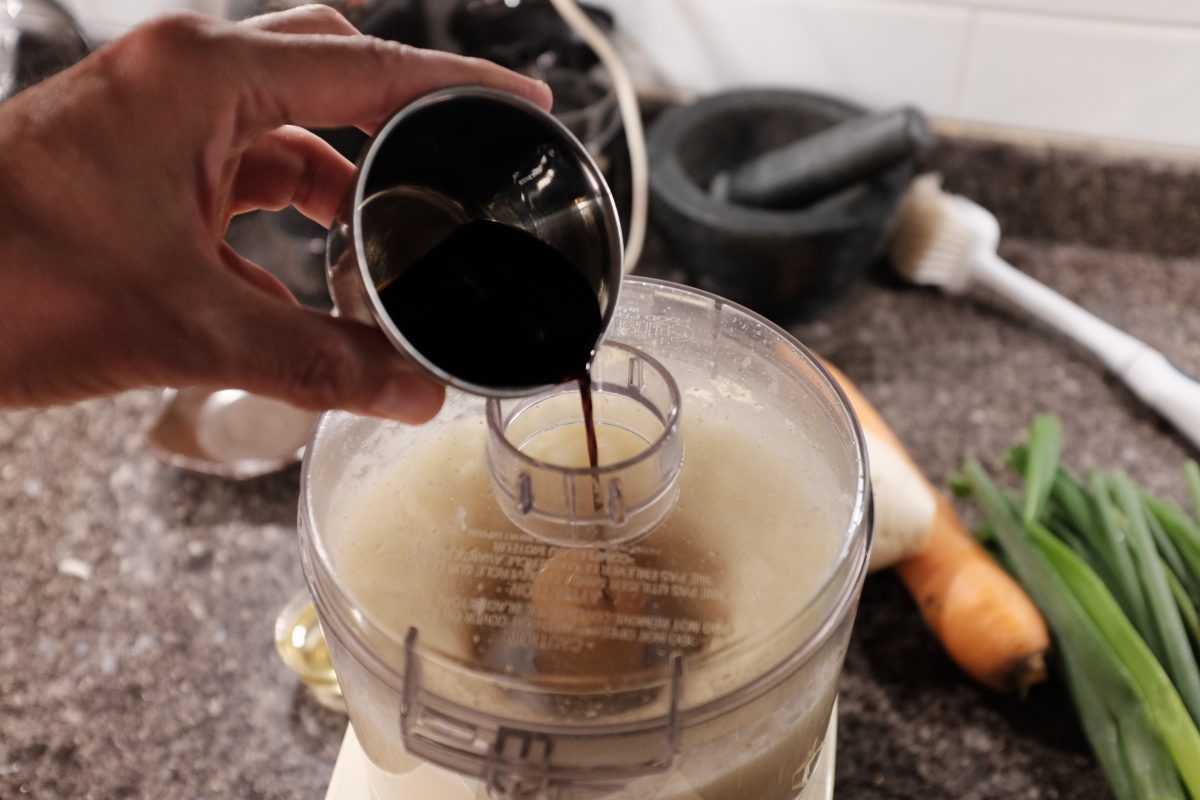
While it is running, add the soy sauce.
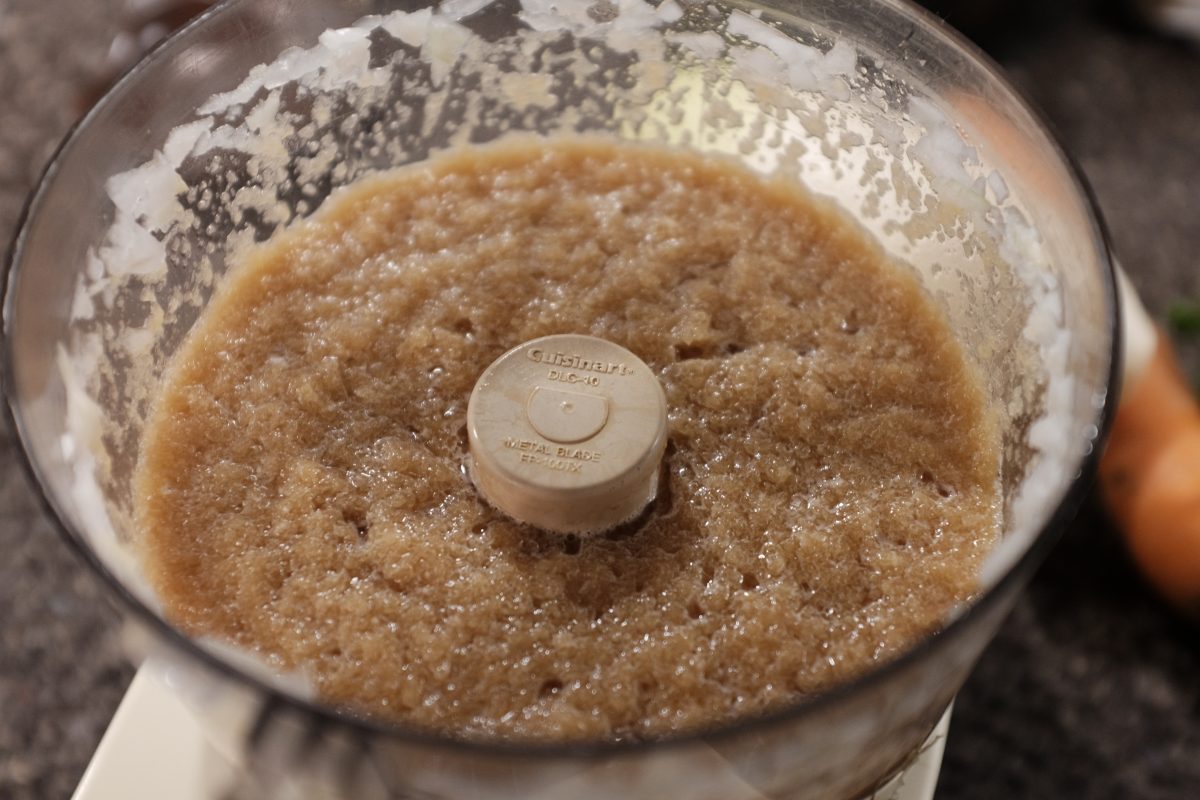
It should look something like this when it is done. If you don’t want to use a food processor or blender, you can also chop these ingredients by hand. It does not have to be this smooth.
Add maesil plum syrup or white sugar to your cooled rice flour slurry. I am using maesil plum syrup because I have it on hand but white sugar works just as well.
Mix in the sauce from the food processor.
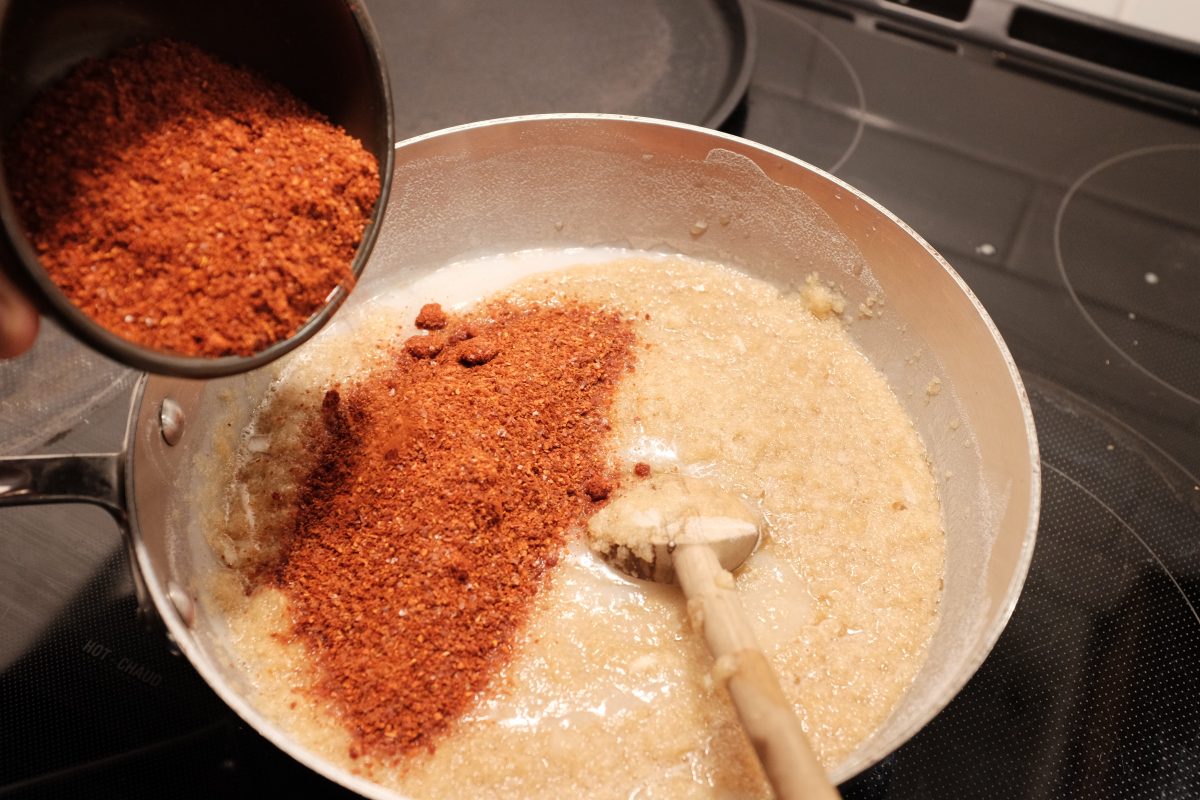
Add in the chili flakes. Start with a small amount, taste it and then add more if you want more spice. You can taste and add more now or later in the process. Chili flakes can be mild or very spicy so it’s hard to give a fixed amount to use. Depends on your preferences and the chilis you have. As long as you like the flavour, you have done it right.
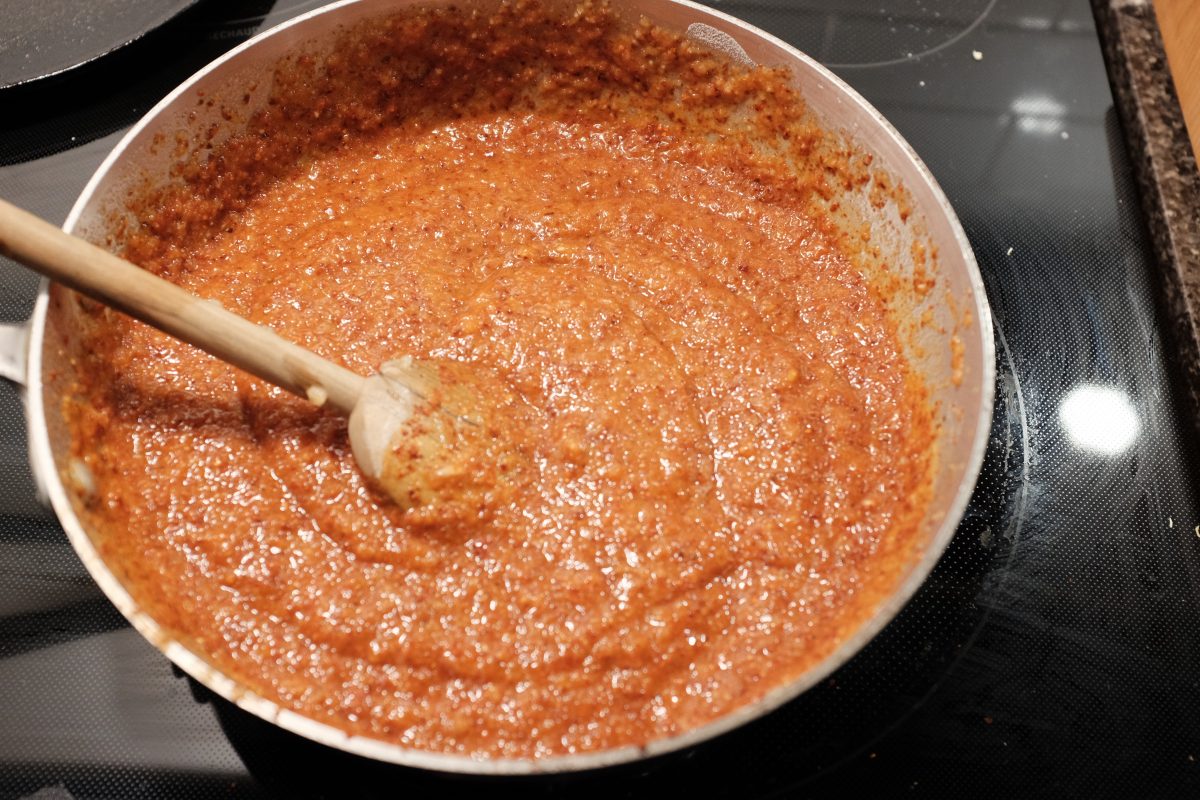
Mix well and give it a taste to judge the heat levels.
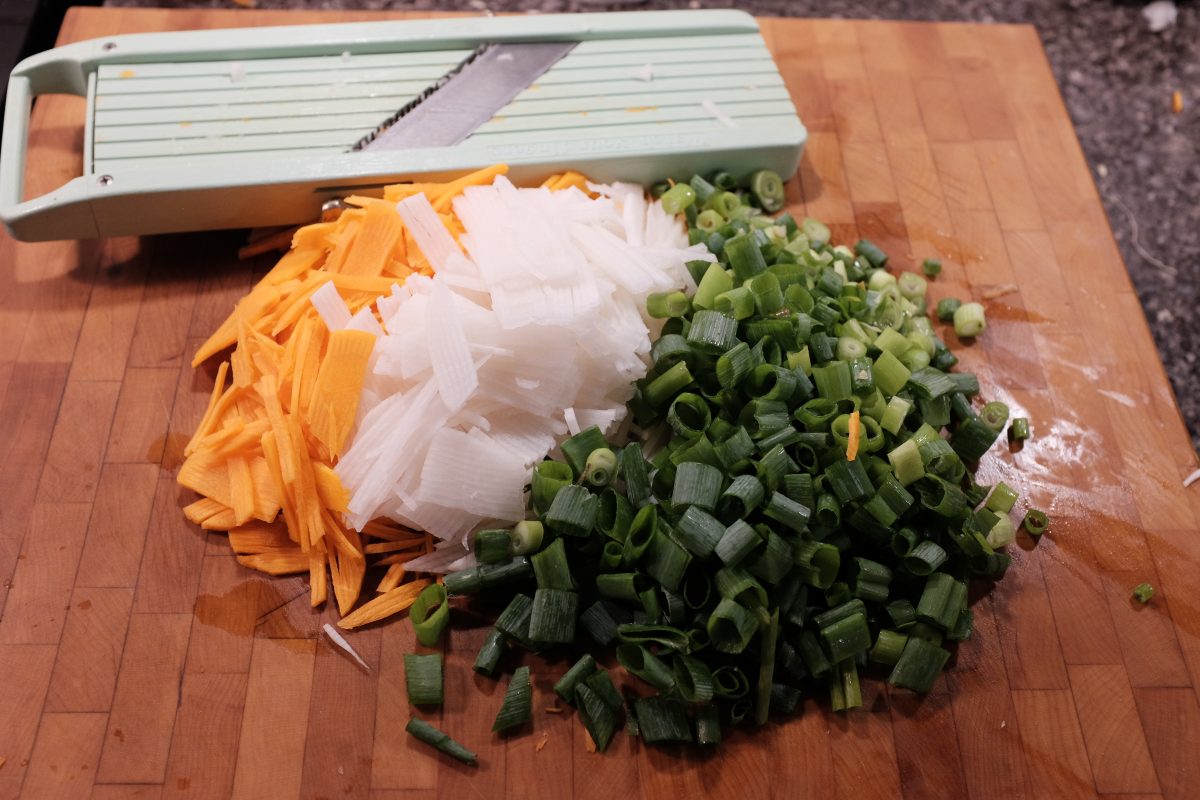
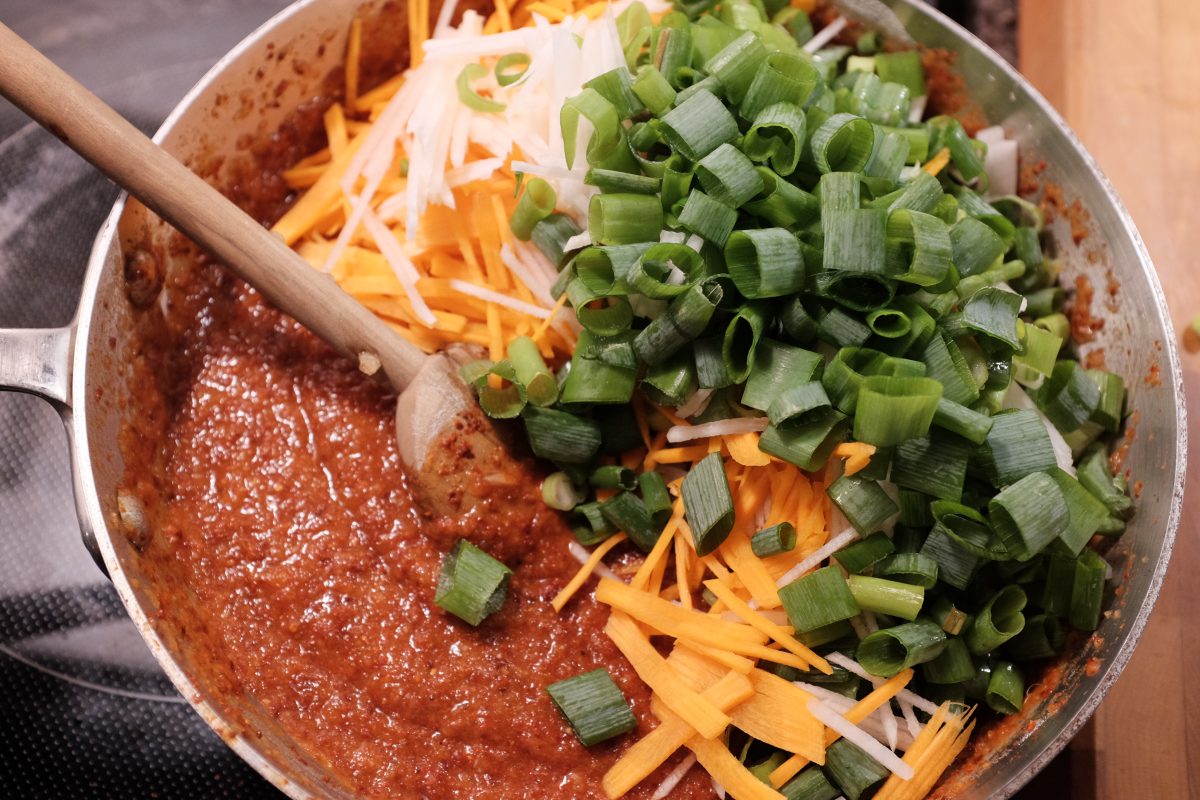
Cut the carrot and the Korean radish into matchsticks. I used this Japanese Benriner brand veggie slicer but you can use a knife instead. They don’t need to be perfectly uniform. Slice the green parts of the green onions into 1-2cm pieces.
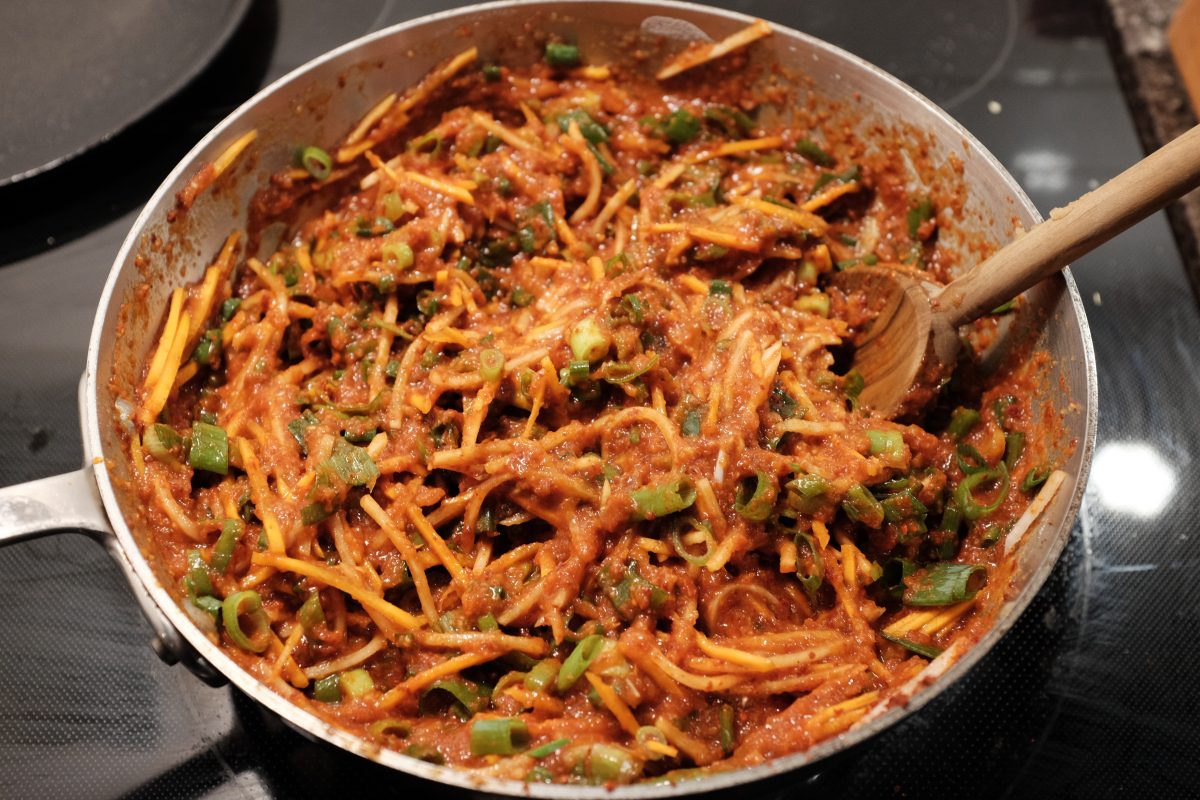
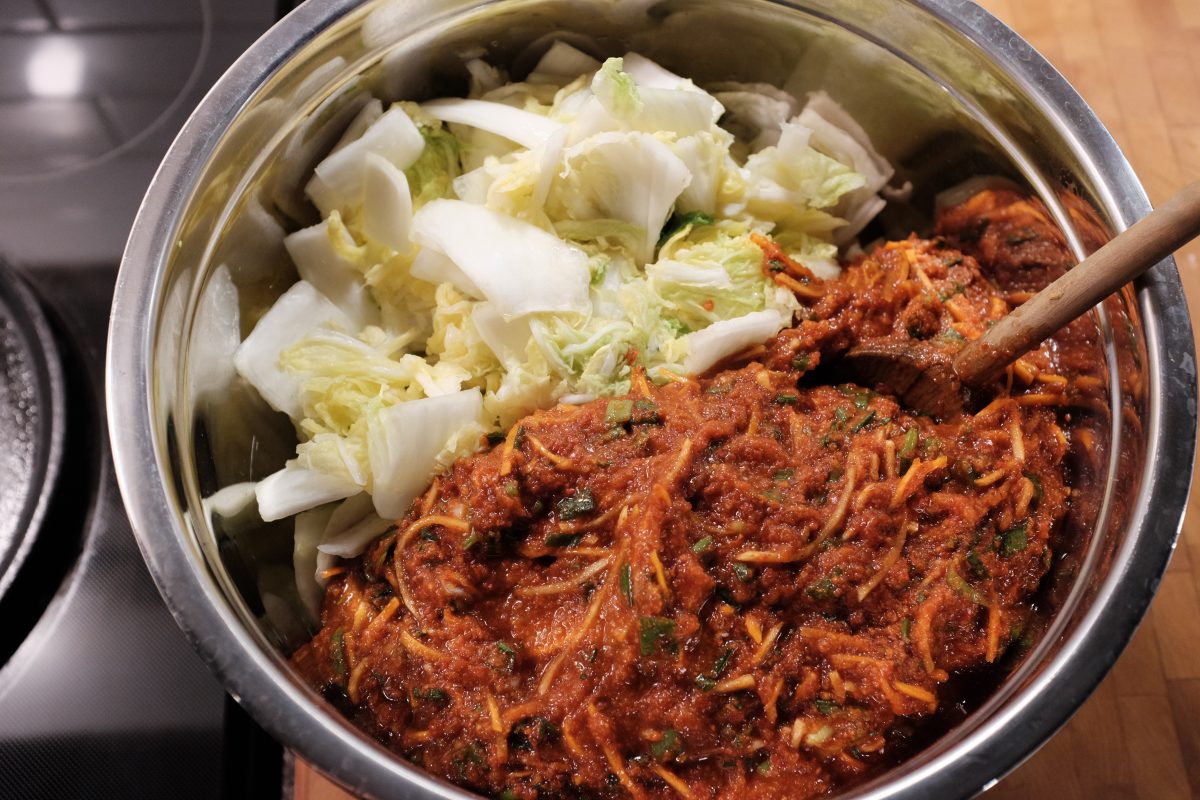
Combine the veggies and paste.
Mix well, let it sit for a few minutes, and taste it again. This is a good time to adjust the spice level AND the salt level. If you think that the paste is a little bland, season with small amounts of salt until you like the flavour. In a regular kimchi recipe, brined baby shrimp and fish sauce add a large amount of salt. Because we have left them out, we have to bring up the salt level a little in other ways. The soy sauce will do some of the work, but you will probably need to add a little salt here as well. I ended up using around 2 tablespoons but you do not have to use this much. It better to put less now and add some later on, even days later. Once it is too salty, it is nearly impossible to fix.
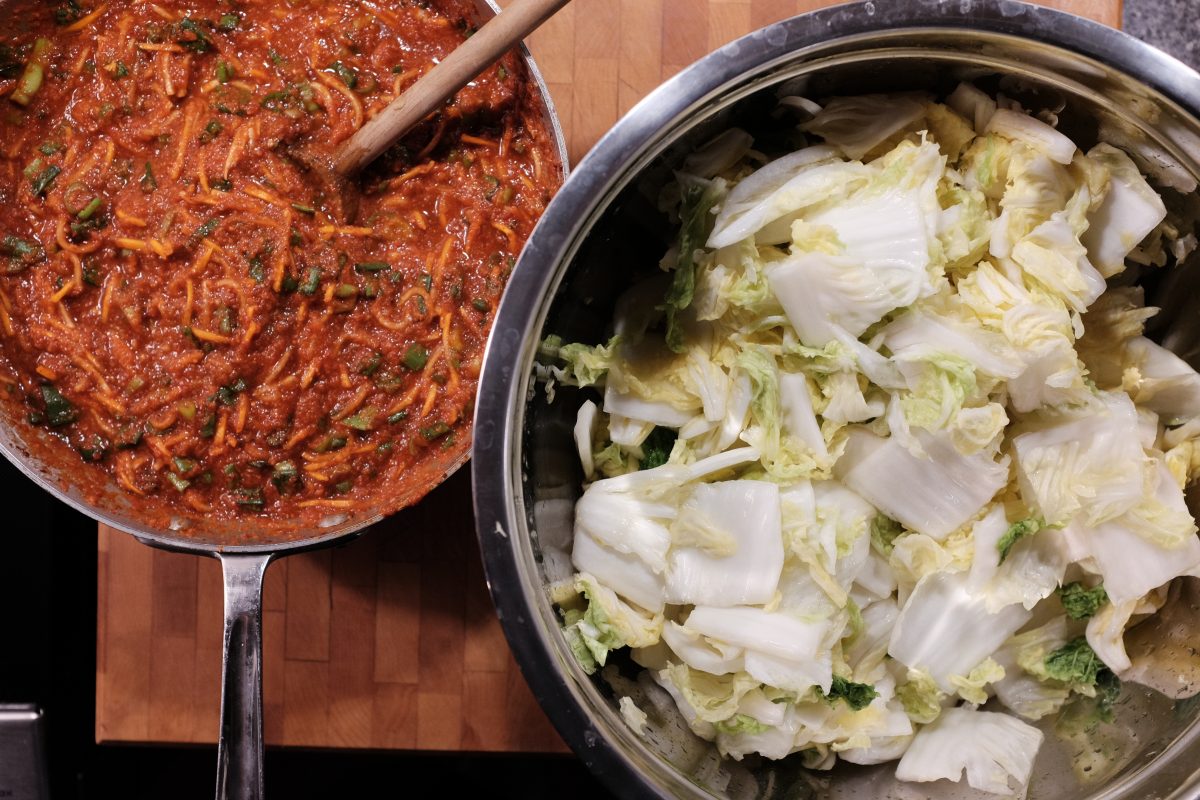
The kimchi paste is done. Once the cabbage has finished it’s 2 hour brine, these will get combined.

Put it all together

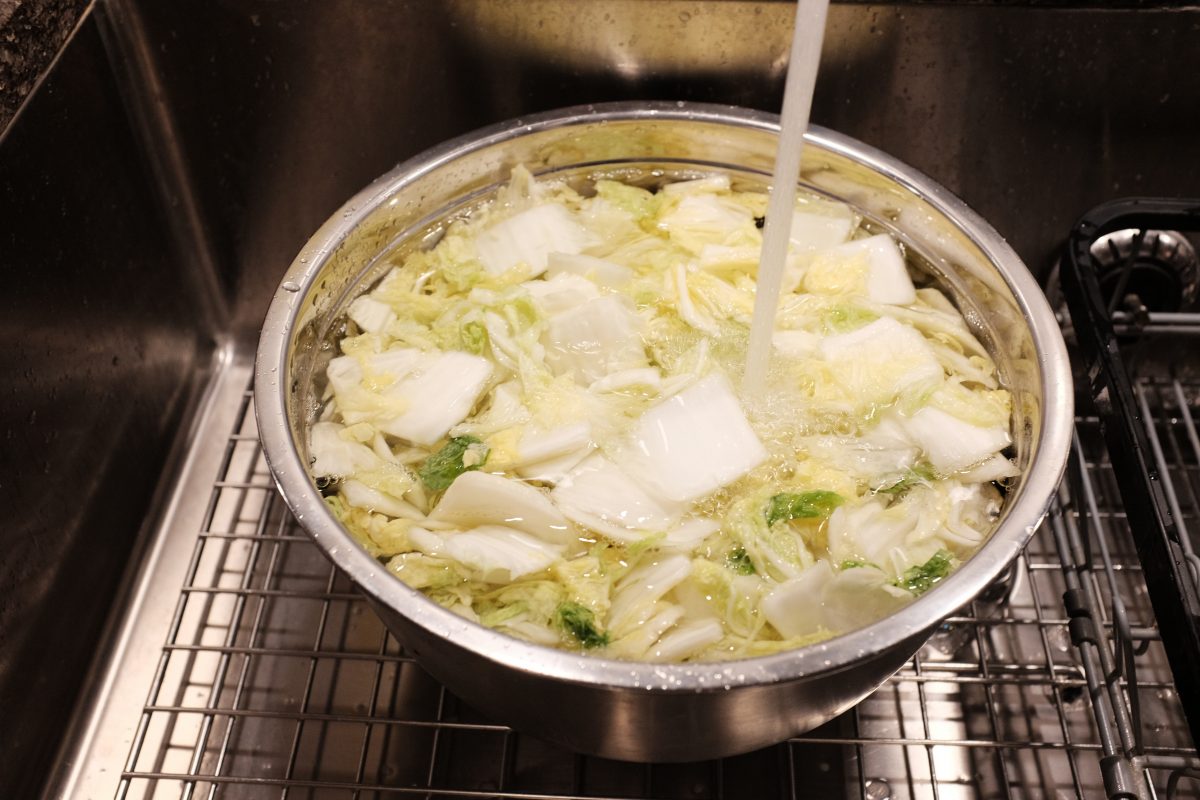
Once the 2 hour salting time is up, wash the cabbage 2 or 3 times in fresh cold water.
Put it into a strainer and allow it to drain completely. This can take 10-15 minutes. Wait until no more water is running out of the bottom of the strainer.
Cabbage and paste can meet.
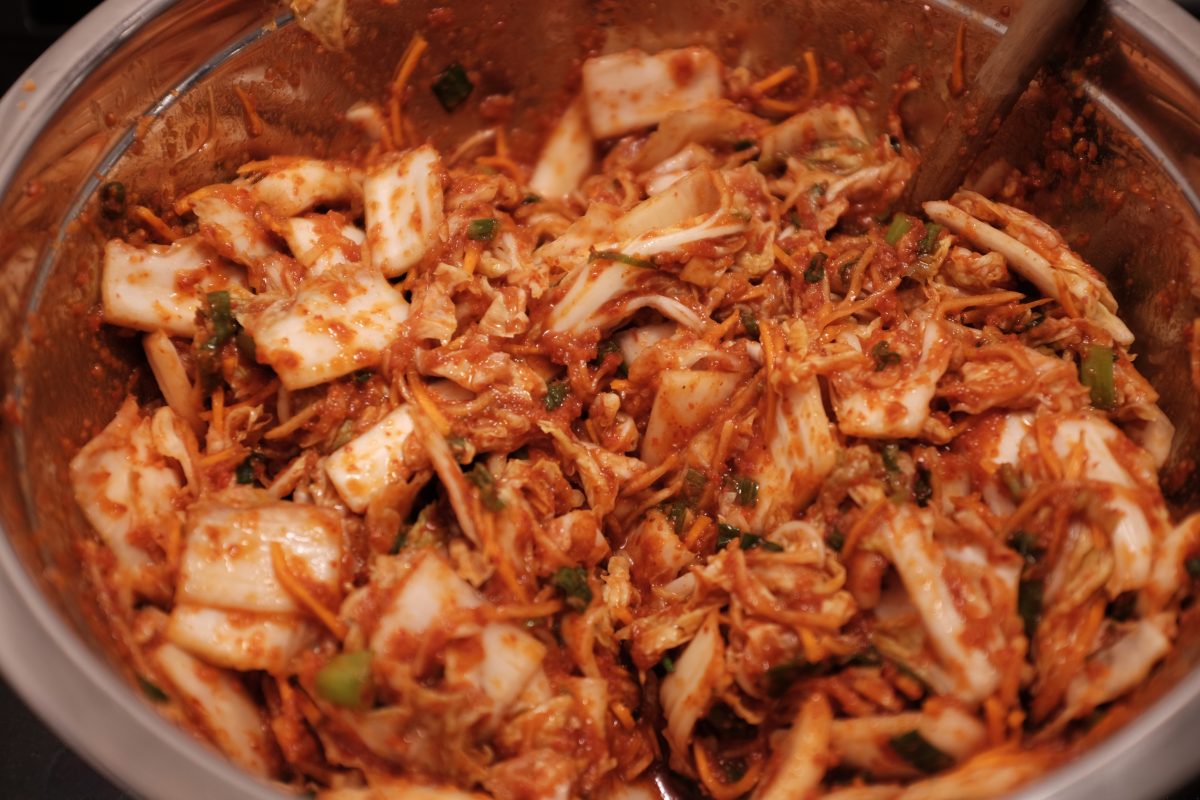
Mix them together and taste it again. Adjust salt and chili if you think it is necessary. If it tastes ok, you are done!
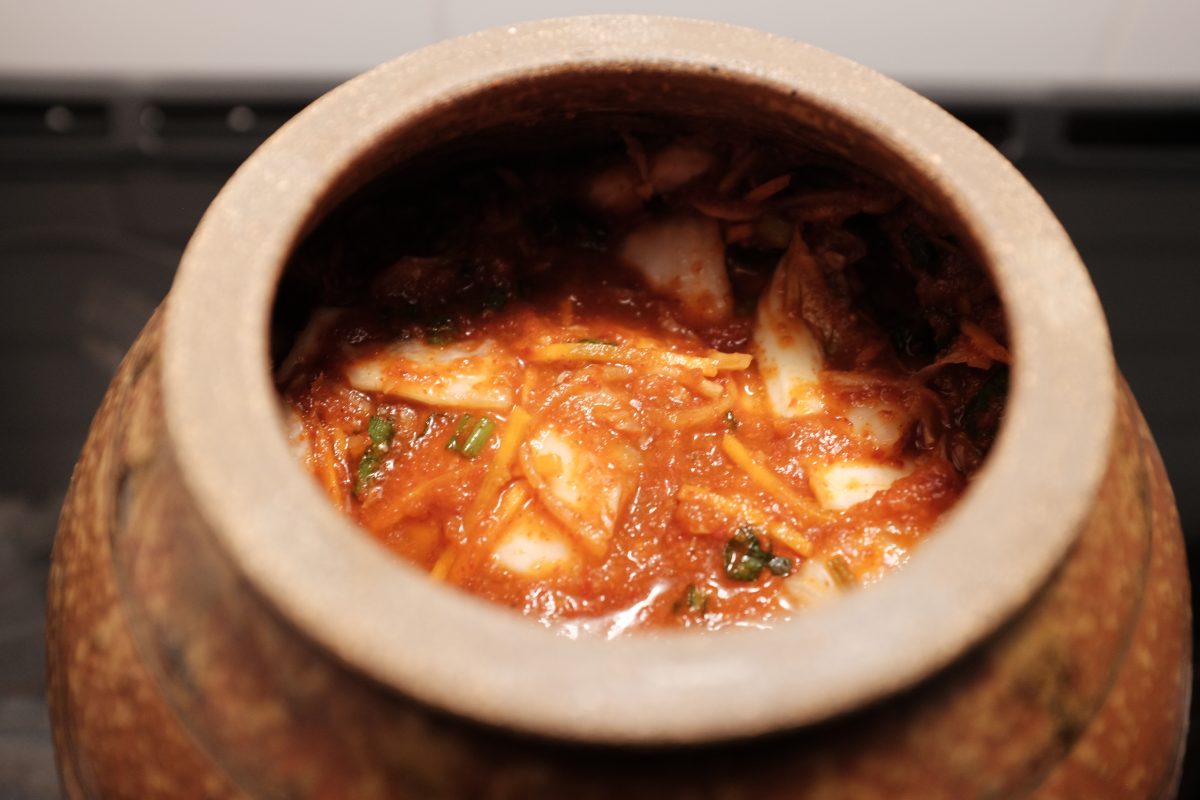
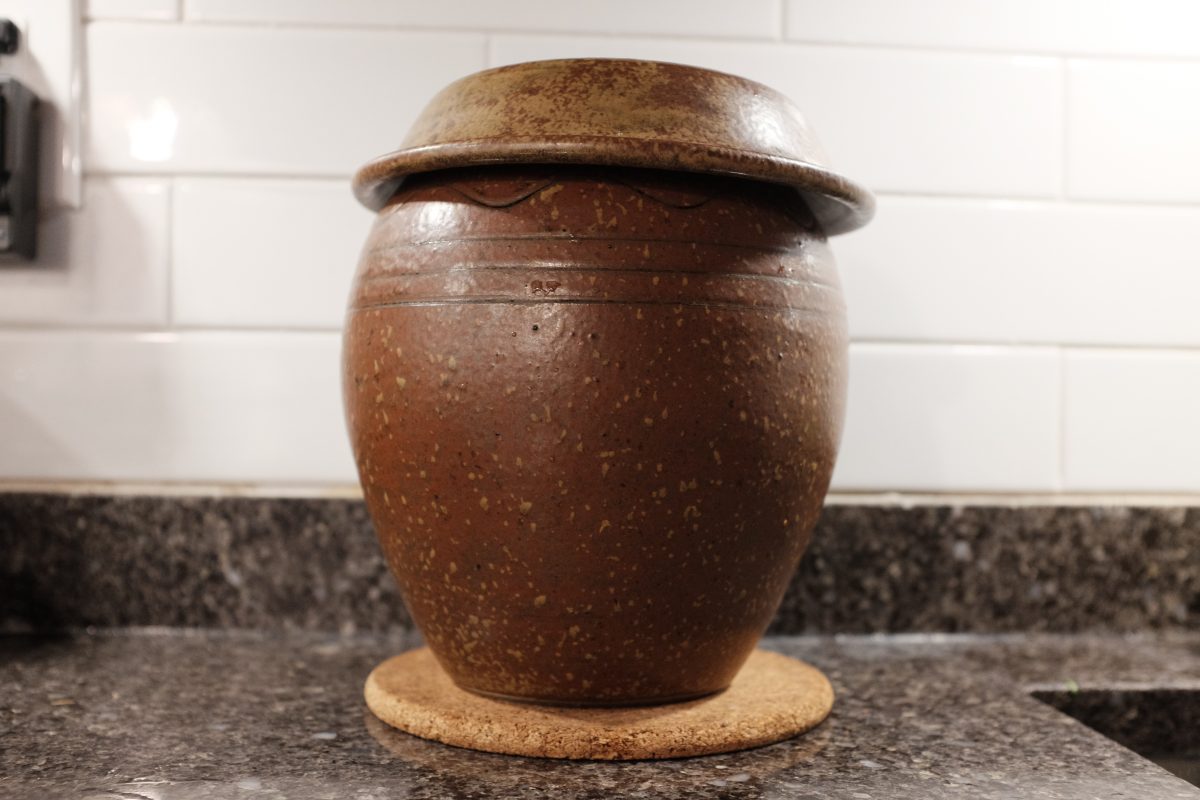
I am using a stoneware onggi jar to ferment this batch of kimchi. I have them around the house so this is what I usually use. Mason jars or a glass storage container can work just as well. You can also use plastic containers but keep in mind that they will probably always smell like kimchi after you have used them. Whichever container you choose, make sure to leave the lids loose so that fermentation gasses can escape.
Leave your container at room temperature until the kimchi is fermented to your liking. This could be as little as overnight or as long as several days depending on the temperature of the room. Taste it a couple of times per day. When the kimchi is nearly as sour as you like, store it in the fridge to slow down the fermentation. If you prefer fresh crisp kimchi, you can refrigerate it right away.

Now what?

For ideas on what to do with your kimchi take a look at this post.

If you have any questions or comments, please leave them below. I am always happy to hear from you.

Thanks for reading!

Seolleongtang

Seolleongtang is the first meal I ever ate in Korea. After a 15 hour flight and a long train ride, I finally arrived at my Insa-dong hotel sore, exhausted and hungry. The closest restaurant was directly behind the hotel, attached to the parking lot. This unassuming restaurant turned out to be one of the oldest in Seoul: Imun Seolleongtang. I had a big hot bowl of this plain milky beef soup and within an hour I felt completely refreshed. This simple soup seemed to erase my body’s memory of being crushed in an economy seat for the last 15 hours. It was like magic.

Since then, I have been back to Korea many times and I always start and finish my travels with this simple meal. Imun Seolleongtang has since received Michelin recognition and so it is busier (and more expensive) than ever with lots of tourists coming in to snap photos for instagram and tiktok. The staff seem to take it in stride, brisk and efficient, though maybe somewhat less friendly than I remember nearly 10 years ago. Also gone is the sloppy bucket of juicy and chunky kkadugi in the middle of the table and the big basket of chopped green onion. These now arrive in less bottomless portions after you order. But, even though some things have changed, the food is still as delicious as I remember and I still go to Imun as well as another smaller family run Seollongtang restaurant nearby.

Homemade seolleongtang

Seolleongtang always seemed kind of mysterious to me. Where did that milky colour come from? How was this simple soup so nutty and delicious? It arrives at the table completely bland and unseasoned but the addition of a little salt and pepper, kimchi juice and green onion turns it into something deep and complex and unforgettable.

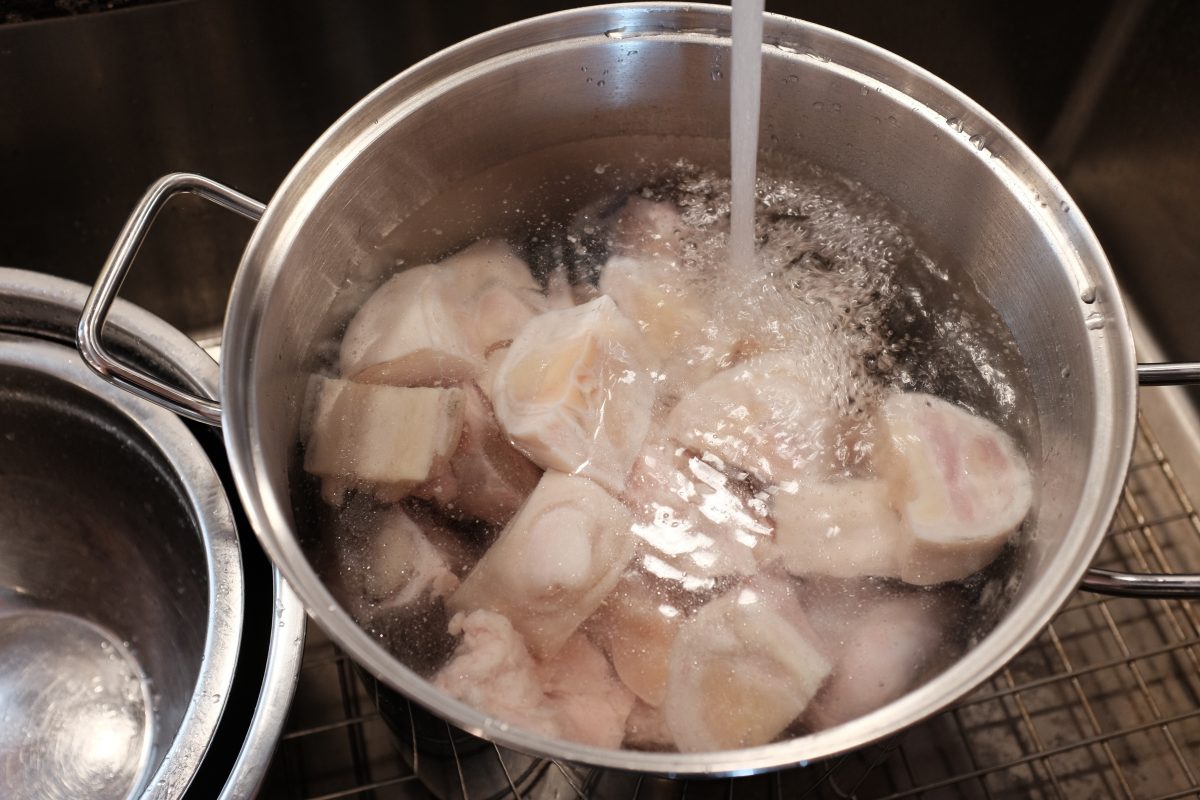
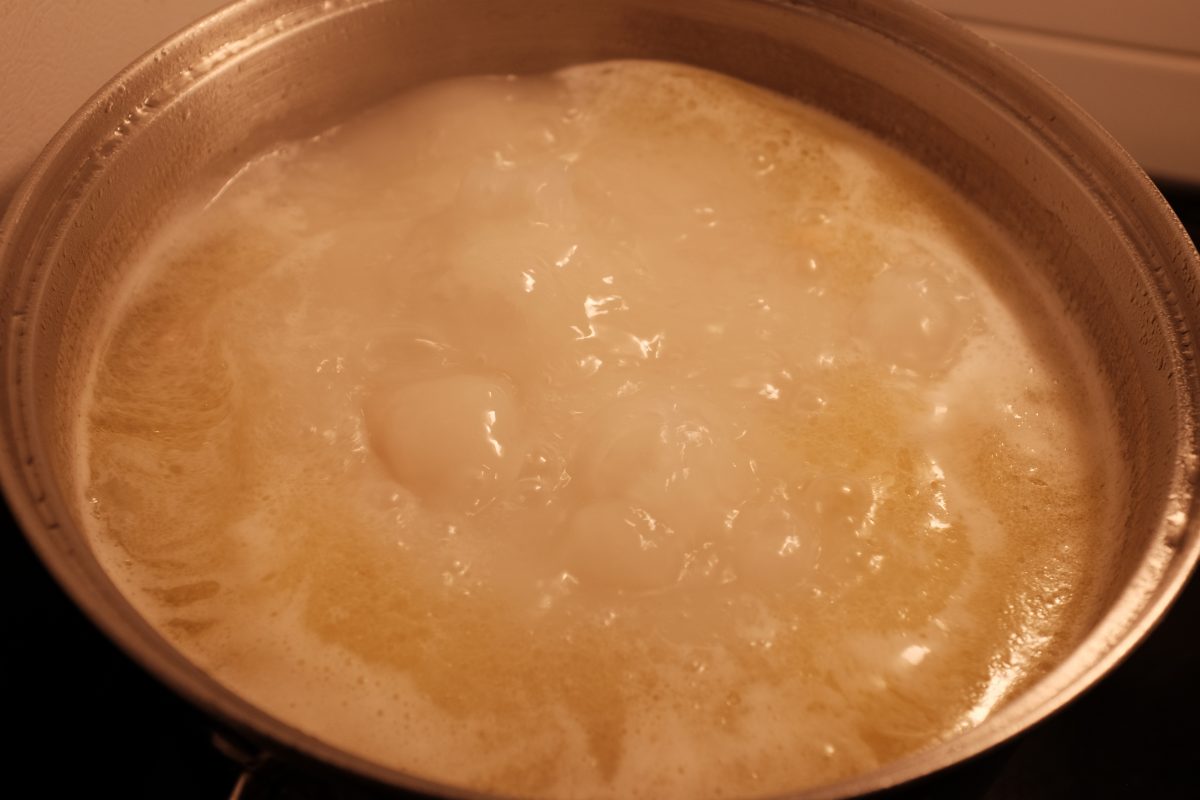
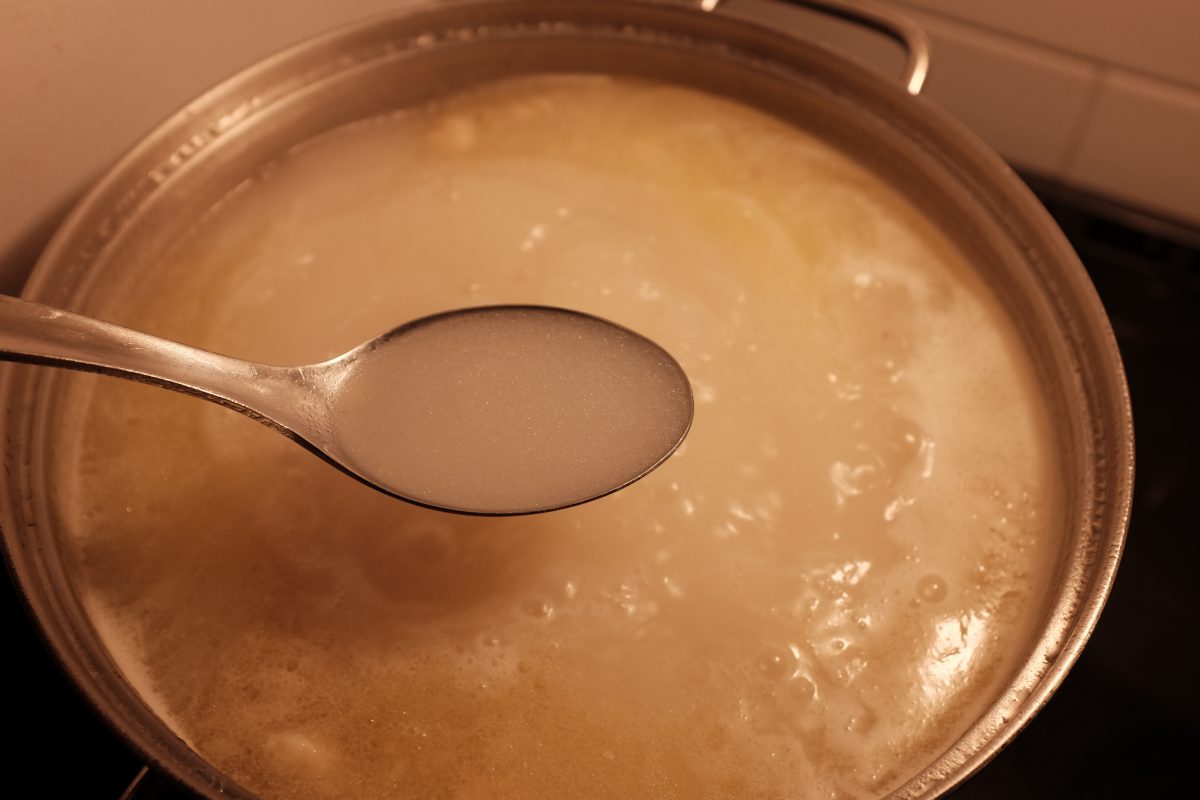
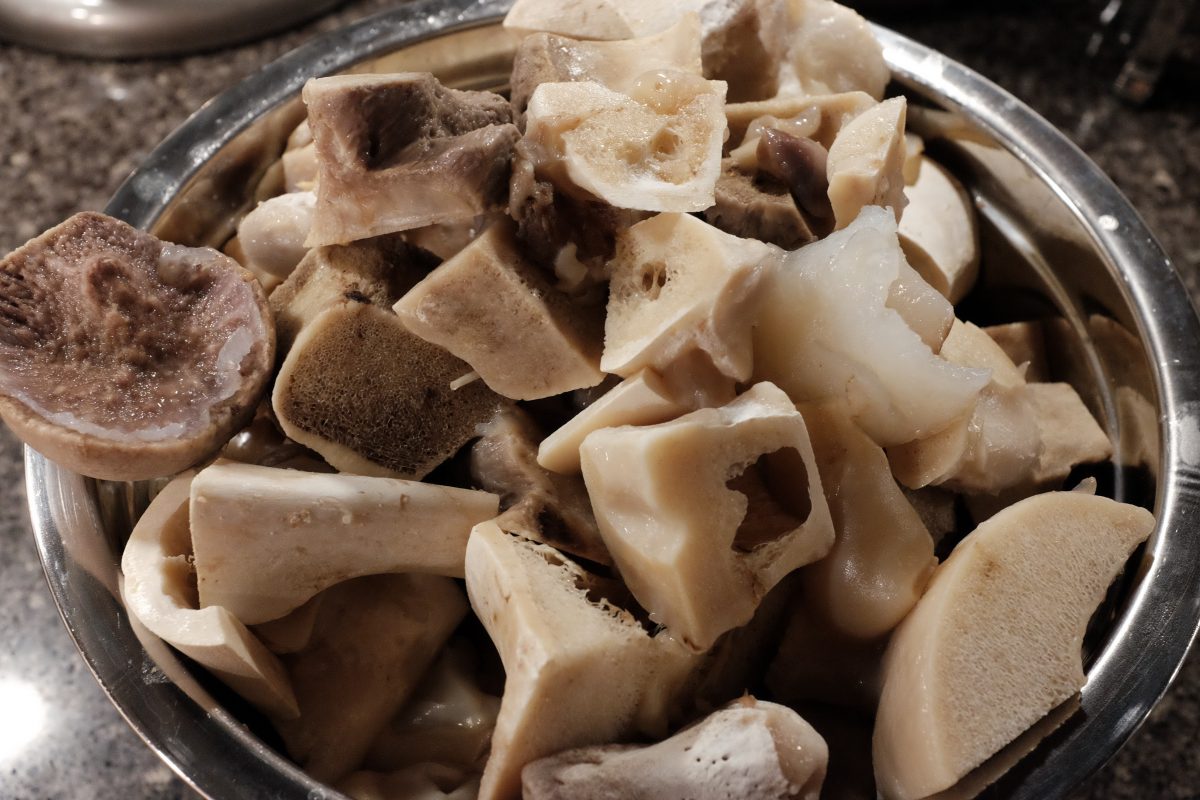
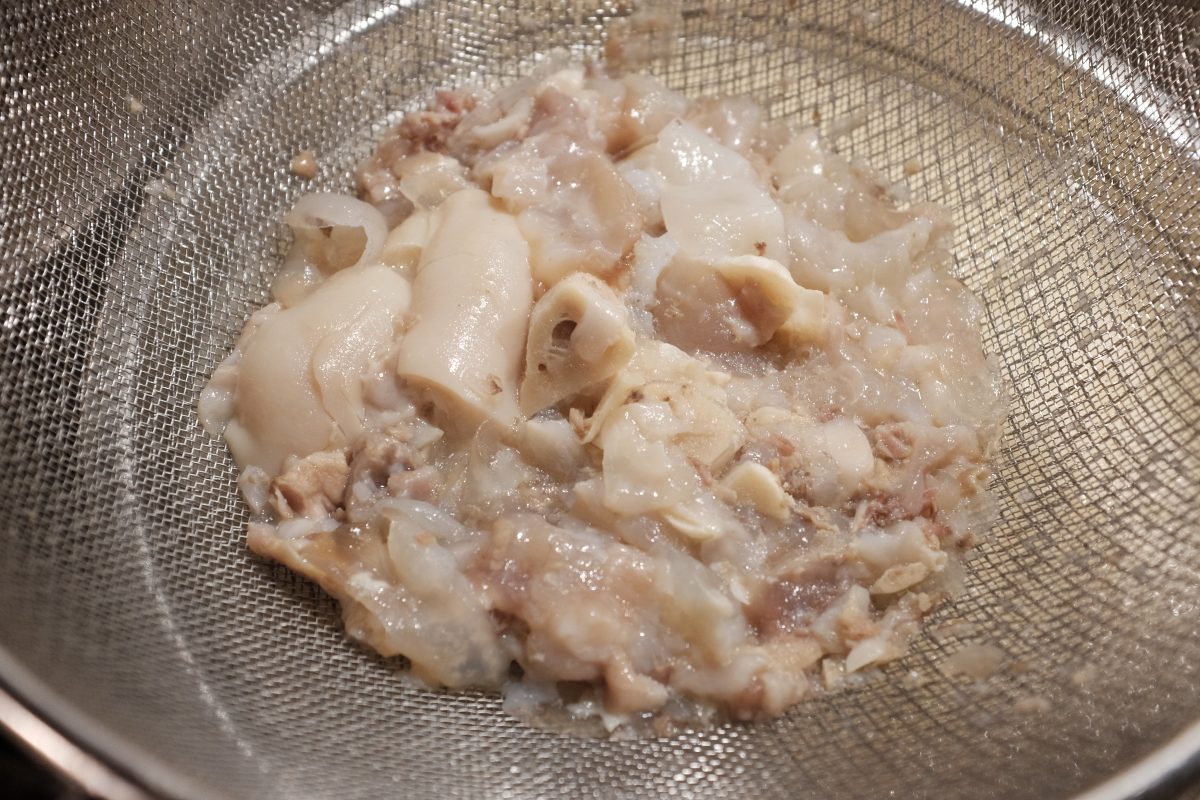
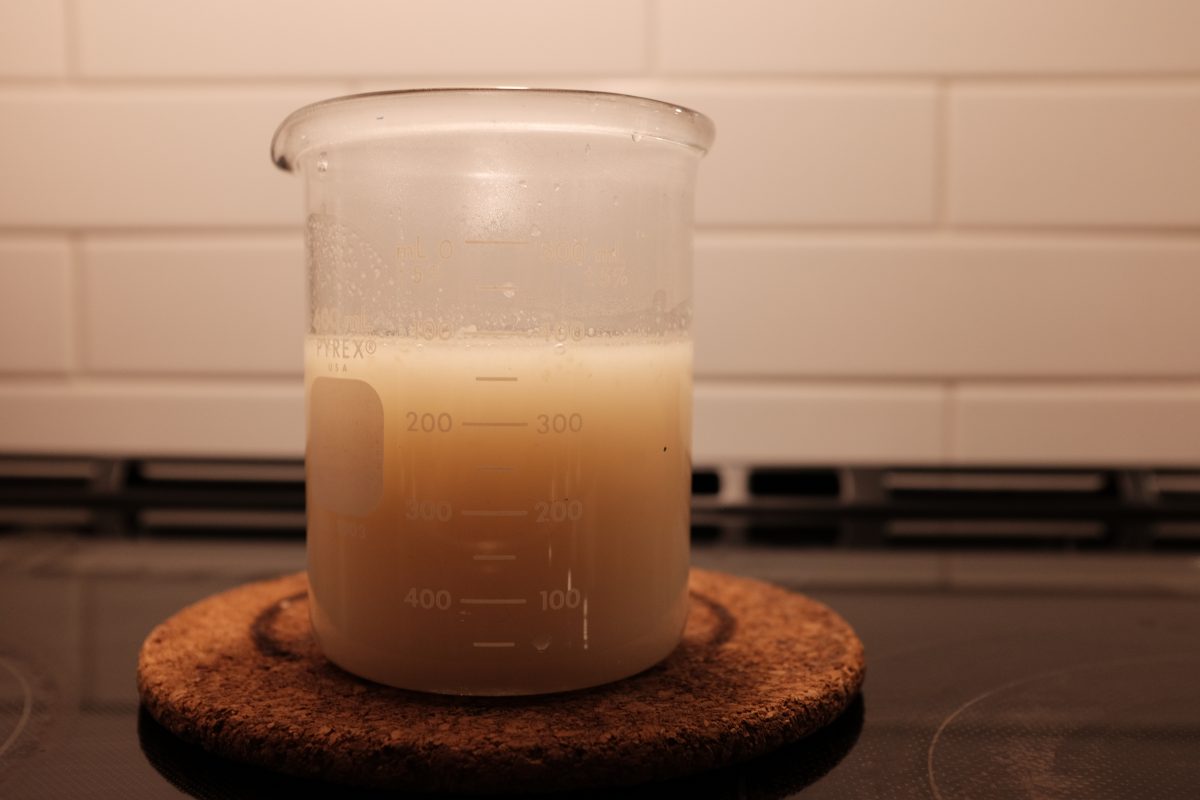
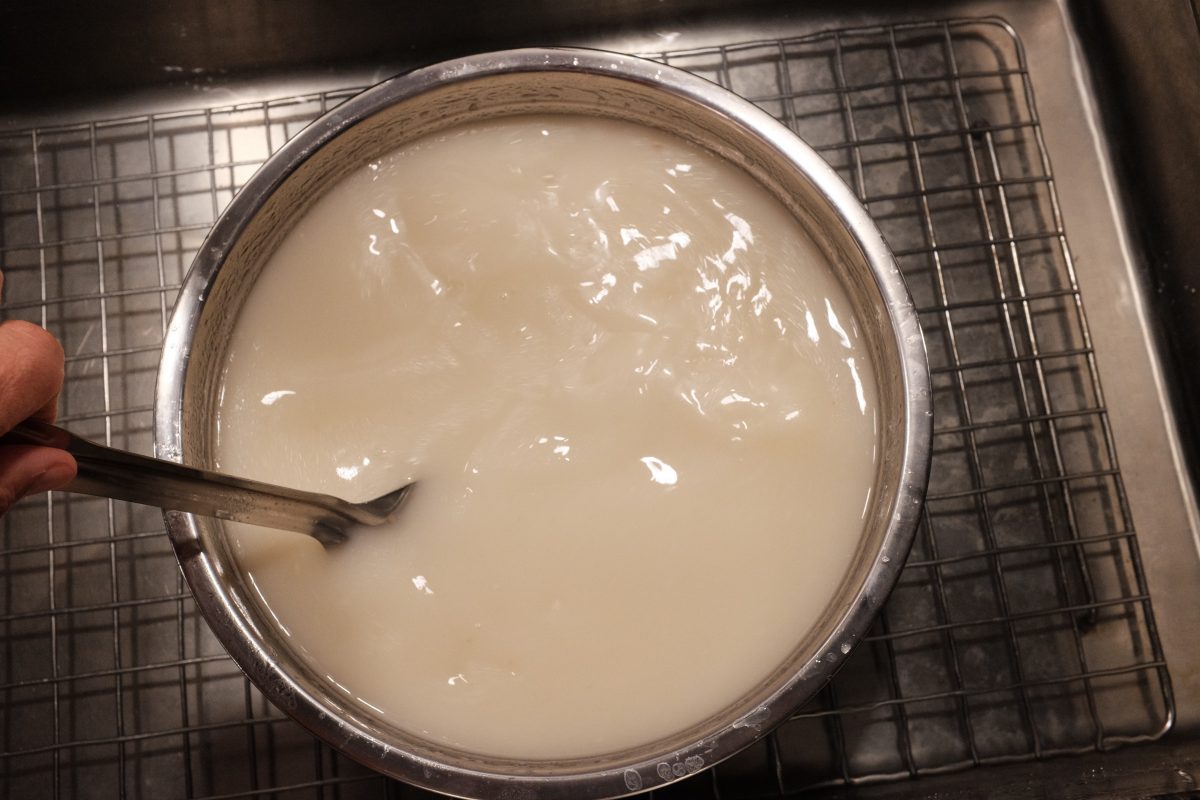
Like a good food detective, I decided to launch a full investigation. After much reading and video watching, I discovered that the secret is really in the style of beef stock, in the process rather than the ingredients. The recipe below is a two-part process. First you will need to make the milky bone broth. Once you have this broth on hand, turning it into finished seolleongtang is a very simple and quick process. You can find the complete recipe for the beef bone broth by clicking here.

Ingredients

*this is for one big portion or 2 smaller portions

  • 1 litre Korean milky beef bone broth
  • 250gr beef brisket point
  • cooked white rice
  • cooked somyeon/somen noodles
  • 2-3 green onions (scallions)
  • salt and pepper

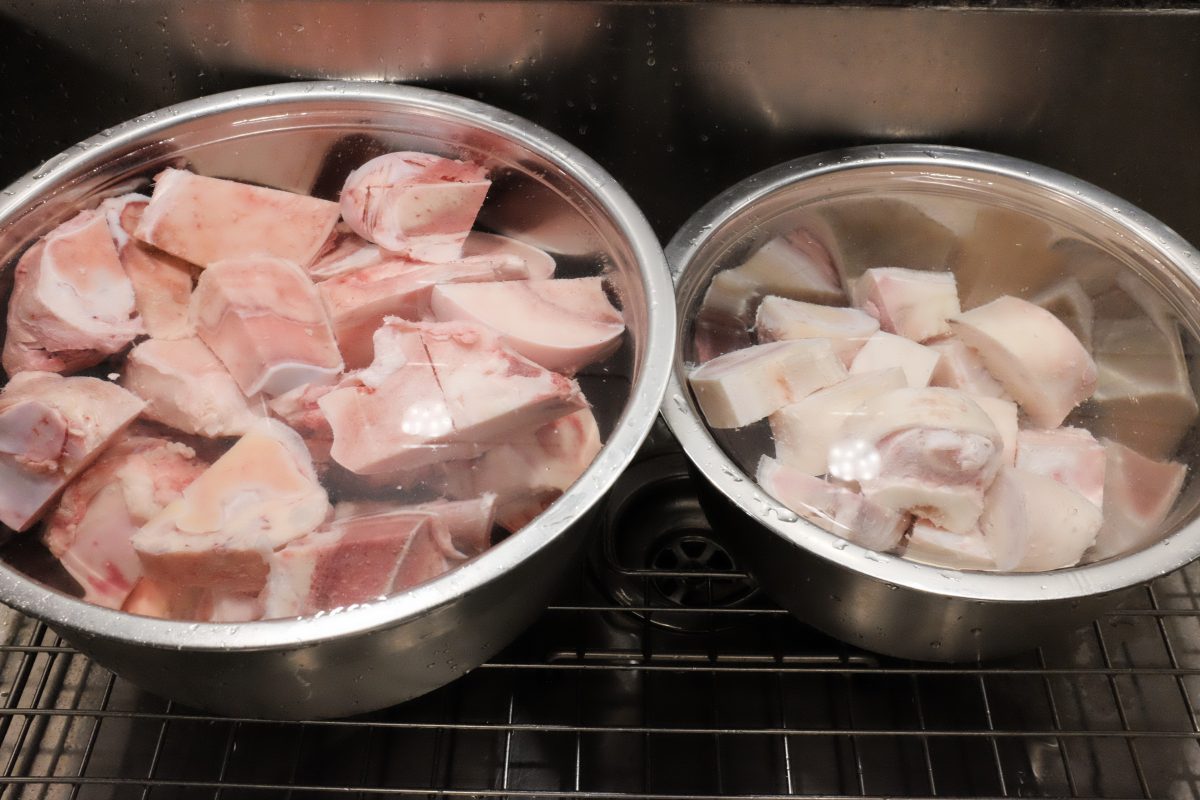
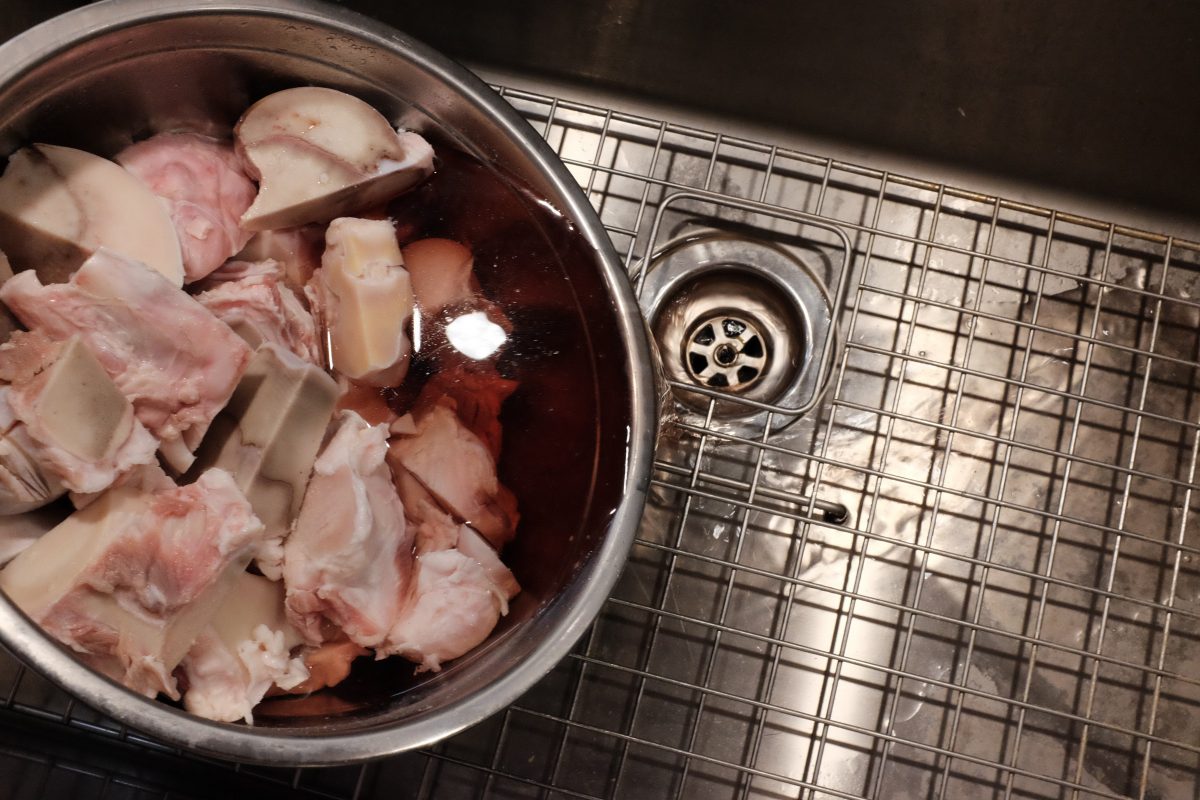
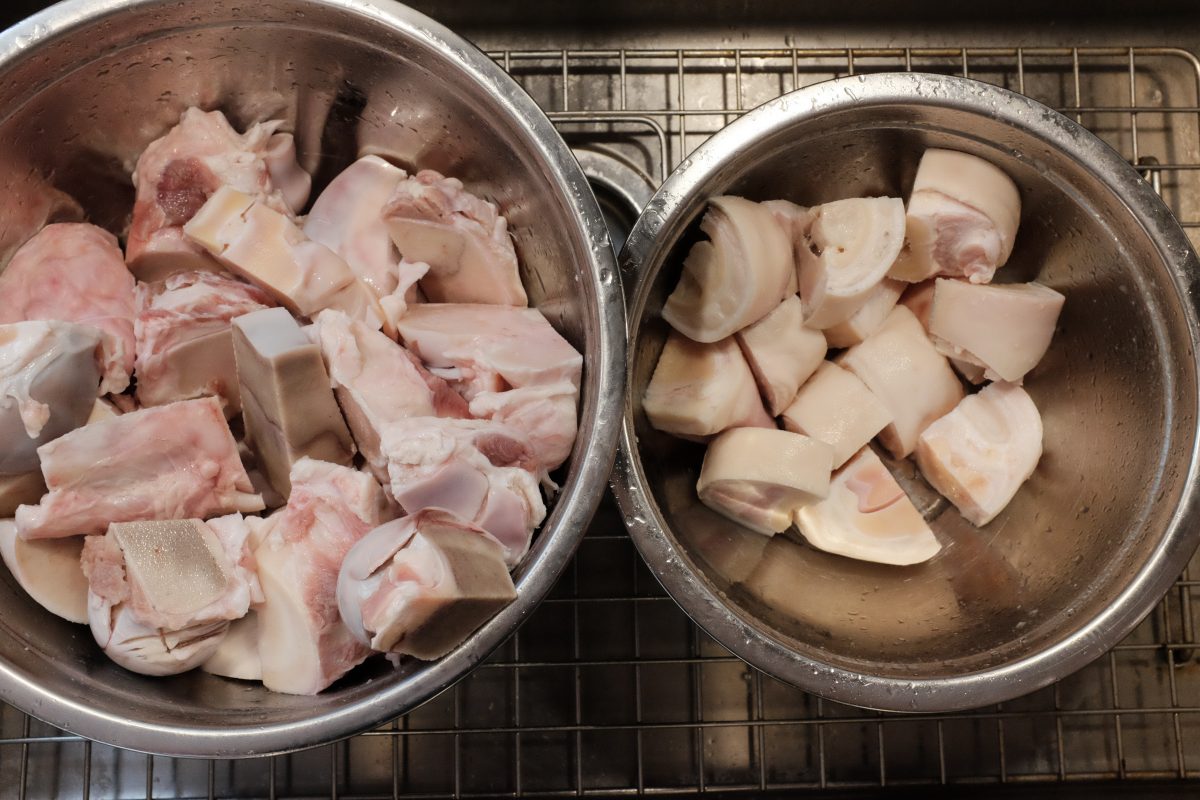
I used brisket point. You can use any beef you like. Tougher cuts will take longer to soften up and more tender cuts will take less time. I like brisket because it is somewhere in between. It has the deep beef flavour of a tougher muscle but is slightly more tender so takes a little less time to cook. If you like, you can soak the meat in water for a few hours to remove some of the blood but, this is optional.

Process
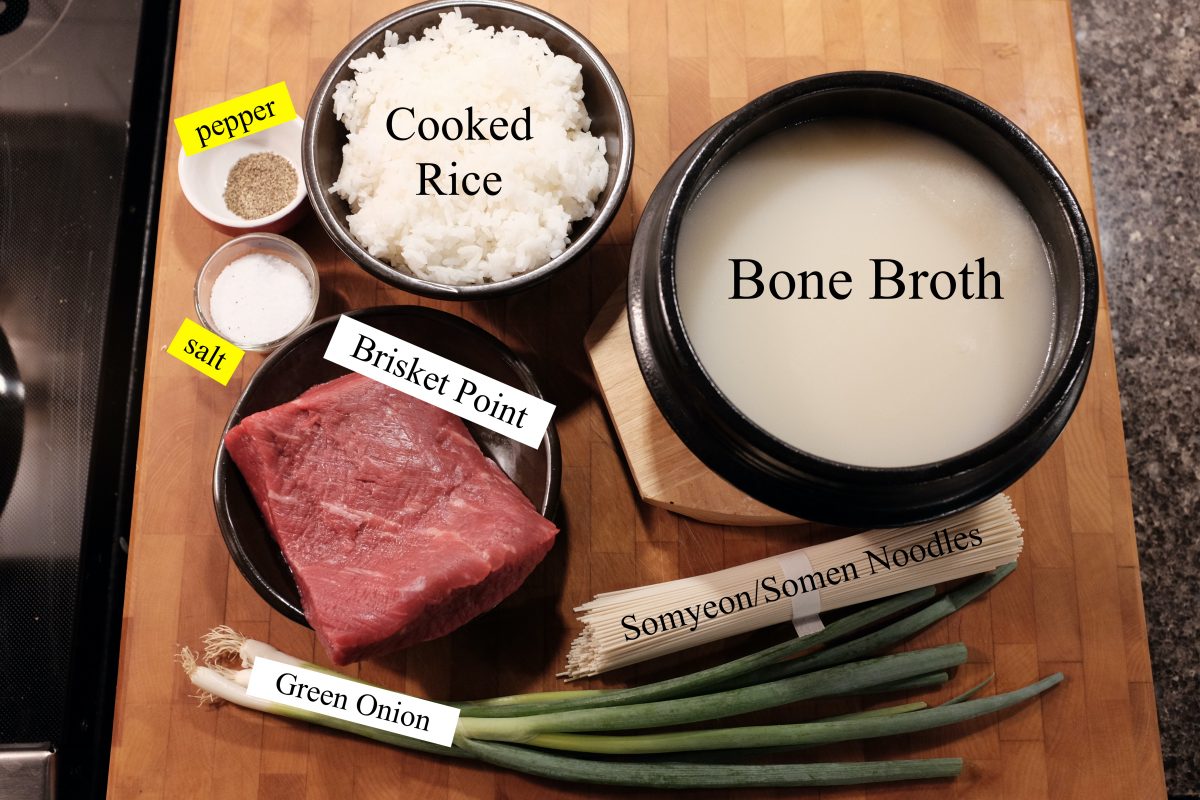
raw seolleongtang ingredients
Raw ingredients. This is leftover rice from yesterday. I am cooking a whole portion of noodles but probably will not use them all in here.
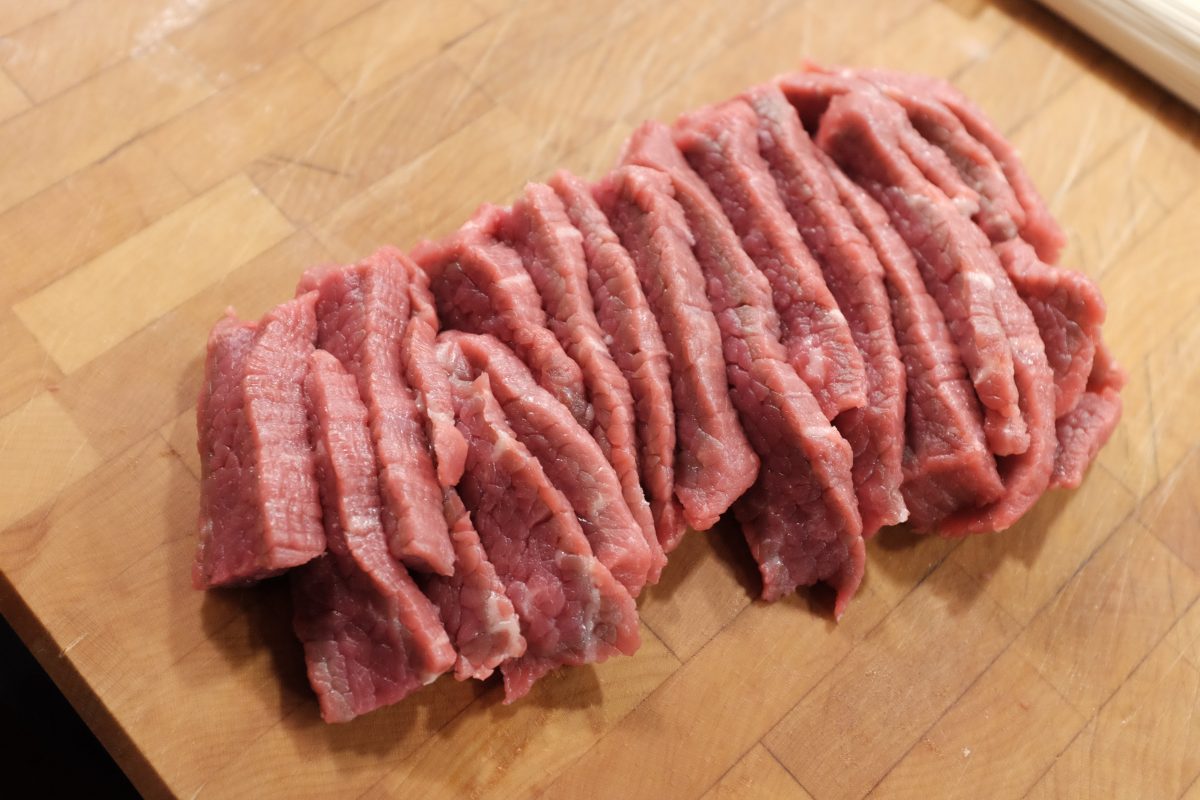
sliced brisket point
Slice beef into thin bite-sized pieces. Note: if you are making seolleongtang and the bone broth on the same day, you can cook the uncut chunk of meat directly in the broth and slice it after it is cooked. Either way will work. I think that slicing the meat first and then cooking might give it a slightly drier texture but I don’t think it makes that much difference in the end.
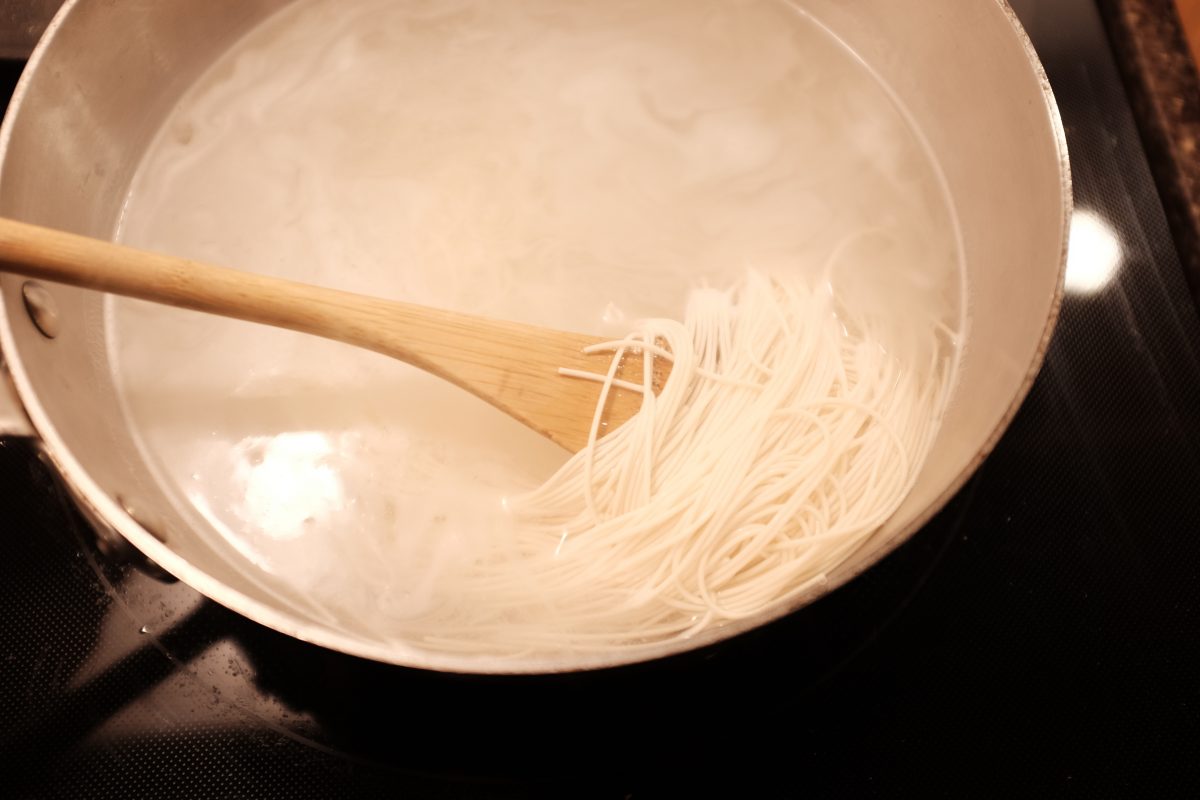
cooking somen noodles
In a seperate pot, precook your somyeon according to the directions on the package. The ones I am using take around 3 minutes.
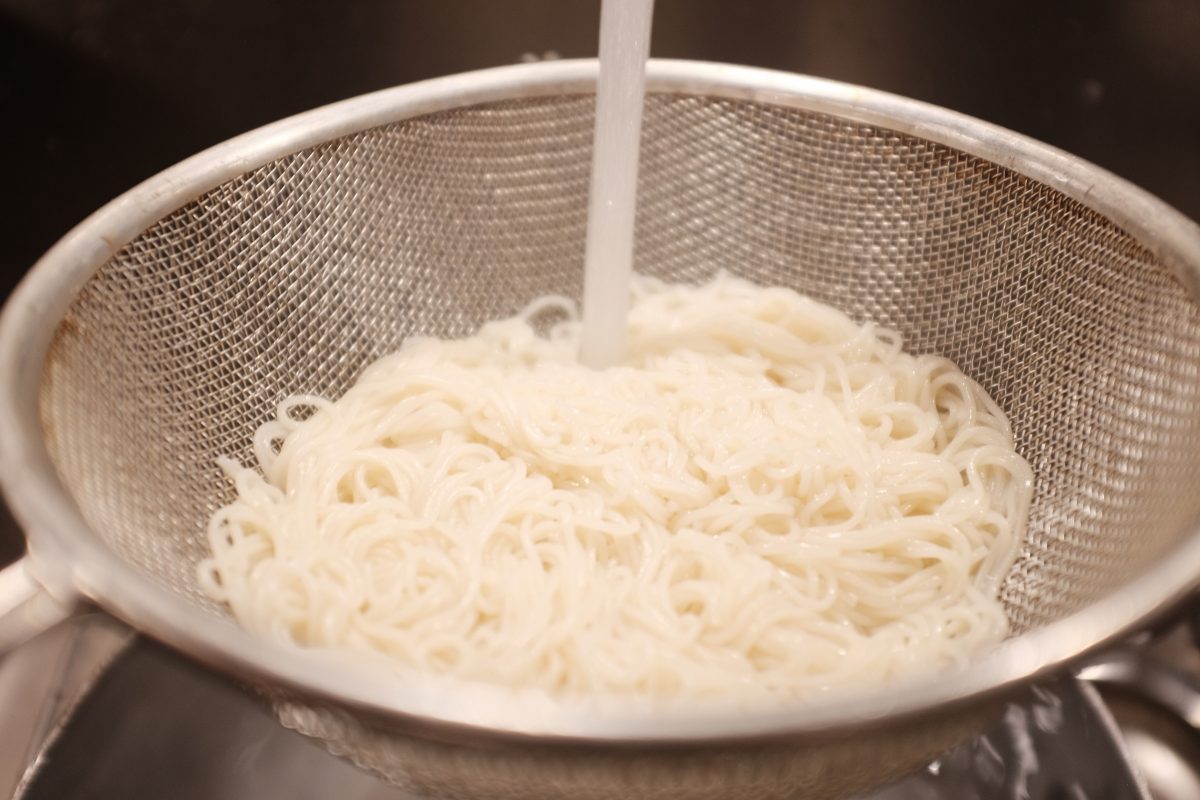
Drain the noodles and rinse them with cool water.
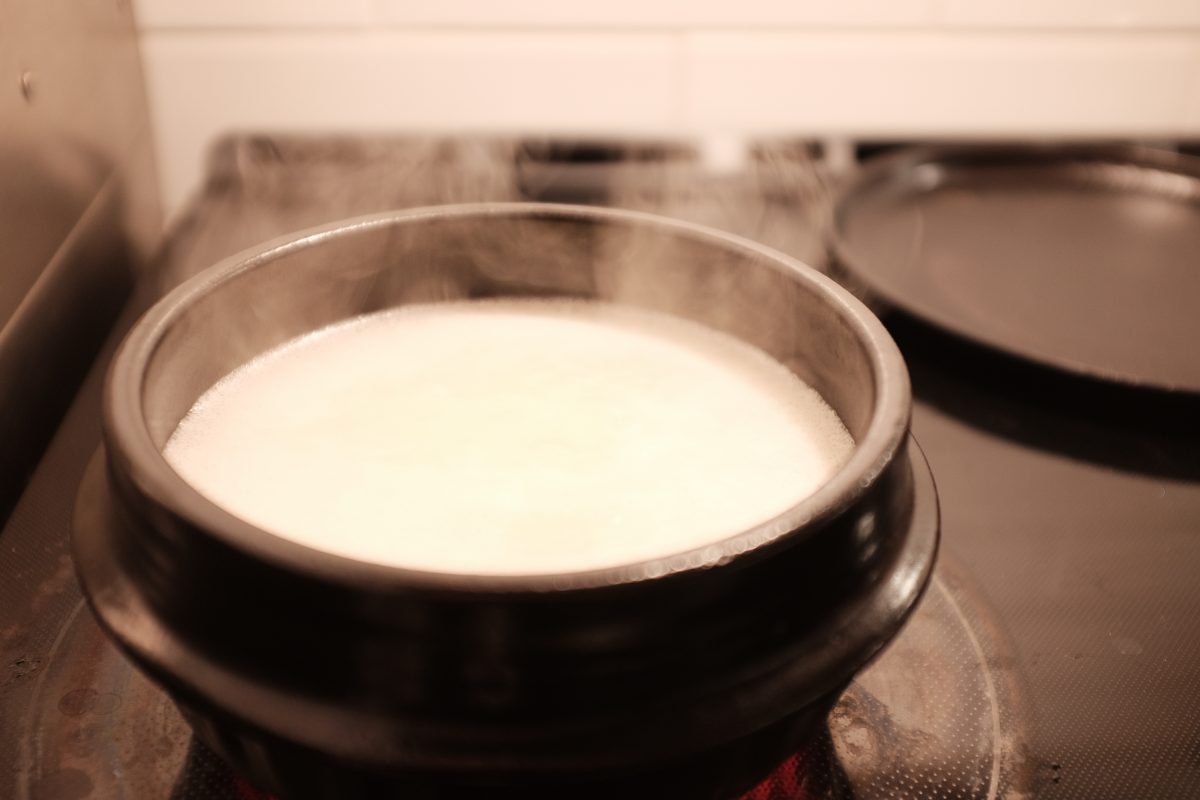
Warm up the beef broth.
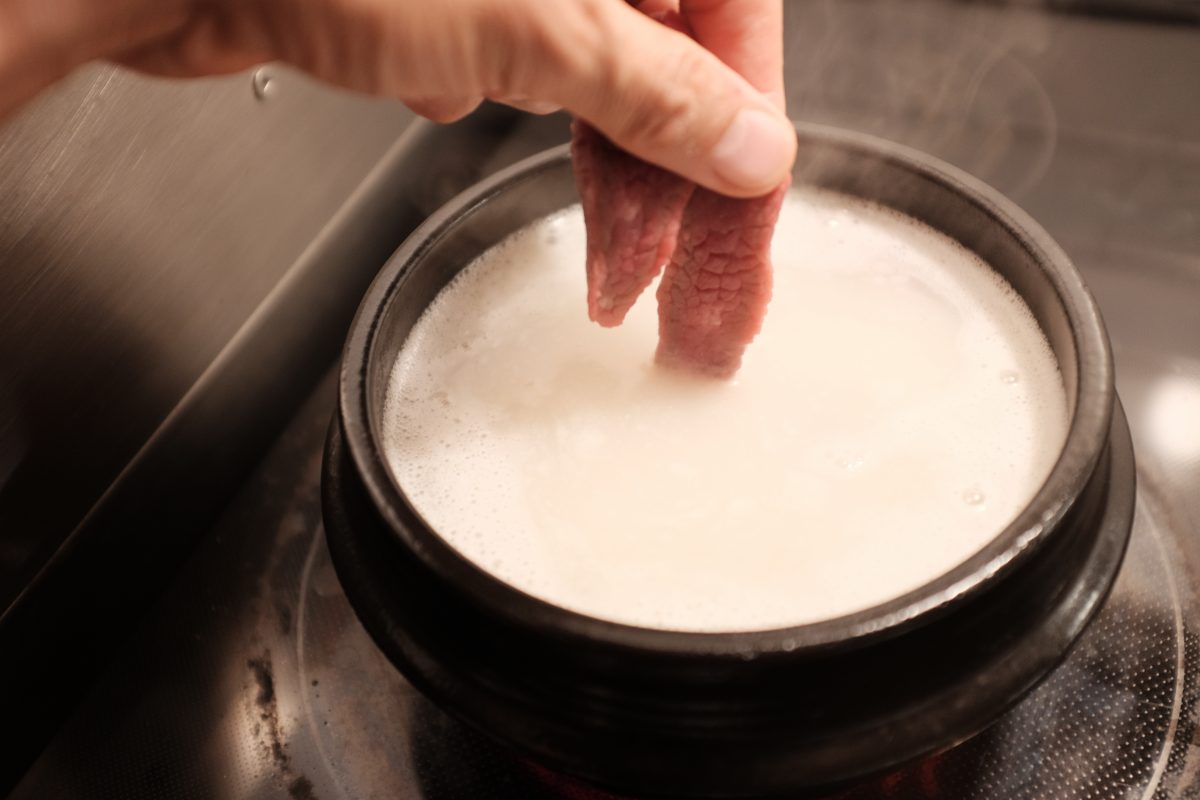
Add in slices of meat. Cover the pot and simmer the meat in the broth until it is as tender as you like. I let this brisket go for about 30 minutes.
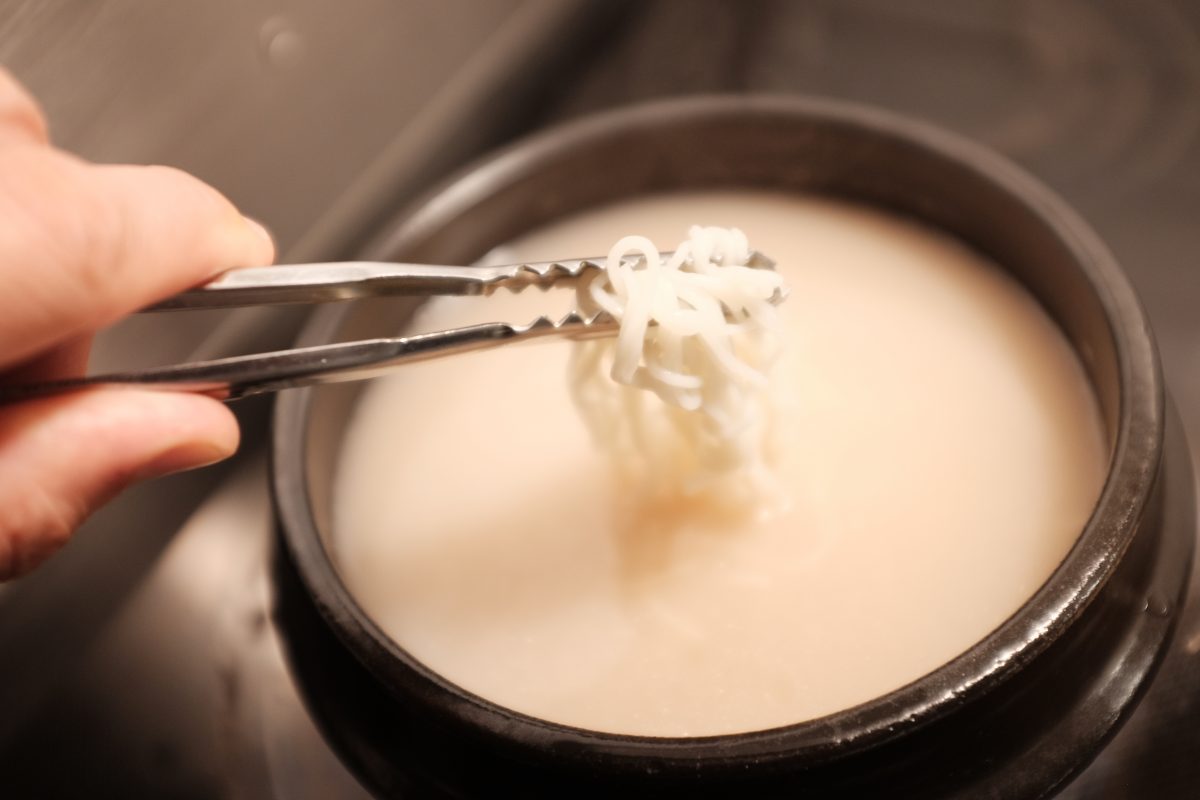
Add noodles. You can put as many noodles as you like.
assembling finished seolleongtang
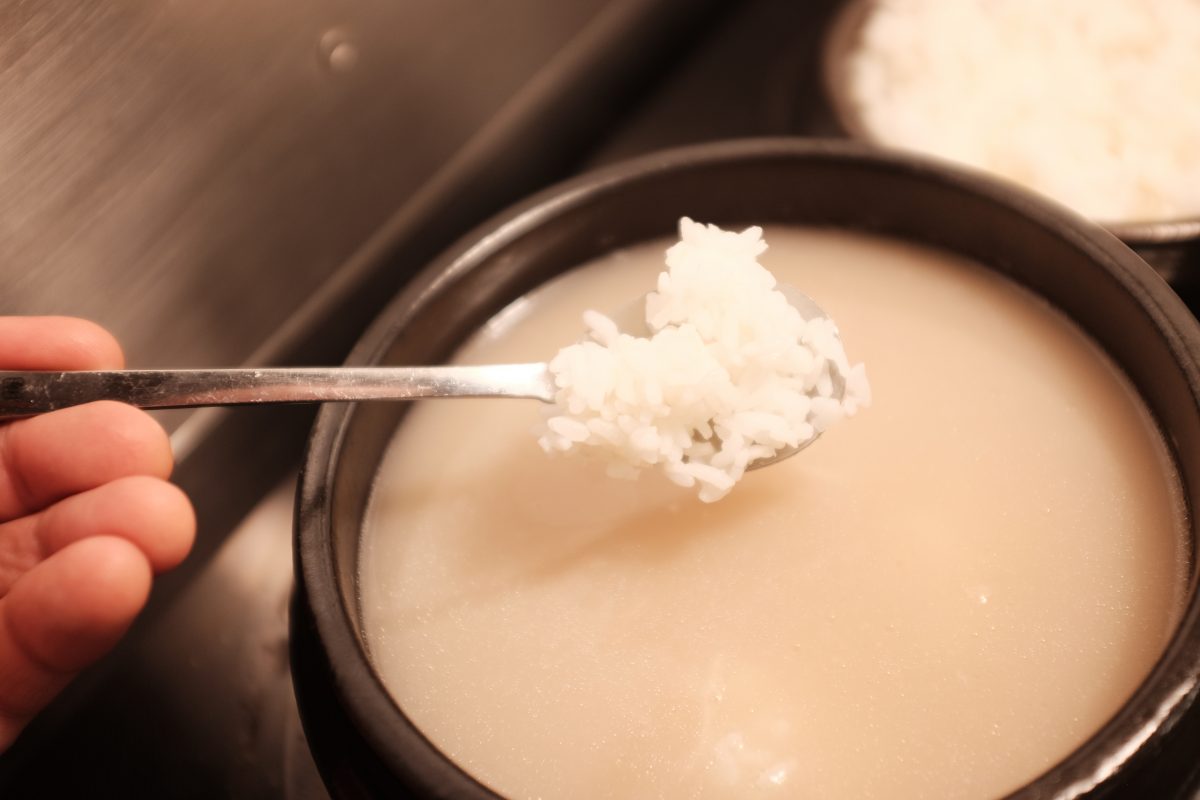
Scoop in some rice. You can also serve a bowl of fresh rice on the side. I usually end up putting most of it in the soup anyways so I will add it now.
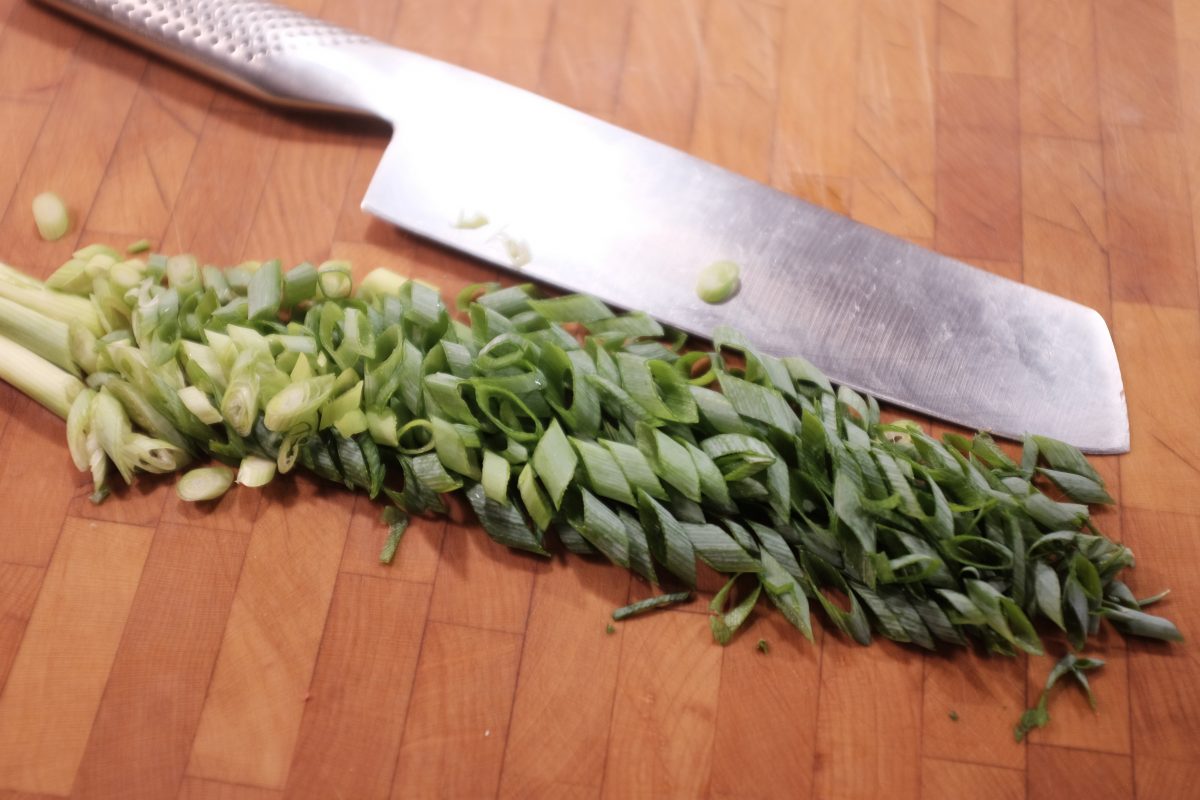
While the above ingredients are warming through, slice up some green onions.
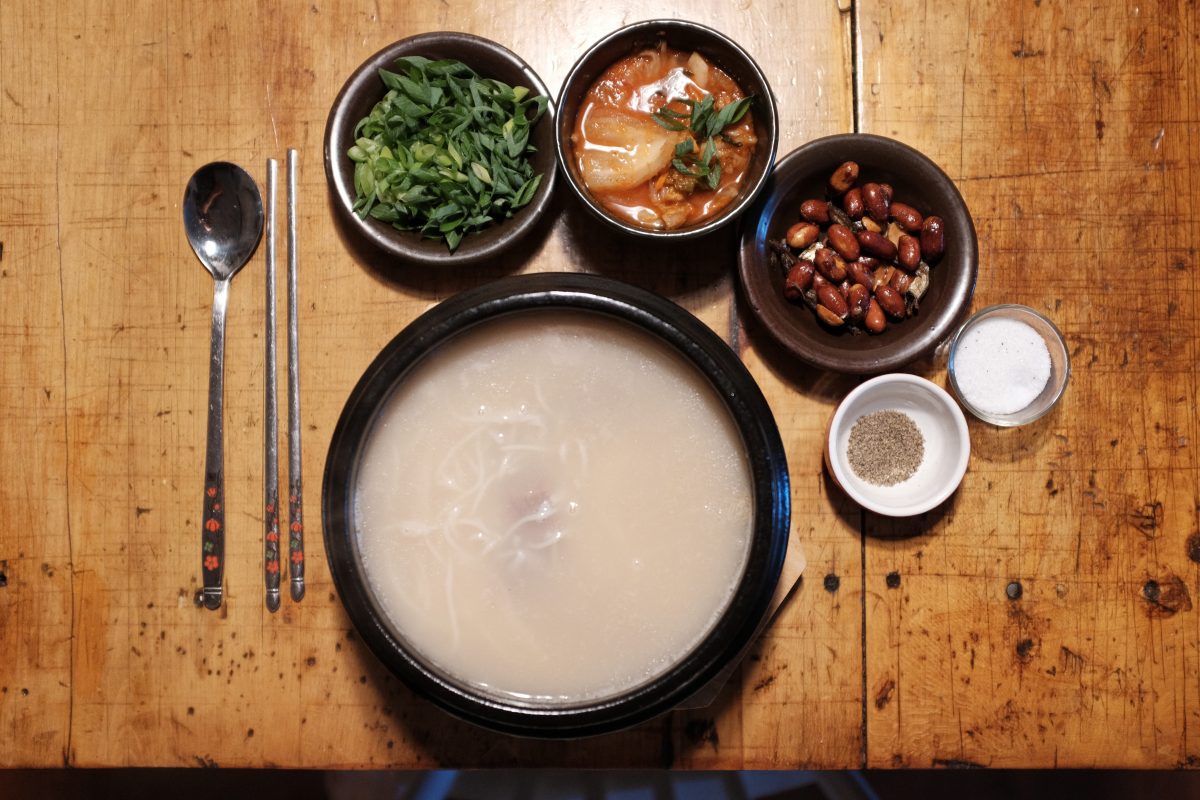
Once everything is warmed through, it is ready to go. Serve it with kimchi, salt, pepper and green onion on the side. As you add salt, you will notice that the bland broth suddenly comes alive with rich nutty sweet and beefy flavour. Add some pepper if you like. You can also add in some kimchi juice if you want to give it a little spice or acid. This is usually served with a juicy kkakdugi and this radish kimchi is a perfect accompaniment to this dish. Some time ago, I made a batch of watery kkakduki to eat with seolleongtang but I ate it all before I got around to cooking this. Cabbage kimchi is also good. You can find the kkakdugi recipe by clicking here. This doesn’t look too impressive at the table does it?
All the good stuff is hiding in the milky broth.
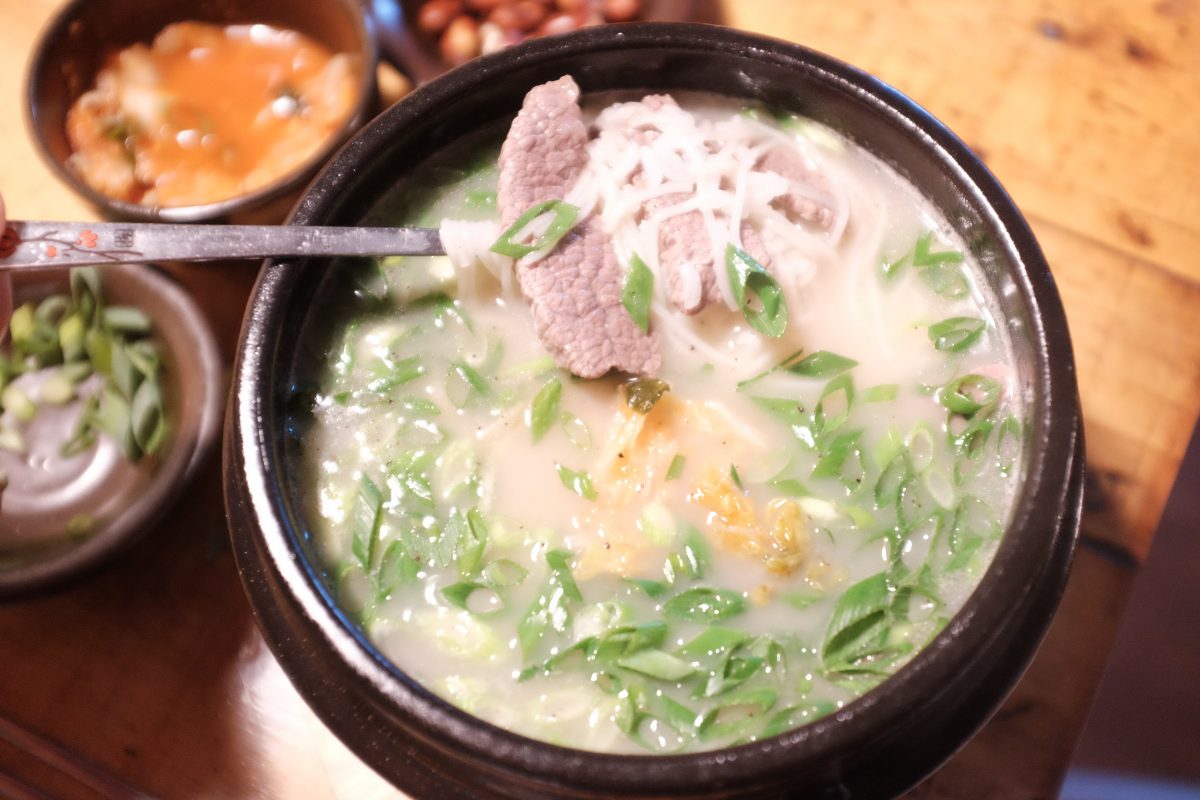
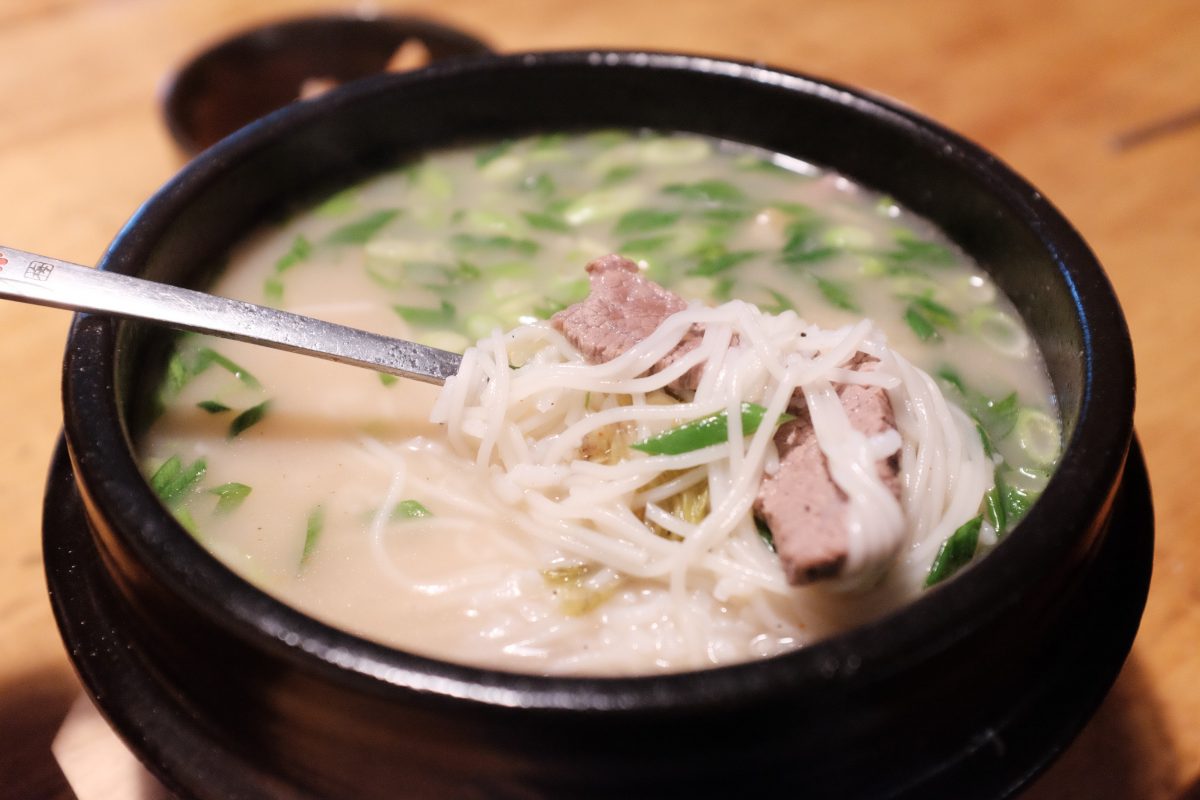
a look at the finished and seasoned soup

The verdict?

This turned out to be very very good. Maybe 4 out of 5 stars. One star off because, as good as it is, it doesn’t quite measure up to the flavour of Imun Seolleongtang in Seoul. But, honestly, I can say the same thing about all Korean food made outside of Korea. There is always a little something missing when you make these dishes yourself or, eat them in restaurants back home. I think a big part of this is the high quality of ingredients in Korea but, there is also generational knowledge and experience that adds flavour to these dishes and makes the magic hard to replicate. Imun Seolleongtang has been making this same dish for over 100 years and legend has it that the same stock pot has been continuously boiling fresh bones every day for the whole time!

Having said that, I am really happy with the way this turned out and I feel just as refreshed after eating a big hot bowl of this flavourful soup. 시원하다!

If you have any questions or comments please leave them in the space below. Thanks for reading!

If you enjoy the content and would like to contribute towards website maintenance and development, you can make a donation here.